Storage Configuration
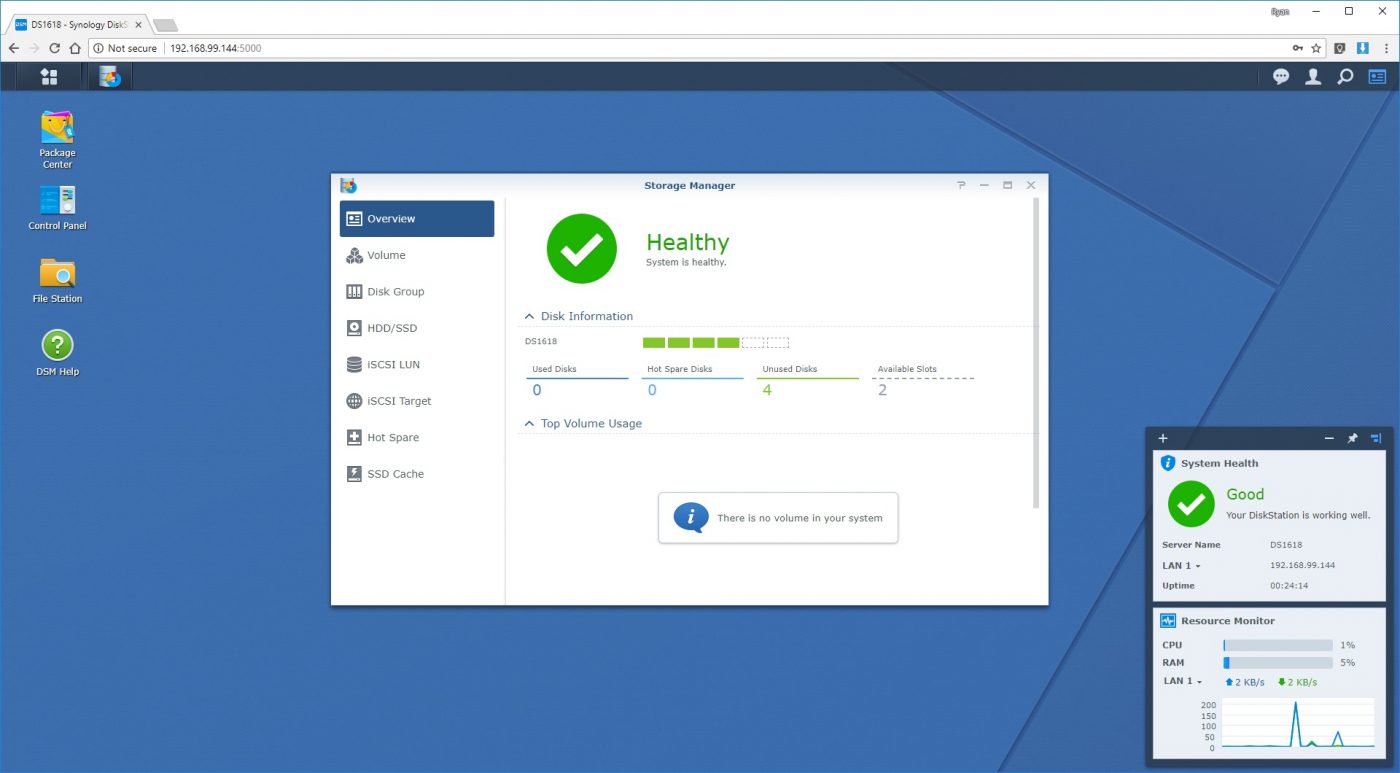
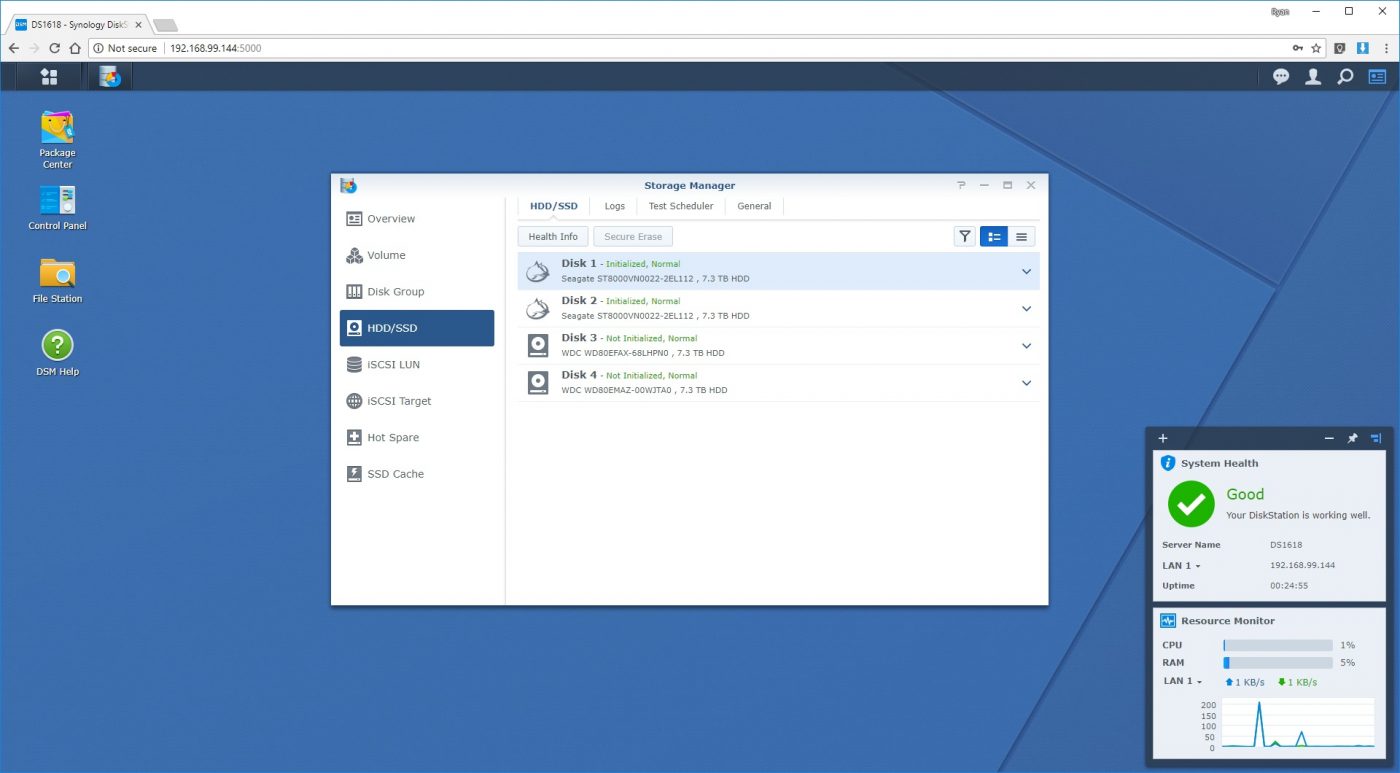
Now that we have taken a quick look at the DSM environment, it is time to configure our installed storage. For our review we have populated the DiskStation DS1618+ with four 8TB drives from two vendors. Taking a look at the Storge Manager application’s Overview menu, we see that we have a total of four unused disks in our system.
Moving down to the HDD/SDD portion of Storage Manager shows that Disk 1 and Disk 2 are Seagate IronWolf drives, while Disk 3 and Disk 4 are Western Digital Reds. It is here that we can check the health of the drives, see any logging data that has been generated, adjust our S.M.A.R.T. test settings, and make some general disk adjustments.
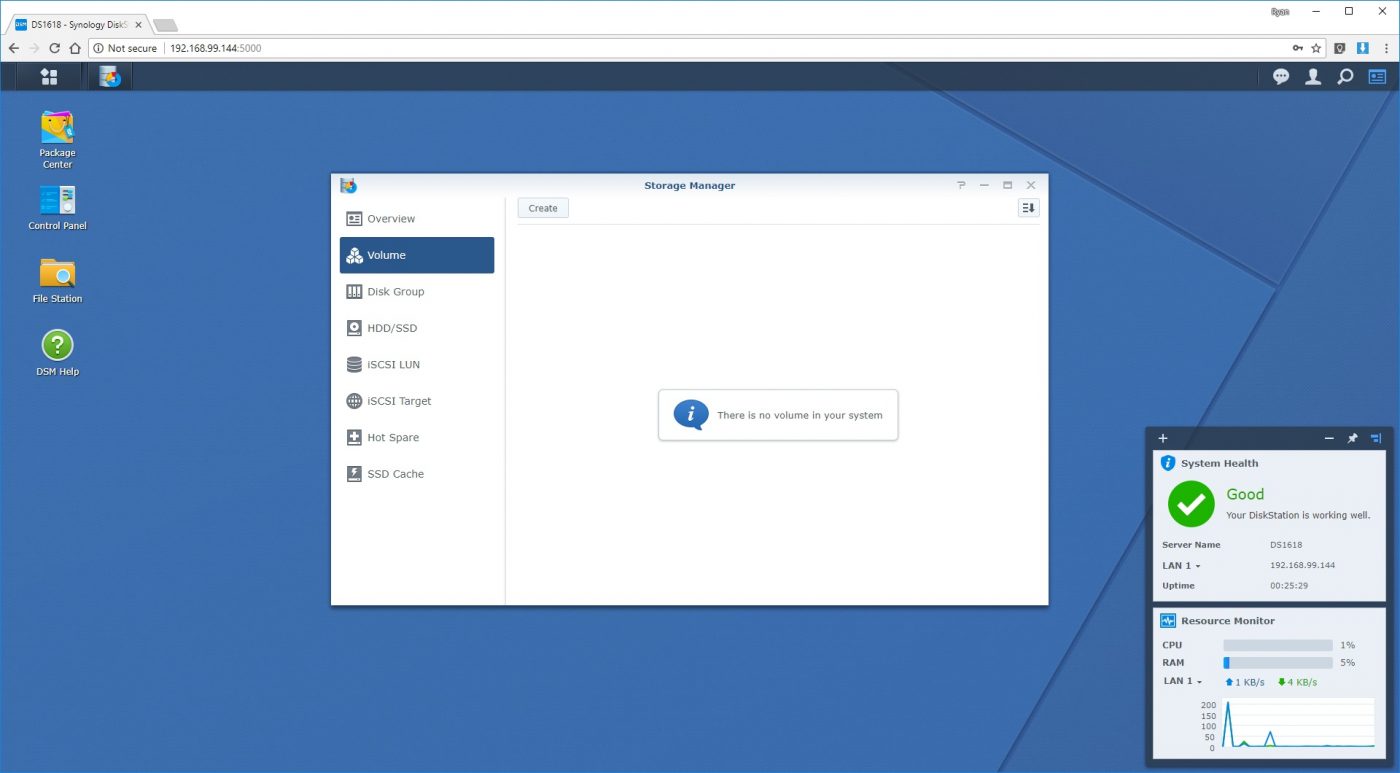
Before we can make use of these drives, we must first create a volume. By moving to the Volume portion of Storage Manager, we see that there are currently no volumes configured for our system. Clicking “Create” at the top of this window brings up the Volume Creation Wizard.
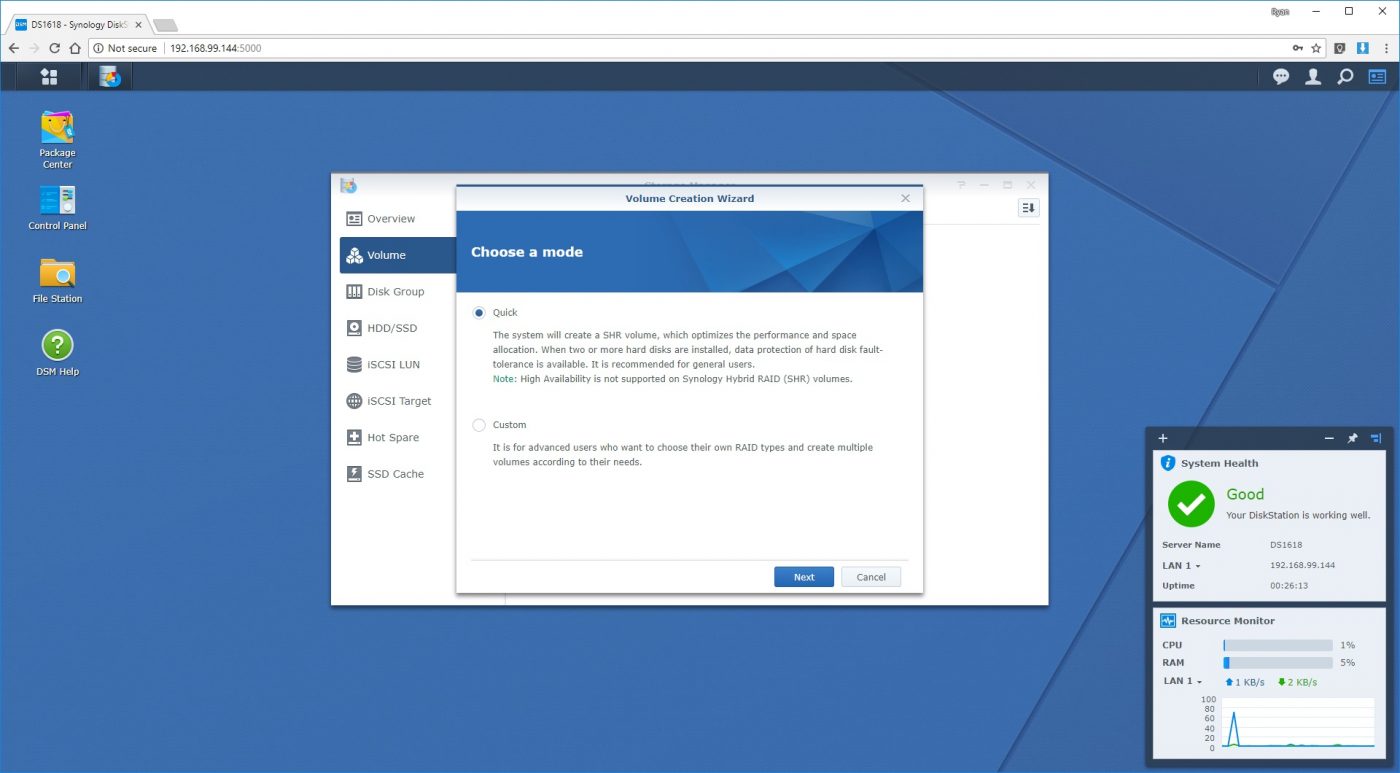
Two modes are available in the Volume Creation Wizard, Quick and Custom. For our initial configuration, we will be utilizing the Quick option, which uses Synology’s Hybrid RAID, or SHR. This method of disk configuration optimizes the performance and space allocation of the available drives, and is Synology’s recommended choice for general users.
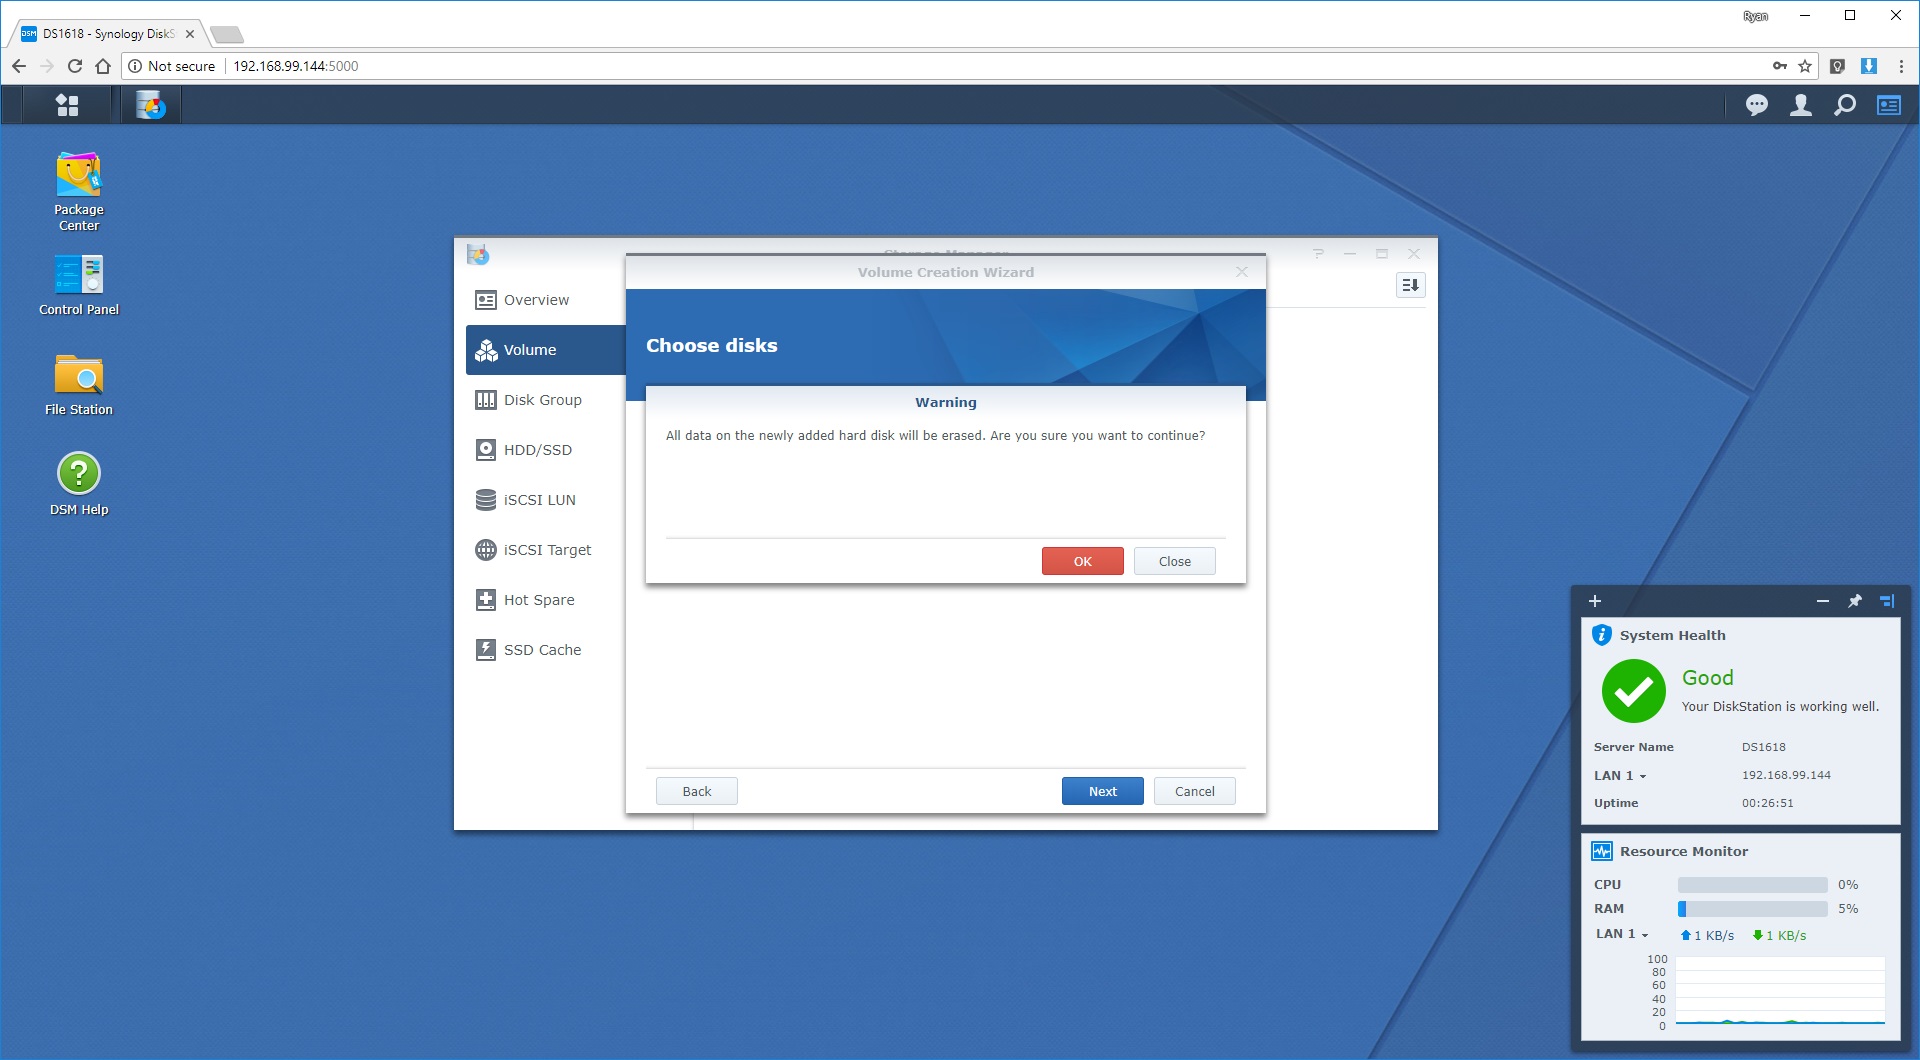
Next, we choose which drives we would like to included in our volume. We have chosen all four drives to get the most performance and capacity.

Before going forward, the NAS warns us that any existing data on the selected drives will be erased. Be sure you want to lose any data that may be on these drives before you click the OK button.
Next we choose the amount of protection against failed drives for our SHR array. We have chosen SHR-1, which will allow us to lose one disk and still maintain data availablity, while SHR-2 allows the system to have two failed disks.

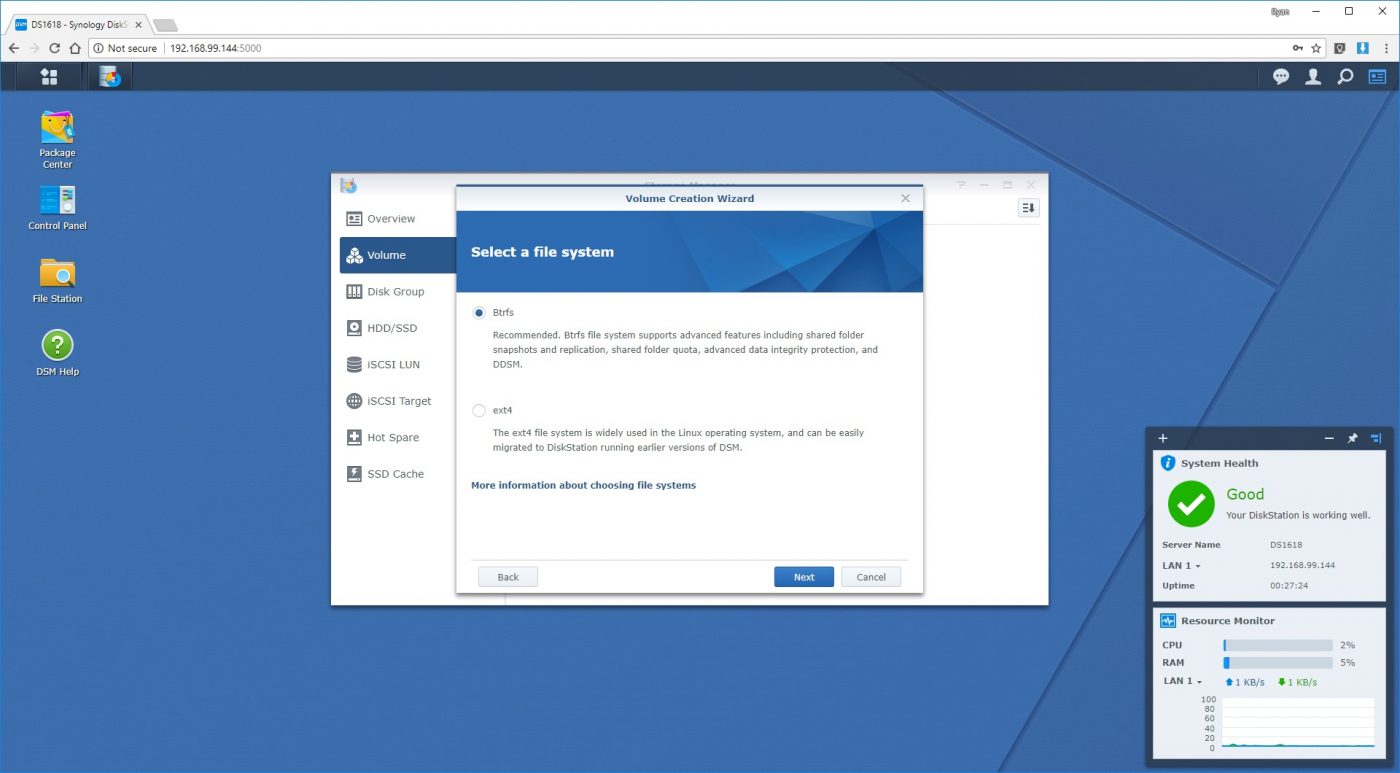
The next decision to make concerns the file system used by the NAS; Btrfs or ext4. Btrfs is a newer file system that supports advanced features like snapshots and replication, and is the option we have chosen for this review. The other option, ext4, is an older system used in many Linux environments, and offers the ability to easily migrate to other DiskStations running earlier versions of DSM.
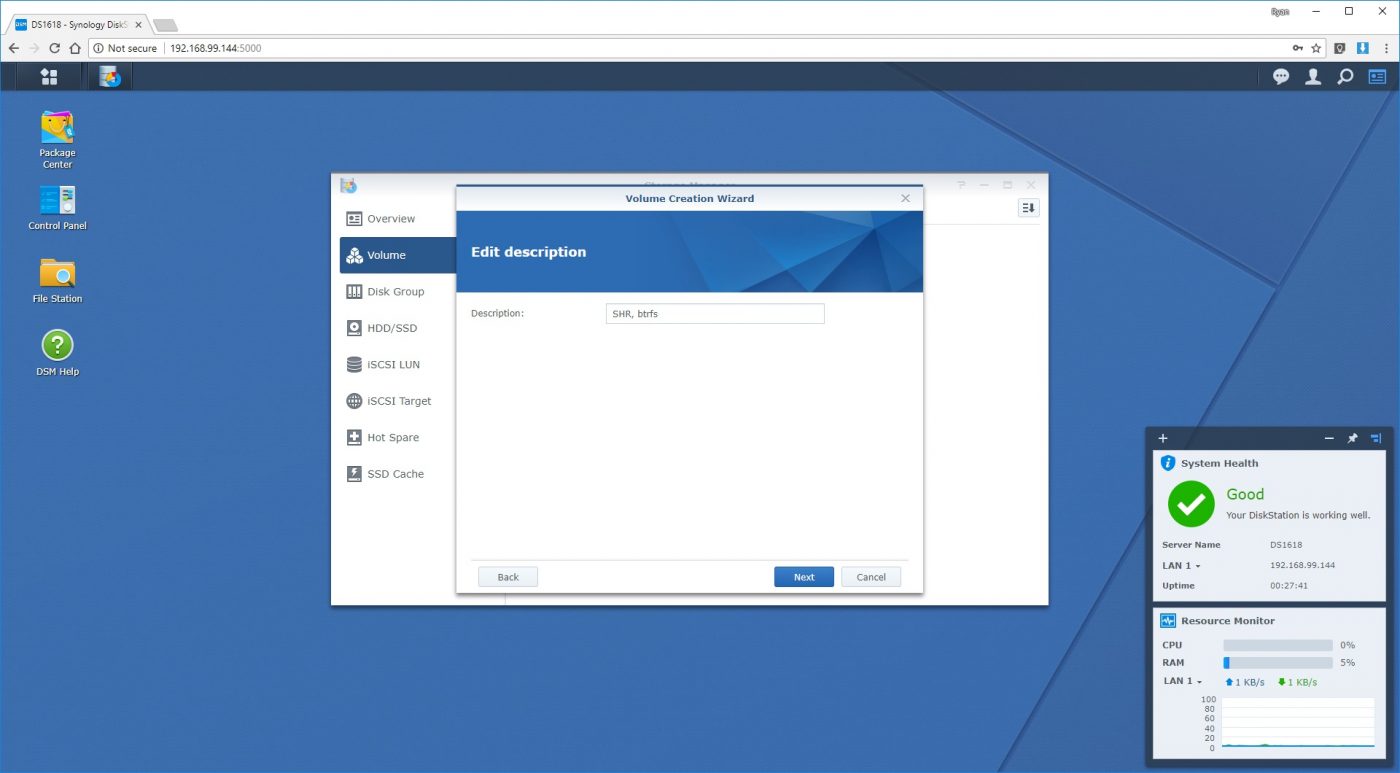
Next up we can edit the description of our volume, but we left this setting as is, because it seemed to be enough for our needs.
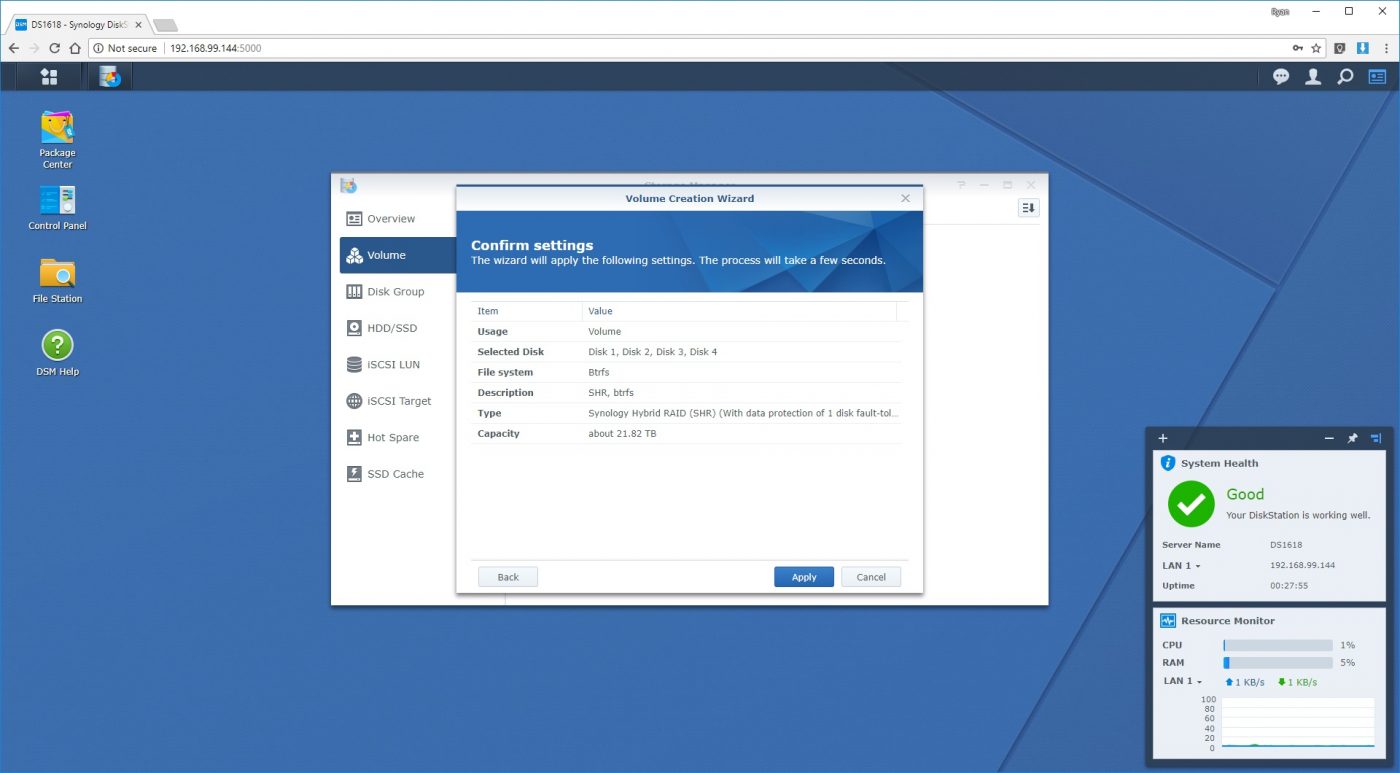
Finally we are asked to confirm our volume settings, which gives us one last chance to look over all of the options we selected before committing them to the array. Here we also see what our estimated volume capacity will be once fault-tolerance is taken into account. Clicking the “Apply” button will begin the volume creation process.
Back at the Volume portion of Storage Manager we can see that Volume 1 is currently in the “Creating” process, and is in the process of initializing the disks.
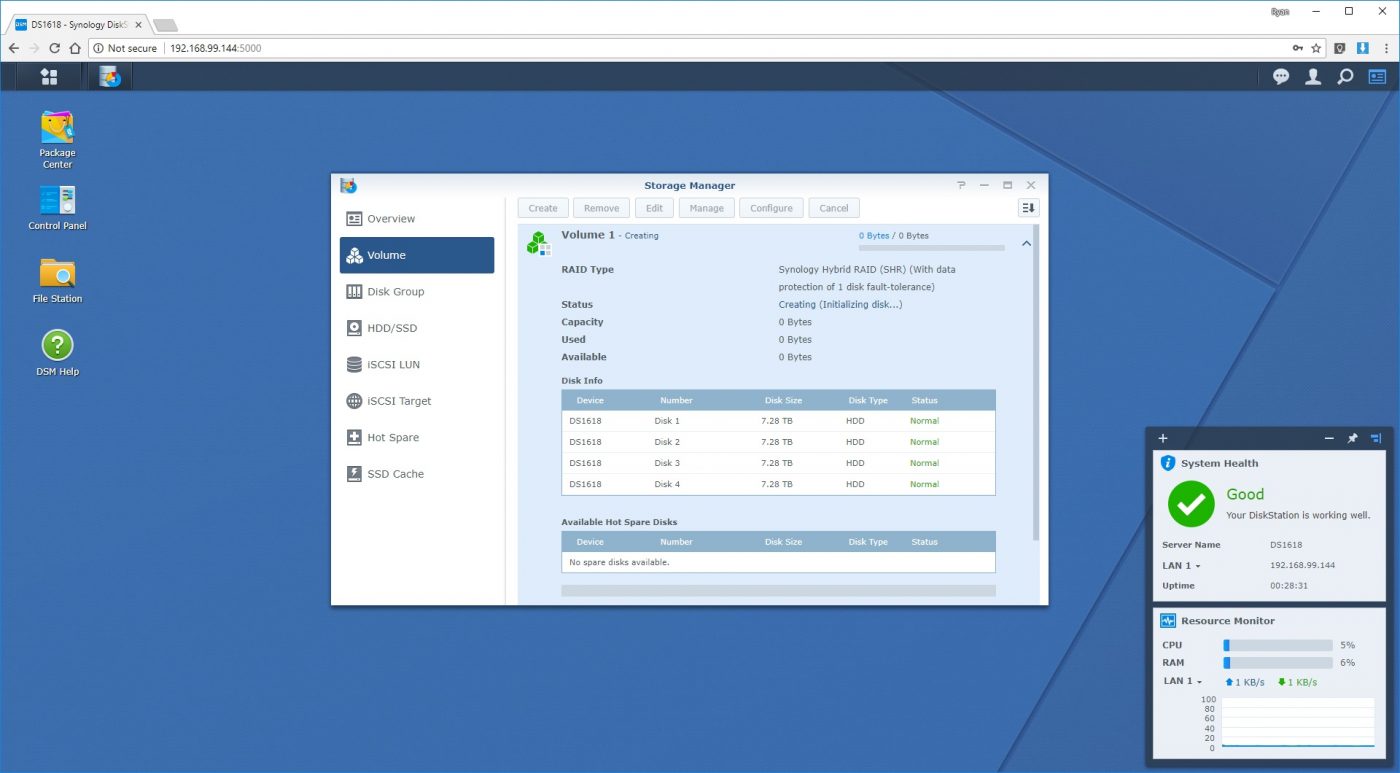
Once the disks have been initialized and the array created, the DS1618+ will verivy the disks in the background, checking their parity consistency. Depending on the number and size of disks used, as well as the fault-tolerance settings you have chosen, this process can be quite time consuming.
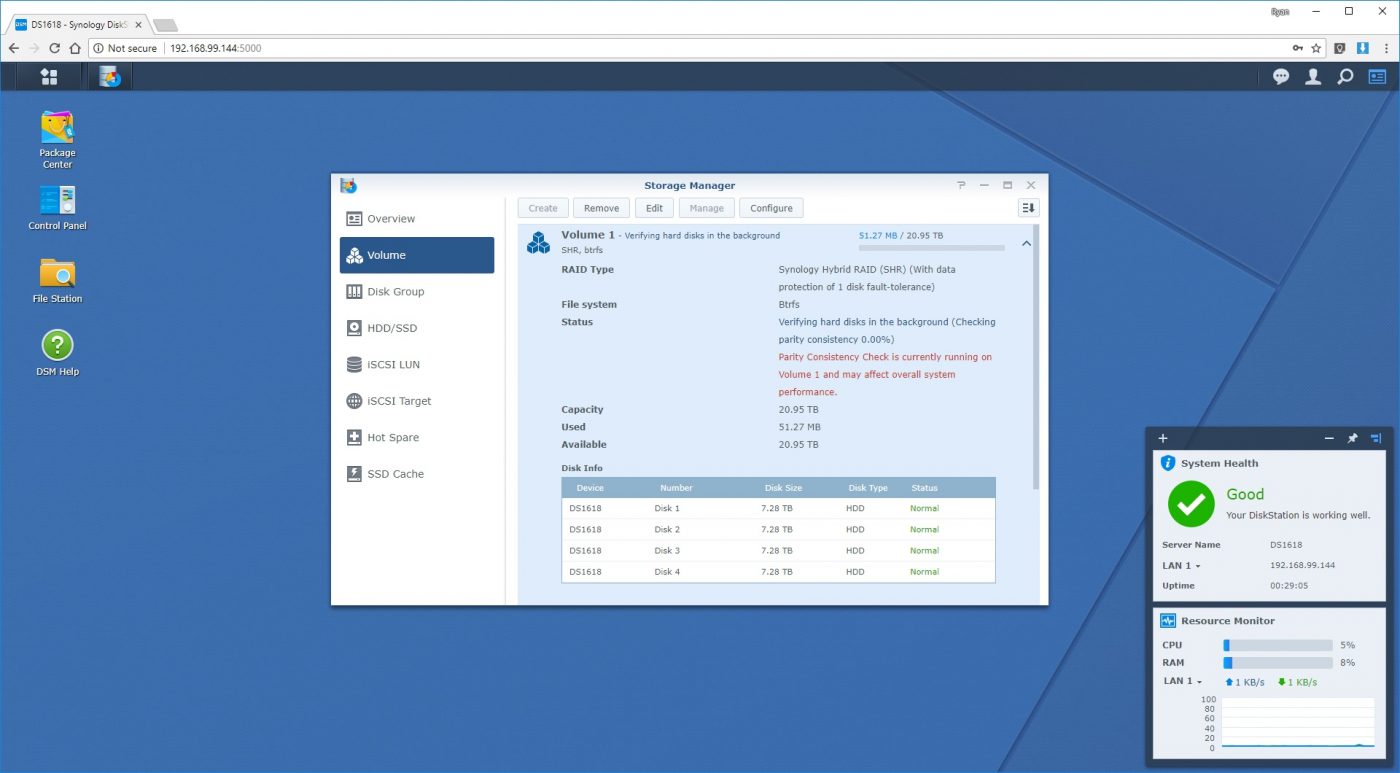
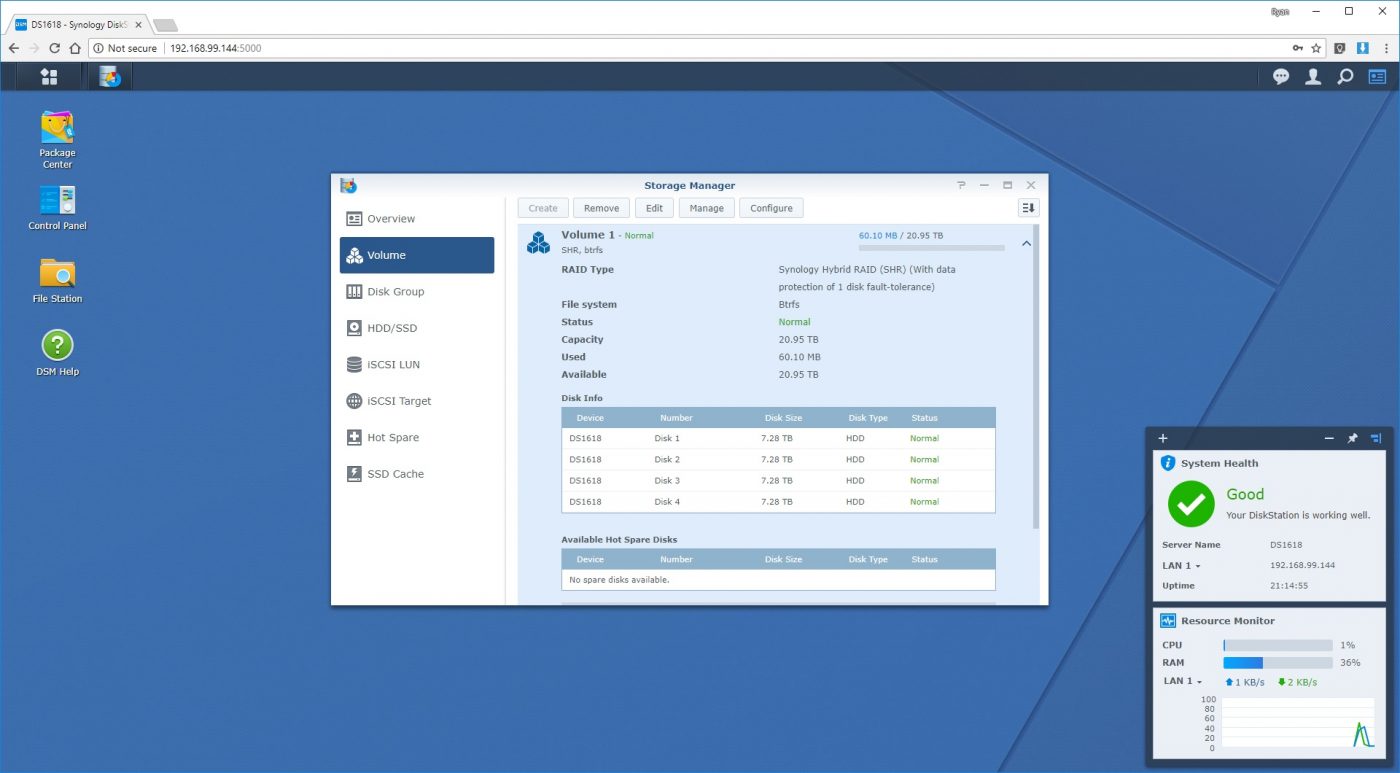
Our SHR array with the four 8TB drives ran overnight before it was completely ready to use. Once finished, we had nearly 20TB of available storage space at our command.
Shared Folder Configuration
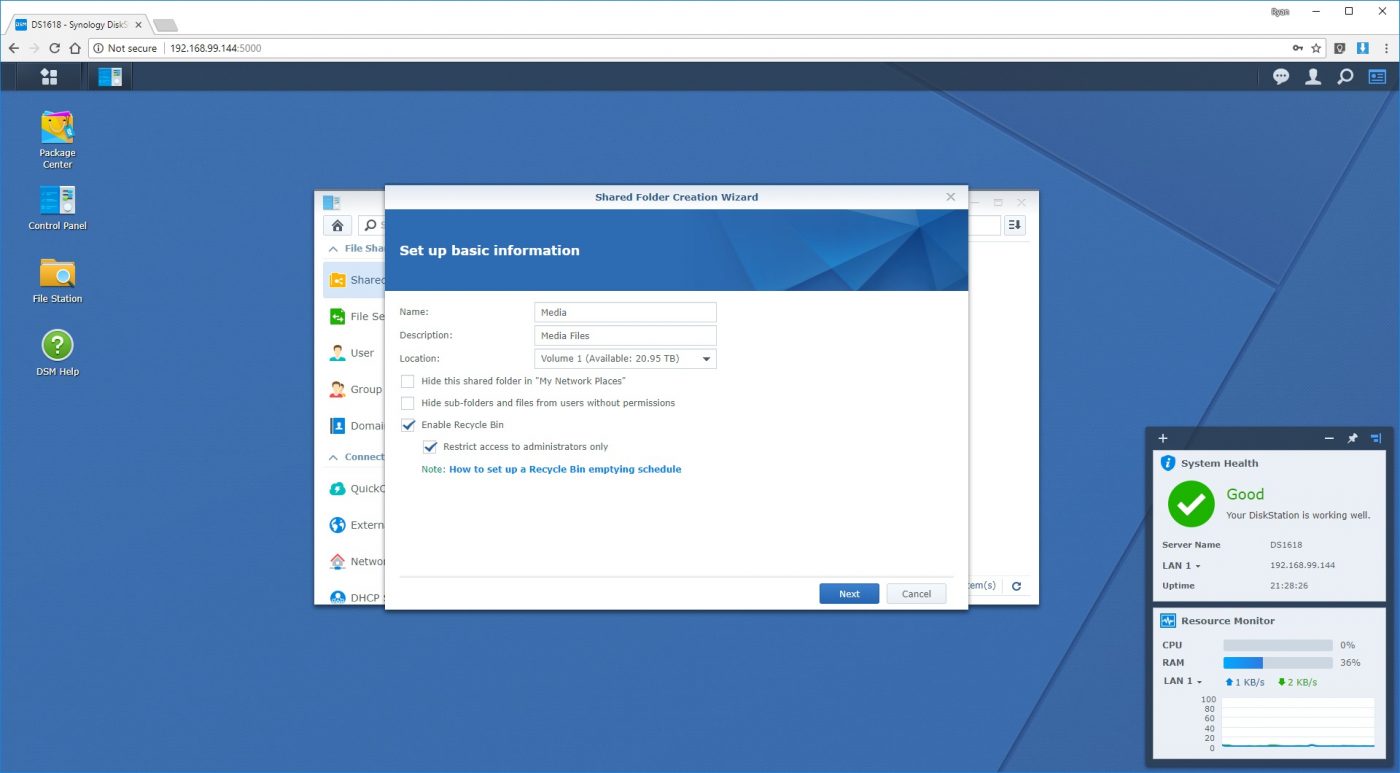
None of that storage is any good if you can’t access it, so we needed to create a shared folder, which was a breeze thanks to the Shared Folder Creation Wizard. Located in the Control Panel ini the File Sharing category, the Shared Folder option lets you create and edit folders to be shared with your network. Clicking the “Create” button in this section brings up the Shared Folder Creation Wizard, which allows you to set some basic options for your shared folder like name, description, and where you want the folder to reside.
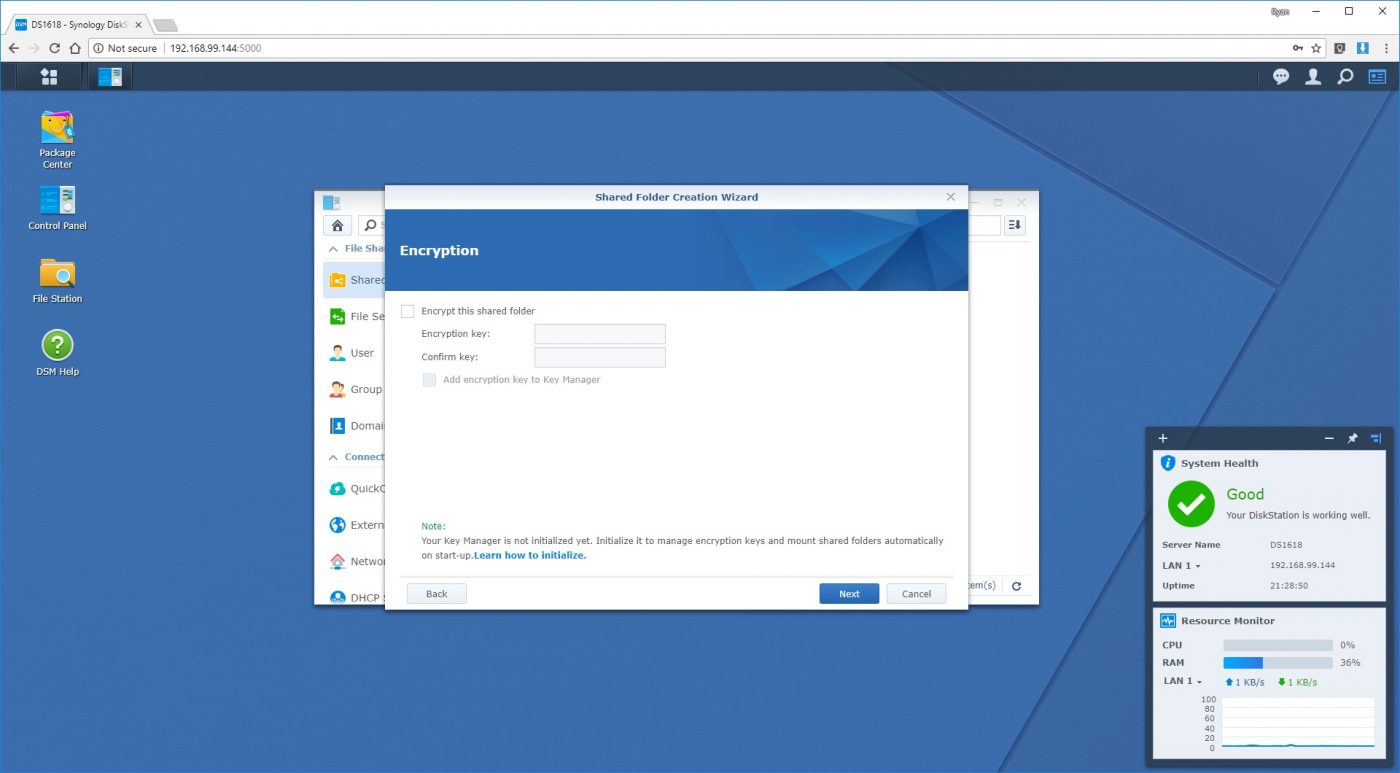
With those options set, you can then choose to encrypt the shared folder, which can be performed once you have configured your encryption settings via Key Manager. We chose not to encrypt this folder for our testing purposes, but this is a handy option for users with sensitive data that they want to protect as much as possible.
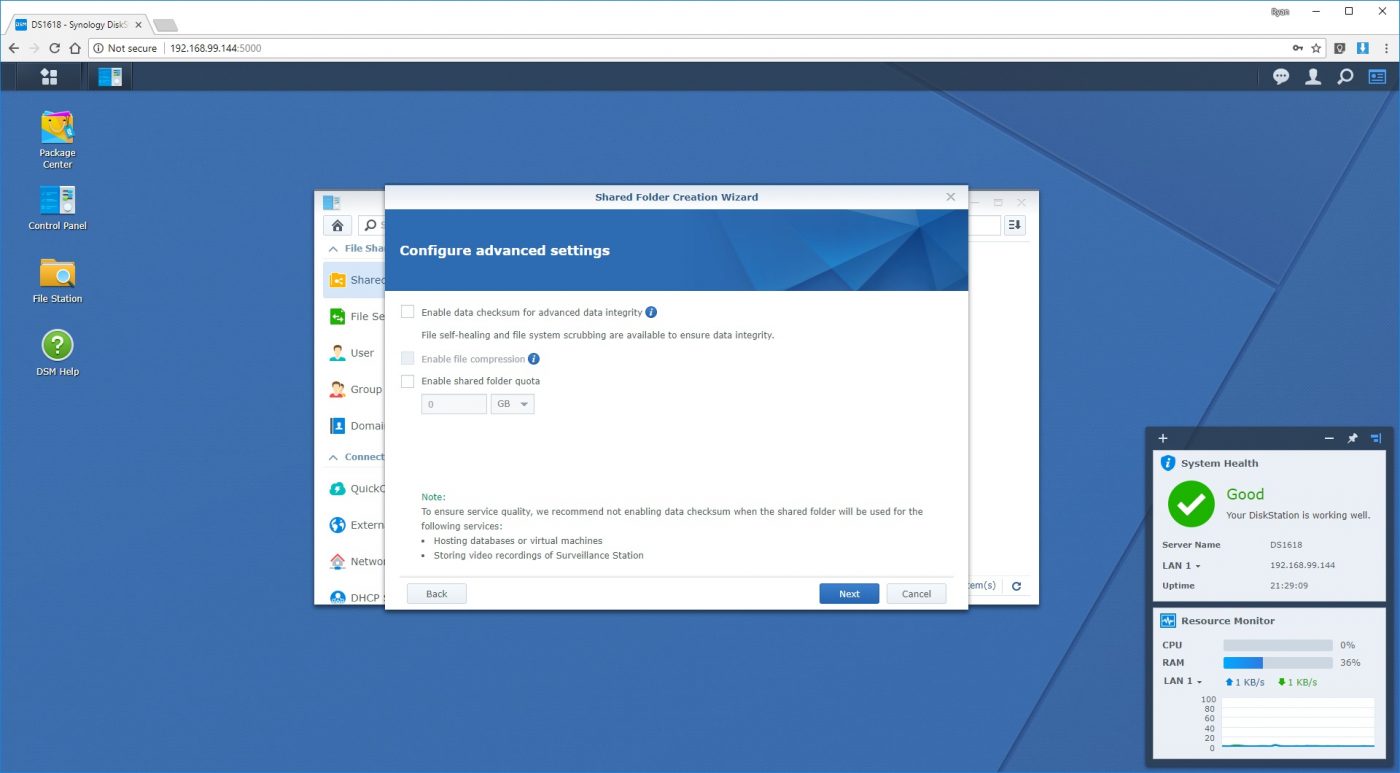
We left all of the advanced settings alone in the wizard, but they allow you to set quotas for the folder and to enable some advanced data integrity features.
Lastly we see the ability to confirm our shared folder settings before it is created. Clicking “Apply” will enable the shared folder.

With the shared folder now created, we can use it to map a network drive if wanted, or simply browse out to the share via it’s UNC path (\\ds1618\Media\) in our example.