
Installation
Starting off with installation we followed the instruction manual, which I have to say is pretty bad. For such a complex case I really would have liked to have seen a better manual, than just a generic one you get with every case. I really hope Thermaltake will put together a full builders guide showing what is possible, because only the basics are covered in the included manual.
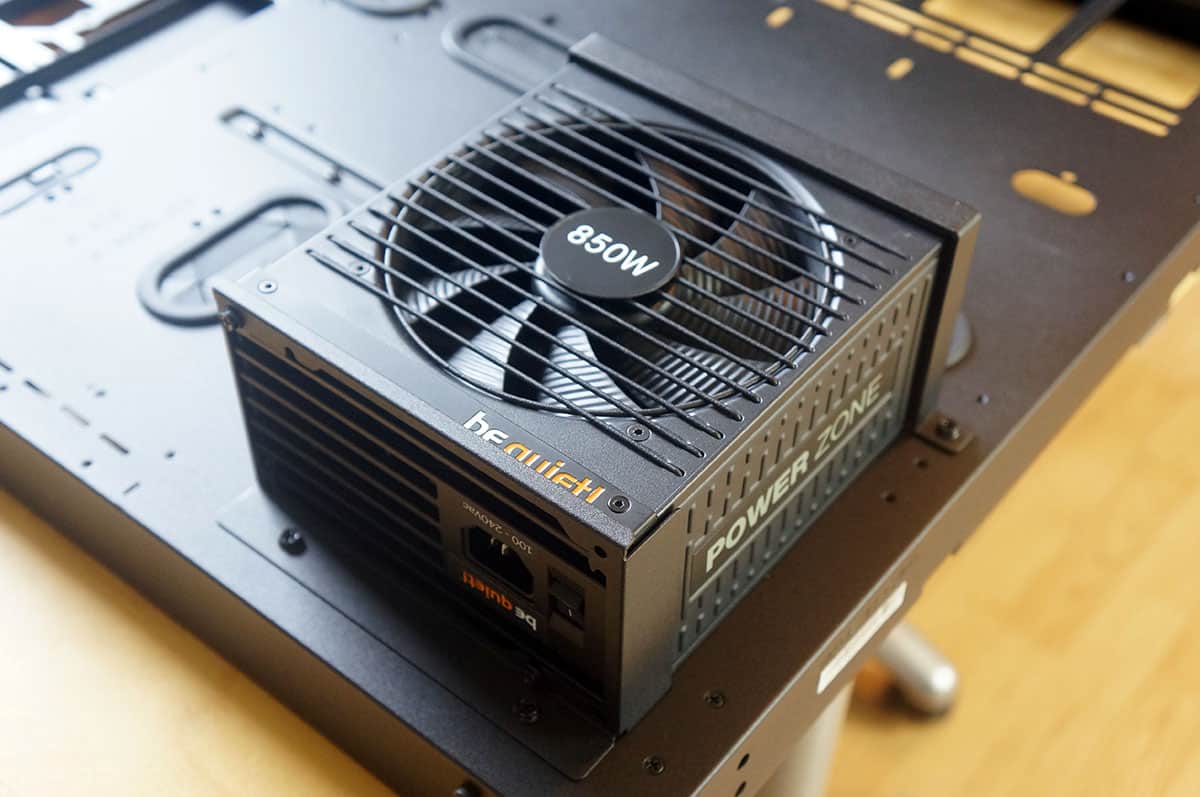
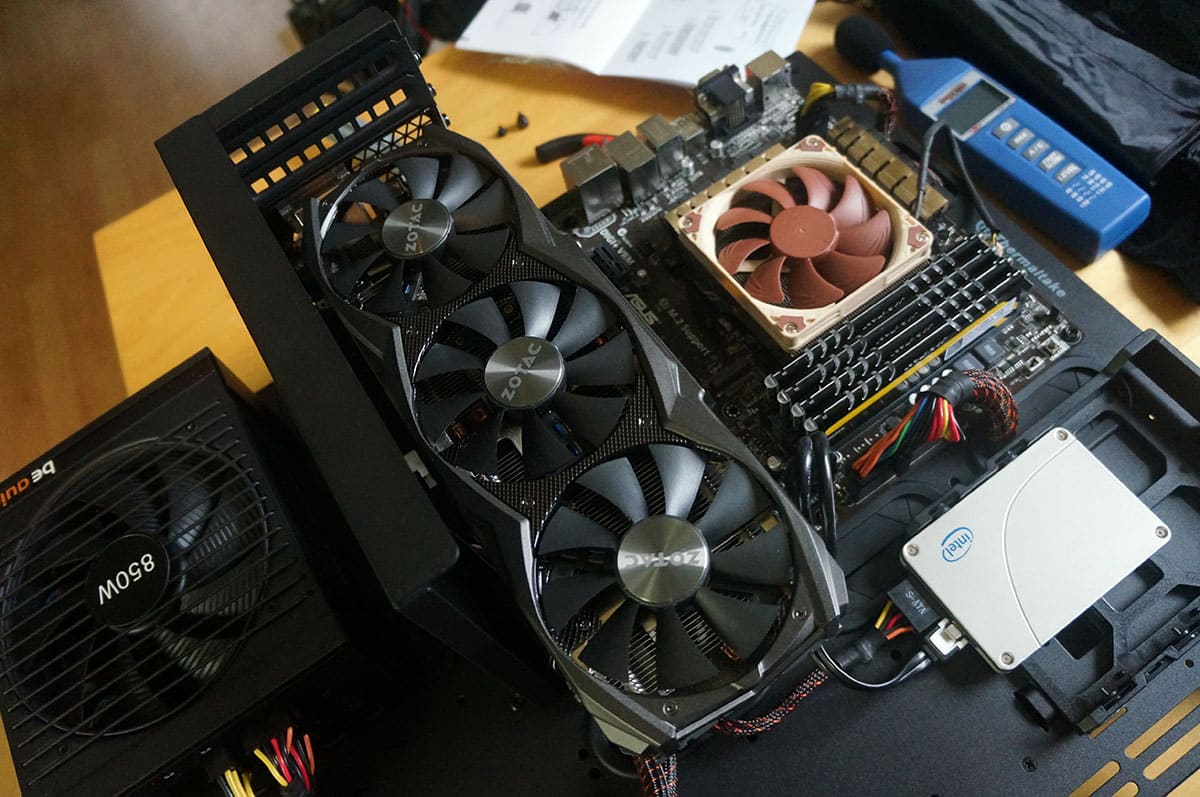
The first thing they want you to install is the power supply. All you have to do is find the two power supply supports. Mount the rear one to your power supply and then place it on the chassis securing it with the second support. I would really suggest using a modular power supply with this chassis, it will make things much easier.
Now for the motherboard. Thermaltake does not have the standoffs pre-installed, but the holes are labeled and they do include a standoff tool for easy installation. Just line up your motherboard and secure it with screws.

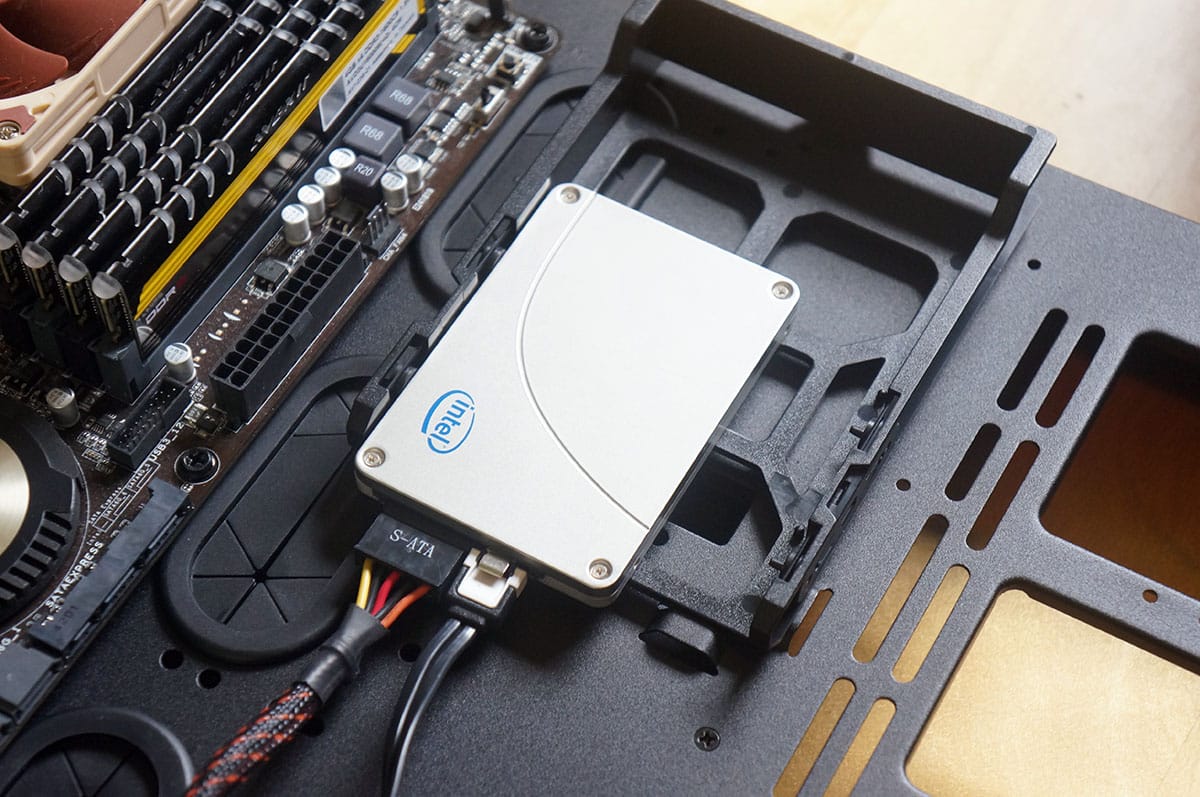
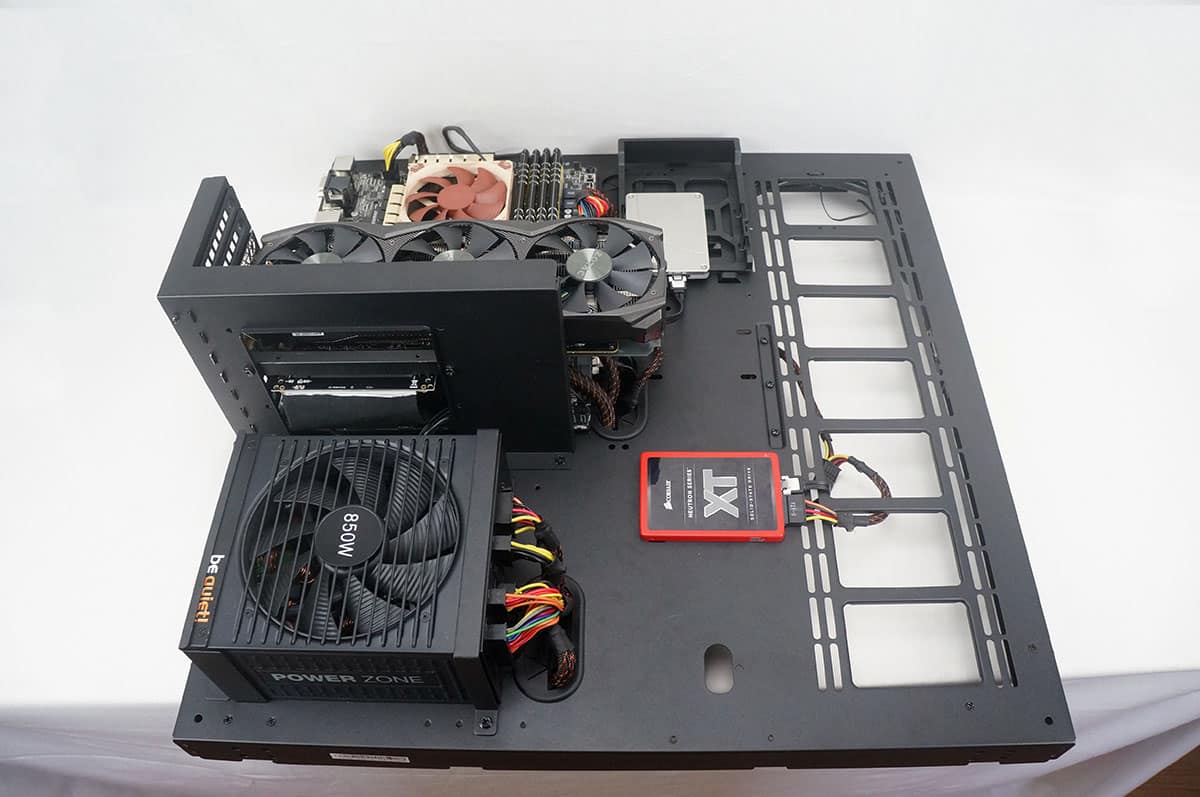
Hard drives are next. I will be installing two solid state drives. The first will be installed in one of the trays. I decided since this is a case we are showing off components I wanted to display my hard drives on the front of the case. So I moved the tray to the front of the case. Sadly there is only room for one of these trays on the front of the case.
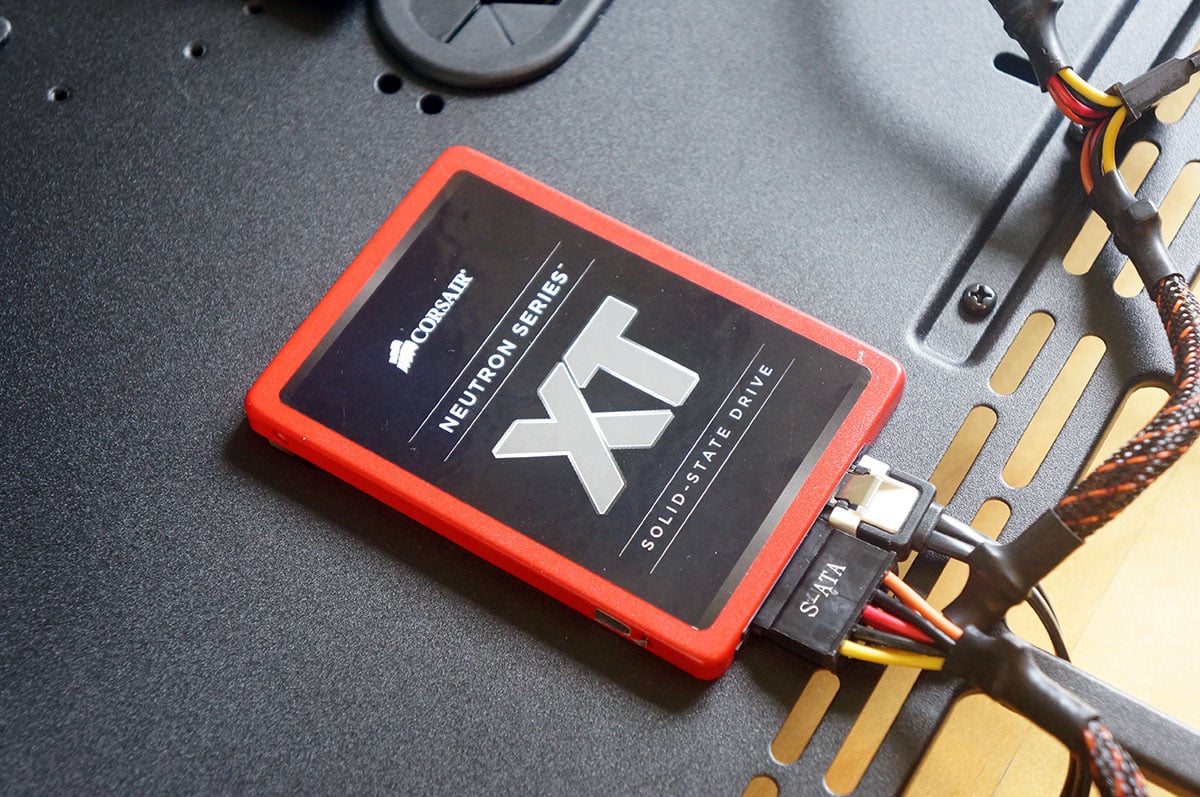
This does not mean we cannot install another solid state drive on the front of the case. There are quite a few mounting holes so I was able to get my second drive on the front of the case. This mounting or any others that are available are not listed or mentioned anywhere in the included manual. You sort of have to figure it out, which can be frustrating.
When it comes to your expansion cards you have a few options. You can install your cards on your motherboard like you would normally or you can display them vertically to show them off. Of course we wanted to show off our graphics card! So you will need to install the graphics card supports. They are quite easy to install.
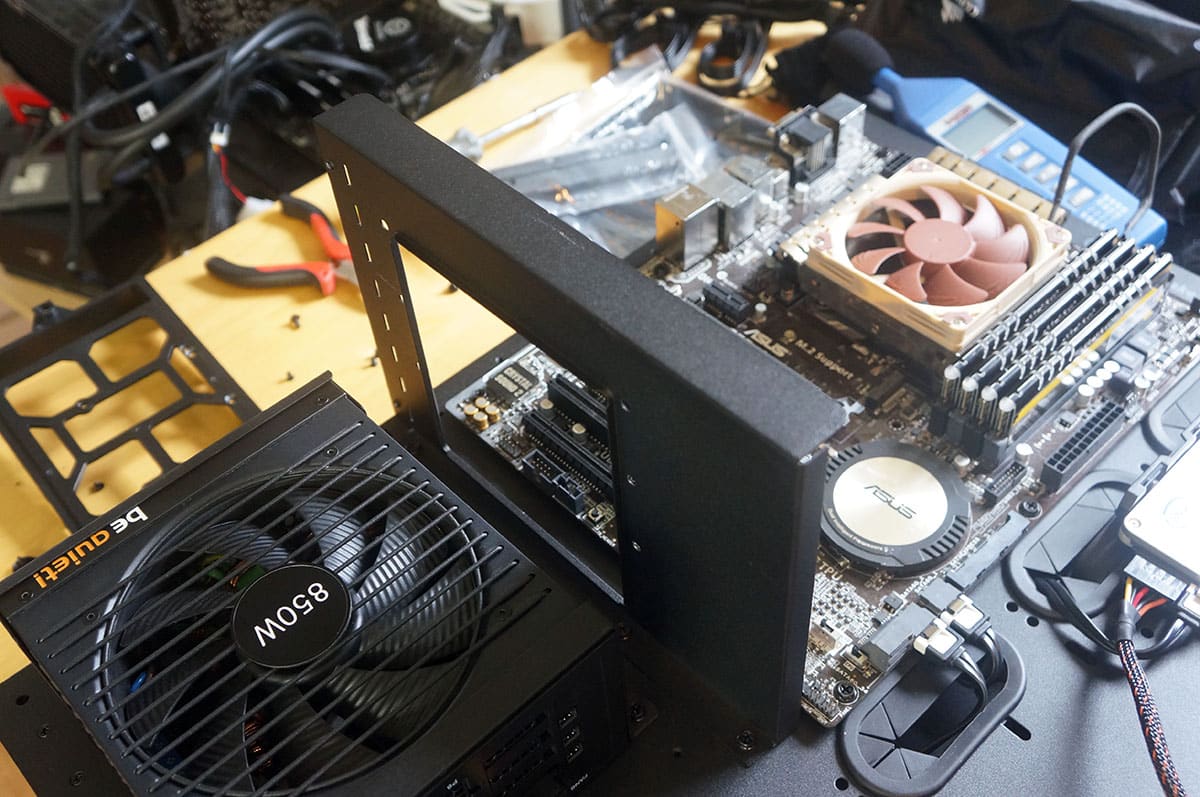
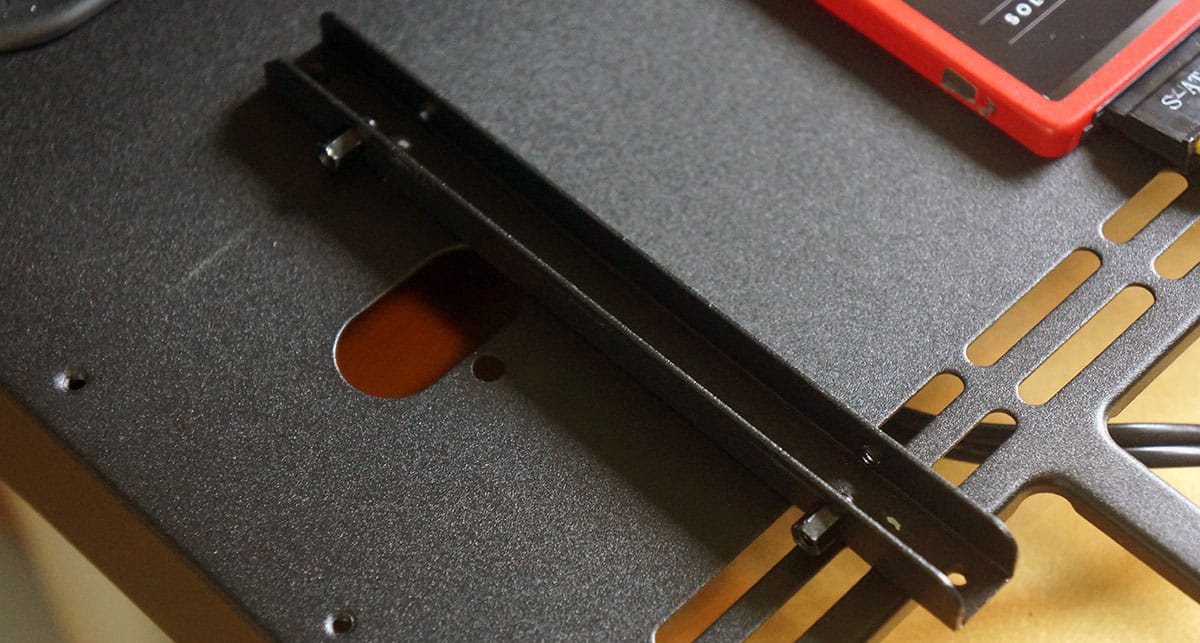
If you are going to be displaying your cards this way you will need to use PCI-Express riser cable. The instructions to do this in the manual are pretty bad. First find the piece that you see in the below photo. You see the standoffs that are installed on it? Those are what you are going to install the end of the riser card on.
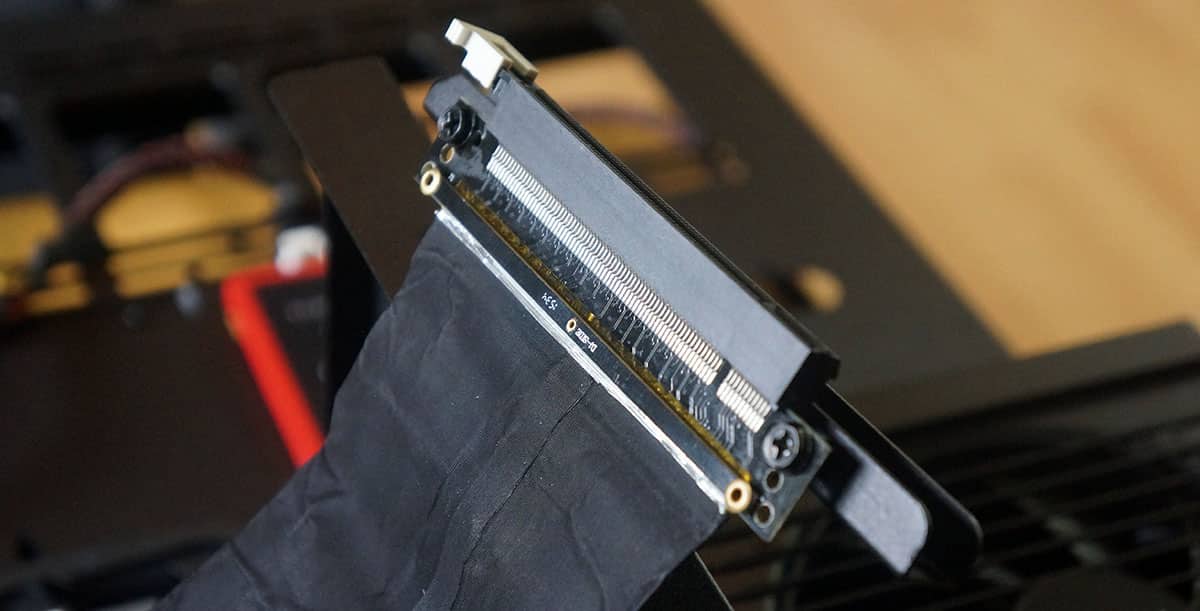
The below photo shows the riser cable properly installed to the piece. Now install this piece to the support you just installed earlier.
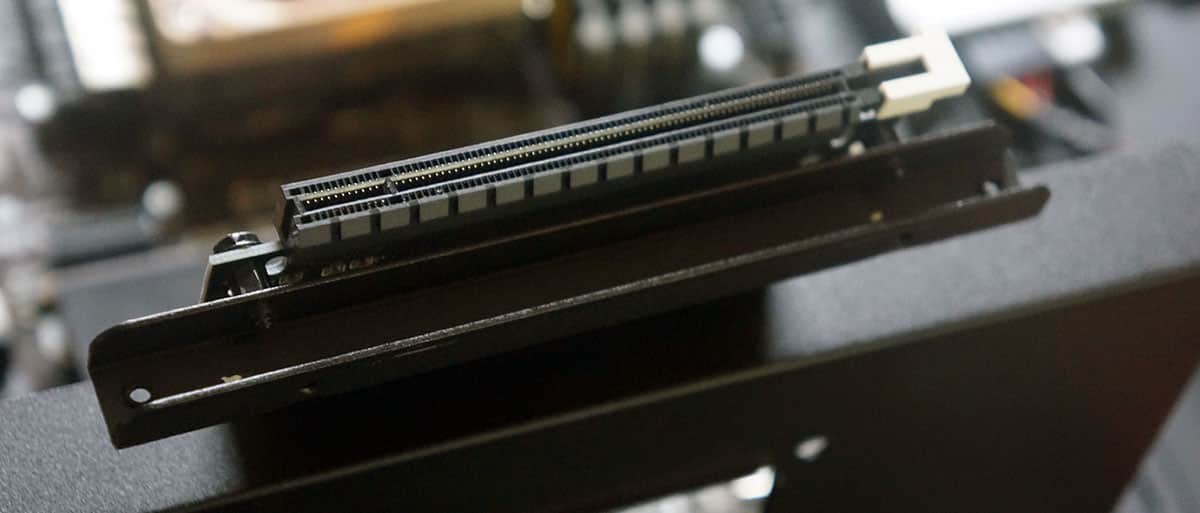
Use two screws to do this. Now here is another problem I ran into. There are three mounting spots for you to put your riser cable in. I decided on the middle one, but if I wanted to install it in the one closest to the motherboard I would of had to remove my power supply to do so as it block the space for a screwdriver. I don’t see why Thermaltake wants you to install your power supply first, I could actually be the last thing you install.
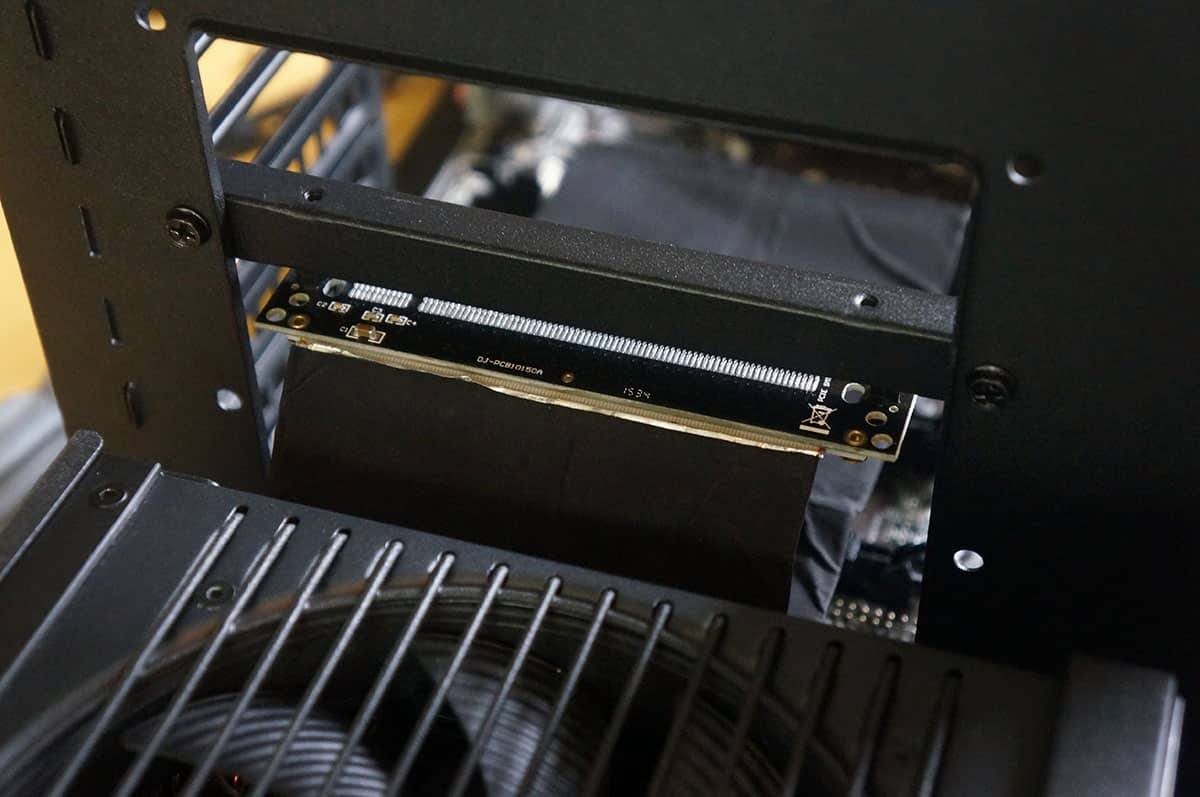
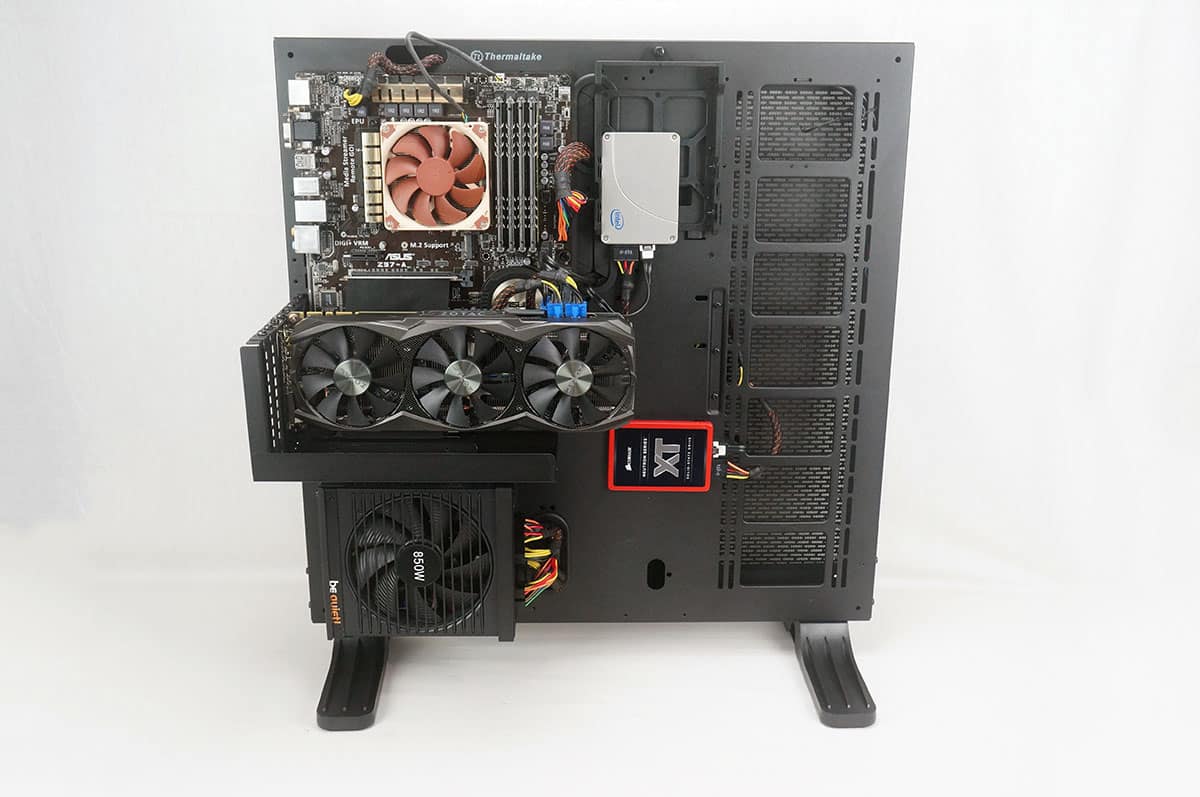
With the riser card install you can install your graphics card. I definitely think this orientation compared to the traditional way.
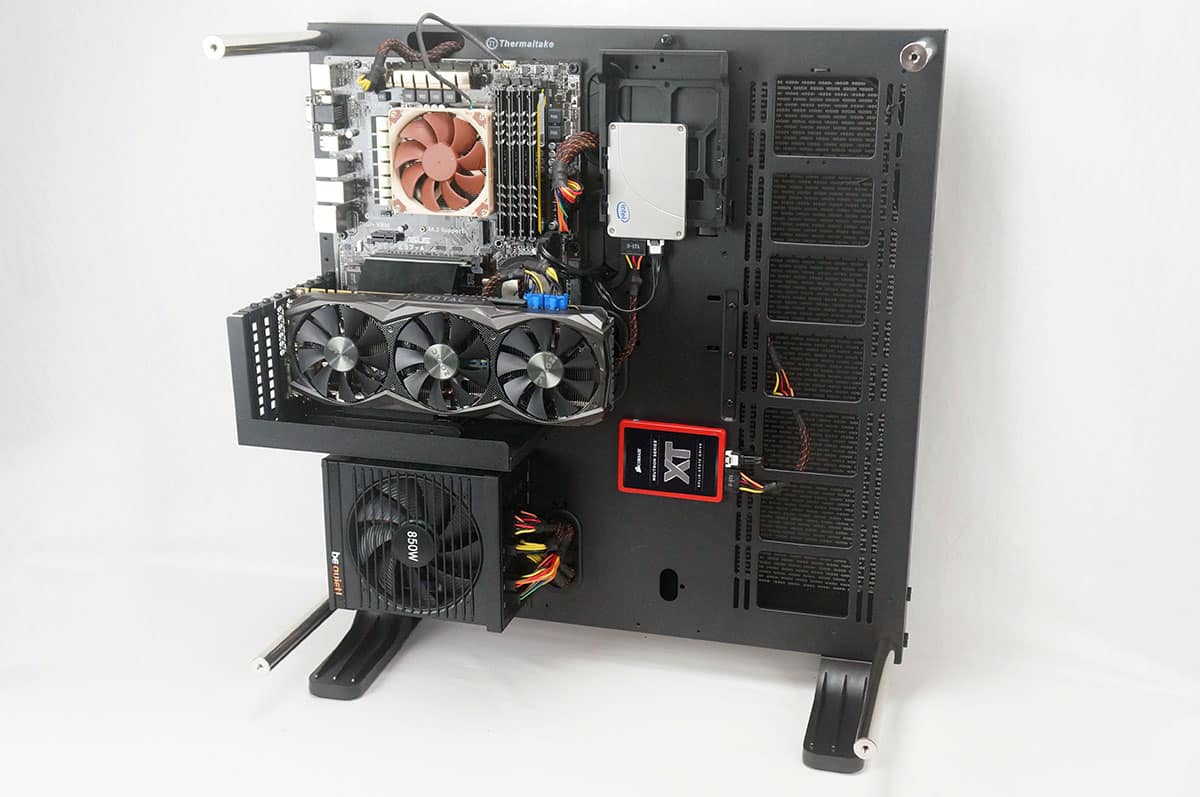
Now it is time to wire everything up! Here is what the main side of our build look like.
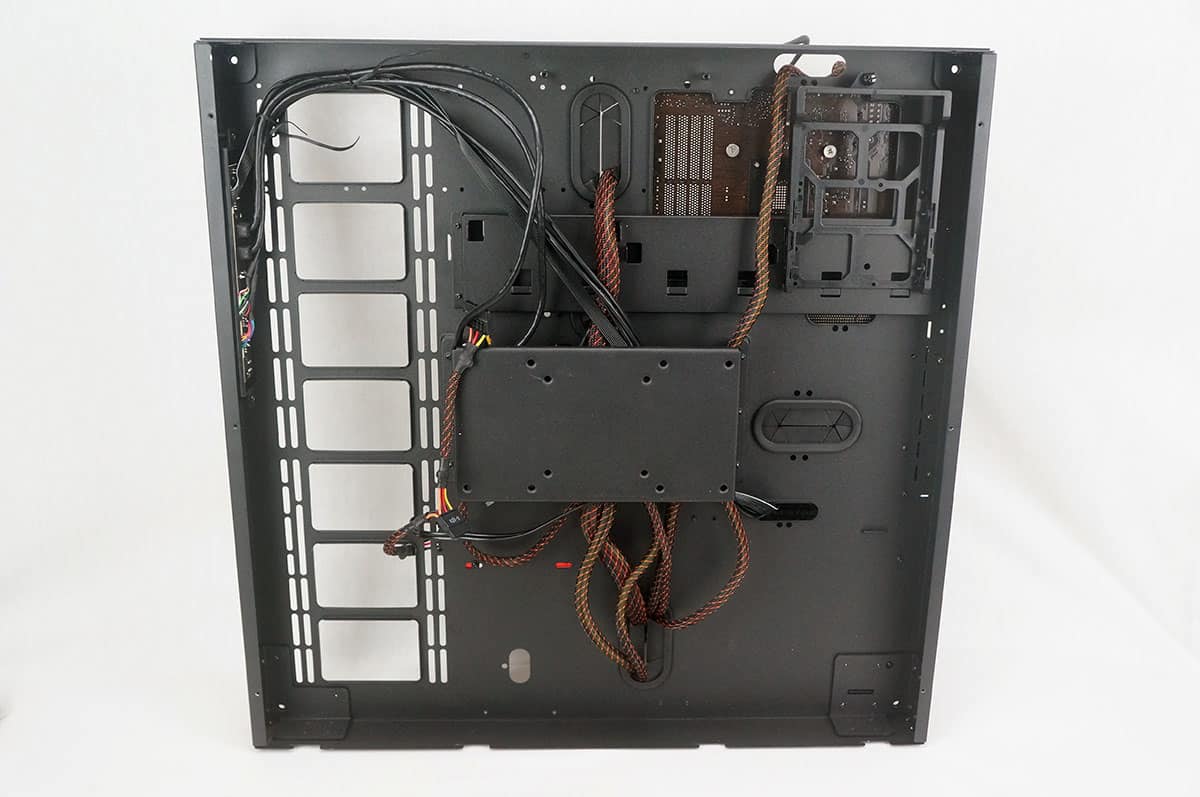
And the rear. Even though Thermaltake includes zip ties I did not feel the need to use them.
To get the chassis standing you need to install the feet. The longer sides go out towards the front of the case.
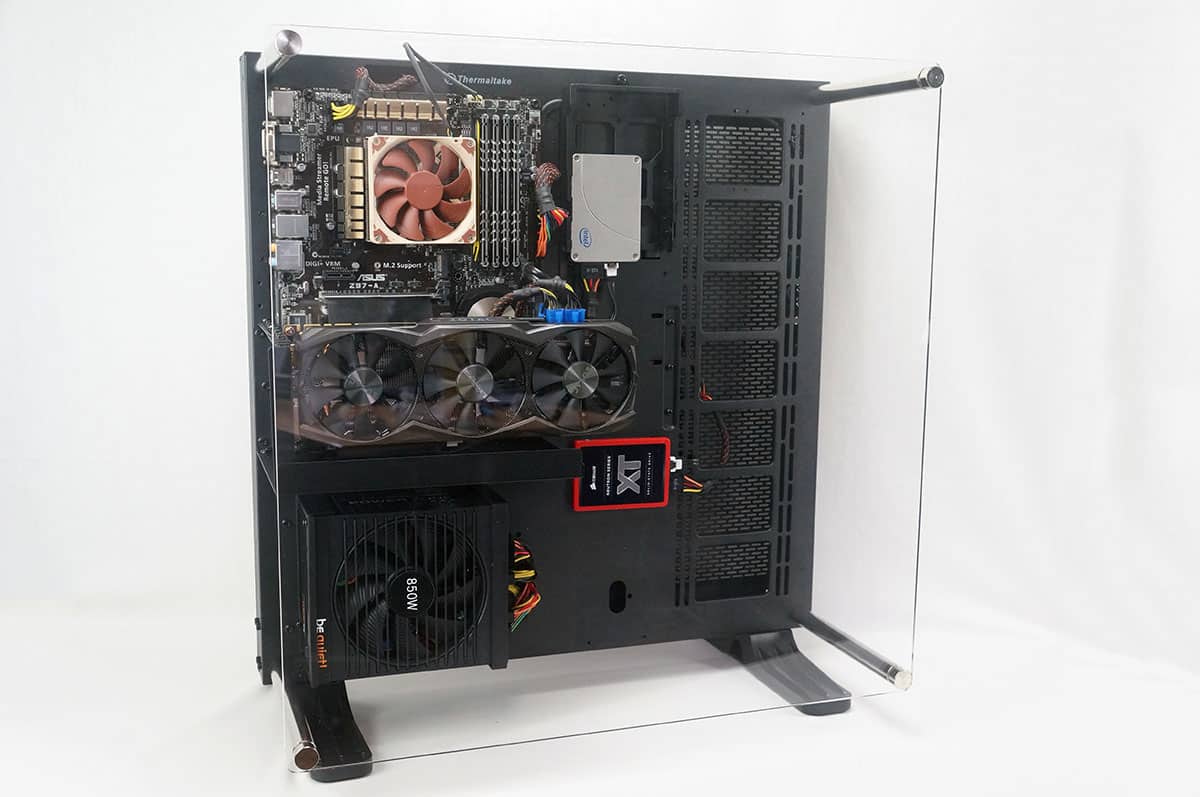
Before you put the back of the case on be sure to install the mounting bars for the window. They are secured with screws on the inside of the case.
Finally install the acrylic panel. Be very careful with this panel, it is very easy to get scratches on acrylic.


Great review, though the editor should be shot. That said, I’ll probably end up with this as my next case. You review addressed the few questions I had, and I’m now confident that this will work perfectly for me. Thanks!
Will be interesting to see if this case actually makes it into the Canadian market.
Thanks for another great review, any chance of a water cooled install/ review?
Canada Computers has it listed at $209
I’d hate to be a critic, but I’m with Jonathon Jones on this one: more editing. There were typos everywhere and at times it read like an elementary class book report. Case in point: The instructions are “bad.” Okay, great, but why are they “bad?” Are they poorly written? Do they not offer enough contextual support or are they vague? All in all, though, lots of info and it’s good to know that AIO coolers are harder to fit in this case. Thanks!
Yes, and I see that ncix.com (Canada) has it listed – though on back order – for $194.88.
Here’s hoping more vendors here start listing it.
nice review, I have a question for you, what is the performance or the pcie riser ? any performance loss ?