Installation
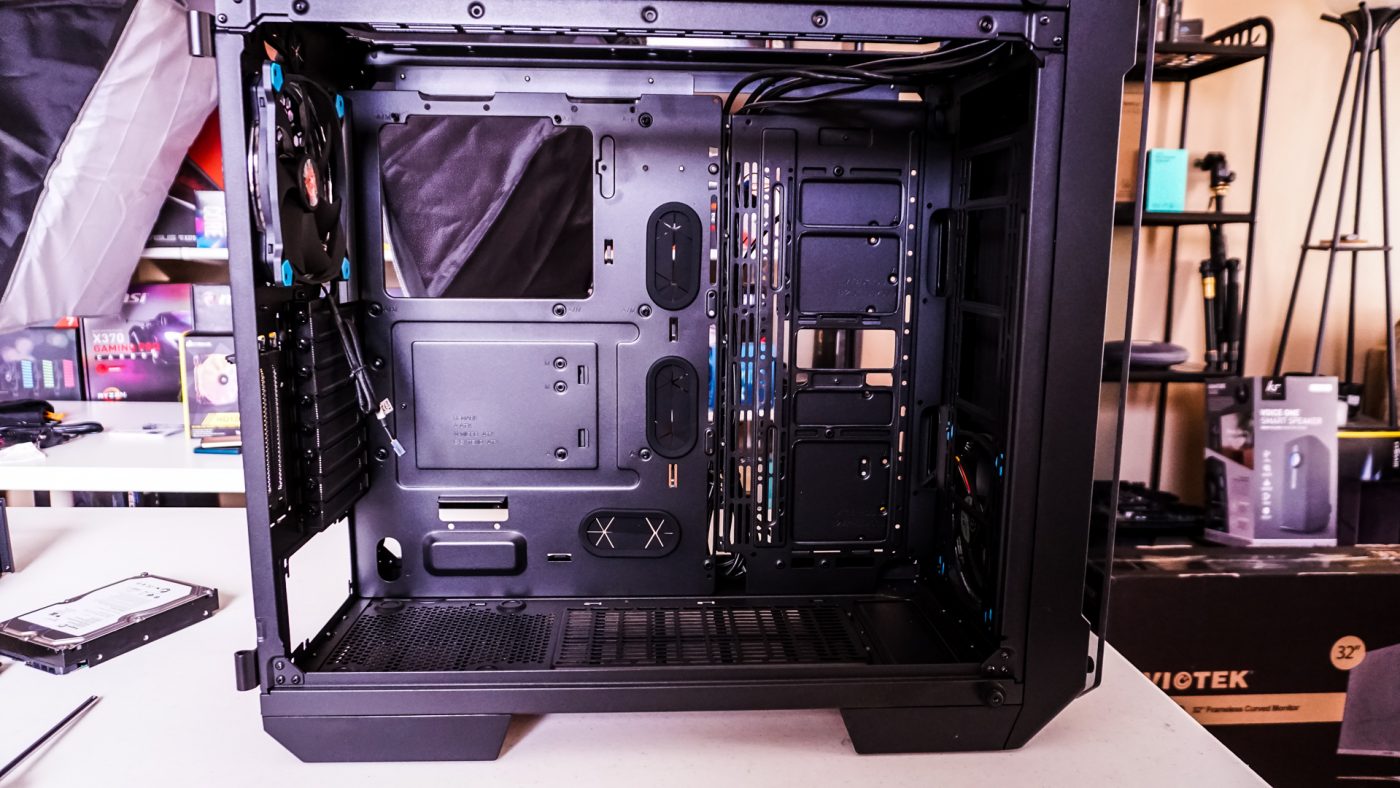
To start off with installation I went ahead and removed the two main hard drive cages as well as the vertical graphics card mount. The hard drive cages are held into place by 4 screws that are removed from the backside of the case. There are three screws that hold the vertical graphics card mount in place.
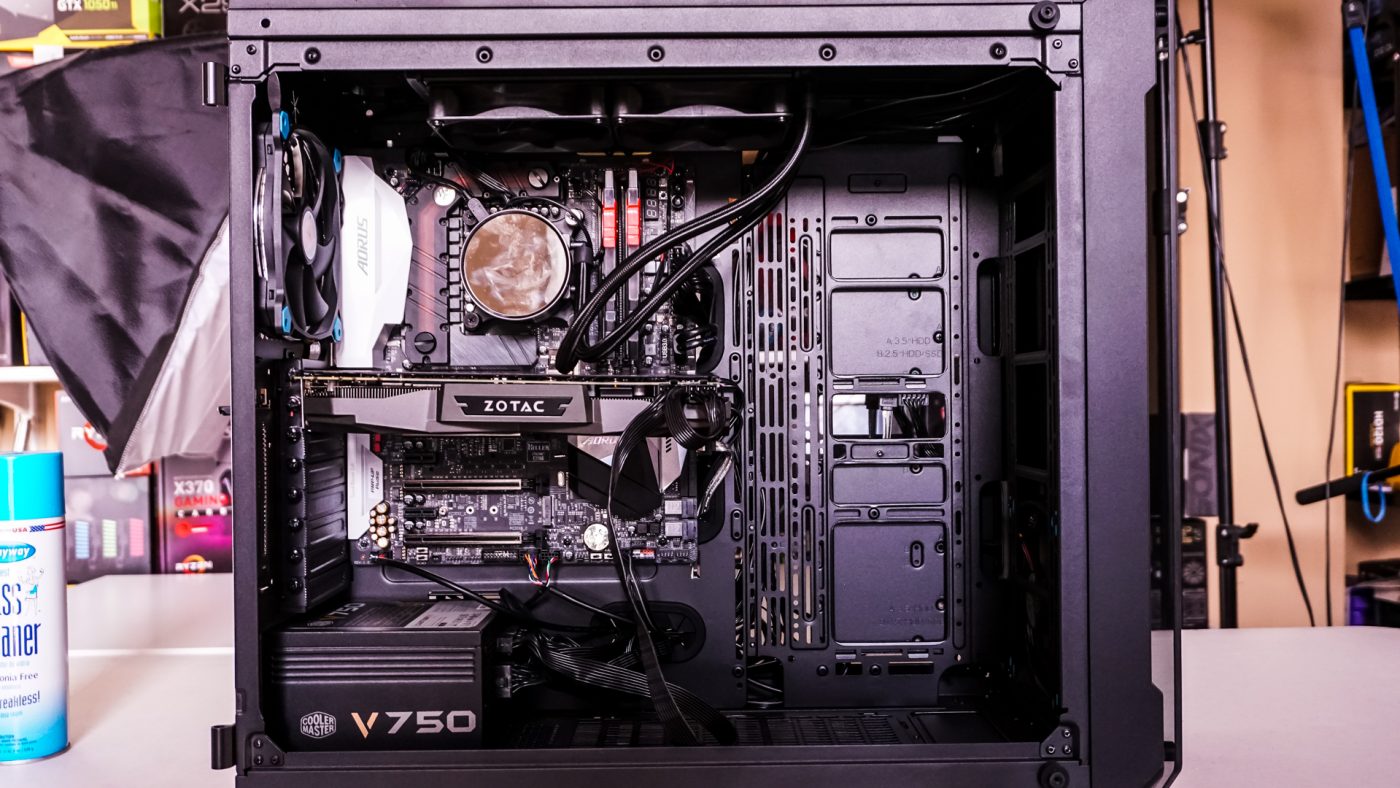
With those two things removed it was time to start installation. The first piece of hardware to go in our system is our motherboard. Since the inside of the case is very open it is quite easy to get our motherboard in.

The hard drives are next. If you haven’t guess I am going to be installing the drives on the backside of the case, hence why I removed the two main hard drive cages. The mounts on the back of the case are easily removed with a single thumbscrew and then you can easily install your drives on them. I installed a single 3.5-inch drive on one and two 2.5-inch drives on another. Once my drives were installed on the mounts I simply reinstalled them.


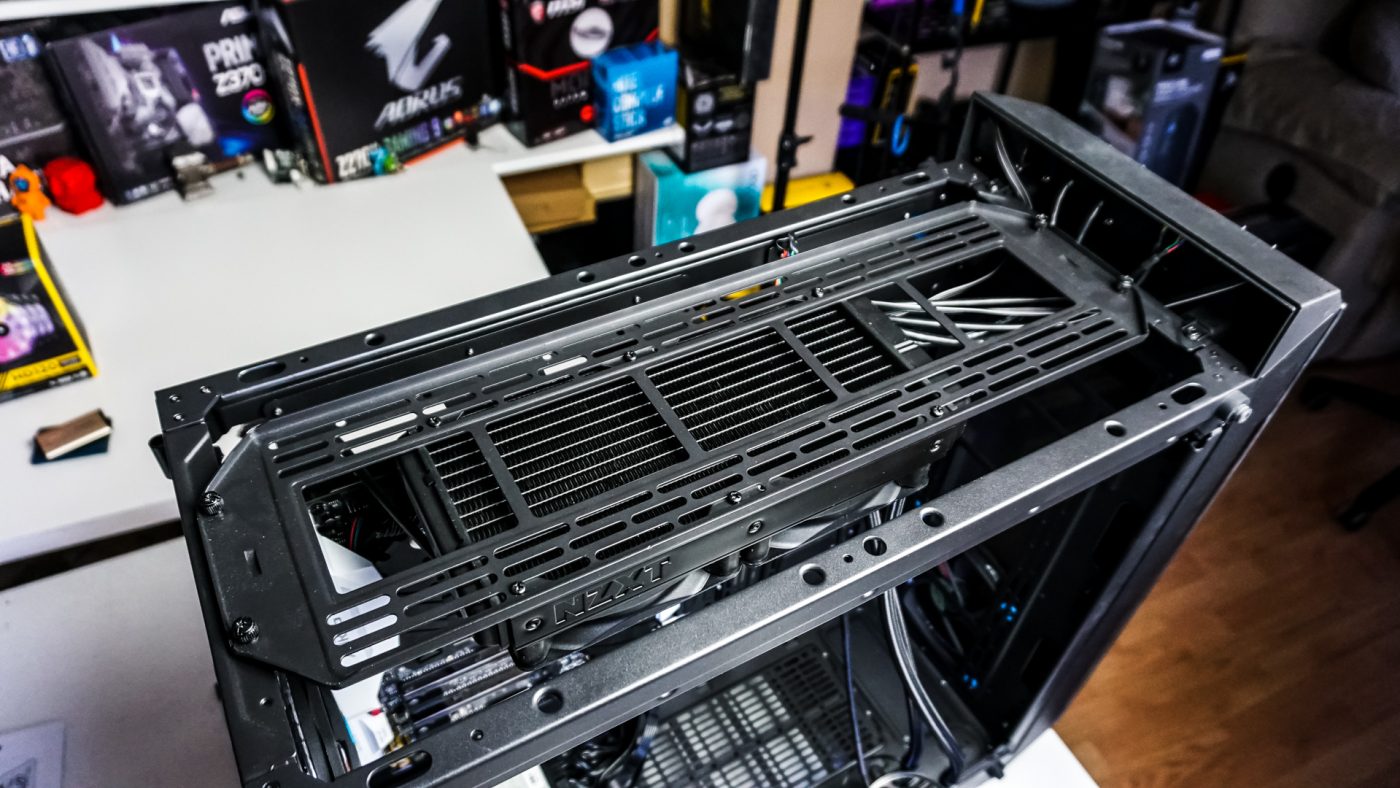
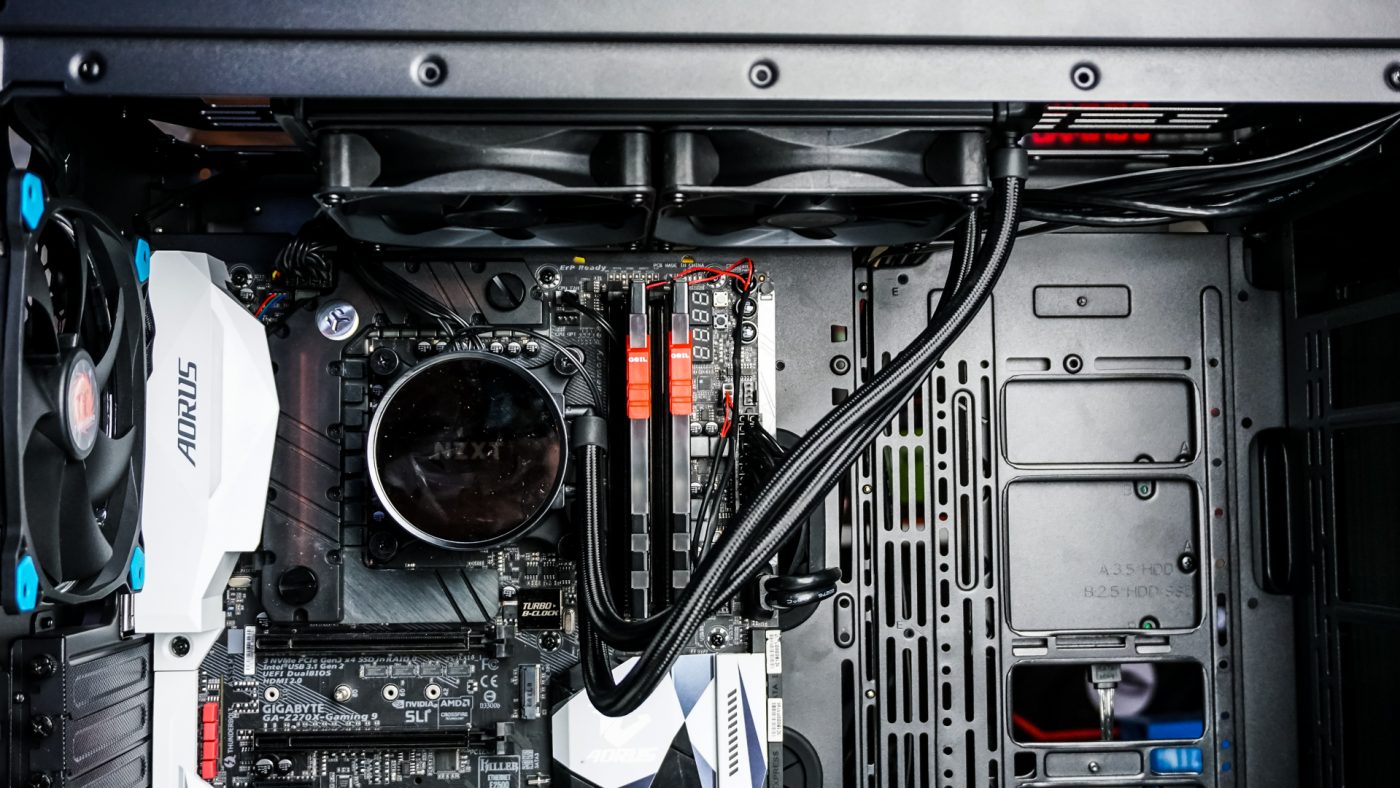
For our all-in-one liquid cooler we are going with the NZXT Kraken X52, which is a 240 mm cooler. The entire top panel comes off the case so you can install fans or radiators up top. With the top of the case removed we can see the mount at the top. Removing four thumbscrews it comes out for you to install your fans / radiators on. With the mount outside I went ahead and installed the NZXT Kraken X52 and then I took the entire mount an carefully put it back on the top of the case.

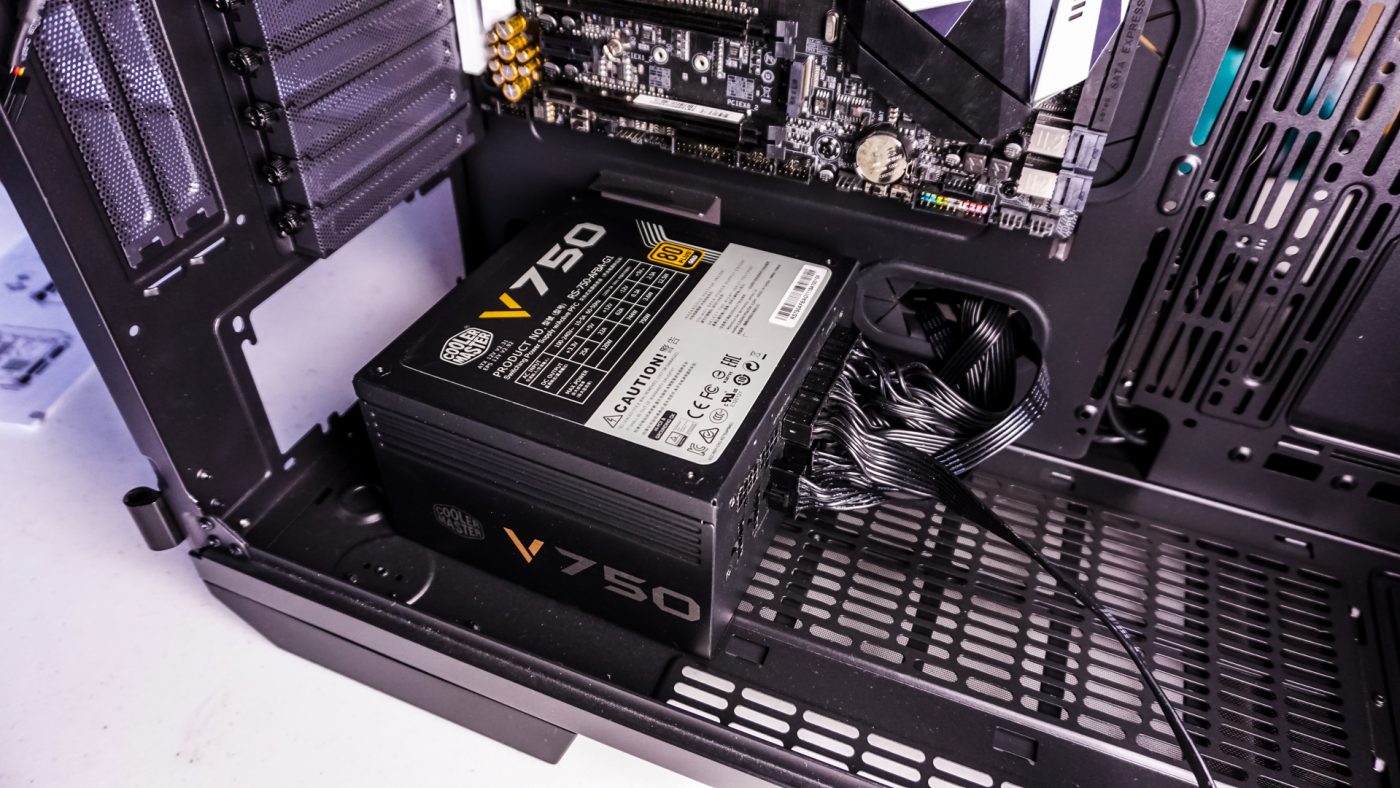
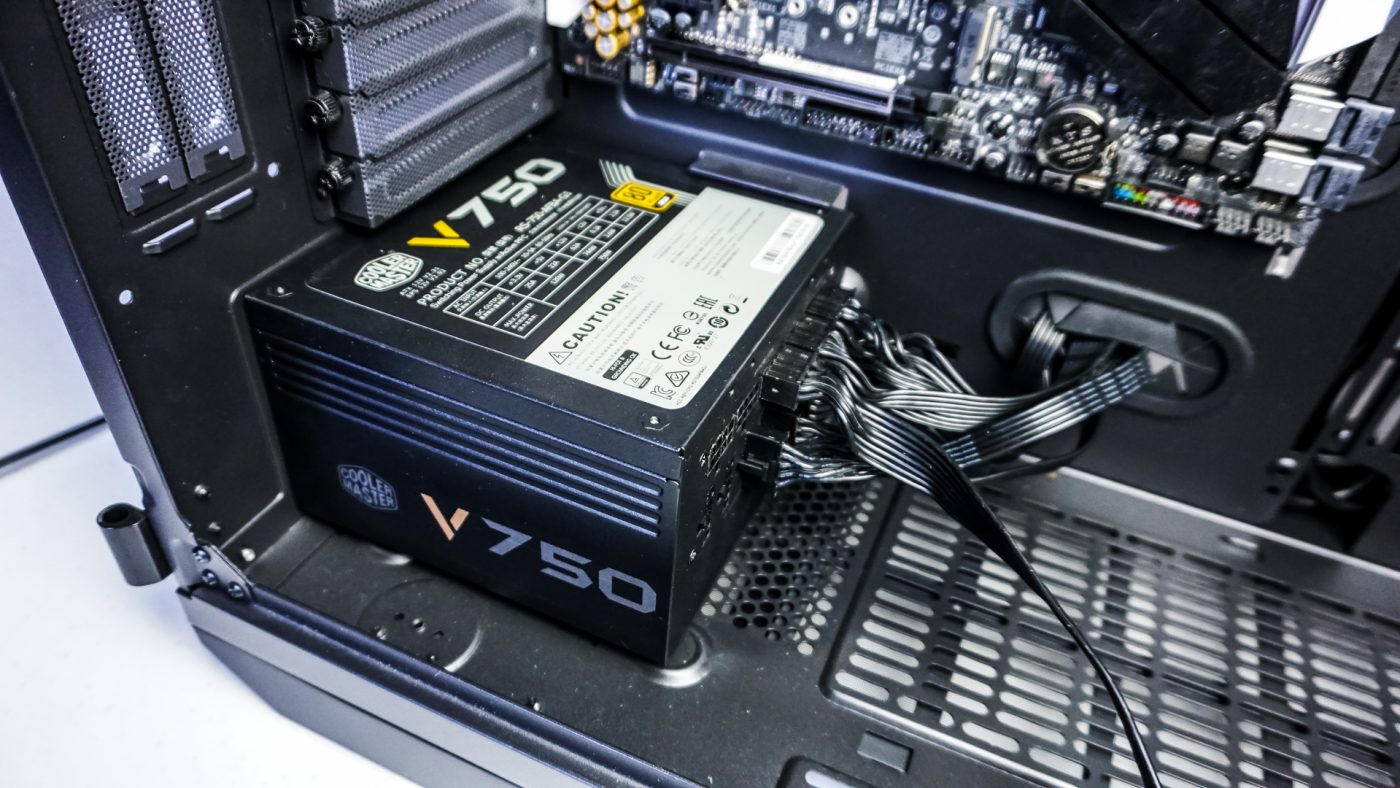
Our power supply is next. It easily goes right into the bottom of the case and there is a routing hole right there to route all of your cables to the backside of the case.
The last thing we need to do is install our graphics card. Since we removed the hard drive cages there is a ton of room inside for our graphics card.

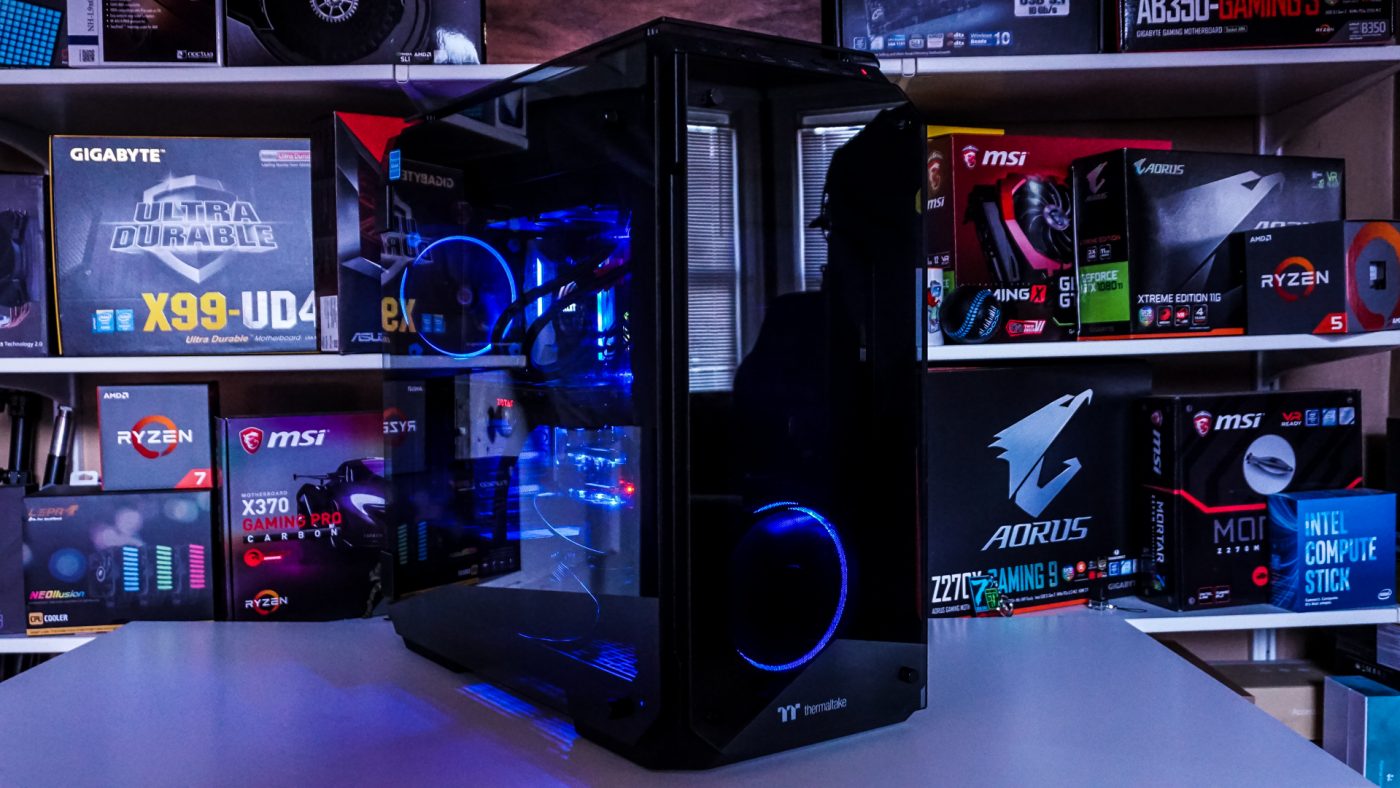
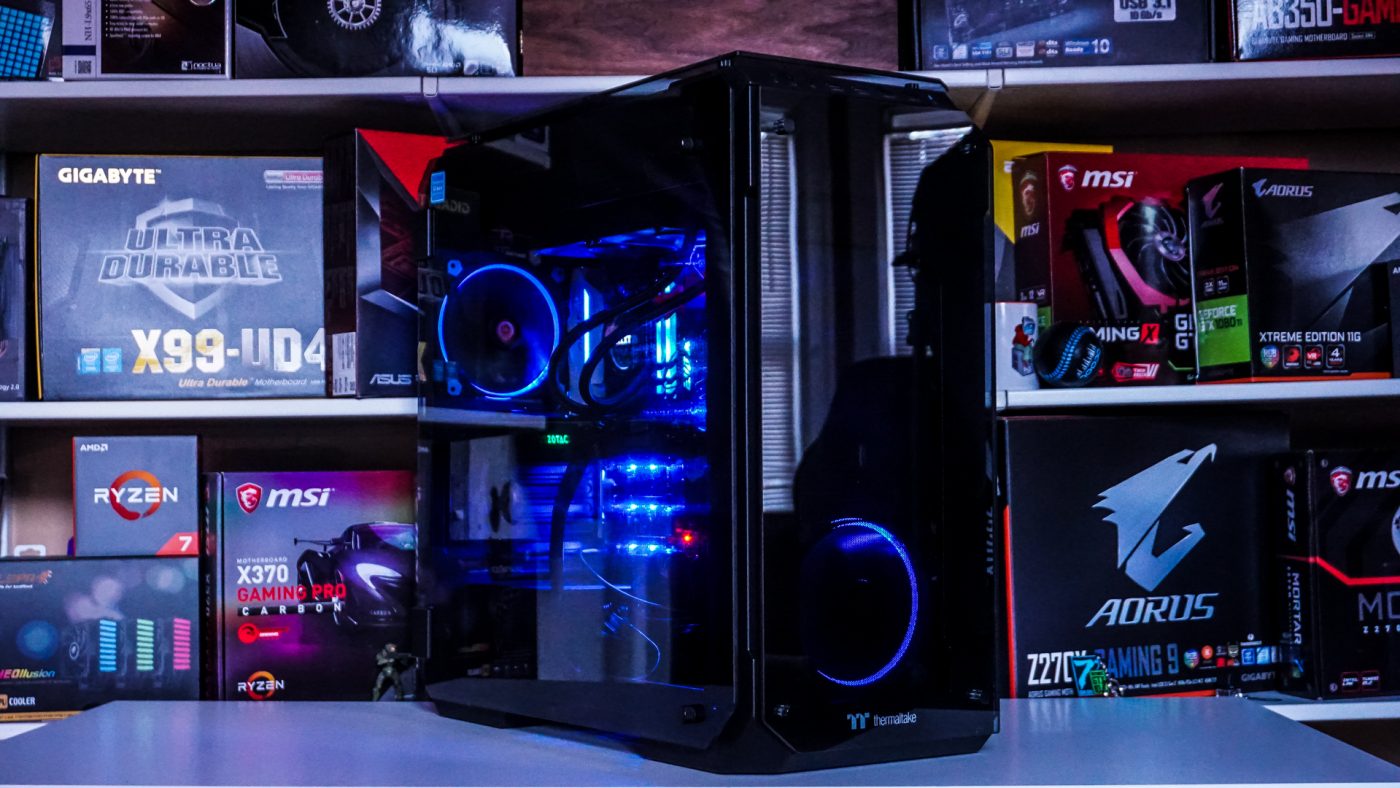
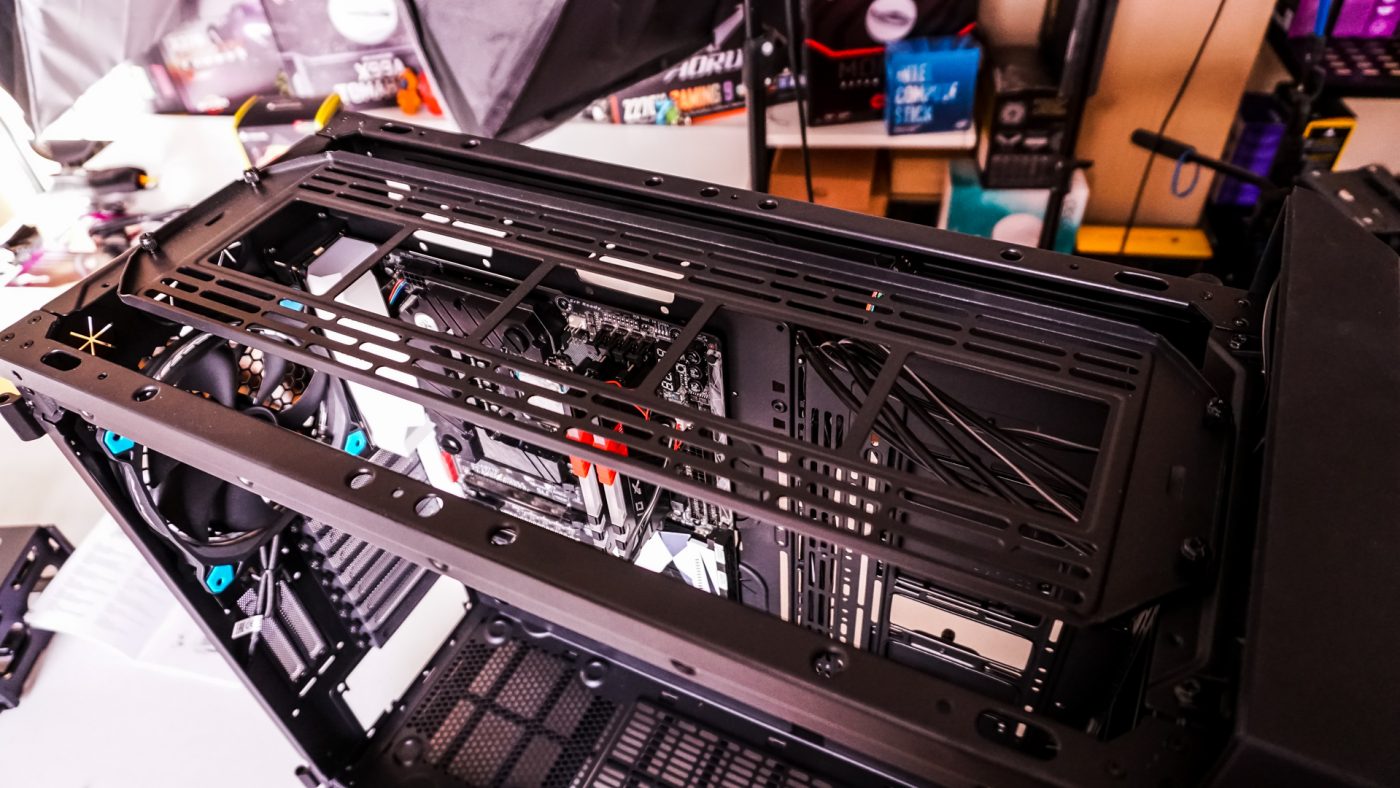
With everything installed it is time to organize all of our cables etc. I really did not have much of any issues organizing and the cables as there is a nice handful of tie-downs for the included cable ties. I think some channels or dedicated velcro ties would have helped clean things up even better. On the main side of the case our build is pretty clean, but a power supply cover would help things look a little better.

Getting both side panels back on the case and powering the system on we get the blue LED lights from the two included blue Riing LED fans, but we also have lights on our motherboard, memory, and the pump-block of the NZXT Kraken X52. If you are doing a build in this case I would highly recommend getting some RGB strips.