Installation & Testing
Getting the XPG Storm installed is pretty easy. Take the protective cover off the bottom and line your M.2 drive up with the hole on the end of the XPG Storm. Now carefully place the XPG Storm on your motherboard, plugging in your M.2 drive at the same time.
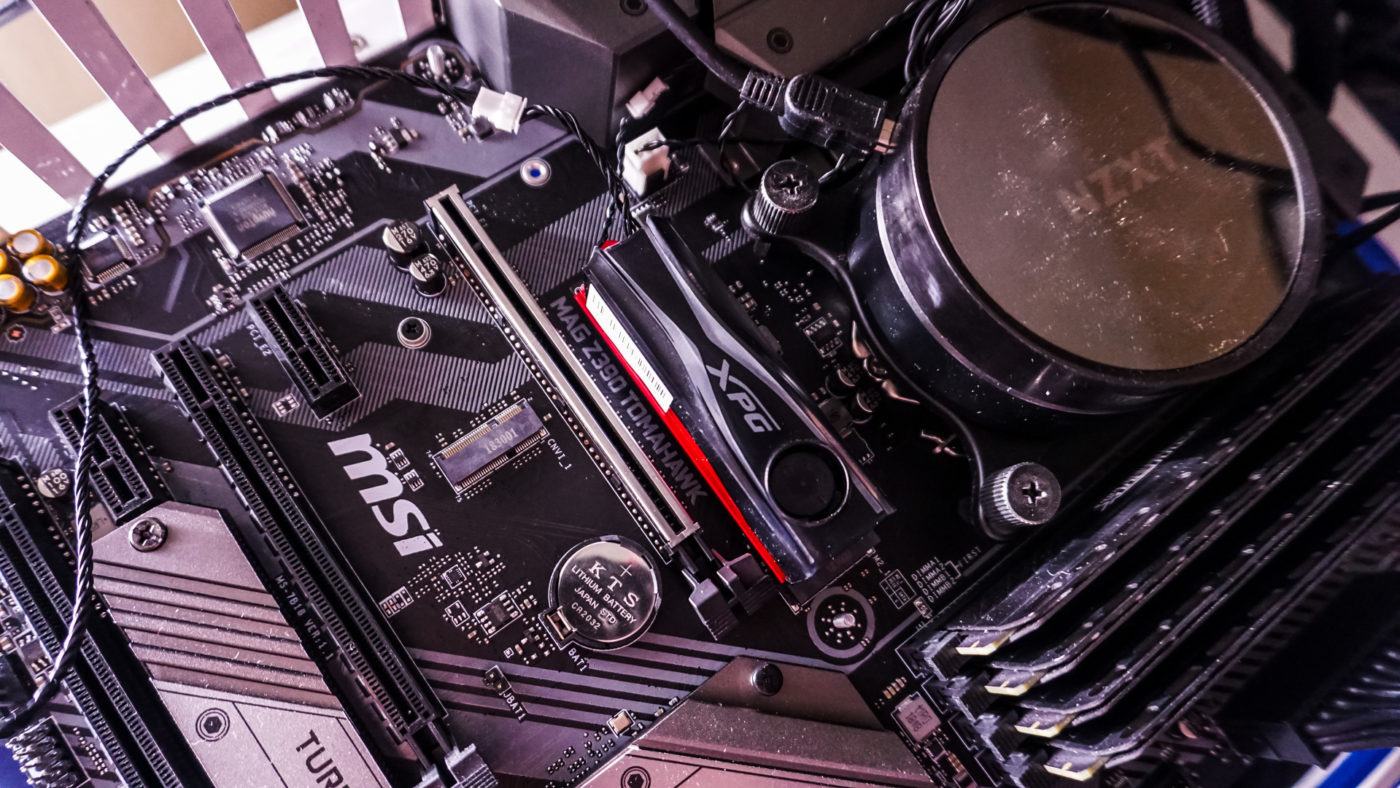
ADATA includes a special mounting screw to secure the XPG Storm to your motherboard. Once you have the Storm secured there are two leads that come off it. The smaller 2-pin is for power, ADATA supplies a 3-pin fan adapter so you can connect it to your motherboard or a Molex adapter. The 3-pin is for RGB, ADATA also supplies a standard 4-pin RGB adapter that you can connect to your motherboards 4-pin RGB header.
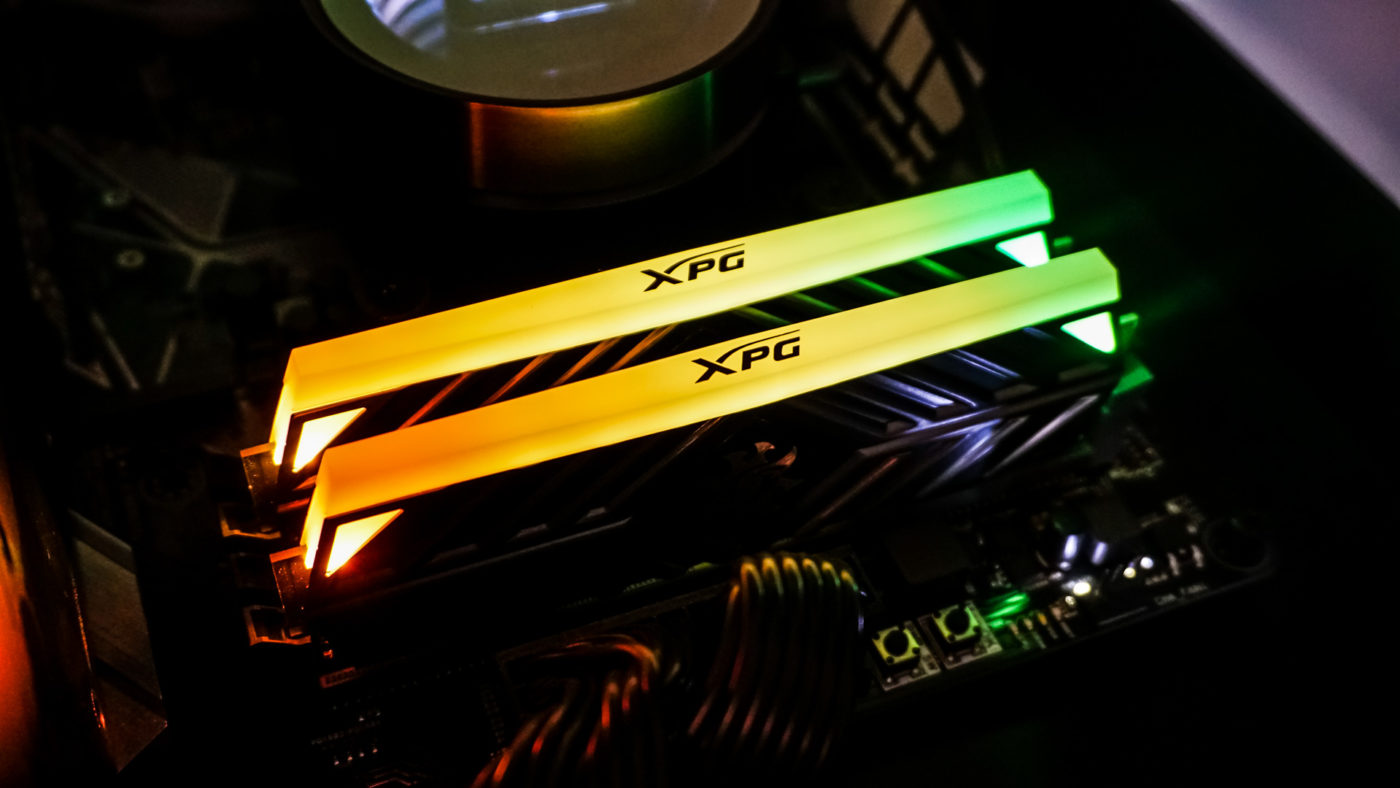
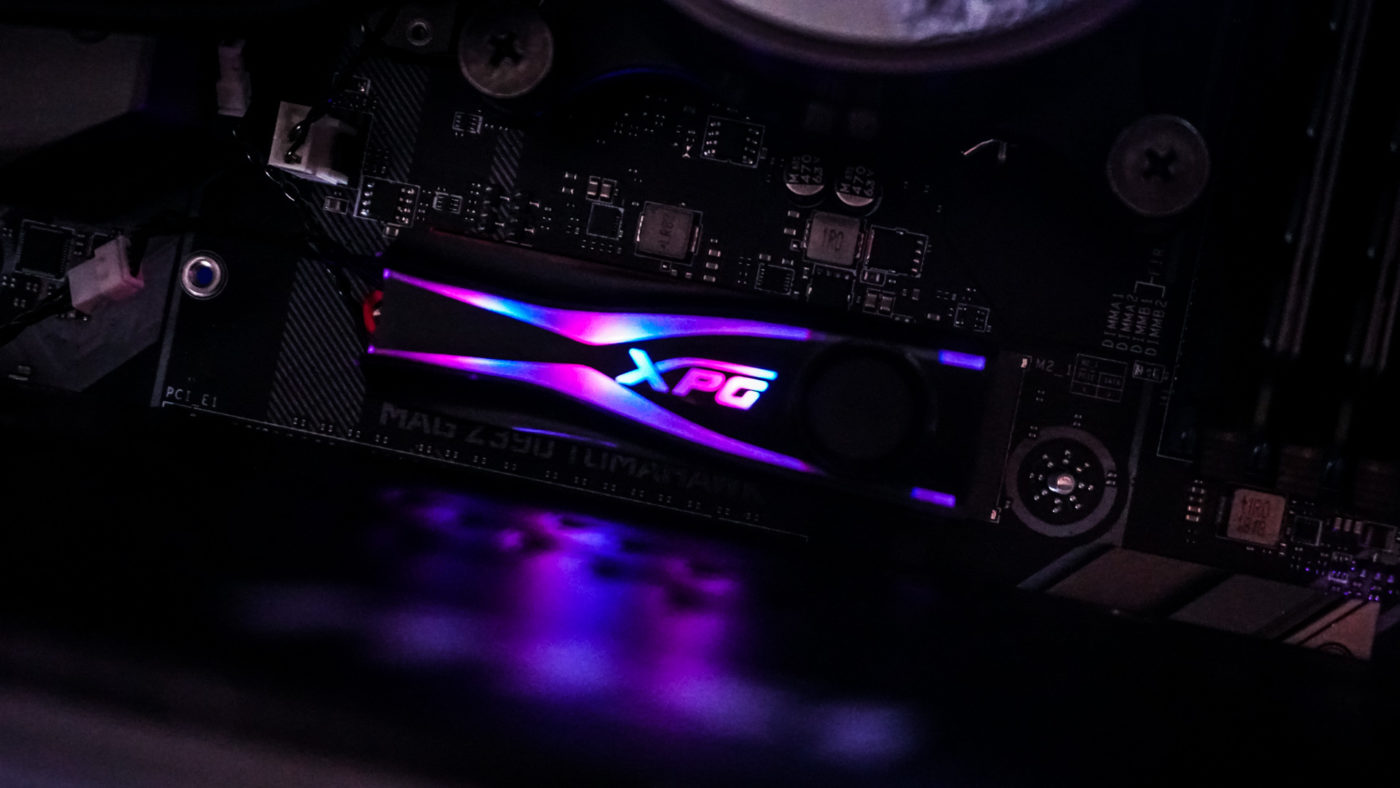
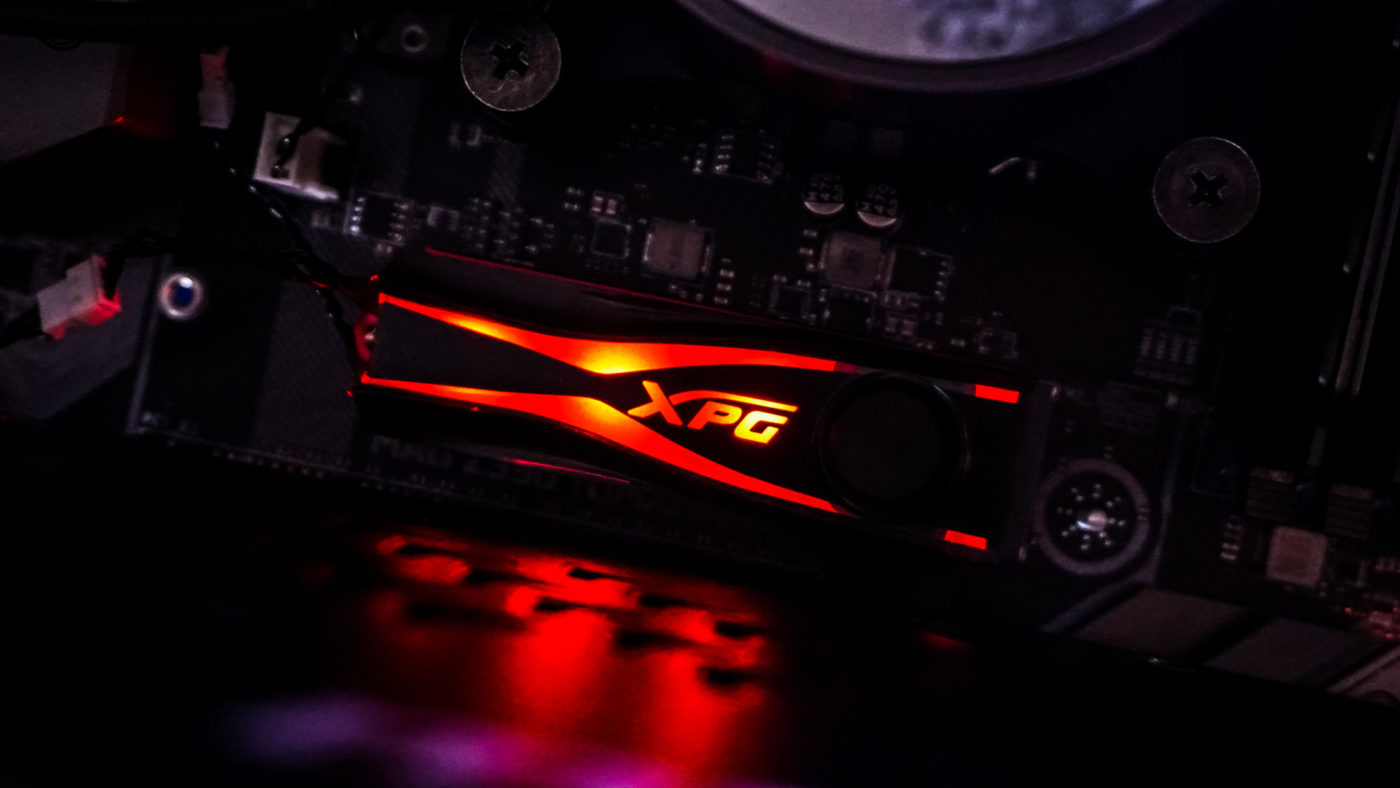
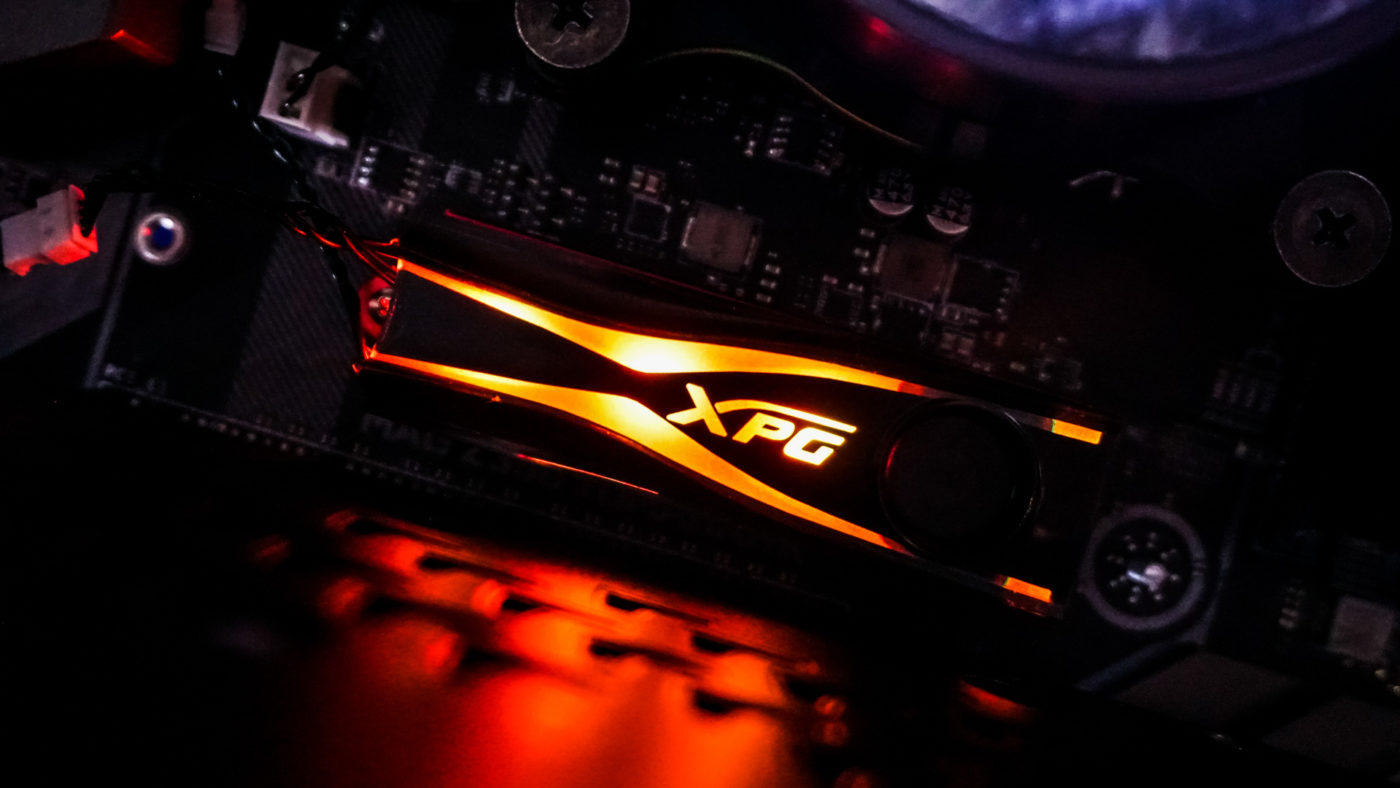
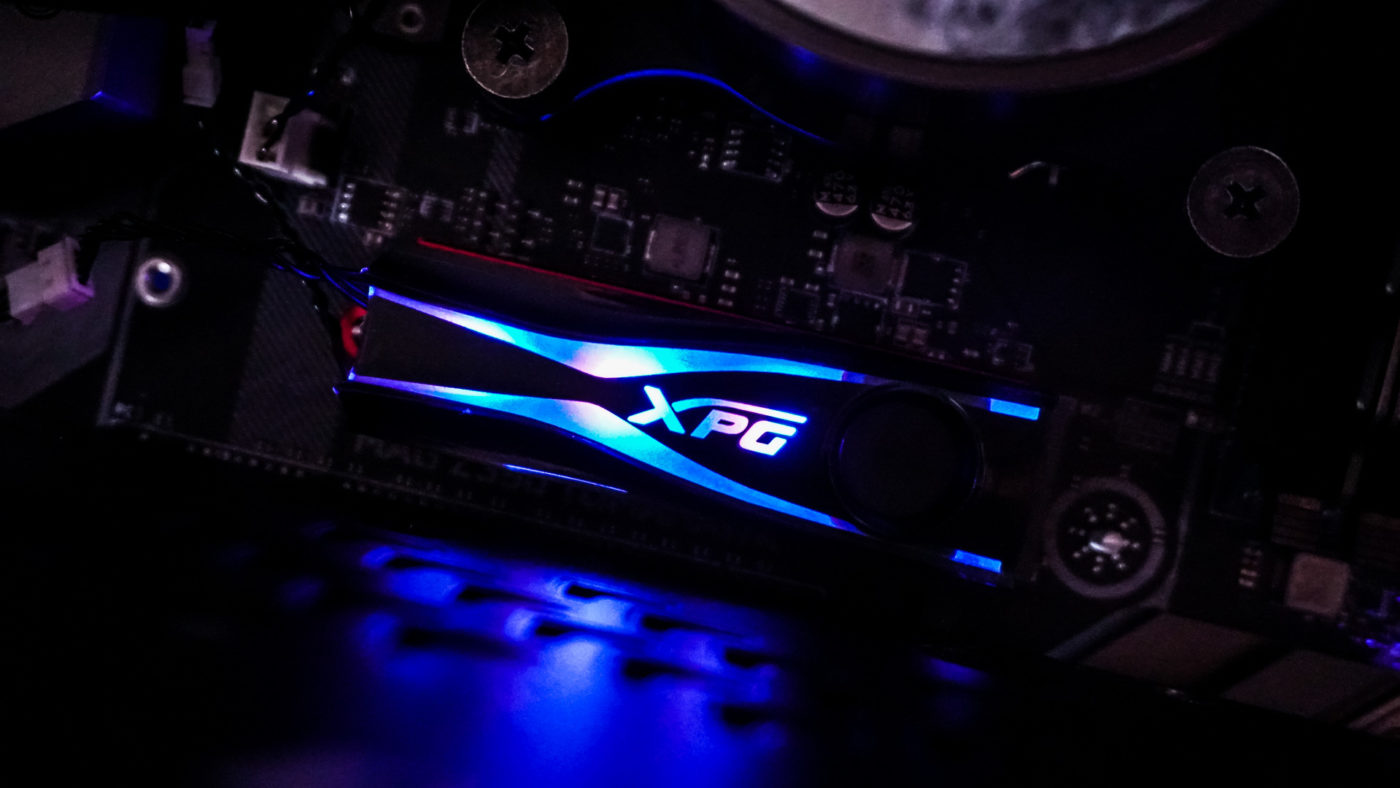
When you have everything plugged in correctly when you turn your system on you’ll notice the LEDs on the XPG Storm will light up. They definitely look cool and it is nice to be able to control them with our motherboard RGB software.
So does the XPG Storm actually cool down your M.2 drive? To test this we brought out the Kingston KC1000 M.2 drive, which is known to overheat and throttle. We first tested it without a cooler and then again with the XPG Storm installed. The idle test was taken on the Windows 10 Desktop and the load test was a the AIDA64 Linear Write test.
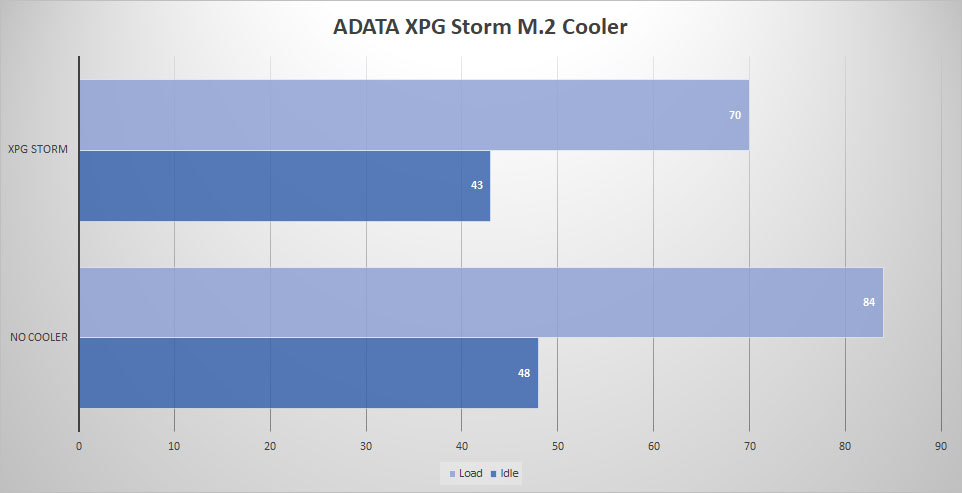
As you can see the cooler does quite well, 5 degrees cooler during idle and a full 14 degrees cooler during load! Will the XPG Storm stop your M.2 SSD from throttling? To test this we ran AIDA64’s linear write test on the Kingston KC1000. The first result is with no cooler.

As you can see the performance of writes to the drive degrades pretty quickly and we have an average write score of 855.9 MB/s. Now with the XPG Storm installed…
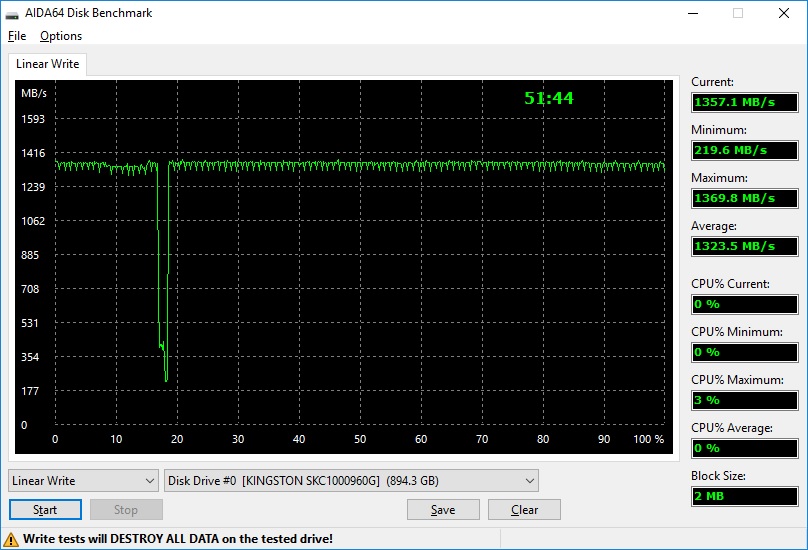
Here you can see more consistent write performance, with an average speed of 1323.5 MB/s.