Alphacool Eisblock HDX-2 M.2 Cooler Overview
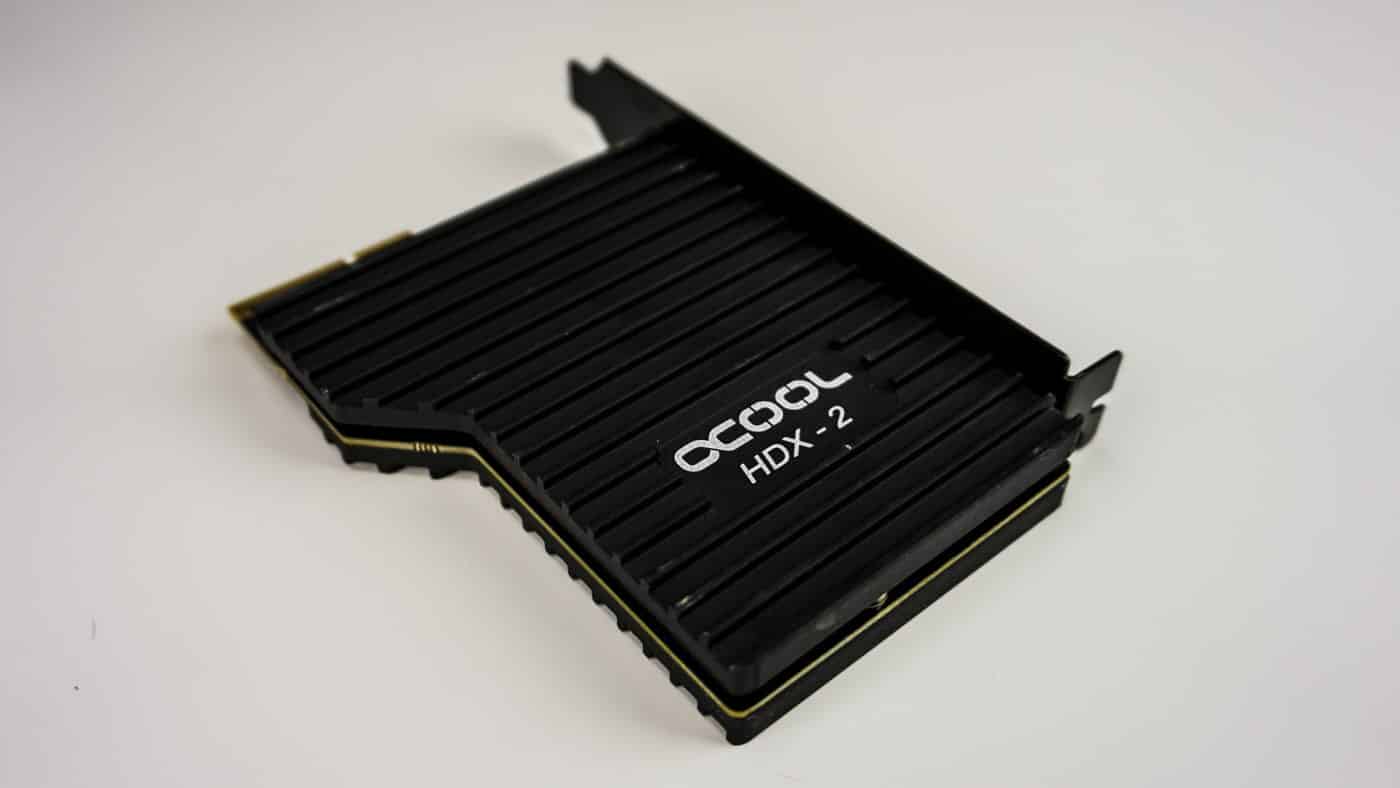
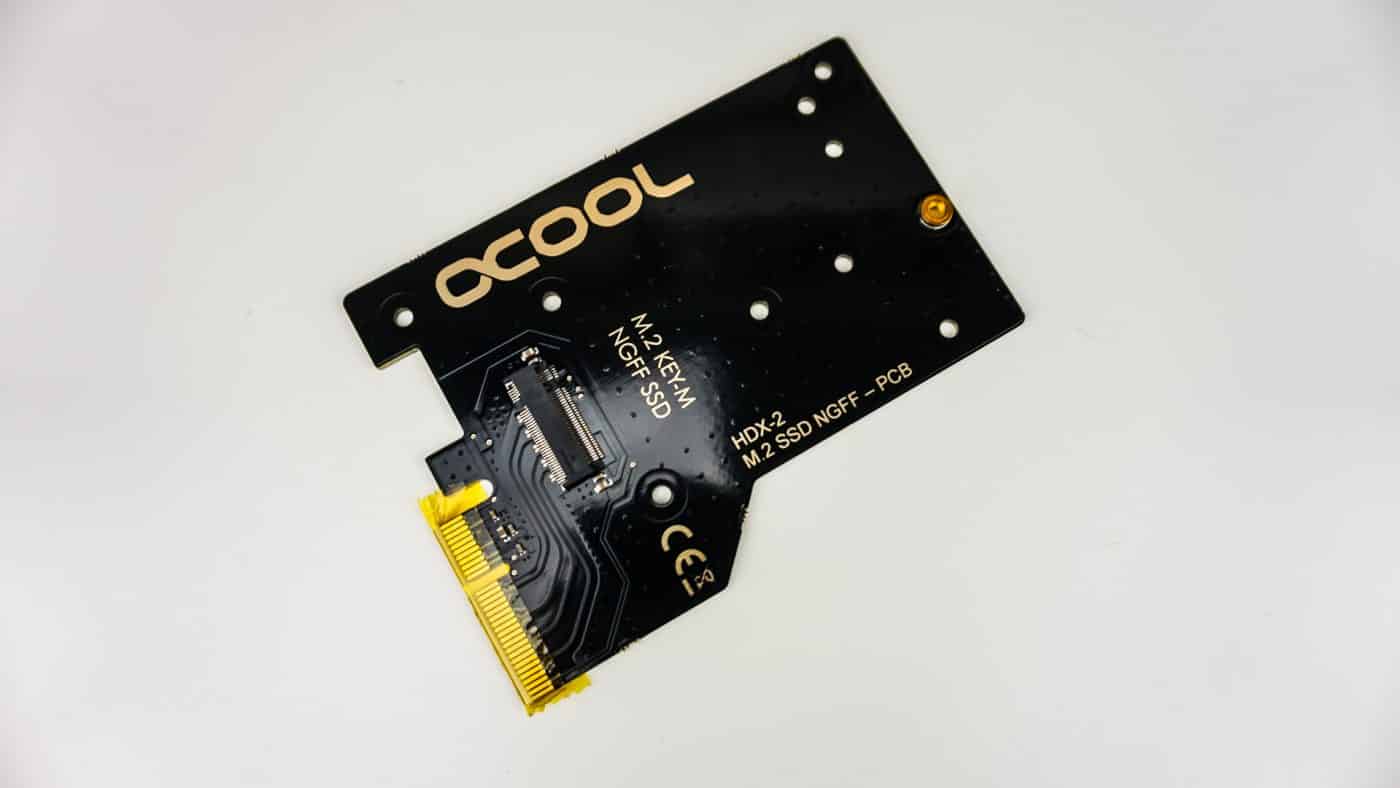
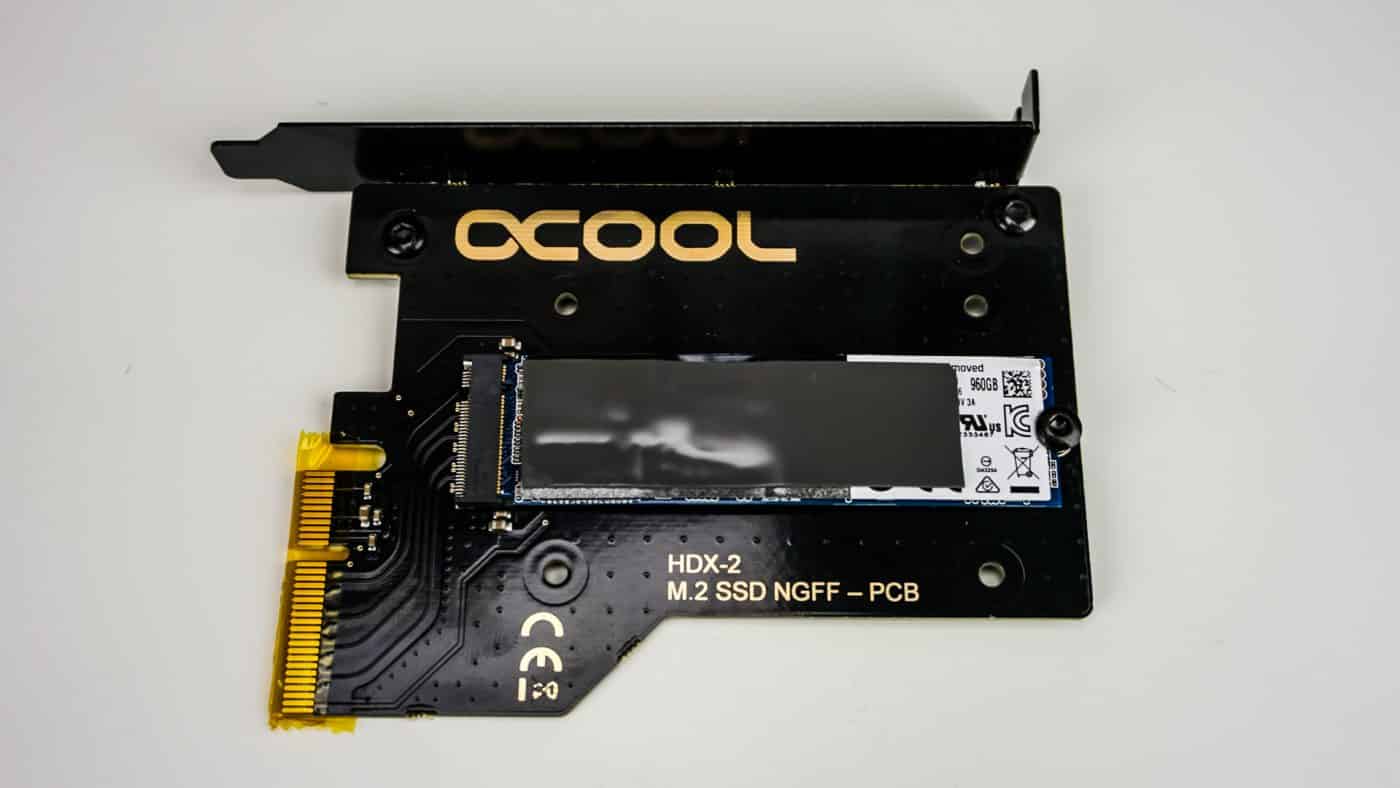
The Eisblock HDX-2 comes in pieces as it is not fully put together. Alphacool is primarily a watercooling company so this product, like many of theirs, is definitely a DIY. The main PCB has a single M.2 Key-M slot that supports M.2 SSDs up to 80mm. The card connects via PCI-Express 3.0 x4 so you are going to get the full bandwidth for your M.2 SSD.
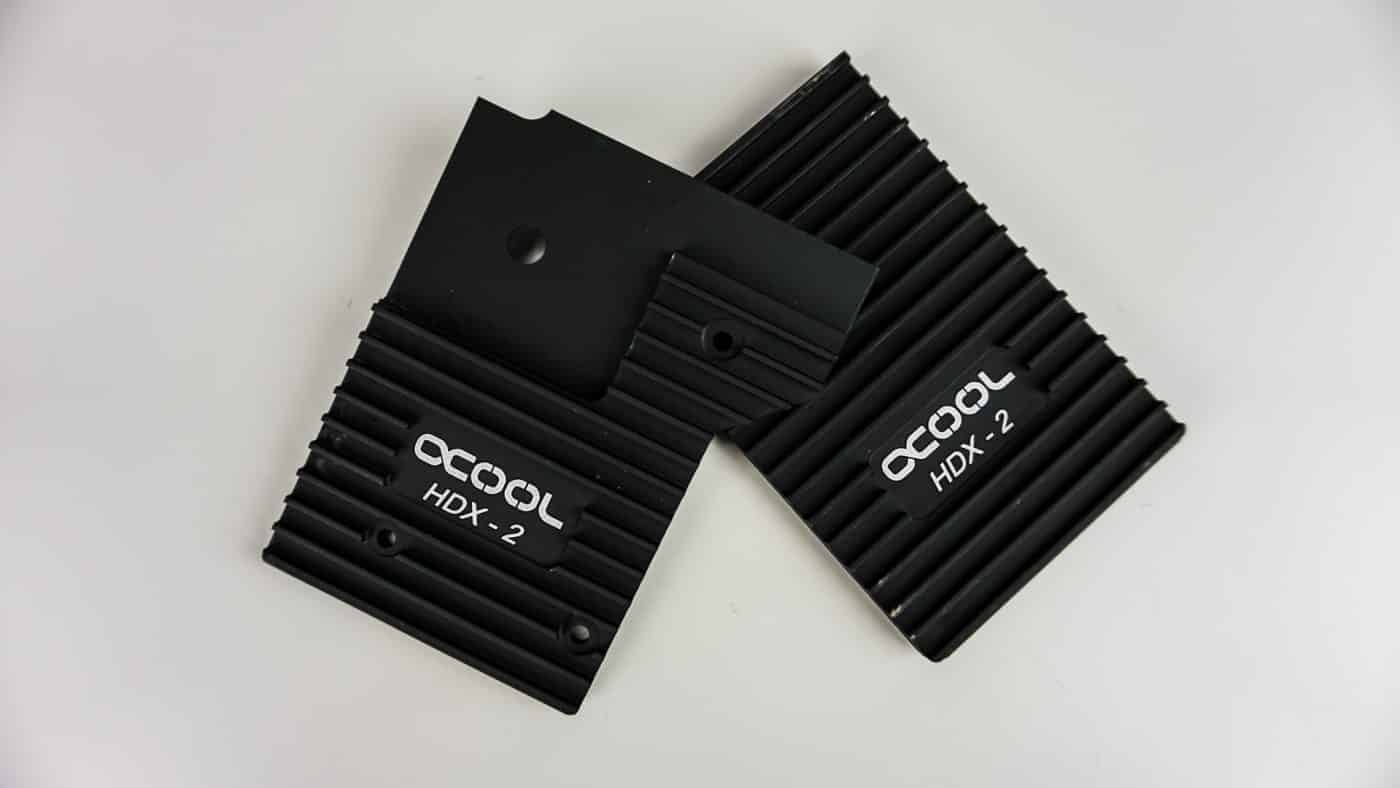
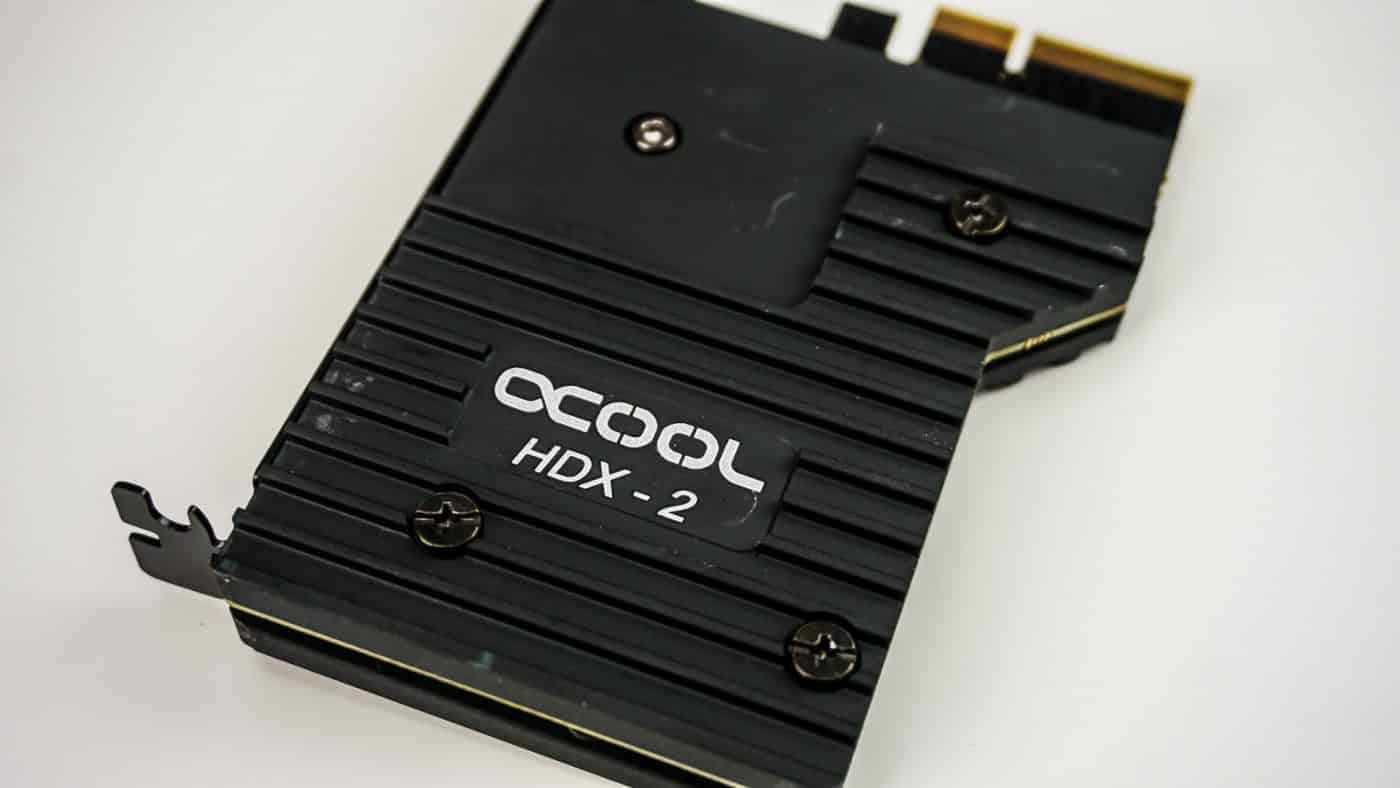
There are heatsinks that go on both sides of the PCB. These are all black, made of aluminum, and a pretty heavy duty. At the center of each heatsink there is a big “Alphacool HDX-2” logo.
Now once you’ve installed the rear I/O cover you’ll want to place a thermal pad under where your M.2 SSD will go. There are two different sizes of thermal pads, consult the instructions to see which one you should be using.
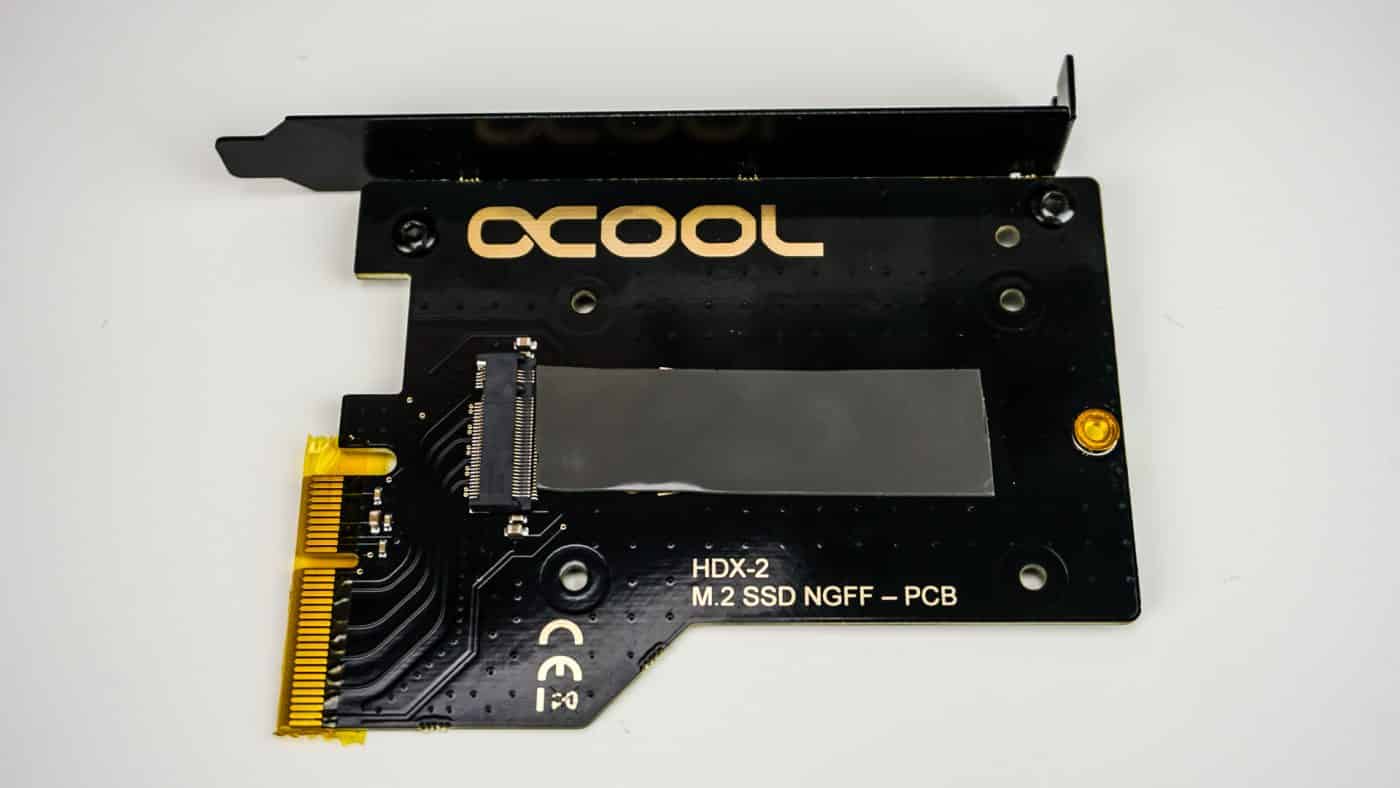
Next install your M.2 SSD, securing it with a screw at the end. Also be sure that it lines up with the thermal pad you placed down. Then go ahead and place the second thermal pad down on top of your M.2 SSD.
Now very carefully place the two heatsinks on each side of the PCB. They should line up in a way that there is a space for your M.2 SSD to fit perfectly. Once lined up use the included screws and hex bolts to secure the heatsinks.

While the process of putting the HDX-2 together and installing your M.2 is very DIY they could have made it much easier with the rear I/O cover installed, the bottom thermal pad installed, and the bottom part of the heatsink installed.