ASRock Phantom Gaming 360 LCD Overview
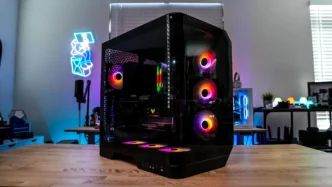
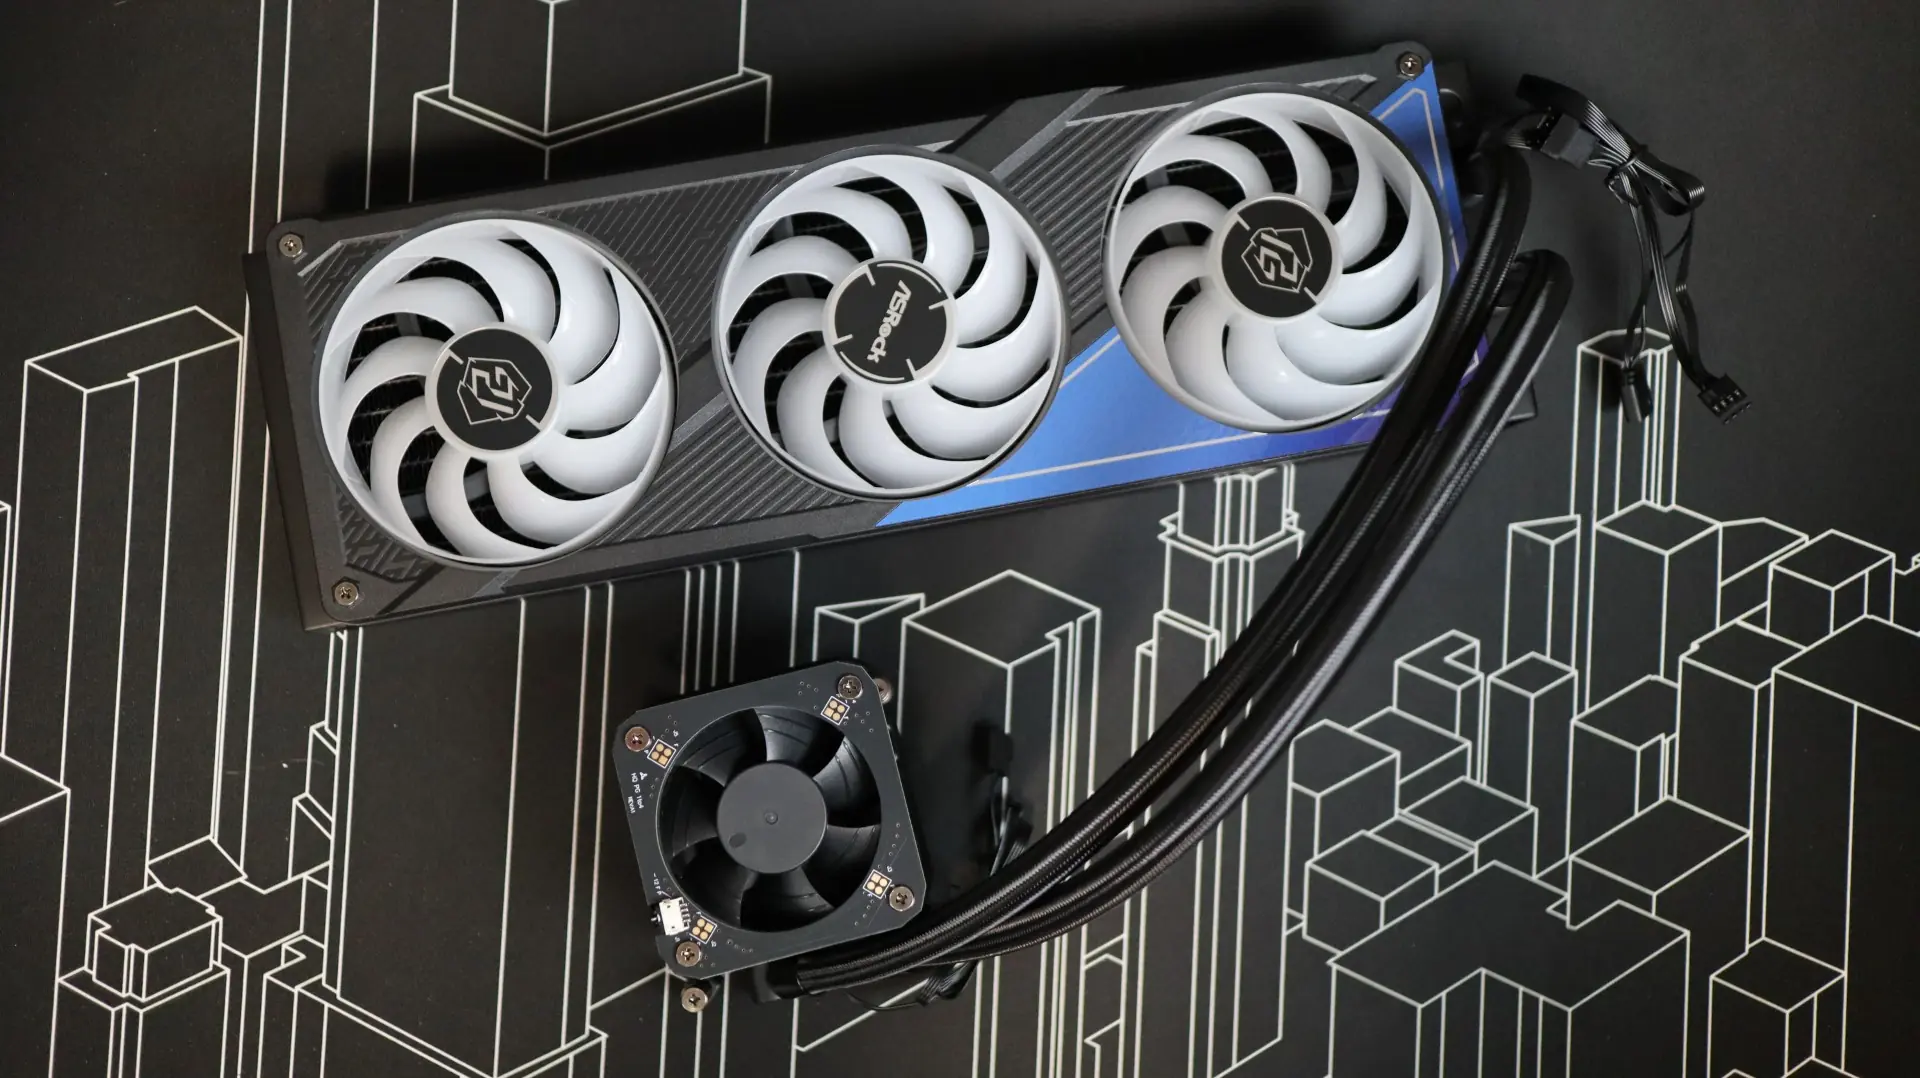
The Phantom Gaming lineup of coolers only includes the 360 LCD, and it is only available in a black colorway. I think if things go well for the 360mm black version we could potentially see some expansion to a smaller 240mm version, as well as a white colorway. You may not notice at first, but there is a single-piece 360mm ARGB fan array used on this cooler, but we will talk about that more a little bit later. The overall look of the Phantom Gaming 360 LCD aligns very well with existing Phantom Gaming products. The angular features and accents will help this cooler fit well into an all-Phantom Gaming build.
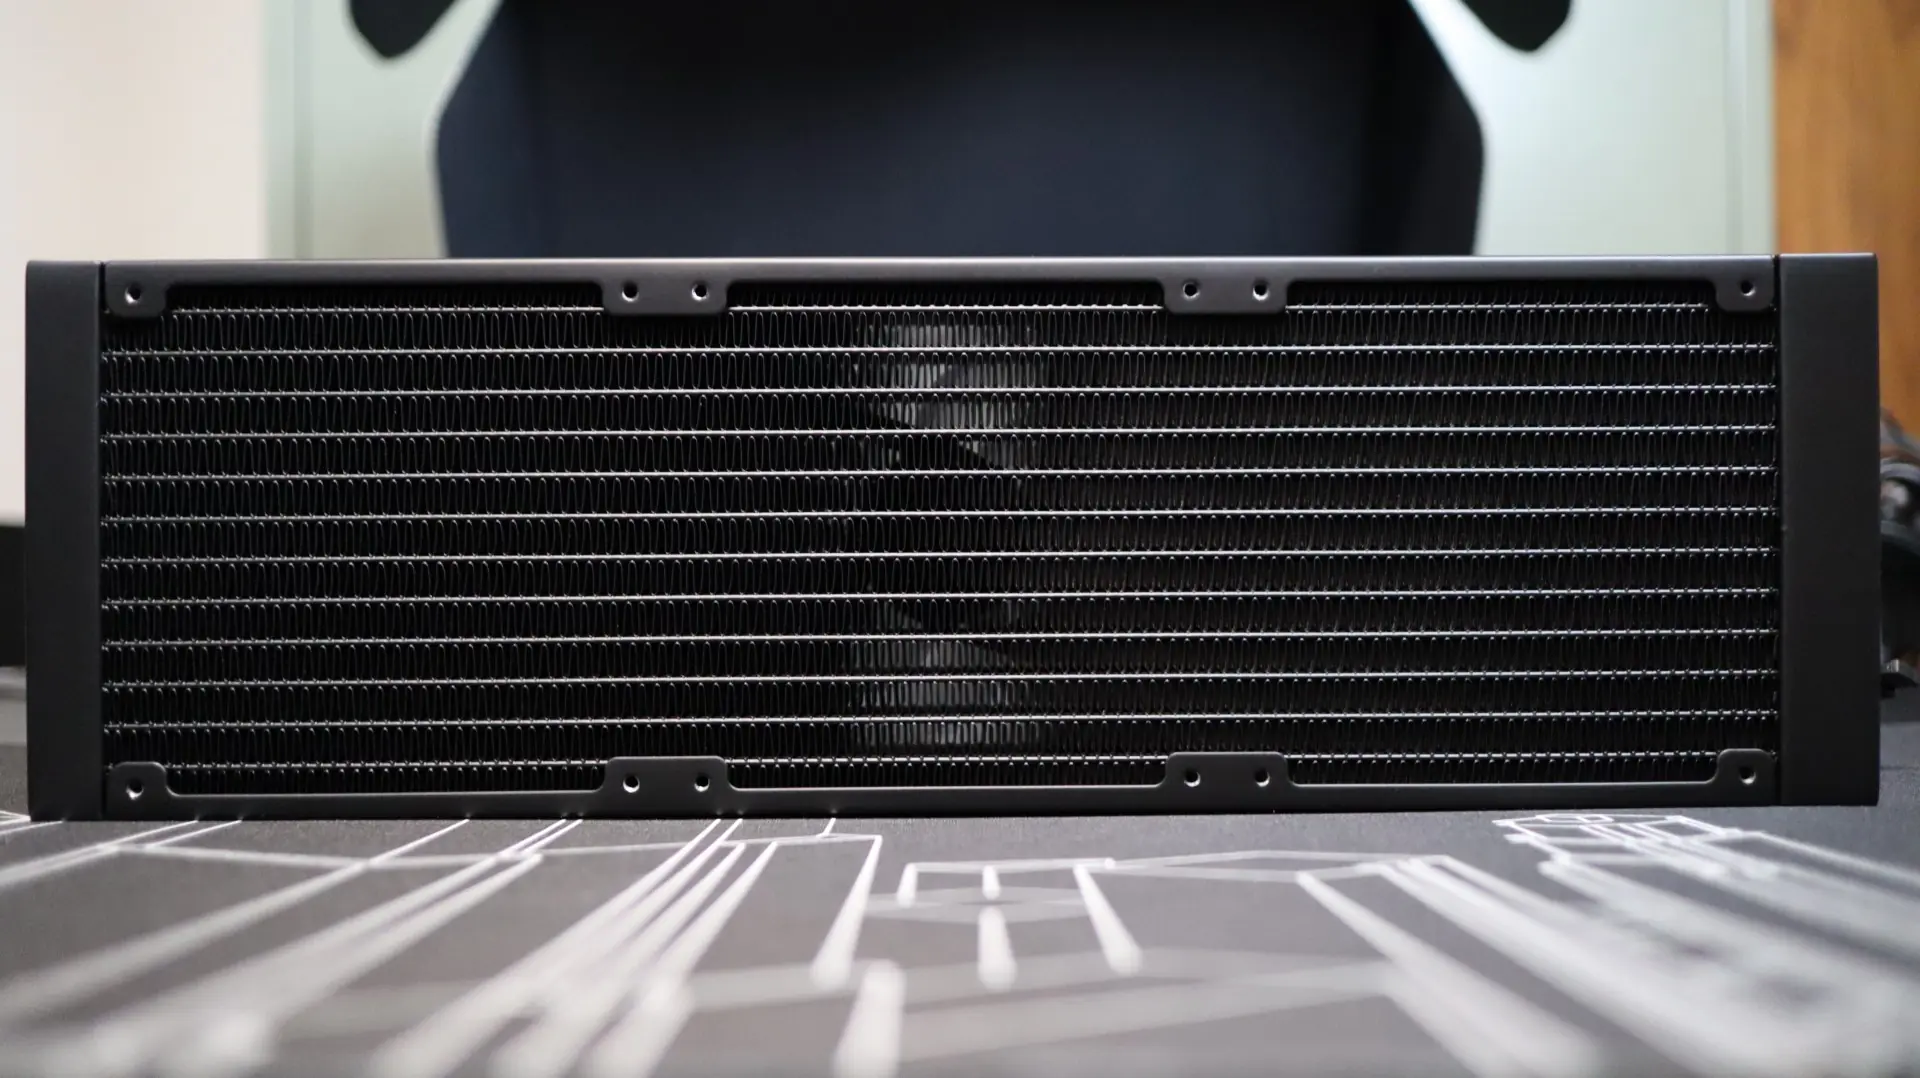
The first component up in our overview is the 360mm aluminum radiator. This radiator is very straight forward in it’s design, with a black paint job and a small ASRock badge painted on each side.

The radiator does offer some additional cooling surface area, coming in at 32mm thick. This allows for more fin and tubing surface area compared to traditional 27mm radiators. At just 16 fins-per-inch, the Phantom Gaming 360 LCD has by far the lowest fin density we have ever seen in an AIO – the typical range we see is 20-22 fins-per-inch. This low density should result in a good combination of cooling, as a thicker radiator typically takes a stronger fan to push through the extra thickness, but in this case, that should be less of an issue. The included 360mm ARGB PWM fan array comes attached to the radiator from the factory, which simplifies the installation process.
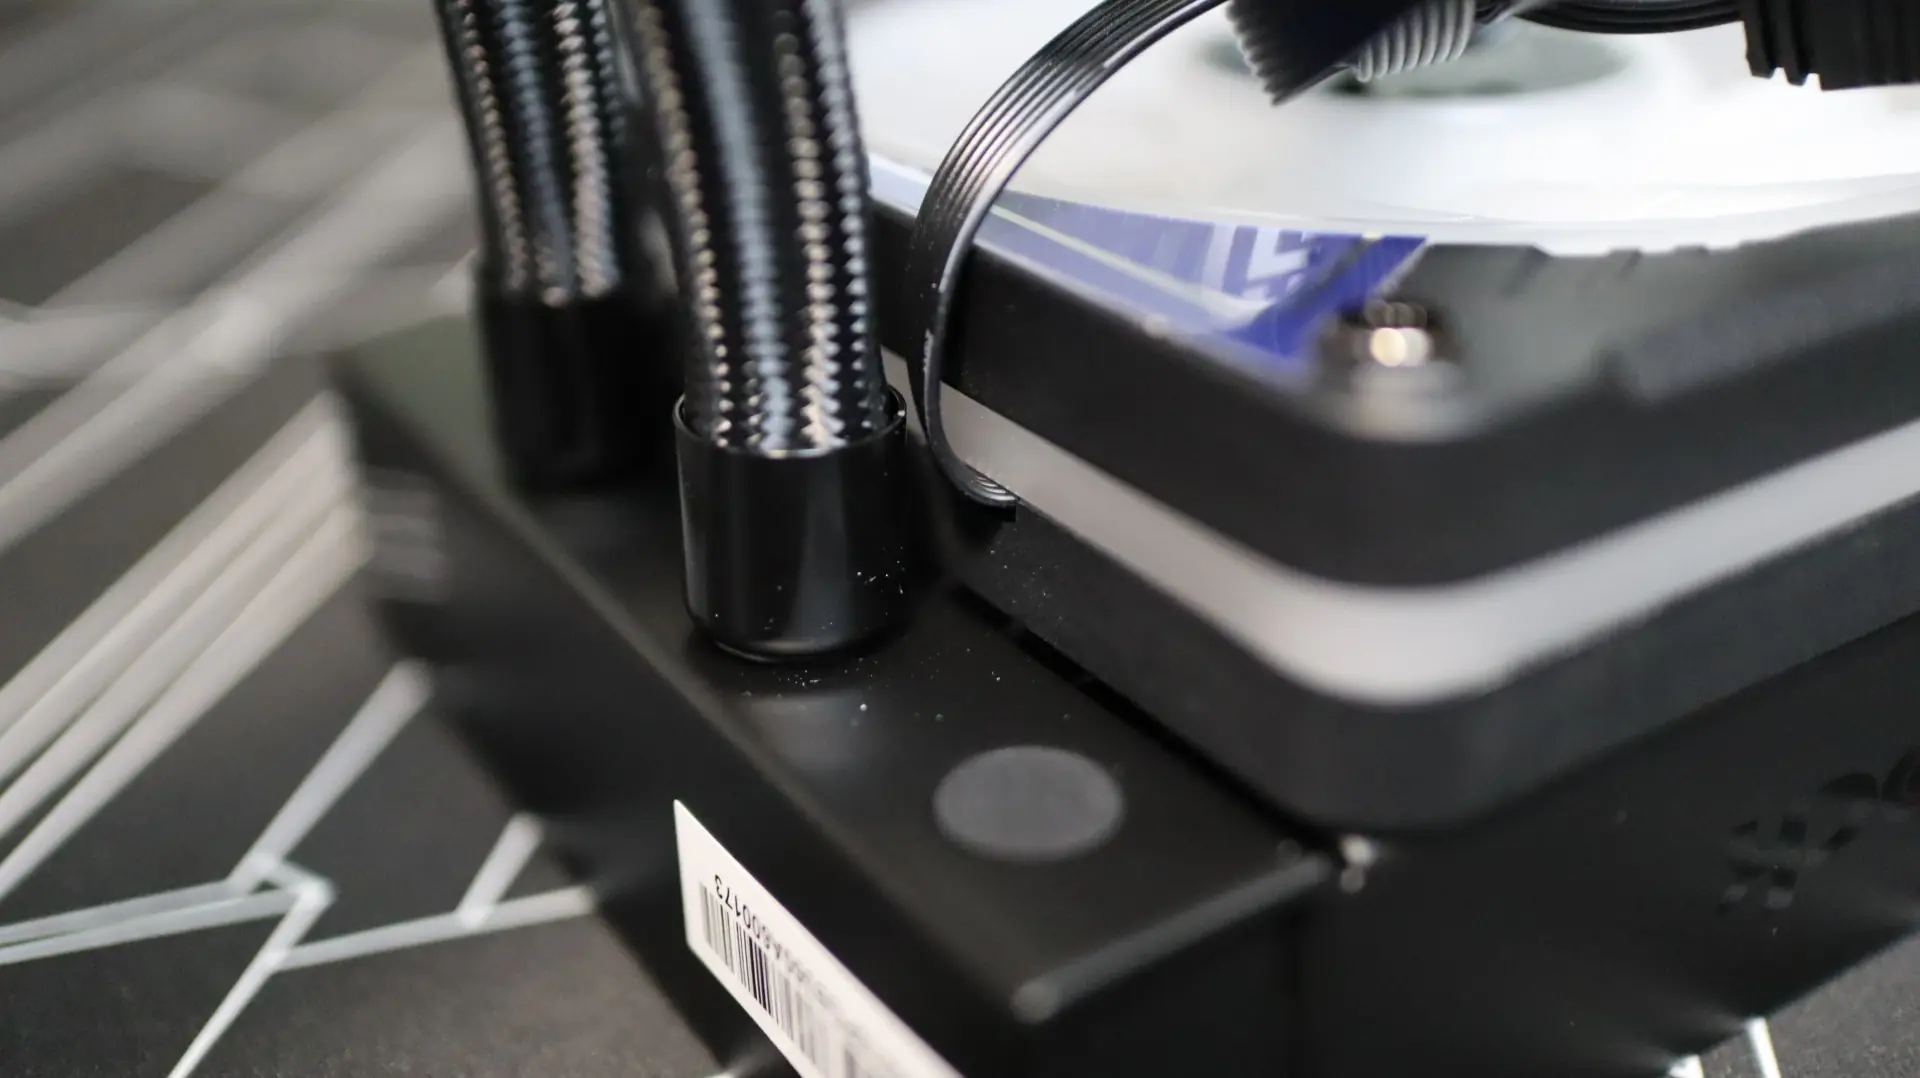
The nylon-braided cooling lines exit from one end of the radiator’s end cap, and connect to the radiator via crimped connectors. These lines are nice and flexible, utilizing a core material that is resistant to coolant evaporation and deformation.
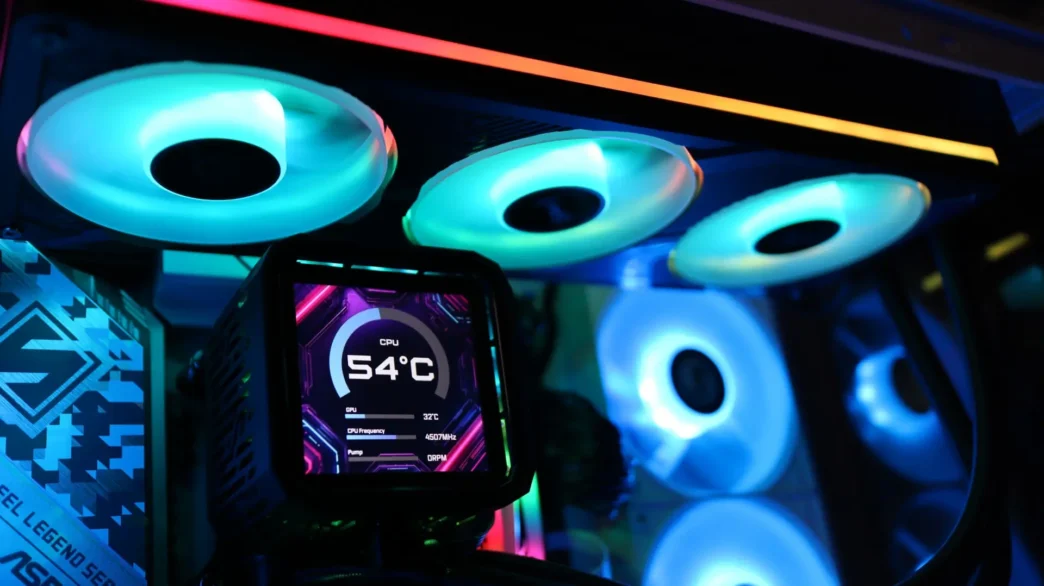
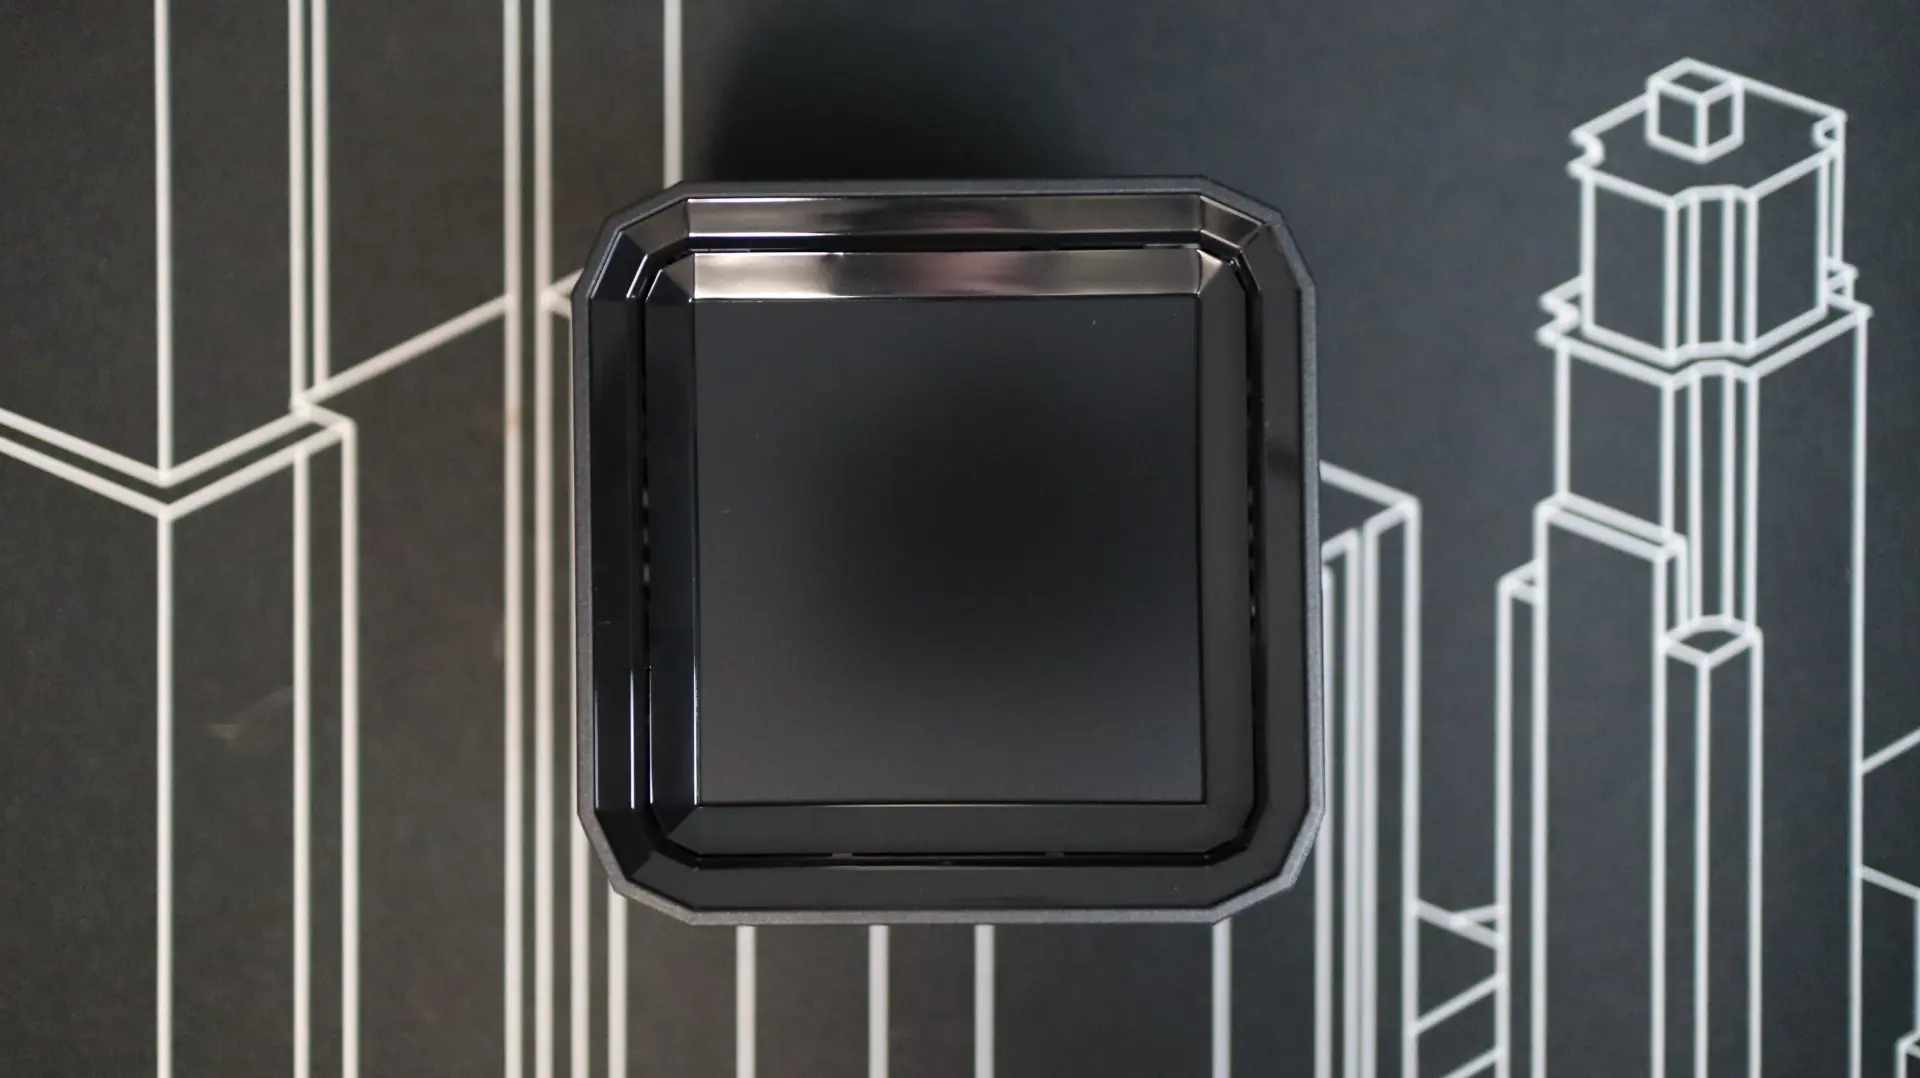
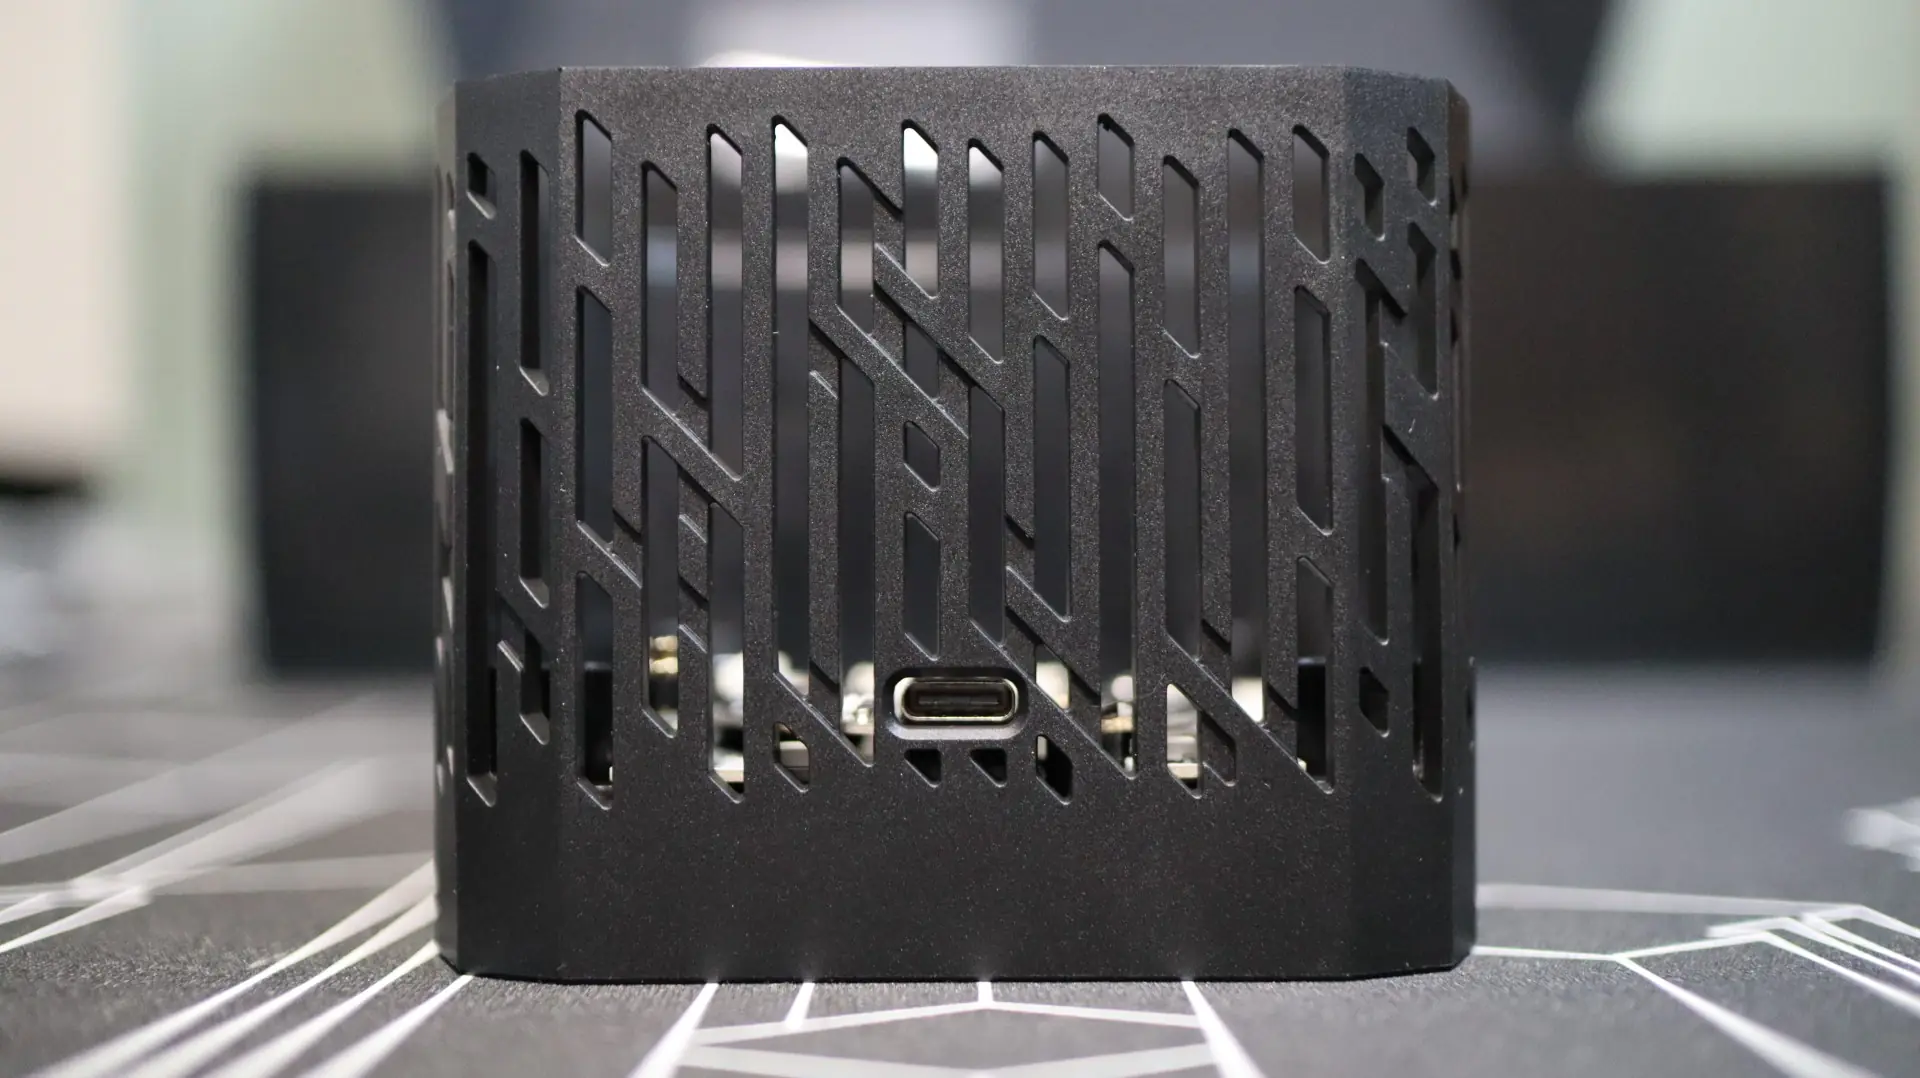
Moving over to the pump housing we find a two-piece cube design that brings together two very important components on this cooler – a VRM fan and a 3.4″ LCD display. This square design transfers along to the body of the pump housing, and culminates with a square screen at the top.
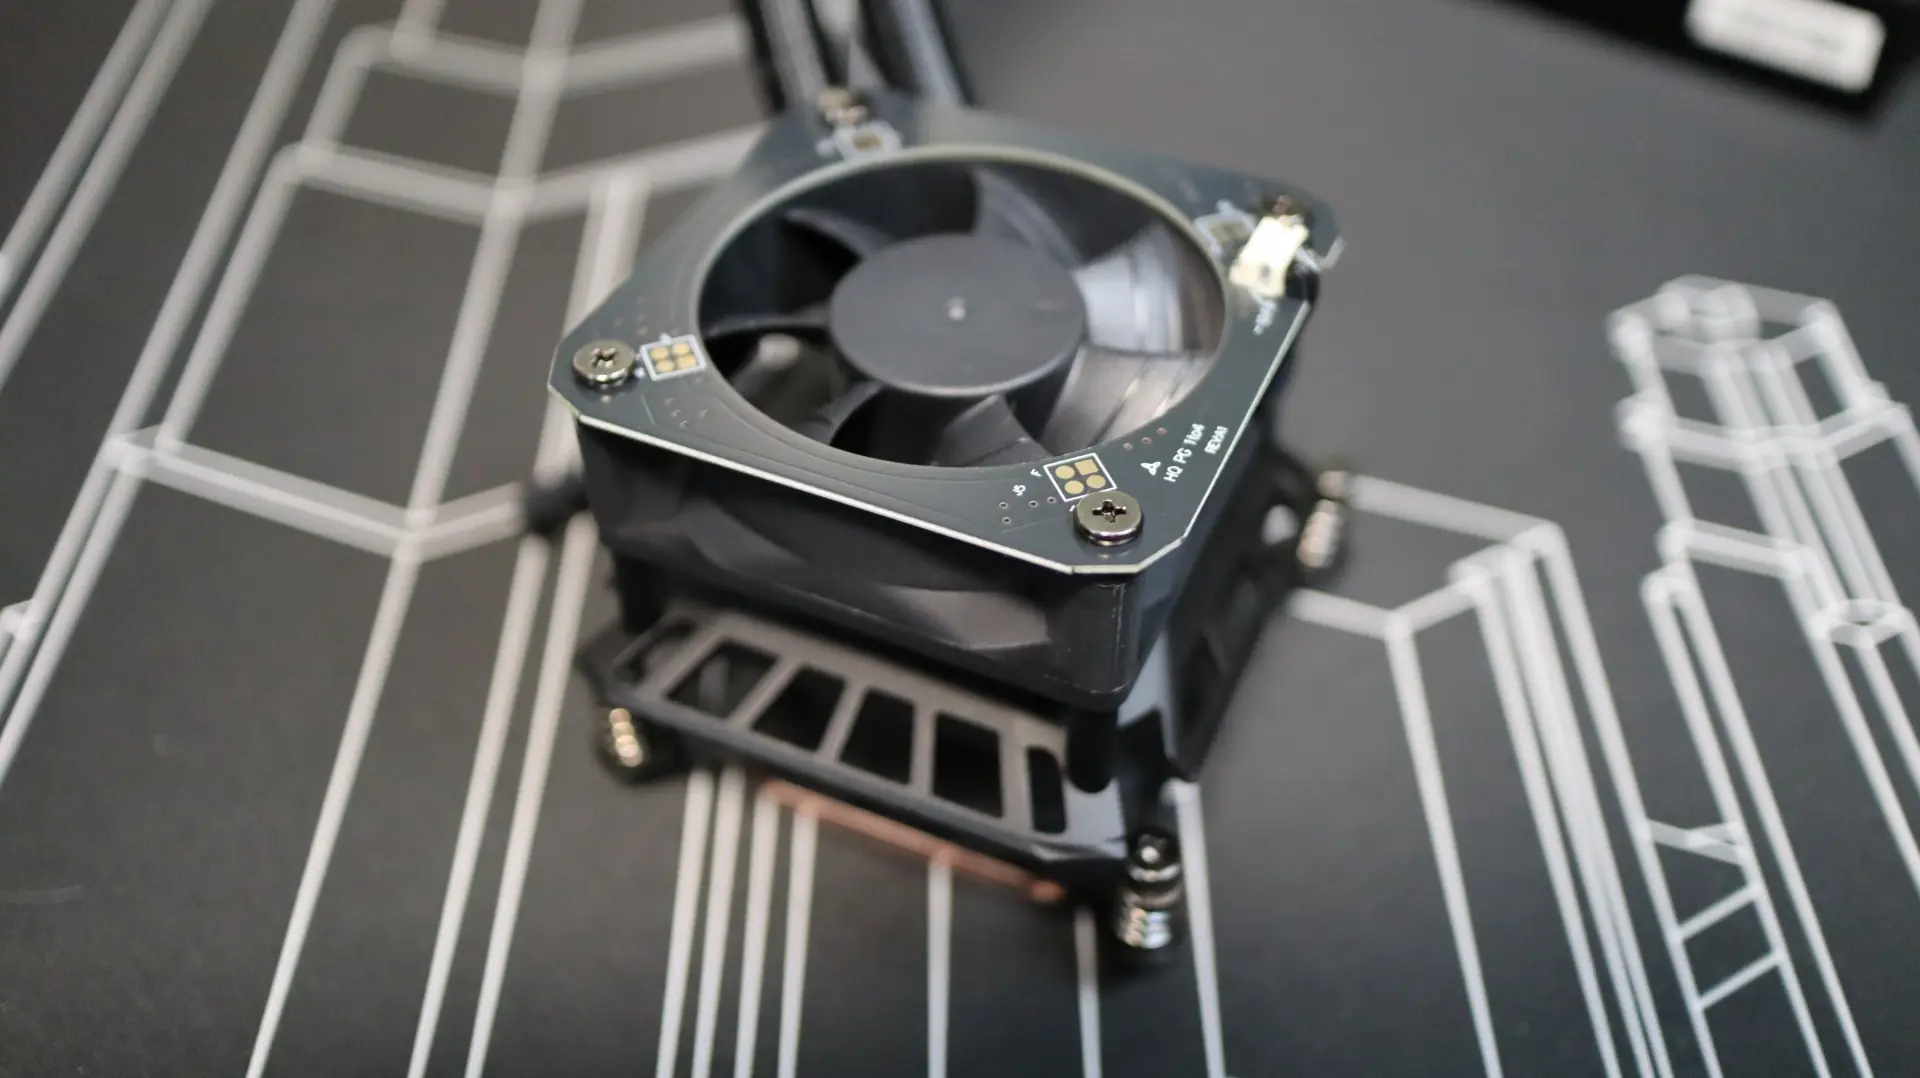
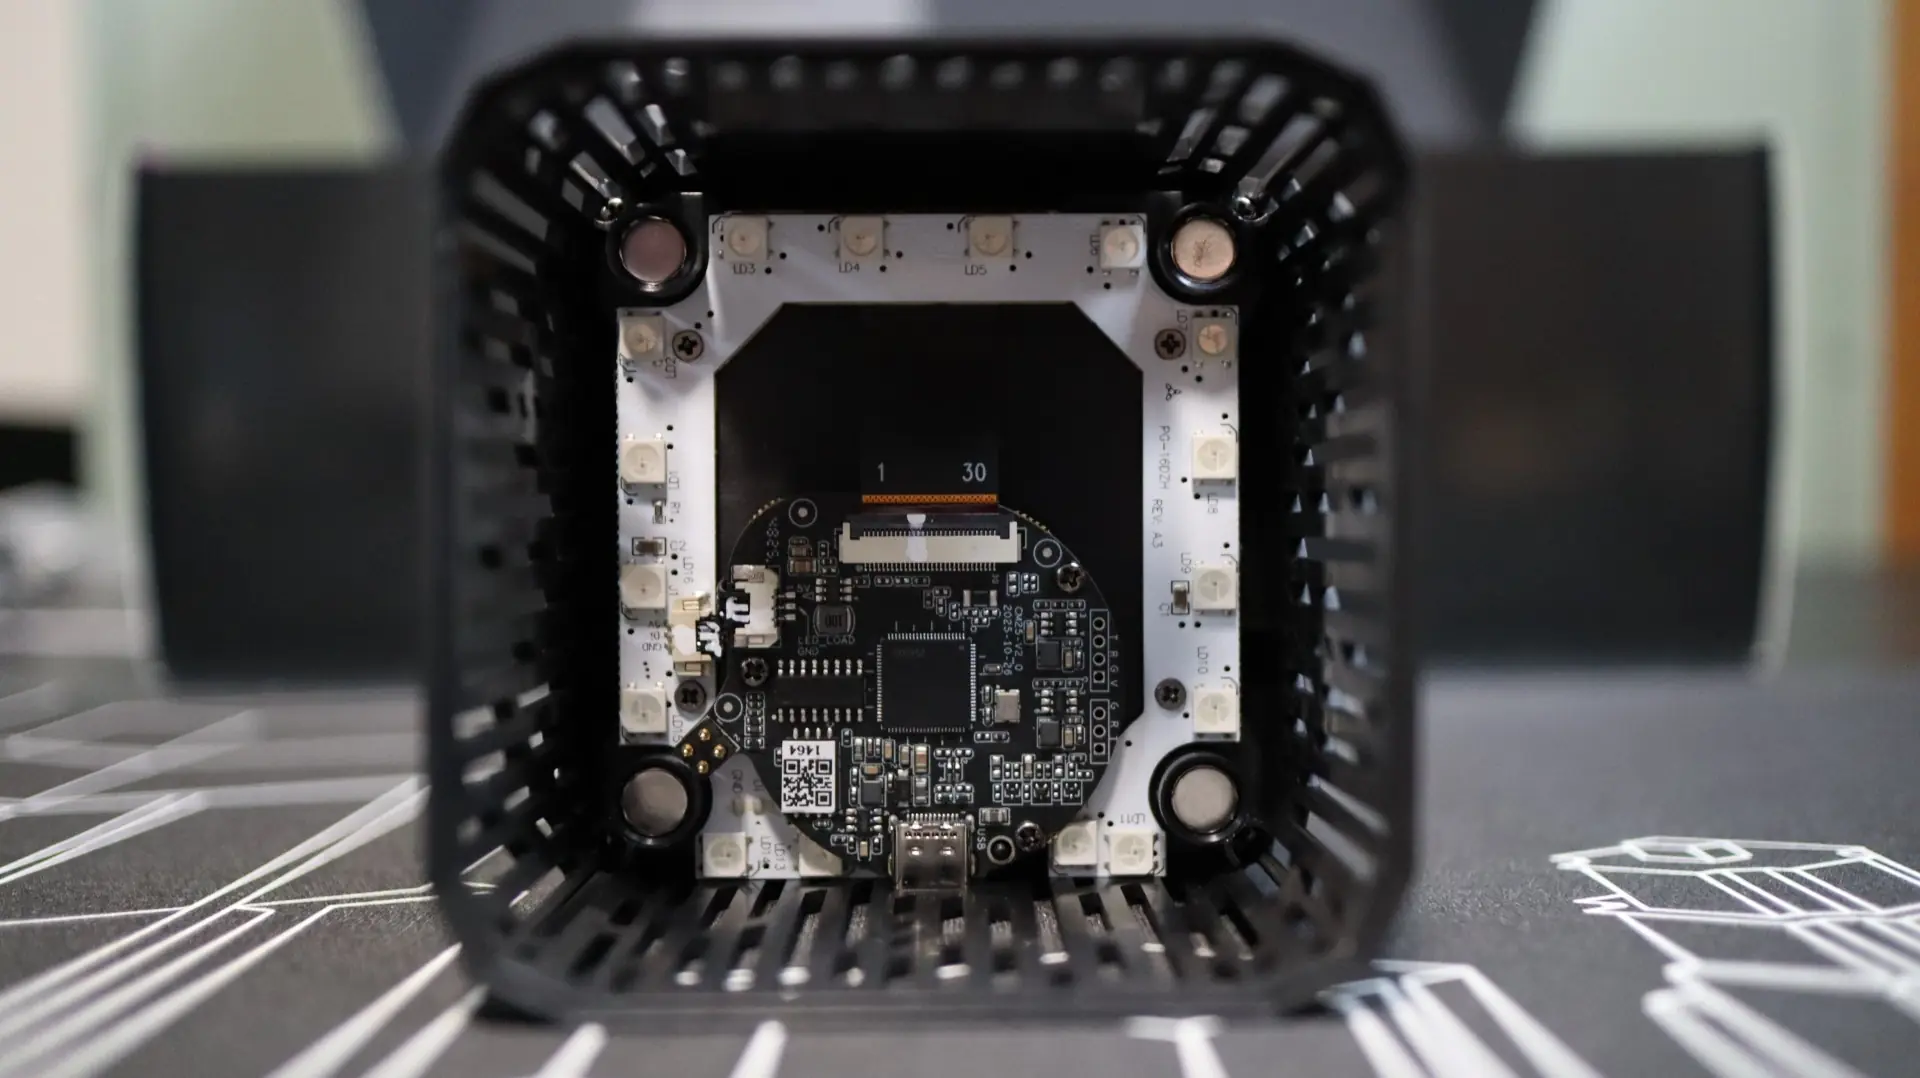
With the LCD display portion removed from the pump housing, we can see that there is a 70mm PWM fan that sits atop the pump and water block section. This fan has a PCB mounted on top of it, which utilizes multiple contact pads for connectivity between the PCB and the LCD display that is mounted on top of it.
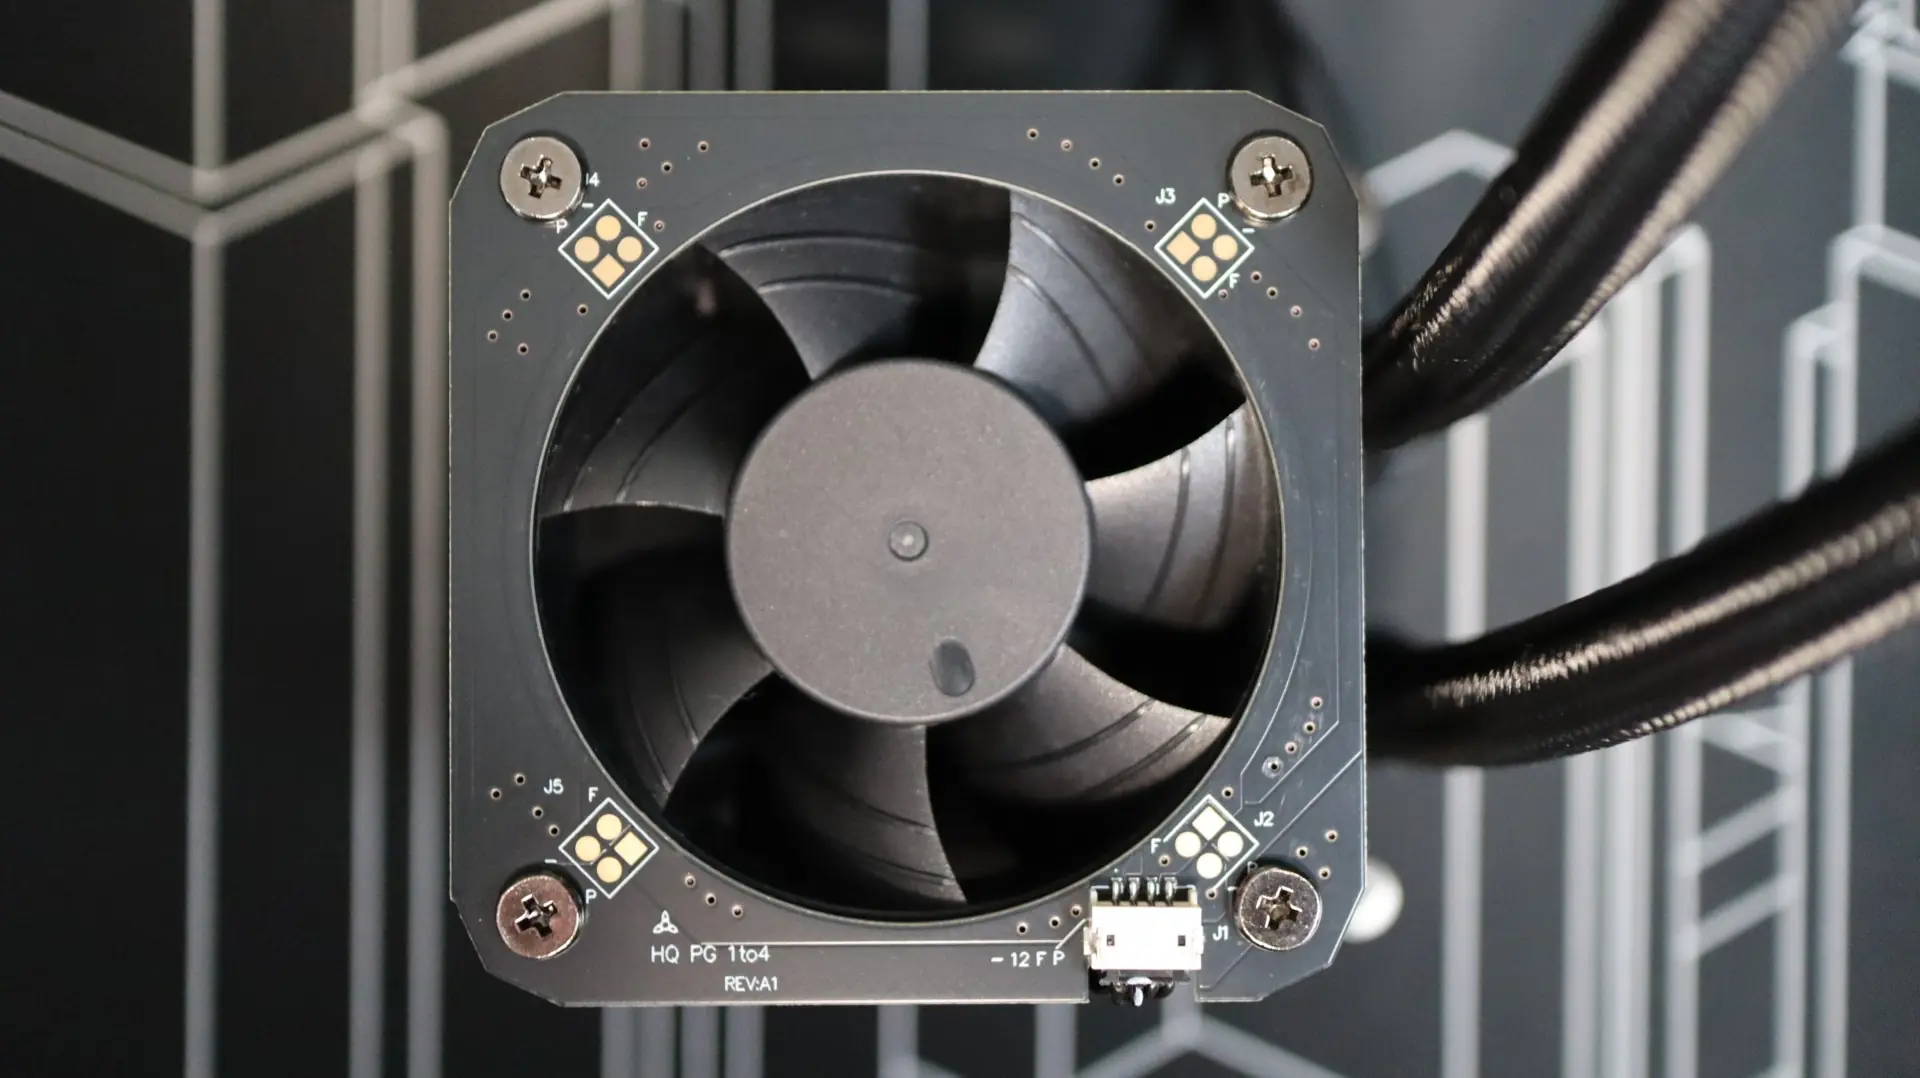
With an operating speed of 3000 RPM, if you leave this fan running full speed it will produce quite a bit of noise – I suggest bumping it down to the 750-1000 RPM range. This will still provide some cooling for your power components, while not driving you nuts listening to the fan noise.
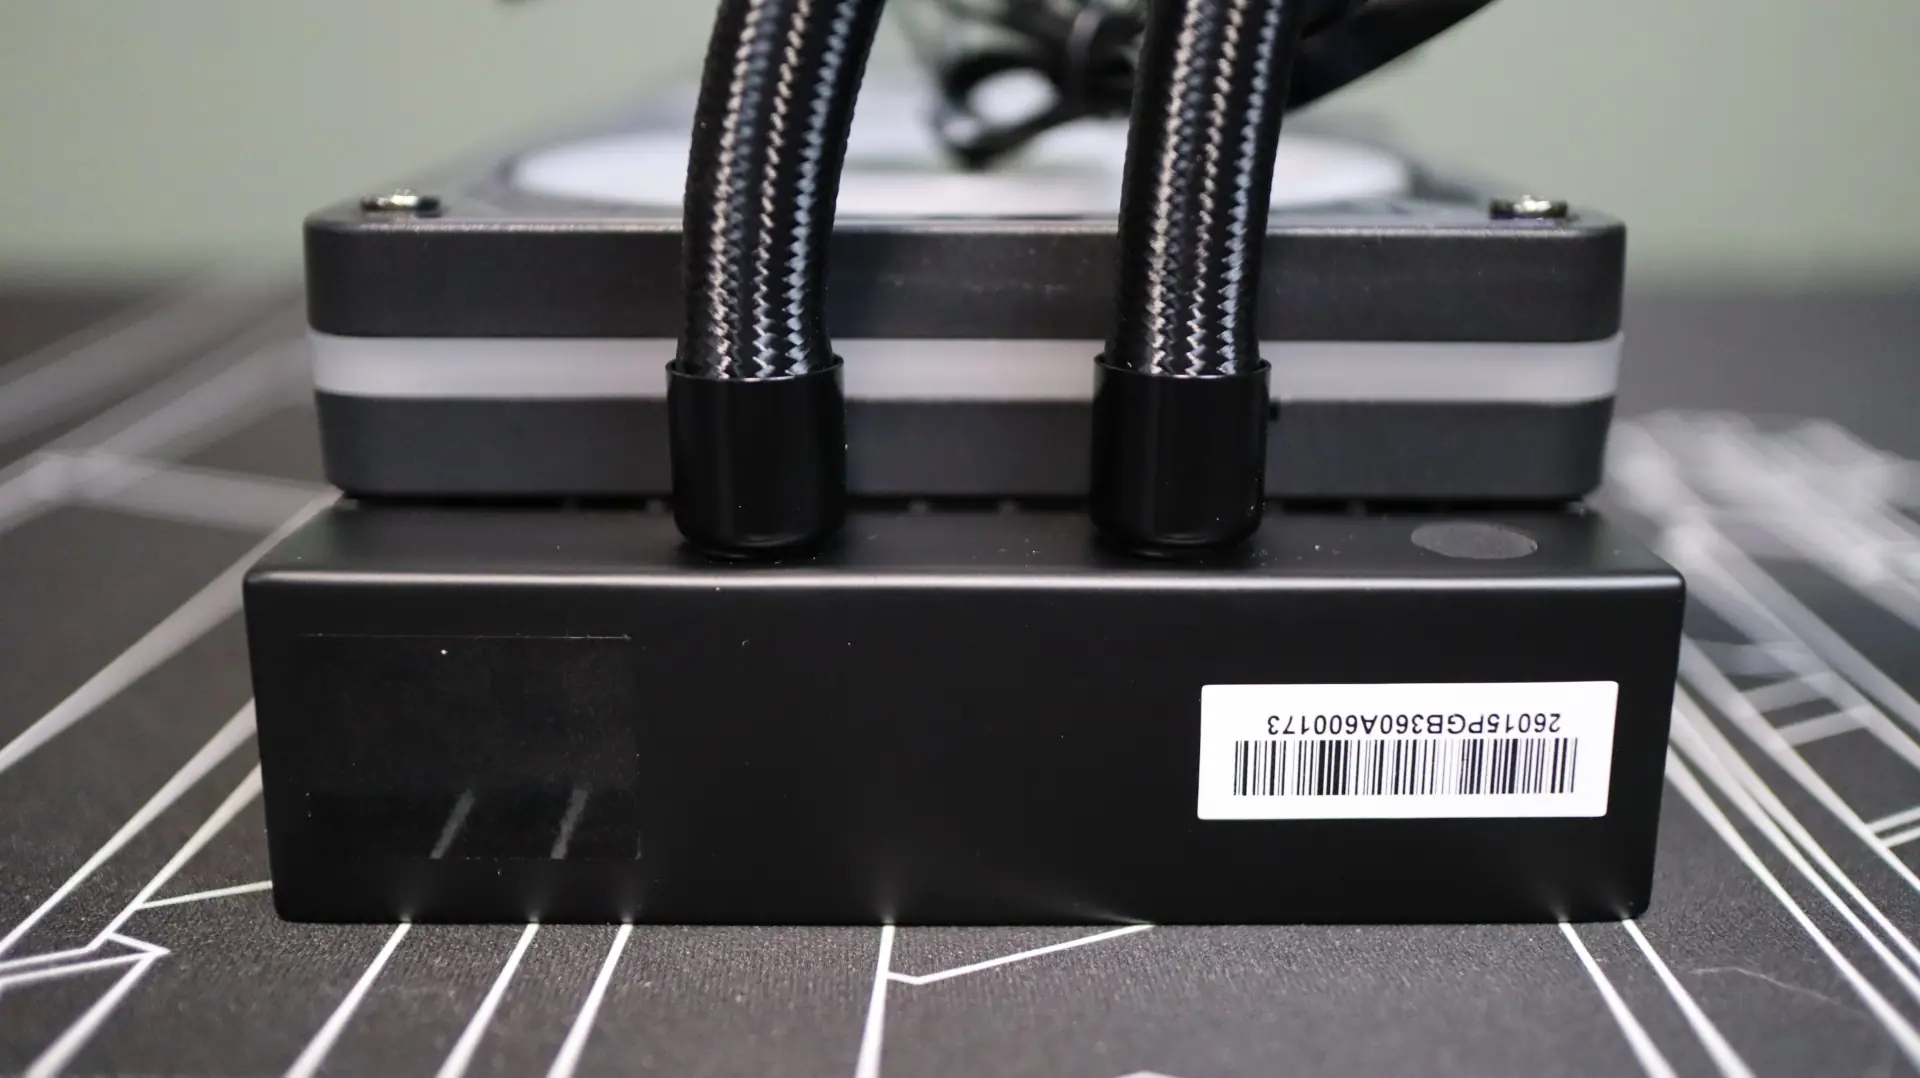
Moving around to the sides we find the two cooling lines exiting from the bottom side of the pump housing. Each line is paired up with a swiveling fitting to make installation and fitment much easier than with fixed connections. Exiting between the two cooling lines is a 4-pin pump power cable.
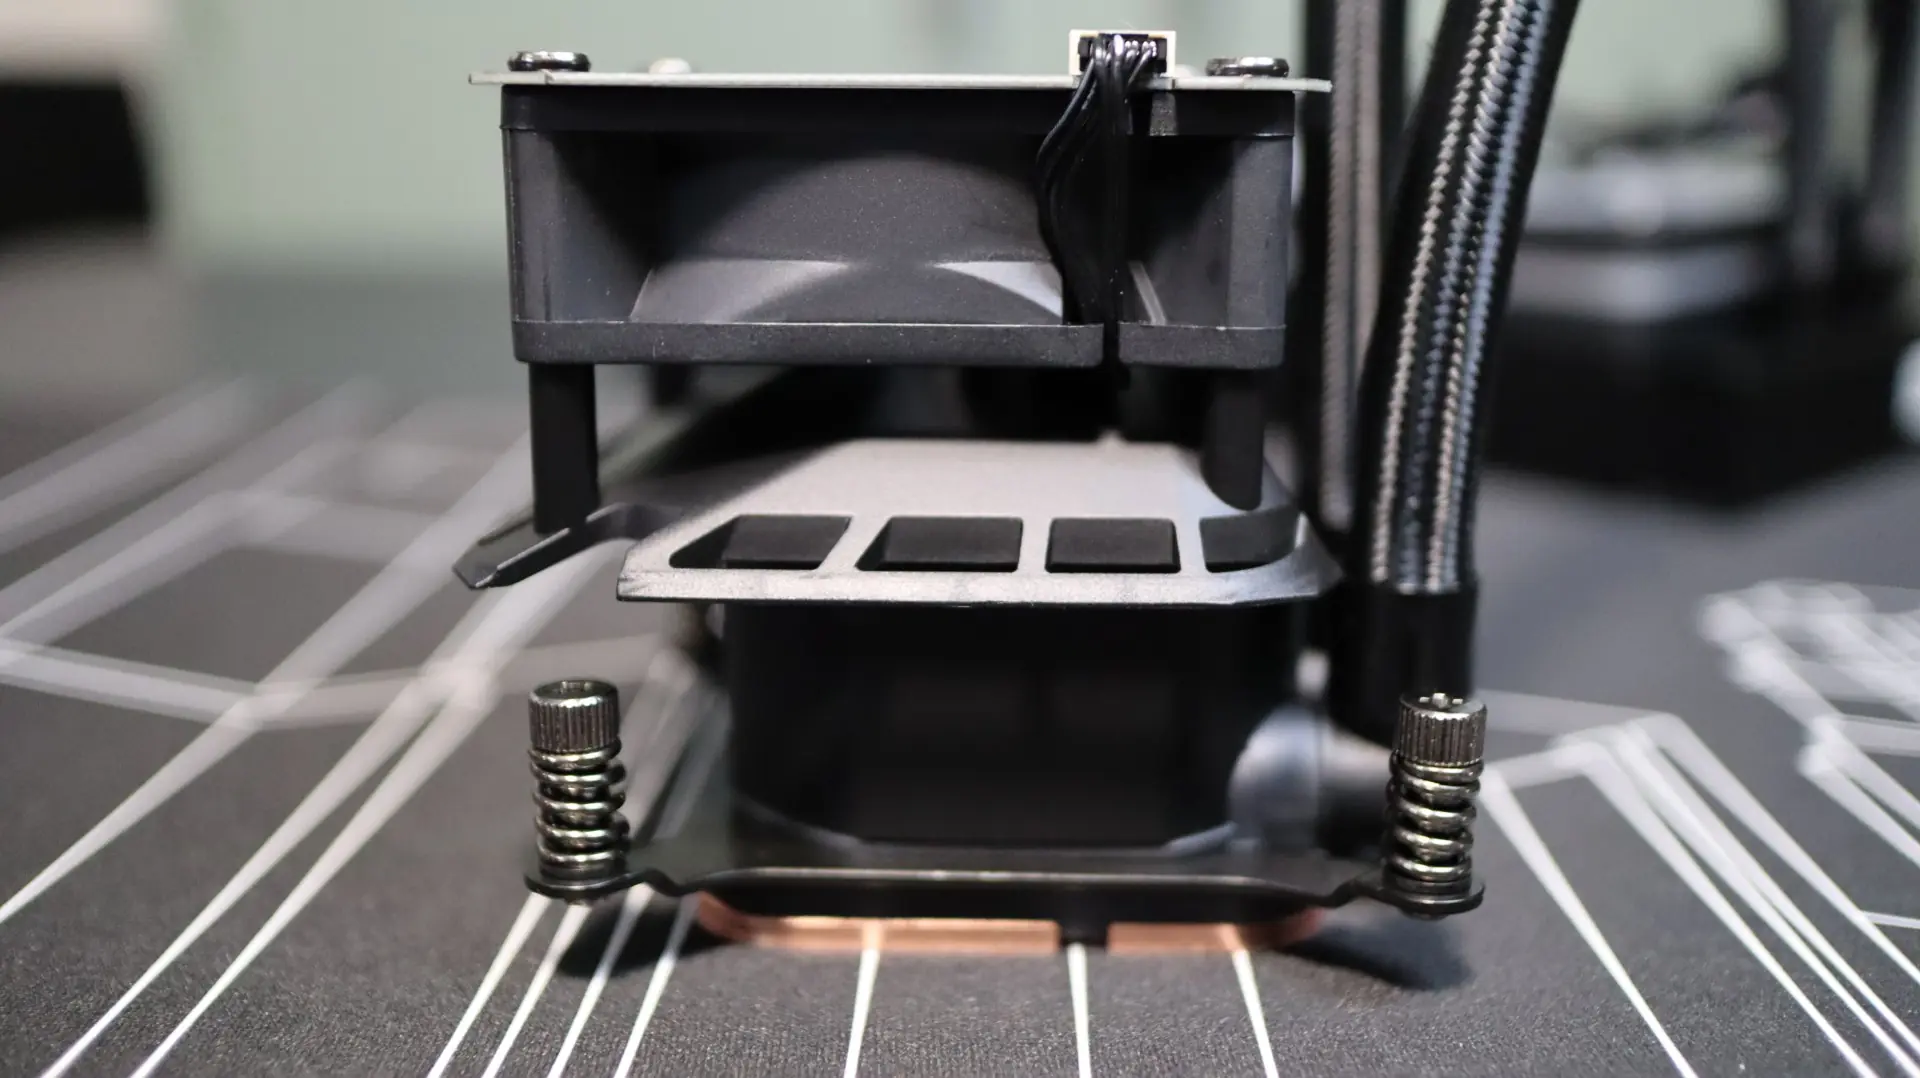
Internally, the pump provides an operating speed range of 1200-3100 RPM. The other sides of the pump area are plain, but above them is a different story. Just between the pump and the fan sits an angled plastic divider. This divider is designed to direct airflow from the fan out towards the surrounding power components, specifically the motherboard VRM heatsinks. This additional cooling for the power components can significantly help with overclocking and overall system stability when pushing your system to its limits.
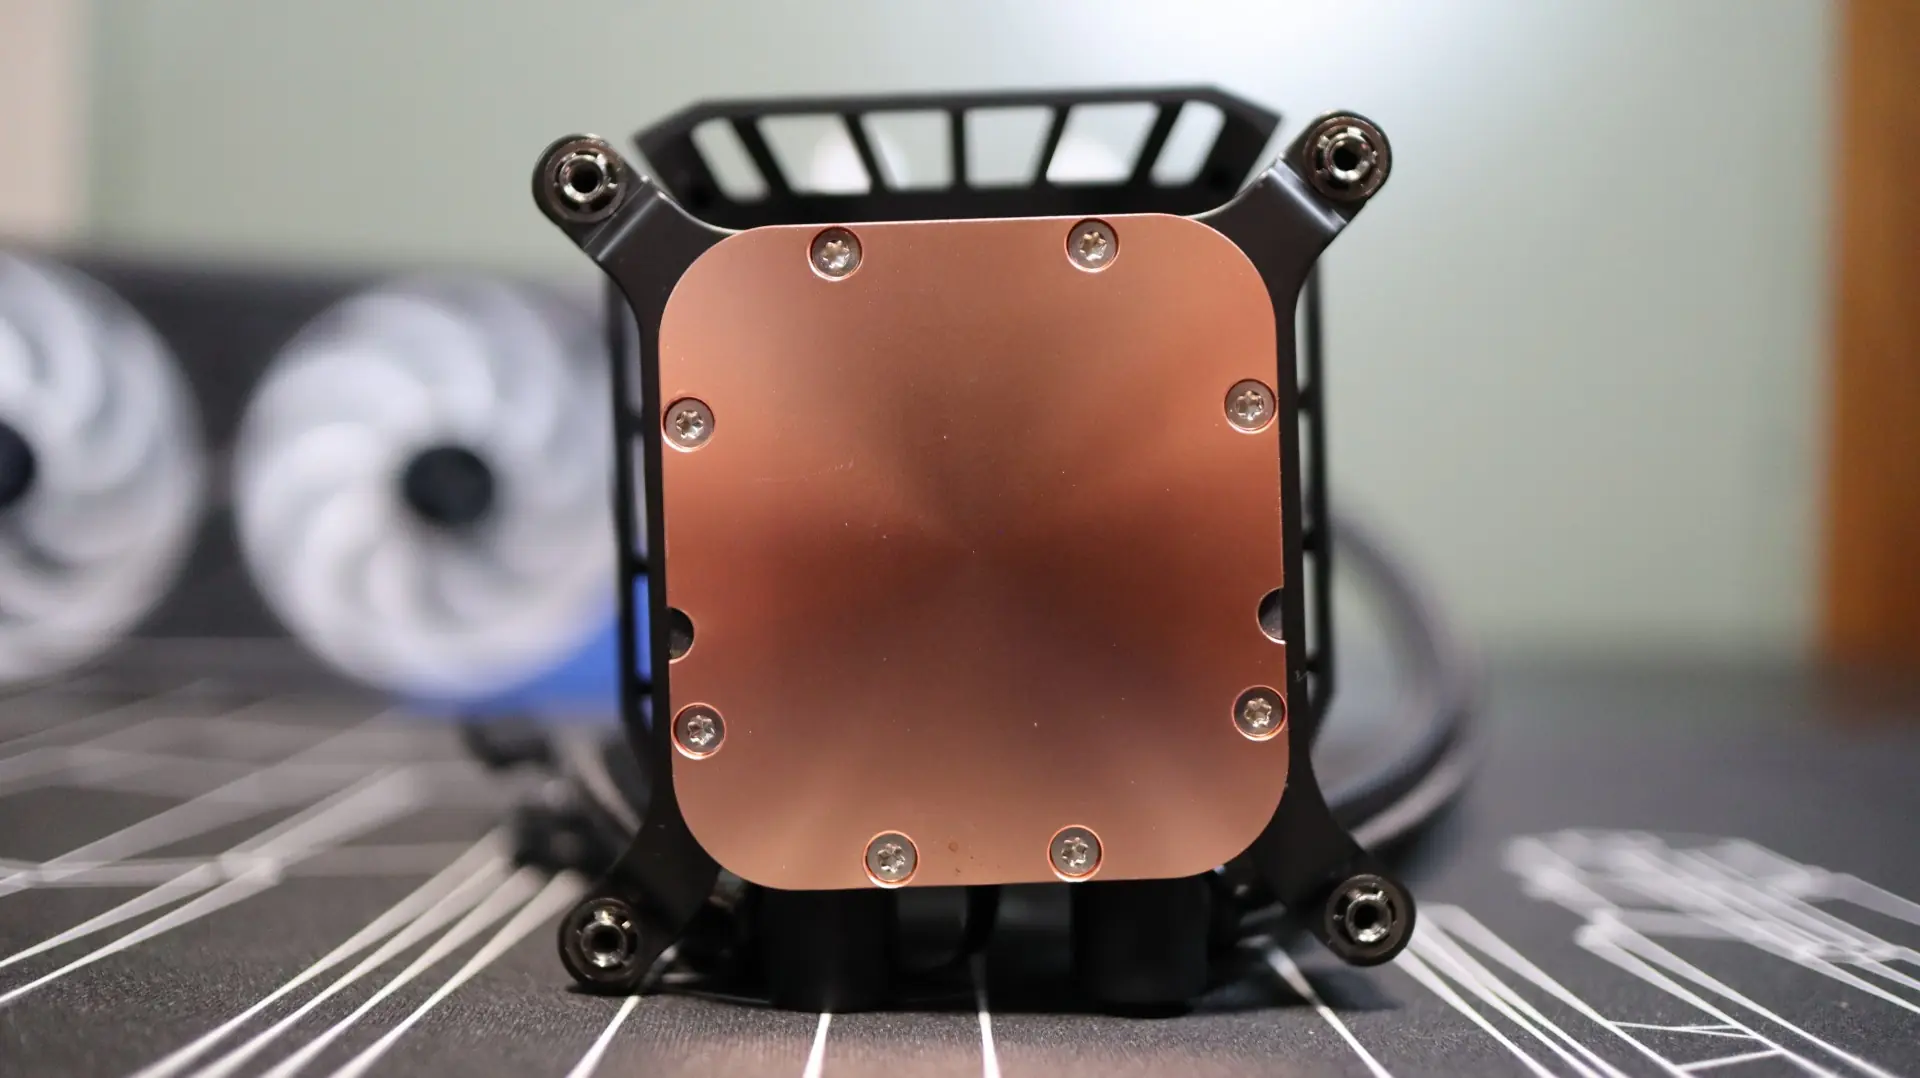
Taking a look at the base of the cooler, we find a large copper base, free from any pre-applied thermal material. The copper base has a satin finish to it, which I tend to prefer over a polished base, as it has a bit more texture and therefore surface area for the thermal paste to make contact with. ASRock has included a small thermal paste syringe with the cooler, so you’ve got got more than one chance to install the cooler compared to pre-applied paste, which I really appreciate.
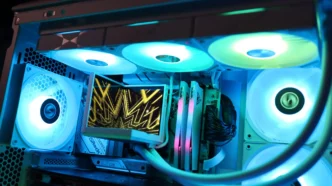
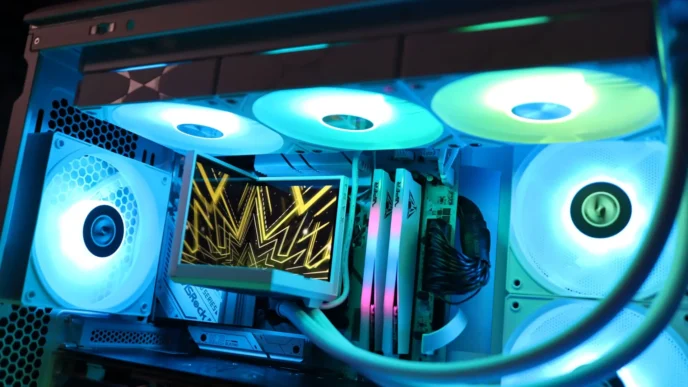
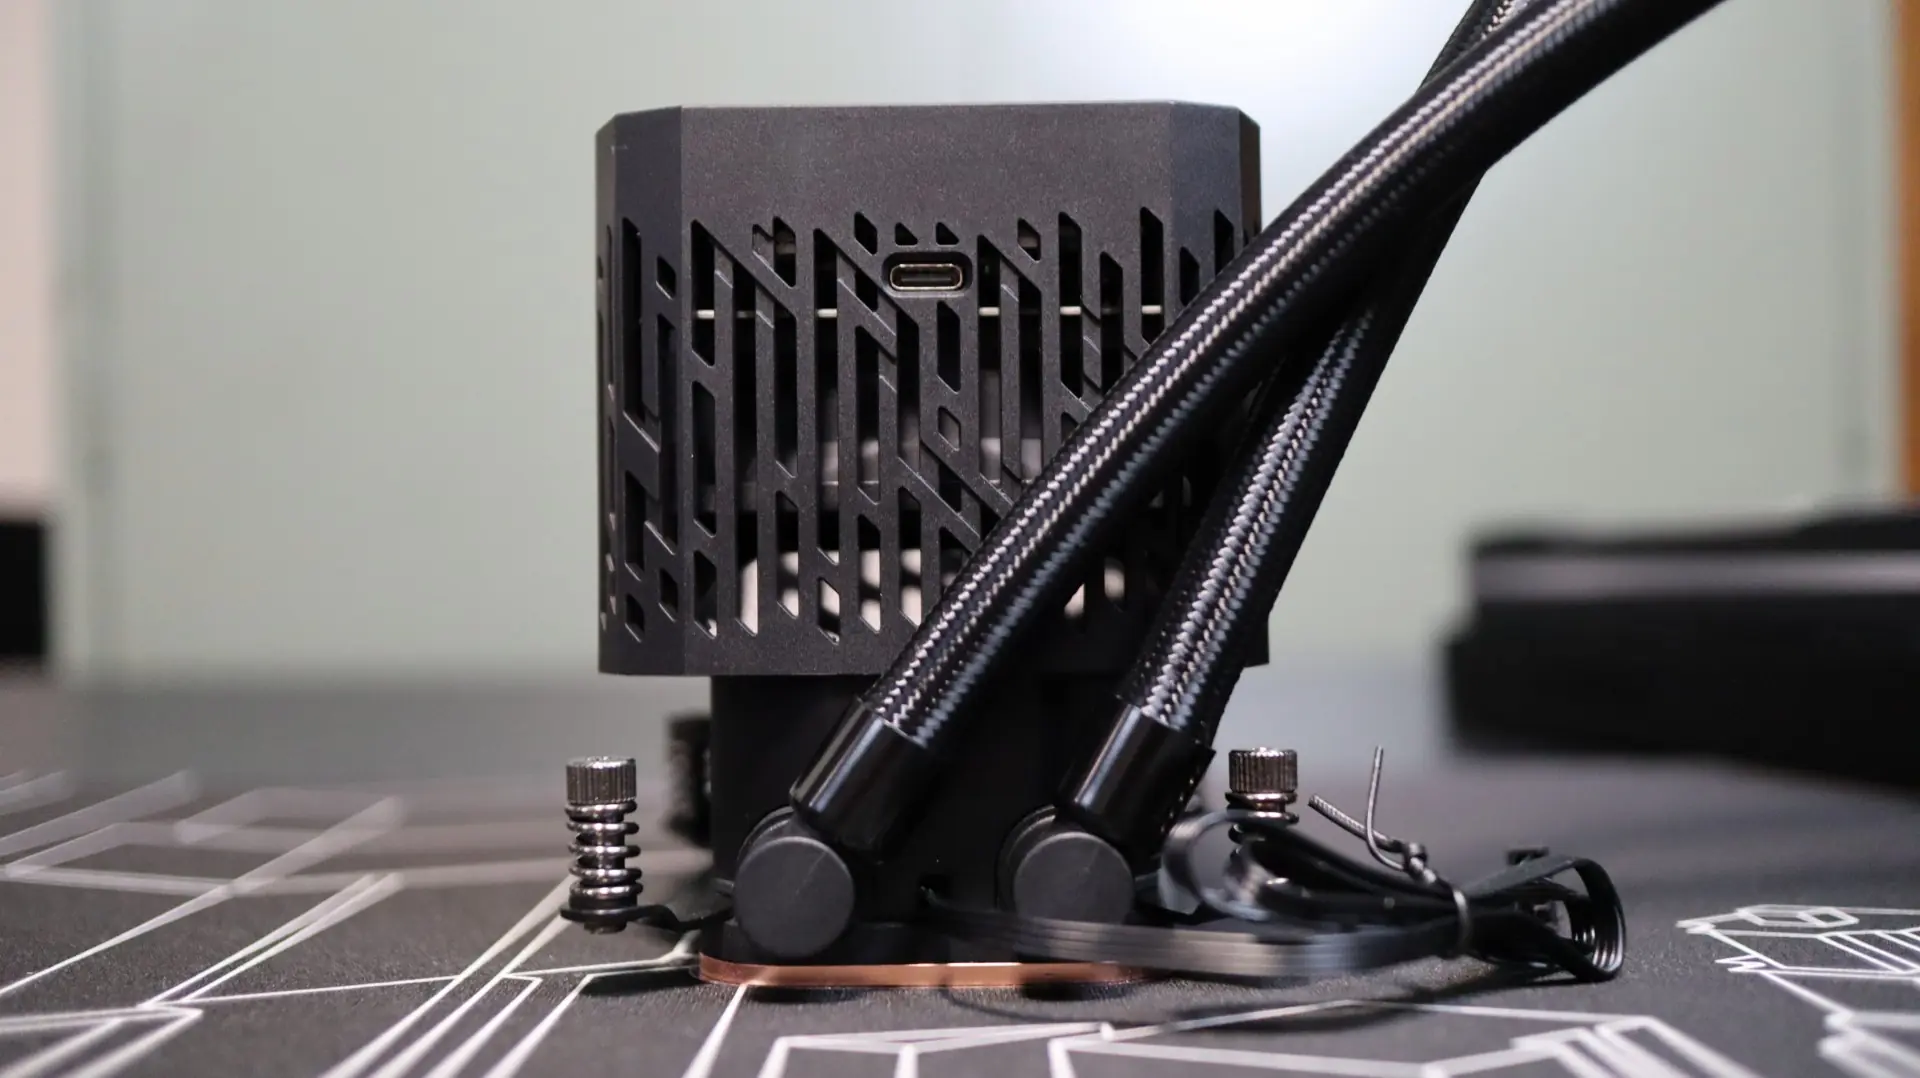
Moving over to the top portion of the pump housing, we find the 3.4″ square LCD placed on top of a large cube that slides over the aforementioned fan and pump. The sides of the cube have many ventilation slats that allow the internal fan to bring air in for VRM cooling.
Inside this cover are the components used to facilitate the LCD functionality, as well as an ARGB lighting array with 16 LEDs. This cover is held onto the pump housing base via four magnets that are placed at the inside corners.
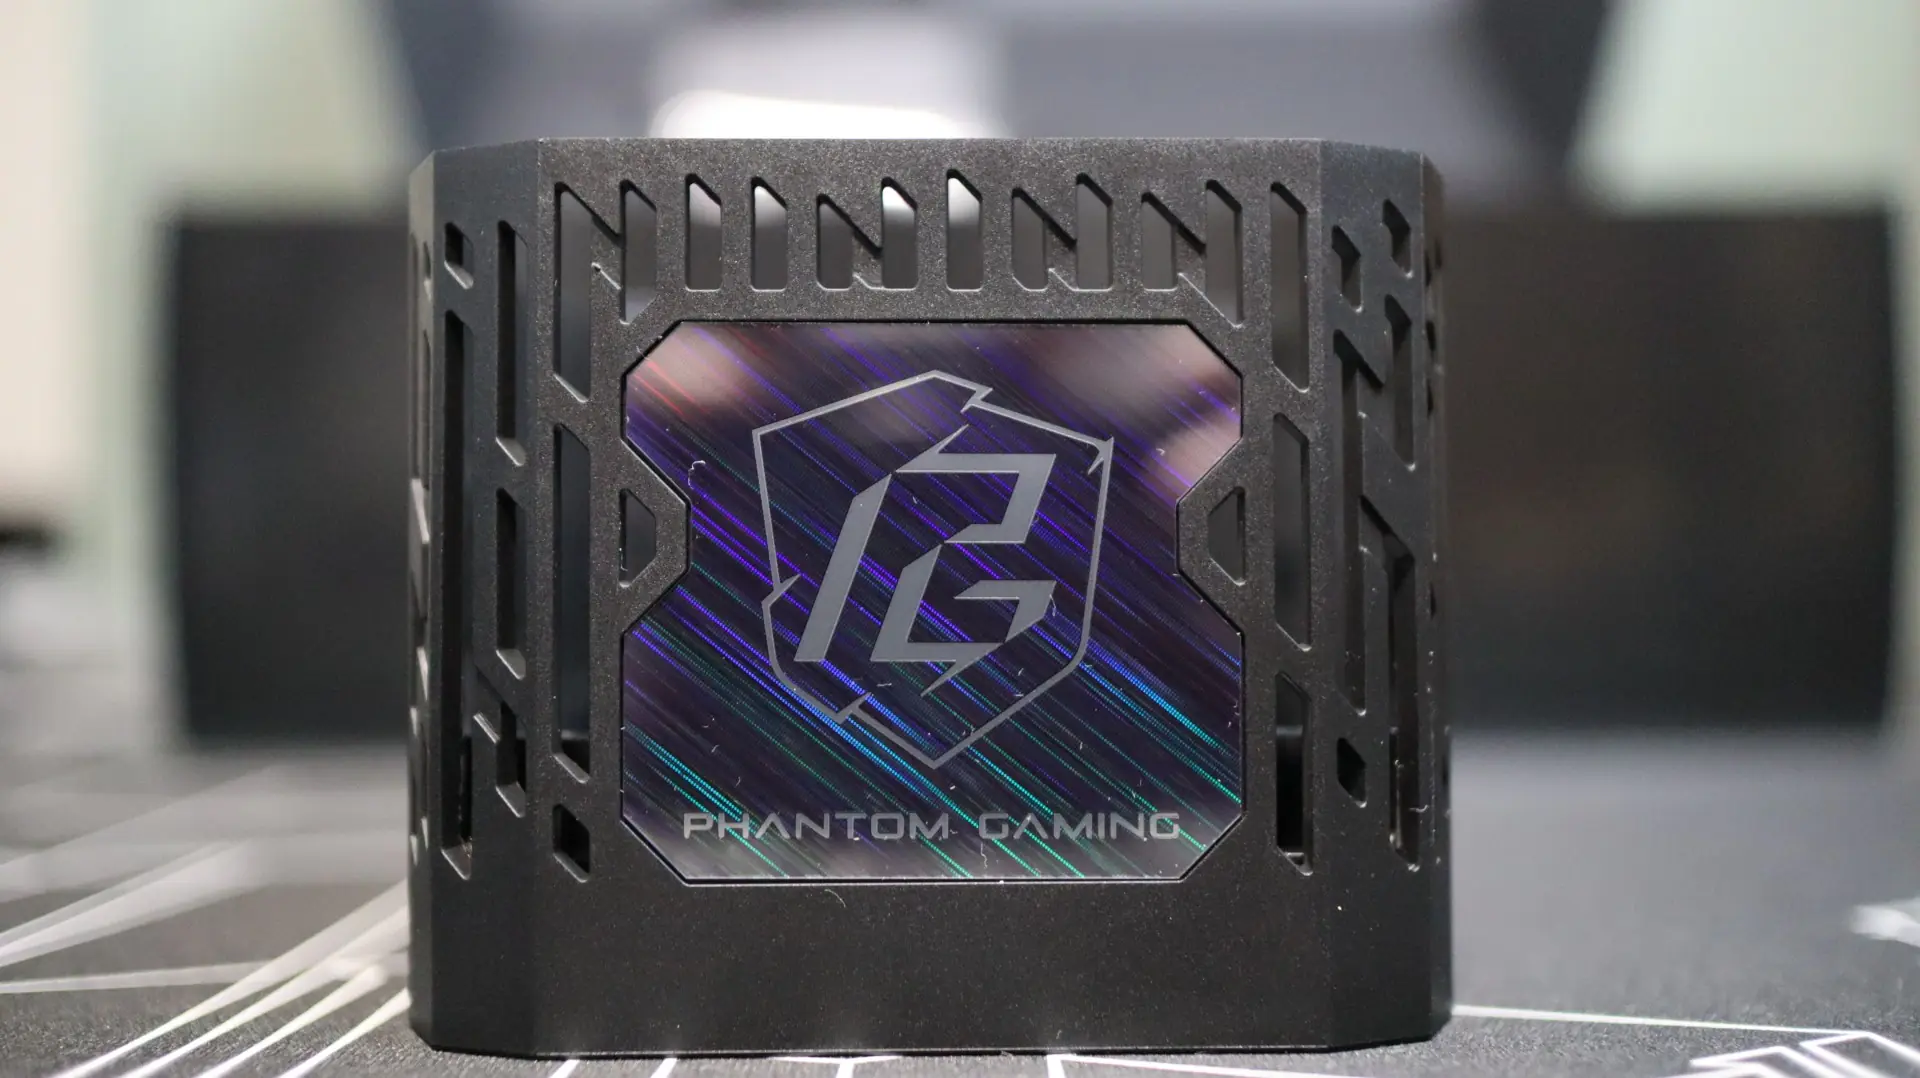
On one exterior side of the cube is a holographic Phantom Gaming logo badge – I just wish you were able to see it better when the cooler is installed in your system.
The opposite side of the cube is home to a USB Type-C port that is used to connect a Type-C breakout cable. This cable converts into an internal USB 2.0 plug, a 3-pin ARGB connector, and a 4-pin PWM connector.
As far as the screen goes, it is a square 3.4″ display with a resolution of 480 x 480, running at 60 Hz, and a 24-bit color depth. These stats should translate into crisp, smooth graphics.
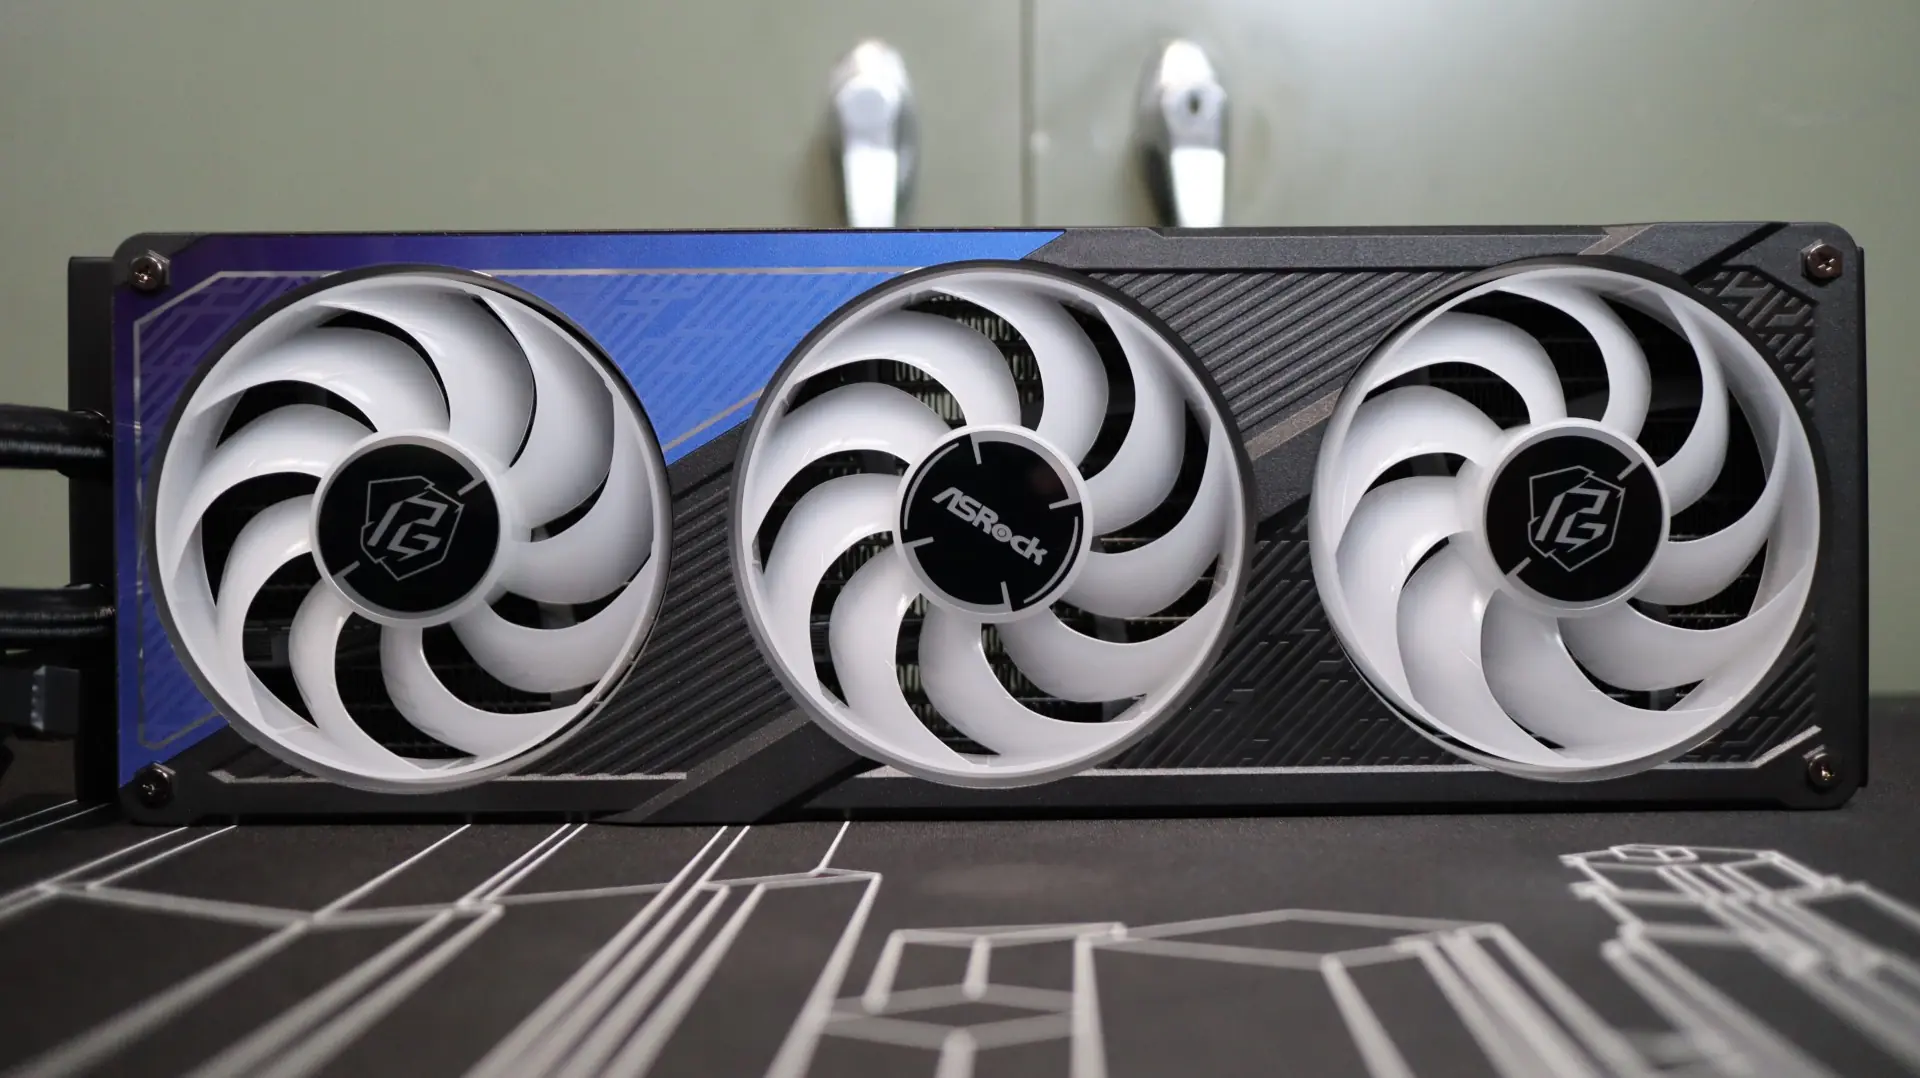
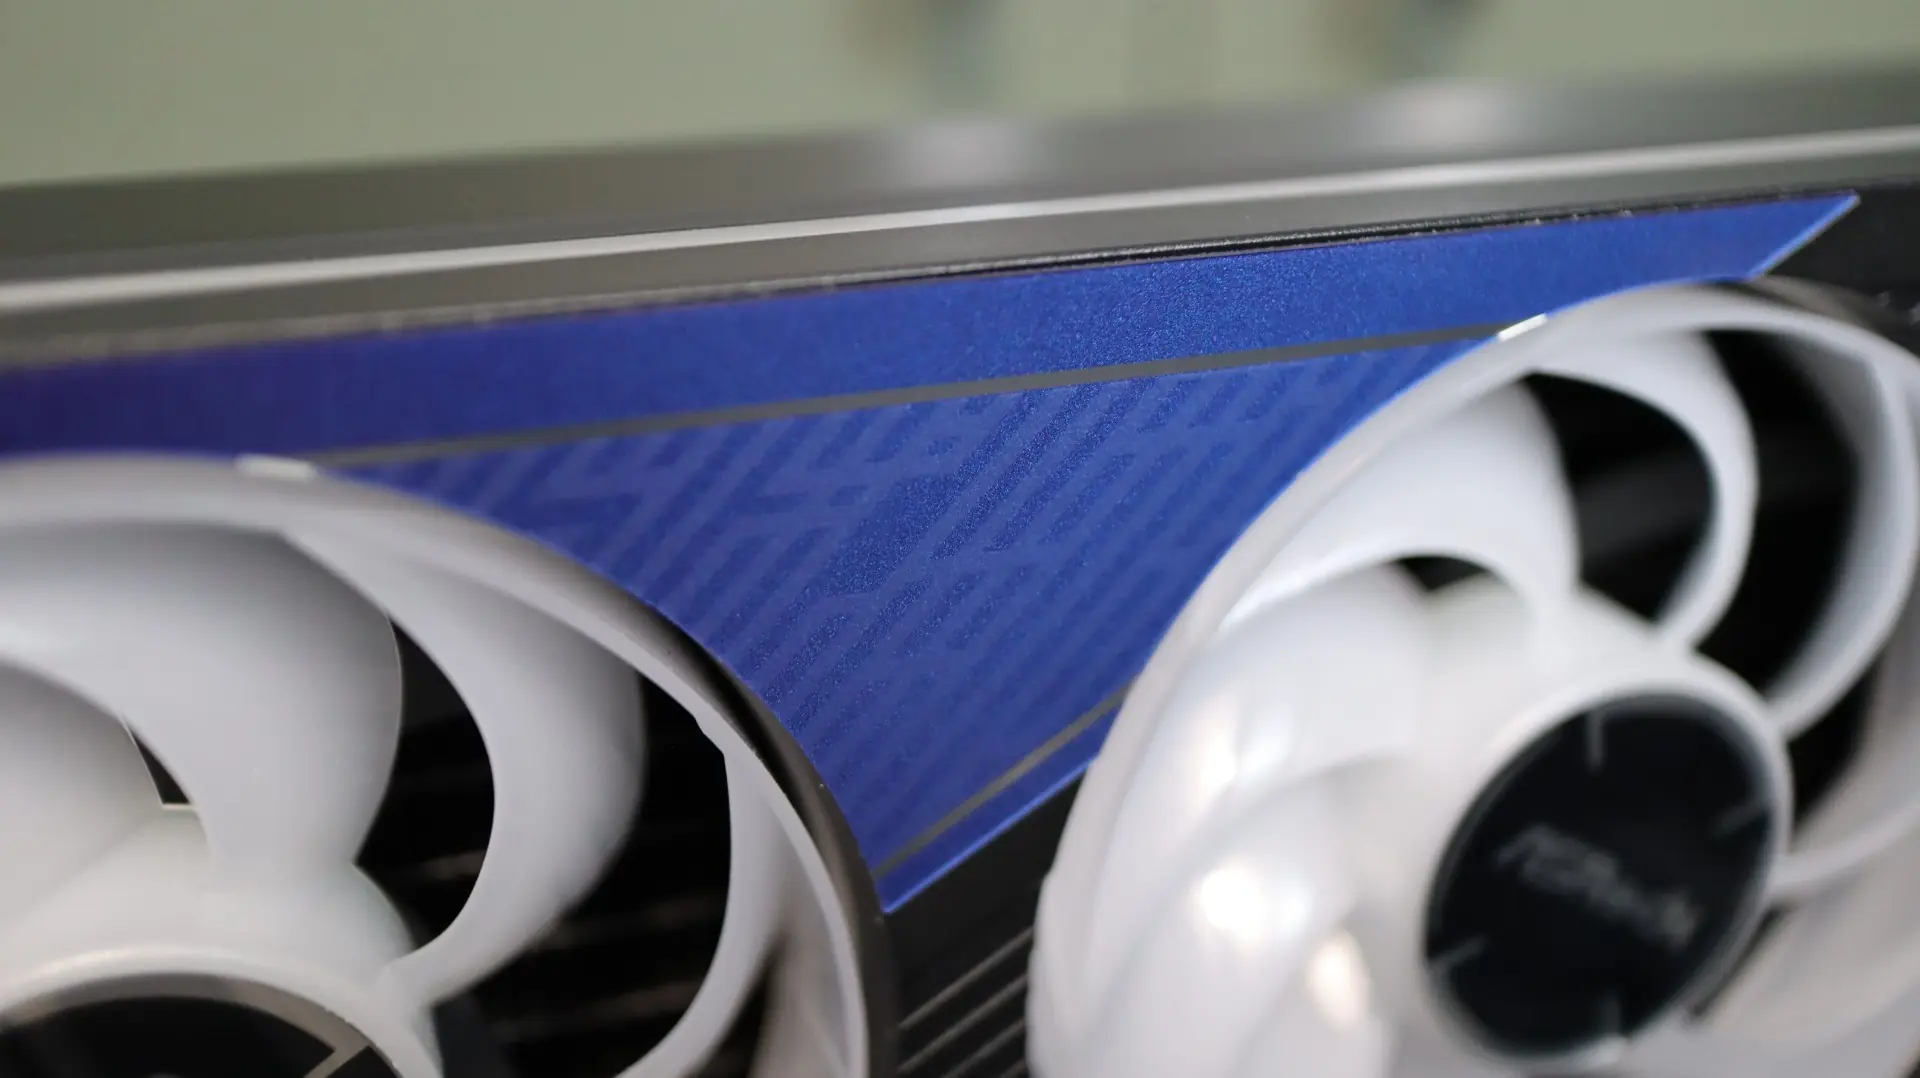
Regarding the included fans, or should I say “fan”, ASRock has included a single 360mm fan array that essentially combines three 120mm fans into a single unit. This fan has an operating speed of 0-2400 RPM, and offers up to 61.28 CFM of airflow and 3.11mm-H2O of static pressure. I really like how ASRock added some additional flair to the fan array frame with the inclusion of a reflective holo design – it just adds another level of style to this product.
There are no rubber feet at the corners or along the edges of this fan to help isolate any vibrations, though the use of 12 screws should help keep the fan frame securely attached to the radiator. A maximum noise level of 31.4 dBA is claimed by ASRock, and we will see just how that translates in our noise testing when it is paired up with the radiator.
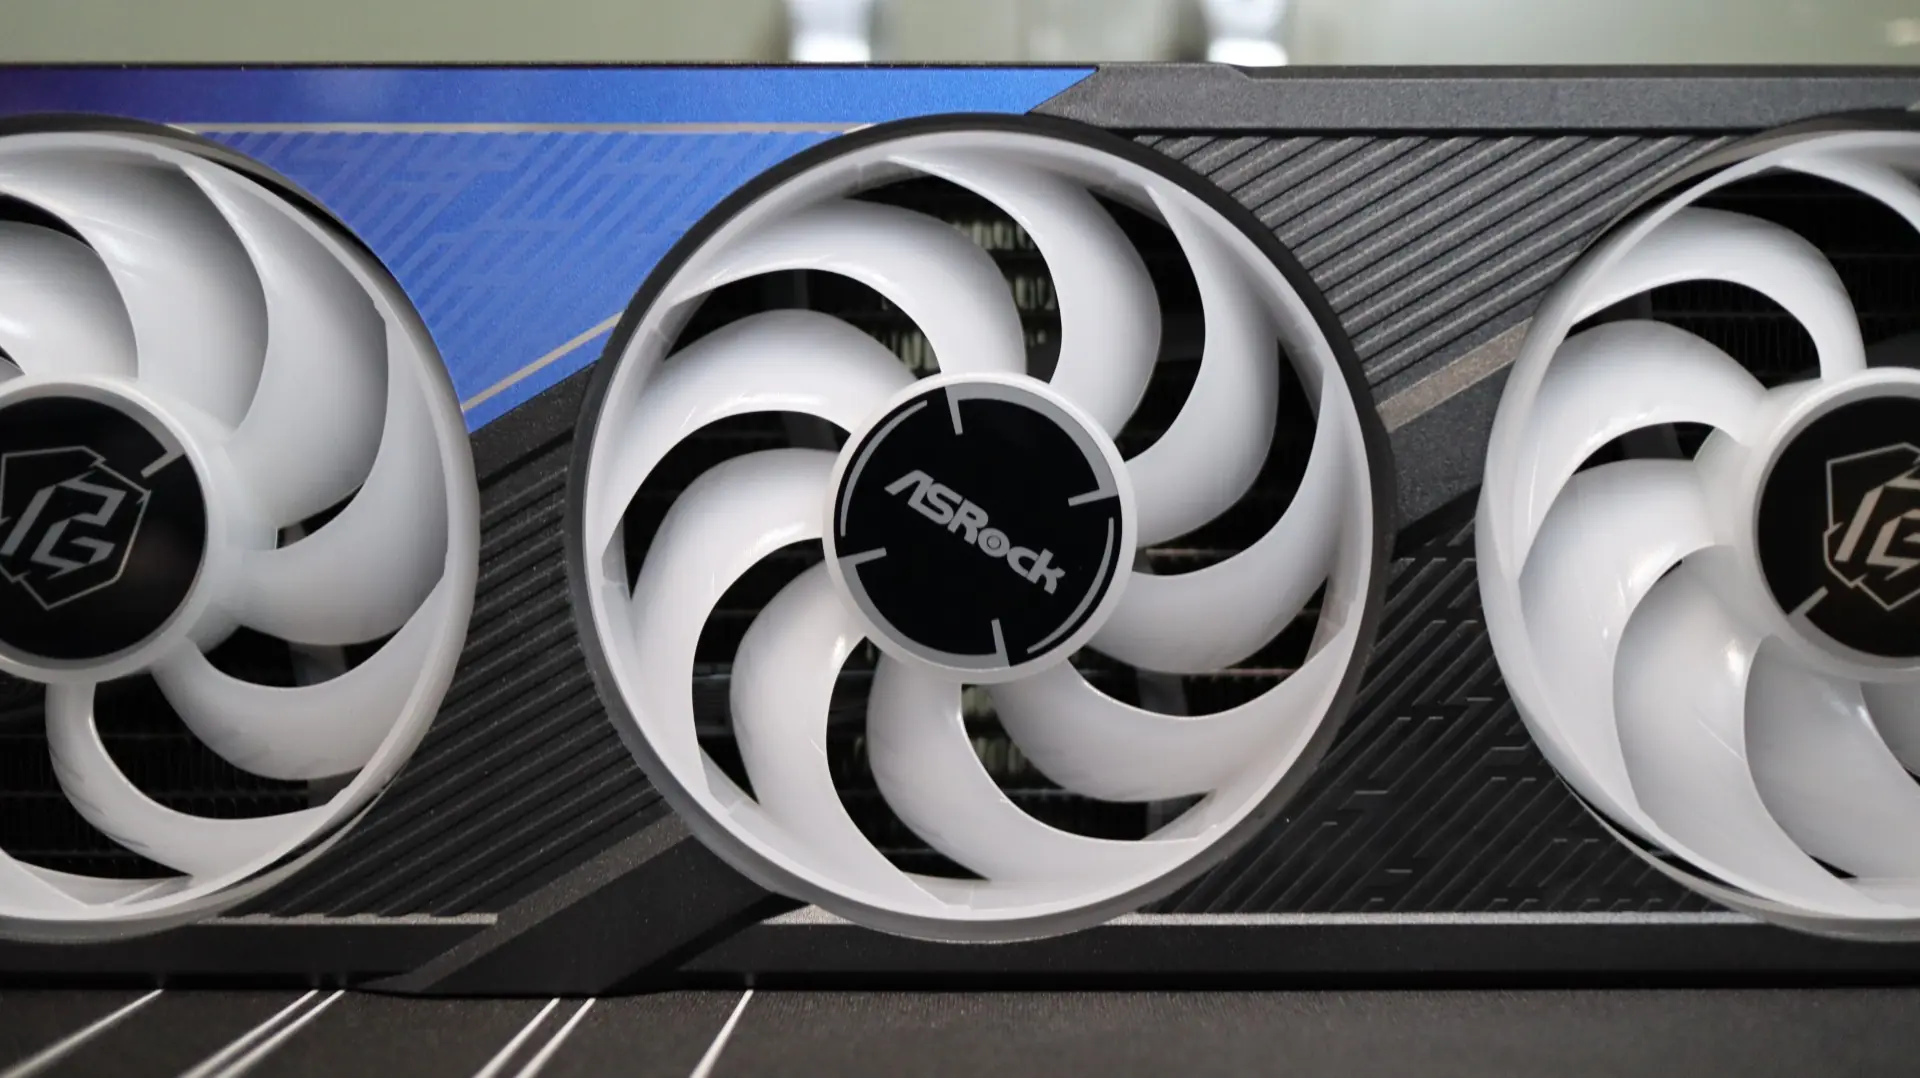
Each fan blade array is made up of 9 blades, and they are all connected at the edges to promote the flow of air straight through the radiator fins. Additionally, each fan has a set of ARGB LEDs at its center for full lighting customization. The frame of the fan array also offers ARGB lighting around its entirety, which has been a common theme among these new unibody fans.
Additionally, only a single cable exits from the fan array near the cooling lines, which then splits out to both a 4-pin PWM for power and speed control, and a 3-pin ARGB cable for lighting. This reduction in cable clutter makes installation so much easier and cleaner.