Installation & Setup
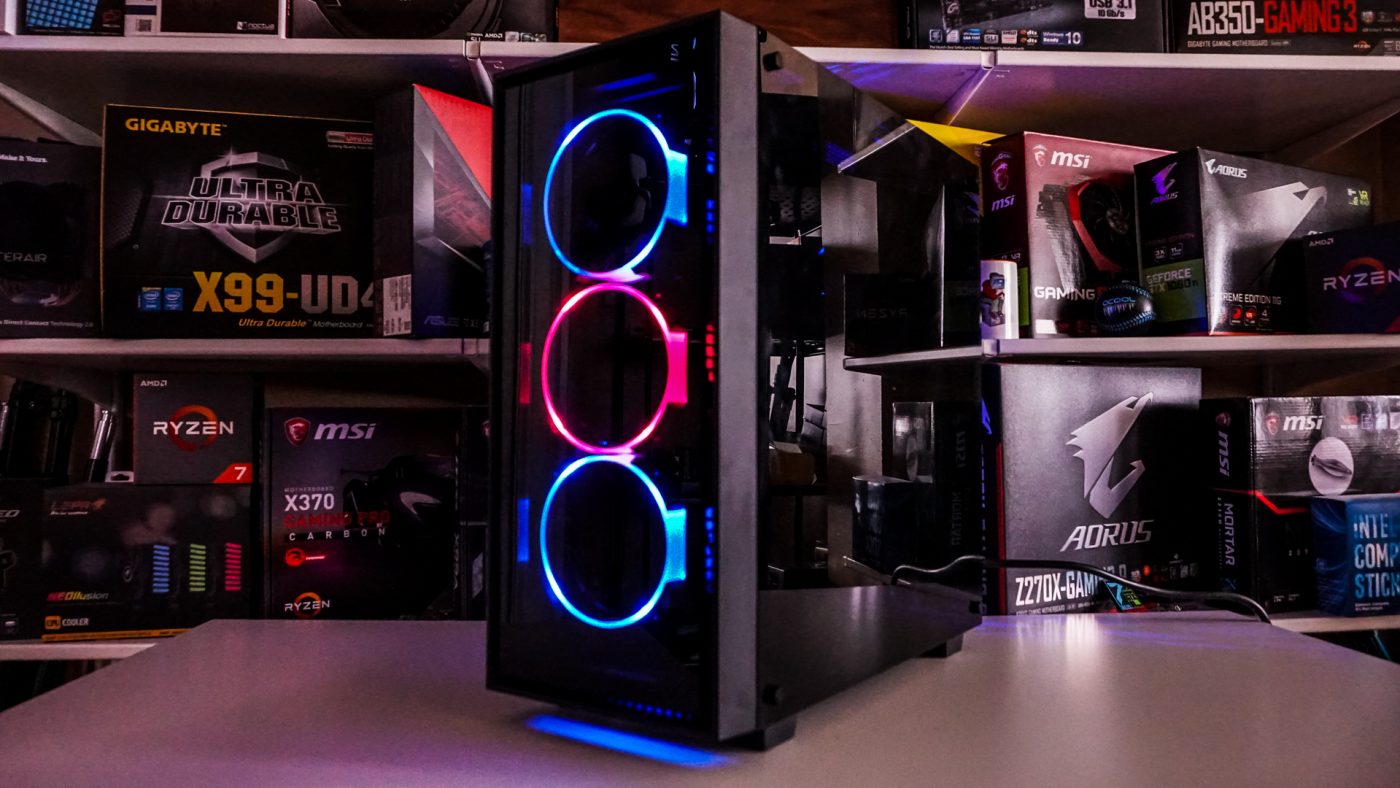
For the most part installing these fans are just like any other case fans out there. We’ve installed them on the front of our mean:it 5PM Tempered Glass case. This is the case we’ve used for all of our RGB fan reviews and it has a tempered glass from that easily allows us to show off the fans.

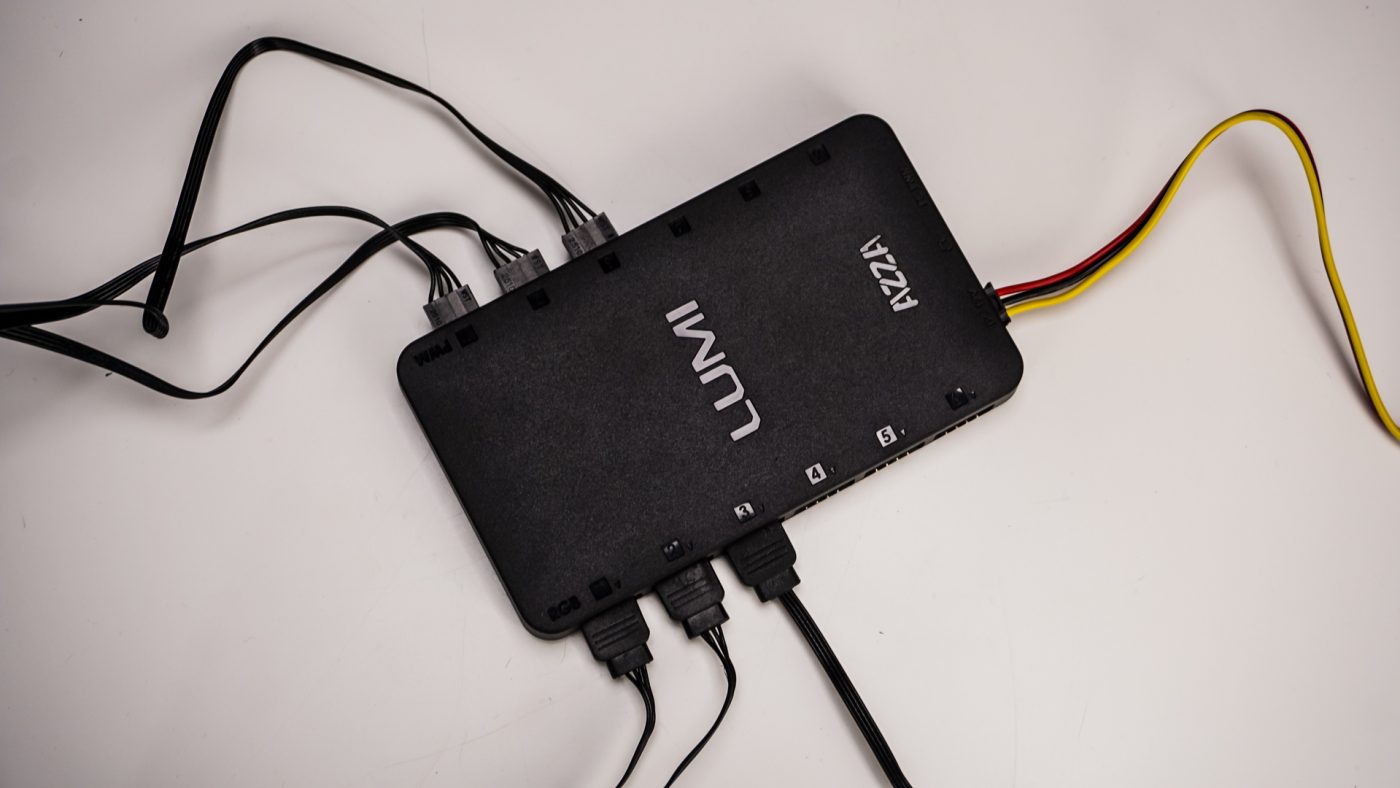
Once we have the fans mounted you’ll need to connect them to the Lumi controller. As we mentioned earlier each fan has two connections coming off it. First you have a 4-pin PWM connection and then you have a 4-pin RGB connection. Your Lumi controller has connections on one side for the PWM connections and RGB connections on the other. The controller supports a total of six fans. Once you are done connecting everything your controller should look something like this…
The last two things you’ll have to do is connect the Lumi to power and mount it. There is a small molex connection for power, I would have really liked to have seen a SATA power connector here. AZZA includes double-sided tape to mount the controller. If for some reason you do not want to use the controller you could connect the fans to your motherboard for speed control and you can daisy-chain the RGB connections and connect the end to your motherboard for RGB control.
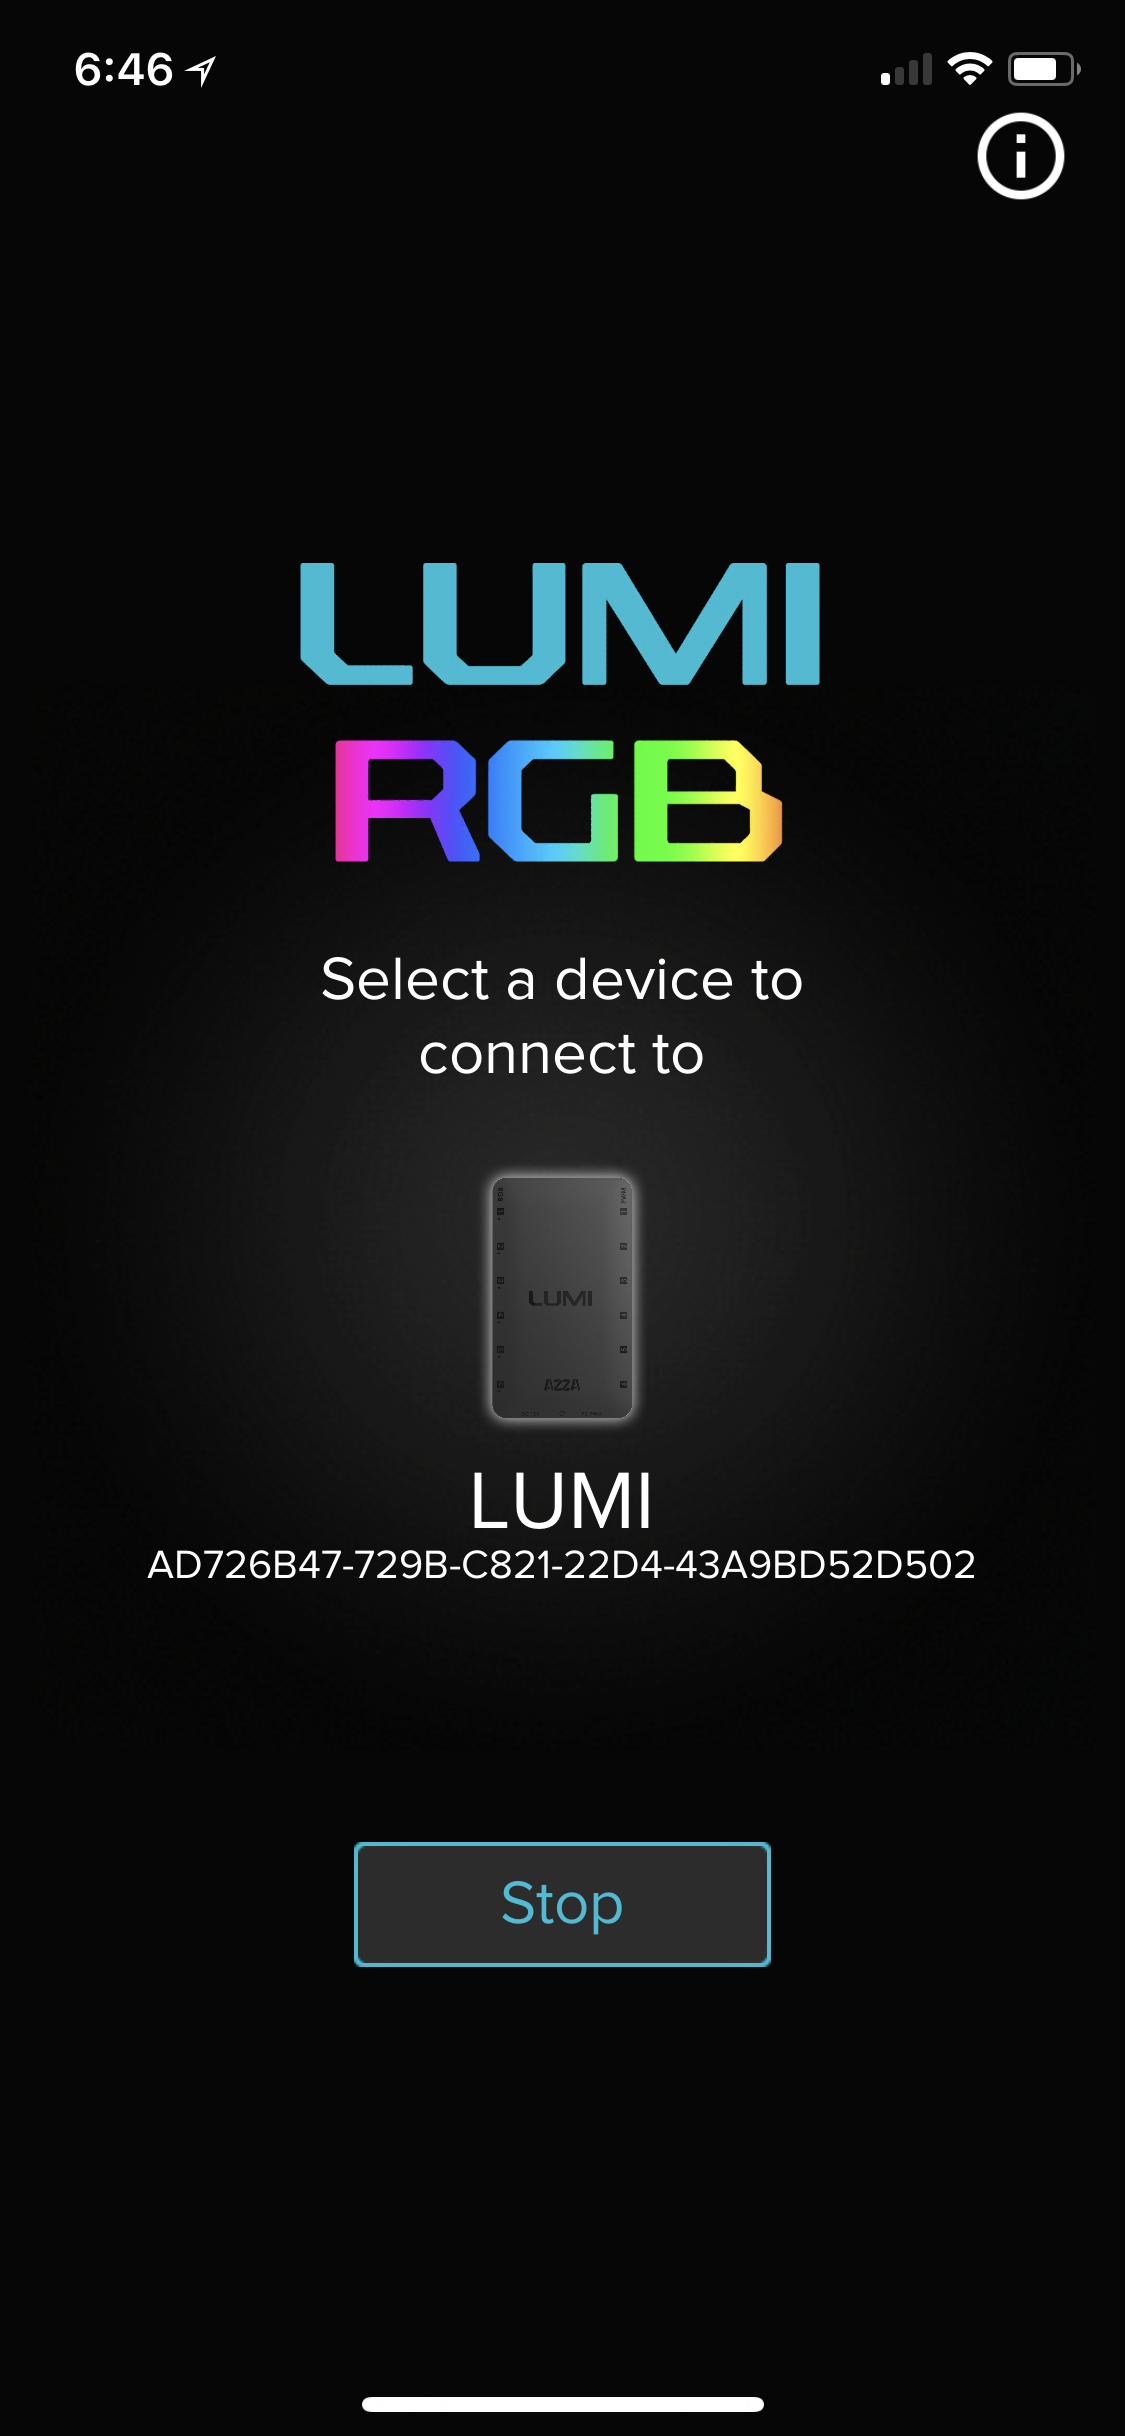
Since we are using the Lumi controller we need to download the Lumi app on our phone. It was the second result when we searched “Lumi” in the iOS App Store. Once downloaded and installed it is pretty easy to get it to work with your Lumi controller. Make sure your system is powered on and open the Lumi app. It will ask you to search for nearby devices. Hit search and your Lumi should pop right up. Select it to start controlling your fans.