Streamlabs OBS Setup
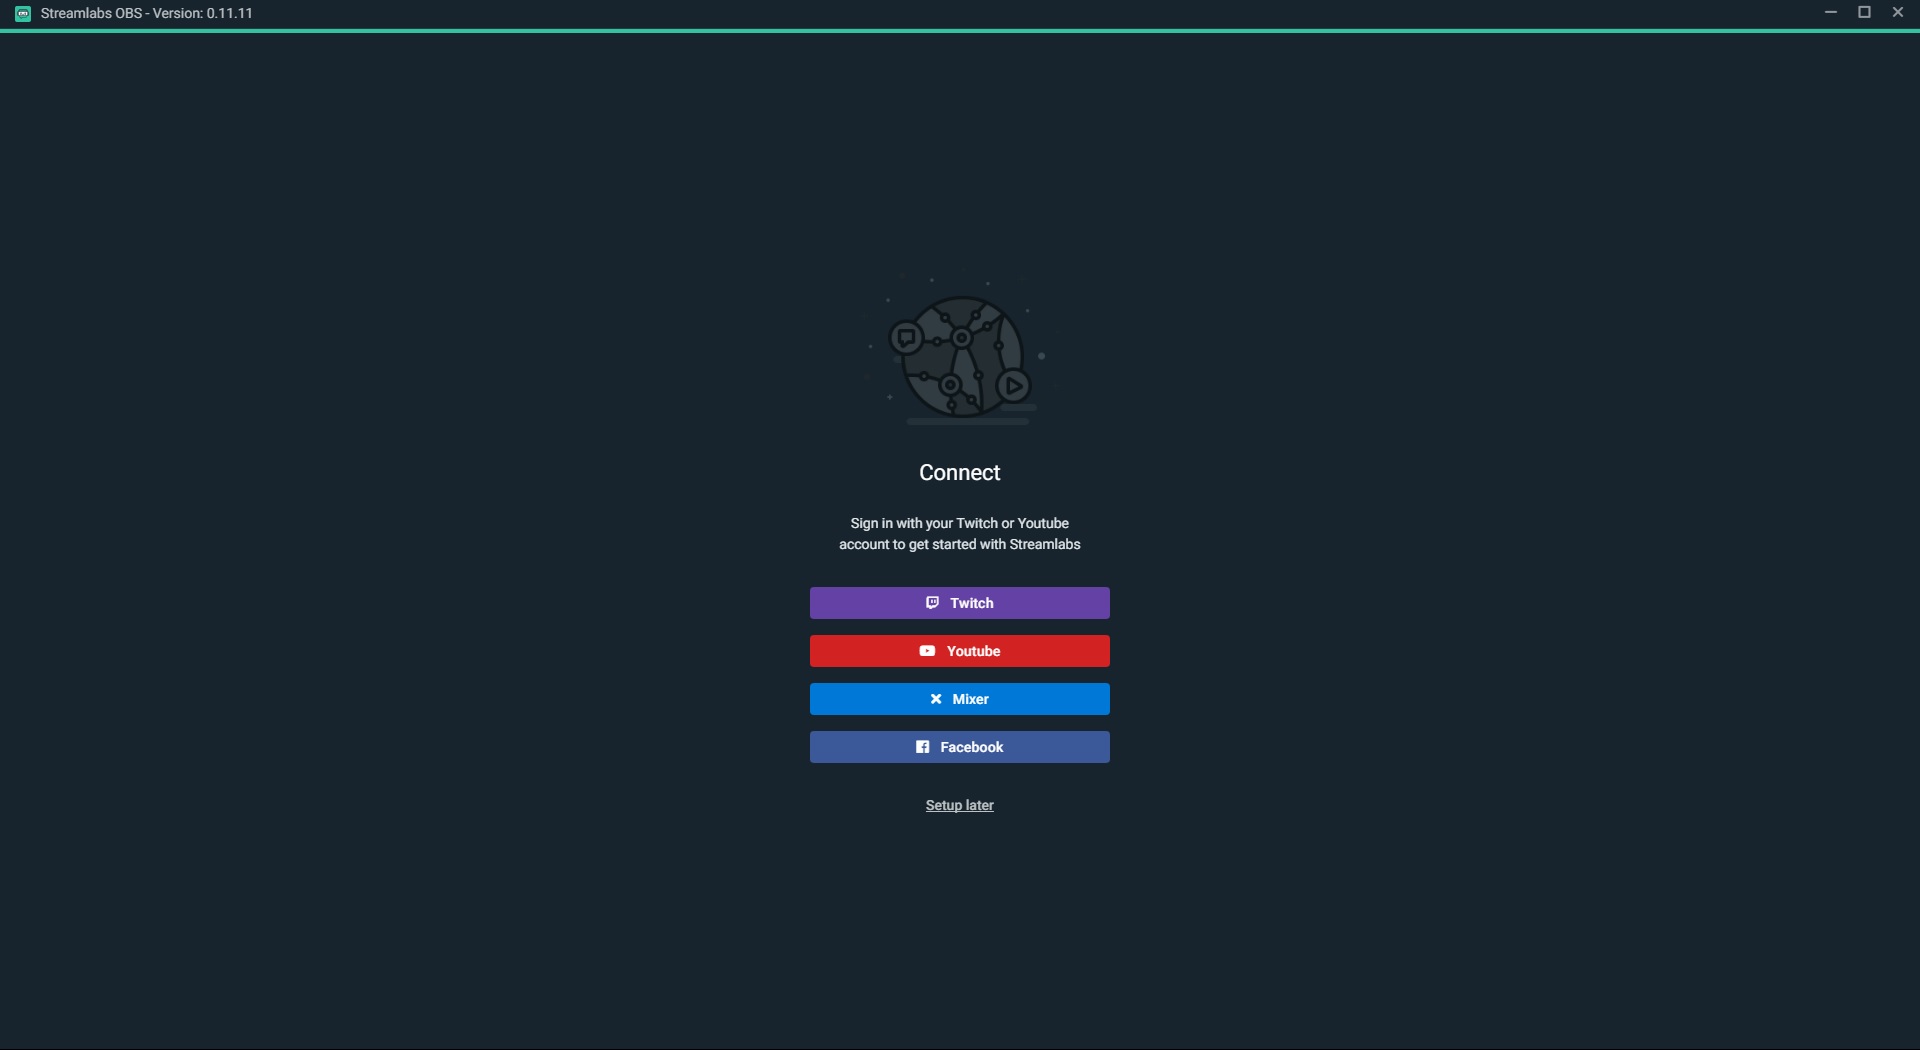
A quick visit to the Streamlabs site will provide us with a quick and easy download of the Streamlabs OBS application. Installation is a breeze, and once you have fired it up, Streamlabs OBS will ask to connect to a variety of streaming platforms. We will select the purple Twitch option, as that is our chosen platform in this guide, though other options can be taken at this point, or even set up later within the program.
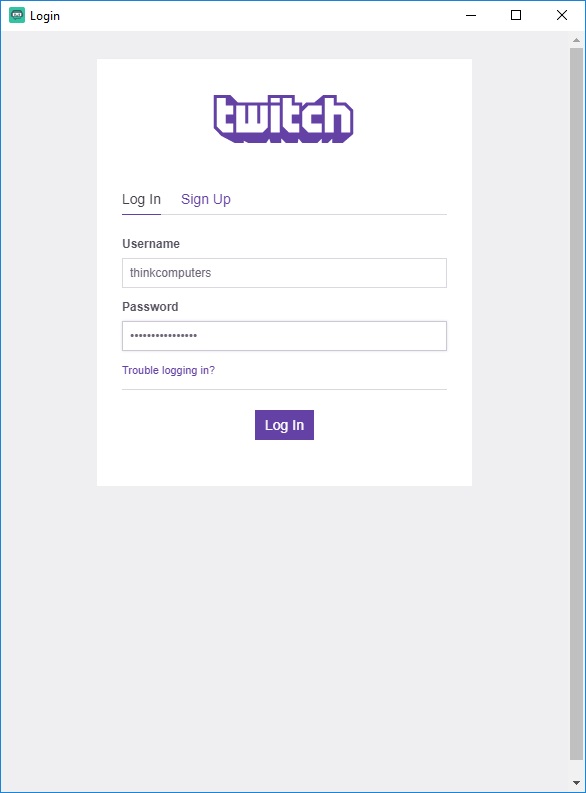
A pop-up window will appear, asking for our Twitch username and password. After providing these credentials, simply click the “Log In” button to continue.
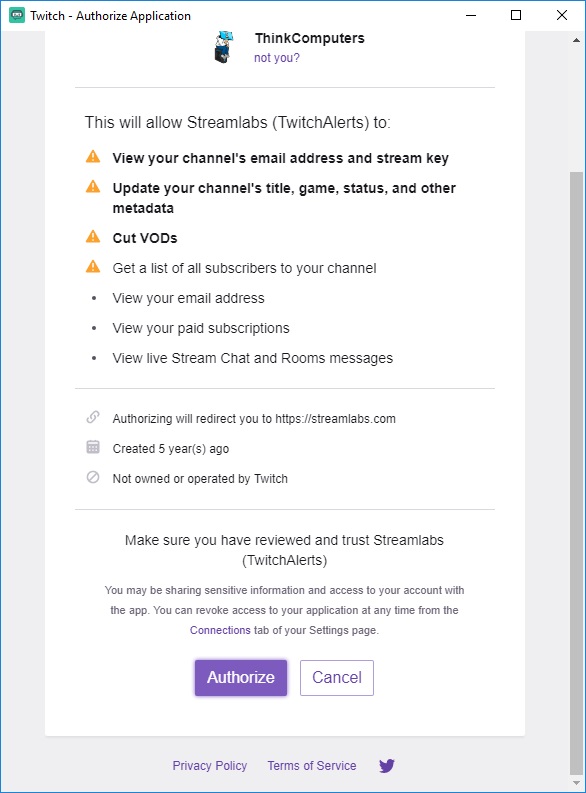
The window will update, notifying you of the access that will be given to Streamlabs with regards to your Twitch account. A quick review is in order, and quickly reveals that this is pretty standard access we would expect a broadcasting application with such tight integration to Twitch to need. Clicking the purple “Authorize” button will advance the process.
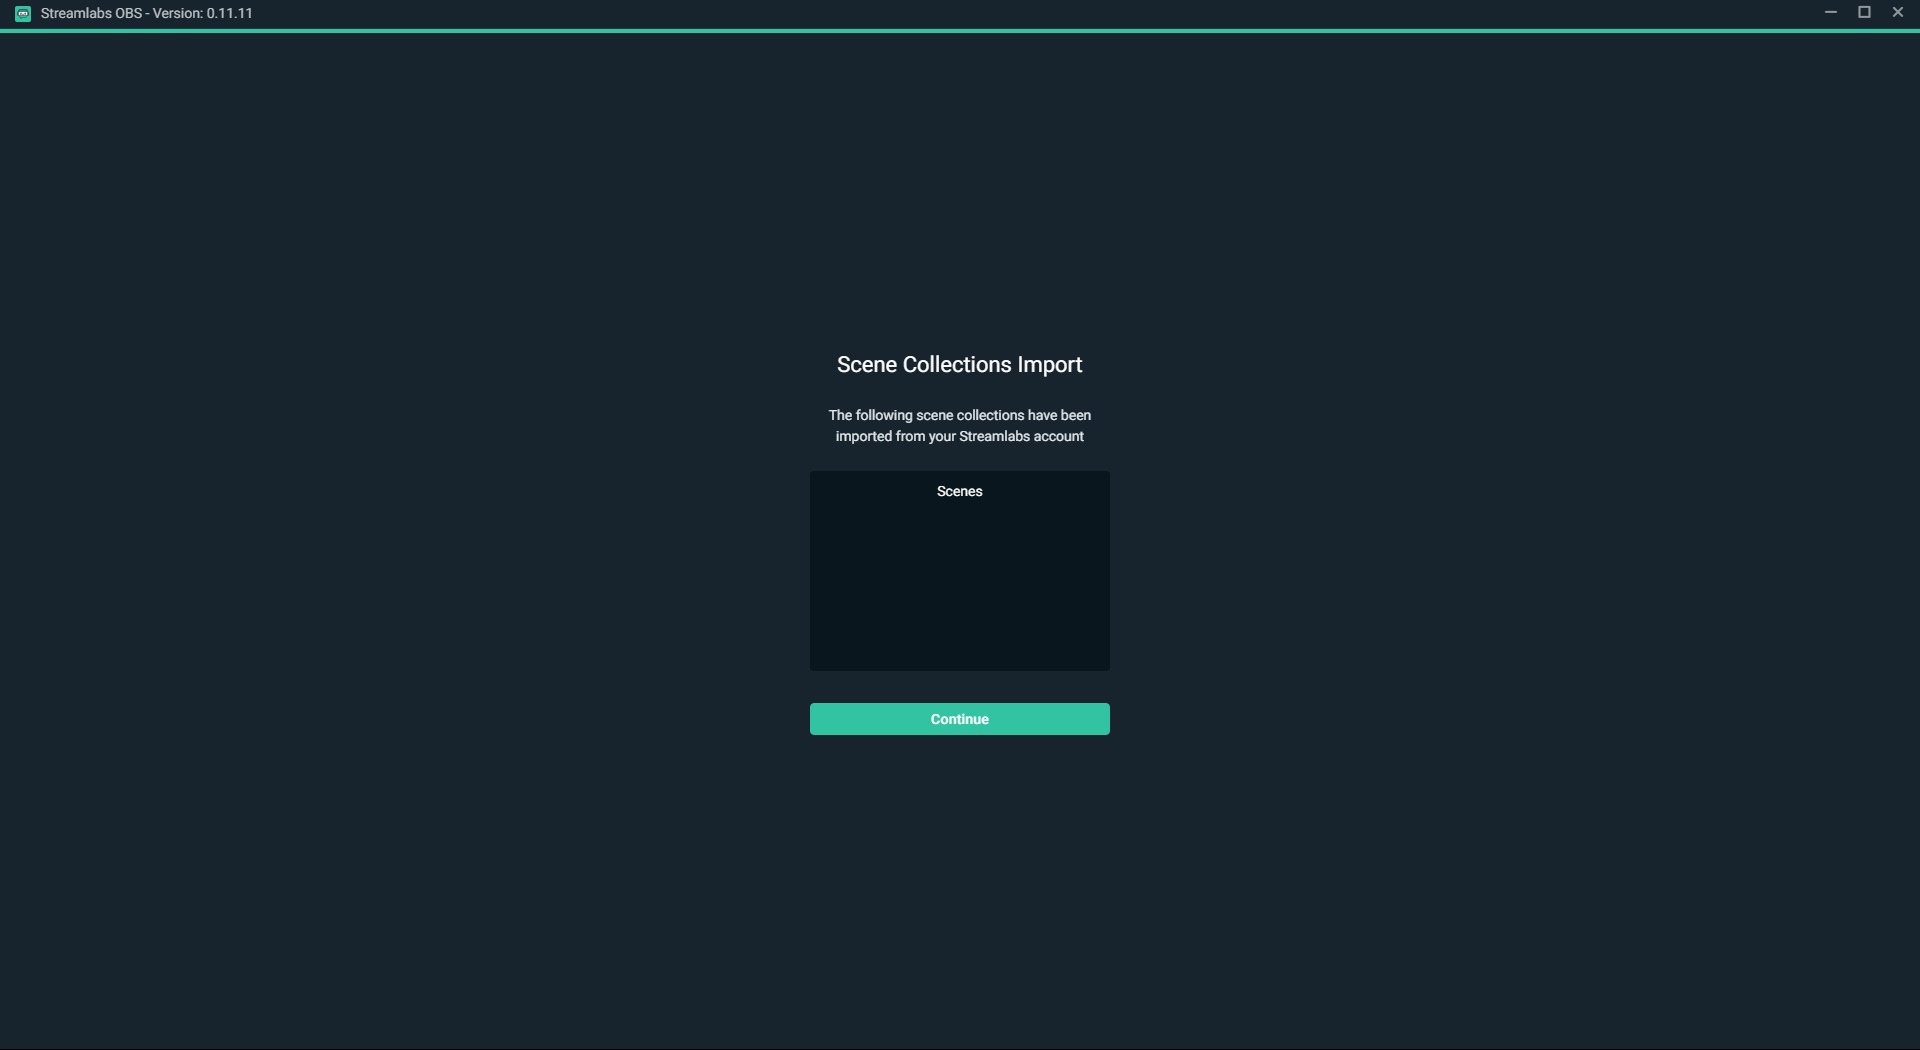
With that window out of the way, a status display of existing scenes imported into Streamlabs OBS is presented. Since we are assuming that you are starting from scratch, clicking the “Continue” button is the next step.
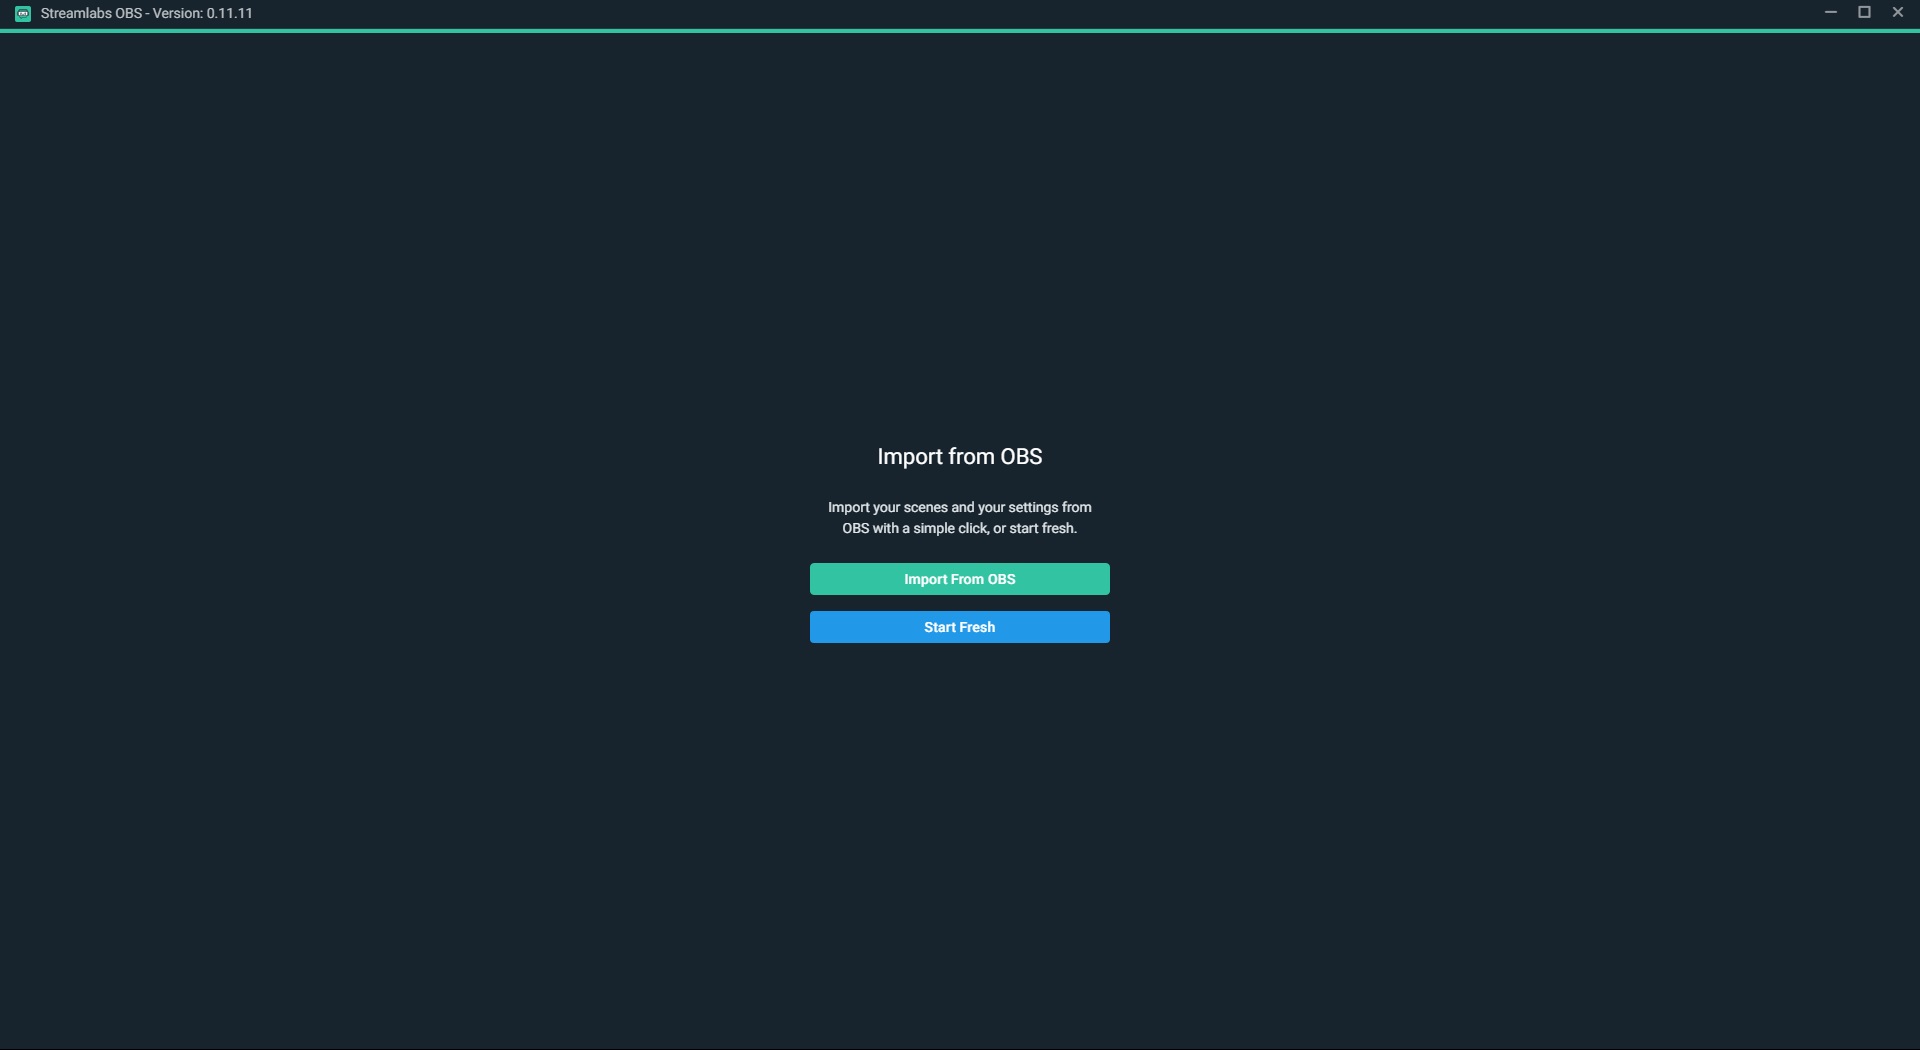
Again, since we are starting from scratch, we will choose the “Start Fresh” button when presented with the option to import scenes and settings.
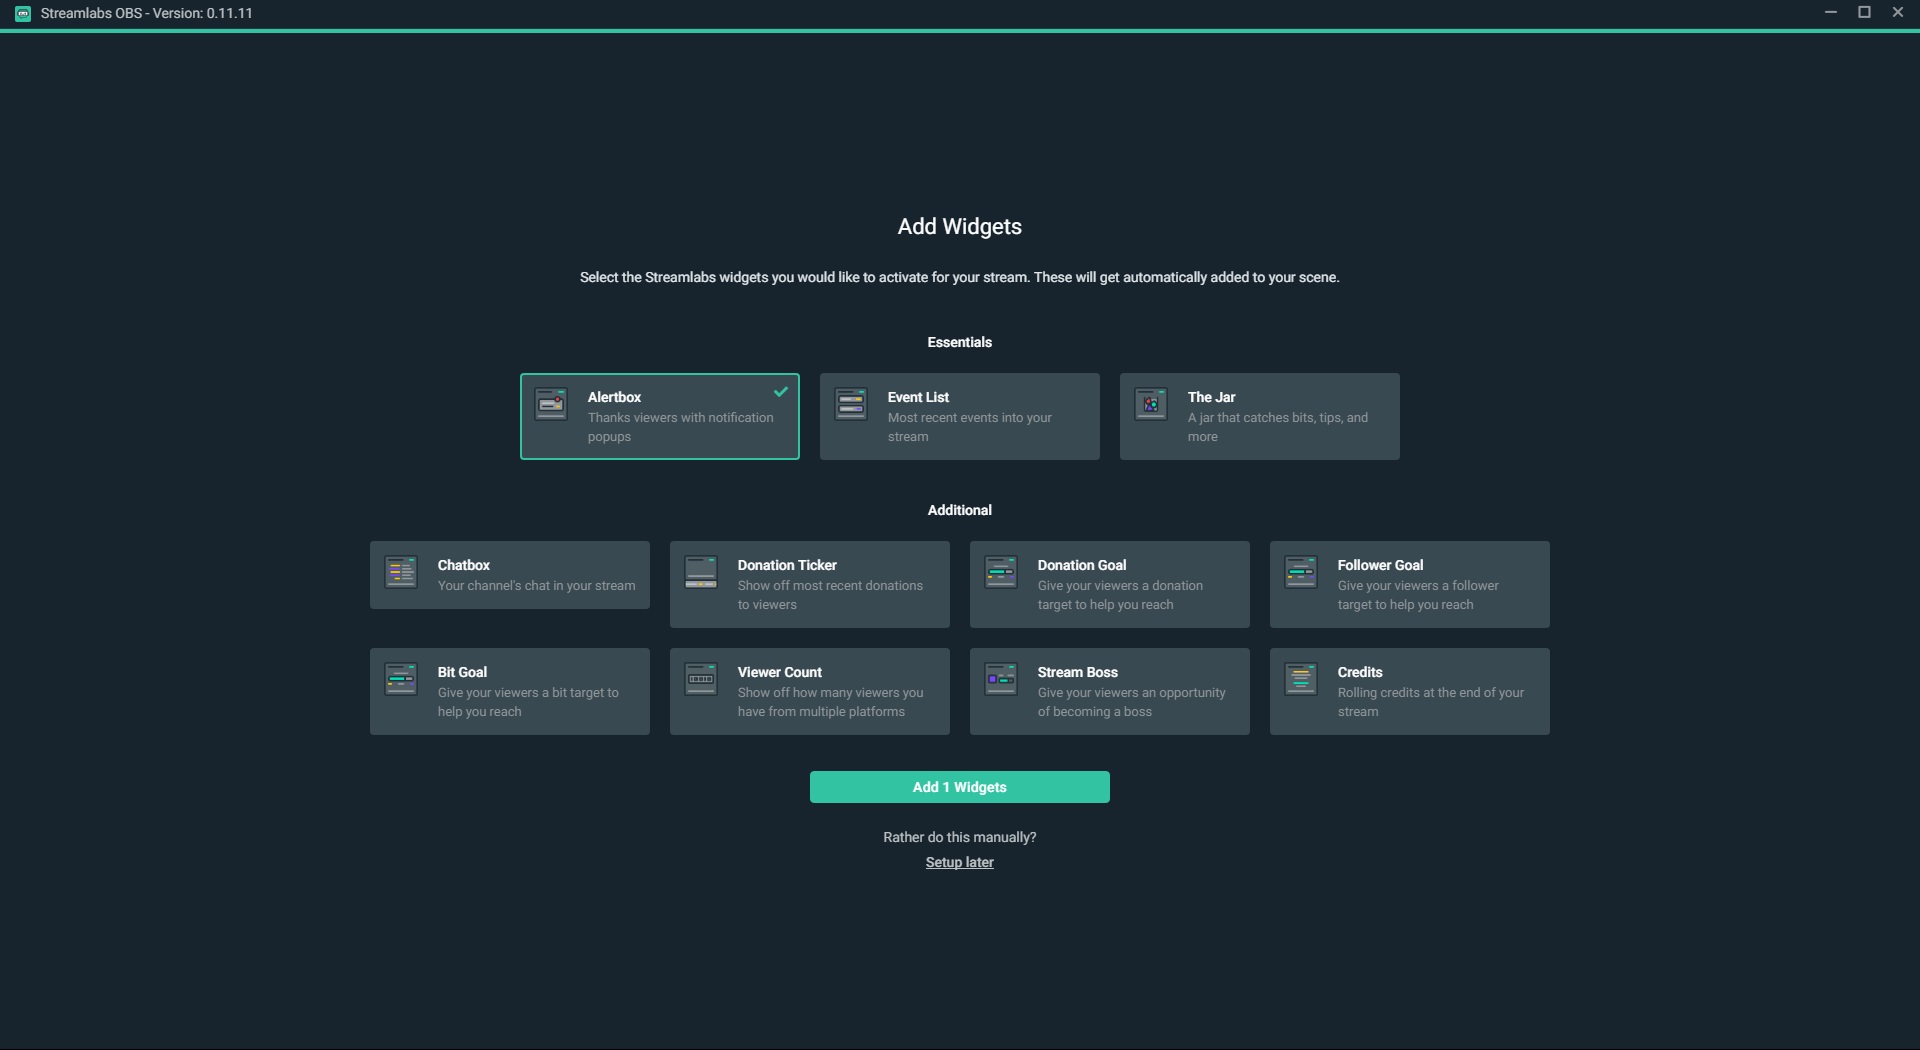
Next up we are presented with the option to add Widgets to our initial scene. By default, the Alertbox is selected, and we will keep it to just that for now. Additional options for things like your most recent events, an on-screen chatbox, and stream goals are all available, but will be covered in forthcoming articles; remember, this article is about getting up and streaming as quickly and easily as possible. Click the “Add 1 Widgets” button to continue.
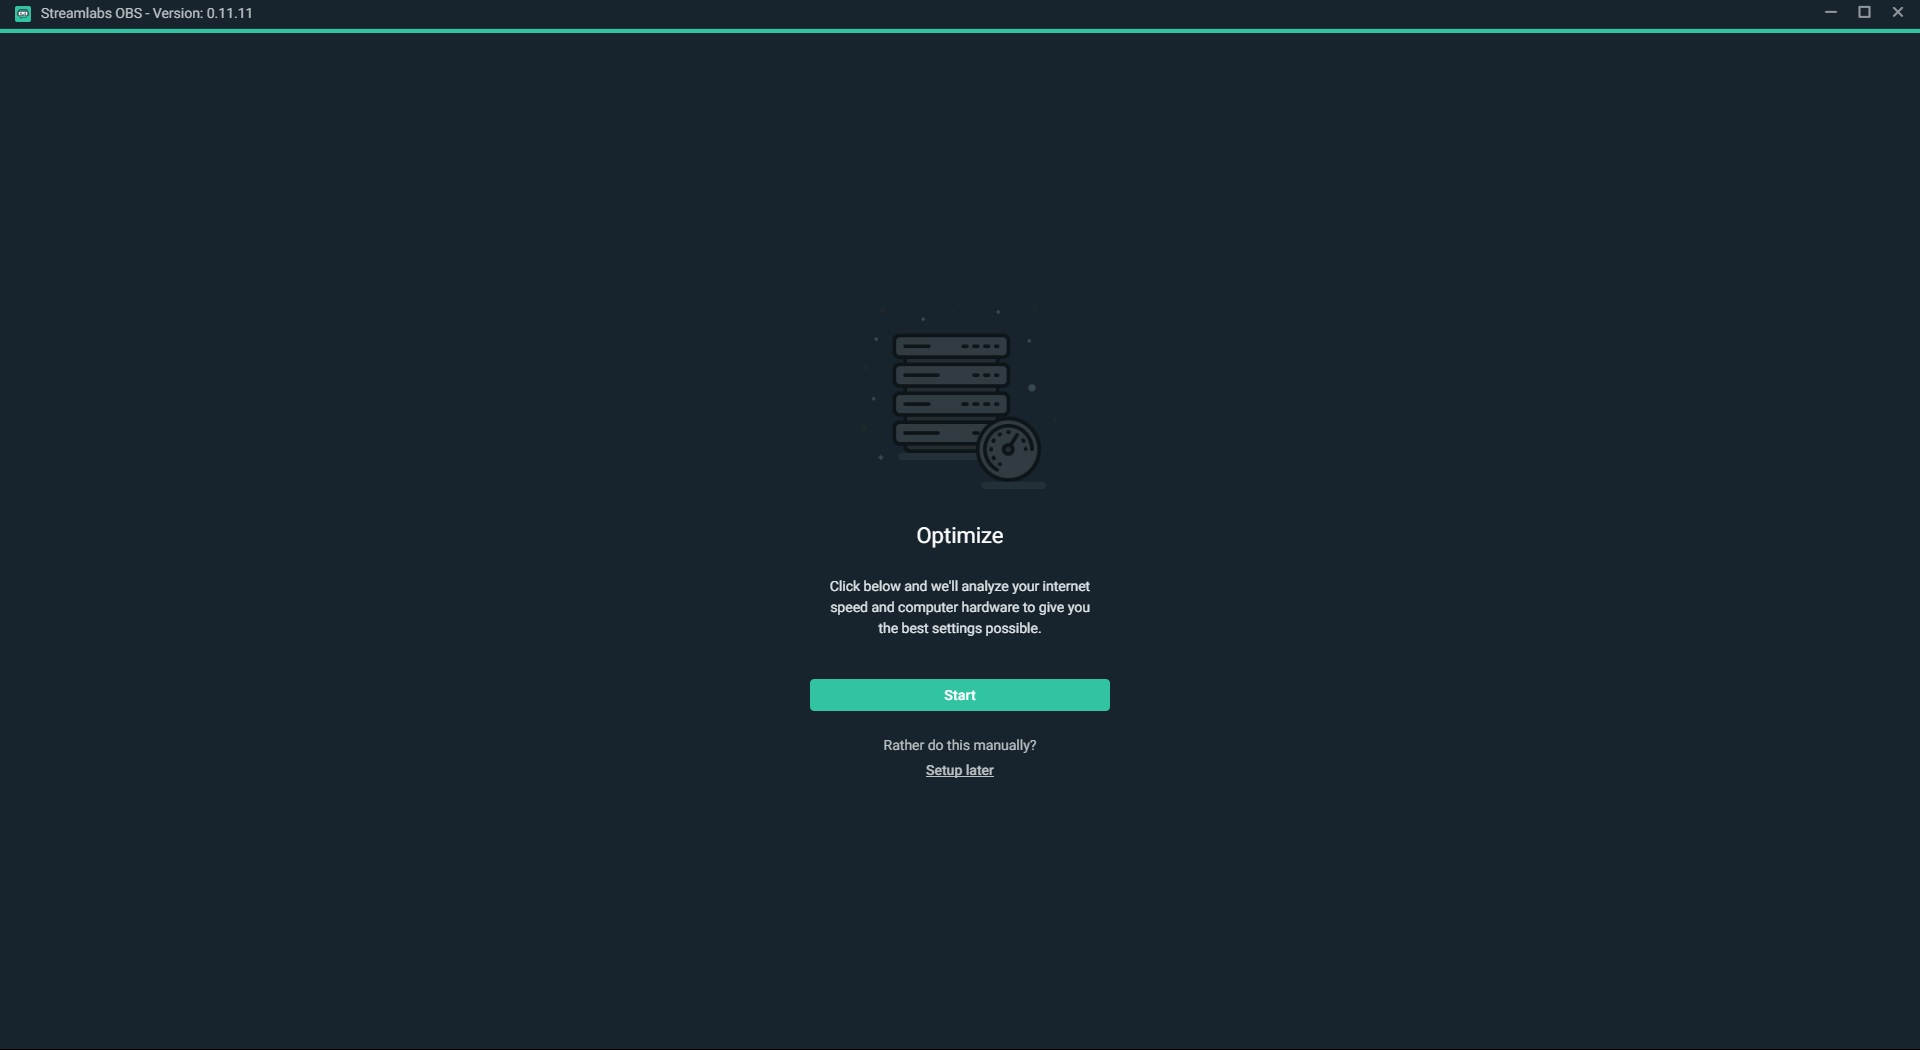
The next window will allow us to automatically optimize our stream settings based on our hardware performance, as well as our Internet speeds. Clicking the green “Start” button will get things rolling.
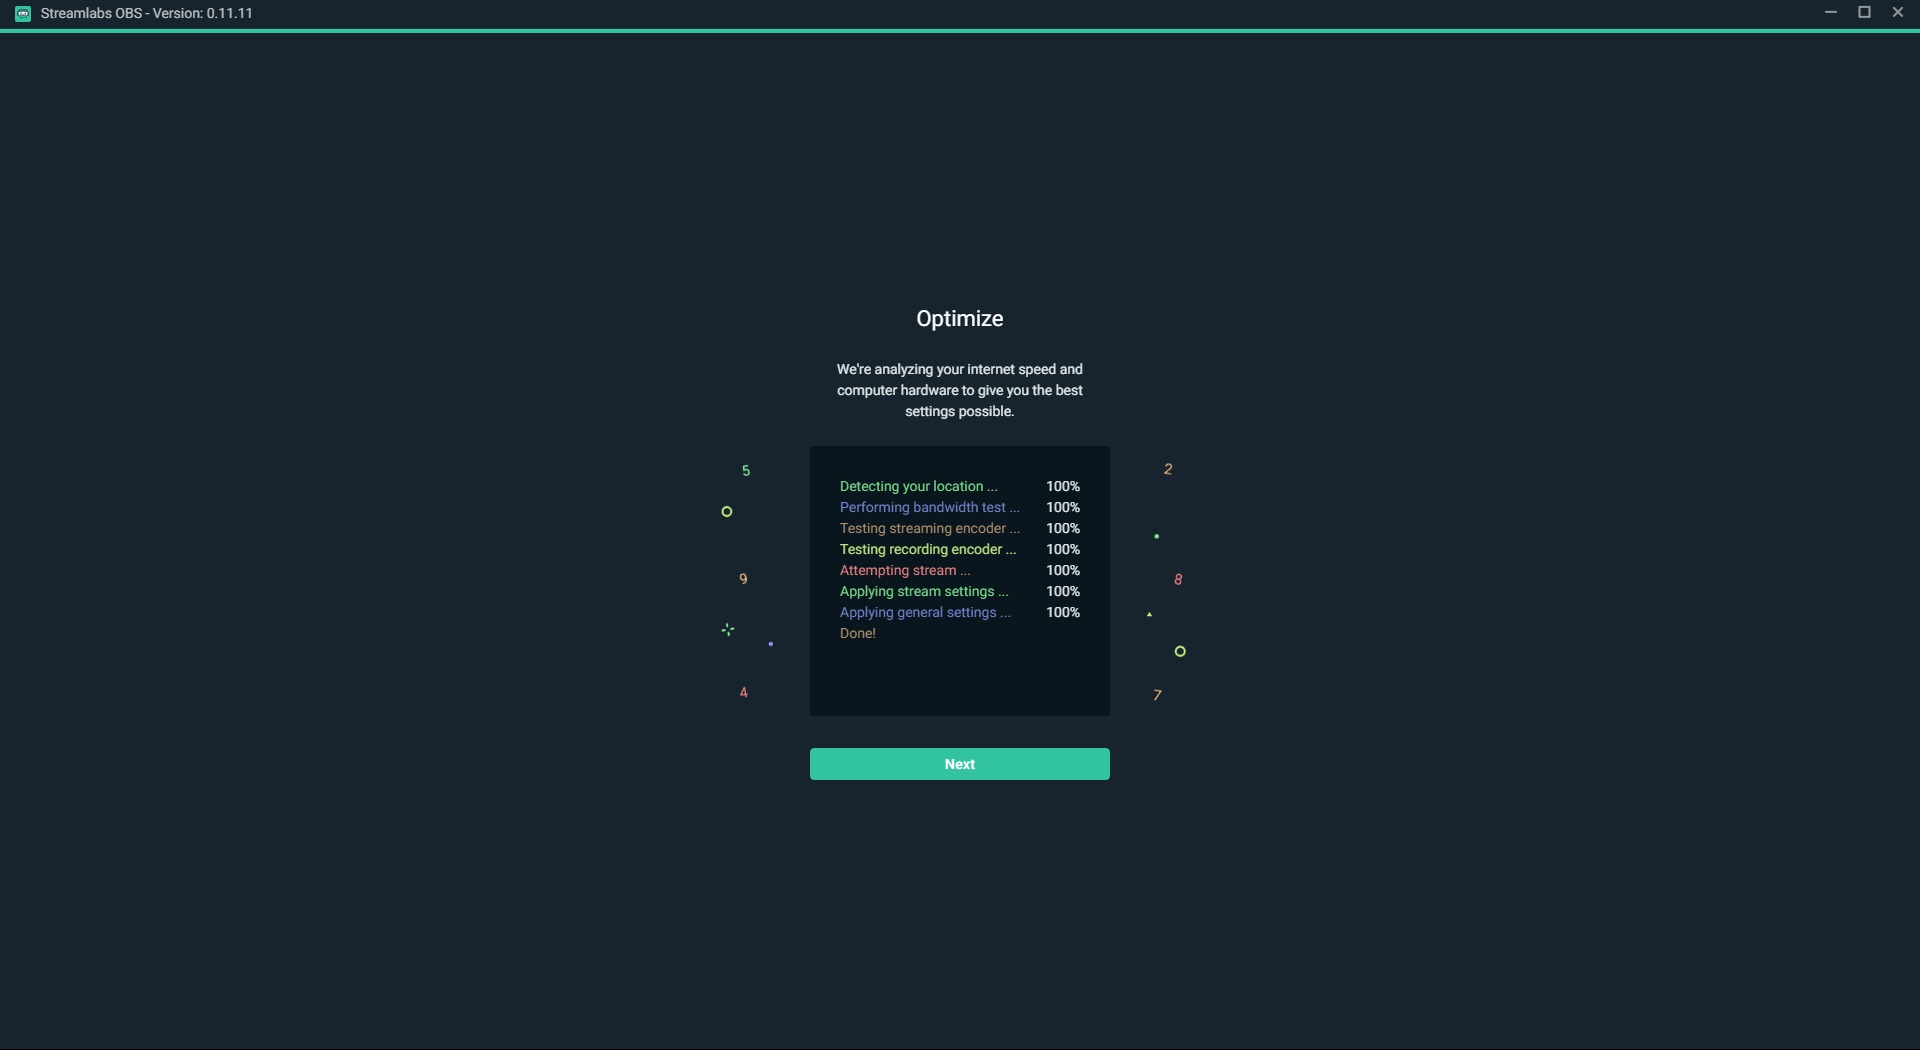
After a quick benchmark and optimization process, we can see that the program has tested our Internet bandwidth, our streaming and recording capabilities, determined a good balance, and applied these settings to the application. Click the green “Next” button to proceed.
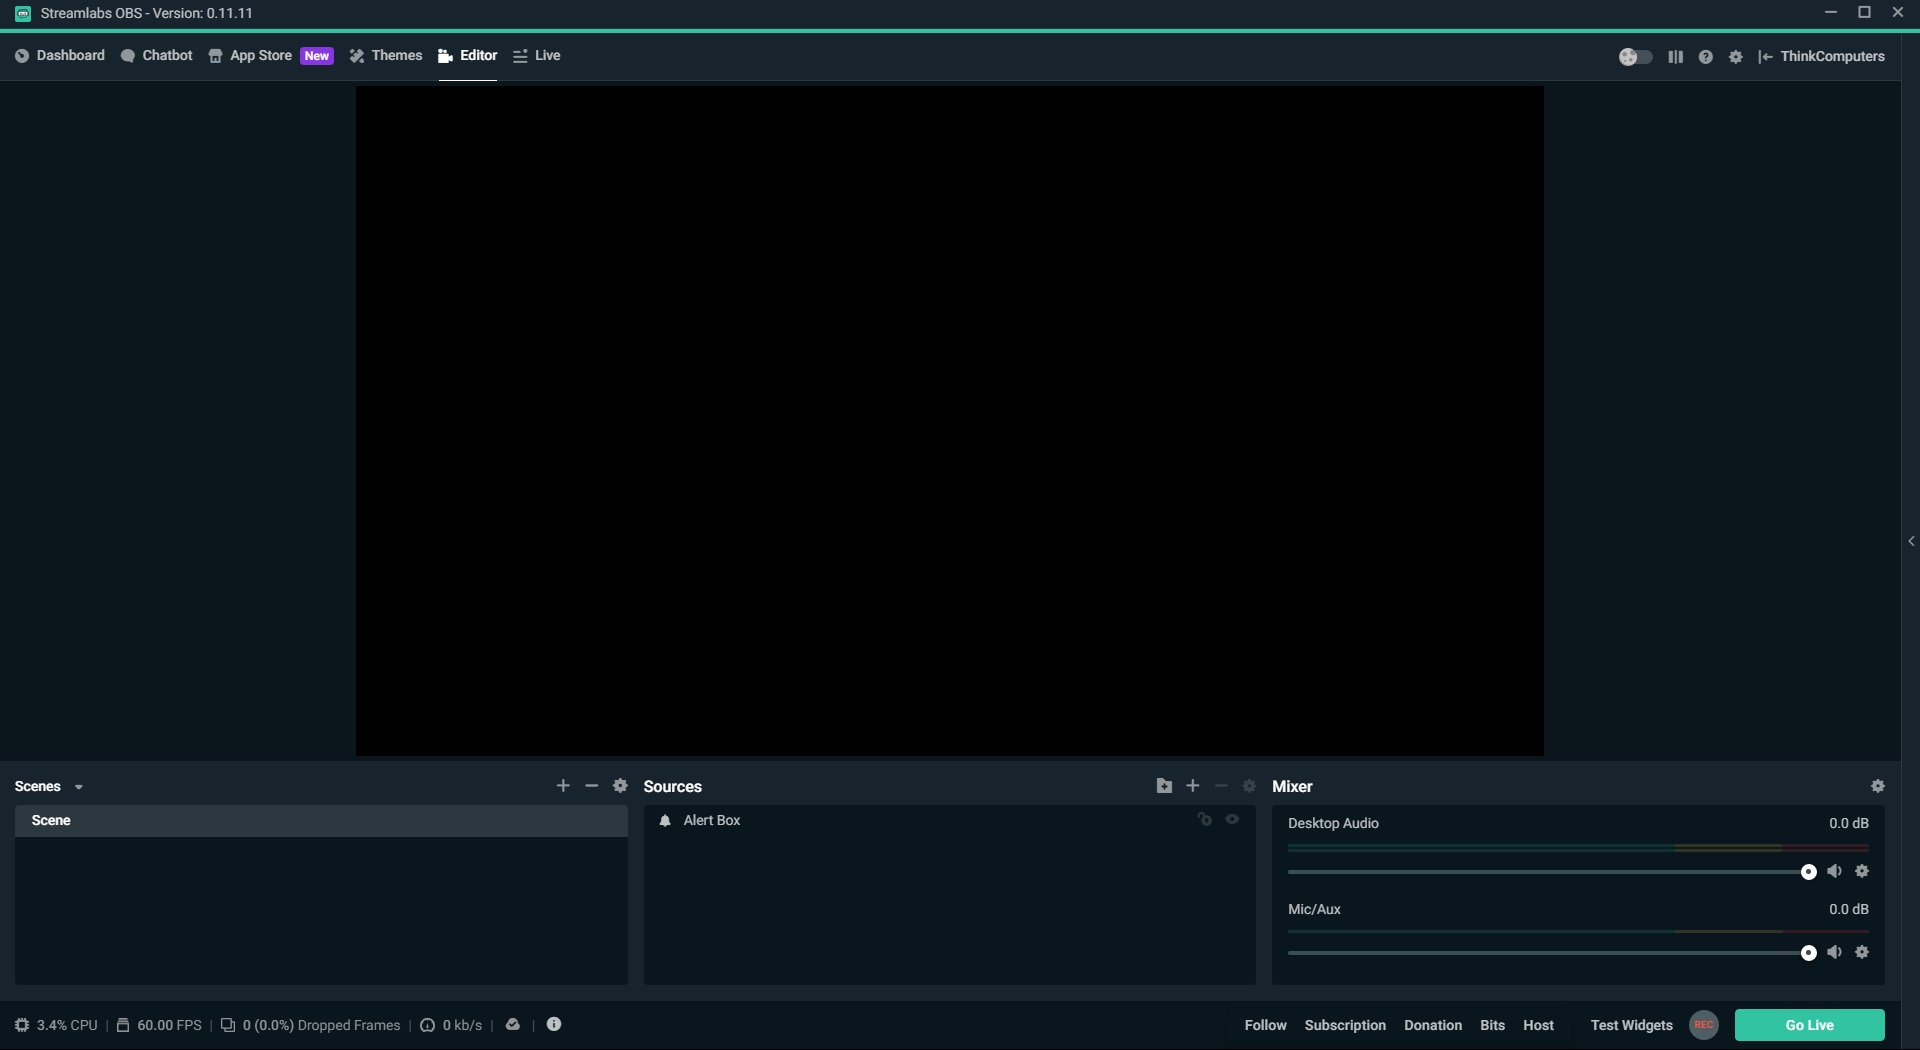
Since we chose to add a single widget to our scene, the initial display from Streamlabs OBS might be a bit confusing, a quick click to close the “Scene Collections” pop-up is needed, followed by selecting “Scene” under the “Scenes” header towards the bottom left of the application.
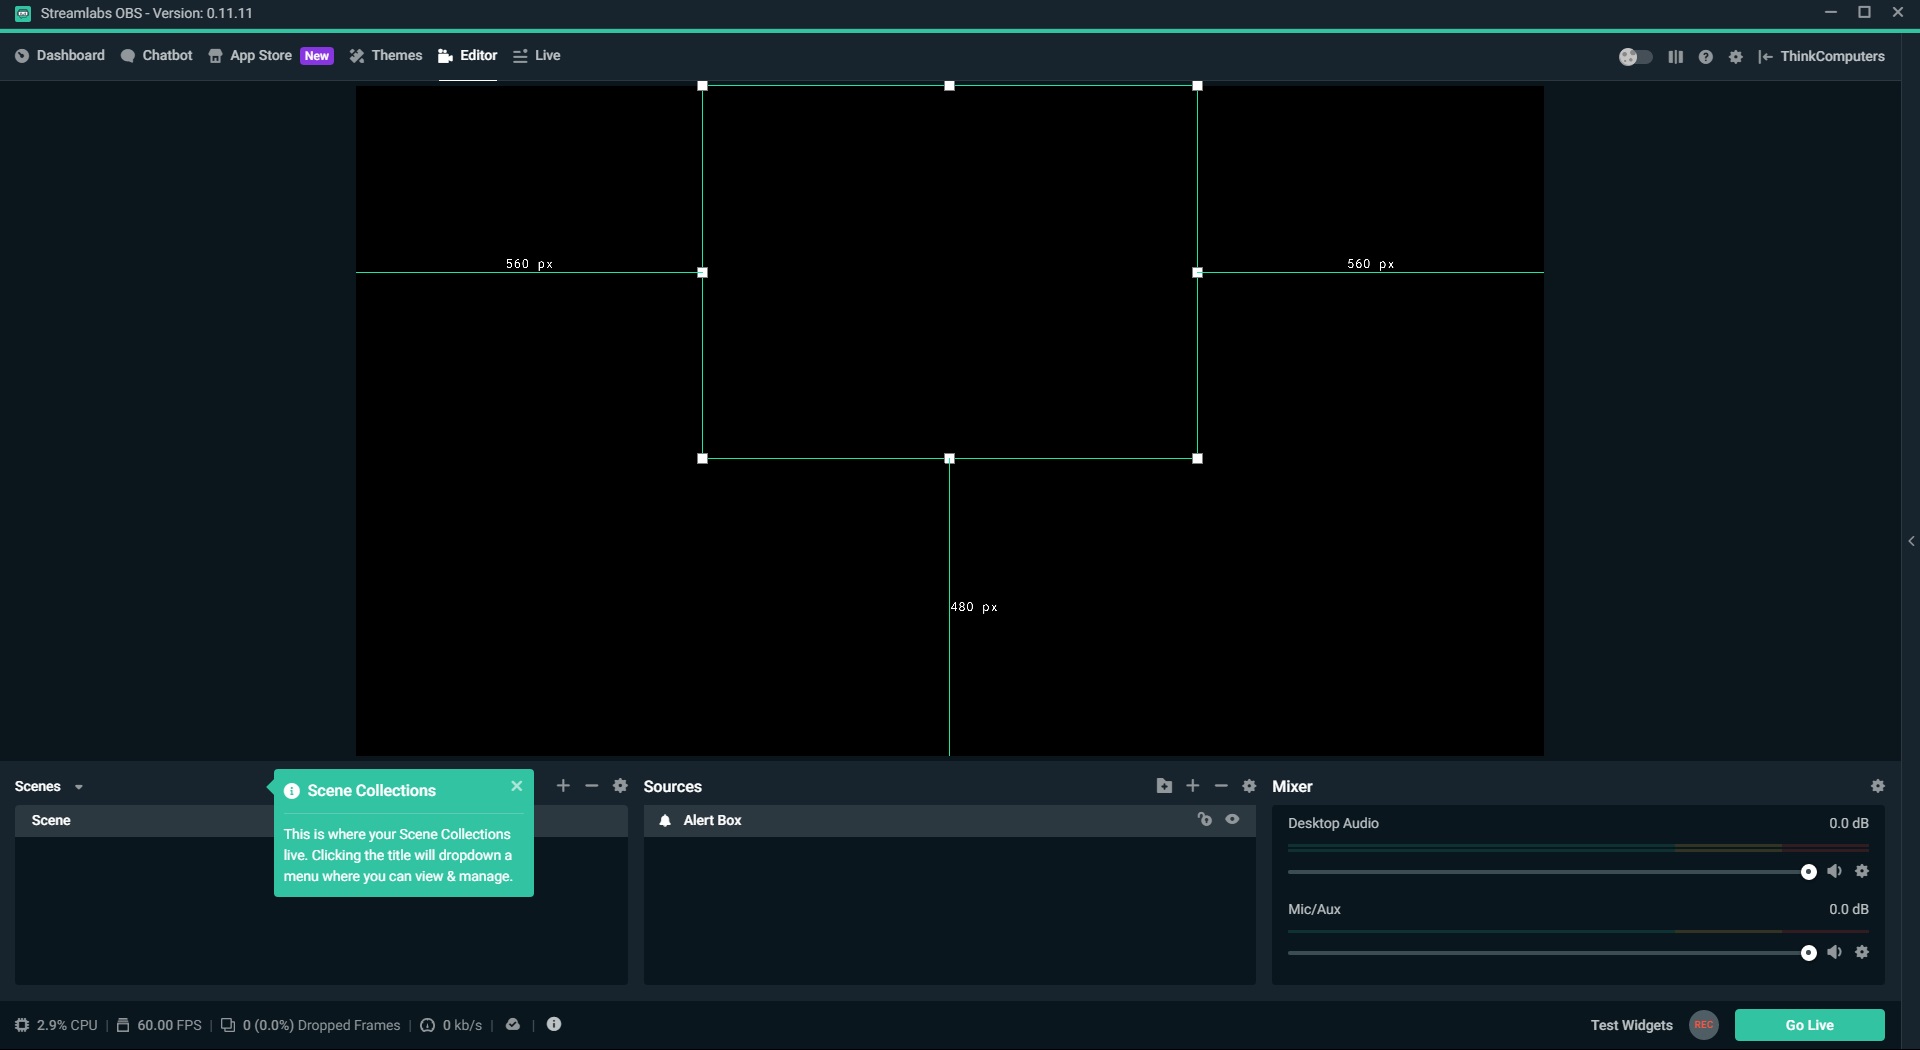
This cleans up the interface a bit and leaves us at a good starting point to begin.
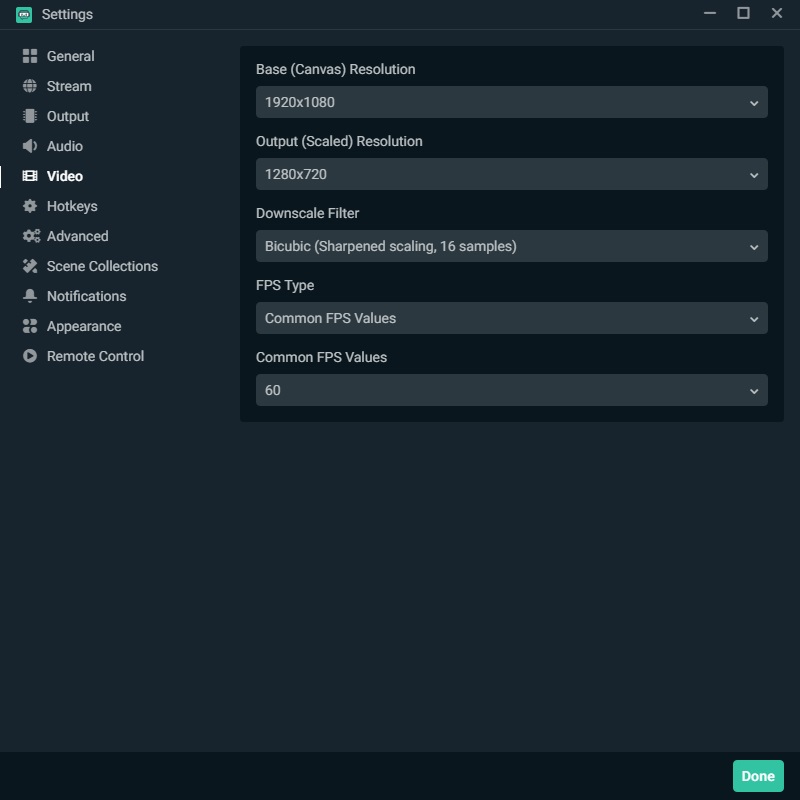
With our broadcast layout all set, we just need to adjust our settings to enable a 1280 x 720 output at 60fps. In order to do so, we need to select the gear icon towards the top right of the Streamlabs OBS application. This will open up the settings window, where we need to navigate to the Video section on the left. It is here that we need to make sure the “Output (Scaled) Resolution” is set to 1280 x 720, and the “Common FPS Values” is set to 60. Once we have verified these settings, we can click the green “Done” button to return to the application.
Now to add some content to this show!