It is a common practice that parents tend to shoot videos for their children from birth to grown-up to record their vital moments. However, saving video clips on HDD or mobile SD card for later view is not the optimal solution. What would you do if PC malfunctions all of a sudden? When the memory space of SD reaches its upper limit, you cannot store extra videos. Hence, probably you need a tangible copy of those precious videos. Any nice idea?
Absolutely, imagine you burn all video clips to DVD discs with professional DVD Maker for playback on home DVD player, thus sharing memorable moments with family members or retaining created DVDs for your extended family. That’s the best way to make a DVD videos linking all clips together chronologically to reflect your children’s growth course. If you aim to do so, you are in the right place. This article presents you a clear picture of how to burn DVD with DVDFab free dvd burning software.
PART 1: How to Make DVD with DVDFab DVD Creator
Step 1: Run DVDFab DVD Creator and load source videos
- Launch DVDFab 11, opt for ‘Creator’ module and further choose ‘DVD Creator’. Note that ‘Creator’ is integrated into DVDFab 11, together with ‘Copy’, ‘Ripper’ and ‘Converter’ modules.
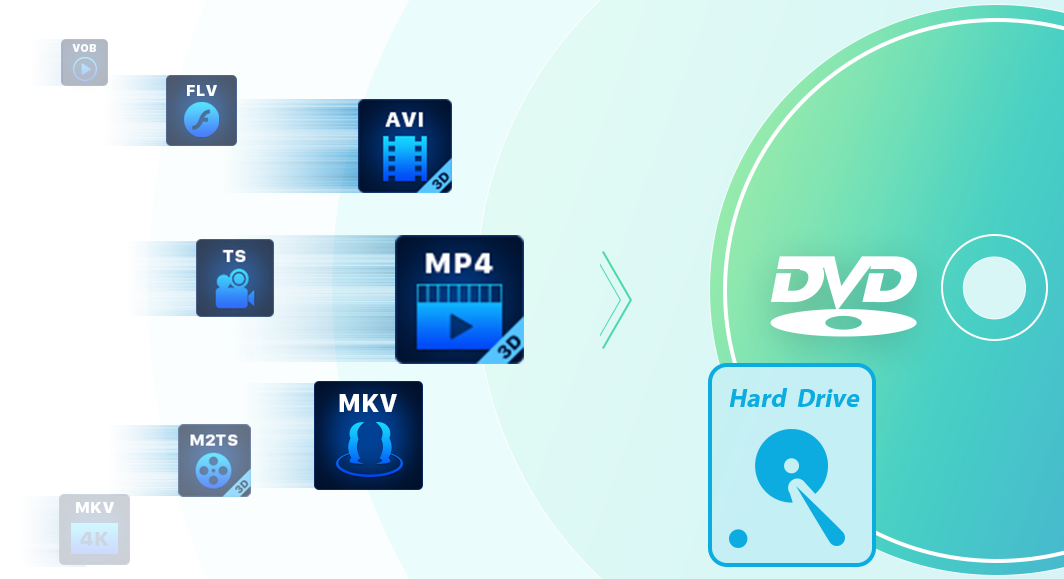
- Press ‘+’ button, or drag & drop videos onto the ‘+’ area. You can add videos of various formats (MKV, MP4, AVI, M2TS, TS, MOV, WMA, 3GP, FLV, M4V, VOB…)

Step 2: Customize output DVD
- Tab the drop-down menu to add external subtitles if the loaded videos don’t contain any subtitles.

- Hit ‘Advanced Settings’ (wrench icon) to set output size. Here DVD-5 (single layer, 4.7GB) and DVD-9 (dual layer, 8.5GB) are available.
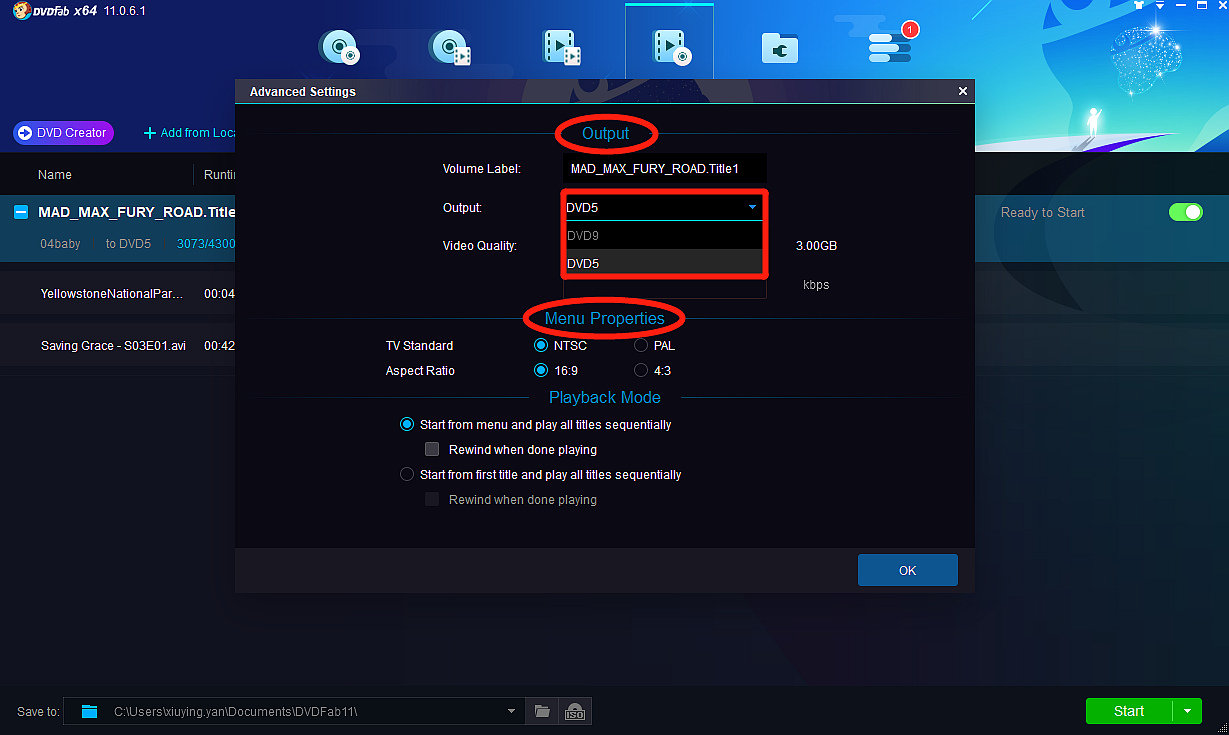
- Select from the pull-down menu to set video quality. ‘Same as Source’, ‘Fit to Disc’ and ‘Customize’ are for your preference.
- Choose ‘Menu Properties’ and ‘Playback Mode’ as necessary.
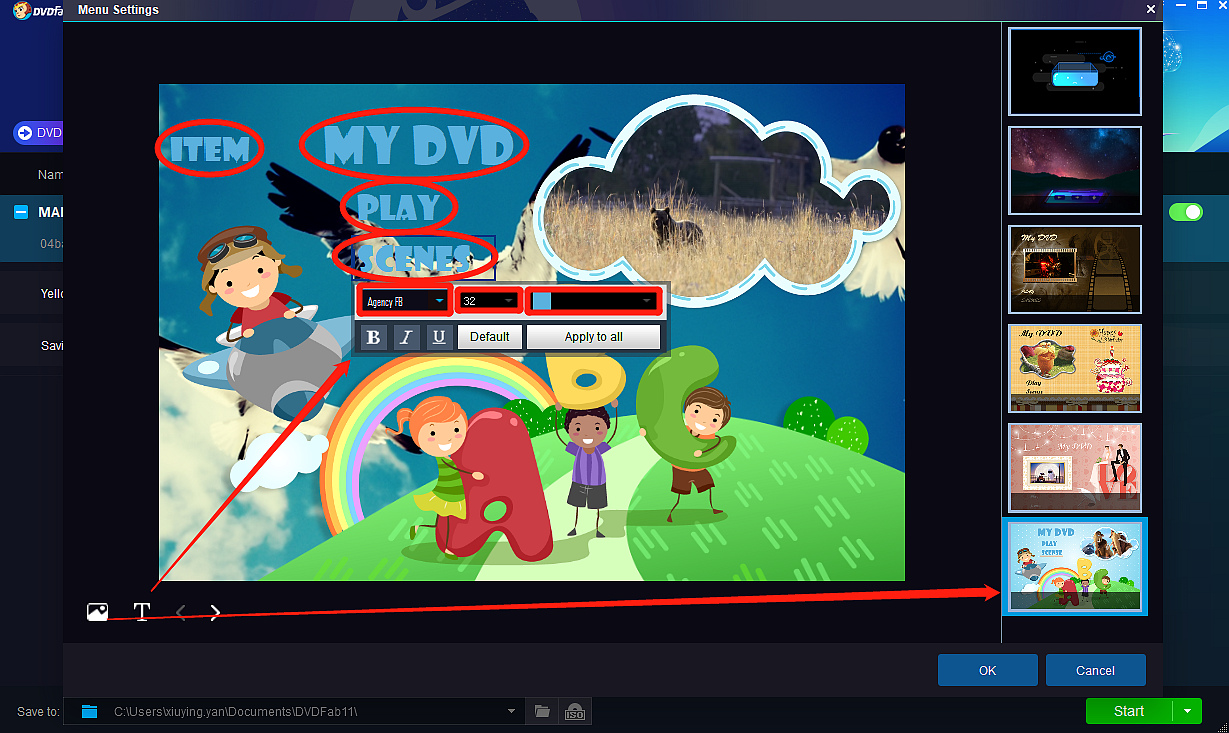
- Press ‘Menu Setting’ to choose one menu mode from the given templates. Here, various images can be selected as the background art. Besides, buttons for navigation menu such as ‘ITEM’, ‘MY DVD’, ‘PLAY’ and ‘SCENES’ can be customized in font, size and color for the better of playback effect.
- Set file directory to save output DVD. You can insert a blank DVD disc into PC’s optical drive, or choose to output DVD as ISO image file or folder when needed.
Step 3: Start to create DVD from imported videos
Once done, hit ‘Start’ button to get your desired DVD. Then, play burned DVD with DVDFab Player 6, a high-end player suitable for DVDs, Blu-rays, 4K UHD and various videos.
PART 2: Appealing Features You Shall Know about DVDFab DVD Creator
This free DVD burner highlights below key features that have captured lots of loyal fans keen on making DVDs.
- Create DVD (disc/ISO/folder) from any videos
- Intuitive menu templates with premium designs (update periodically)
- Blazing fast converting and burning speed with GPU hardware acceleration
- Output standard DVDs with spotless video quality applicable to all home DVD players
Conclusion
You might have got the hang of how to make your own DVDs with this free DVD Creator software. ACT NOW to experience its full features via subscription to its premium version.