Installation
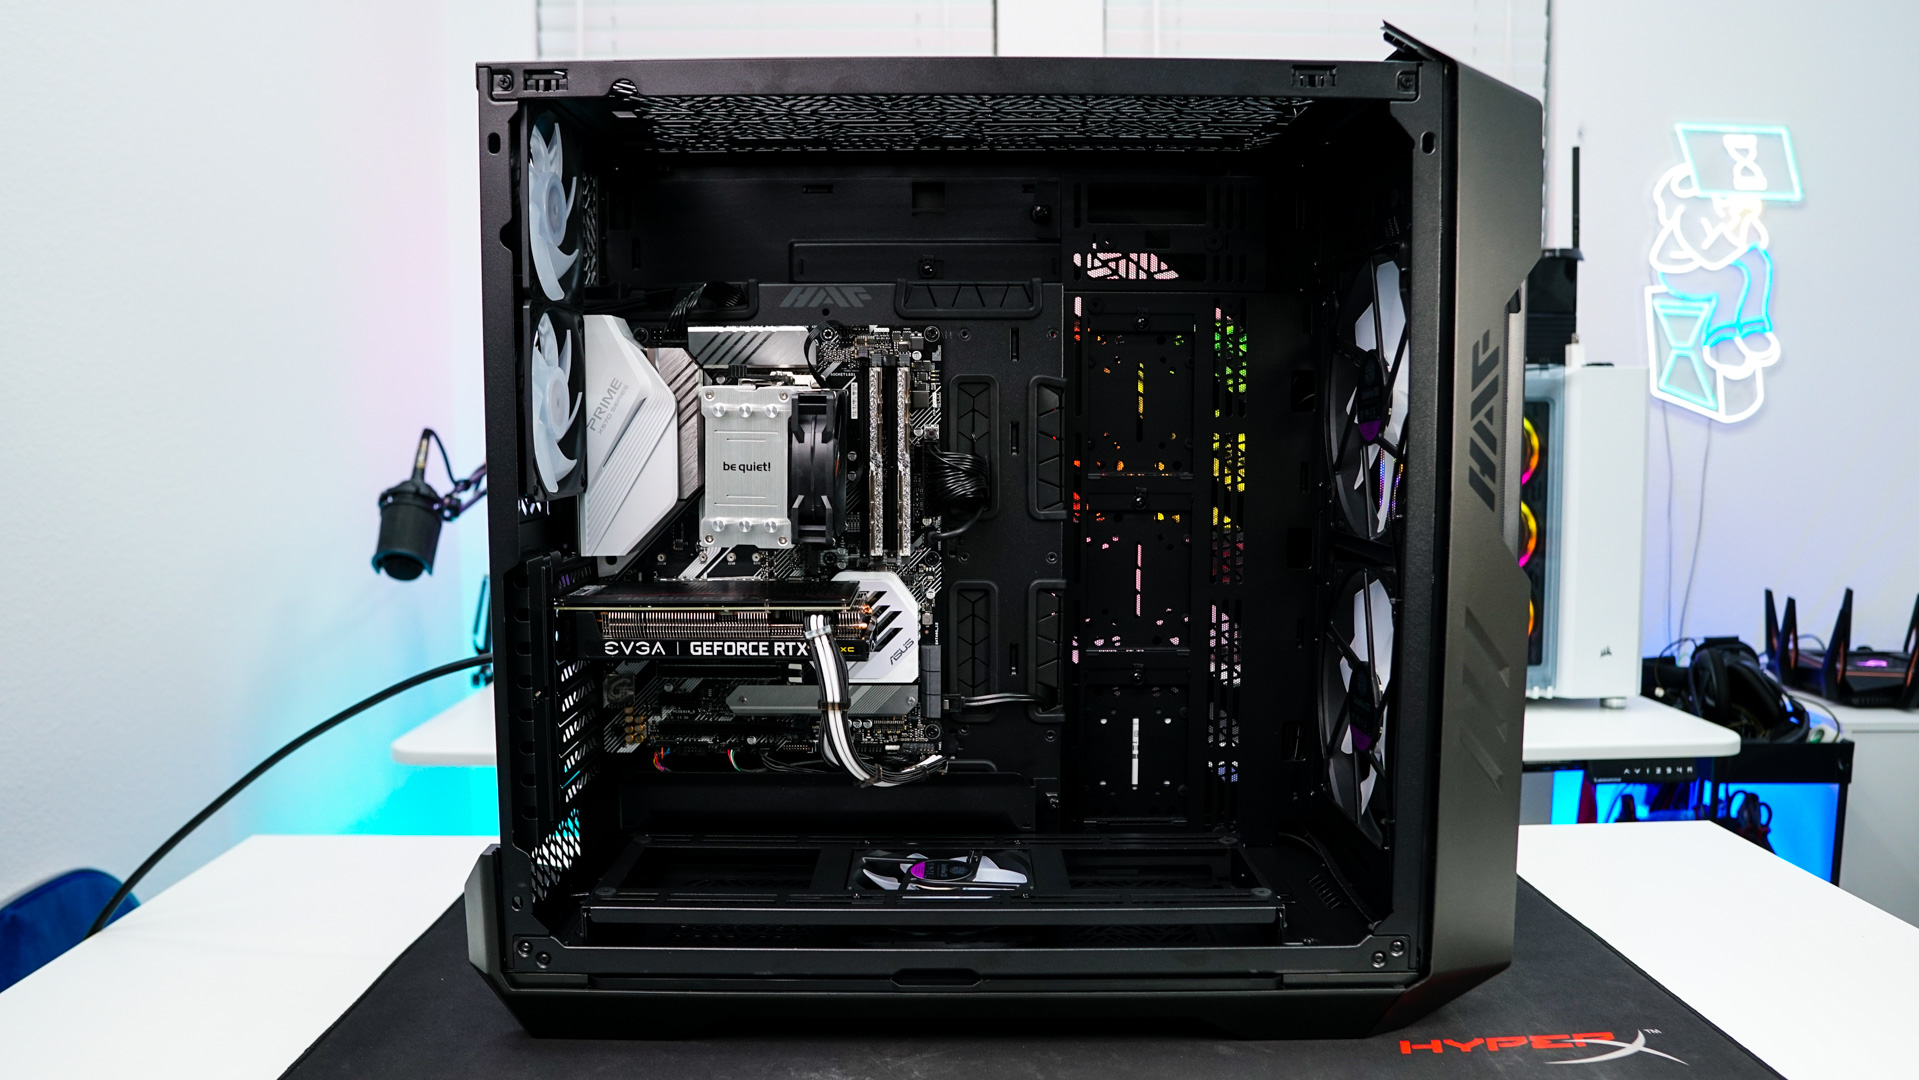
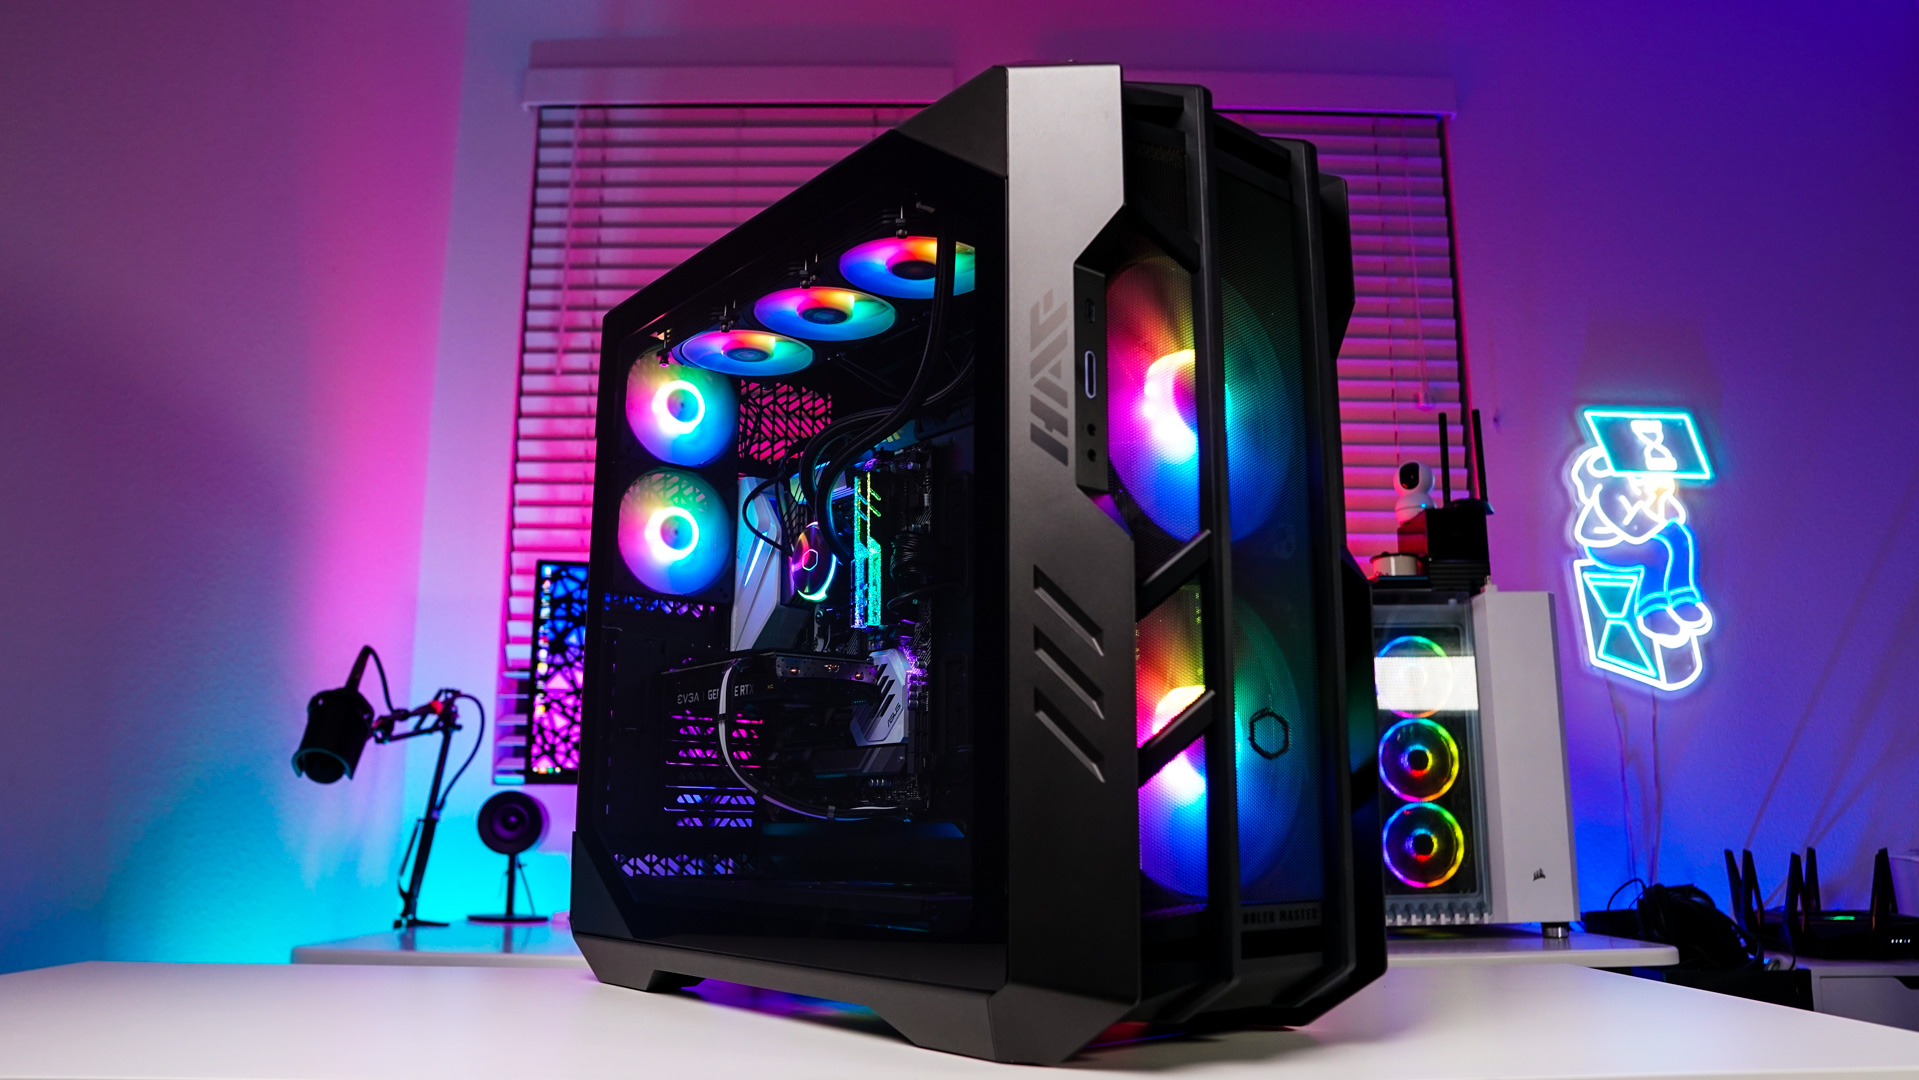
This is a pretty large case so installation should be easy. The first thing you are going to want to do is install your motherboard. It goes in no problem and we have quite a lot of room.

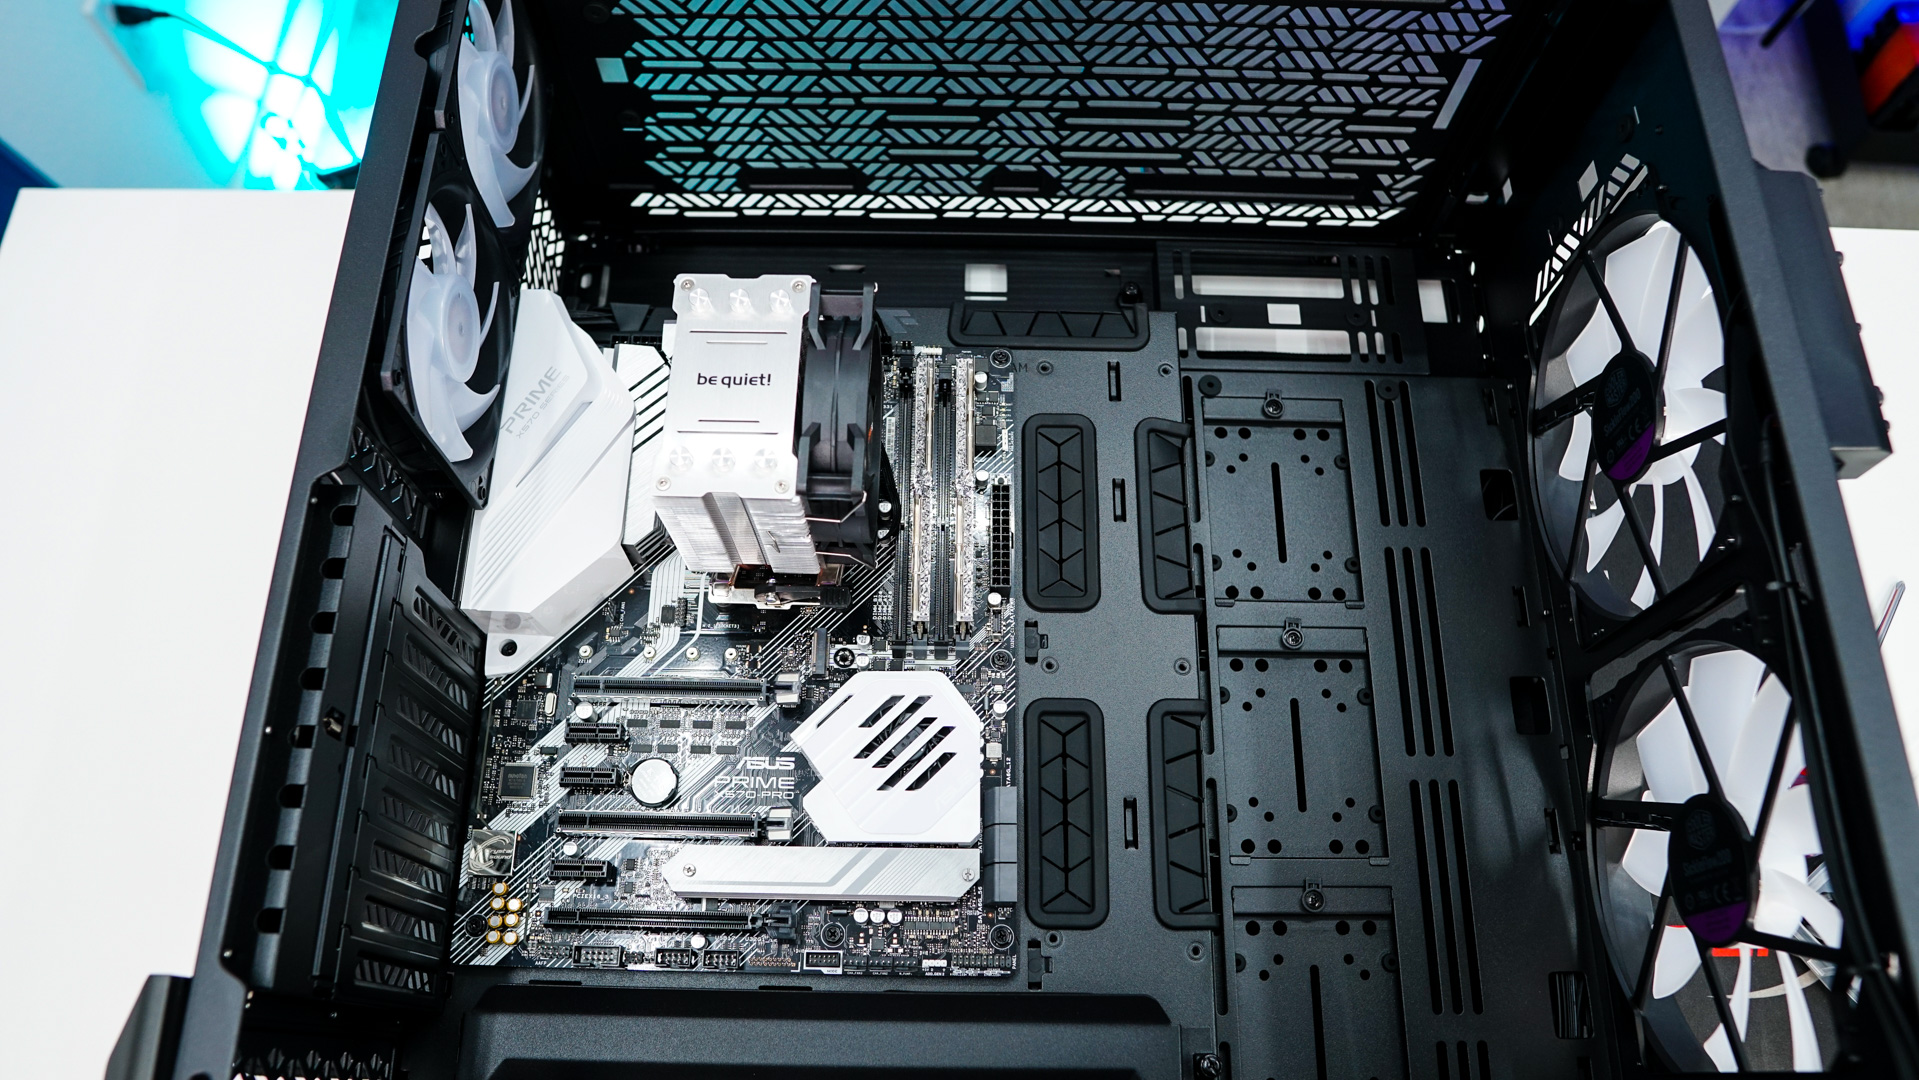
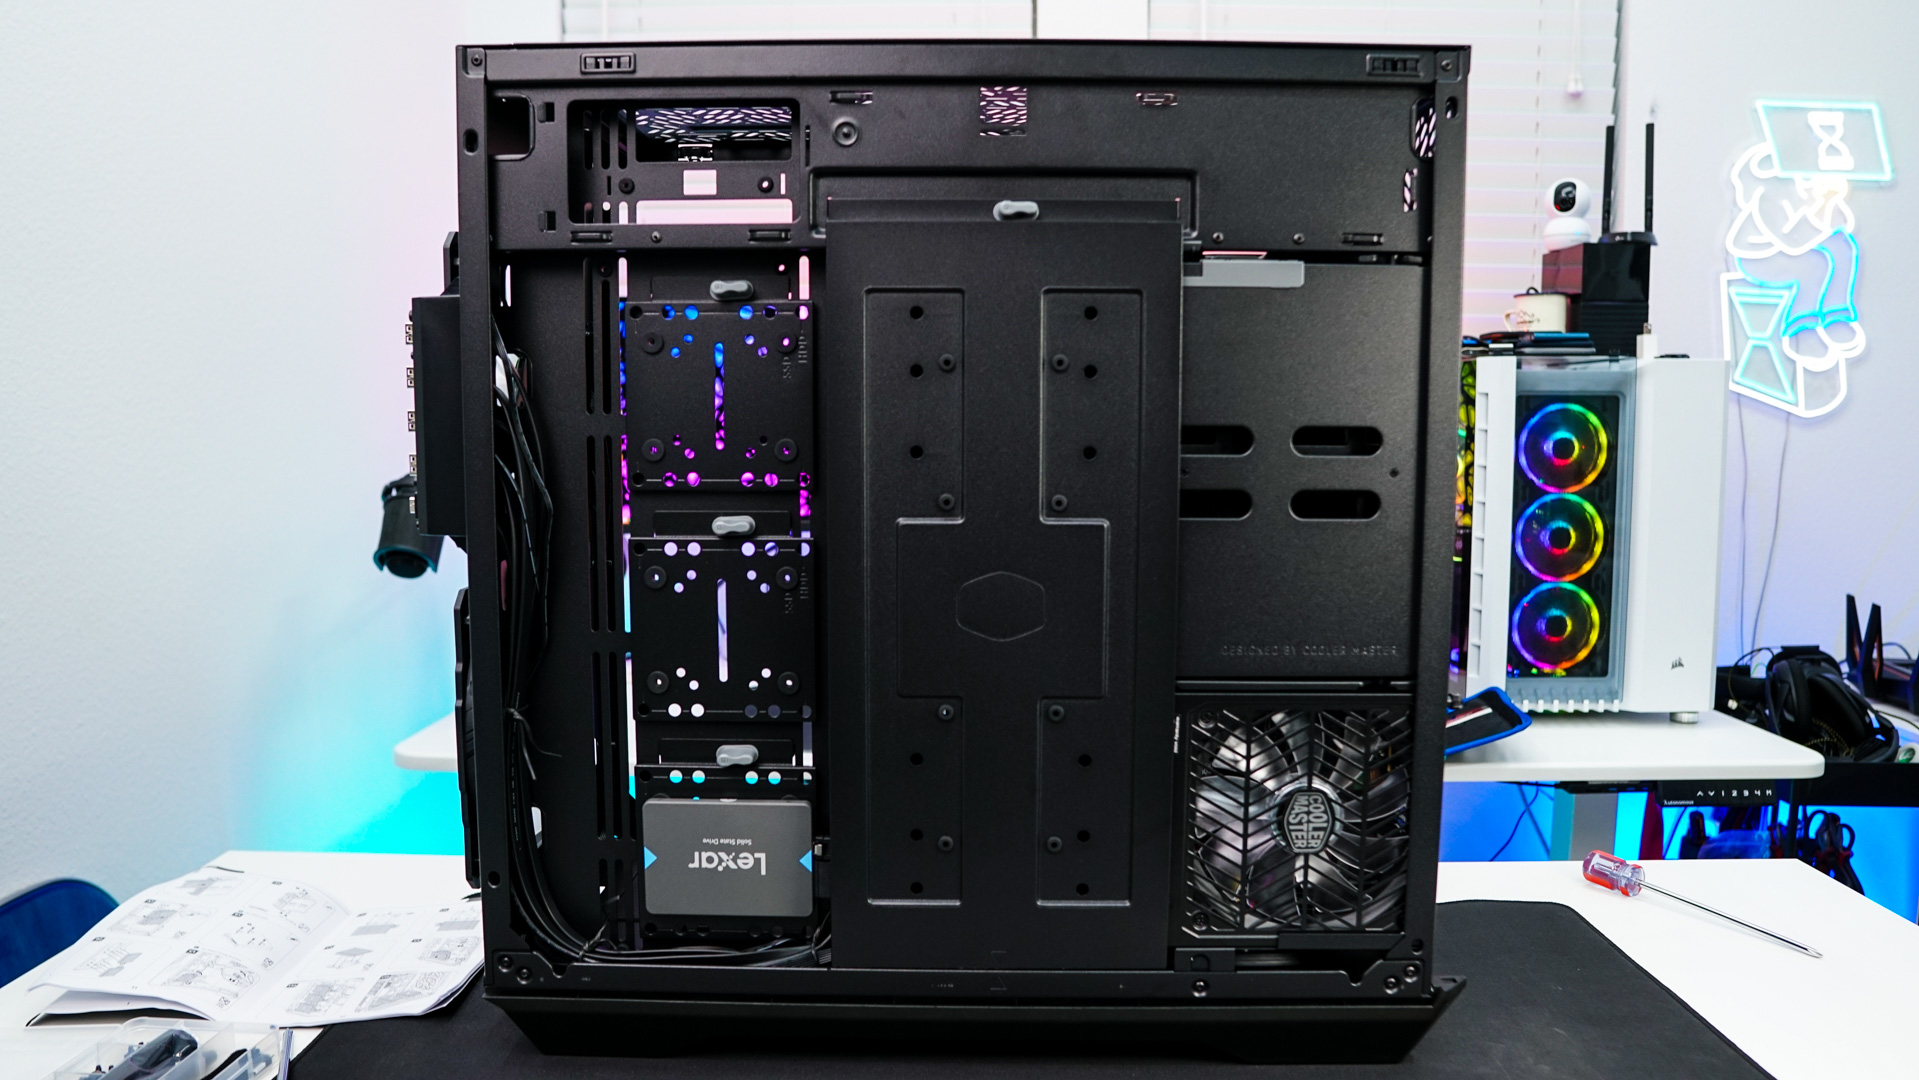
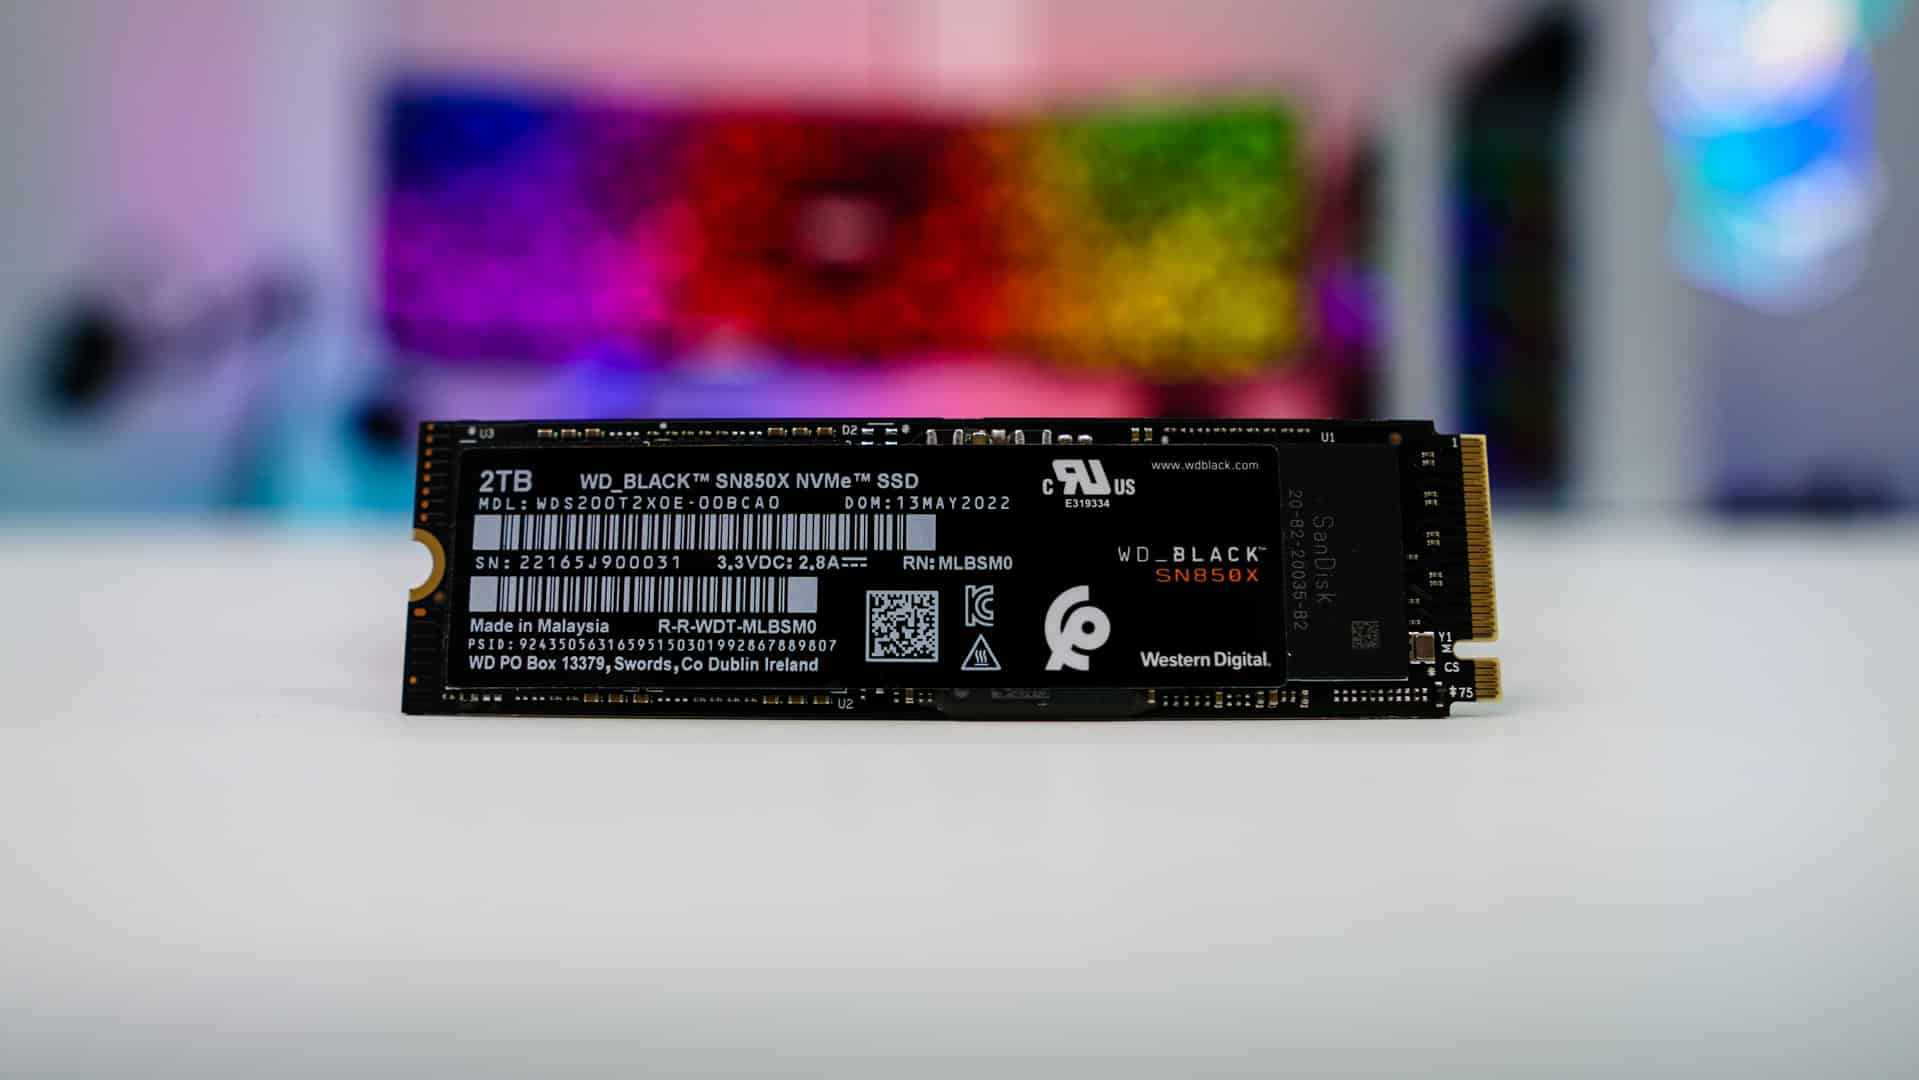
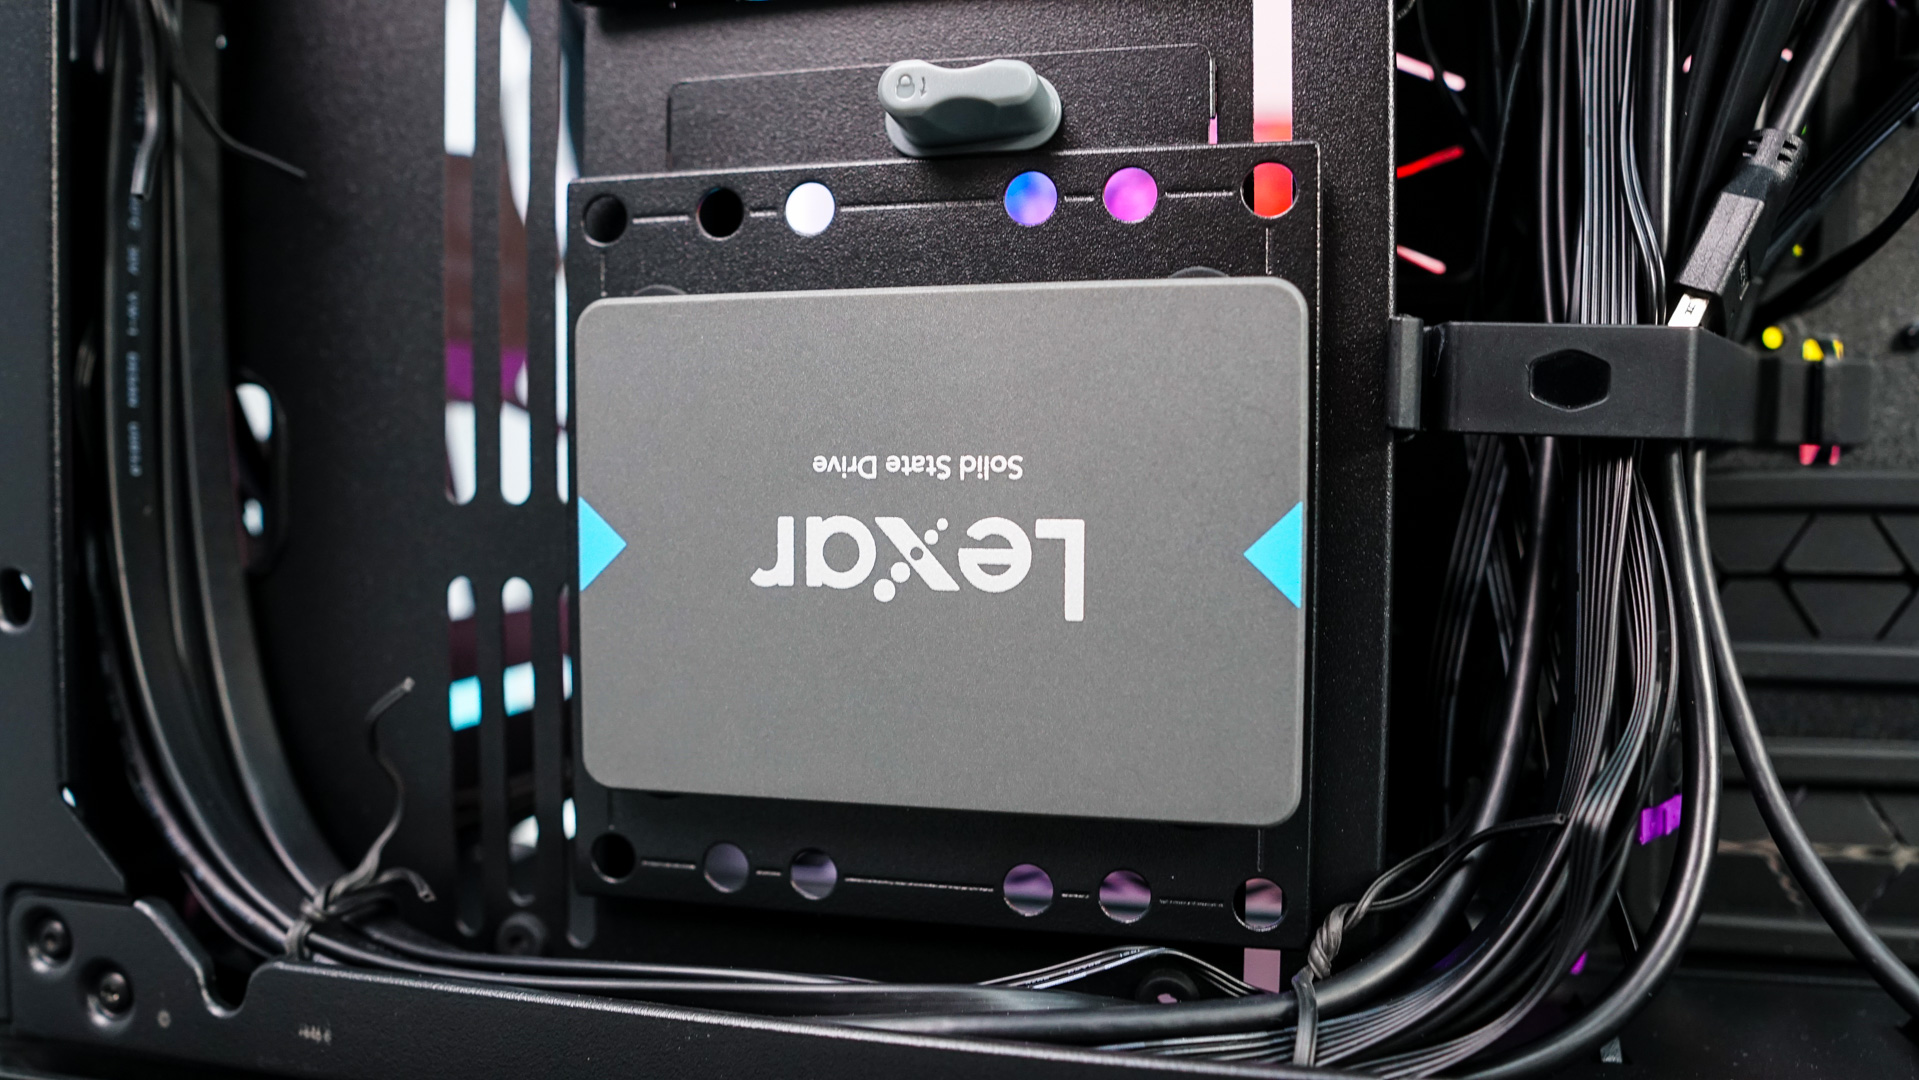
Solid state drive installation is very easy and completely tool-less. Take the smaller pegs and install them on the bottom of your SSD. Then place the SSD on to any of the mounting points in the case, I went with one of the removable ones. So I could remove it from the case, mount my SSD then easily reinstall it.


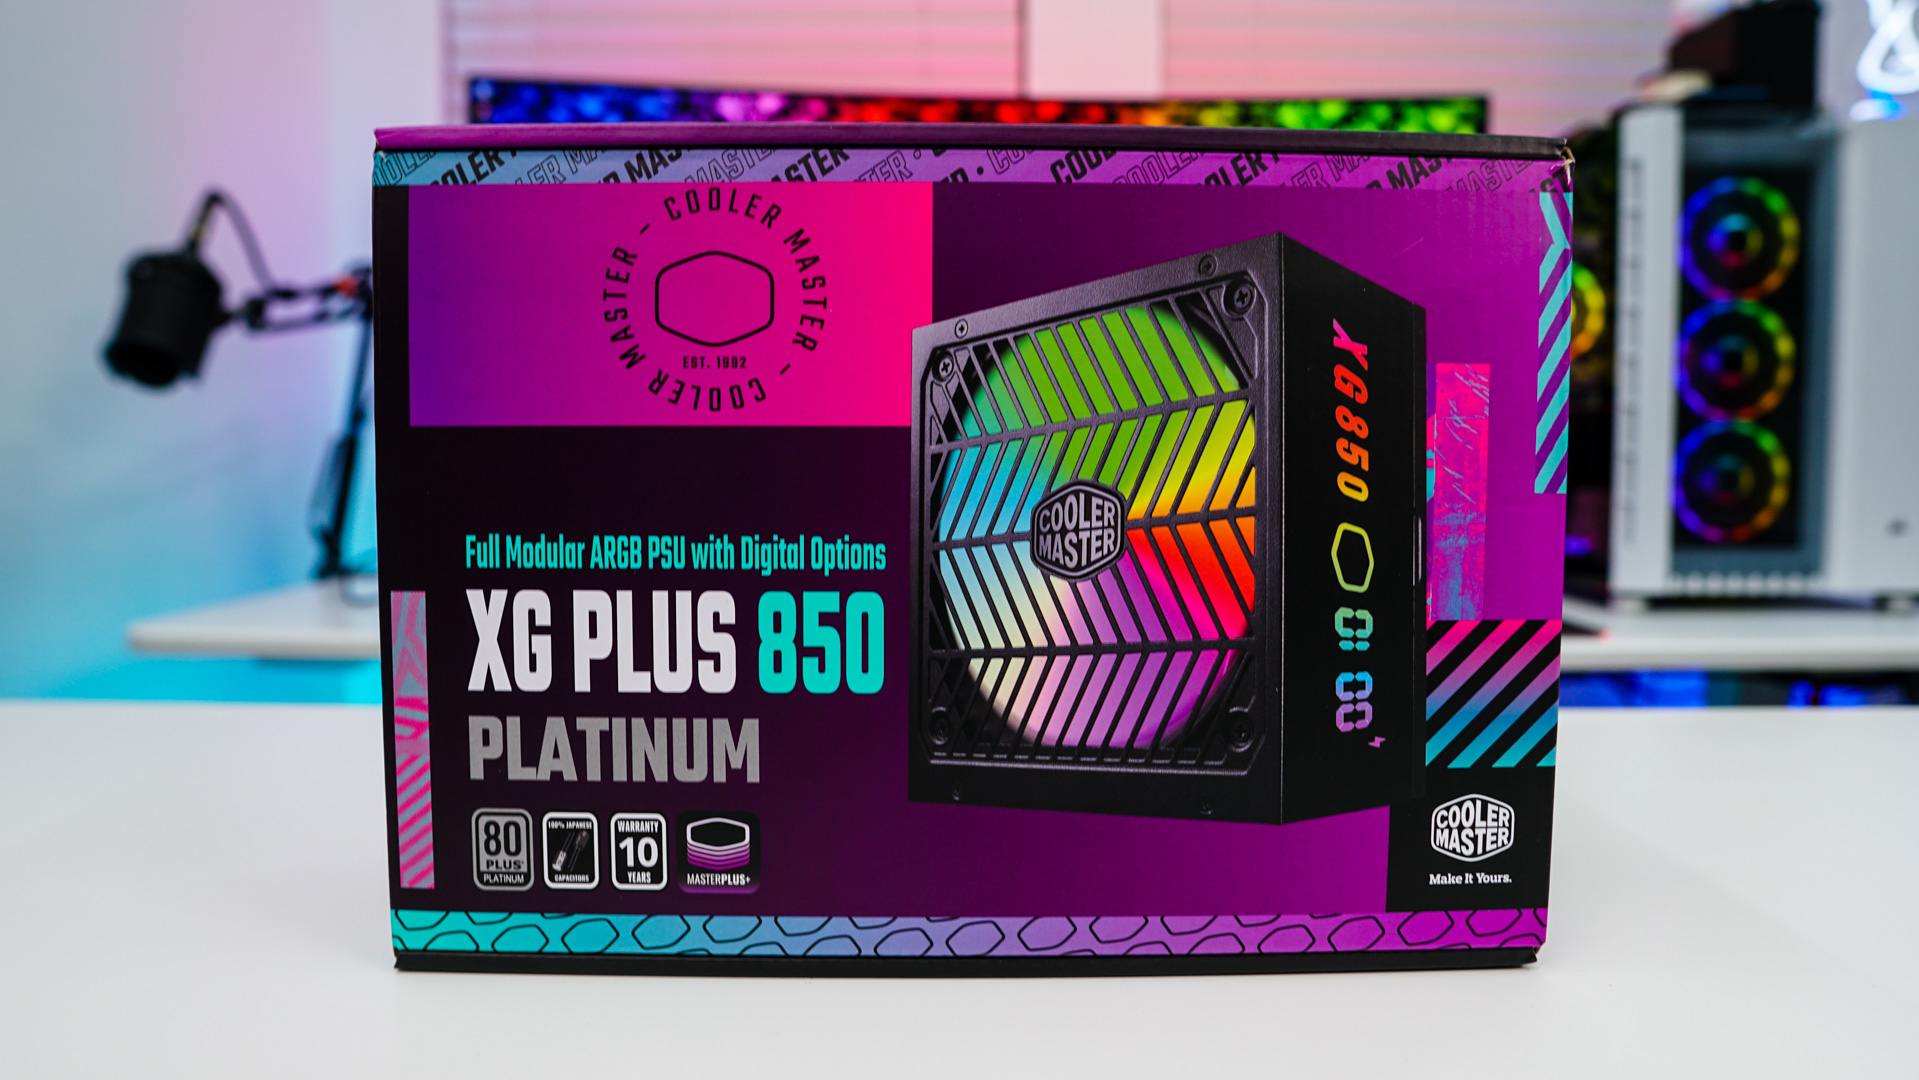
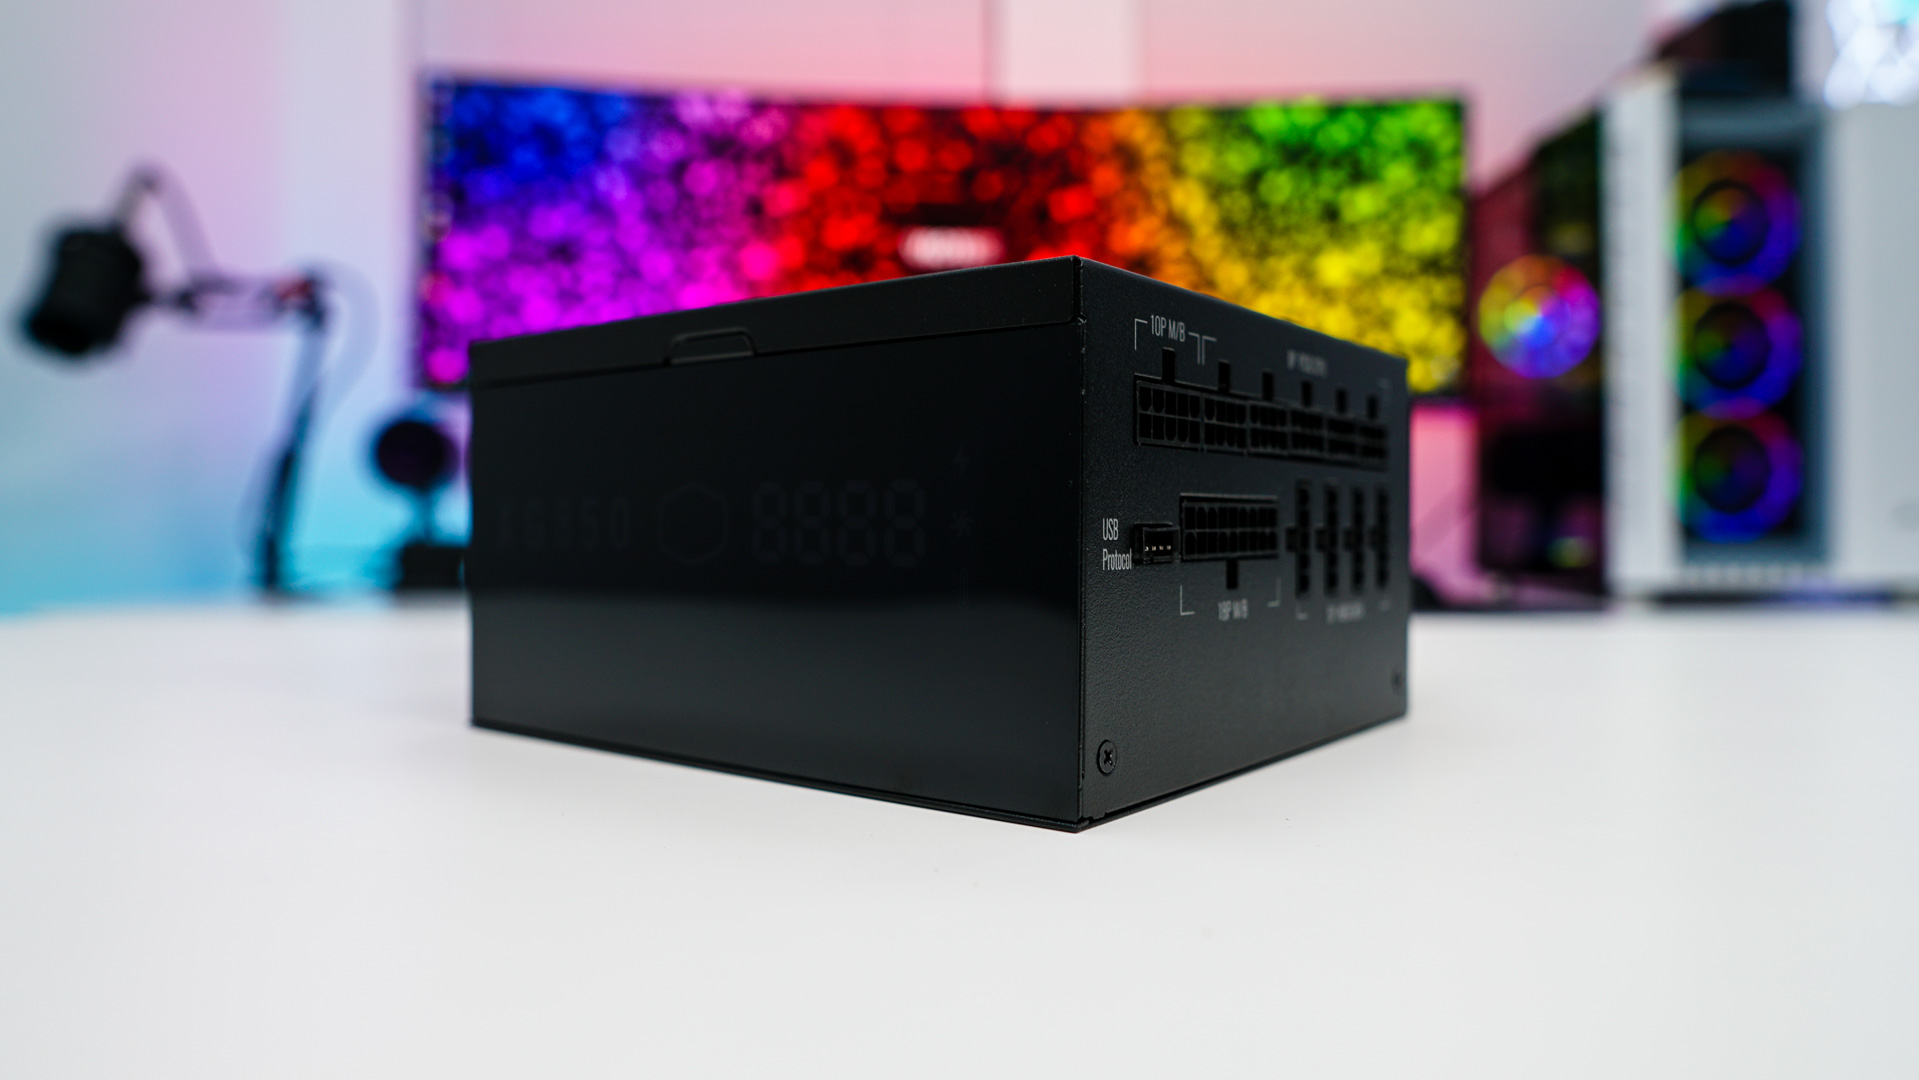
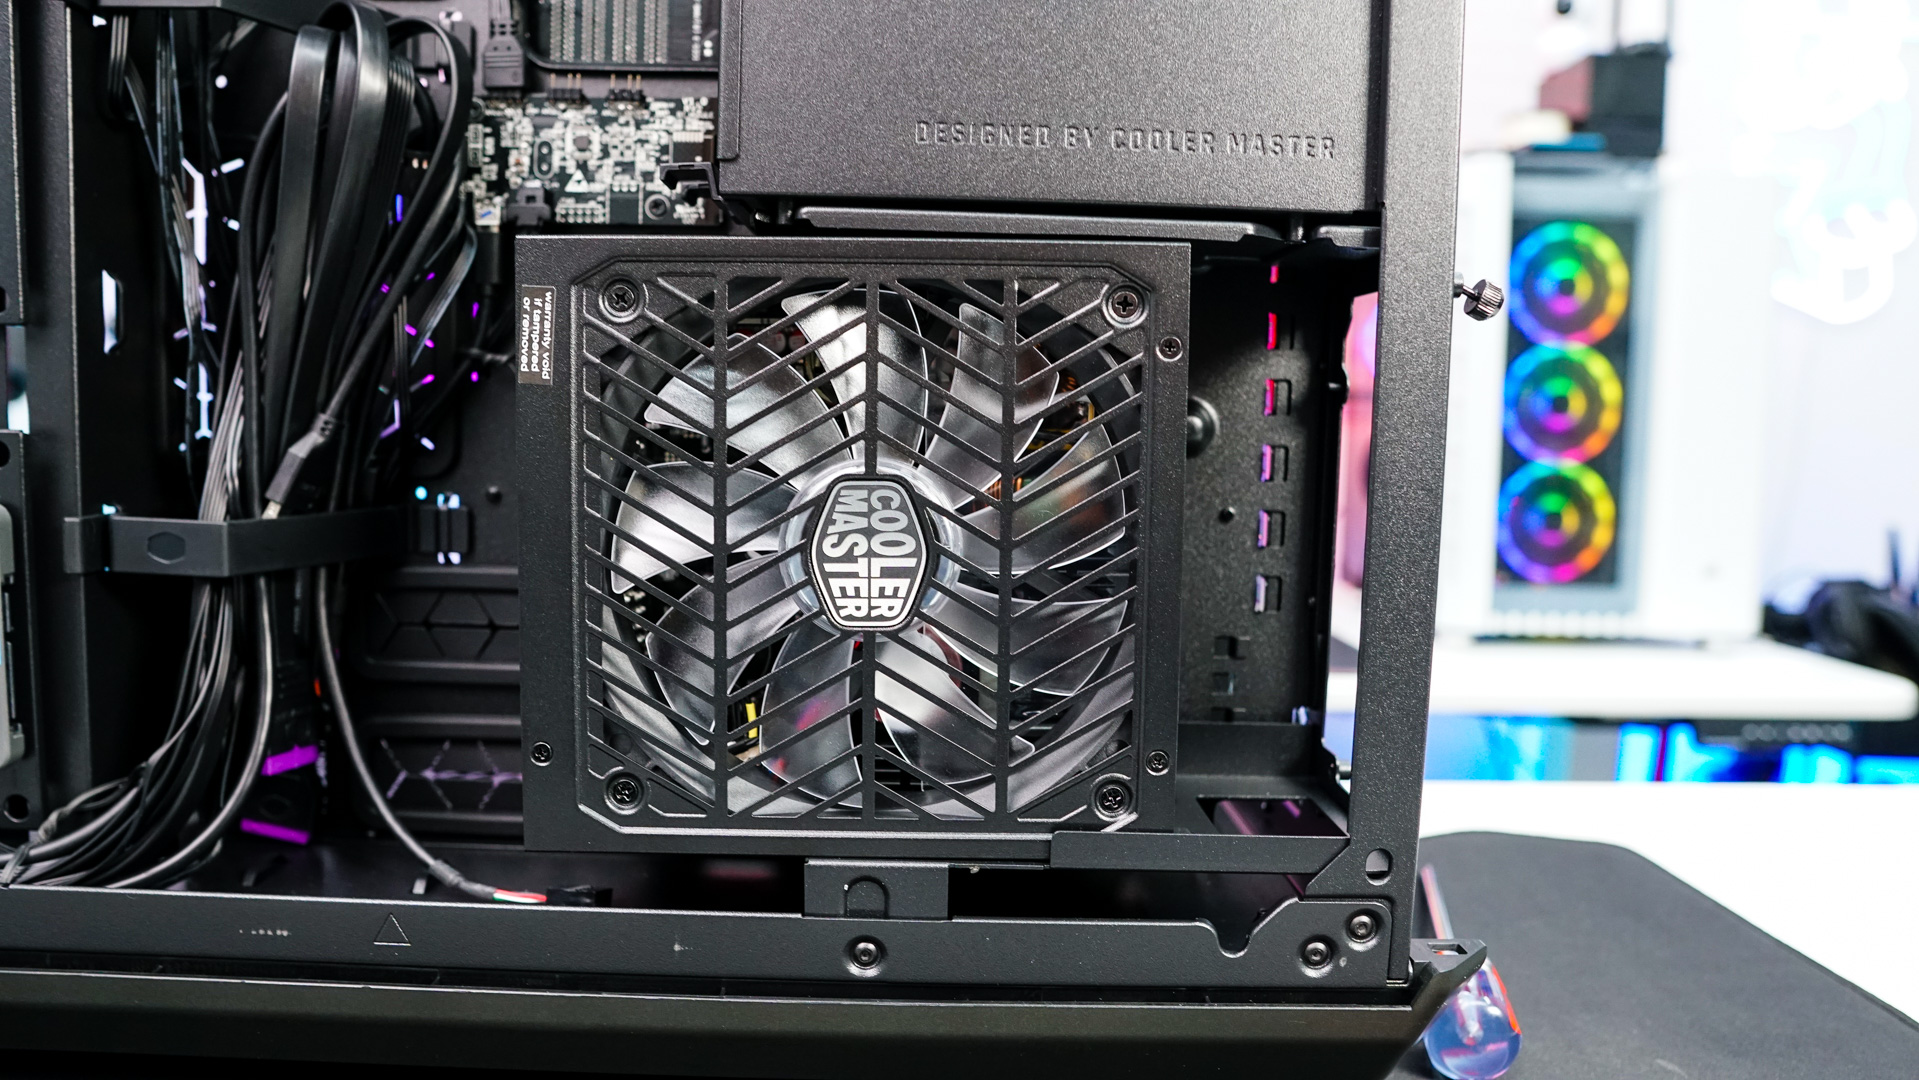
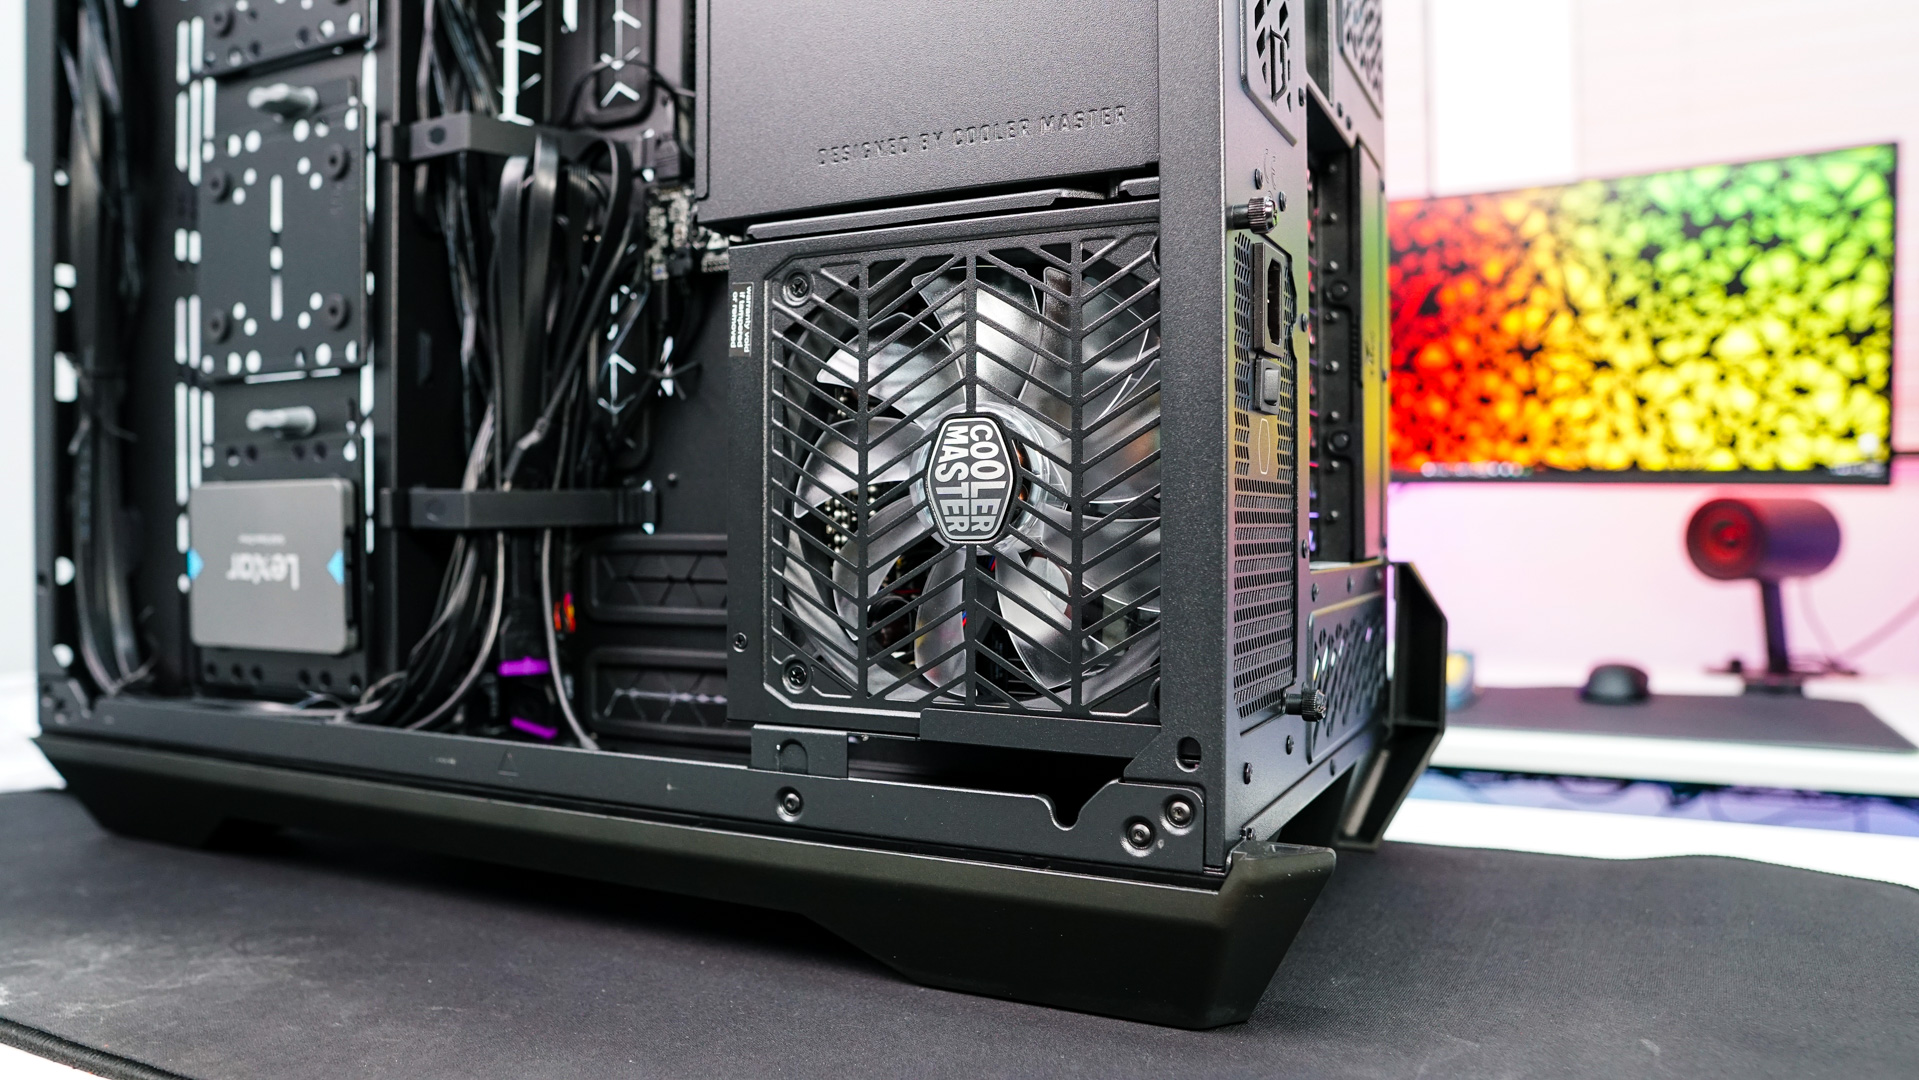
The power supply is next. It simple slides right into its mount and you secure it with the two captive screws on the back of the case. One of the first times I’ve actually had a completely tool-less power supply installation. Cooler Master did hook us up with their new XG Plus 850 Platinum unit which is 80 PLUS Platinum certified, fully modular, and has a pretty cool display. Sadly we won’t be able to see it in this build.
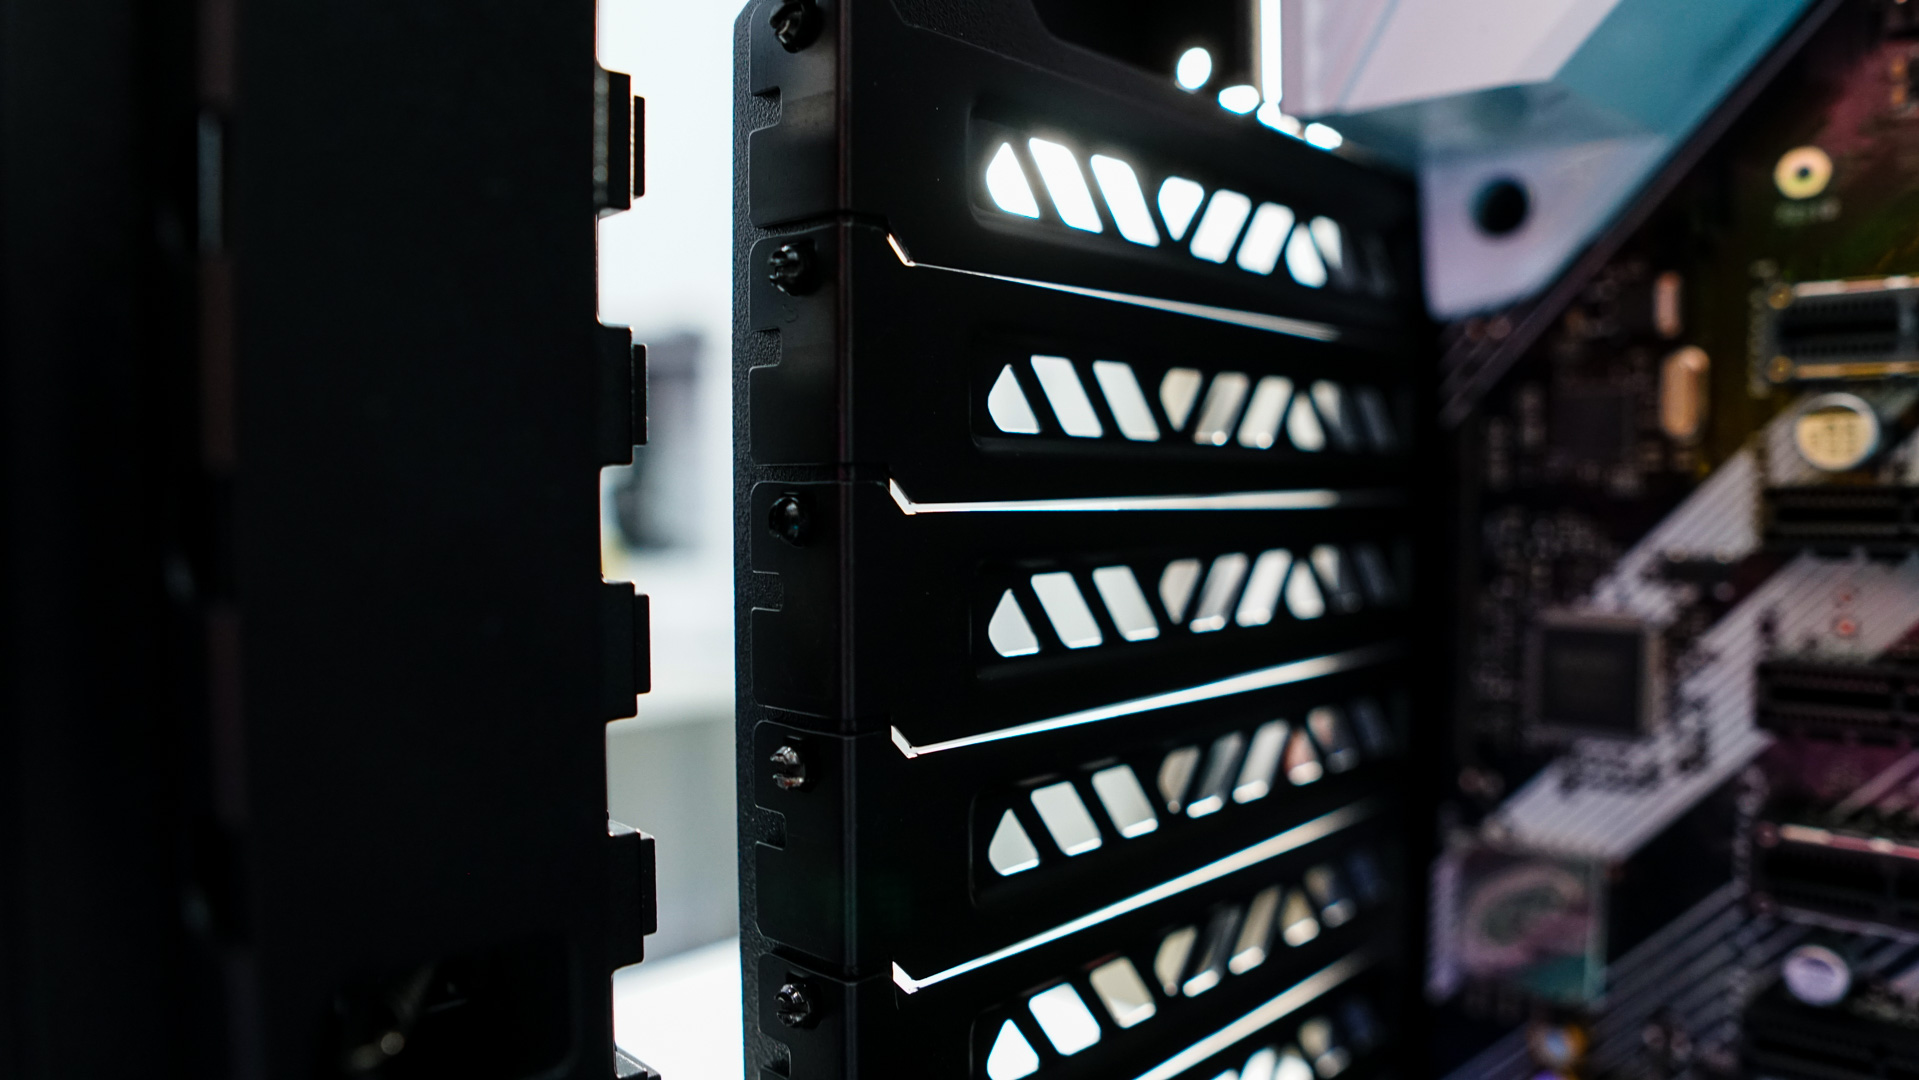
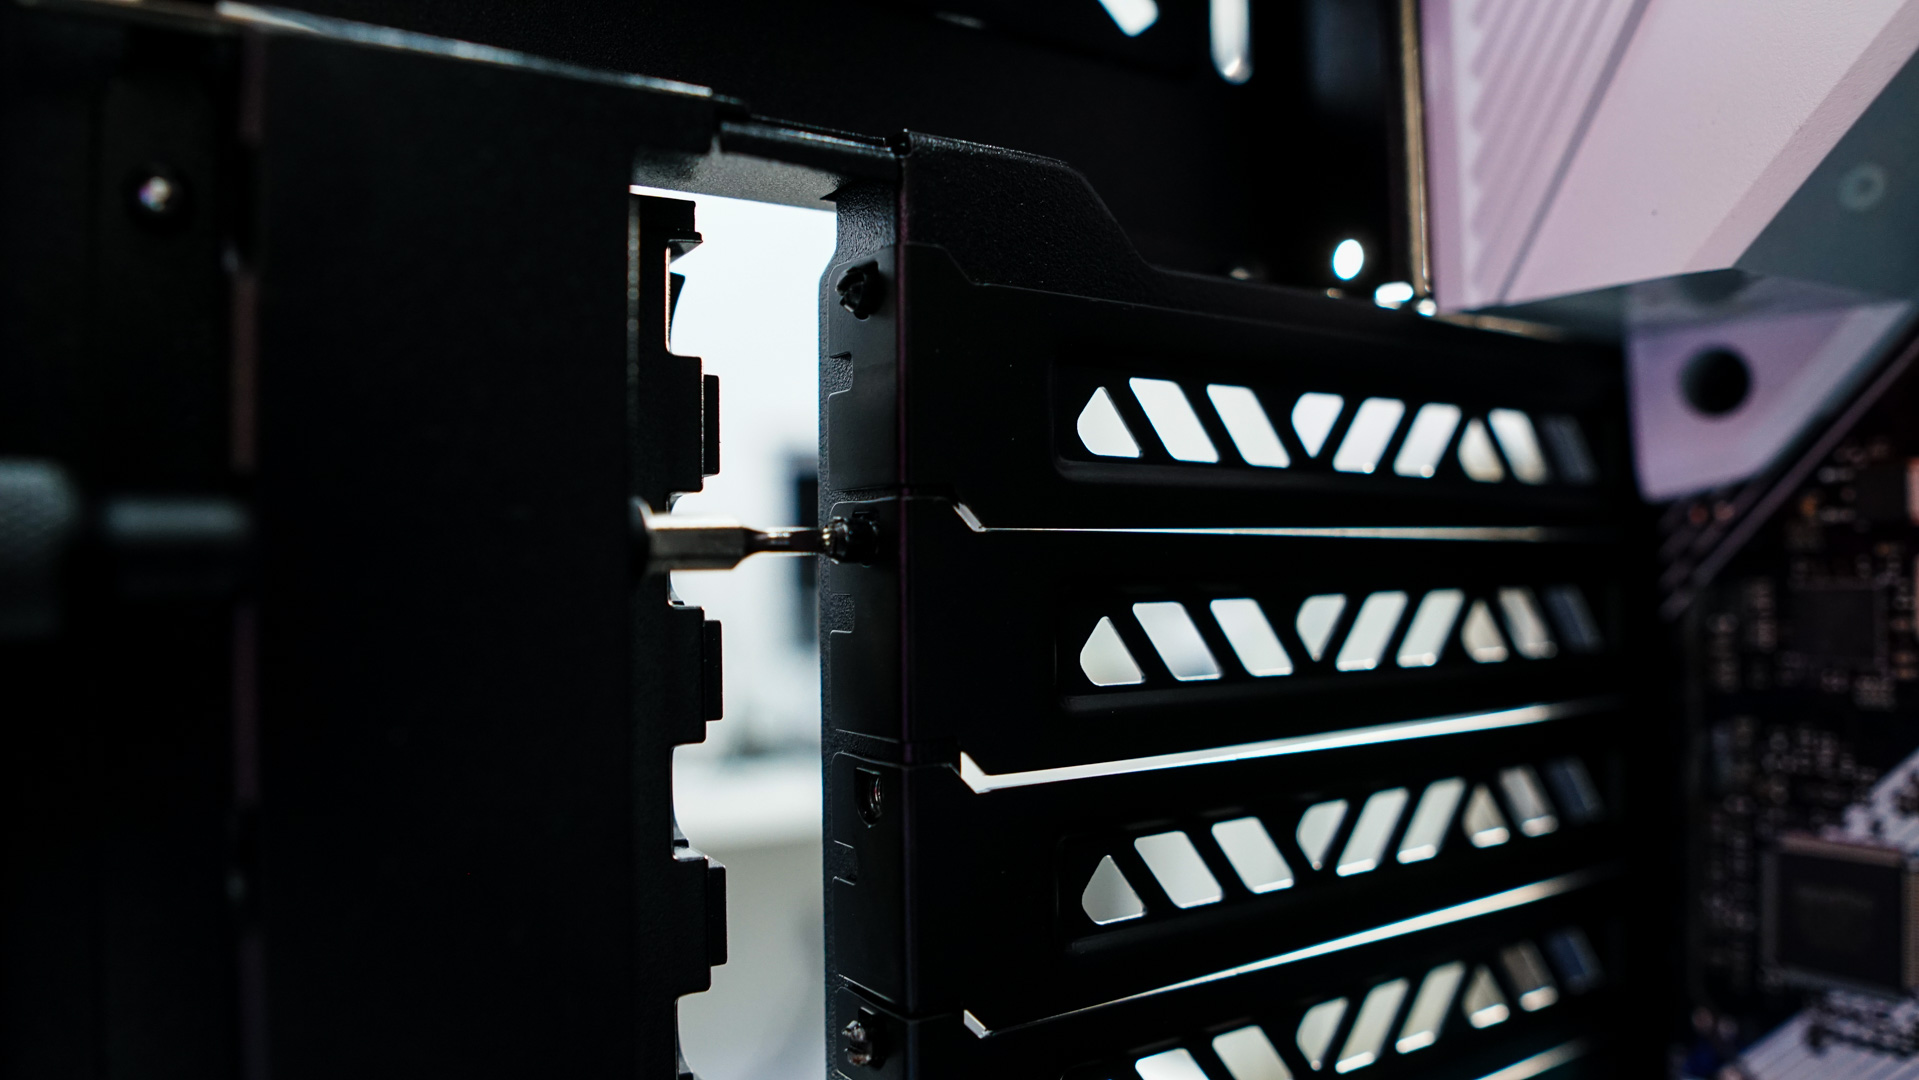
Moving back inside the case we need to install our graphics card. Cooler Master for some reason used some super tiny screws to hold the slot covers in place. I actually had to get out my set of screwdriver bits to find one that would fit such a small screw. Now you don’t need to use these screws as the case is designed to lock your graphics card in place with the slot protector, but I can see many people having to go out and buy a small screwdriver or set of bits to just remove their slot covers. Our graphics card is pretty small so no issues, but even if you had the largest graphics card out there it would fit in this case no problem.

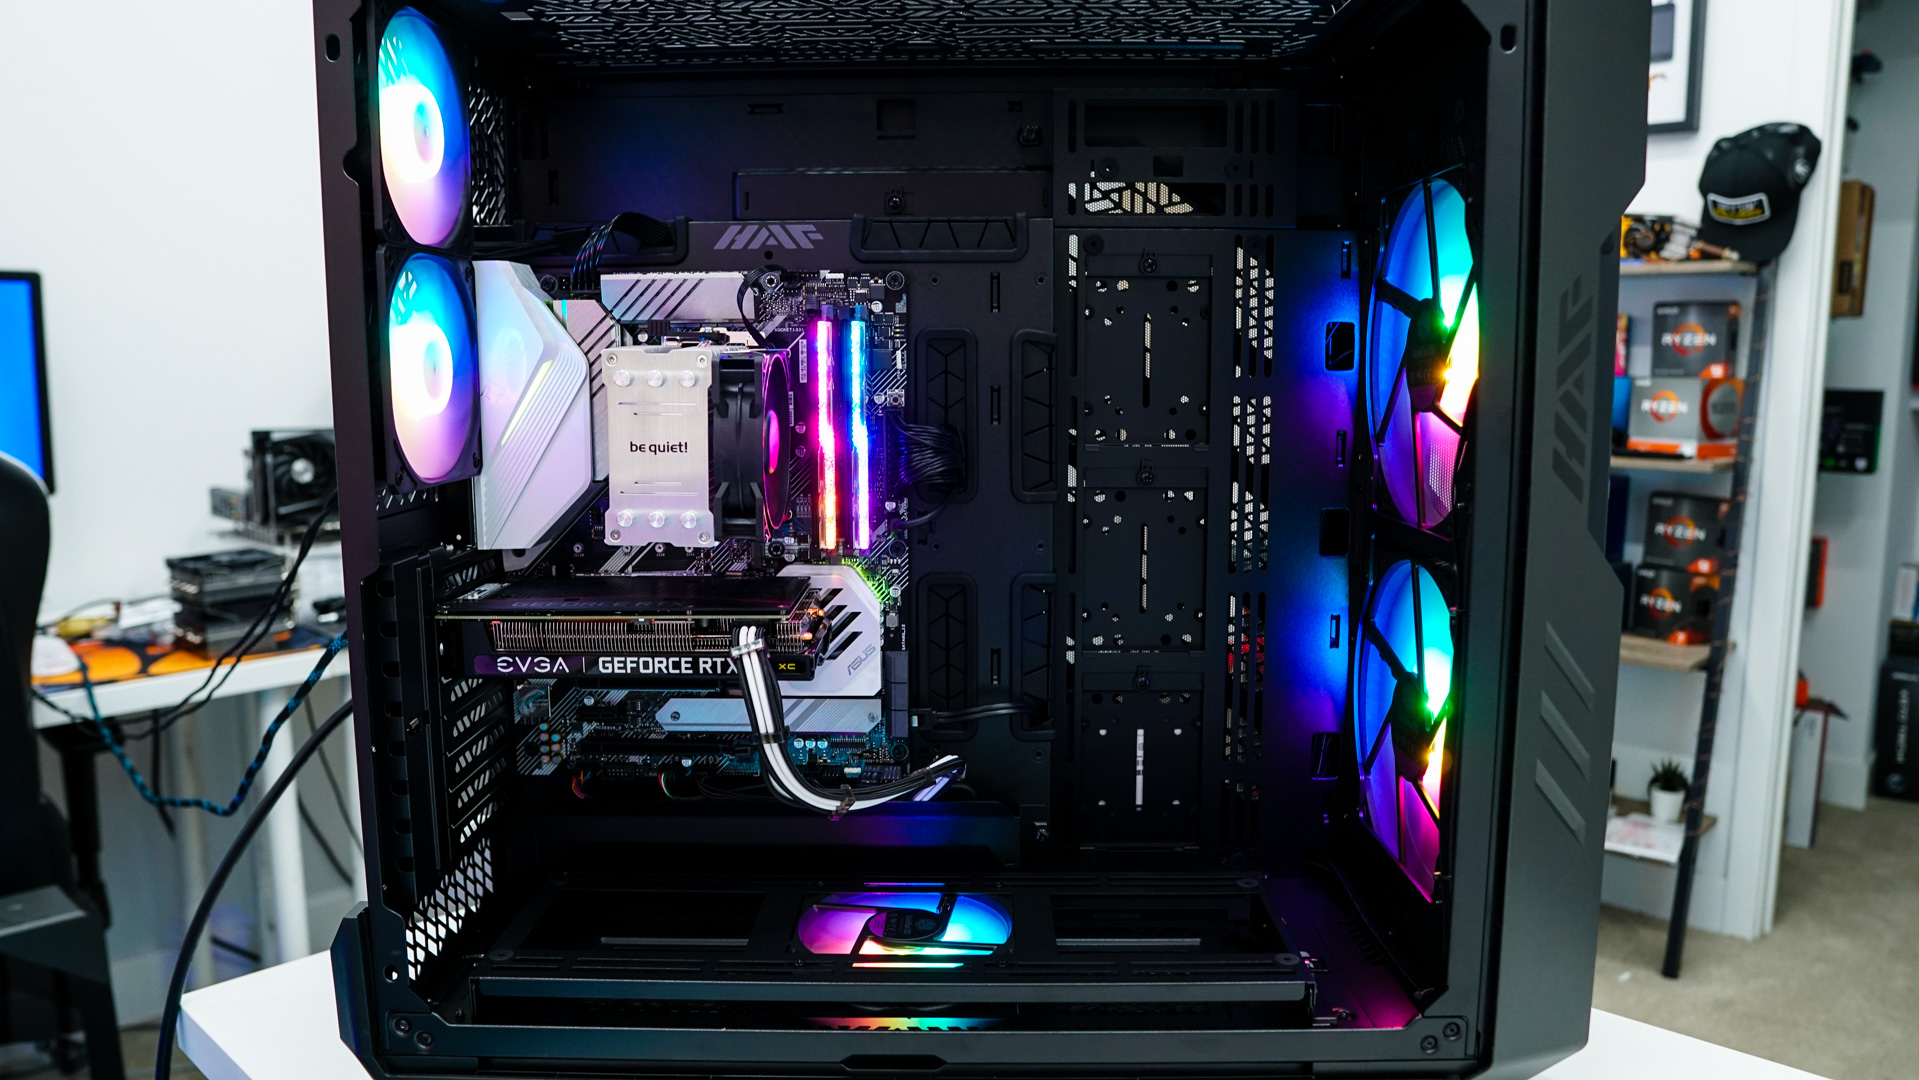
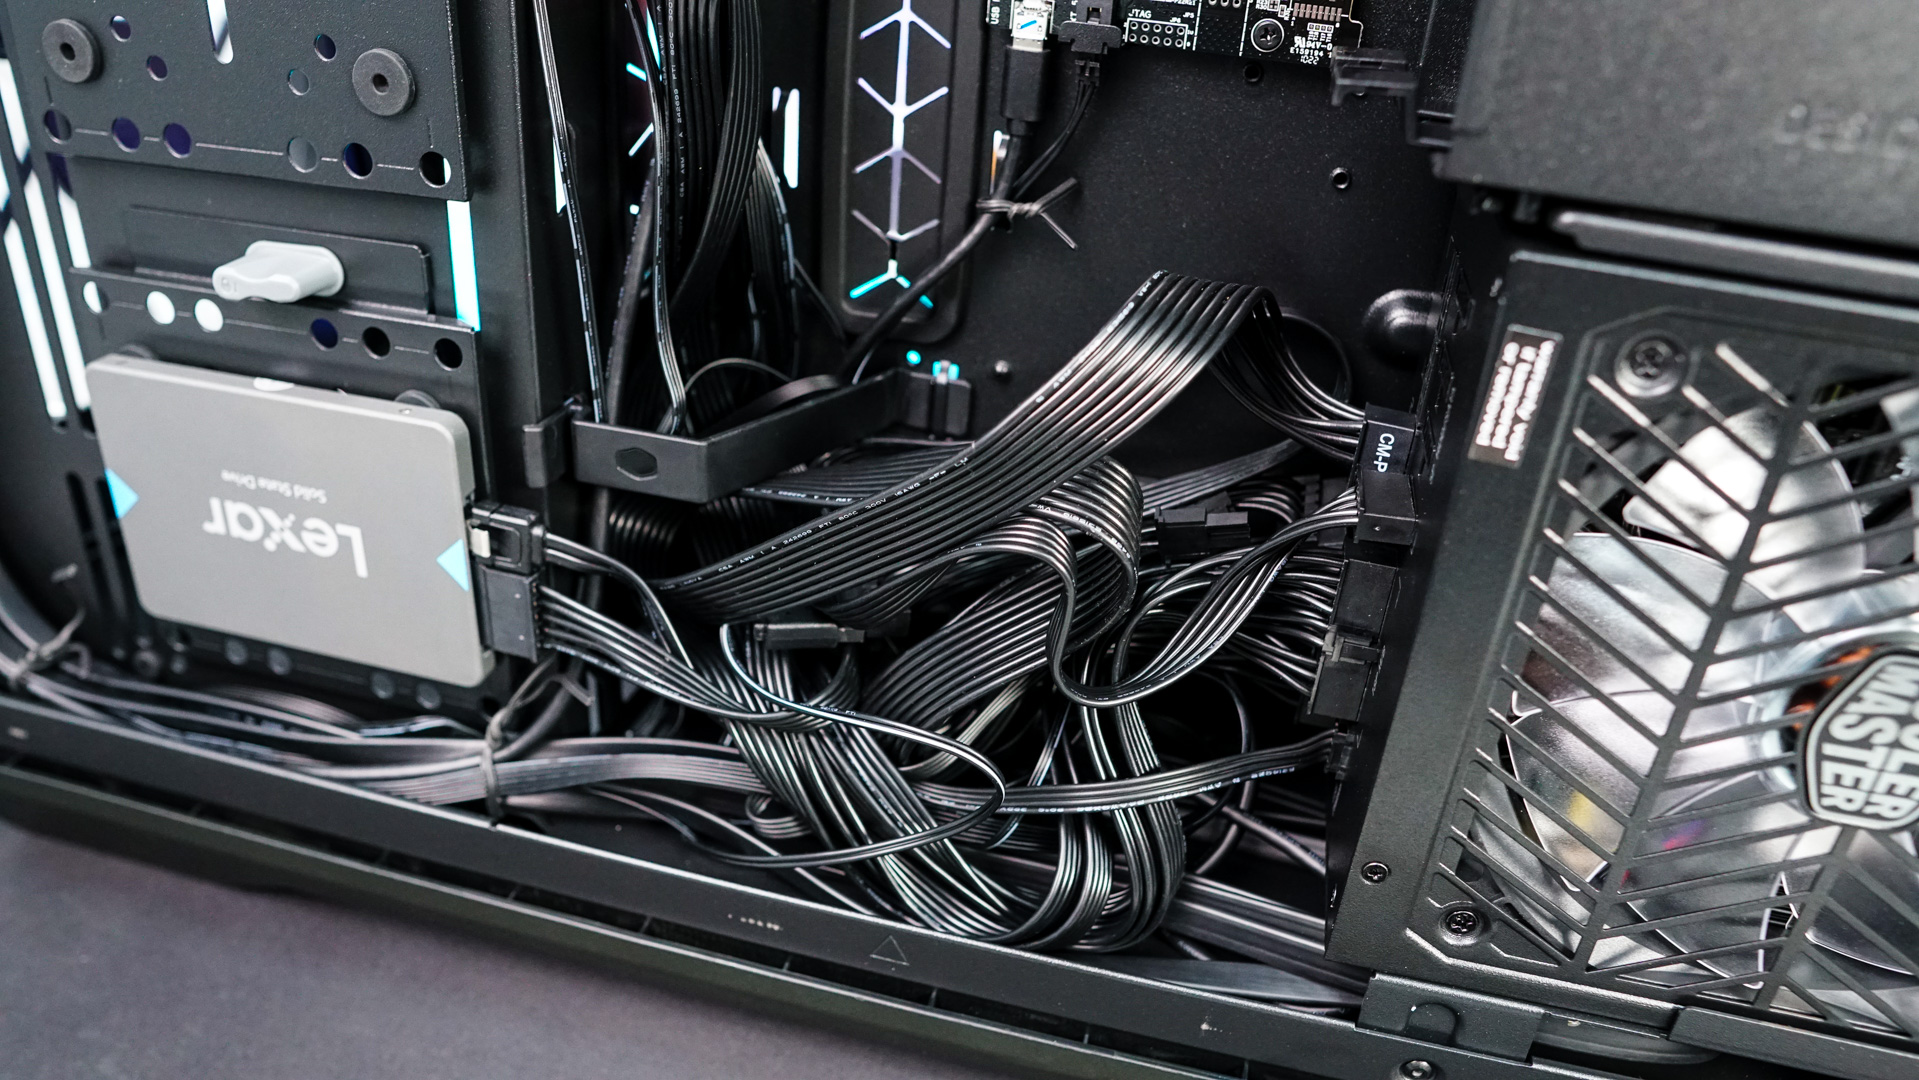
With everything install it is now time to wire everything up. The main back channel serves as a place to hide most of your cables and the two large clips keep things pretty organized, plus there are plenty of tie-down points if you really wanted to keep things clean.

Finally go ahead and re-install the large bracket that you removed earlier and things look quite clean! Again with a build like ours that we use for our test build this case is definitely overkill.