Installation
We will be installing the MasterAir MA620P in our Ryzen test system, which uses the AM4 socket. All coolers these days are compatible with AM4, so installing the MA620P is no problem. The first thing you are going to want to do is remove the AM4 bracket from your motherboard. Then go ahead and prep the mounting backplate by installing the mounting points in it. For AM4 your backplate should look like this.
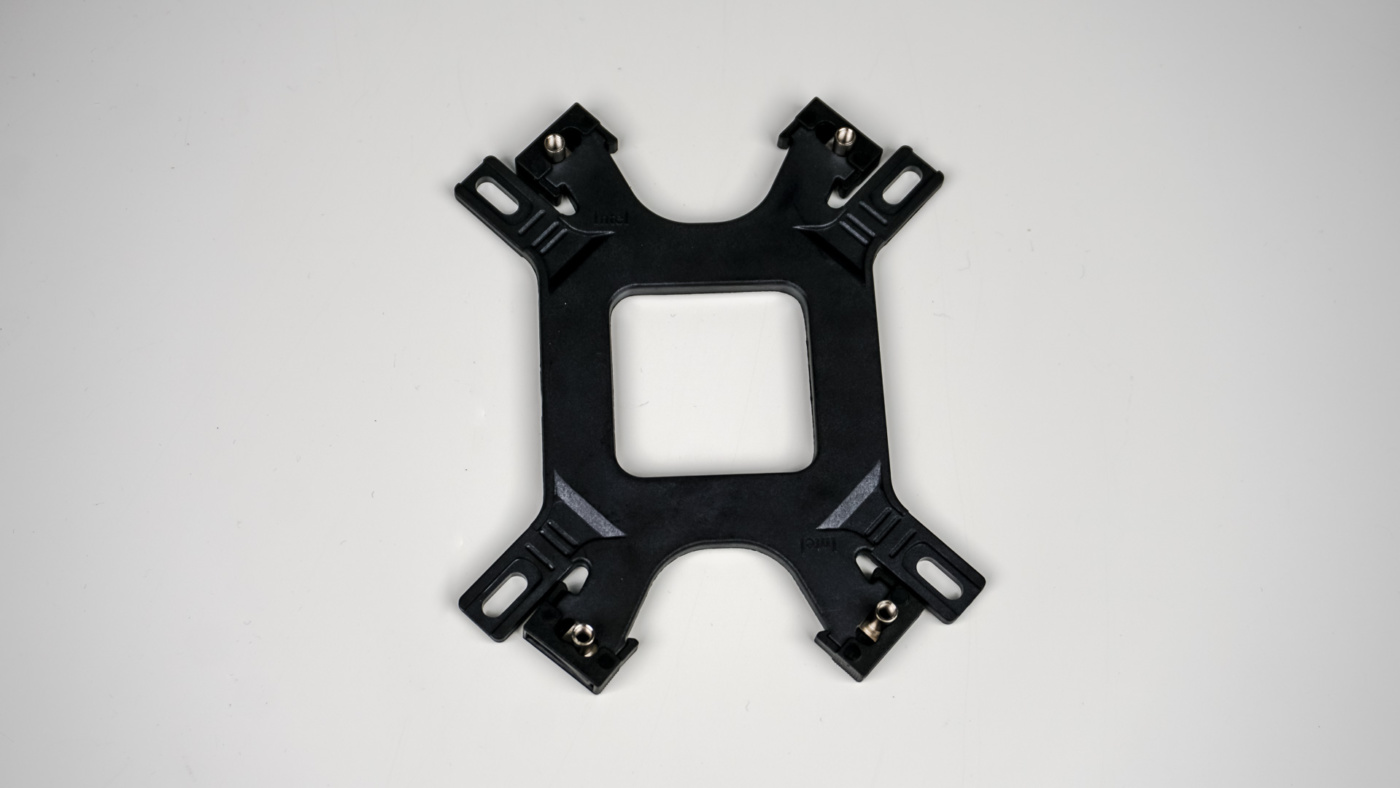
Next go ahead and install the backplate on the back of your motherboard, making sure the mounting points go through the holes in your motherboard. Take the double-sided screws and install them in the mounting points to secure the backplate.
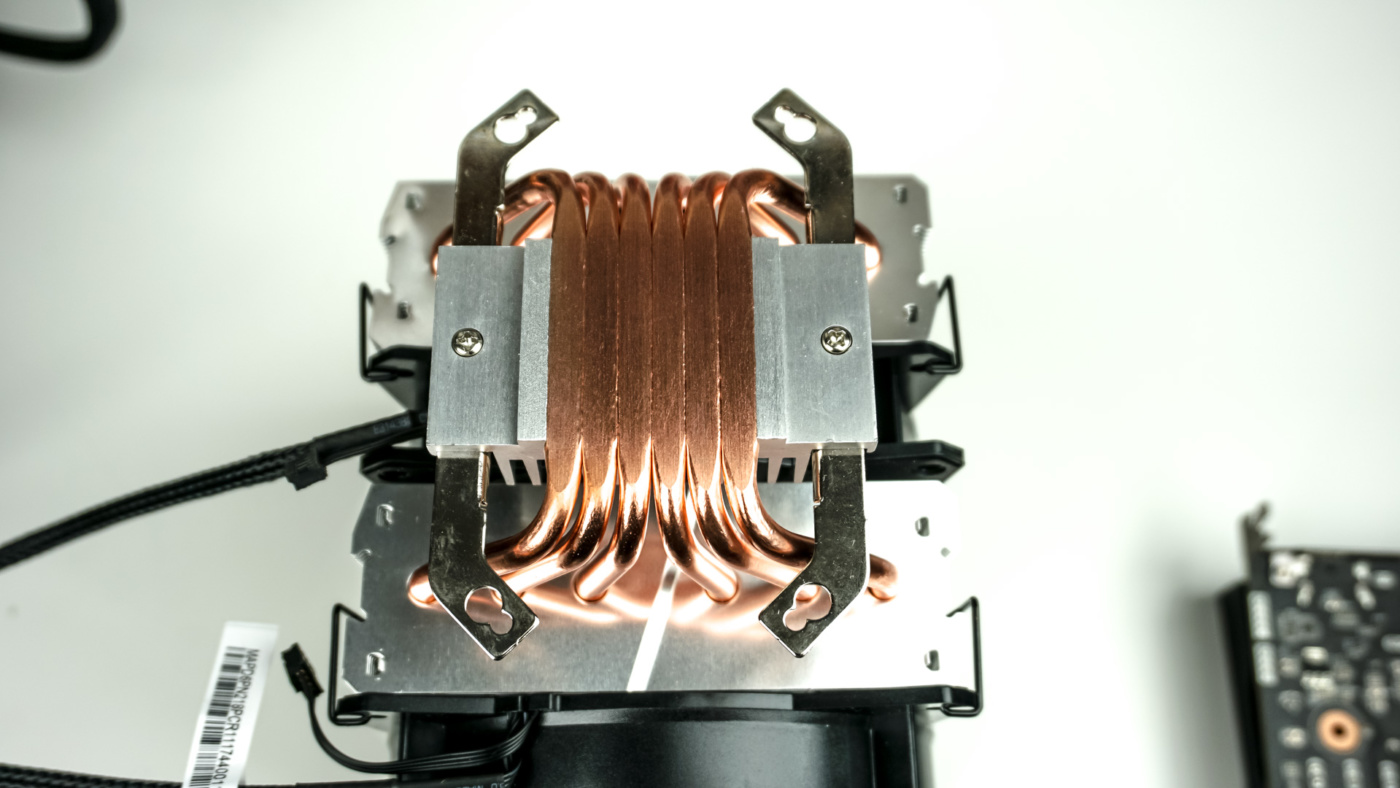
Now it is time to move over to the cooler itself and install the mounting bars on the base. Make sure you install the correct ones for either Intel or AMD. For AMD your cooler should look like the photo below with the mounting bars pointing in.
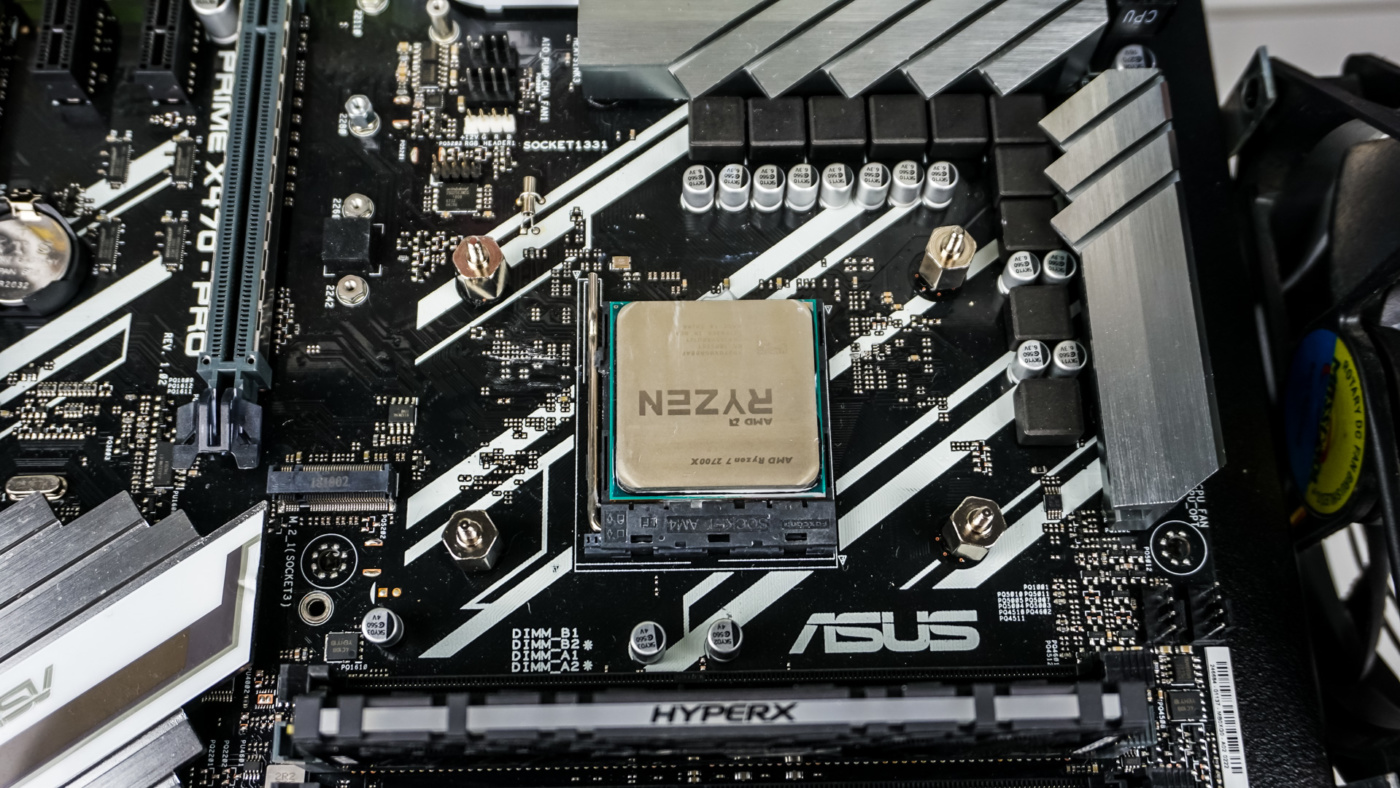
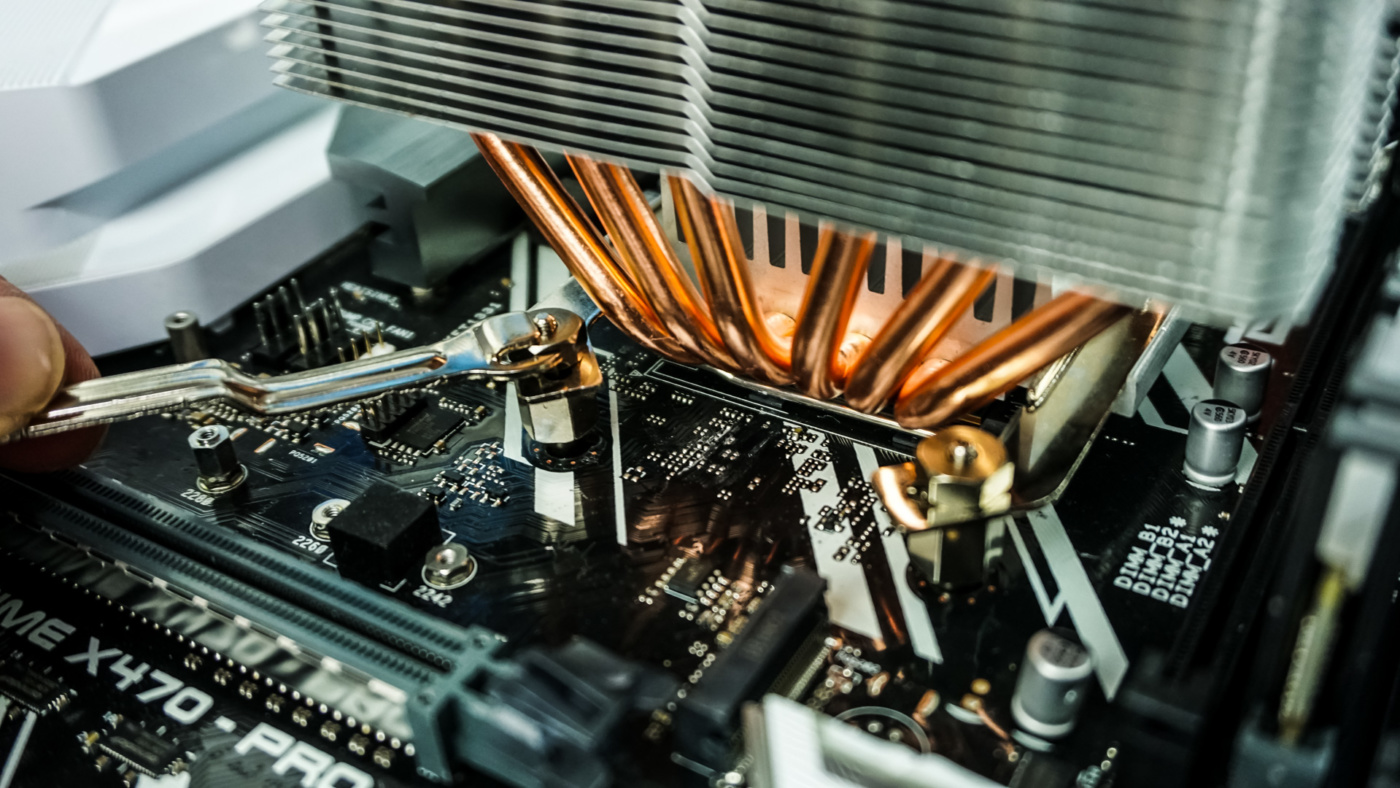
Install the included thermal paste on your CPU and then very carefully place the cooler on your CPU, lining up the holes in the mounting bars with the screws you installed earlier. Now with the cooler sitting there very carefully install the included nuts on the screws locking the cooler in place. This installation method still is a bit complicated. To be able to really tighten those nuts you’ll likely have to remove your graphics card and memory. And things will be cramped especially if you are installing this cooler inside of a case. We had to remove the front fan to get at the nuts as well. I really wish Cooler Master would come up with a a new mounting system for their air coolers.

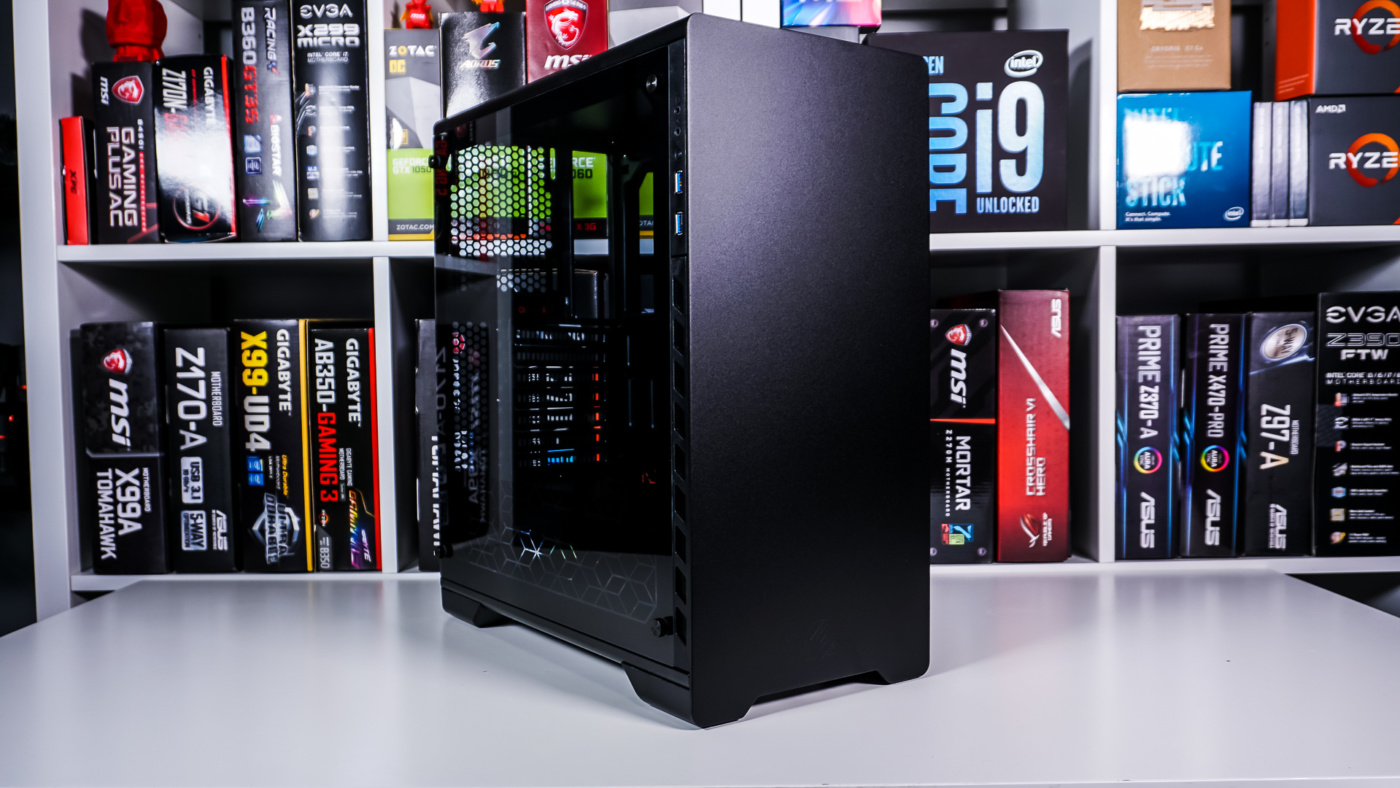
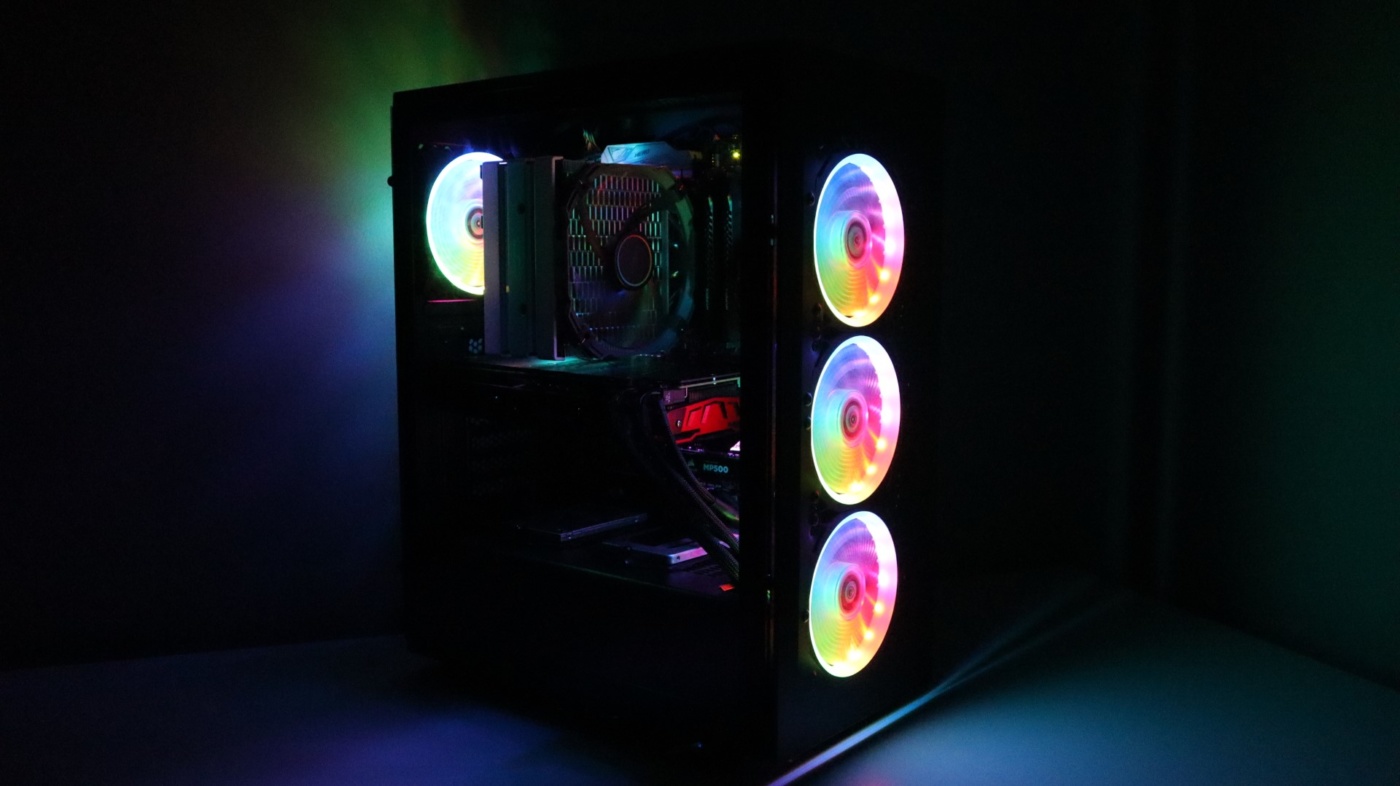
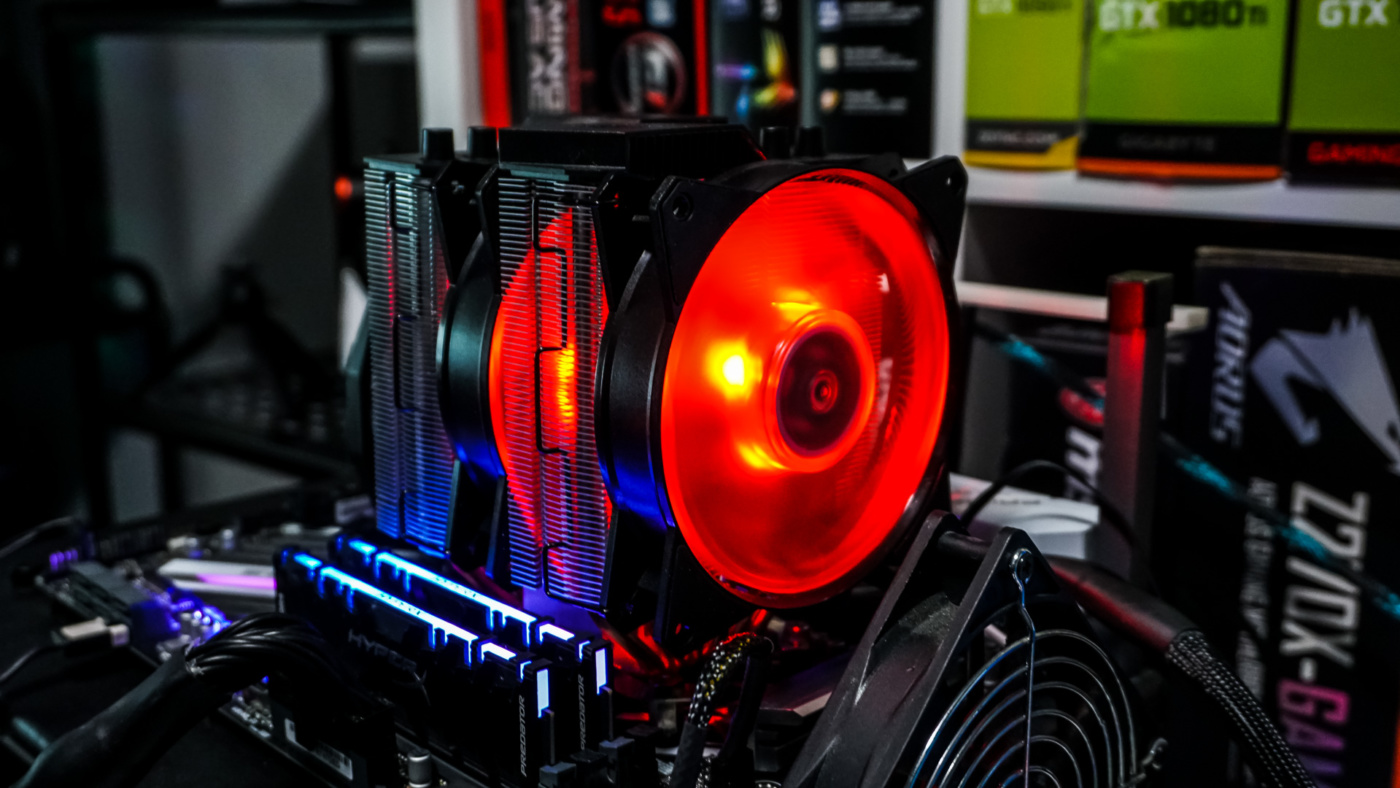
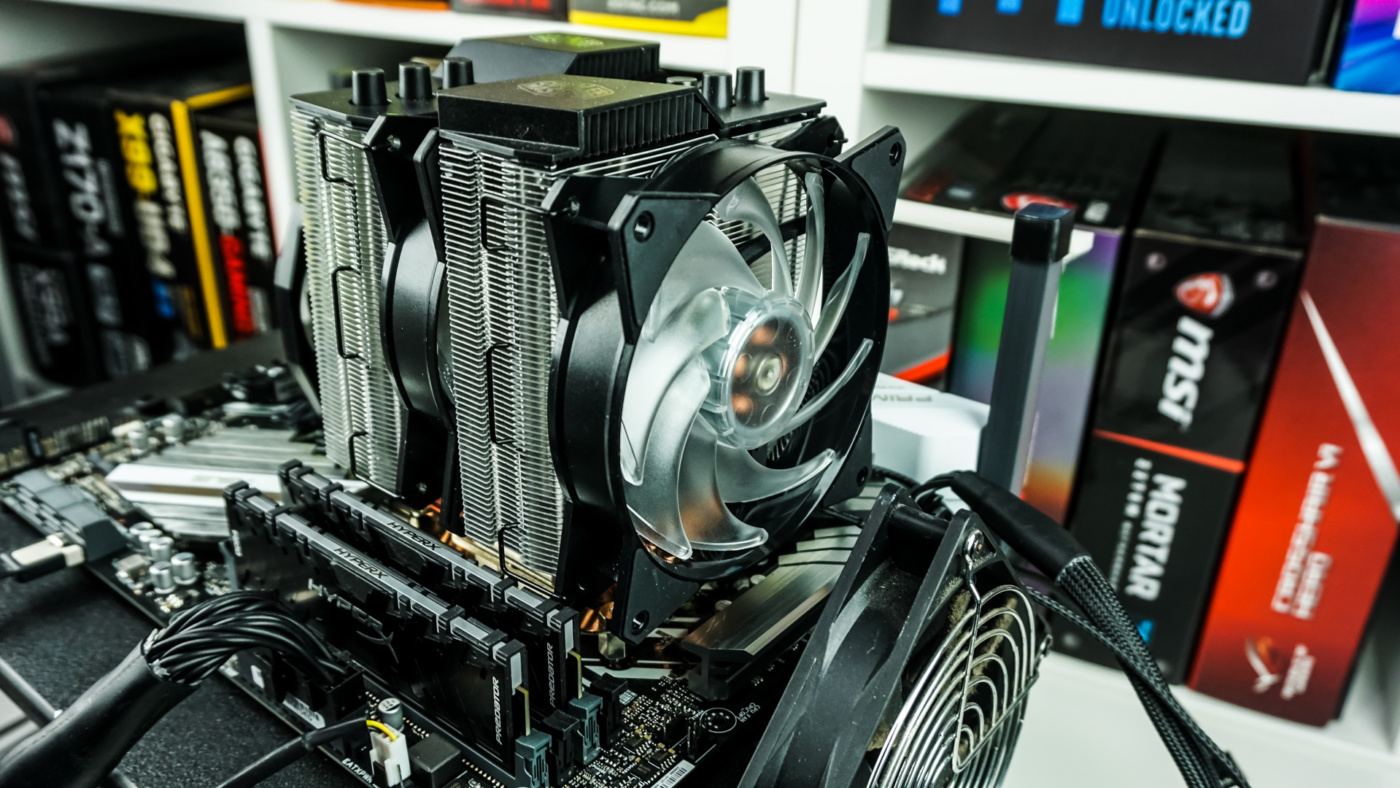
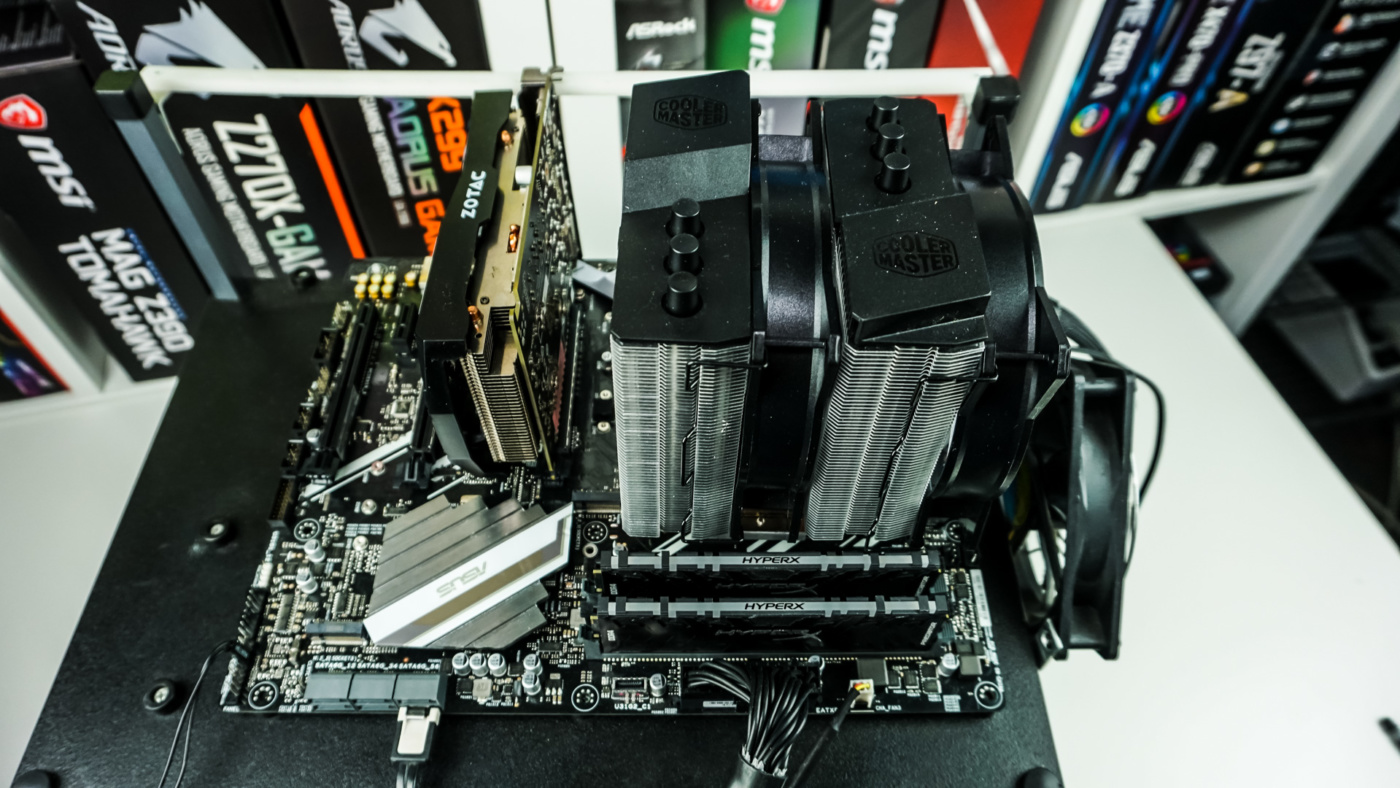
For AM4 installation you only have the option to install the cooler in a vertical orientation. We installed the cooler pushing air down into our system since we wanted to be able to show you what the fans would look like, but we would suggest installing it opposite with the front fan at the bottom of the cooler exhausting air out the top of your case. Since we are on a test bench it really won’t make a difference. The cooler did not interfere with our memory, graphics cards, or VRM heatsinks.
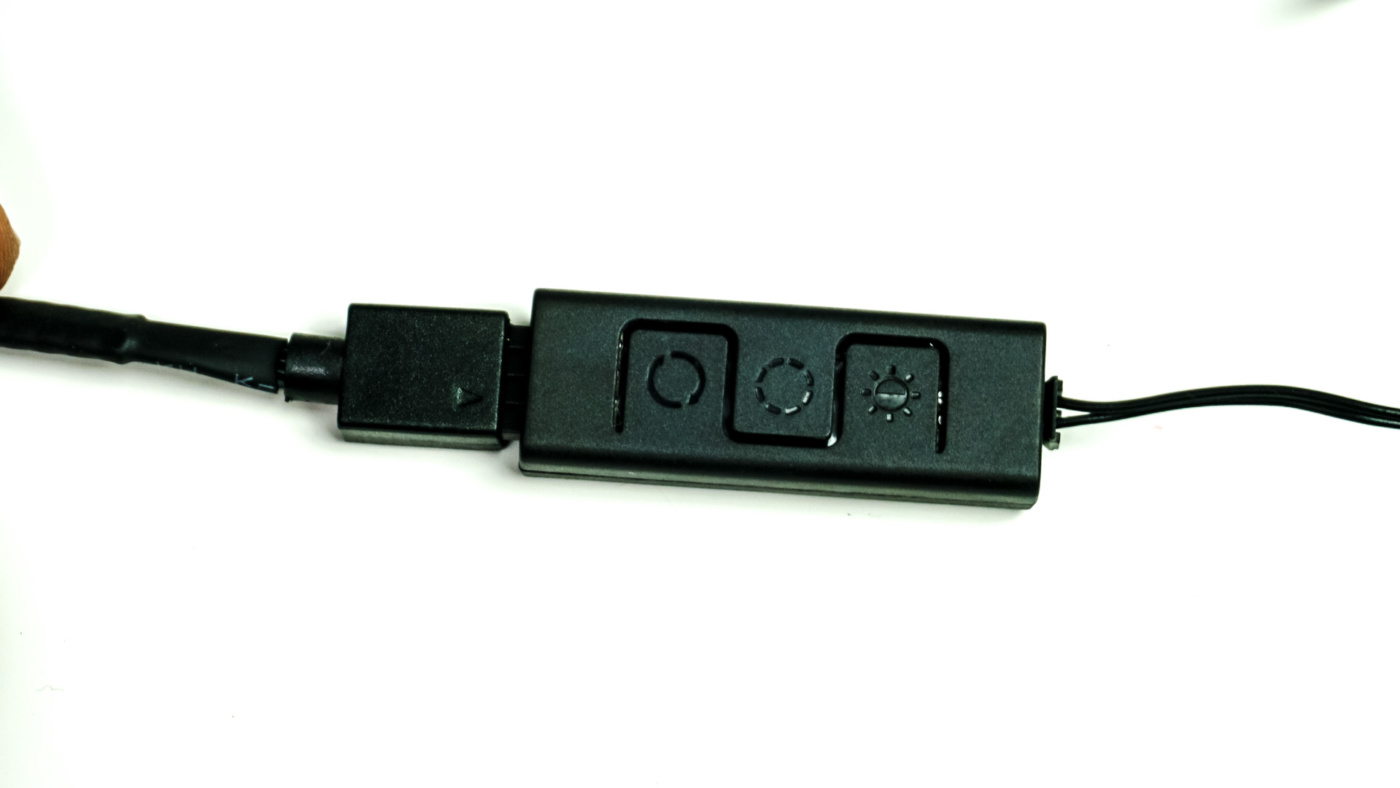
After you get your cooler mounted you still need to connect the fans. Coming off each fan are two leads, one for power and control and the other for RGB. Cooler Master supplies Y-cables for each. The Y-cable for RGB goes to a standard 4-pin RGB connection, which you can either plug in to your motherboard’s 4-pin RGB header or the included RGB controller. The RGB controller is powered by a Molex power connection, which is a little disappointing as nothing really uses Molex these days. A SATA power connector would have been nice. The Y-cable for the fans is a standard 4-pin PWM connection that you plug right into your motherboard’s CPU fan header.