A Look Inside
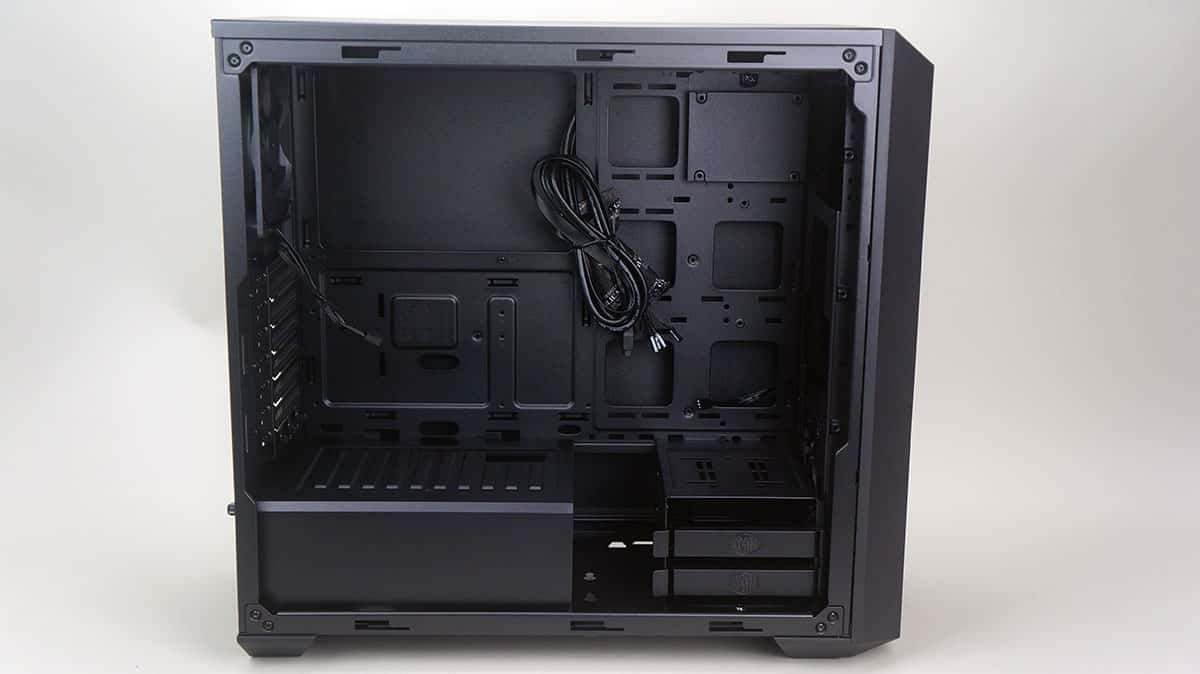
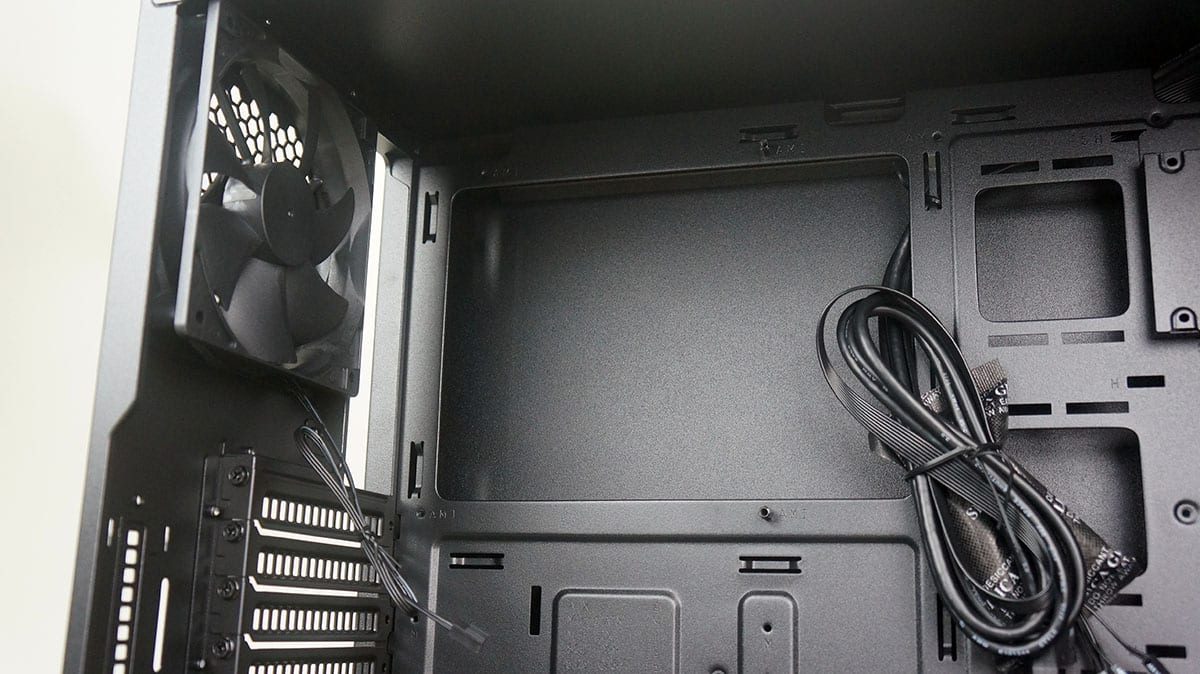
Getting inside the MasterBox 5 we have a very nice and clean interior layout. Even though this is a mid tower the case actually supports motherboards up to extended ATX. You will loose your SSD mounts towards the front of the case, but still that is very impressive.
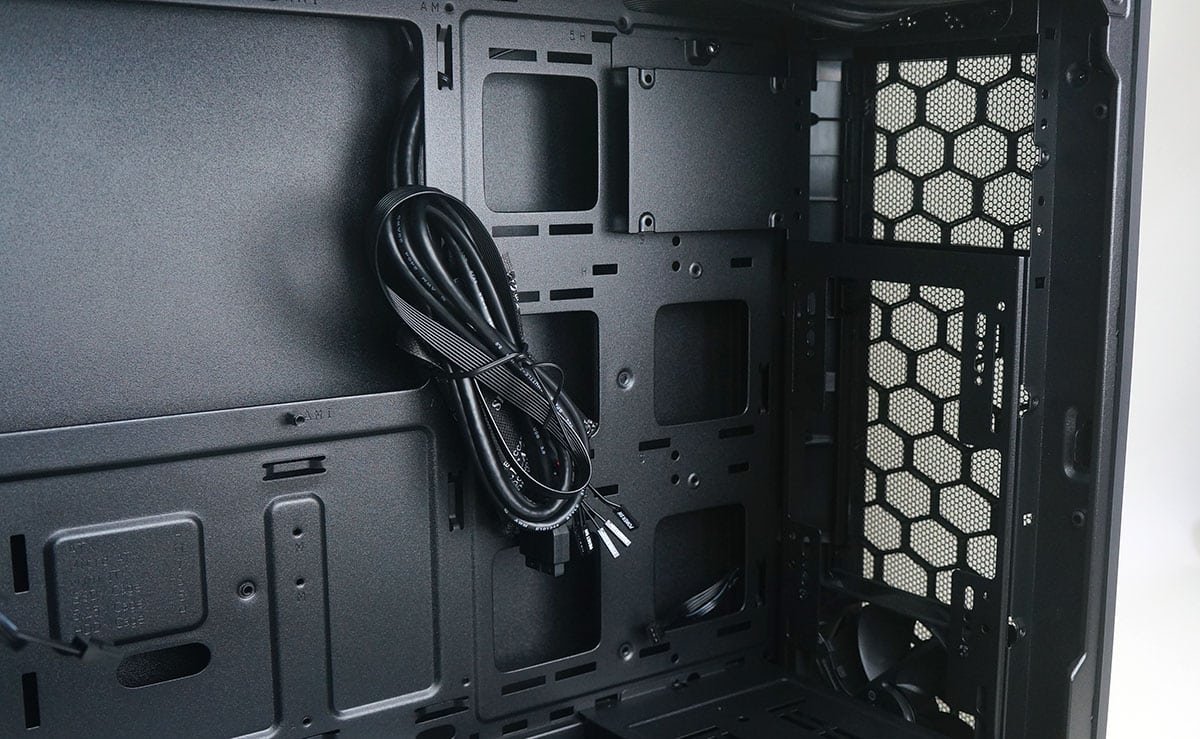
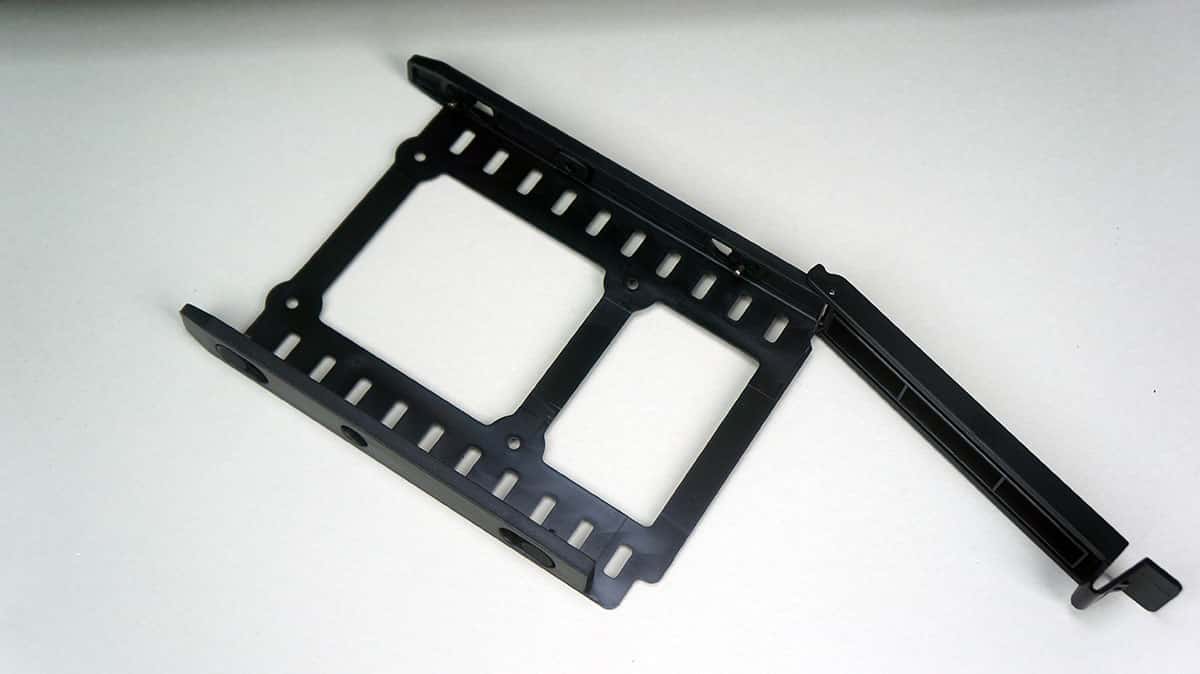
If we start at the front of the case we have our single SSD mount bracket. It is installed at the top mounting spot, but it can be moved down to either of the two spots below. If you need extra SSD space you can buy additional brackets. The front of the case also supports watercooling, by default you can install a radiator up to 280 mm, but with the optional bracket the front of the case case support a 360 mm radiator.
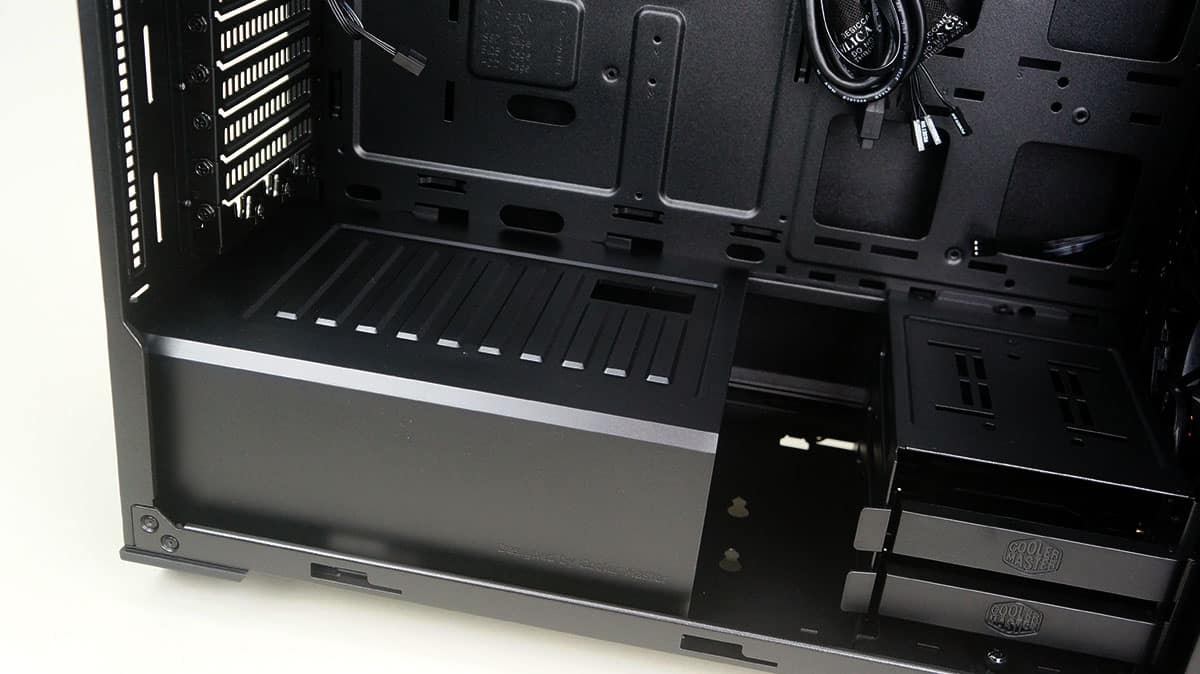
Moving down to the bottom of the case we have our hard drive cage. This cage has two trays, each of which support 2.5-inch and 3.5-inch hard drives. You can also install an SSD on the top of this cage. One thing that is really neat is that you can actually move the cage over to the left to make room for thick fans and watercooling. Also on the bottom of the case is a plastic power supply cover. It can be removed if you don’t want to use it. It has an opening for you to route your PCI-Express power cables.
The expansion slot covers on the case are the ones that are held in place with screws, not the ones that you have to bend off the case frame. I hate those, you end up bending the frame of your case when you remove them. It should have been nice to have thumbscrews on the slot covers though. The bottom expansion slot cover is Cooler Master’s StormGuard system which allows you to thread your keyboard and mouse cables through it so no one can steal them at a LAN party or event. The case also has a very large CPU cutout on the motherboard tray.
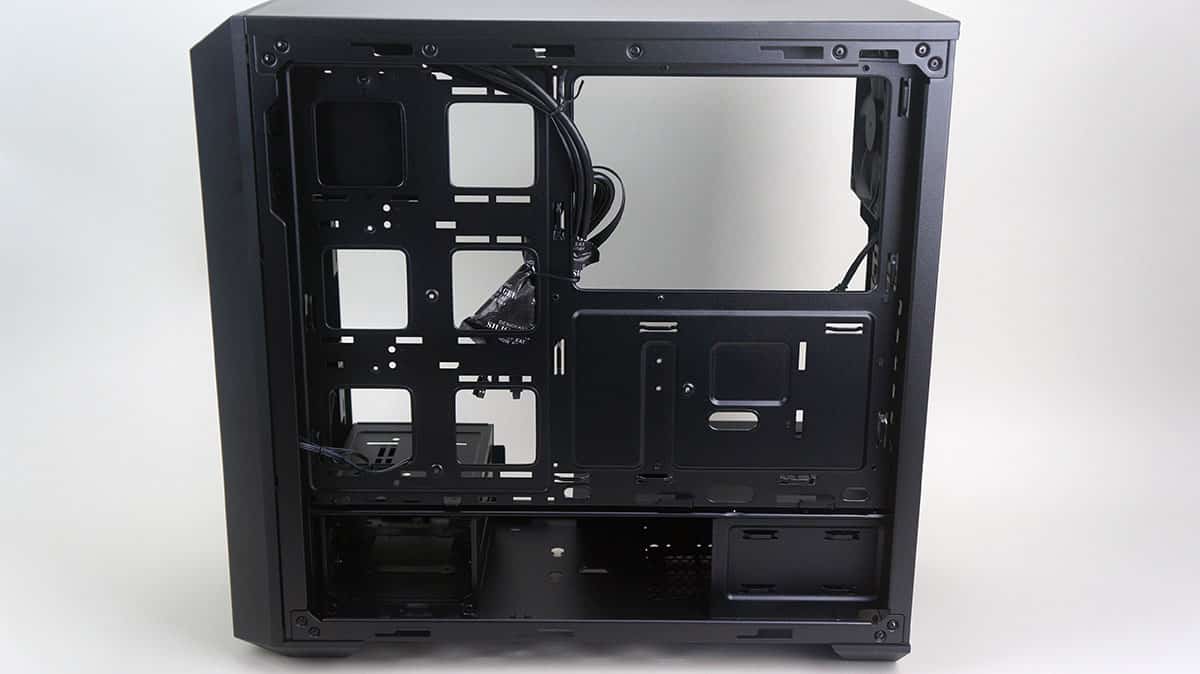
Taking the opposite side panel off the case we can see that there is a very basic, yet functional design back here. One thing that is very evident is that there is quite a lot of tie-down points for the included zip ties.
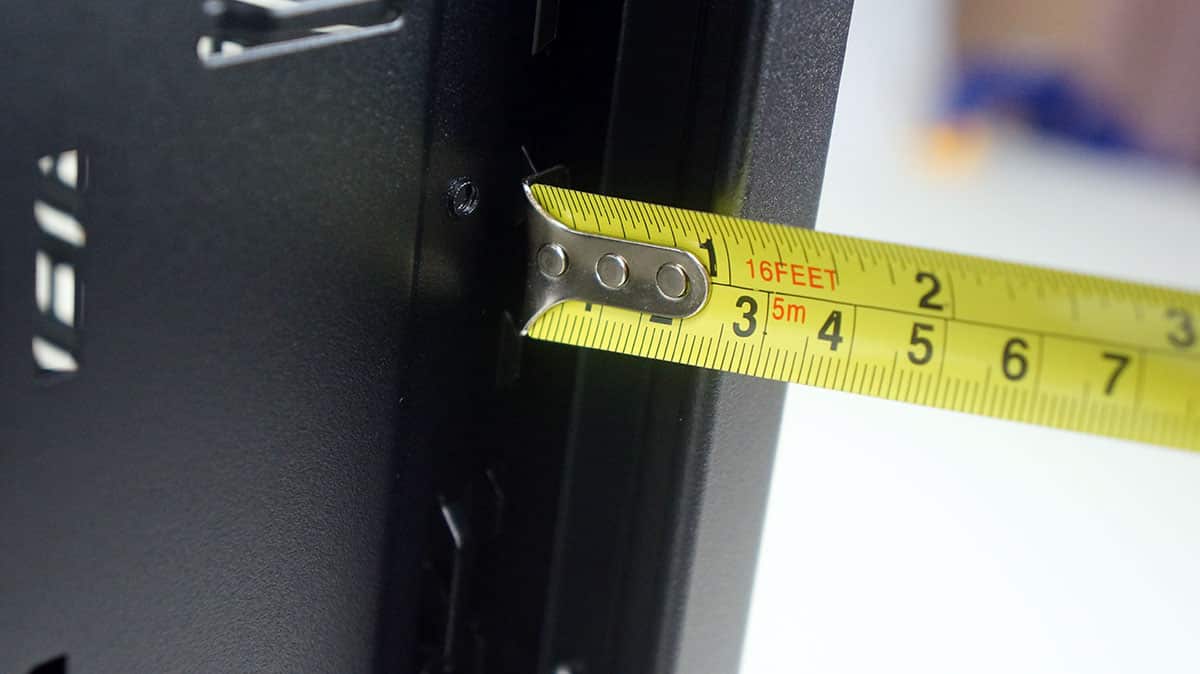
Taking out our handy tape measure we can see that there is just about an inch a space between the back of the motherboard tray and the rear side panel. This should give us ample room to route all of our cables.
My SSD is a Crucial SSD, and has Silver and Blue tone. This doesn’t go with my build so, I’ve installed my SSD on the back side of the SSD cage. Also, if installed on the front, it fits upside down making my inner OCD kick up. Is it safe to install it on the other side of the cage. I actually thought that’s how we are suppose to install the SSD on it due to the exact match of the cage’s gap.