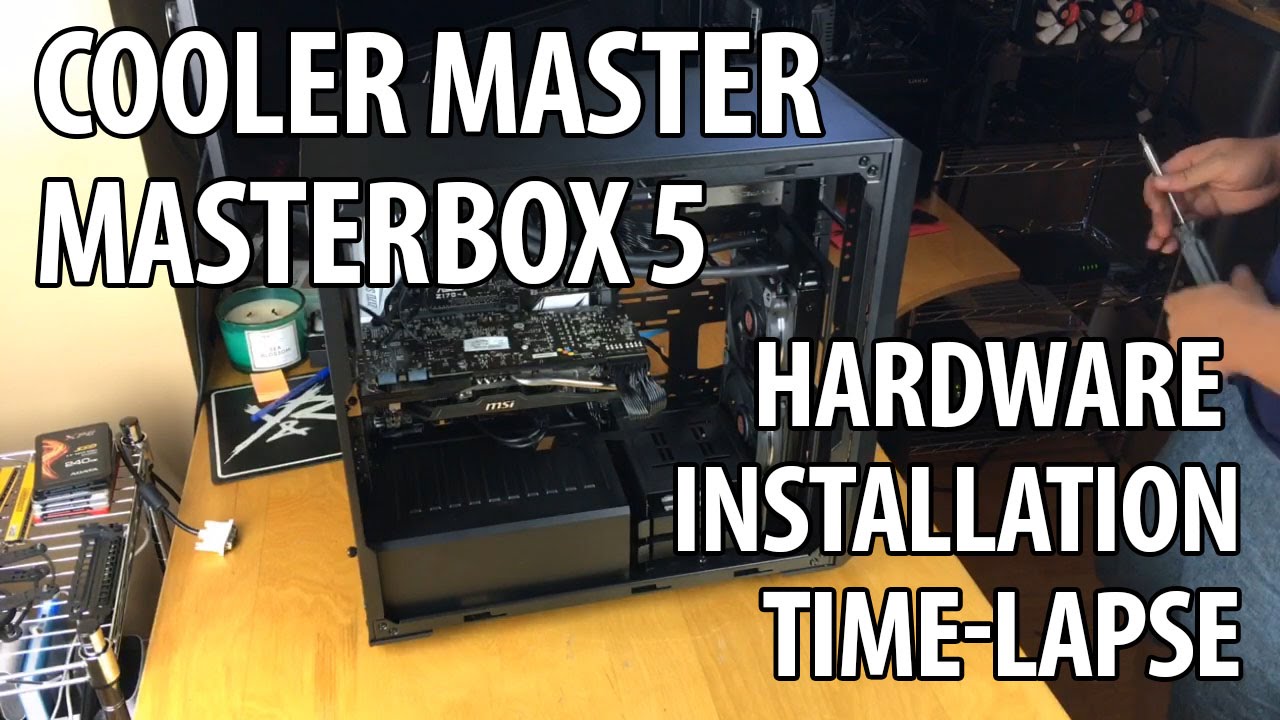
Installation
With Cooler Master’s new cases they want to make installation extremely easy and the upgrade process straightforward. Let’s see if that is true with the MasterBox 5. Check out our time-lapse of our hardware installation below.
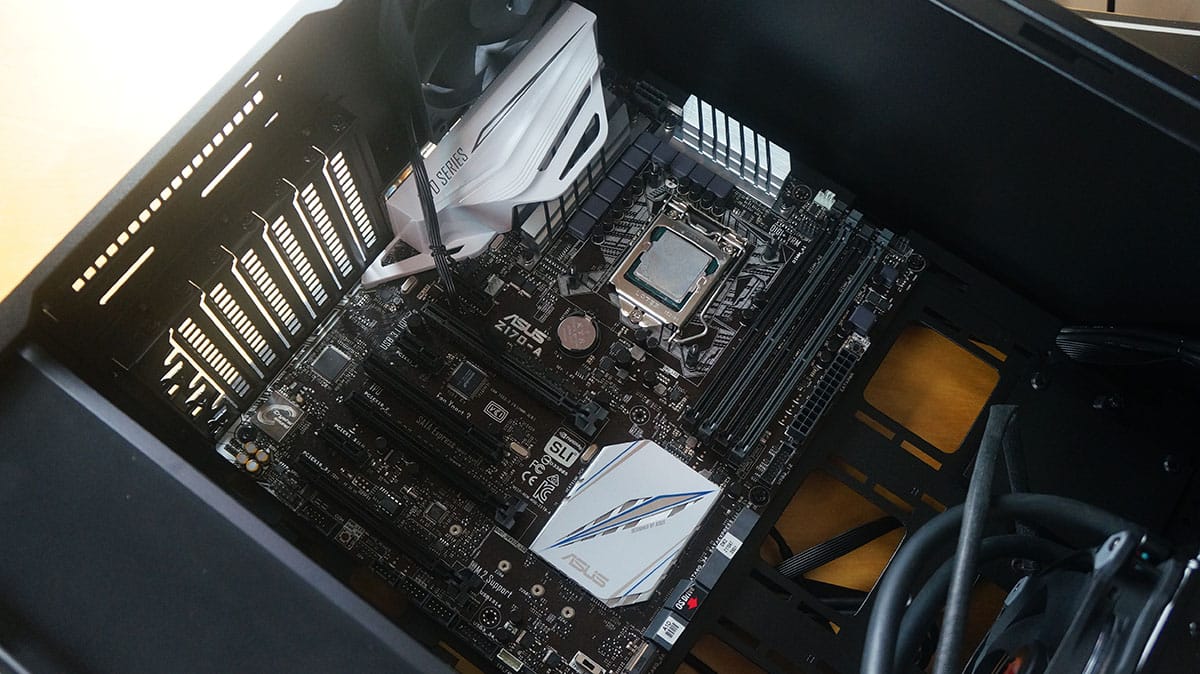
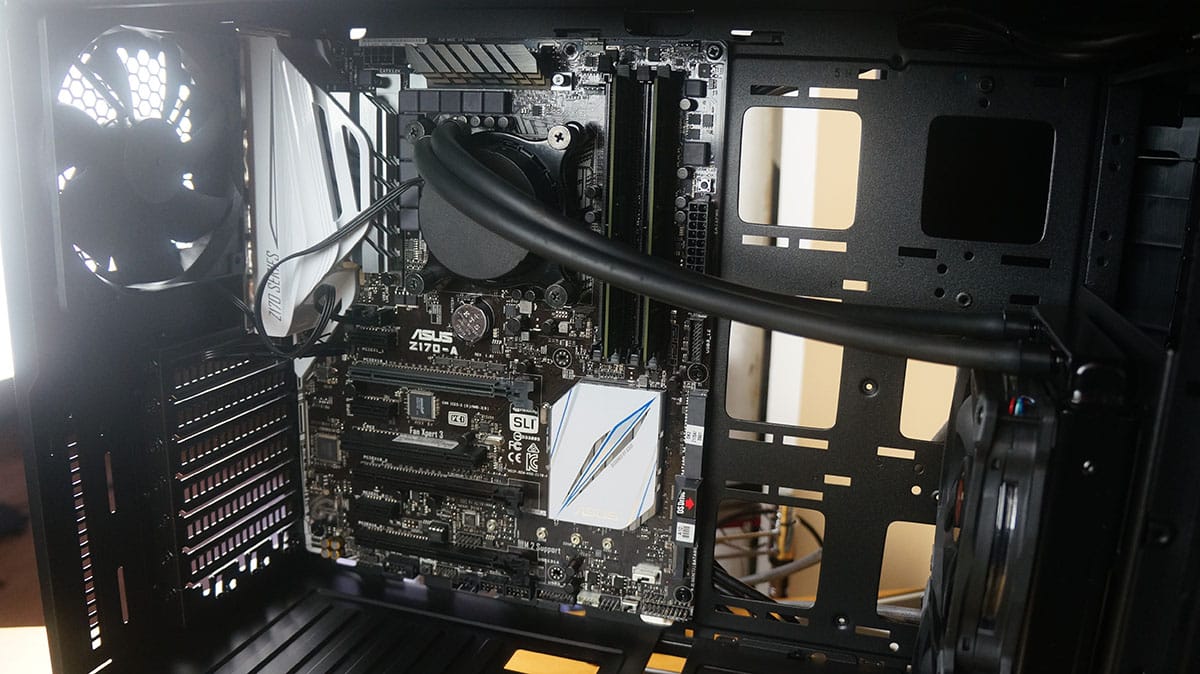
The first thing we are going to be installing is our motherboard. Cooler Master does have standoffs installed for mini-ITX motherboards, but you will need to install the rest of the standoffs if you want to install a motherboard larger than that. Cooler Master does include a standoff screw so installing the standoffs is really easy. Our motherboard went in no problem at all.
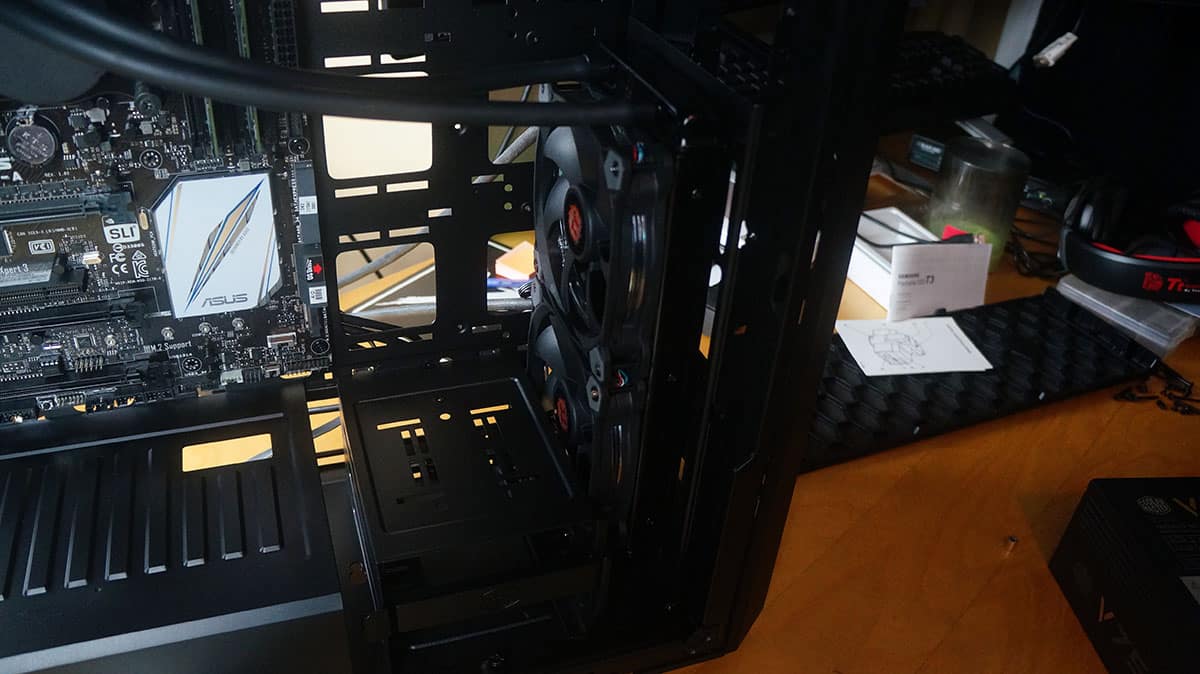
Next I wanted to install an AiO in the front of the case. This can actually easily be done. Take off the front bezel of the case and install the AiO inside the case and secure it with screws in the front. Now you will likely need to move the hard drive cage over, but that is as simple as removing the thumbscrew and sliding it over.
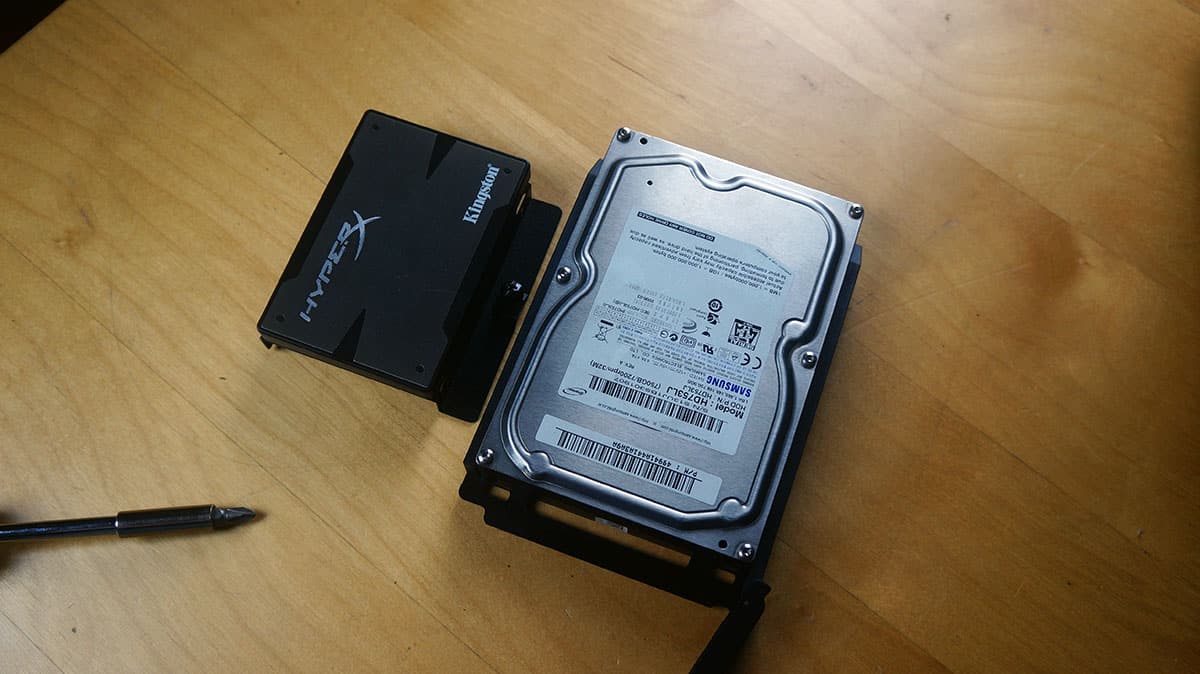
Our hard drives are next. The hard drive trays in the cage easily come out so you can install your drives. While 3.5-inch hard drive installation is tool-less it is a bit tricky. It took me a few tries to get my drive in there. The SSD bracket is also completely removable from the case, just loosen the thumbscrews and pull it out. You will need to screw your SSD on to the bracket. Once you have your hard drives in their brackets / trays you can install them back in your case.
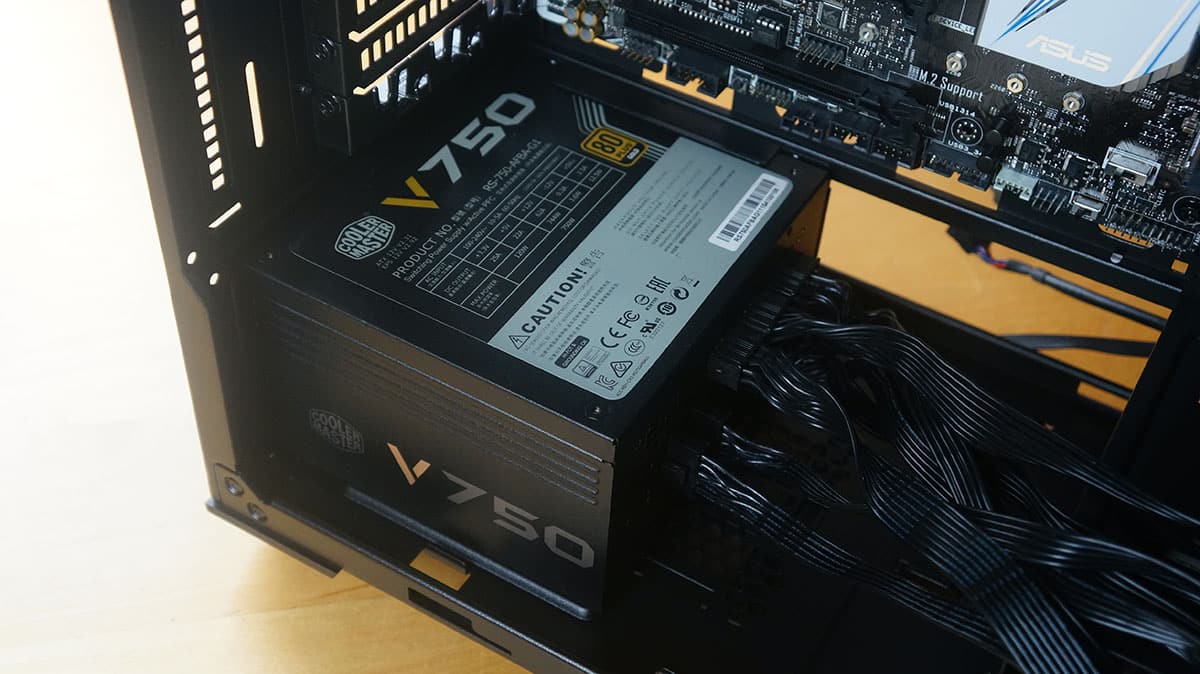
To install your power supply you will need to remove the plastic power supply cover. All you have to do is remove a single thumbscrew on the rear on the case and slide it out. Then you can place your power supply and secure it inside with four screws.
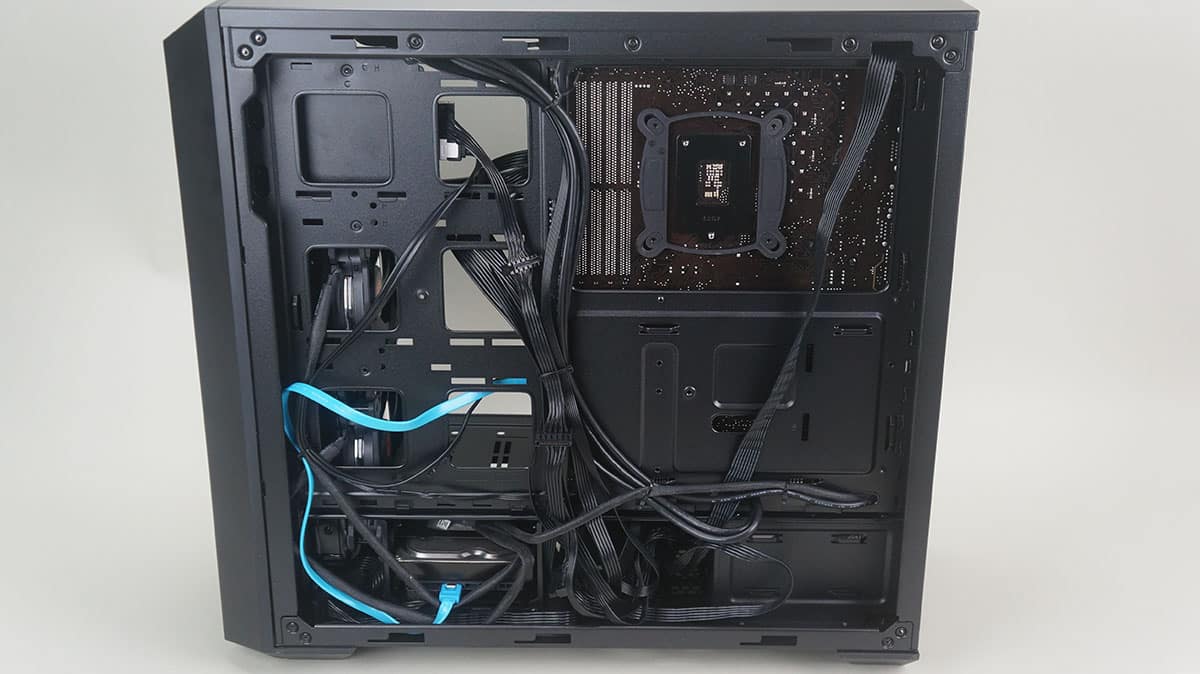
Now it is time to route all of our cables and connect everything. As I mentioned earlier there is ample room on the backside of the case to hide all of your cables. There are also plenty of tie-down points so you can organize everything nicely.
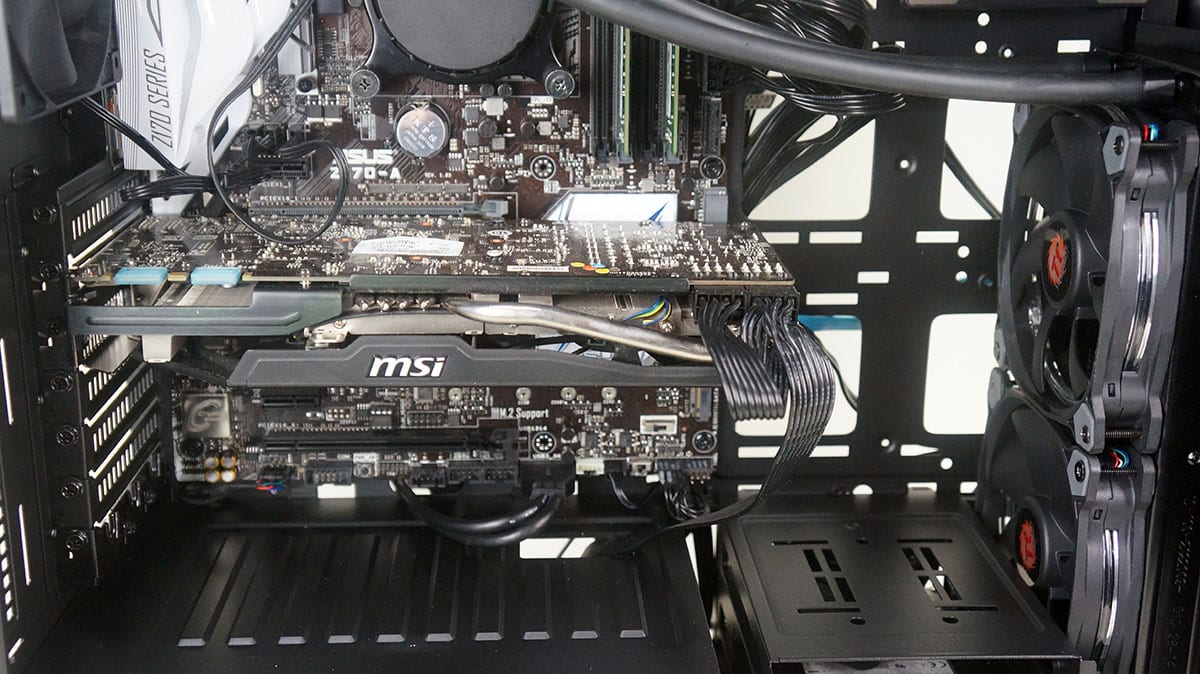
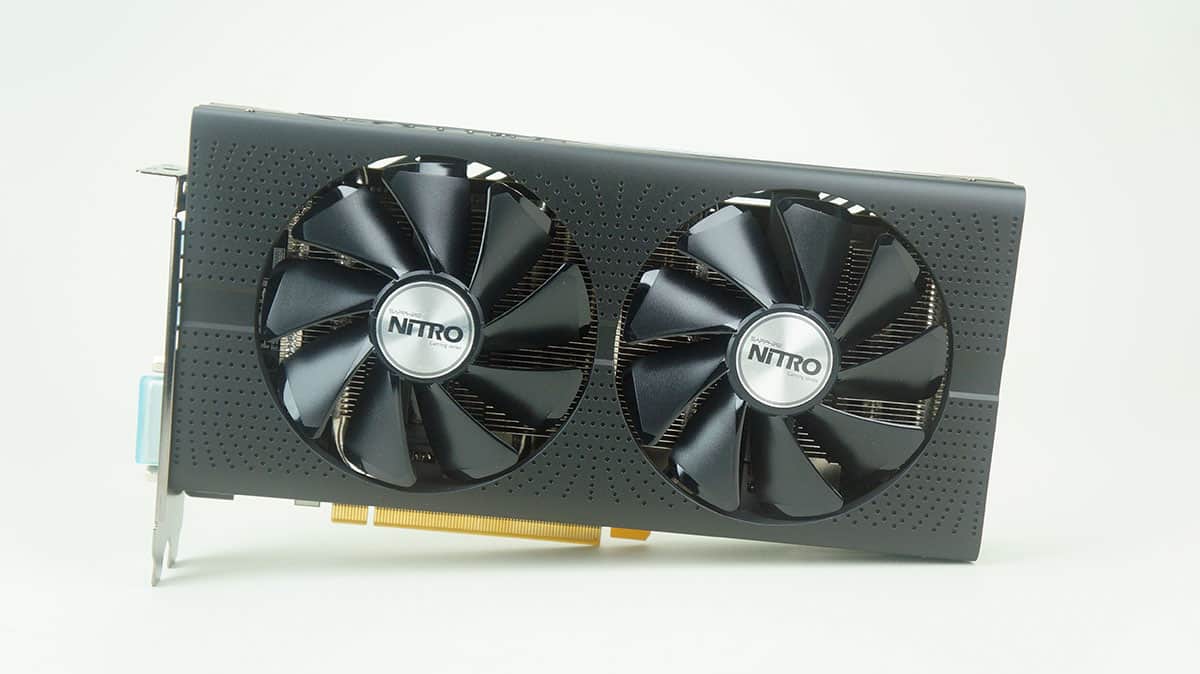
We still need to install our graphics card. There is no worries there as this case supports long graphics cards up to 410 mm! Also the expansion slot area is completely cut out so you don’t have the spacers between the slots getting in the way of anything.
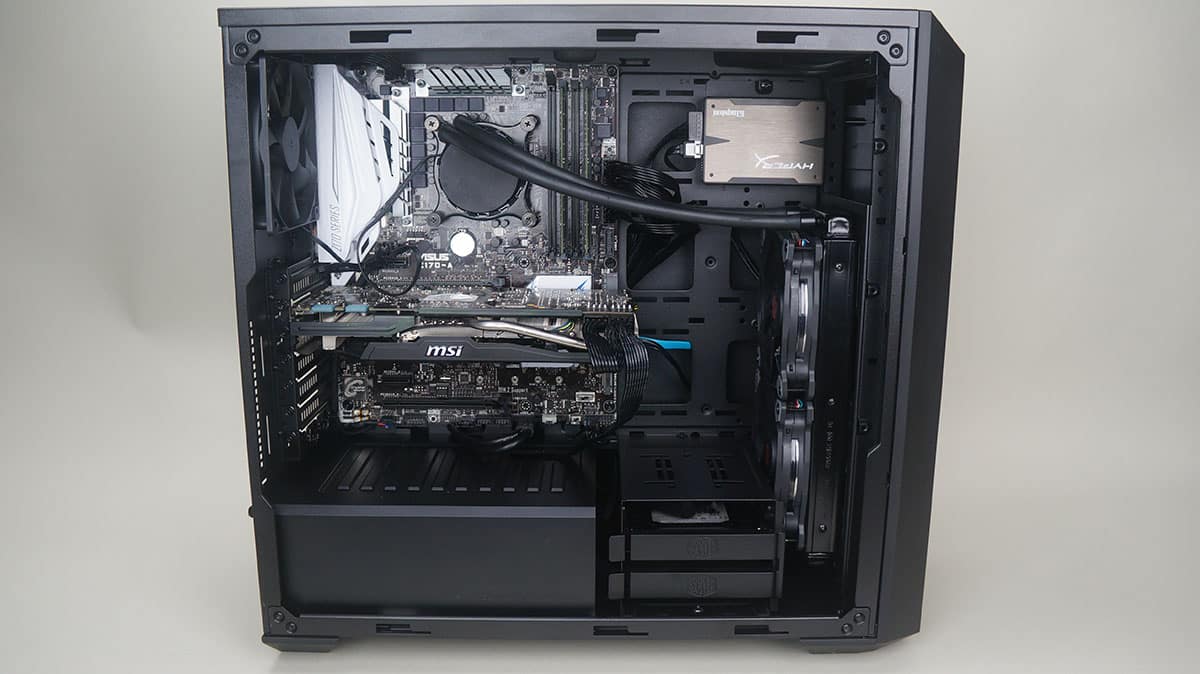
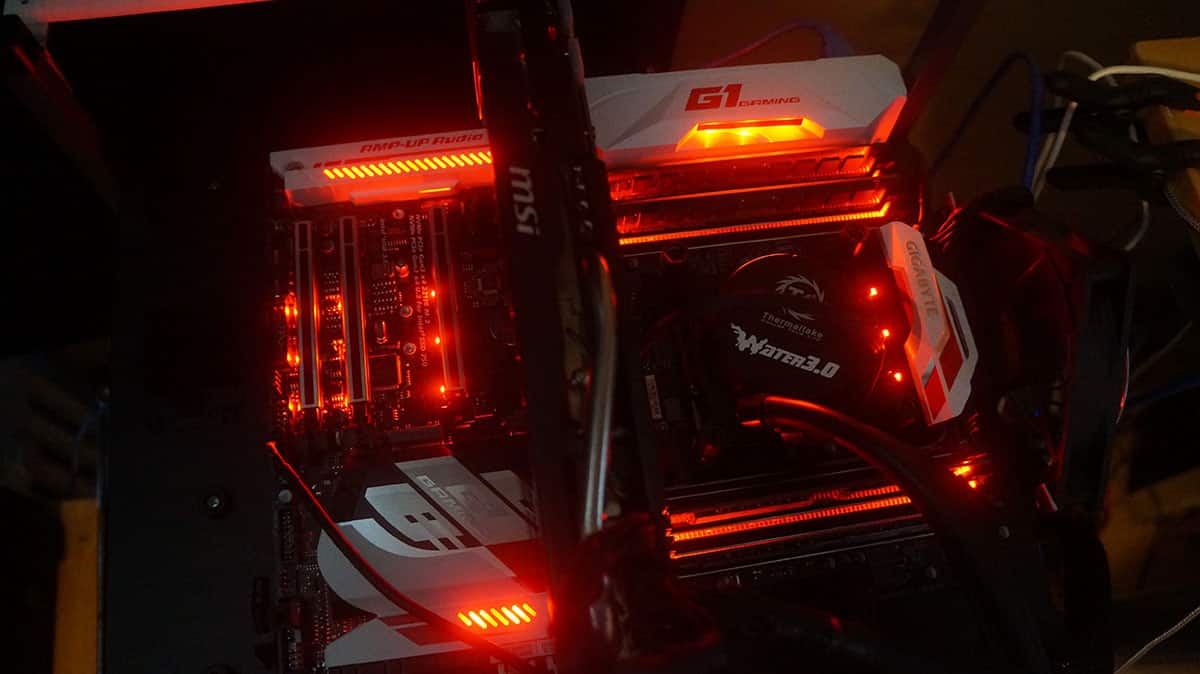
Here is a final shot with all of our hardware installed. As you can see we have a very clean build.
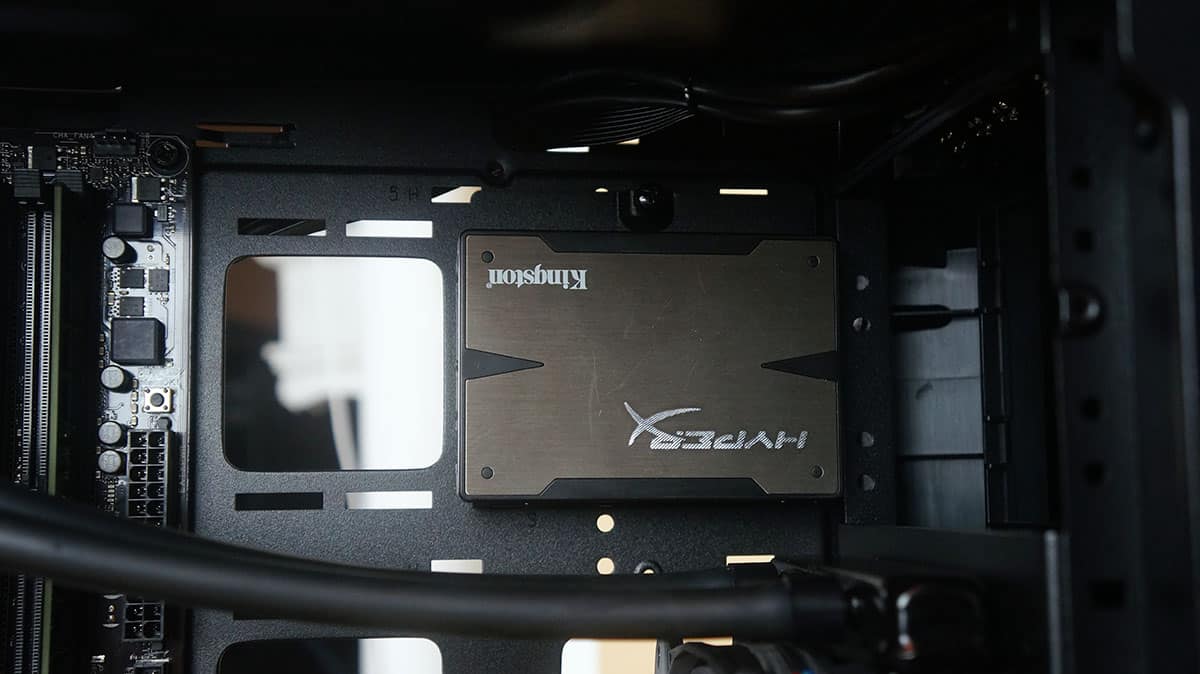
My SSD is a Crucial SSD, and has Silver and Blue tone. This doesn’t go with my build so, I’ve installed my SSD on the back side of the SSD cage. Also, if installed on the front, it fits upside down making my inner OCD kick up. Is it safe to install it on the other side of the cage. I actually thought that’s how we are suppose to install the SSD on it due to the exact match of the cage’s gap.