Installation
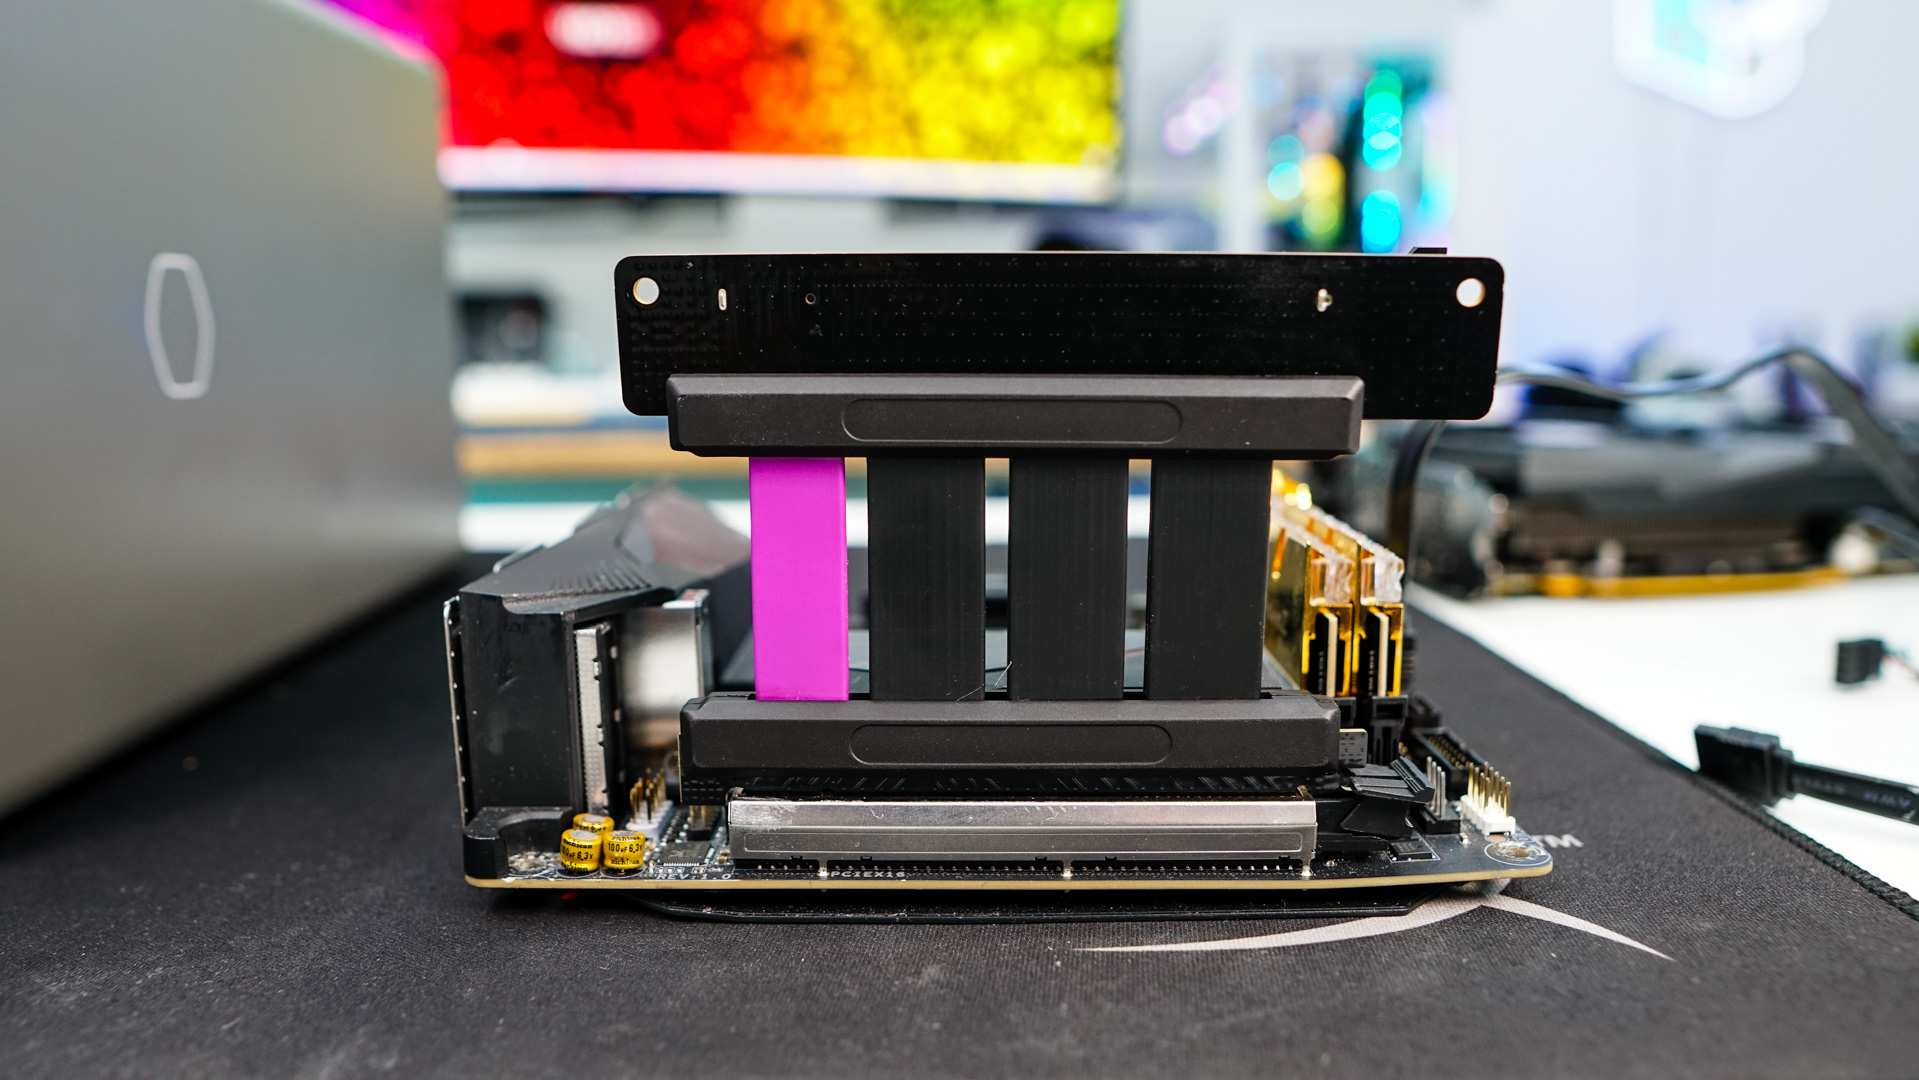
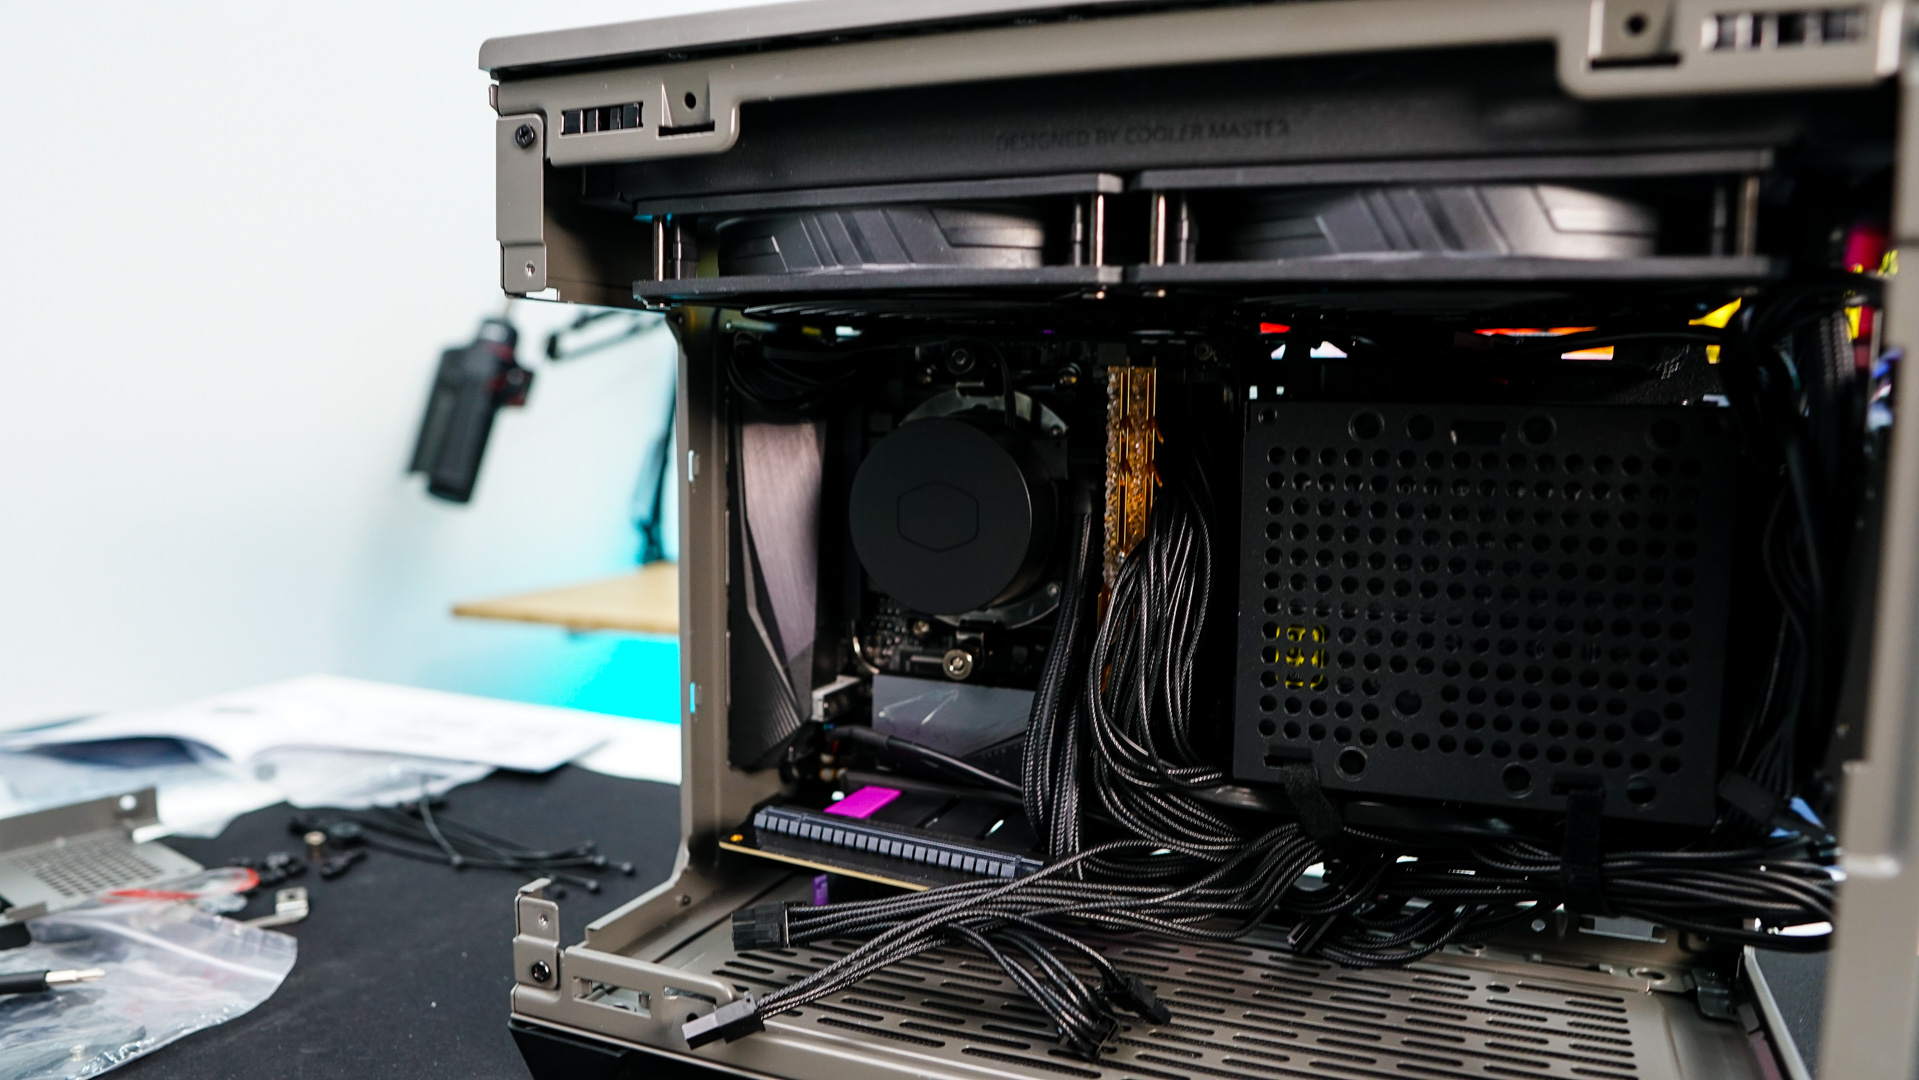
Installation of your hardware inside the MasterBox NR200P Max should be pretty straight-forward, but you are going to want to make sure you do a few things since this is a mini-ITX build. The typical rule of thumb for mini-ITX builds is to make sure you connect everything to your motherboard before you go ahead and install it. Also run all of the cables you can. Luckily in this case many of the cables are run for you. I first installed the PCIe riser cable and then connected all of the cables I could before installing my motherboard.
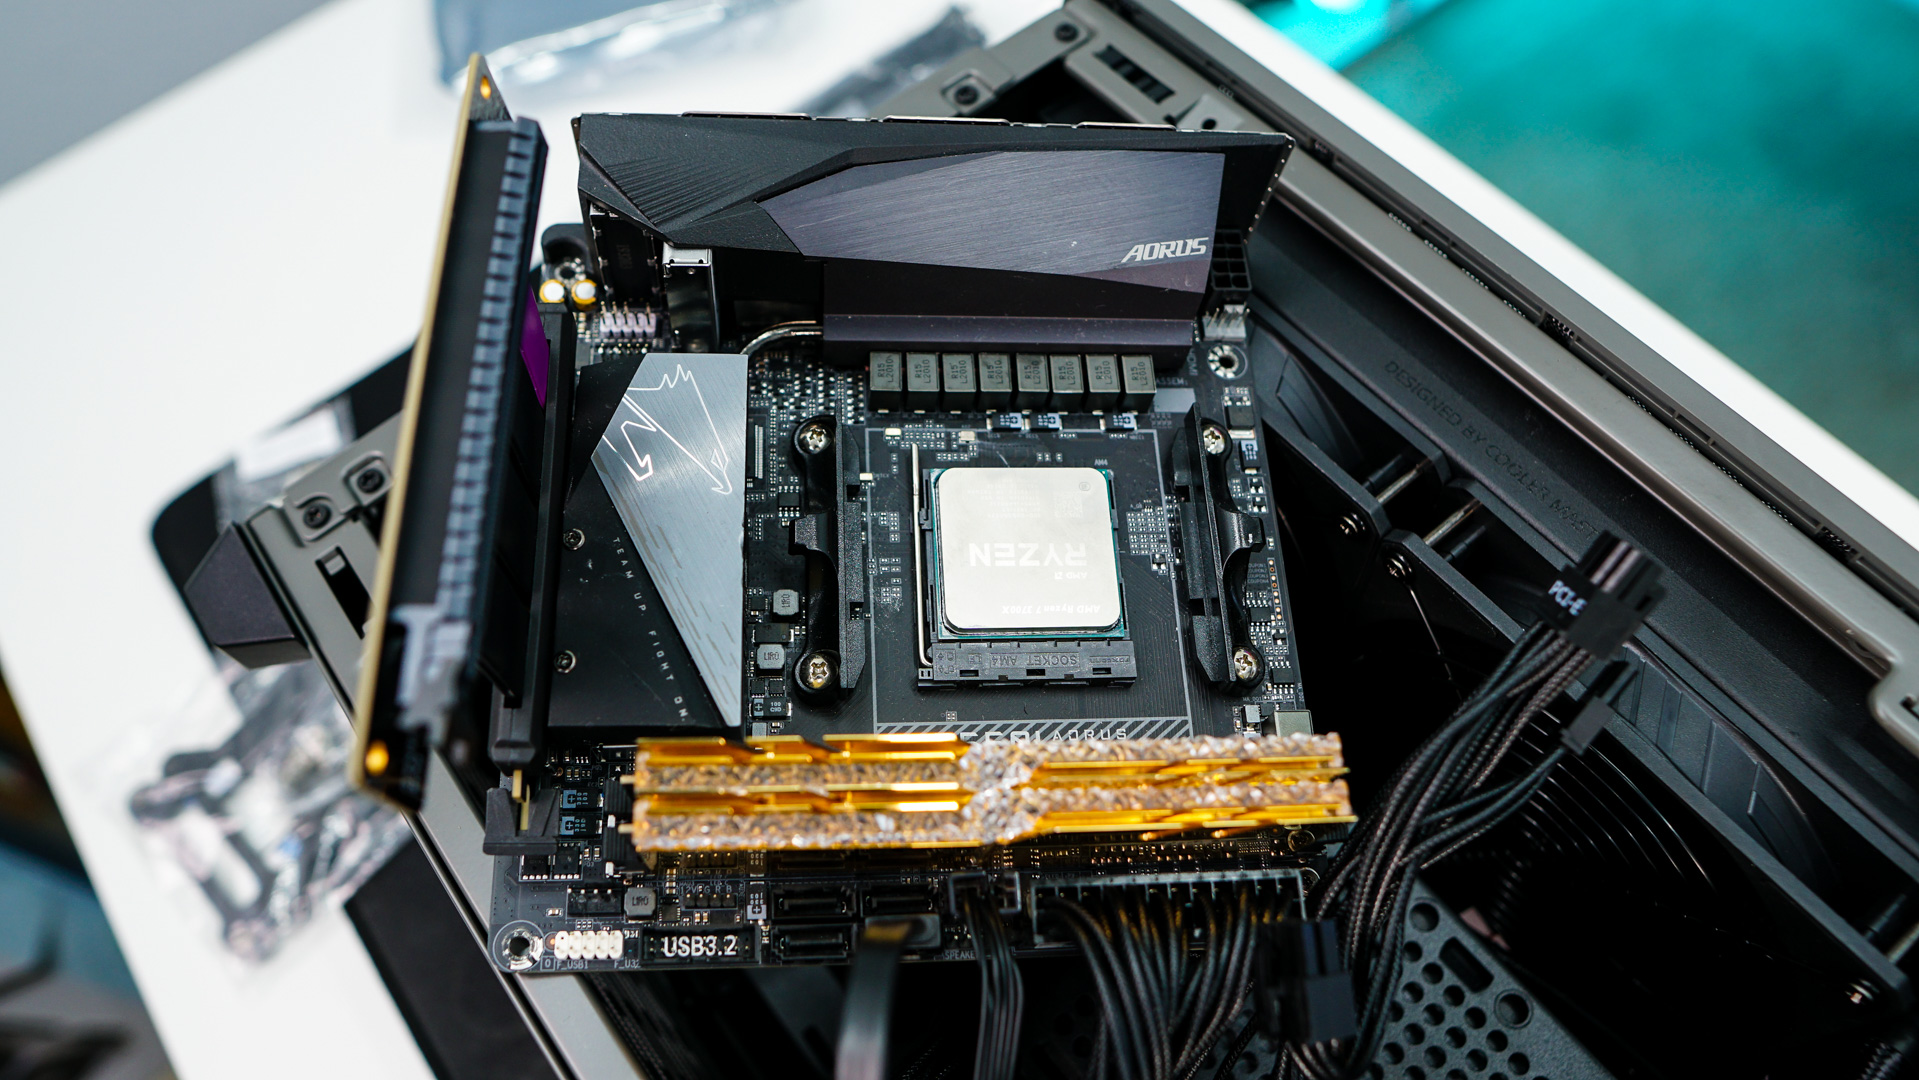
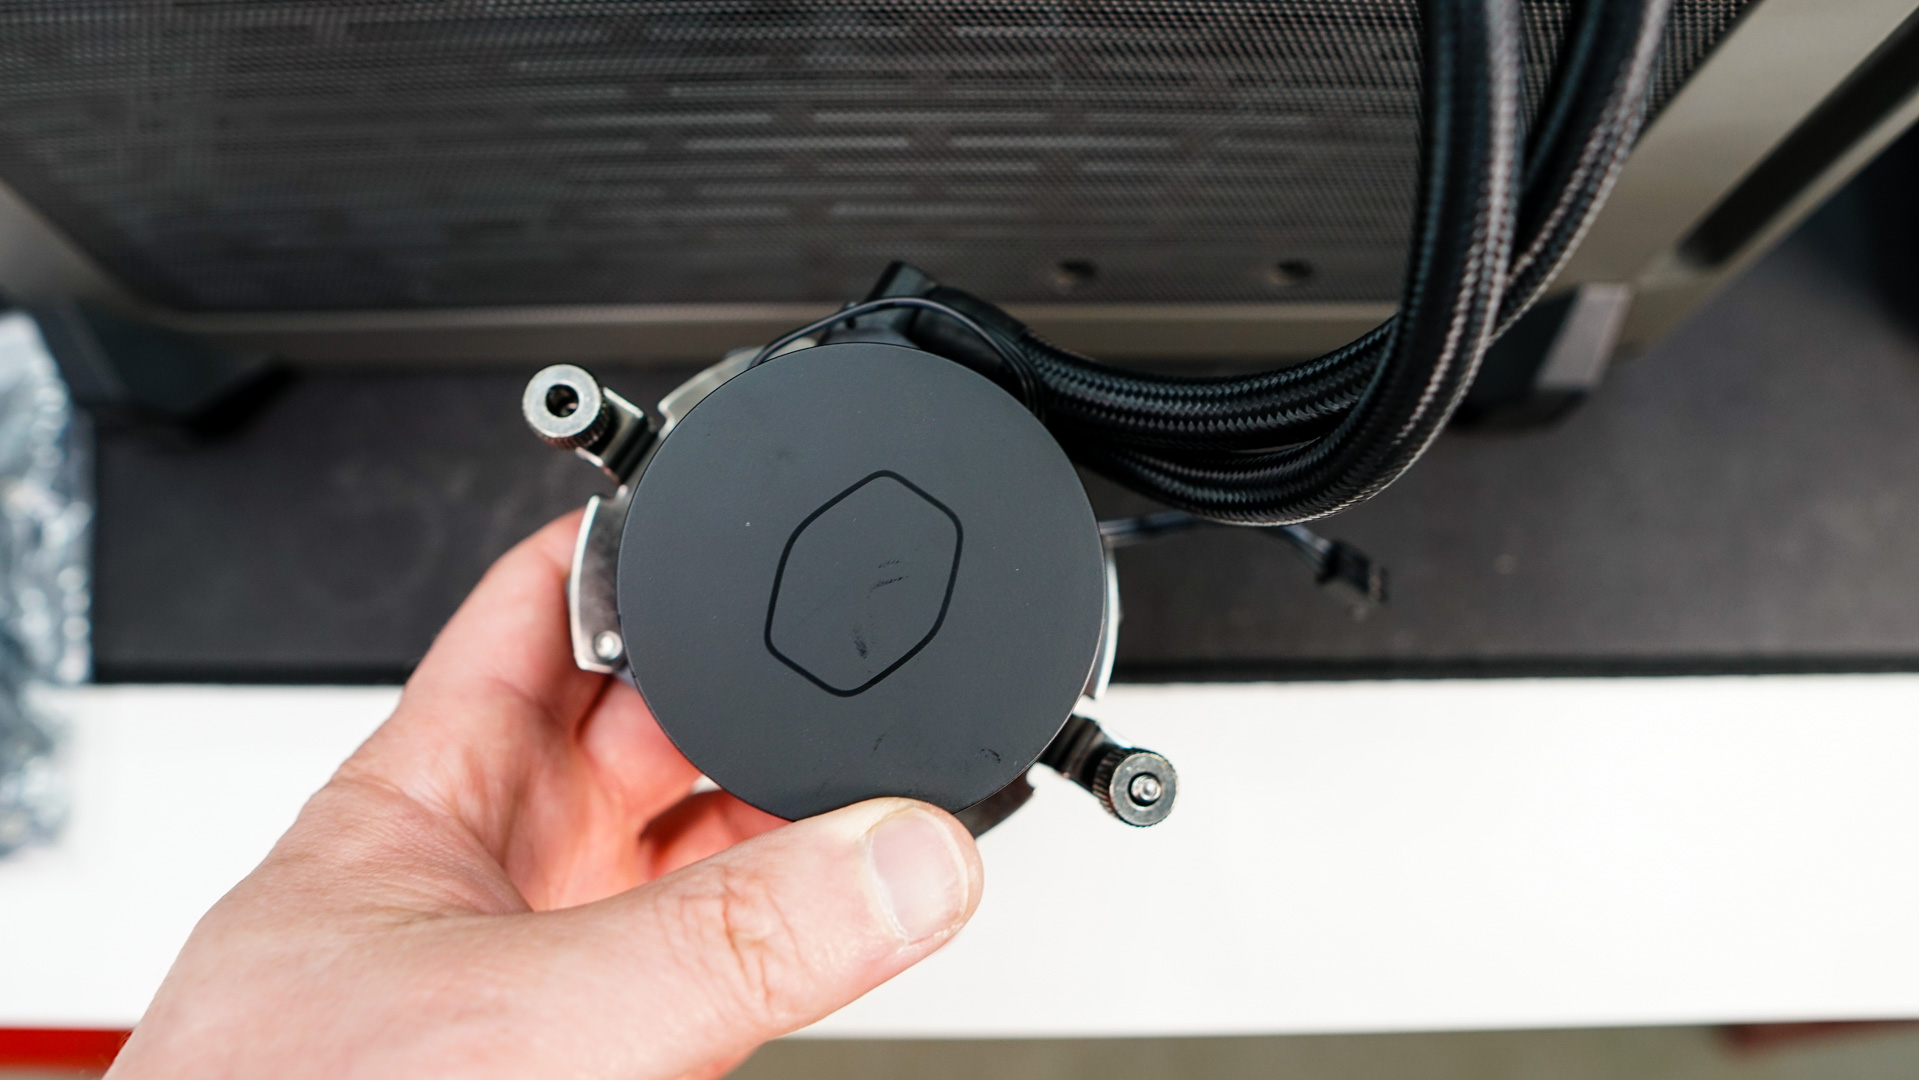
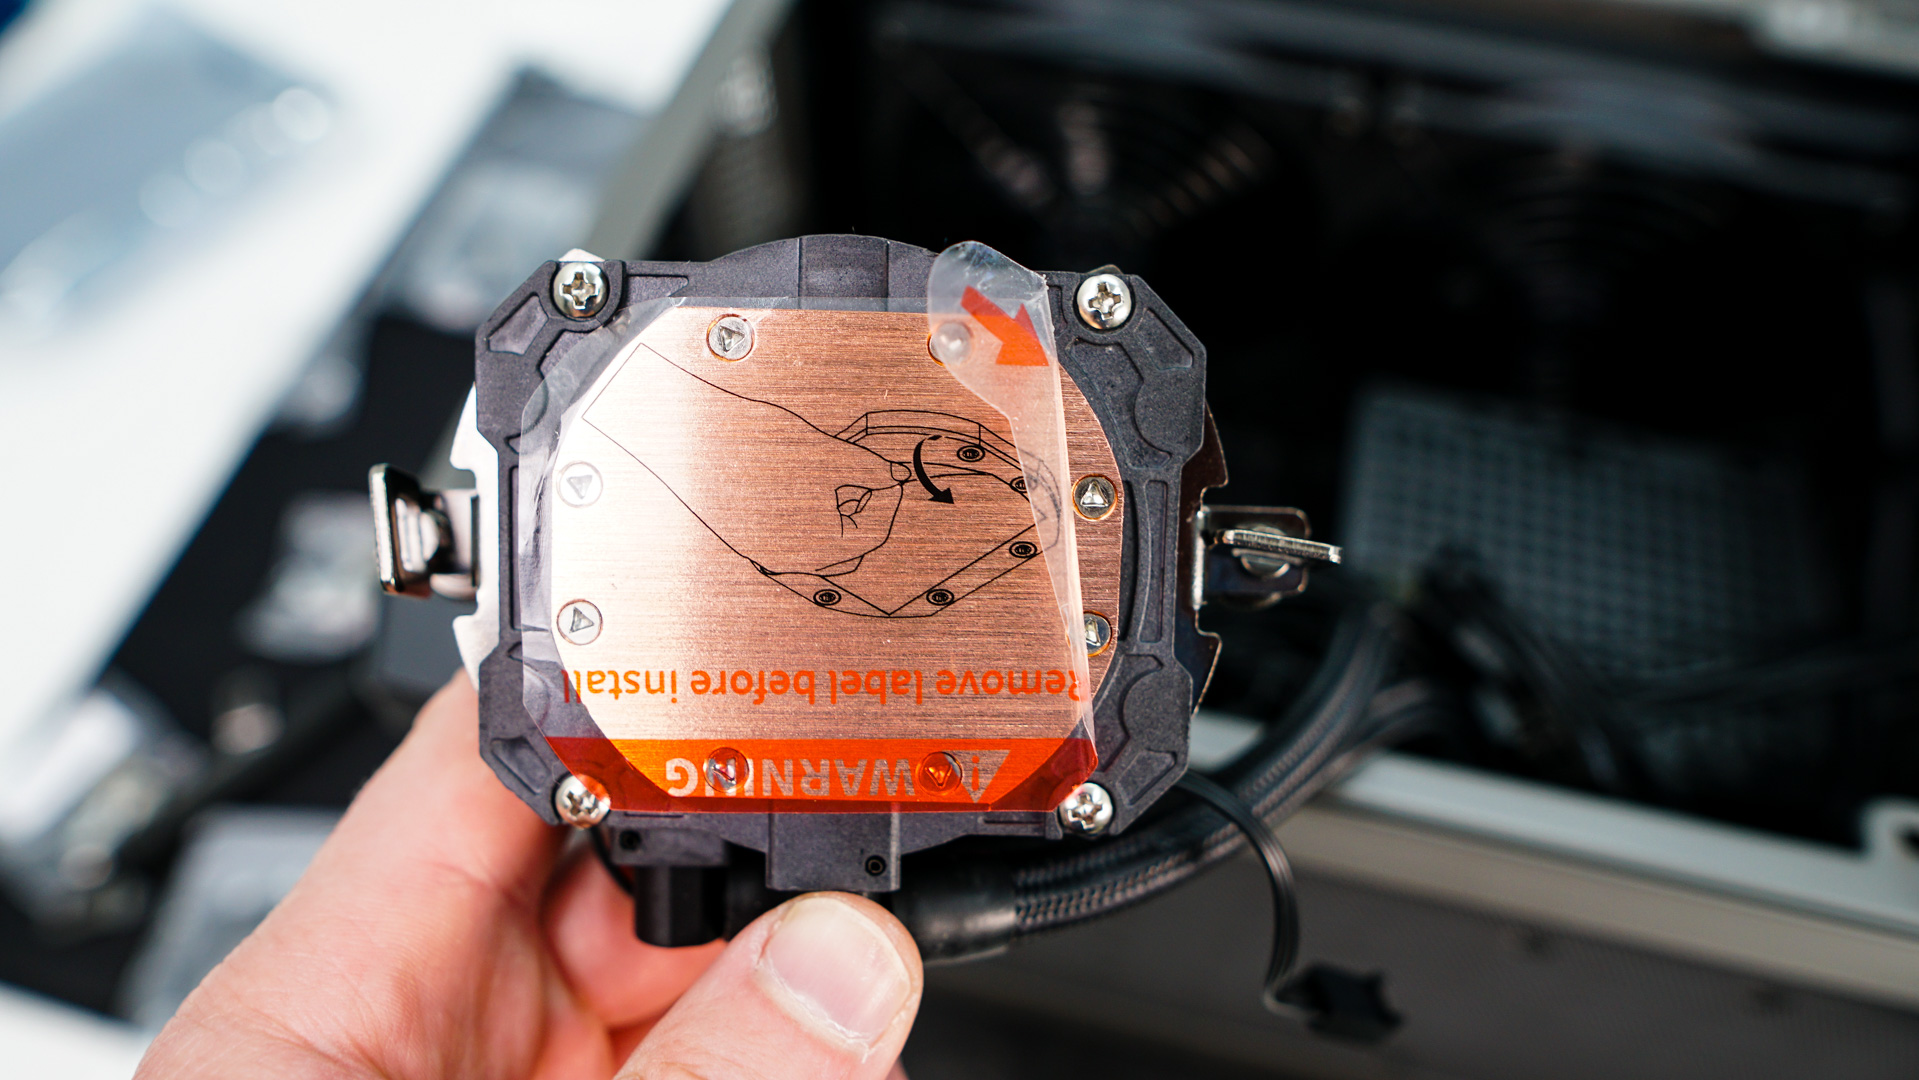
With our motherboard installed go ahead and connect any other cables you couldn’t connect with it out of the case. This will include your EPS connector at the top corner of the board. Now we need to install the pump block of the included AiO. Since this is a Ryzen build we have to install the AM4/AM5 brackets on each side of the block. Remember to take off the plastic film on the bottom of the block! Then carefully place the block on our CPU and essentially clip it on to the AMD mounting brackets. Finally using the thumbscrews tighten the block.
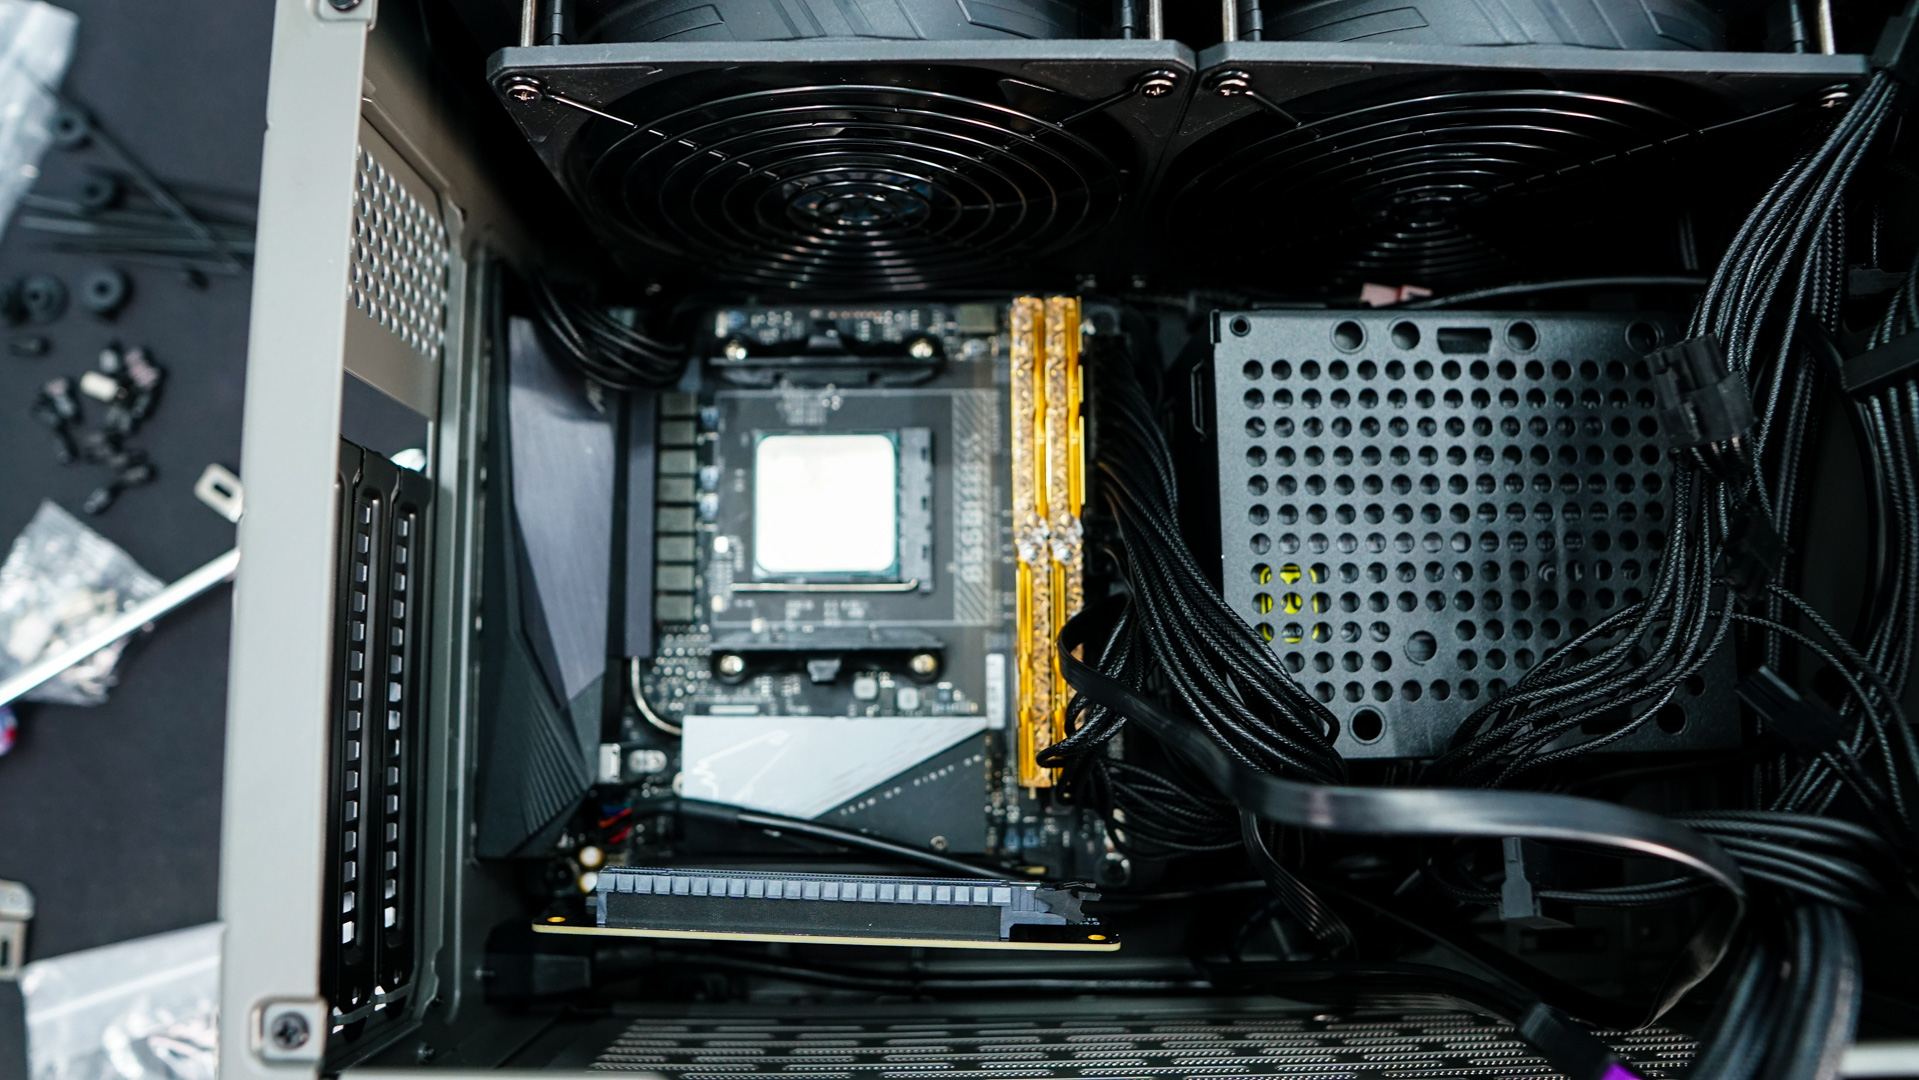

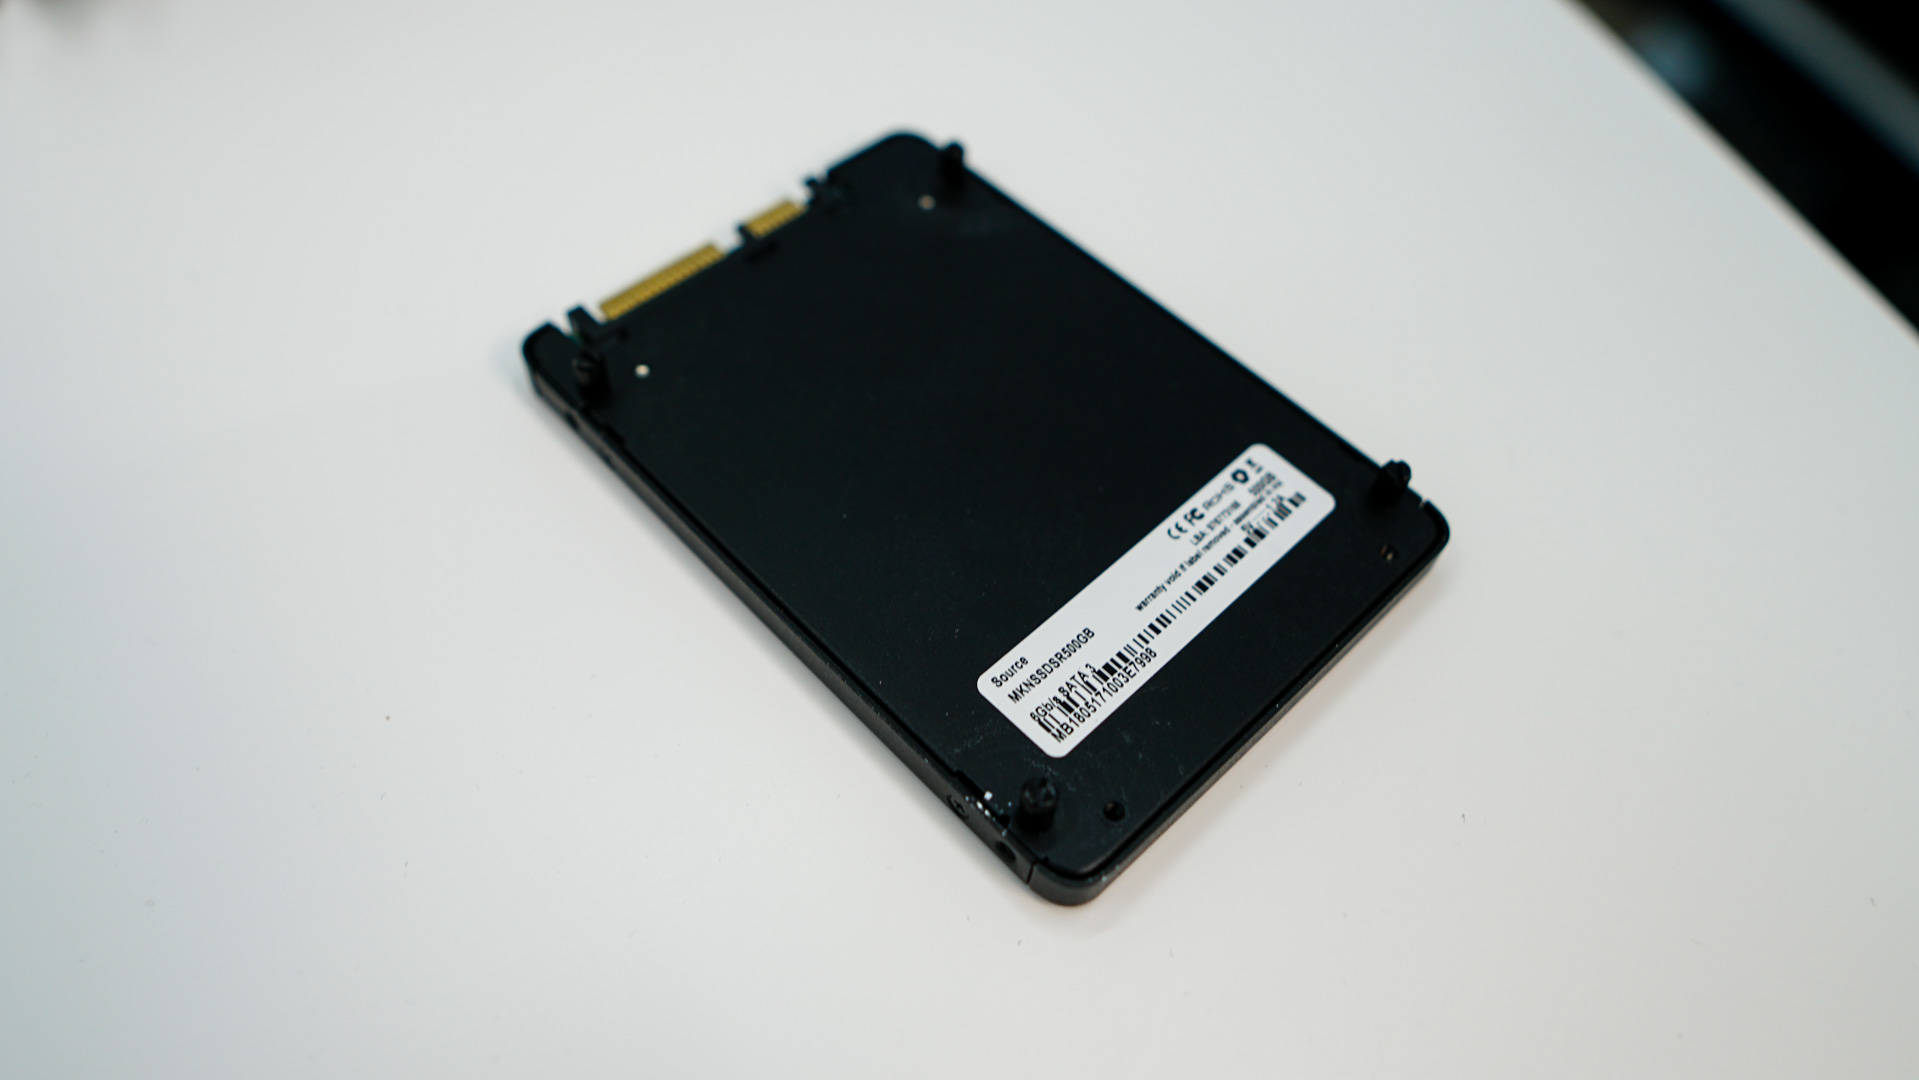
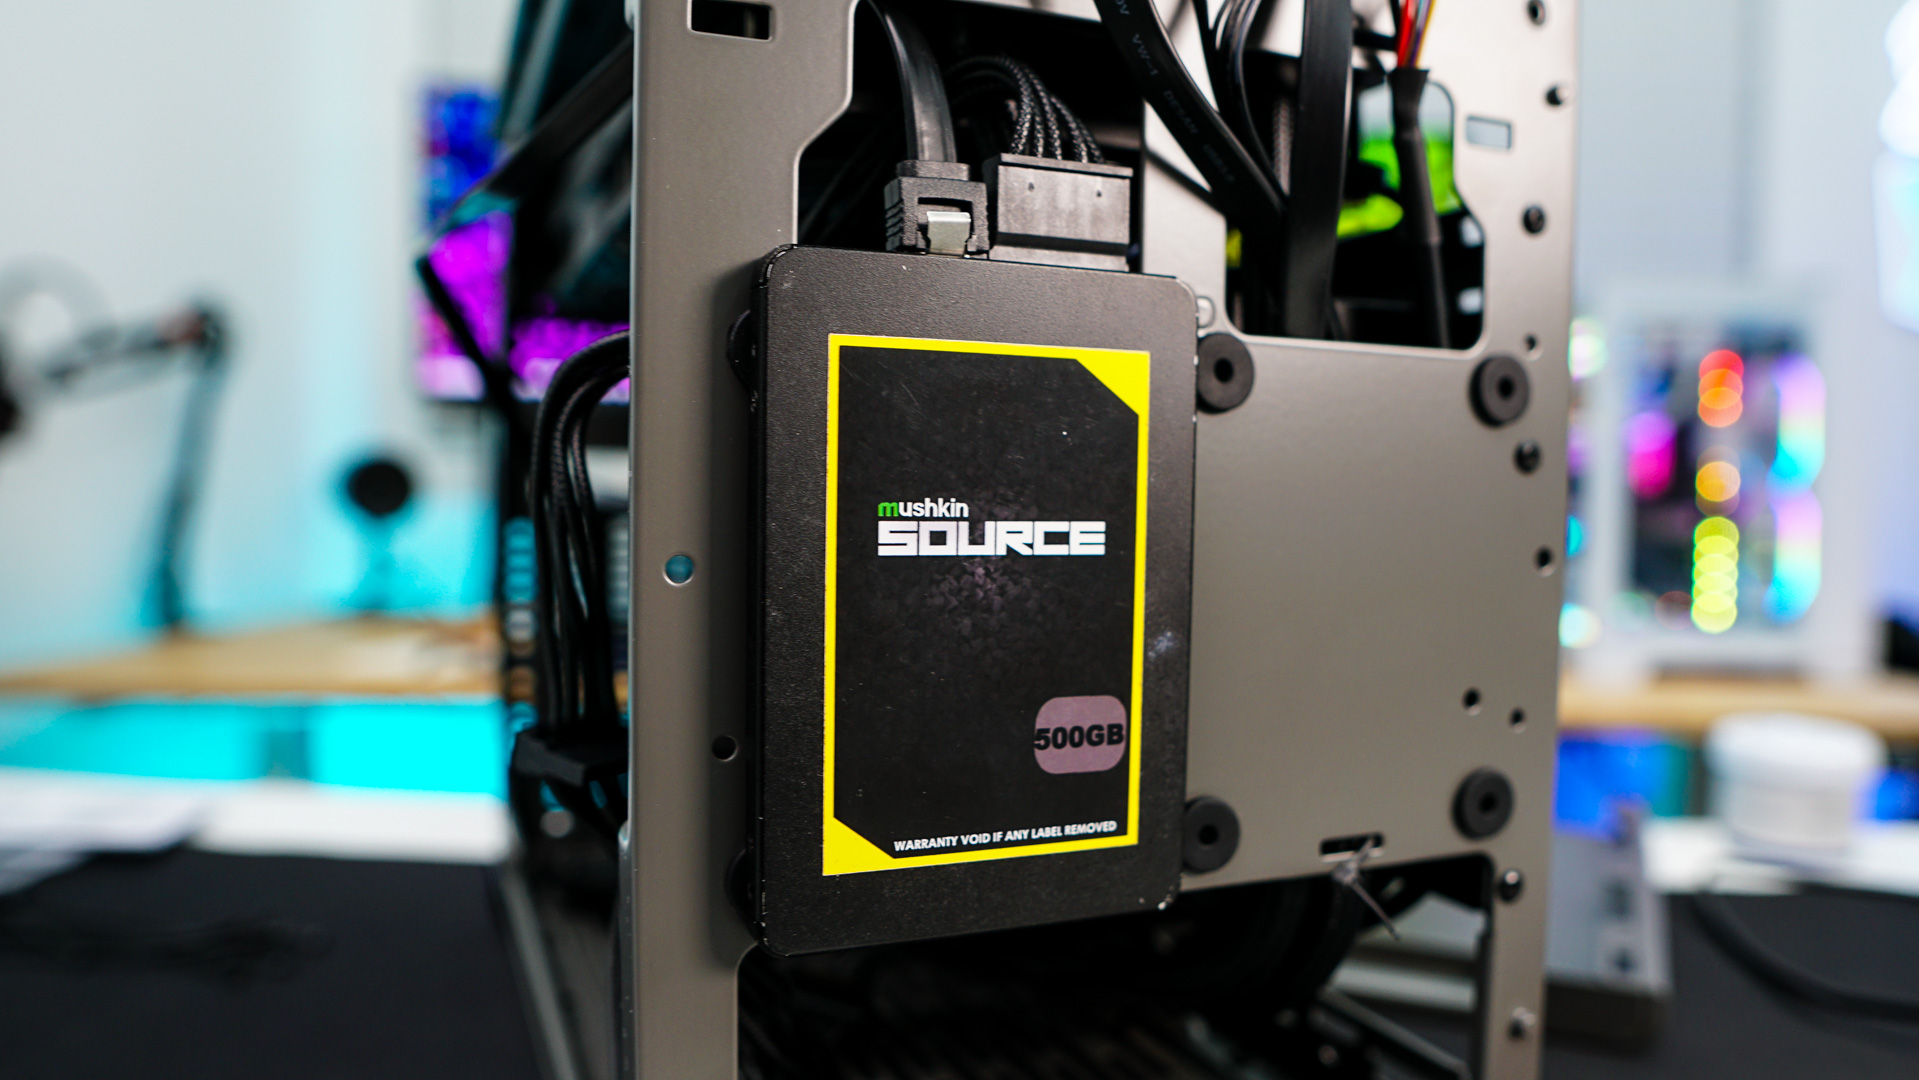
For our hard drive we are installing a 2.5-inch SSD. All you have to do is screw in the SSD pegs to the bottom of the drive, then simply push the drive in to the SSD mount on the front of the case.
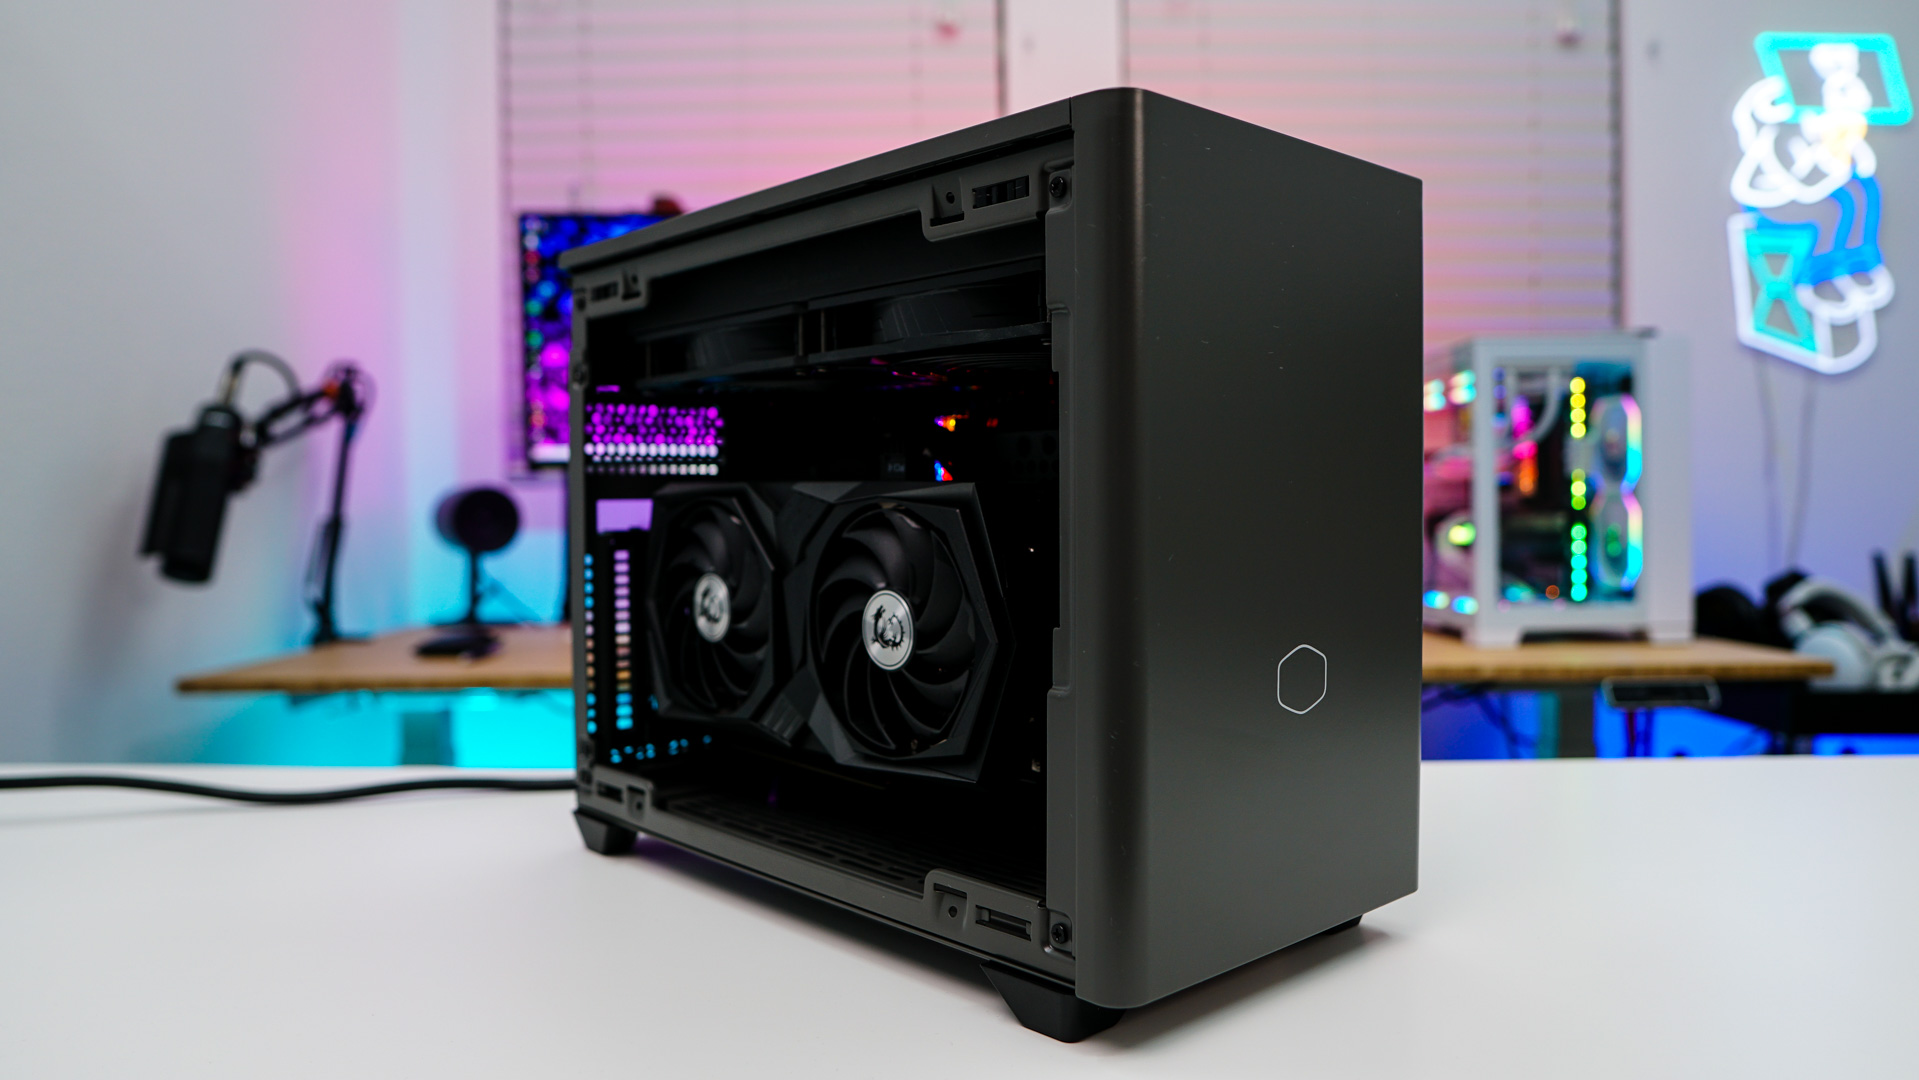
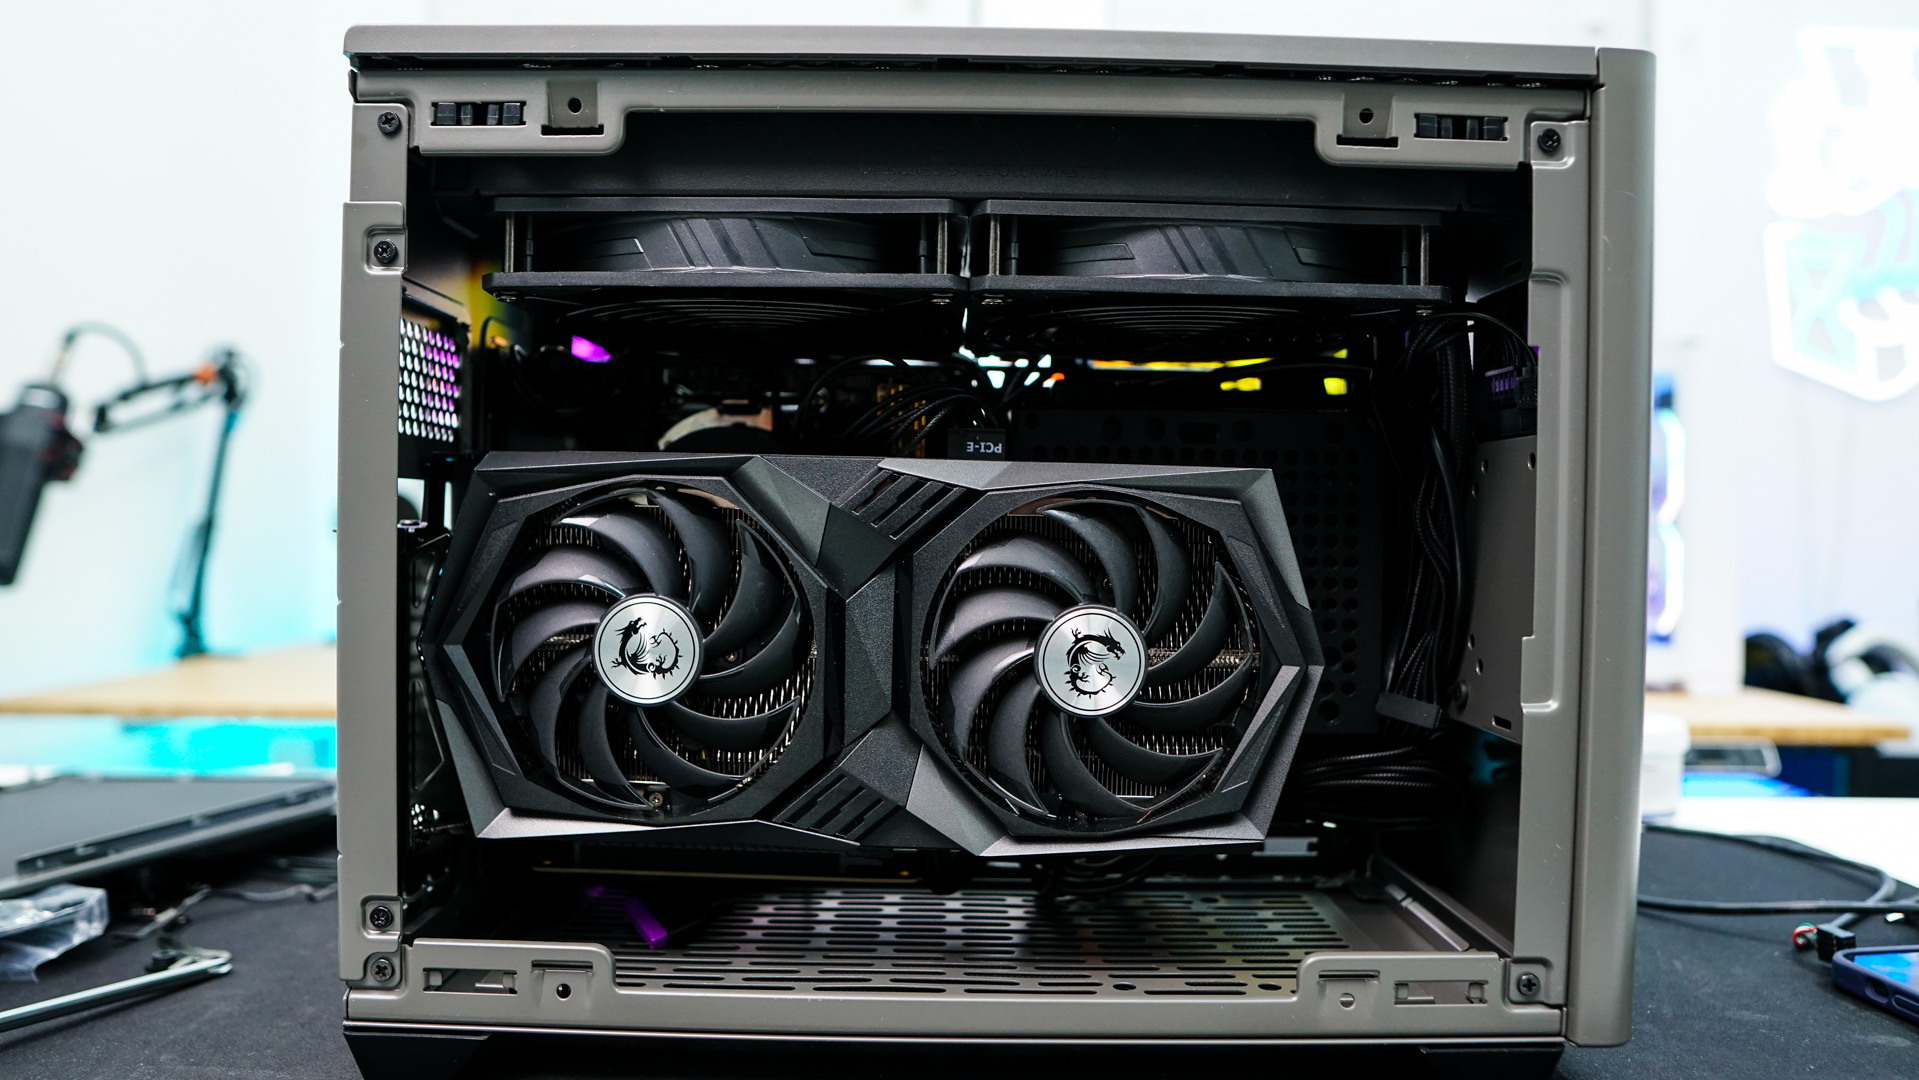
When it comes to installing your graphics card Cooler Master makes it quite easy. Now if you do have a longer graphics card you can actually remove the back section of the case and affix your graphics card to it, then easily reinstall the entire assembly. For us we did not need to do that, but I can see how it would be very helpful.
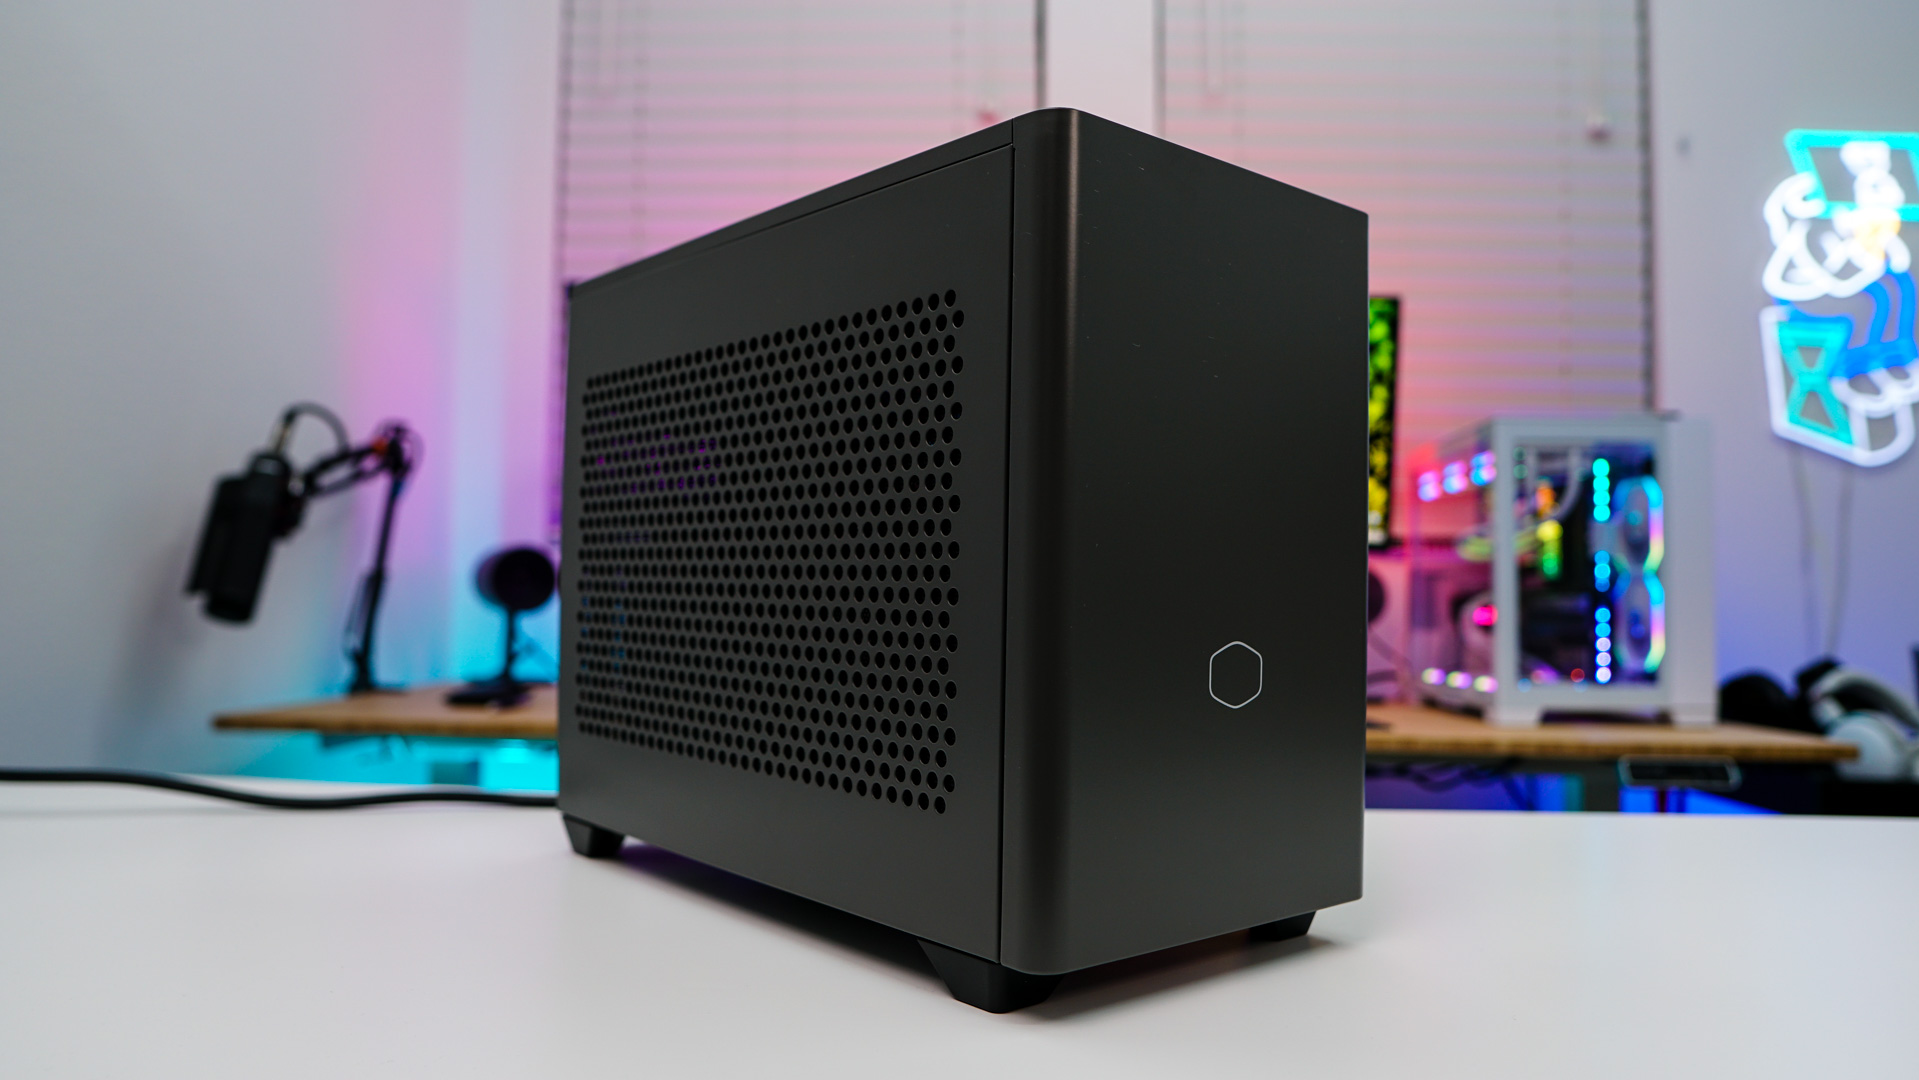
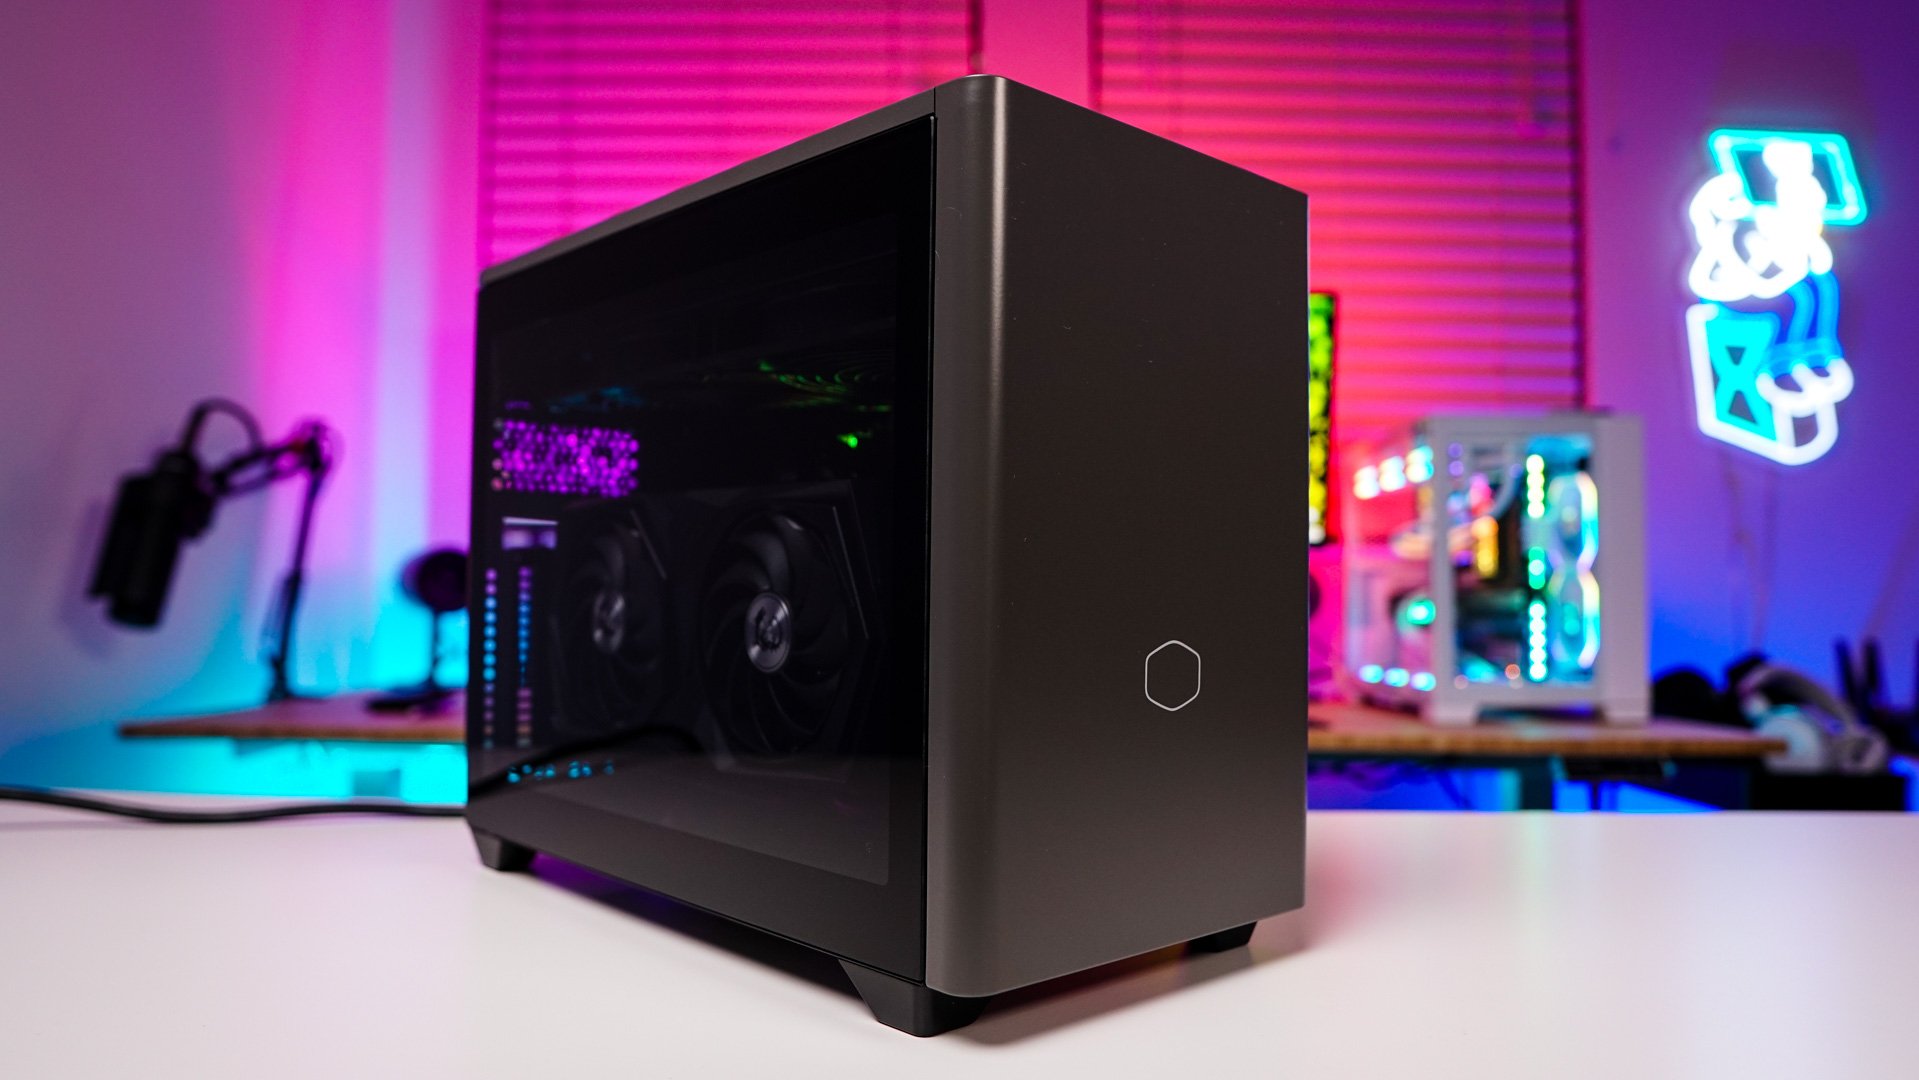
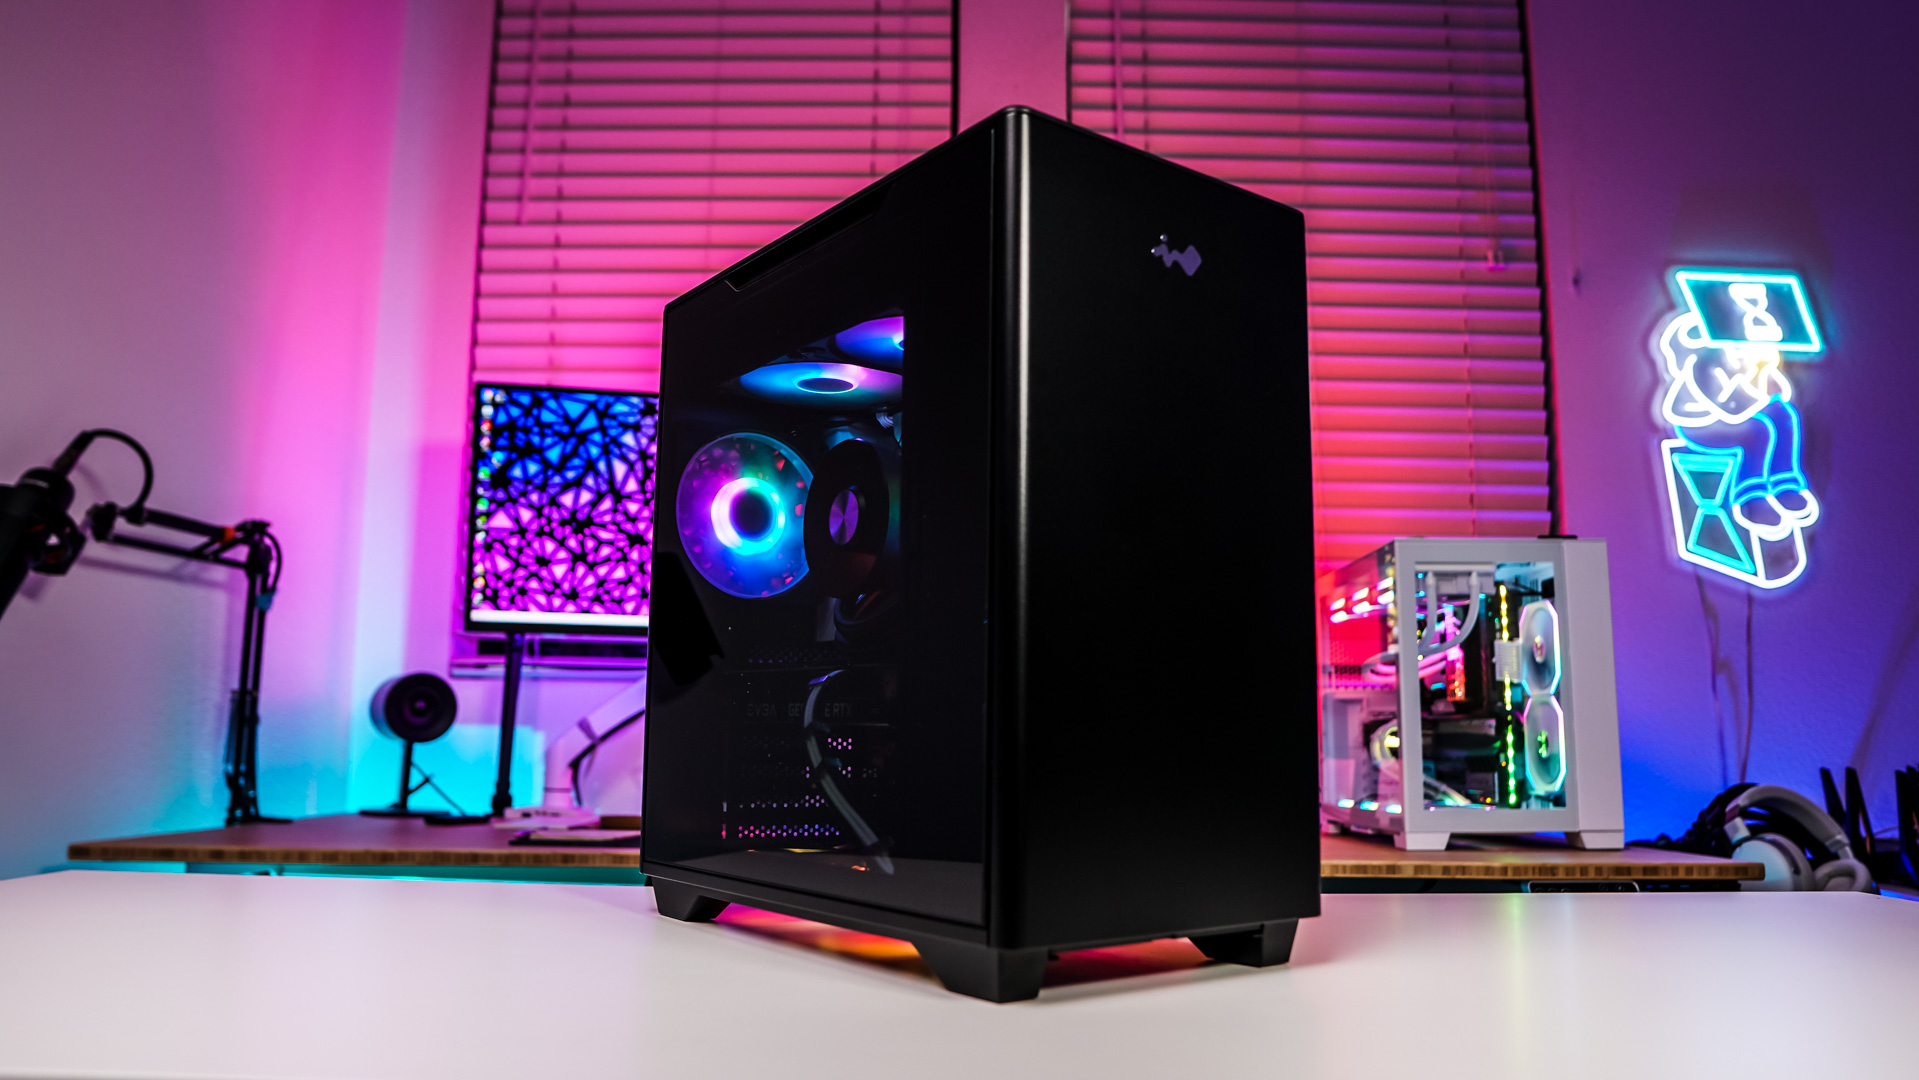
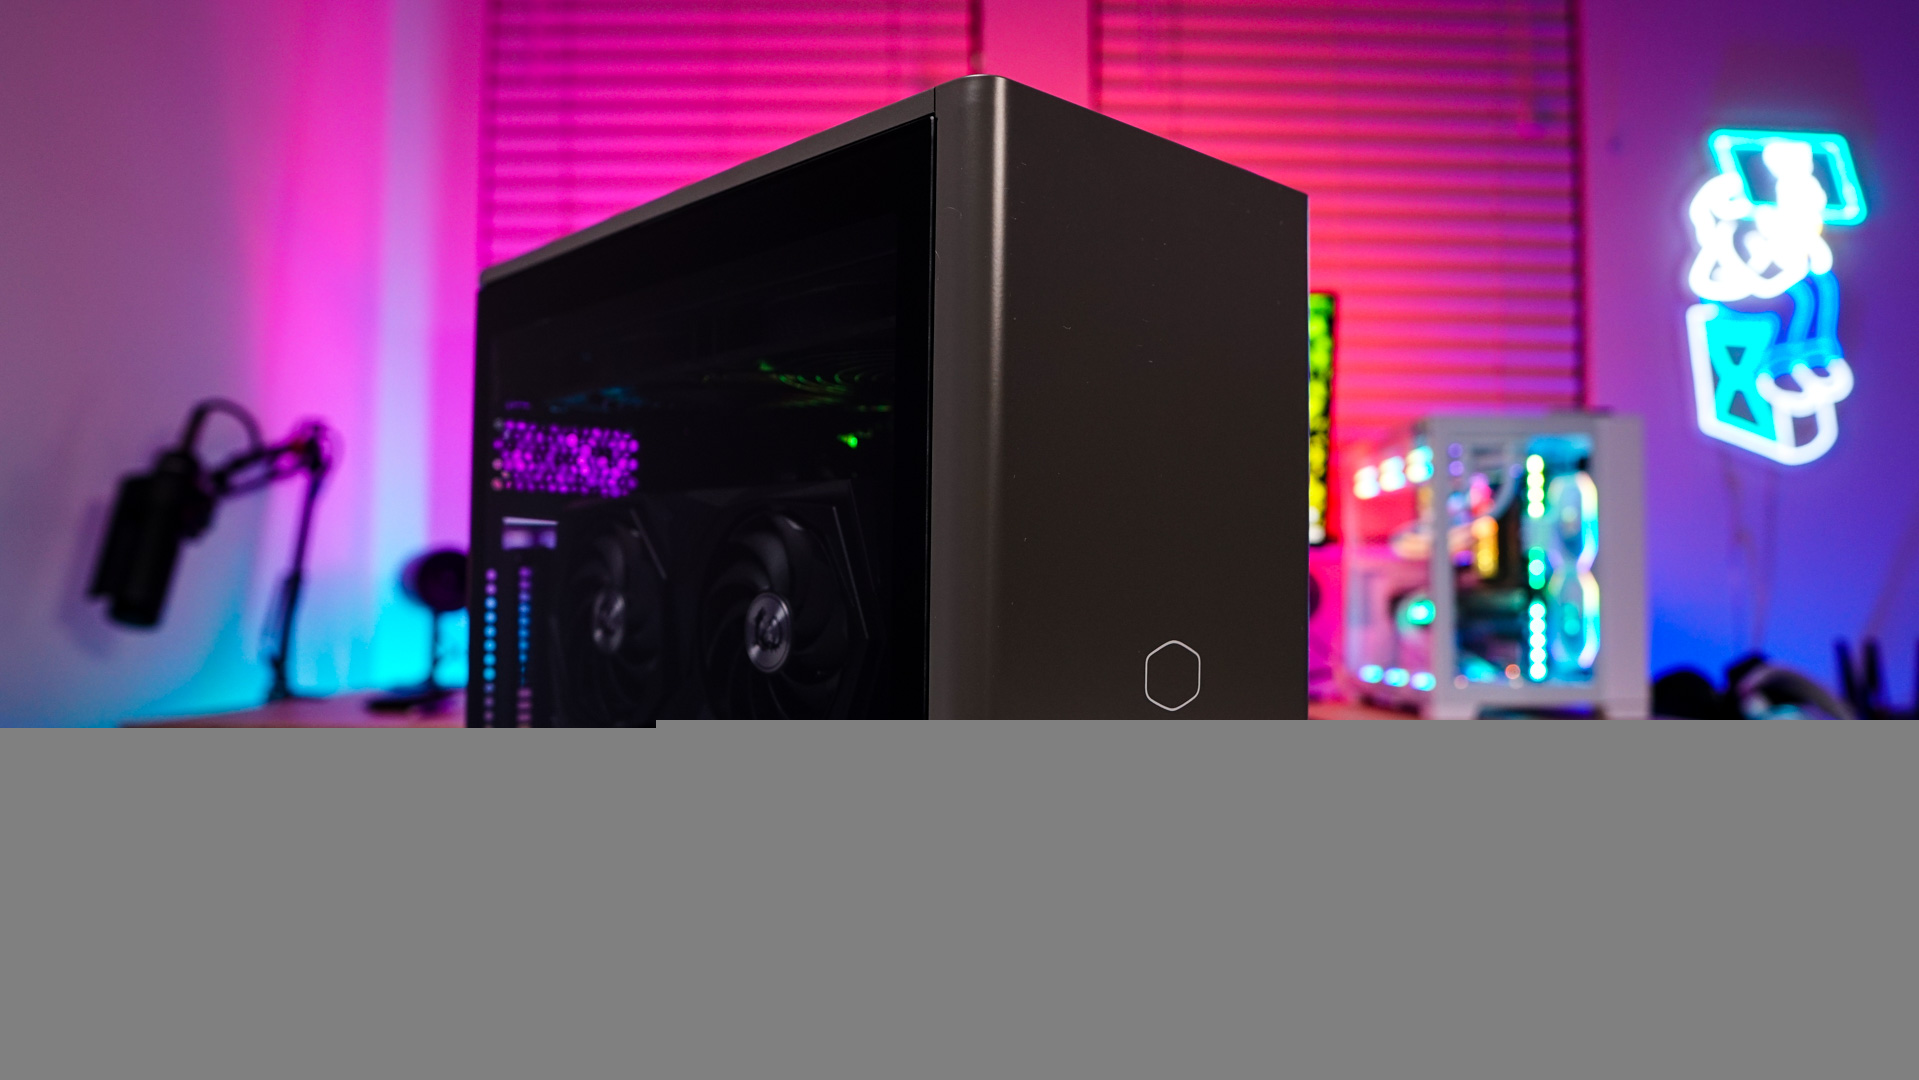
With everything installed all you have to do now is put all of the panels back on. If you want to use the glass side panel instead of the ventilated one you can. On the next page you can see the difference in performance when using the glass panel compared to the ventilated panel. The glass panel does look quite nice, and if you have any RGB inside your system you will be able to see it. I would say if you wanted to really like up the inside of the case get an RGB strip.