A Look Inside
To get a closer look at the internals of the H500, we need to simply loosen the two screws at the top of the tempered glass side panel, tilt it away from the case, and remove it. We like this mounting method, as you don’t have to worry about the glass panel staying in place on tiny little standoffs, and can rely a bit on the bottom edge of the panel to support itself. With the panel out of the way, we gain access to a spacious interior that offers up quite a few features that make component installation easy, and also help to achieve better cable management.
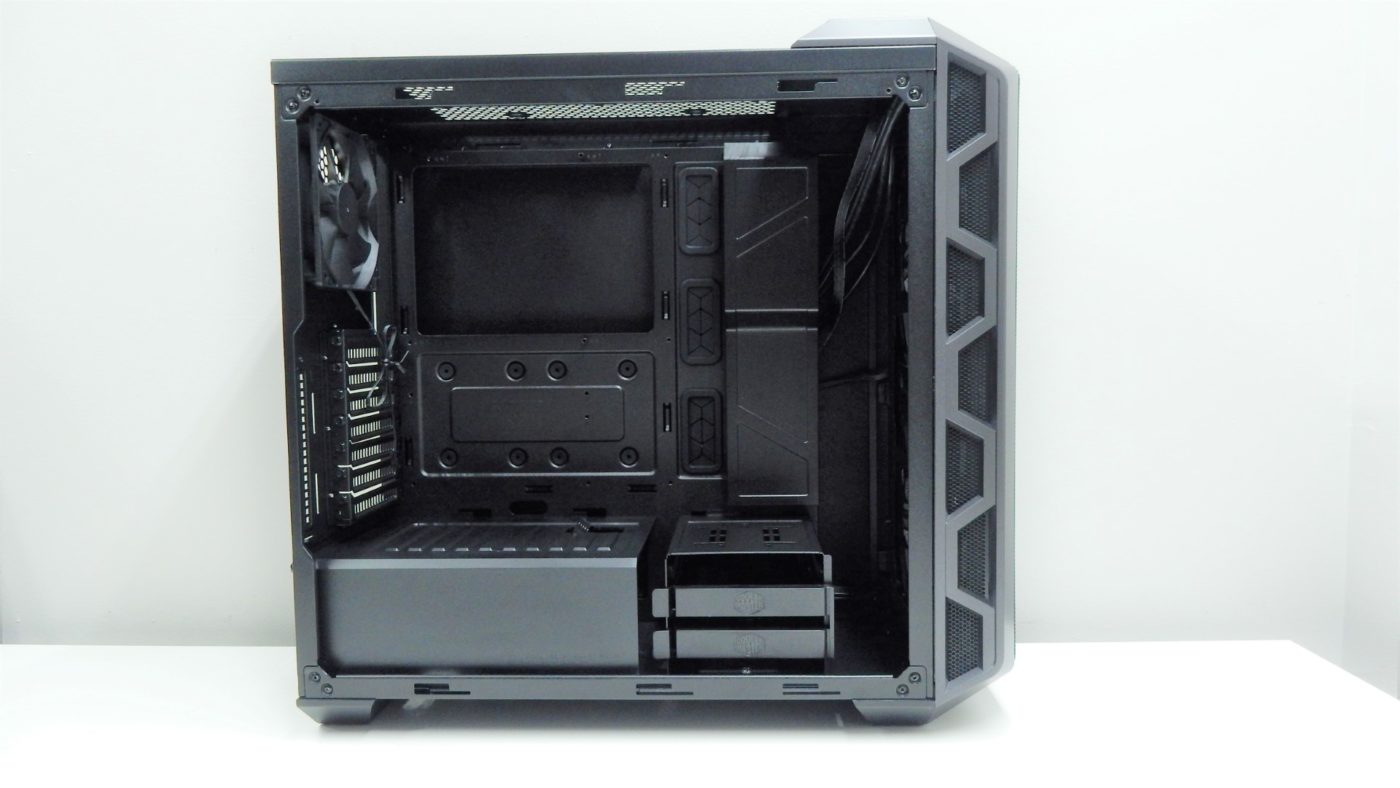
Looking at the top portion of the case interior, the main feature found here is the ability to use a single 200mm fan, or a combination of two 120mm or 140mm fans. This upper mounting area also supports radiators anywhere from a single 120mm all the way up to 240mm in size. There is about an inch of room between the top of the motherboard and the top of the case, so take that into consideration when choosing your top panel cooling components.

Looking straight into the case we see a generous CPU cooler cutout in the motherboard tray, something we are finding to be much more common. This makes system installation much easier when you can access the entire rear section of the motherboard behind the CPU. Three large rectangular cable management cutouts are found to the right of the motherboard tray, each with a nice rubber grommet to keep things tidy. To their left is a removable cable management panel that helps hide cabling that may not make it through the rectangular sections for one reason or another. At the rear of the case is an included 120mm fan.
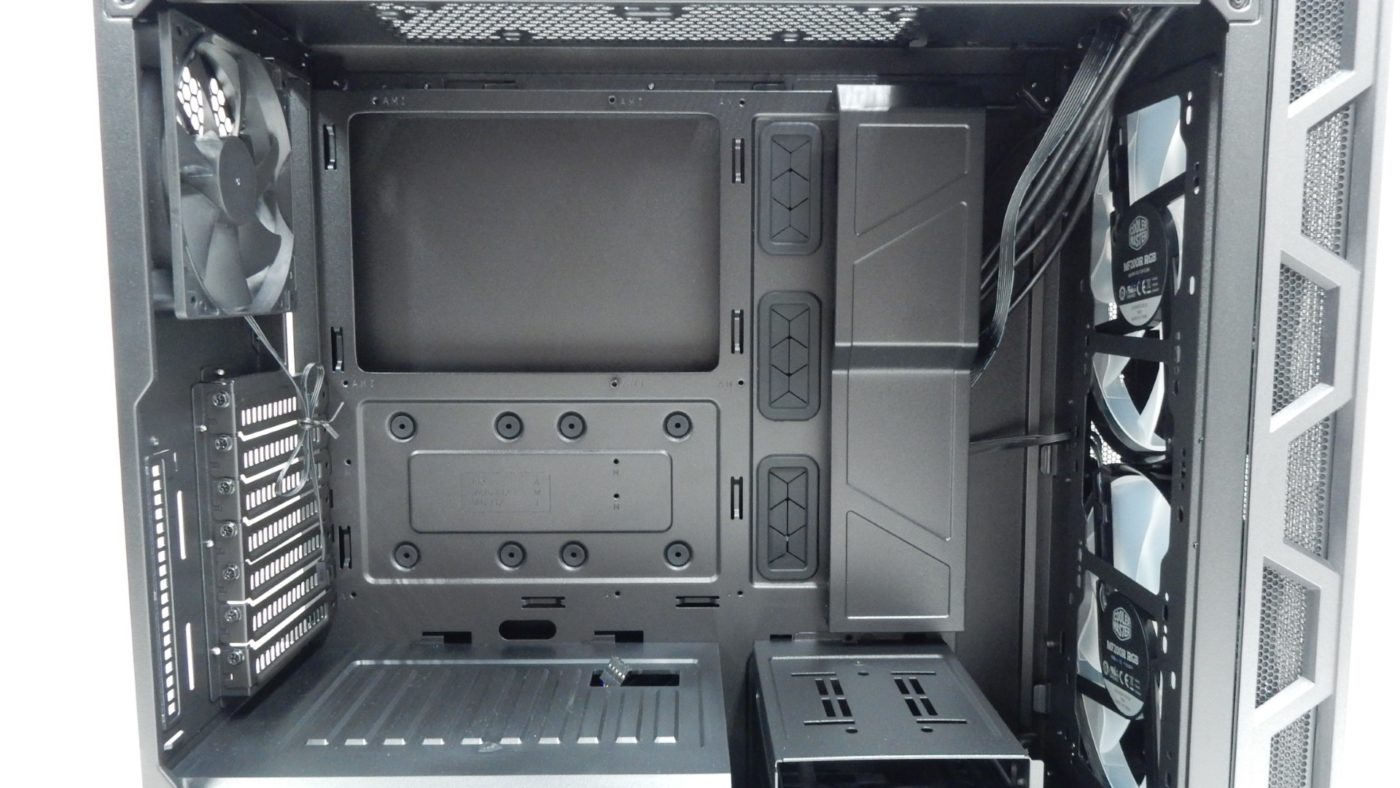
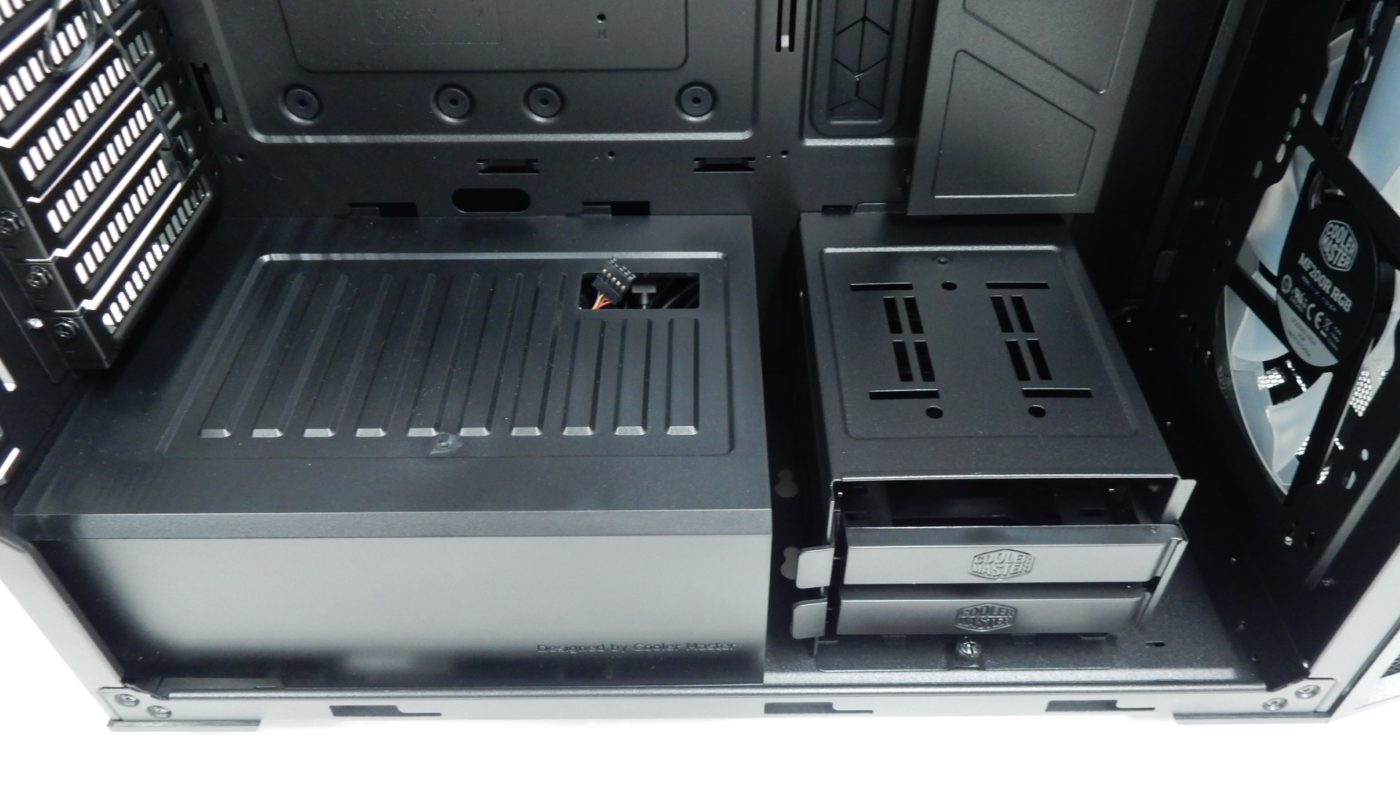
Moving to the bottom of the case we find two notable features of the H500. The first is the removable power supply shroud, which spans about half the width of the case and serves as a thermal and cabling divider for the case. The second is a 2-bay 3.5-inch hard drive bay.
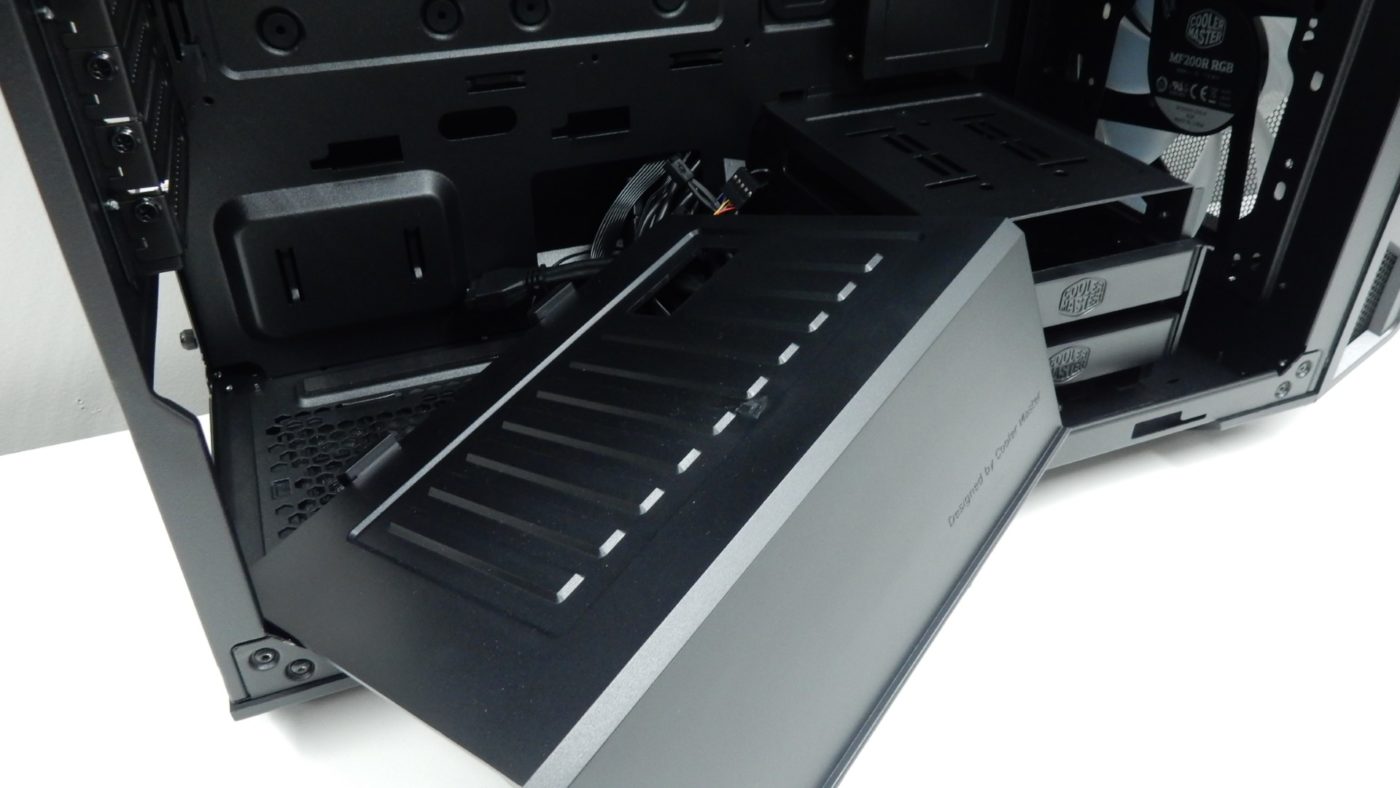
Focusing on the power supply shroud, we were a bit surprised to see that it is constructed out of plastic, as before we removed it, it looked to be a metal part. However, after removing that single thumbscrew at the back of the case, we were able to simply lift and remove the plastic shroud from the case. This design allows you to easily install the power supply from the large side opening, but does require you to do a bit more routing of cables through the right panel of the case, especially if you have a non-modular power supply. The right side of the shroud is open to allow cables to route inside the case, and a rectangular opening at the top of the panel is available for running things like videocard power cables.
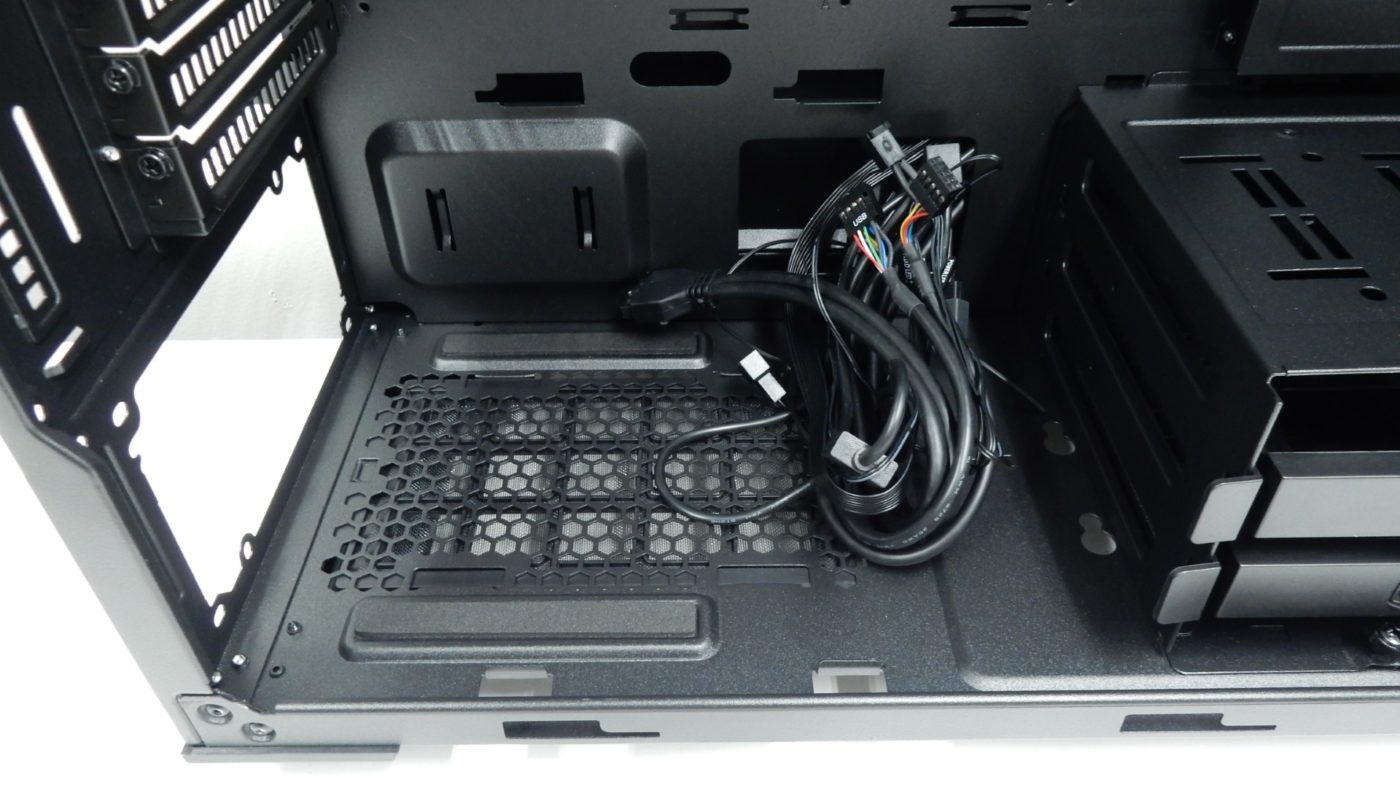
Beneath the power supply shroud is a filtered grille that functions as an intake for bottom-mounted power supply fans. The filter for this intake can be removed for cleaning, and two rubber pads along the bottom of the chassis floor help to reduce vibrations in the case, which can lead to annoying buzzing or rattling.
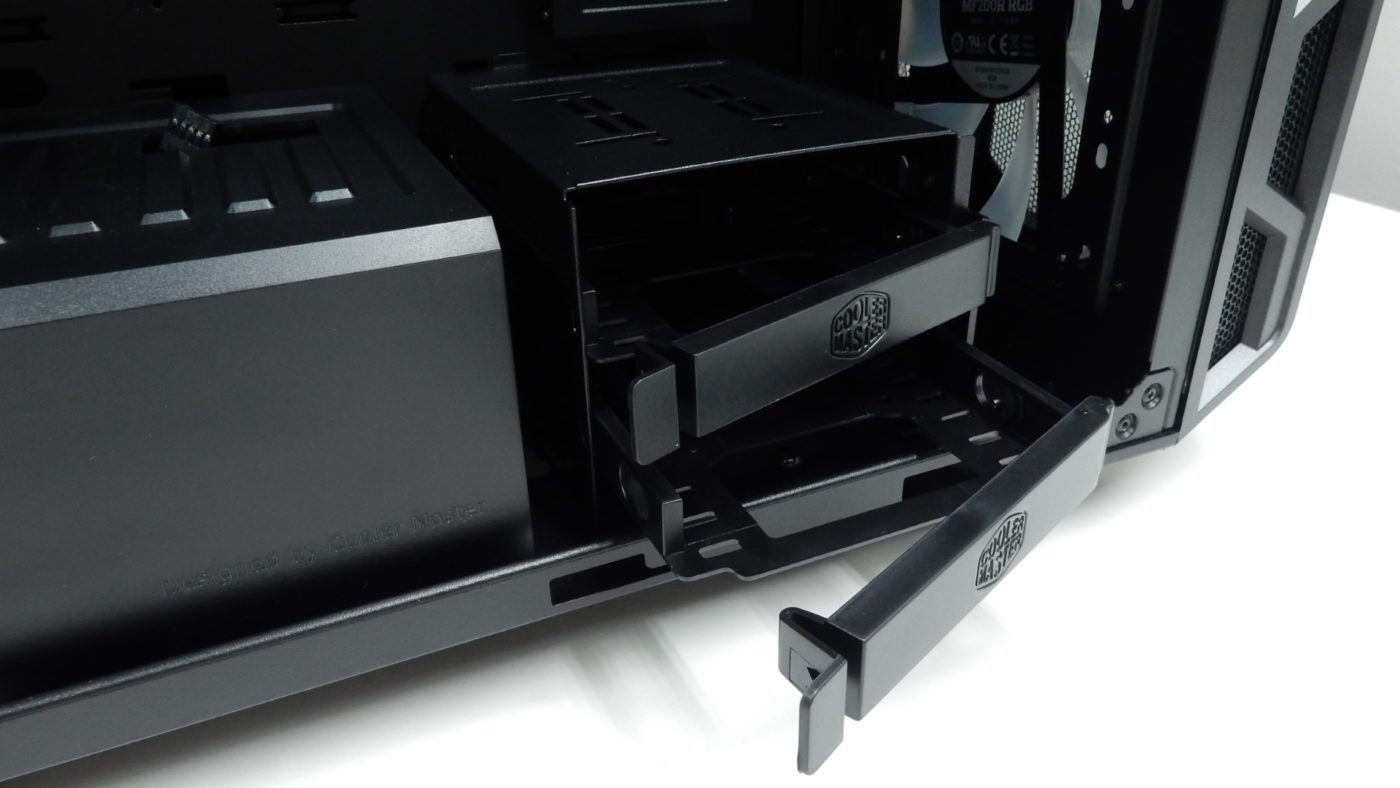
At the bottom right of the case interior is a two-bay 3.5-inch drive bay with removable drive caddys. Each caddy has a a hinged lever to keep it in place and for easy removal. Drives are held in place without the need for screws, and flexing the plastic trays allows for easy drive installation.
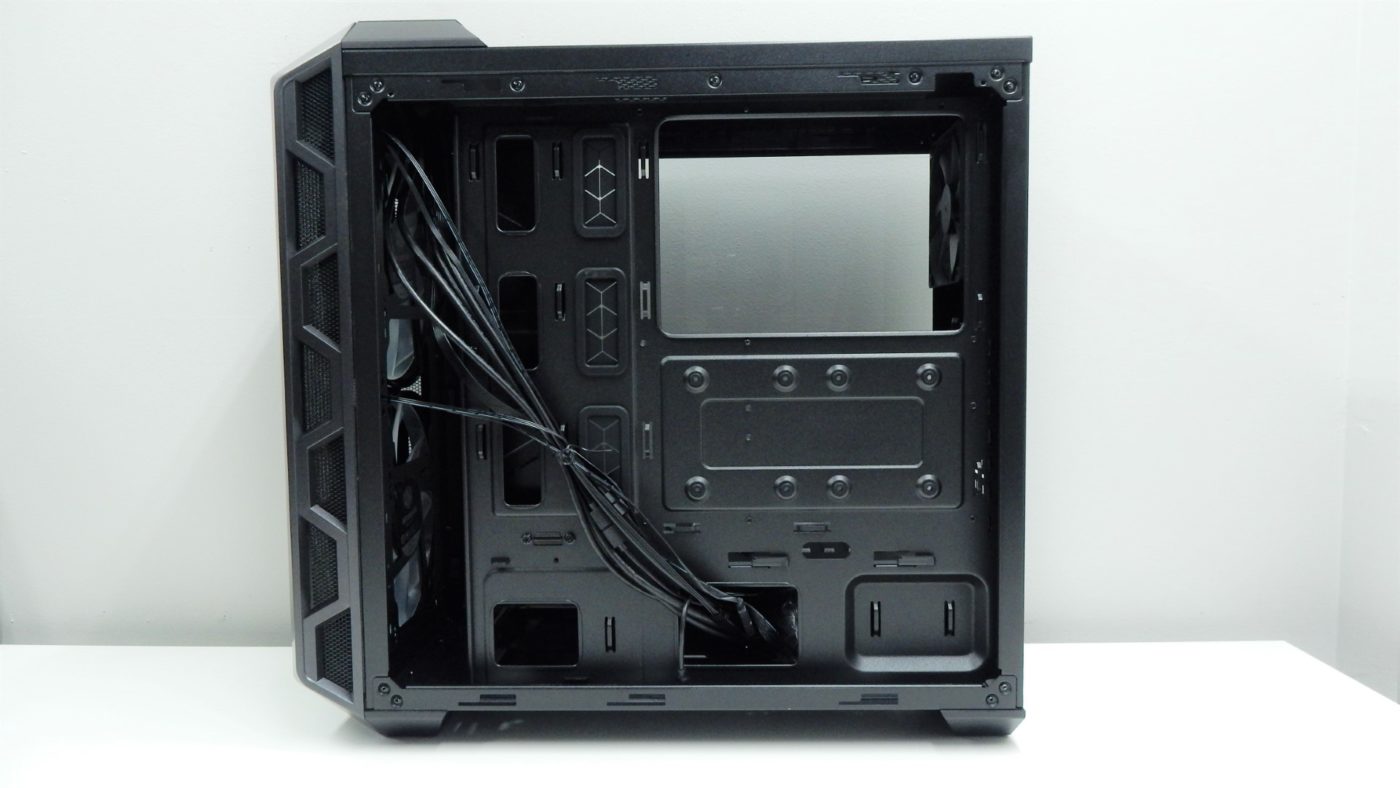
Moving to the other side of the case, the removal of two thumbscrews is all it takes to gain access to the back of the motherboard tray and additional cable management options. In addition to the three rectangular cutouts previously mentioned, there are multiple additional cutouts for routing cables, and quite a few cable-tie locations to keep your cabling in place once you have it where you want it. There is quite a bit of cabling coming from the front panel connections of the case, in addition to the power and lighting cabling for the two 200mm fans. Add in power and connectivity for the included RGB controller and things can quickly get out of hand. It is back here that we also find two 2.5-inch drive mounts, and one of our favorite mounting methods we have come across, which we will go into more detail about in our installation section.