Installation
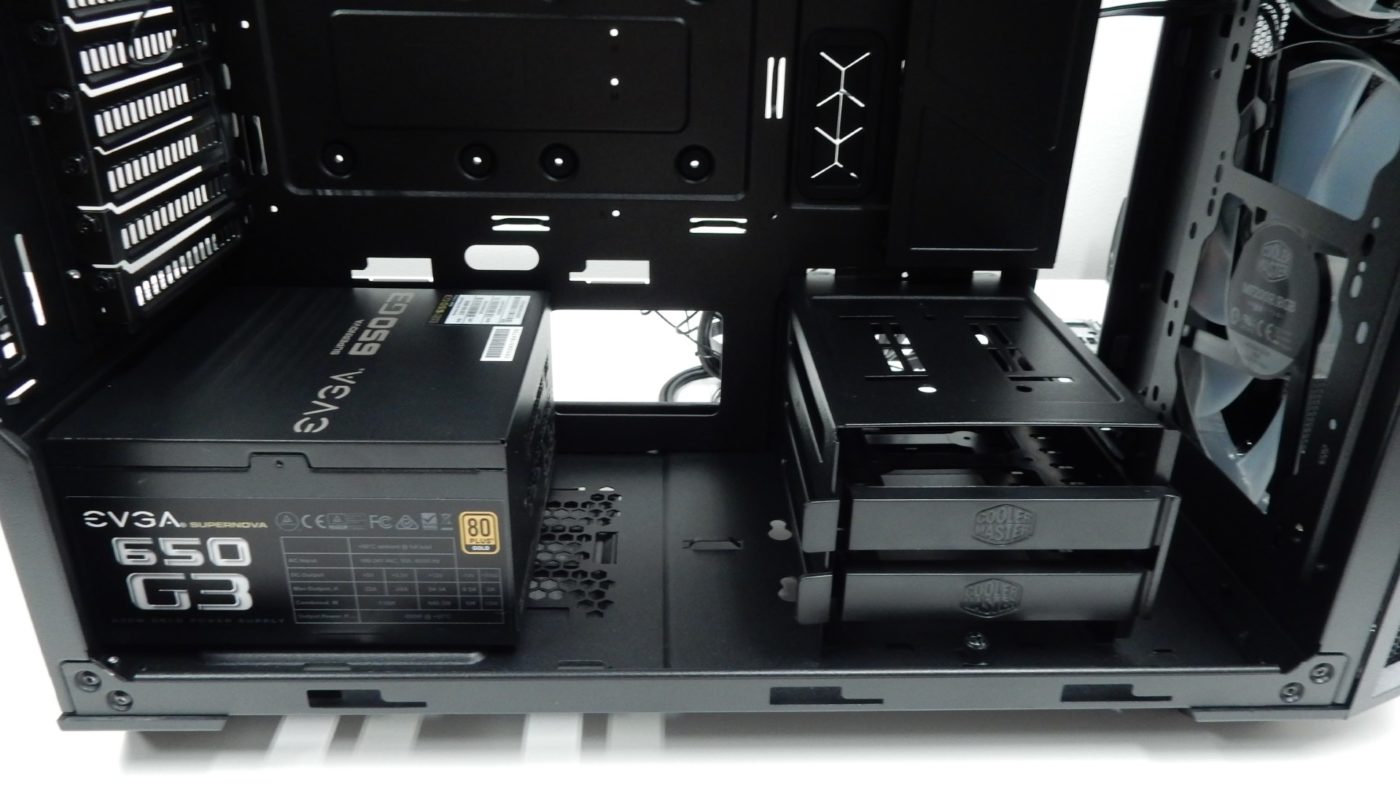
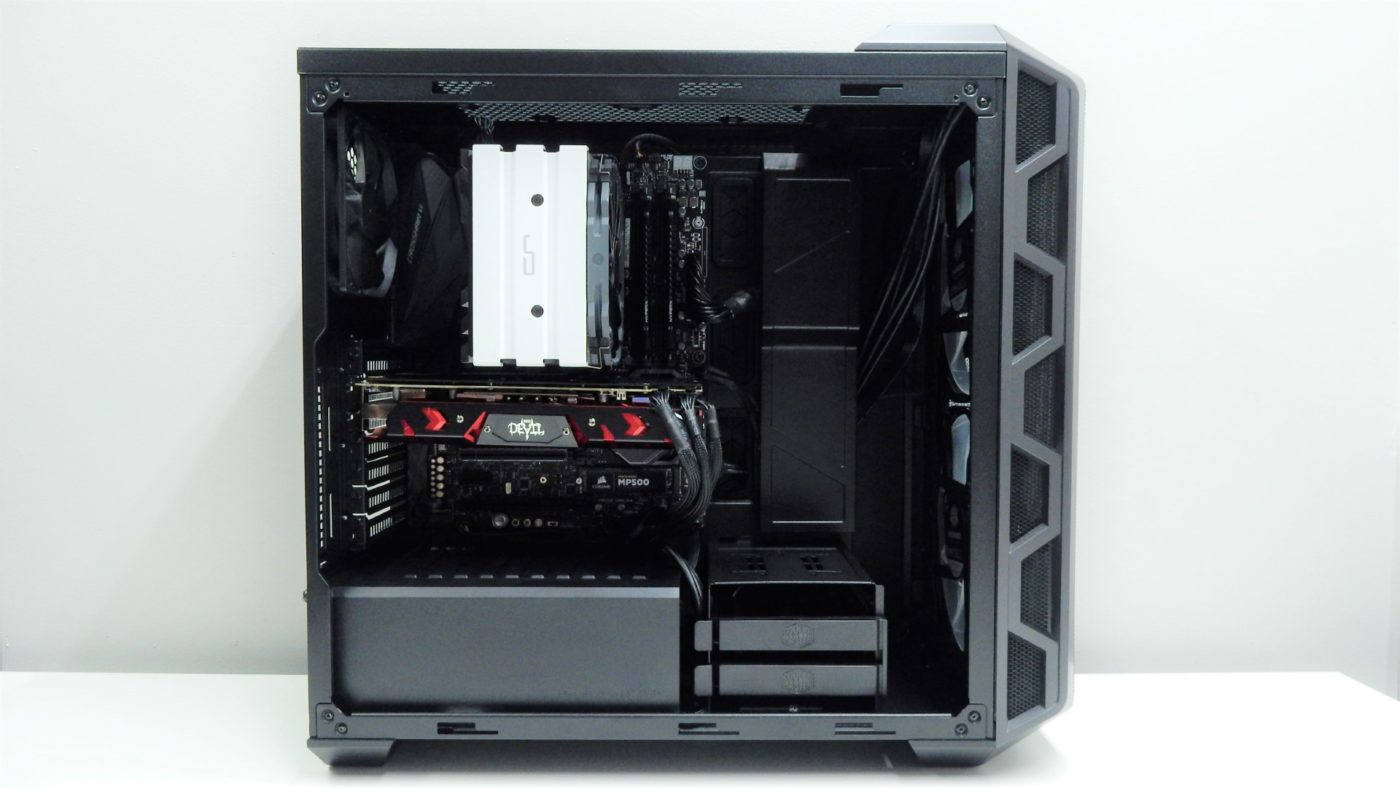
As with most of our builds, we started by installing our power supply first. After removing the power supply shroud, our power source fit right into place, and we really liked this installation method compared to having to slide the unit through a typically snug opening at the other side of the case. The rubber pads help support and dampen the power supply, and a few screws later, we were ready to move on to our next component.
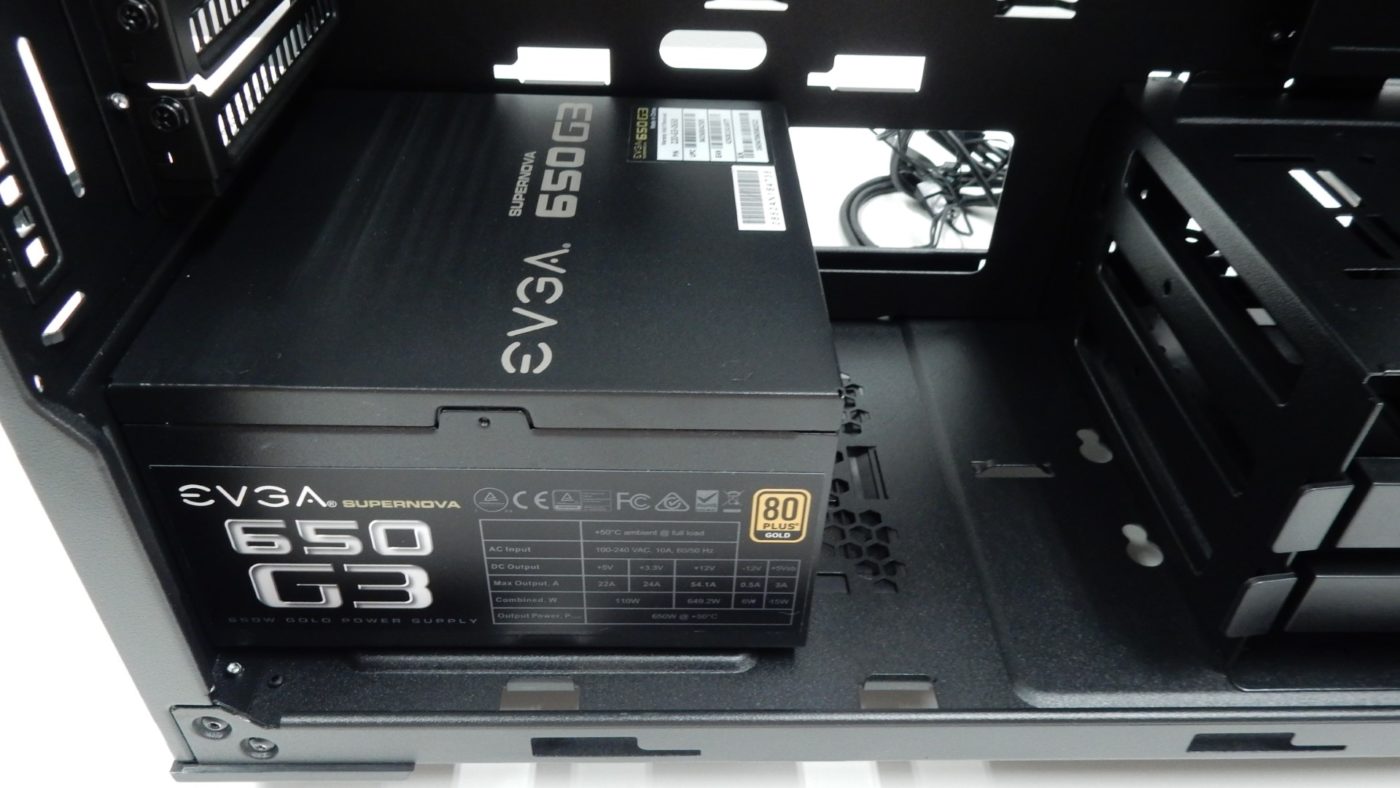
As you can see below, there is plenty of room between our power supply and the 3.5-inch drive bays. This space is even more generous when you use a modular power supply and don’t have to worry about hiding cables that you aren’t even using.
Next up was our motherboard, which found itself at home in the H500. No issues were encountered with this component installation, and the way the multiple cutouts surround the motherboard made it obvious to us that connecting all of our cables would be a breeze.
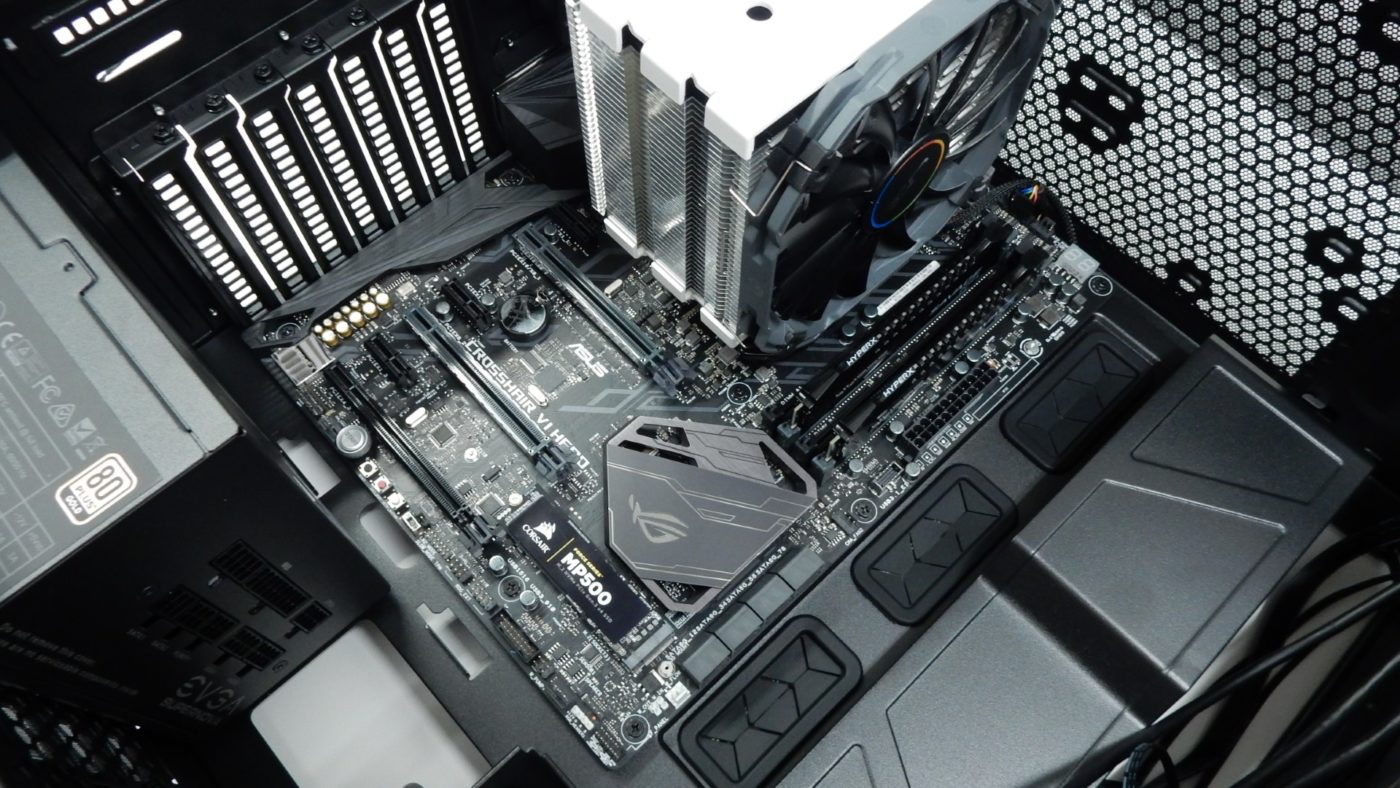
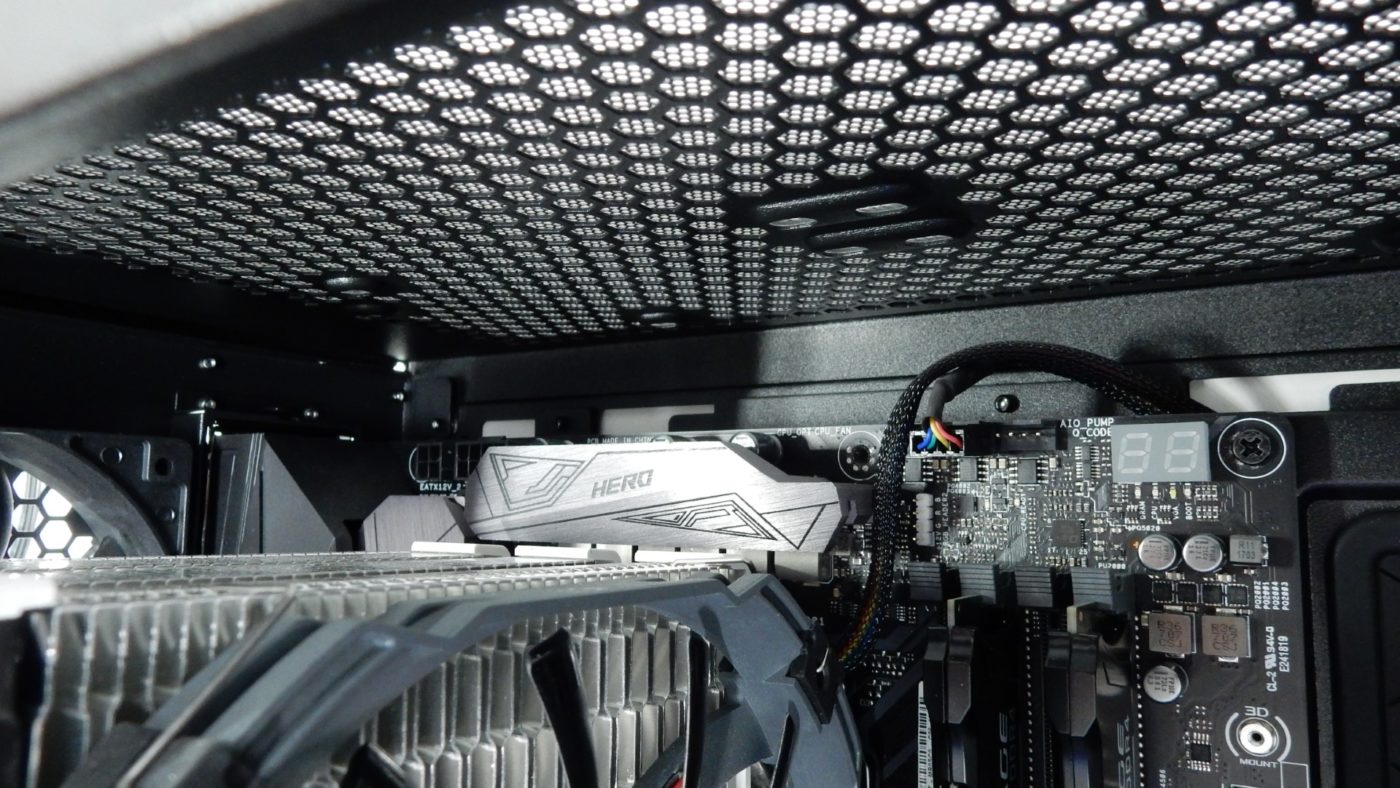
As previously mentioned, there is about an inch of space between the top of the motherboard and the top of the case, which provided us plenty of room to work with. We were able to hide our additional CPU fan cabling behind the motherboard tray, and our CPU power cabling utilized the cutouts at the top left for easy connectivity.
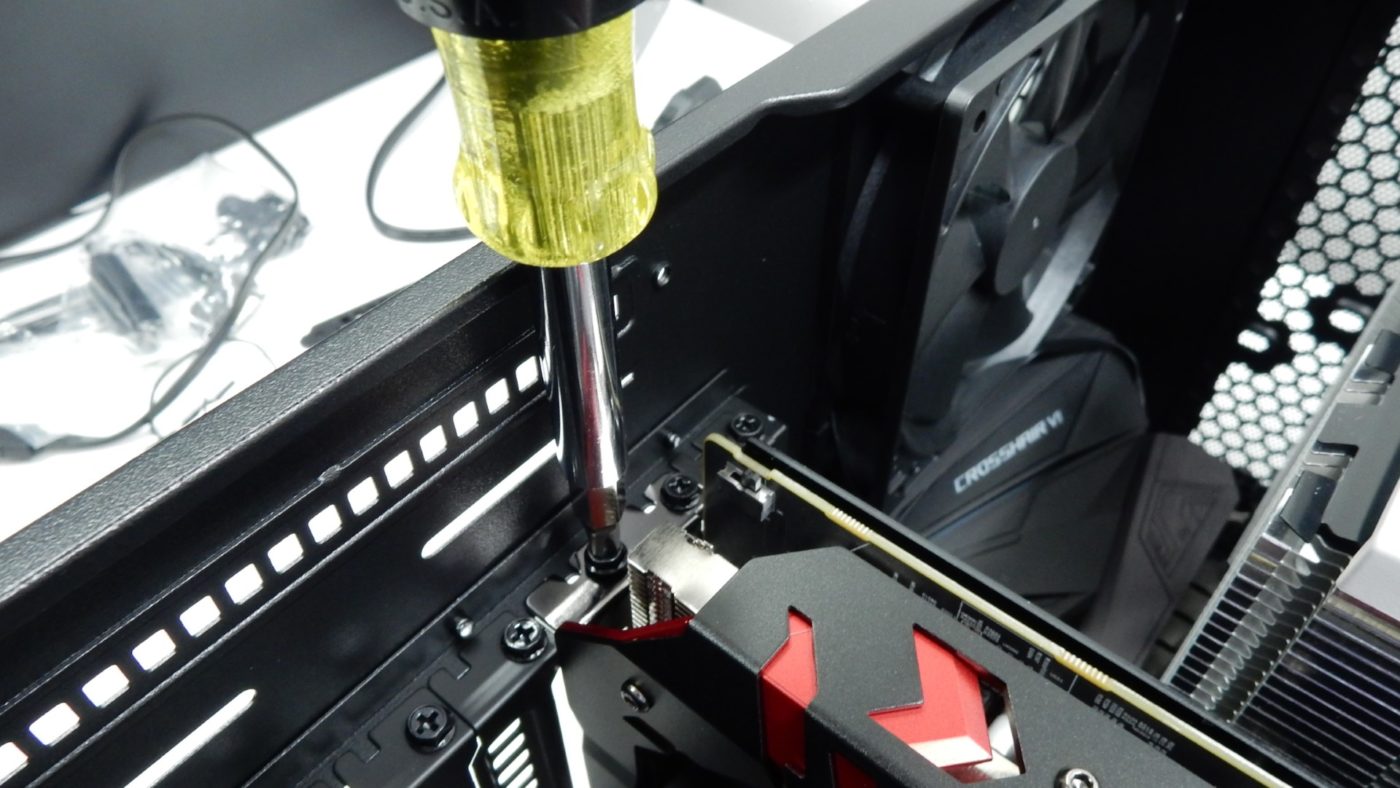
Up next was our videocard, and a nice design feature of the H500 made screwing in the card very user-friendly. Since the add-in slot covers are secured internally, getting to the screws with a screwdriver can be a bit of a challenge sometimes, forcing you to hold the tool at an angle to do your loosening or tightening. Thankfully, the H500’s rear frame is notched out in the add-in card section so that a screwdriver can go straight into the screws, giving the tool a better hold on the screws.
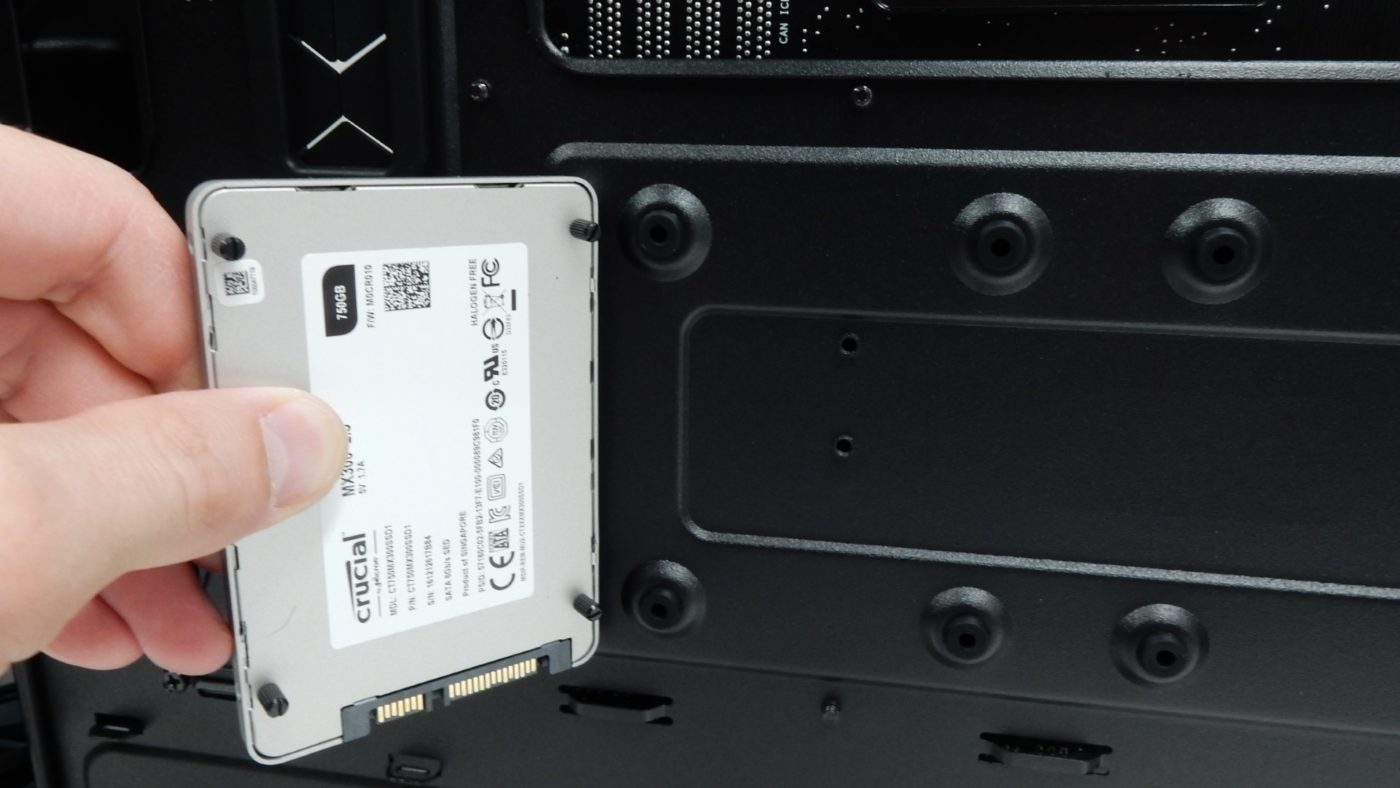
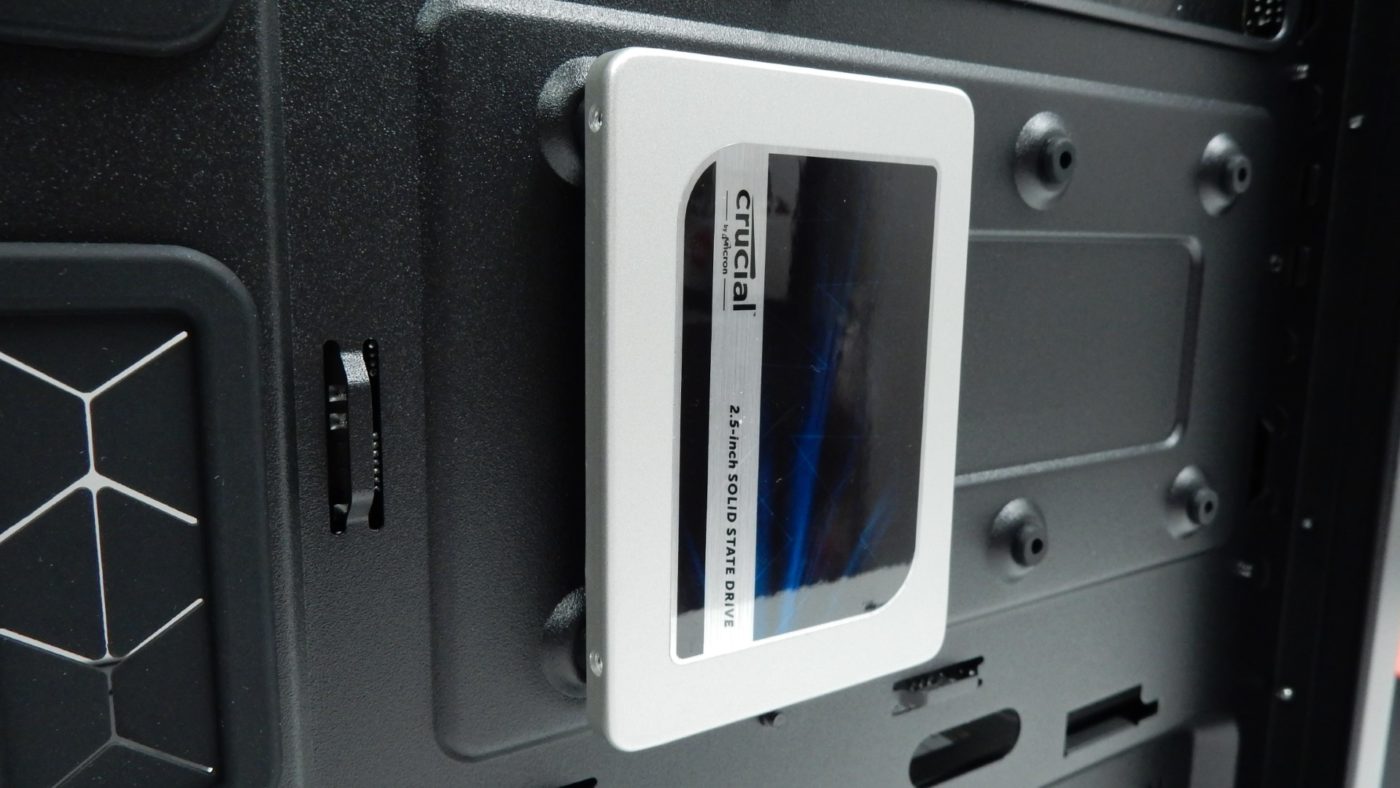
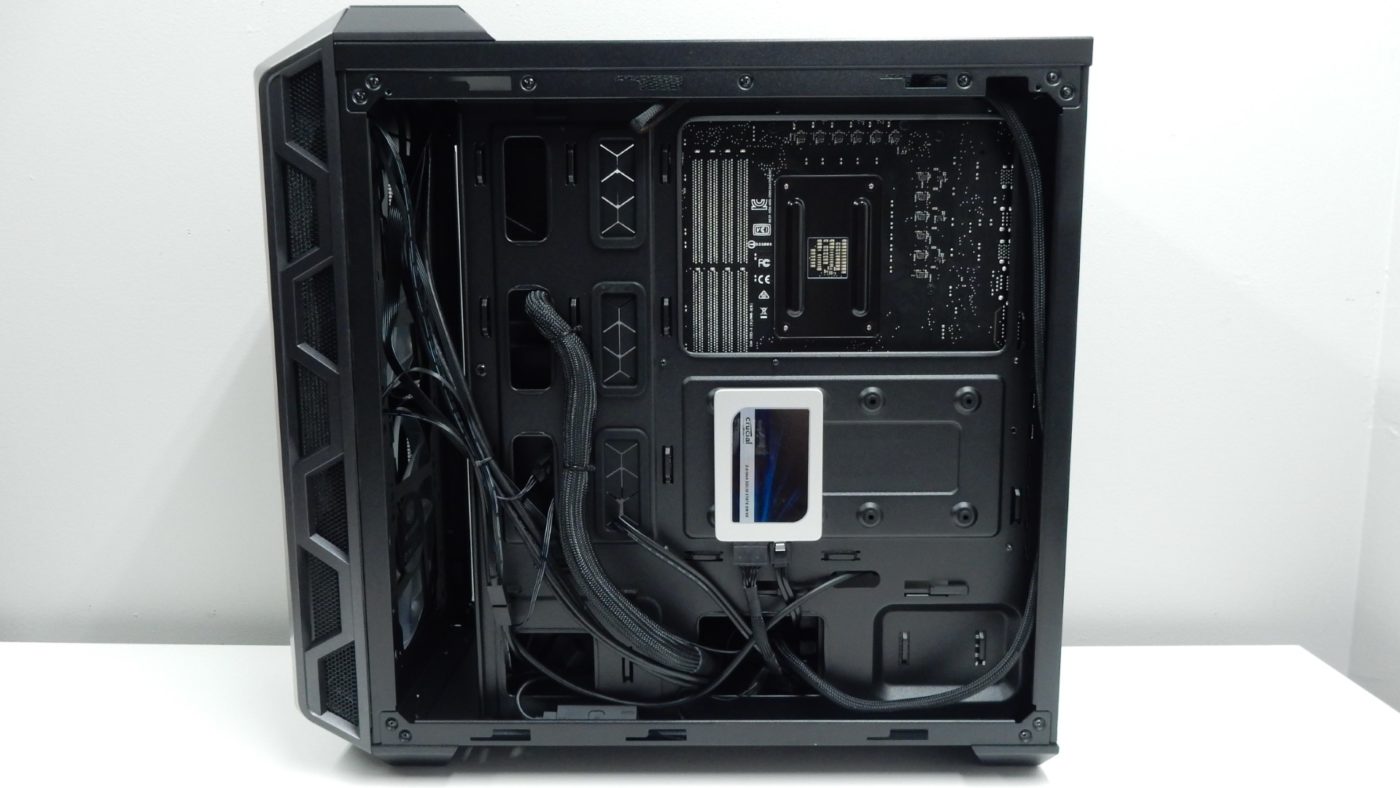
Moving to the rear of the motherboard tray, we were ready to install our 2.5-inch SSD, which led us to a nice discovery and mounting method. Cooler Master has designed the H500 to use a tool-less drive mounting design, opting for small thumbscrew “pegs” that are installed on the bottom holes of drives.
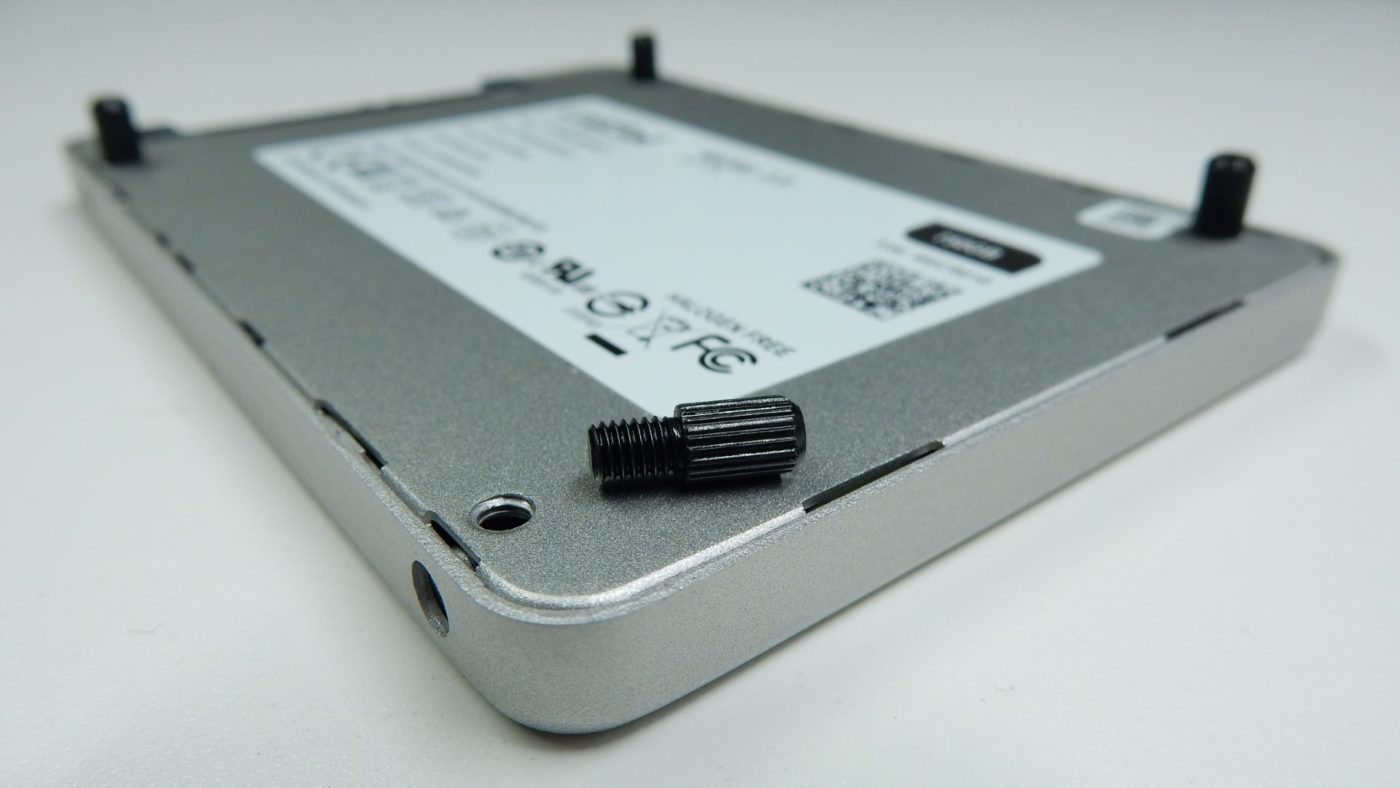
Once in place, the pegs then slide into rubber grommets on the back of the motherboard panel, snugly securing them in place with friction. We were a bit apprehensive at first, but this mounting method is quite secure, and much more enjoyable than using tiny screws to attach our drives to a small tray that then attaches to the case. And if you happen to be using 2.5-inch traditional drives, the rubber grommets will add a bit of dampening to the spinning disks.
With all of our components in place, we proceeded to connect all of our power and data wiring. We chose to route our cables through a variety of the included cutouts, and ultimately we ended up with a decently clean case interior.
The backside of our cabling is a bit messier than we typically like, but with a solid side panel, it will only be seen when swapping parts or in the initial build.
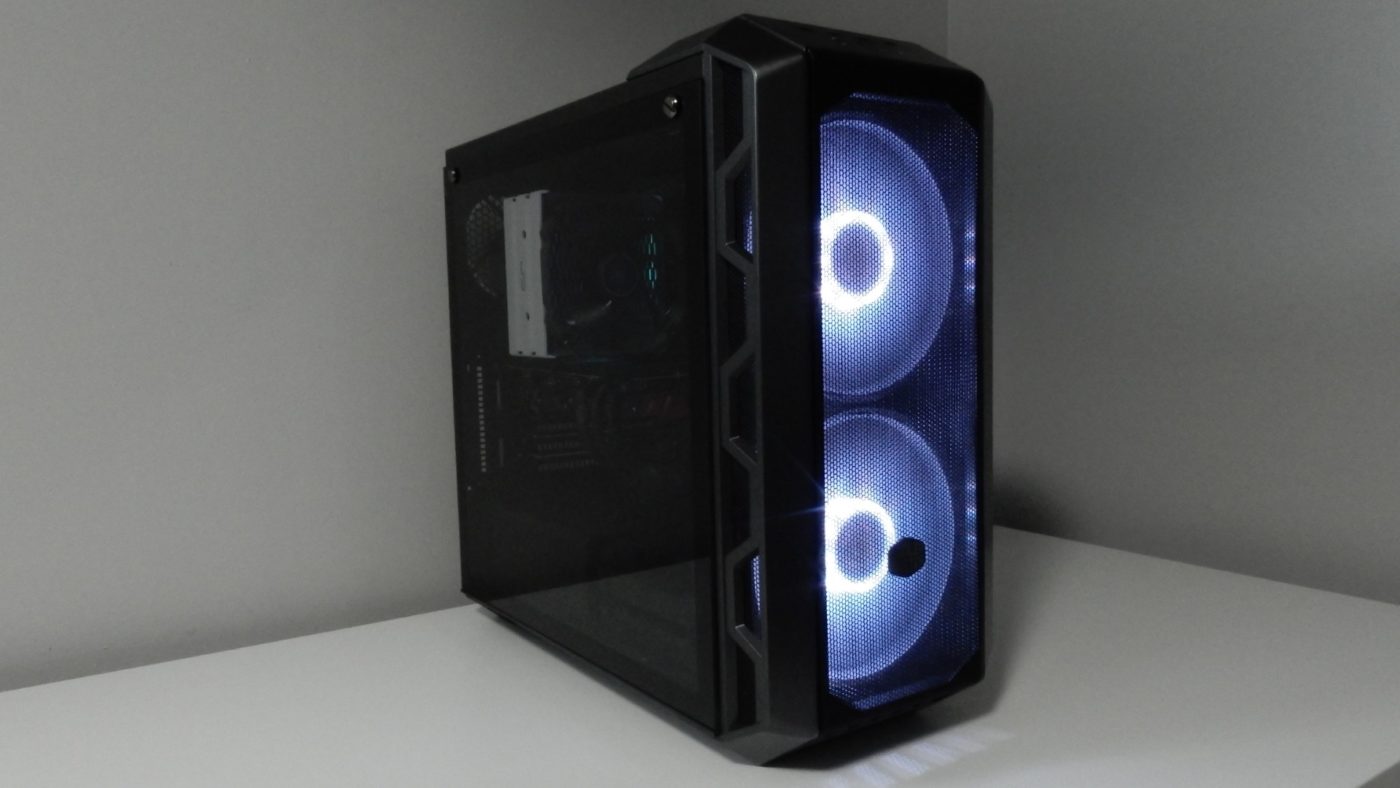
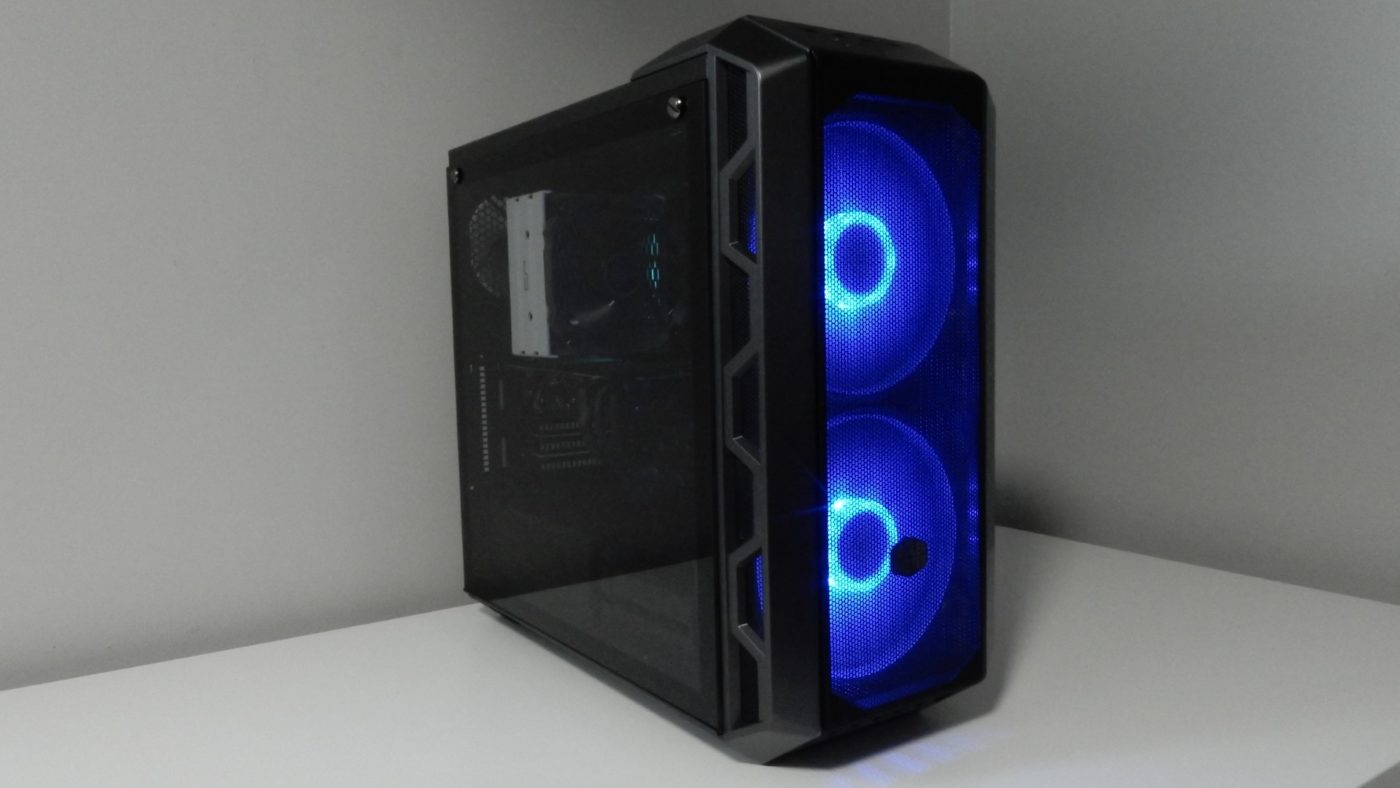
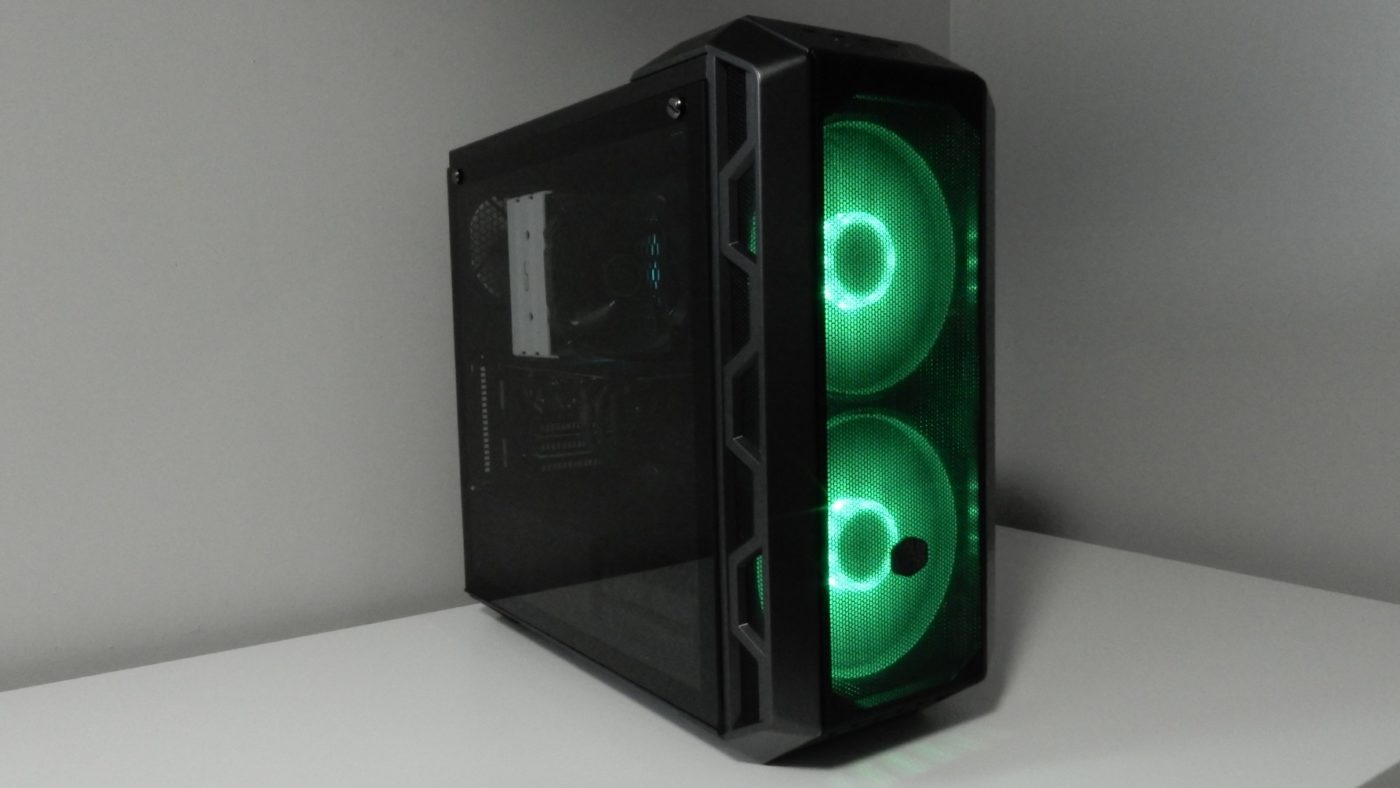
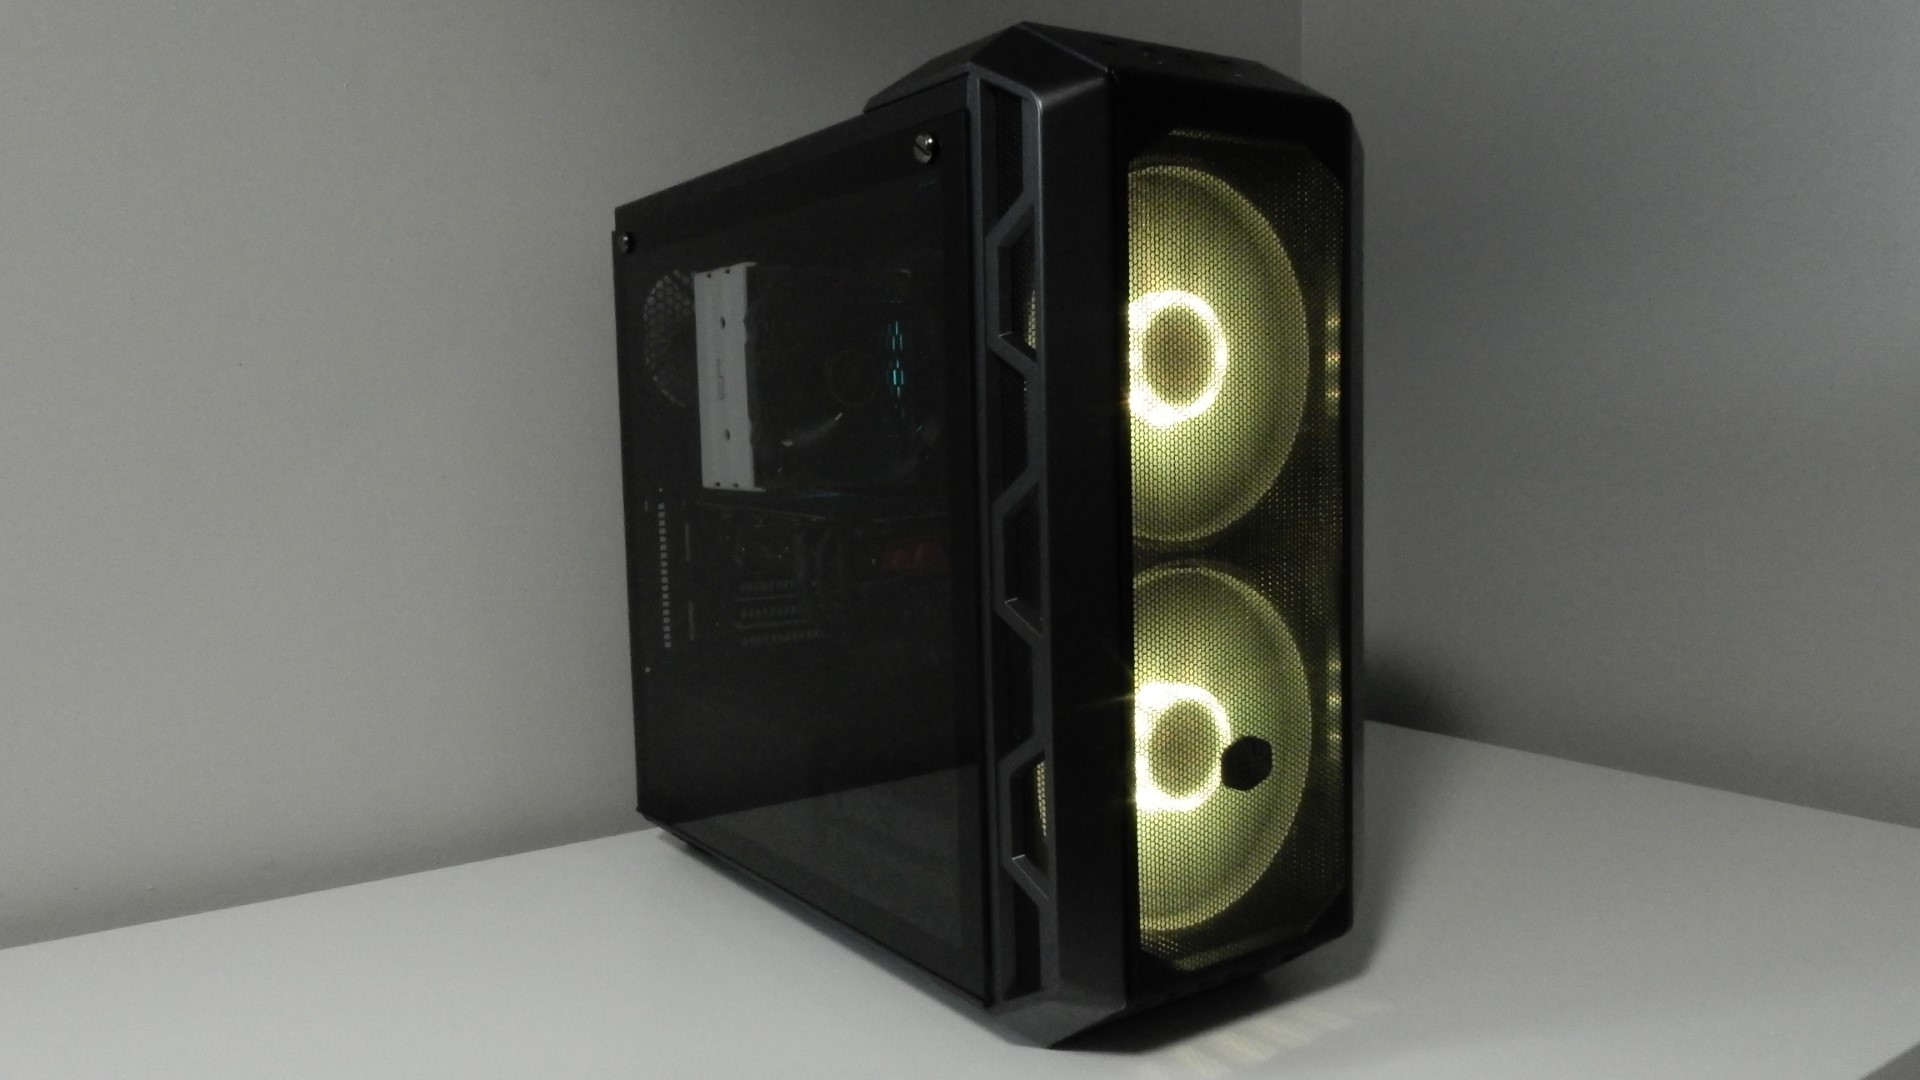
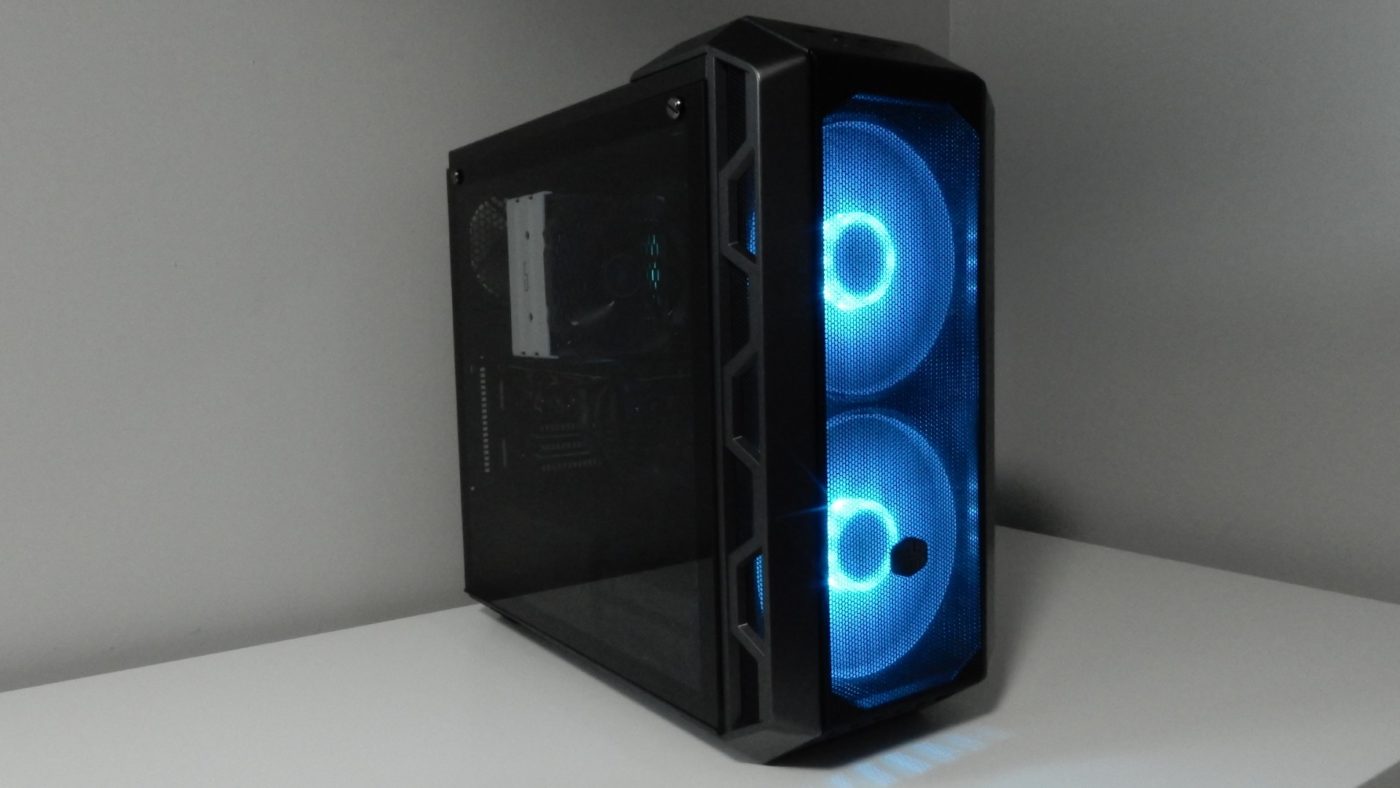
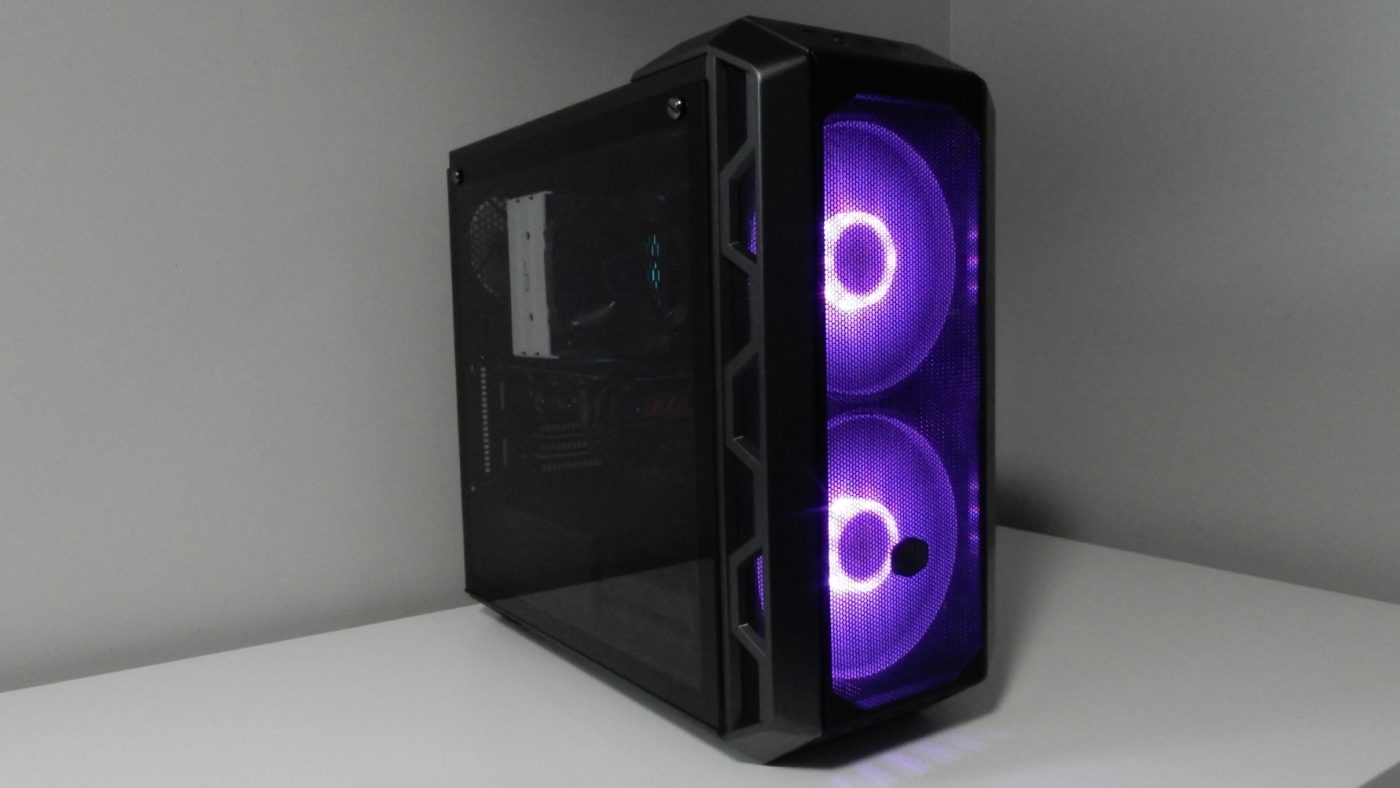
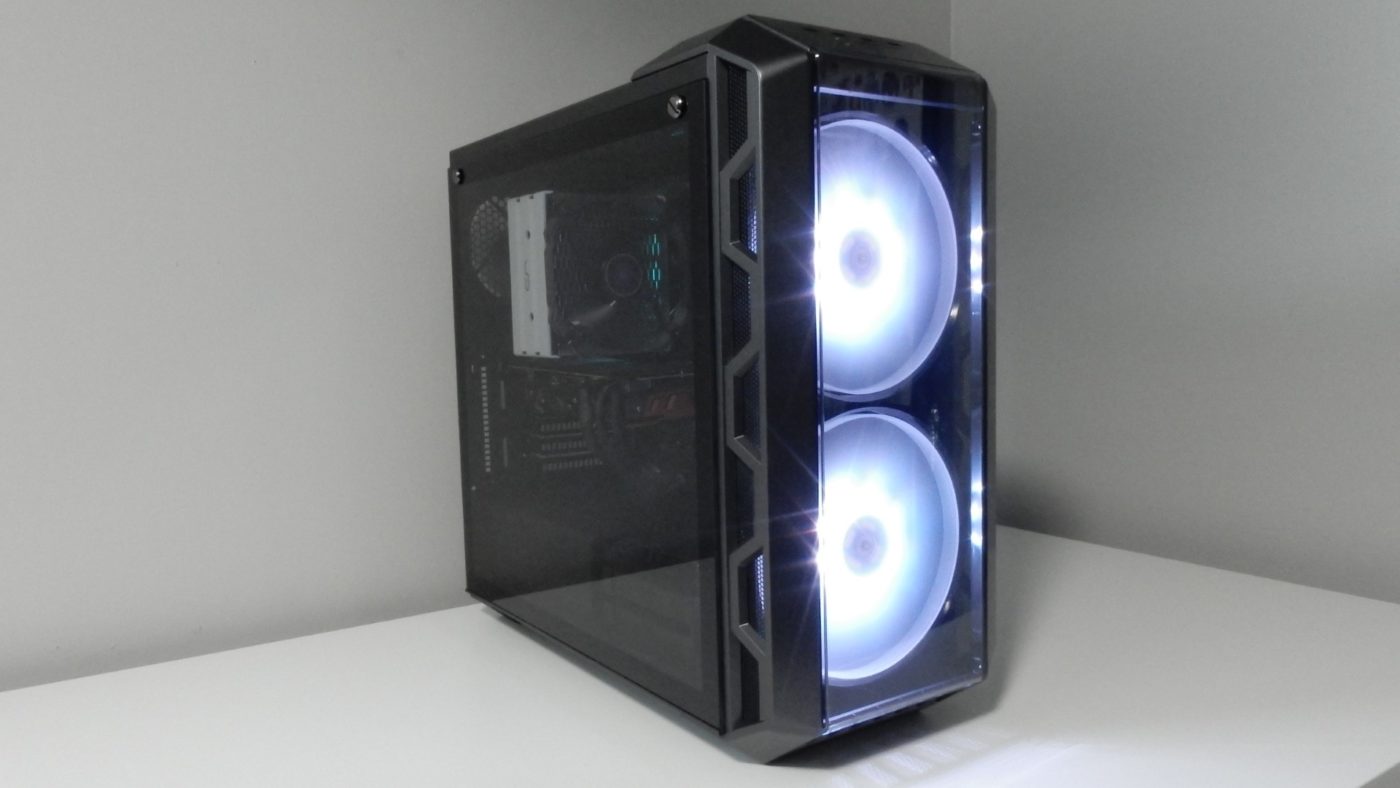
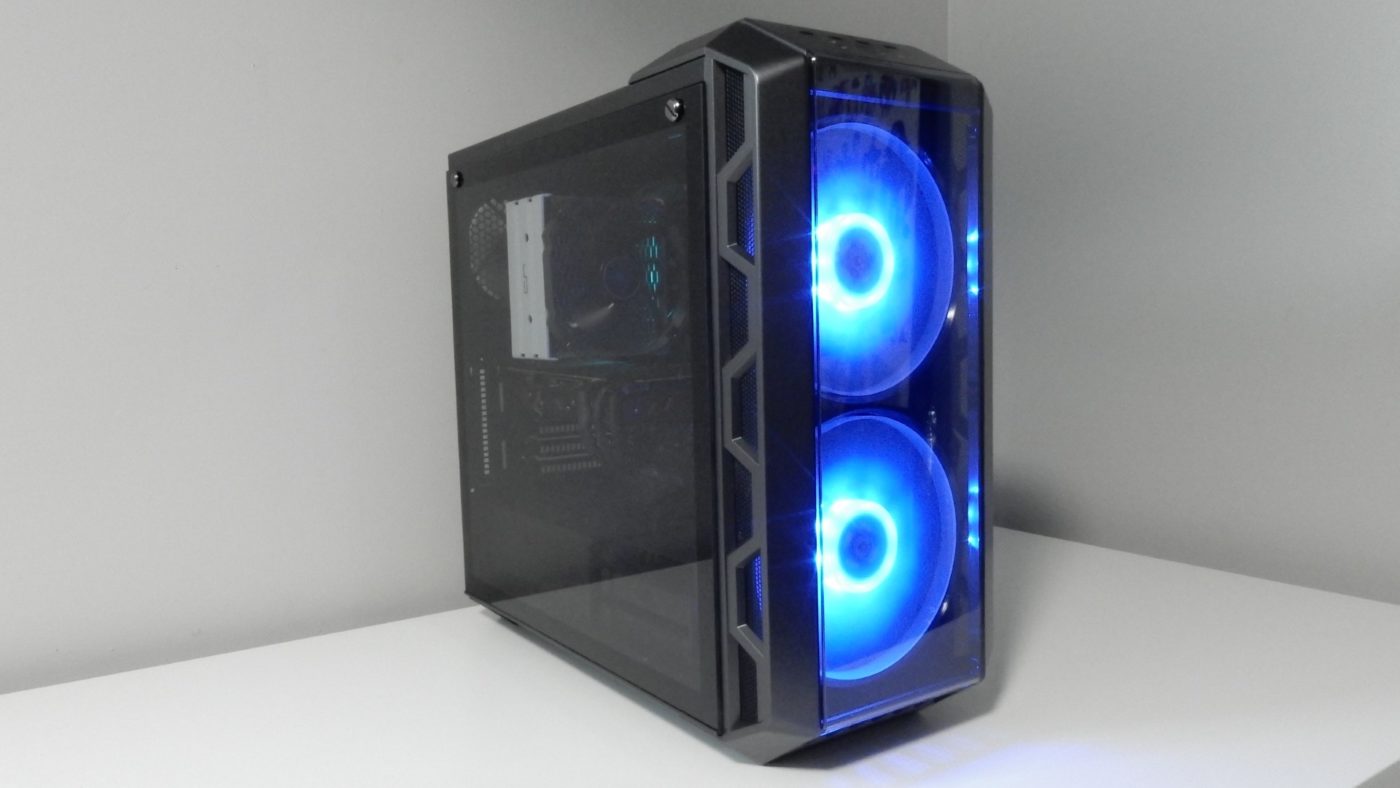
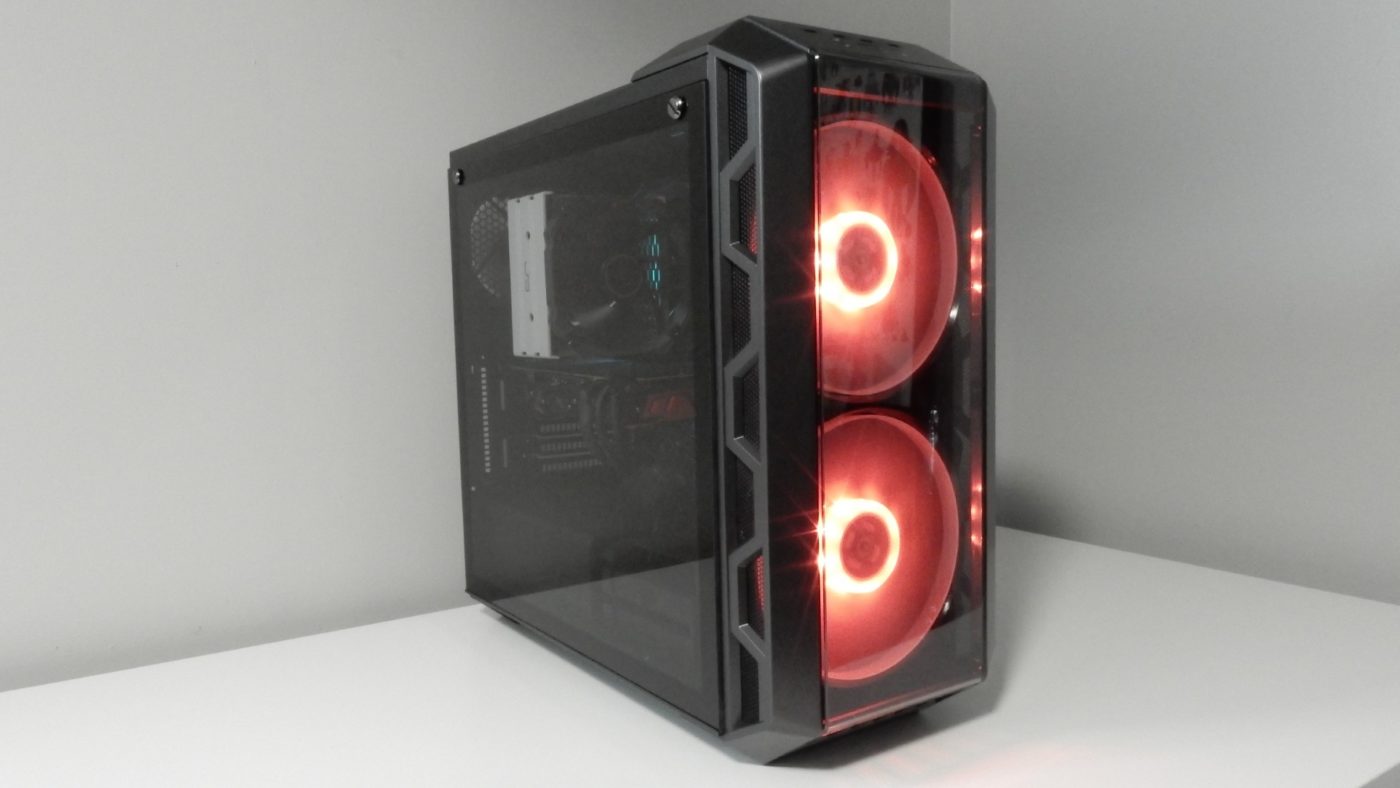
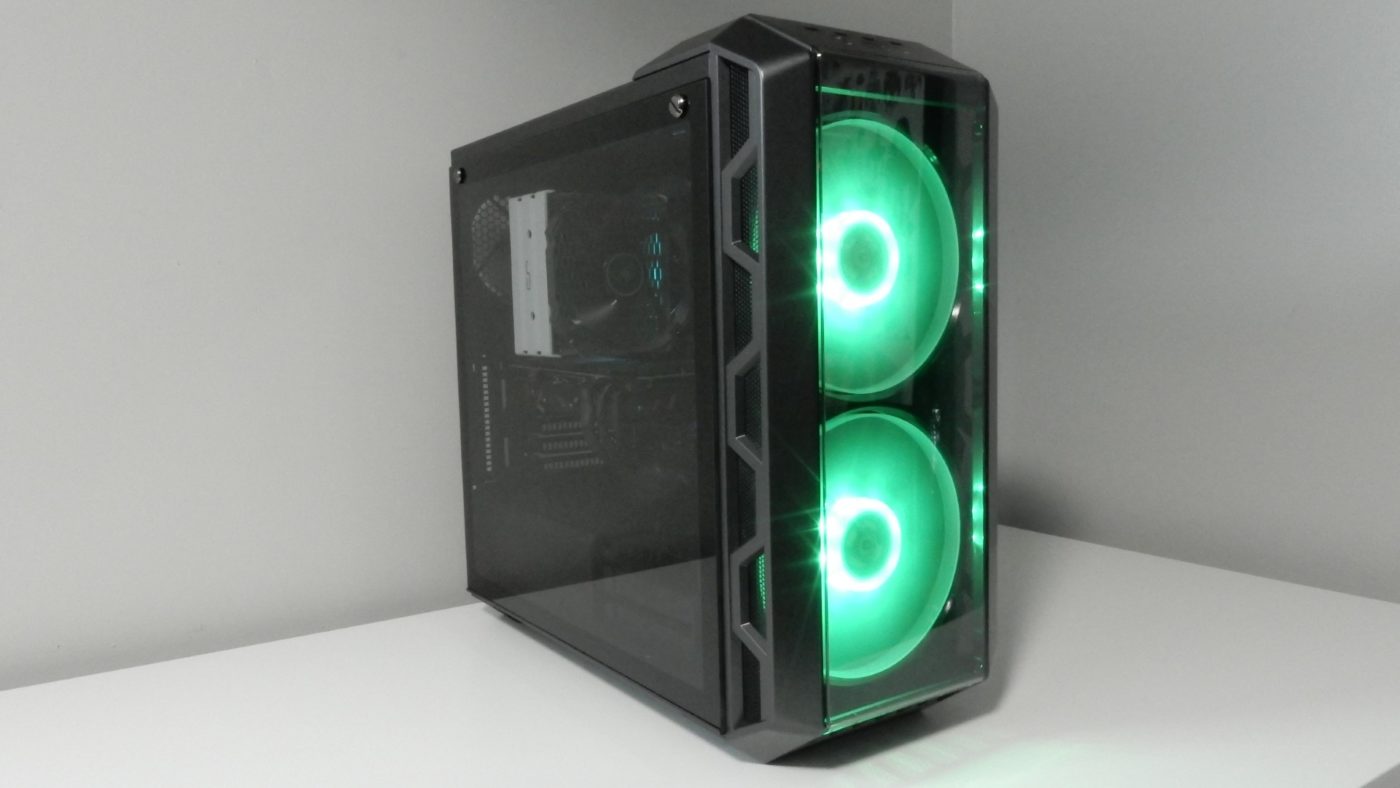
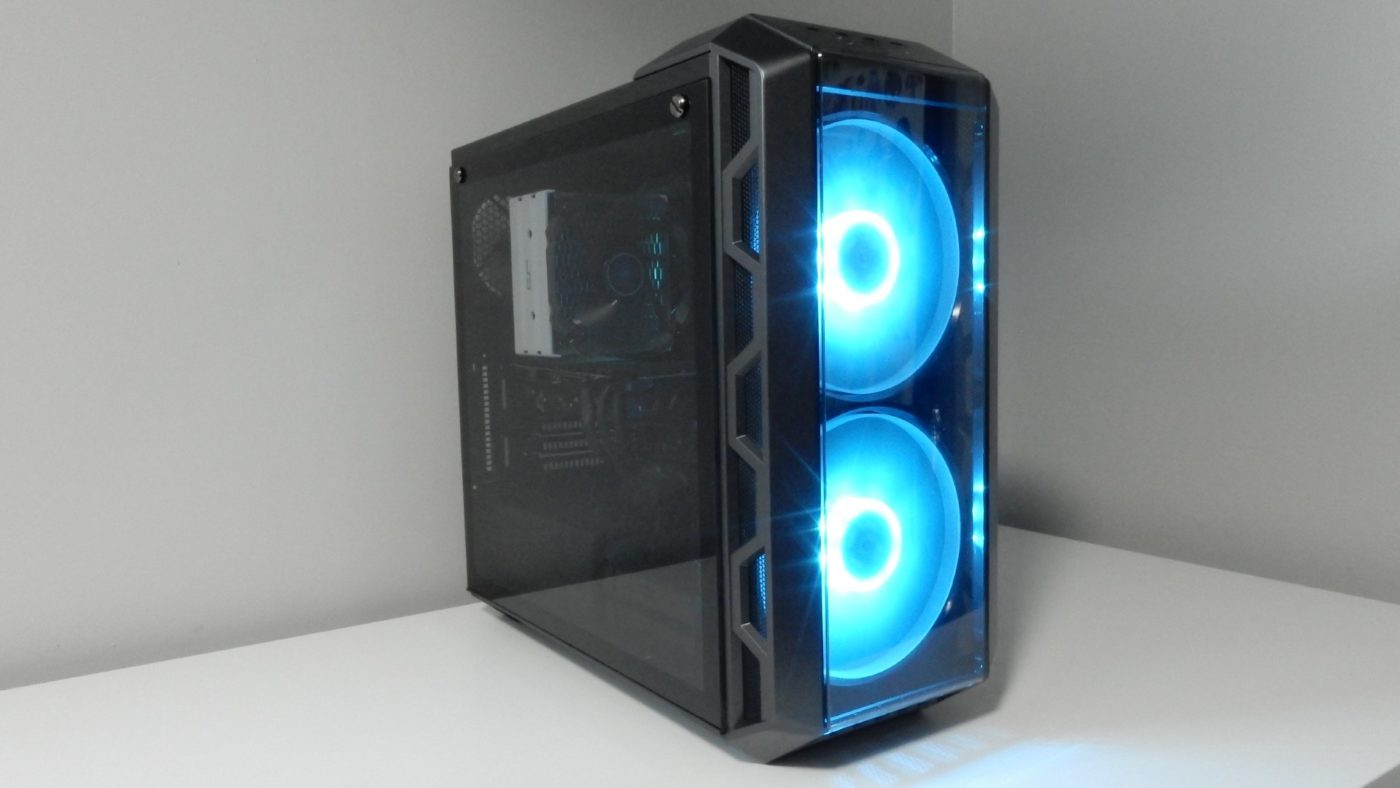
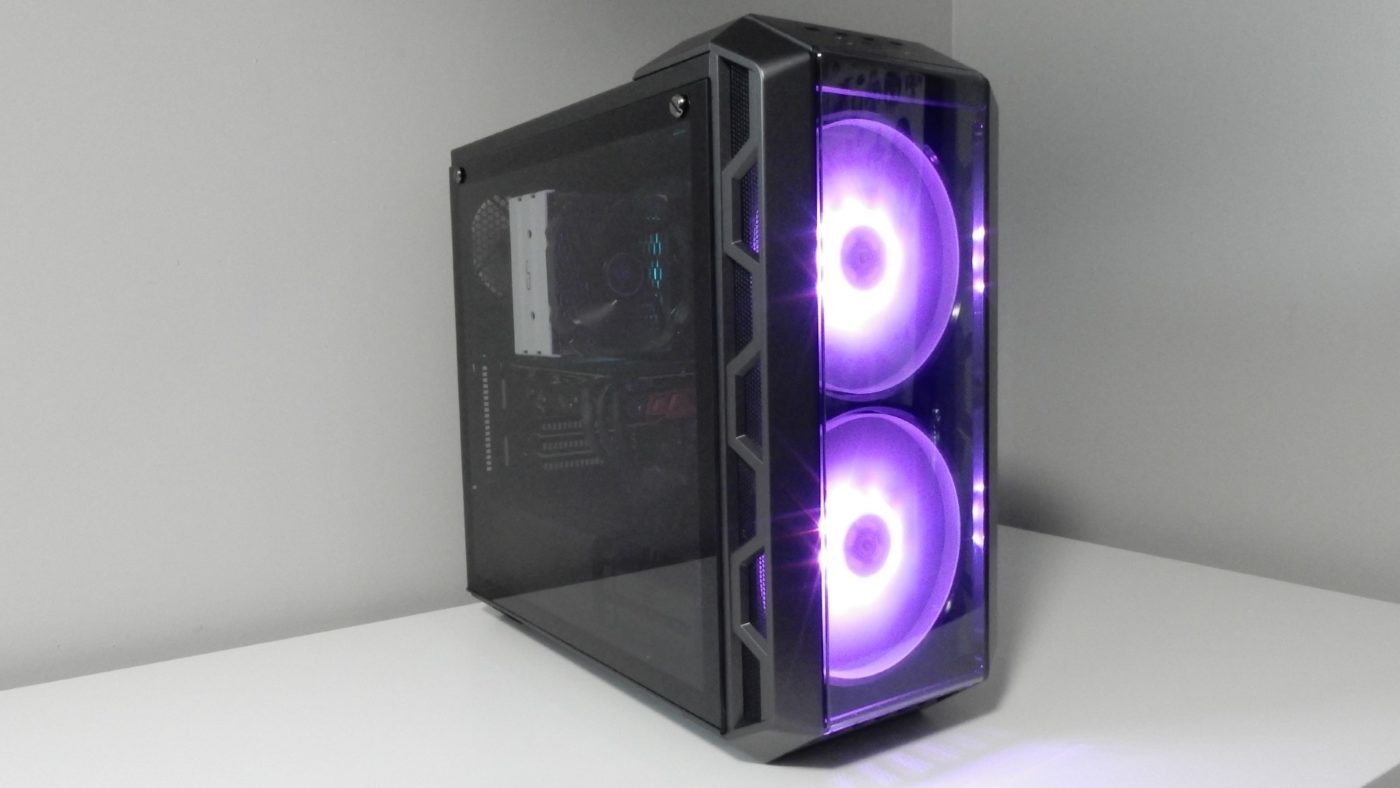
One drawback we encountered during our build was the included RGB controller. While a single button allows you to cycle through multiple lighting options, the only way to do so is with having access to said controller. This requires you to take of a side panel in order to access the controller and change your lighting.
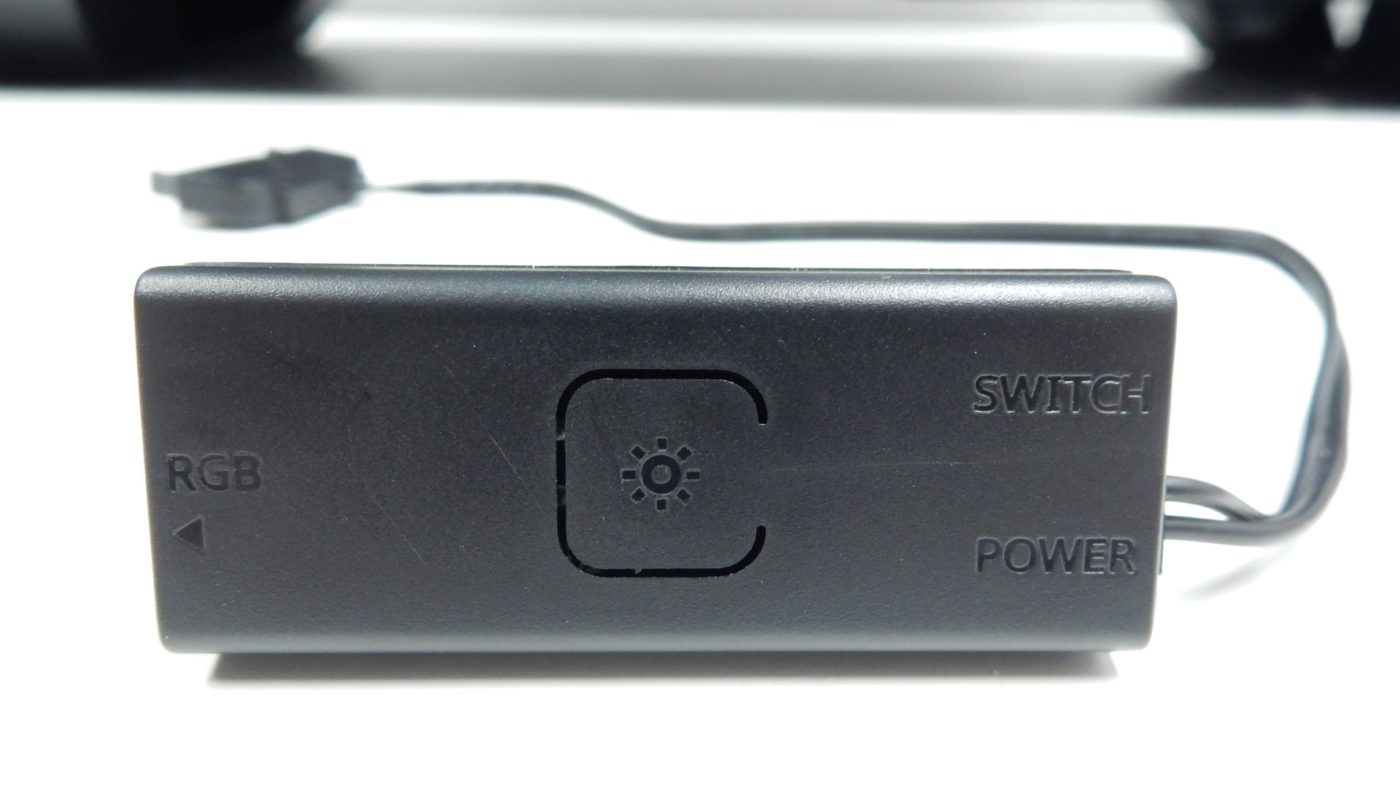
Some people change their case lighting more often than their bed sheets, but having to take a side panel off to do so is a real pain. Overall, installation was simple and the intuitive design features of the H500 made the process quite enjoyable.
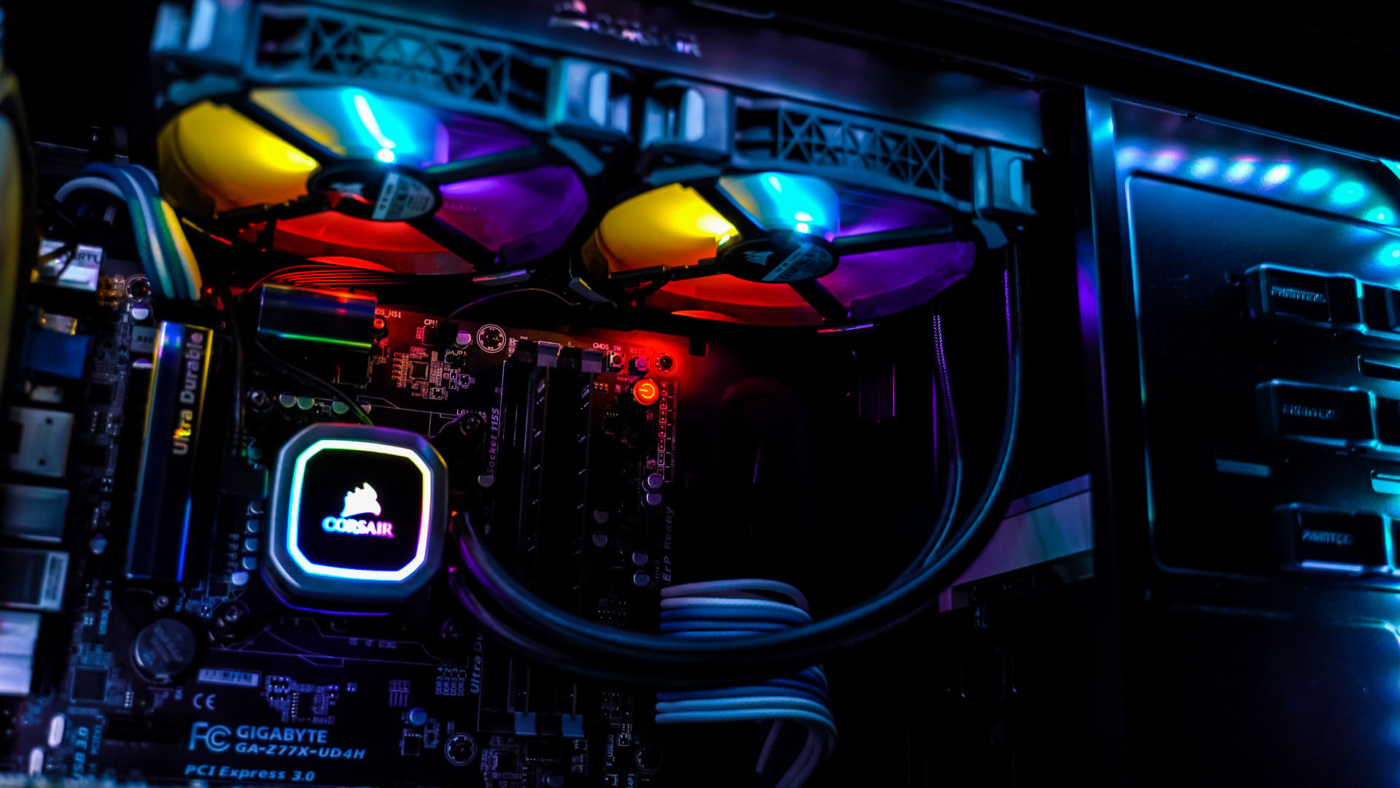
Below are a few shots of the various colors of the 200mm RGB fans with both the mesh front and the transparent panel installed.