A Look Inside
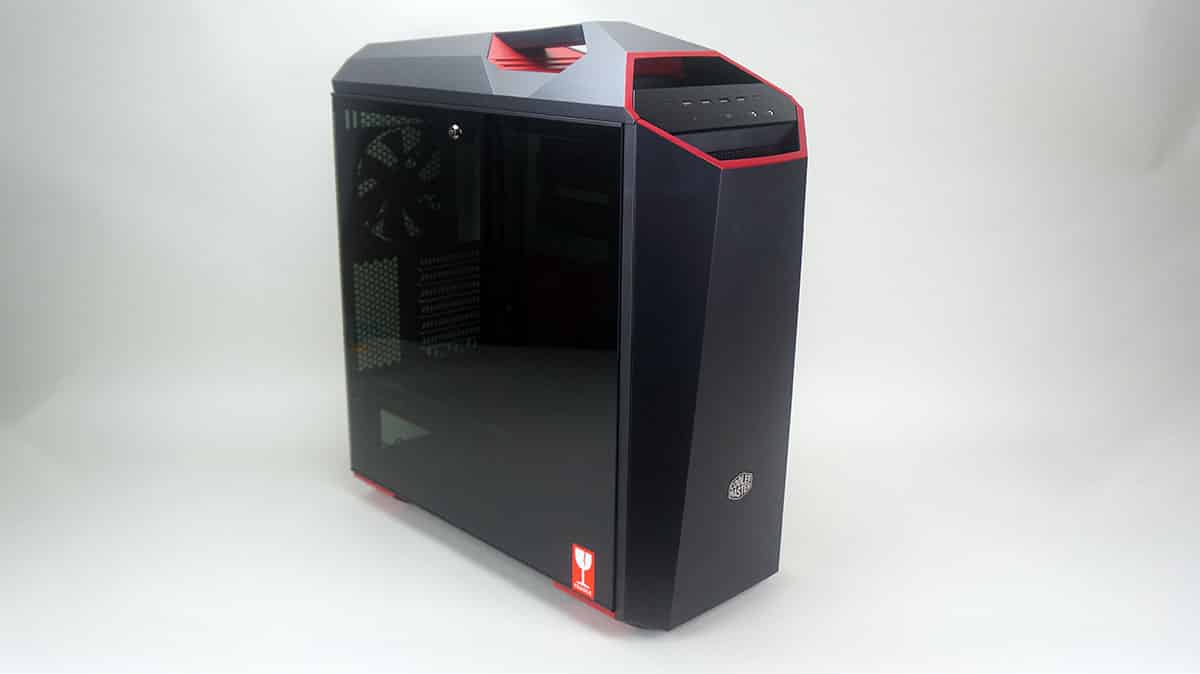
To remove the side panels of the case you’ll need to unlock them with the included keys. I am not sure I agree with this implementation by Cooler Master. I have to carry a set of keys with me at all times if I want to open up the side panel of my case? I just don’t like the idea of that. Anyways once you are inside you can see that Cooler Master has continued the two-tone design inside. As I mentioned the red is quite vibrant, the red pain contains metallic flakes which give a sparkle effect under direct lighting. The inside of the case has a two-chamber design.
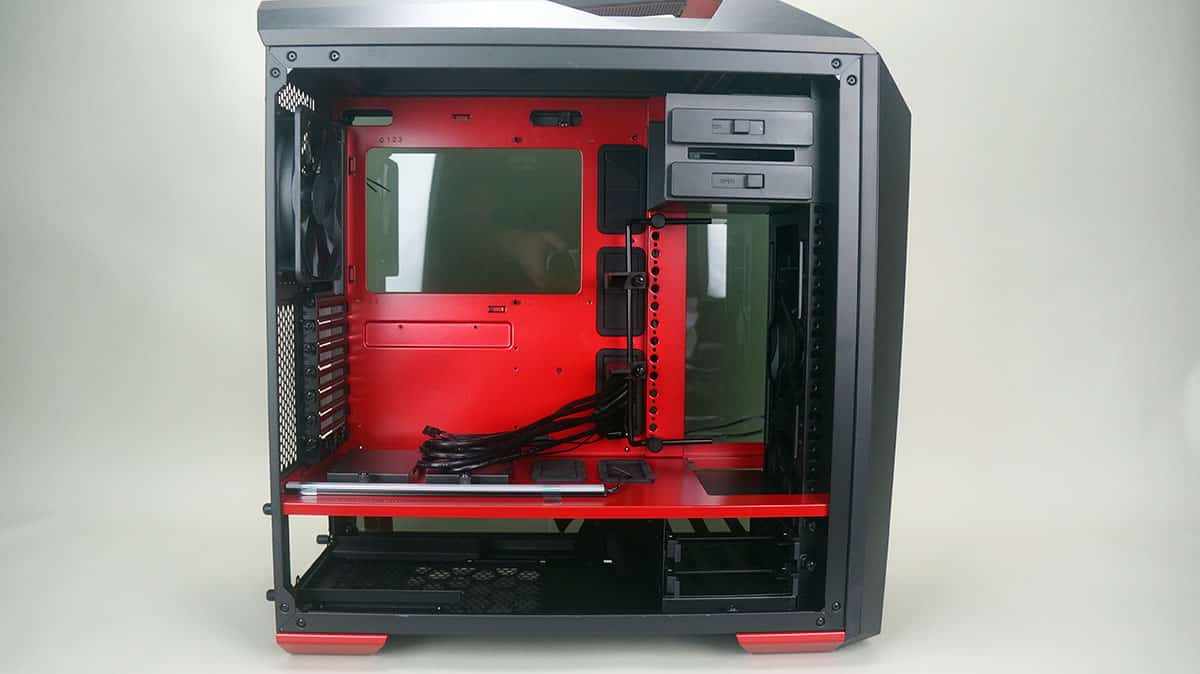
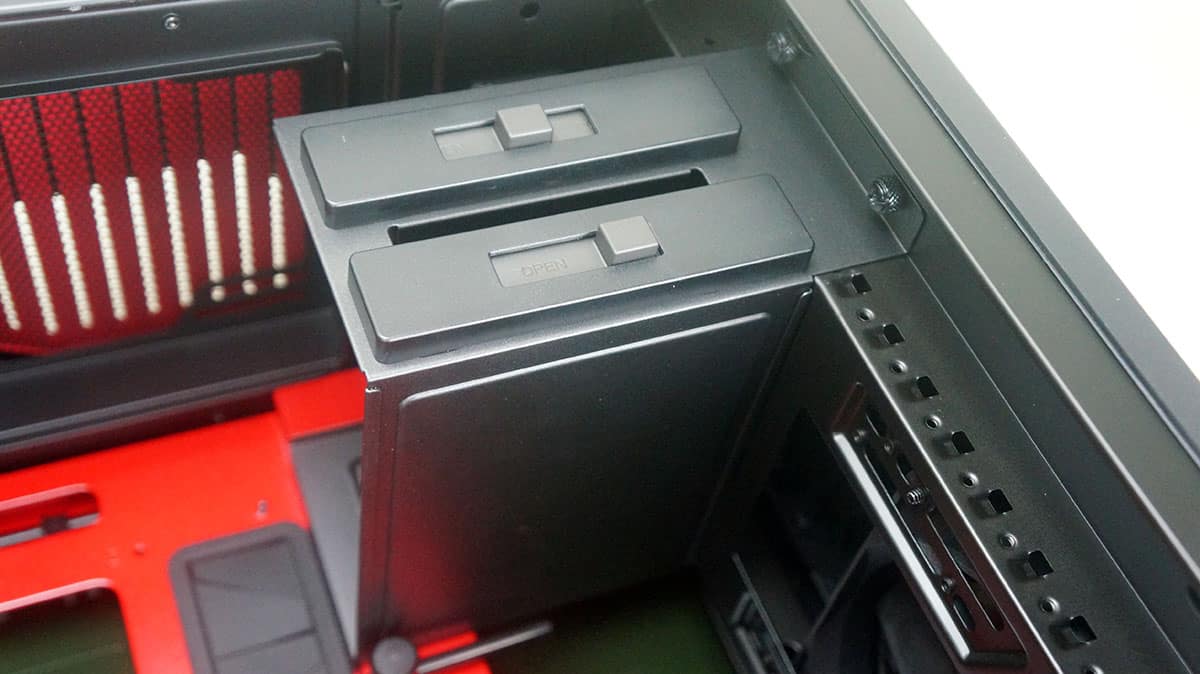
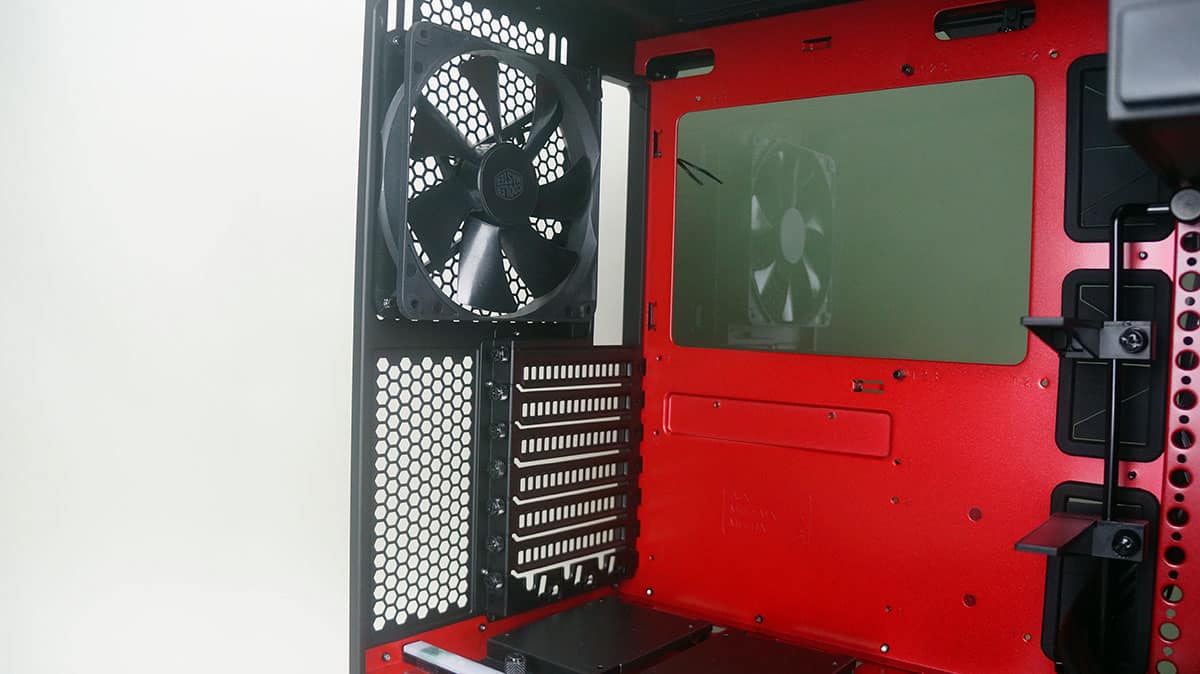
Starting at the front of the case we have the 5.25-inch drive bays. They use a tool-less mounting system. If you don’t plan on using them you can actually completely remove them by simply removing a couple thumbscrews. You will also notice the holes going down the front of the case. These are what make the FreeForm modular design possible as you can move and install the hard drive cage here if you want.
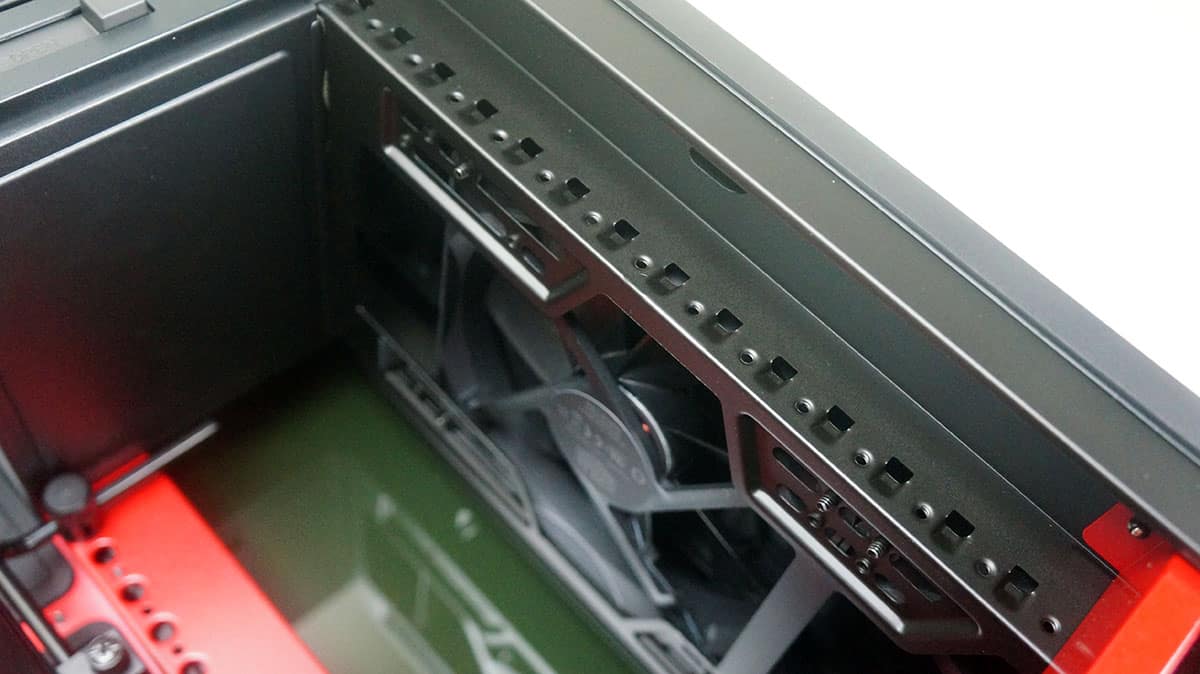
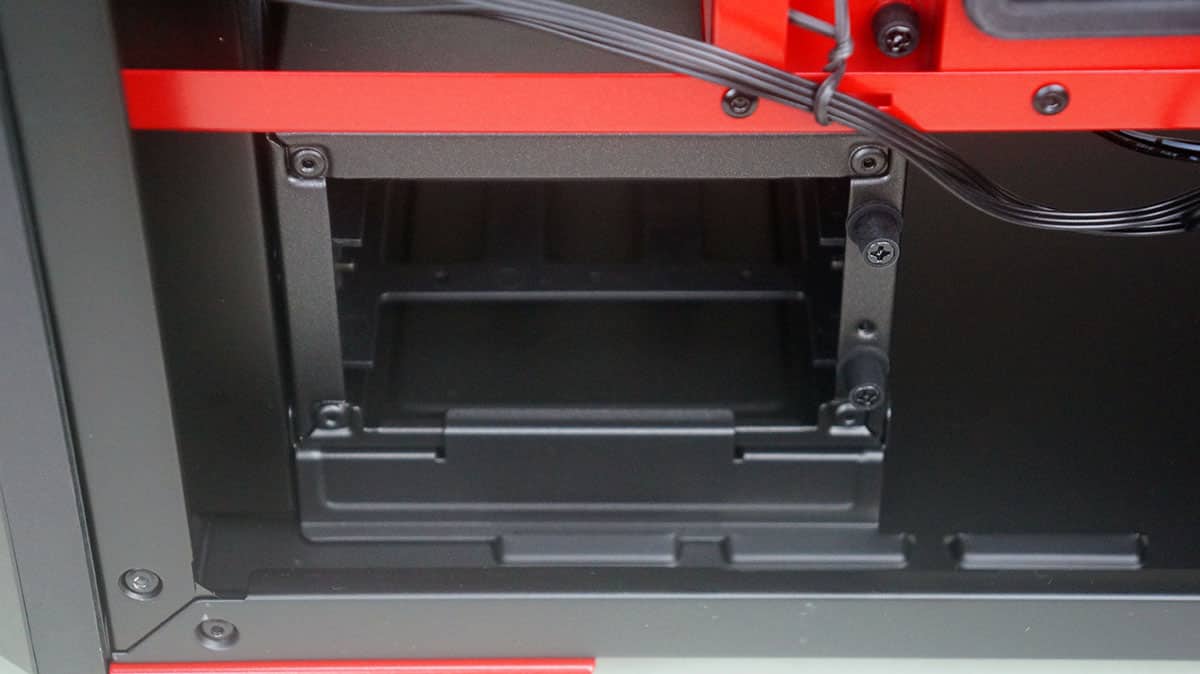
Sitting on the bottom of the top compartment are two 2.5-inch hard drive mounts. These are held in place by thumbscrews so they are easy to remove when you go to install your drives. These two mounts can actually be moved to the backside of the case behind the motherboard tray. There are two larger cable routing holes here with rubber inserts installed. We can also see the included LED strip. It is held in place by tape so you can move it around if you want. The motherboard tray on the case supports ATX, Micro-ATX, and Mini-ITX motherboards. There is a large CPU cutout in the center of the tray.
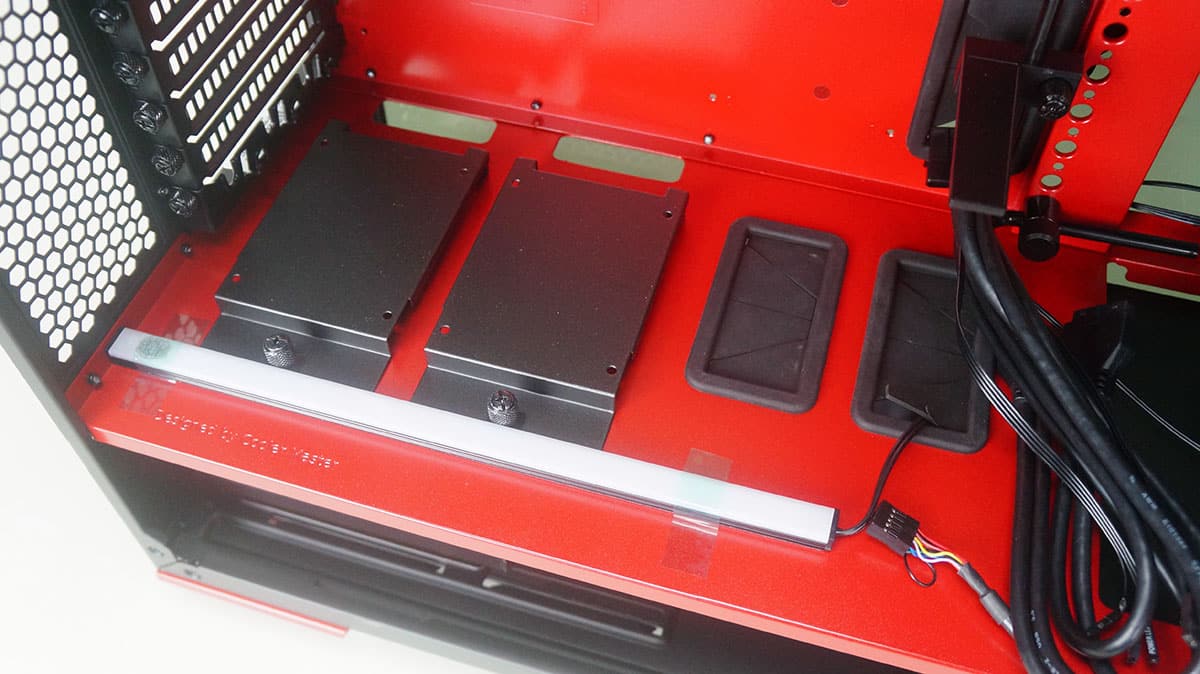
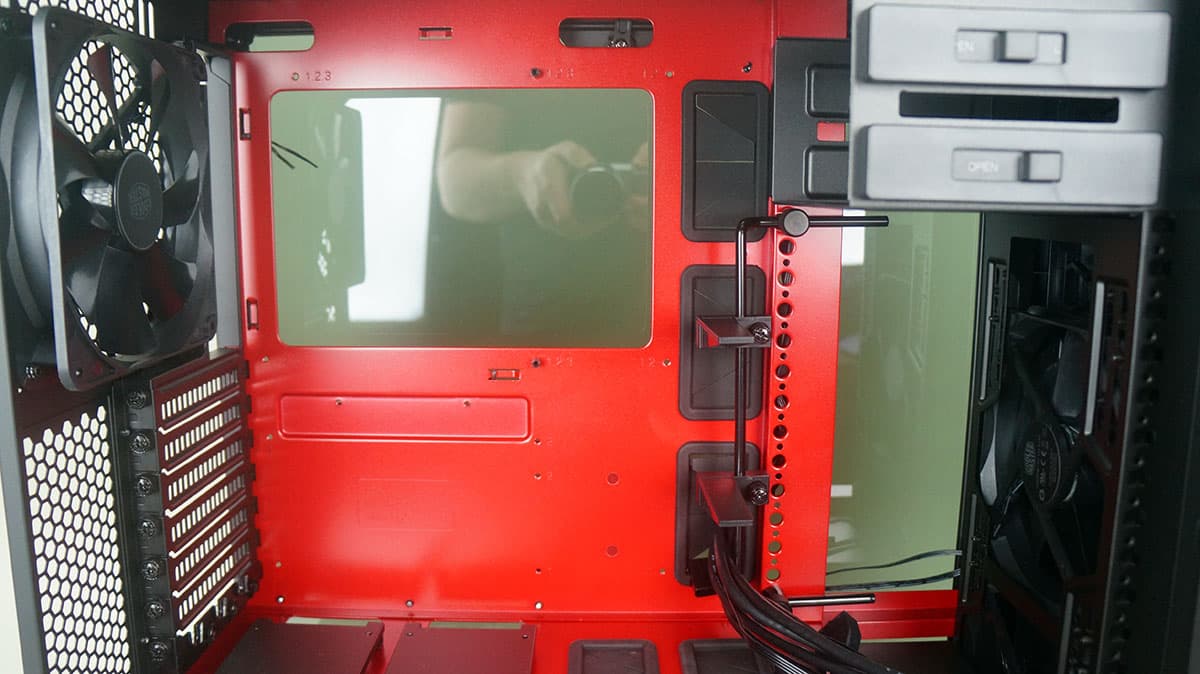
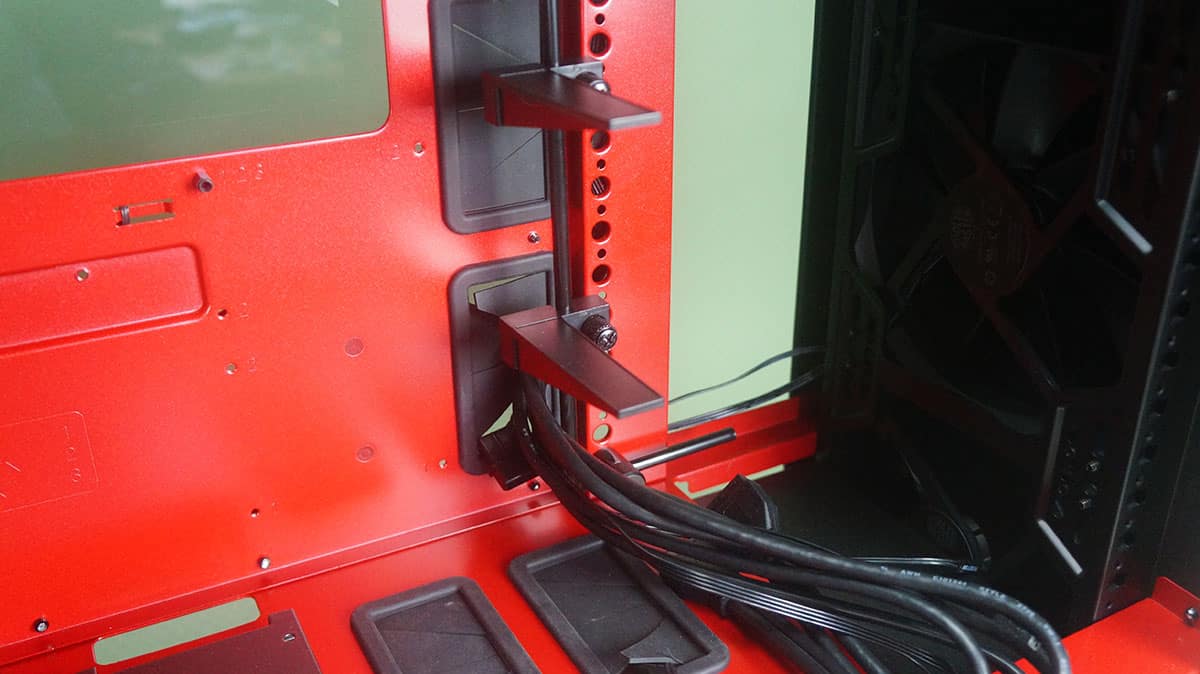
Another thing you’ll notice by the motherboard tray is the graphics card holder / stabilizer. This will prevent graphics card sag and damage from transportation. There are a total of 5 cable routing holes on the motherboard tray, three of them have rubber inserts installed.
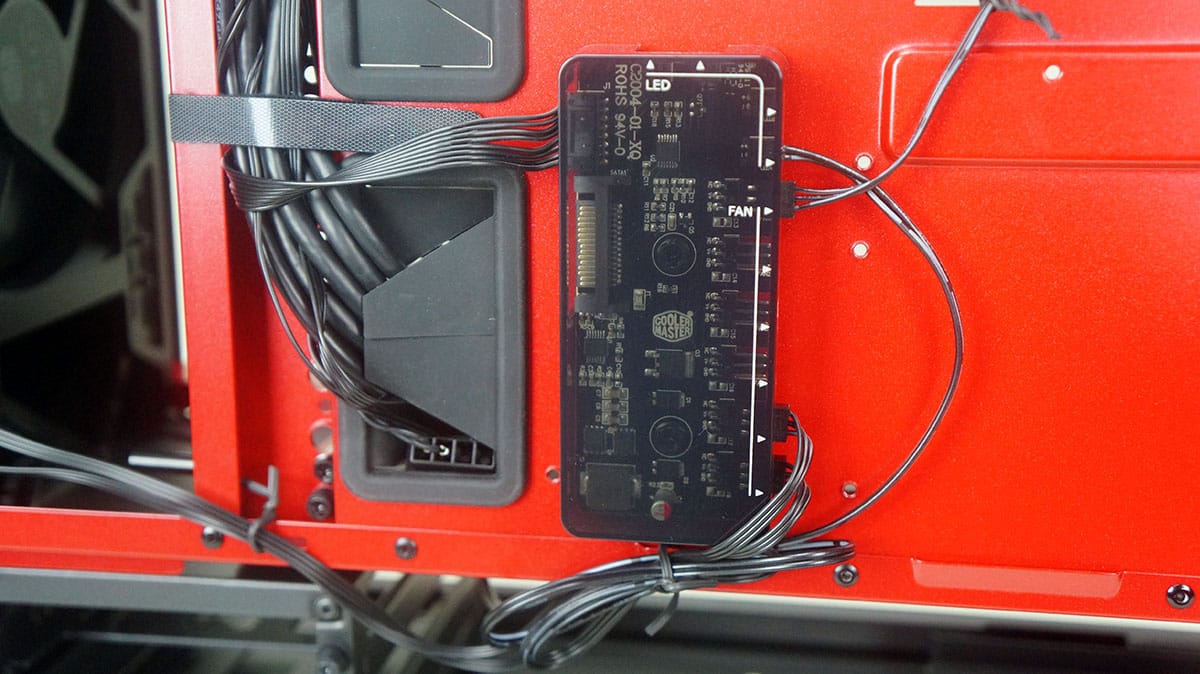
Moving around back and taking the opposite side panel off we can see how the rest of the case is setup. You’ll notice a box at the center of the case. This is a combo fan controller / LED controller. It supports a total of six fans (3pin), and four LED strips (2pin). It takes a typical SATA connection for power and both LED strips and fans can be controlled by the buttons on the front of the case. You’ll also notice Velcro straps holding down most of the cables.
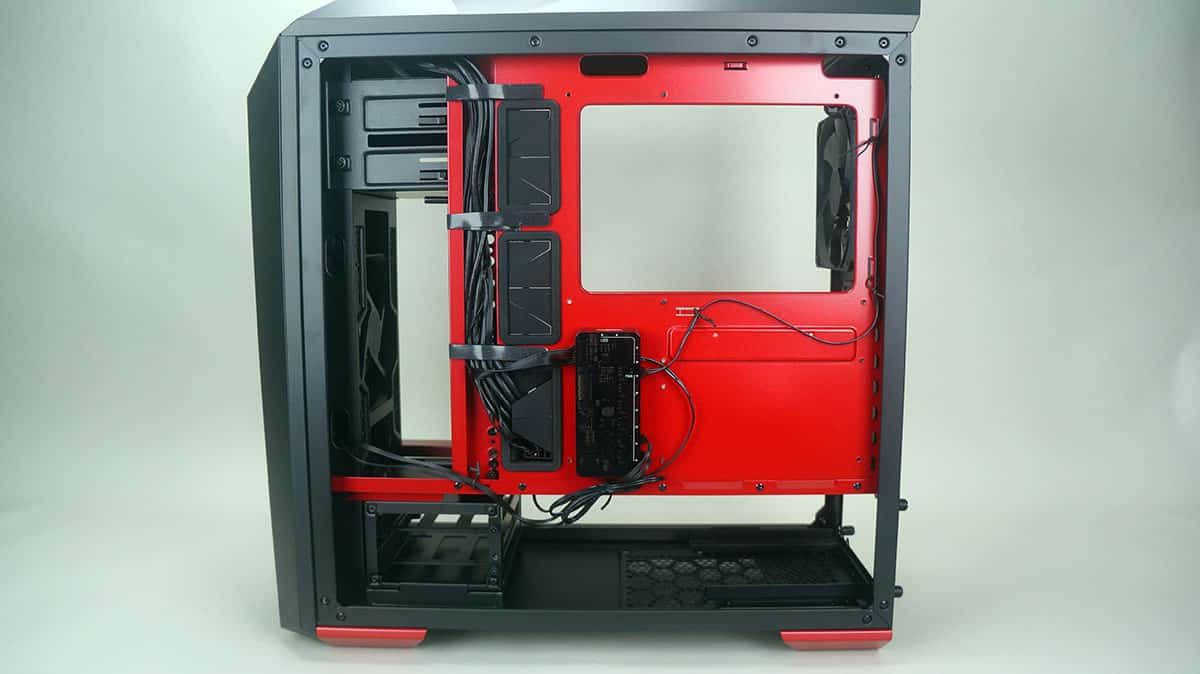
Looking at the bottom half of the case, towards the front you have a hard drive cage. This cage have two hard drive trays that support both 2.5-inch and 3.5-inch hard drives. This cage can be completely removed from the case. On the opposite side is your power supply mount.
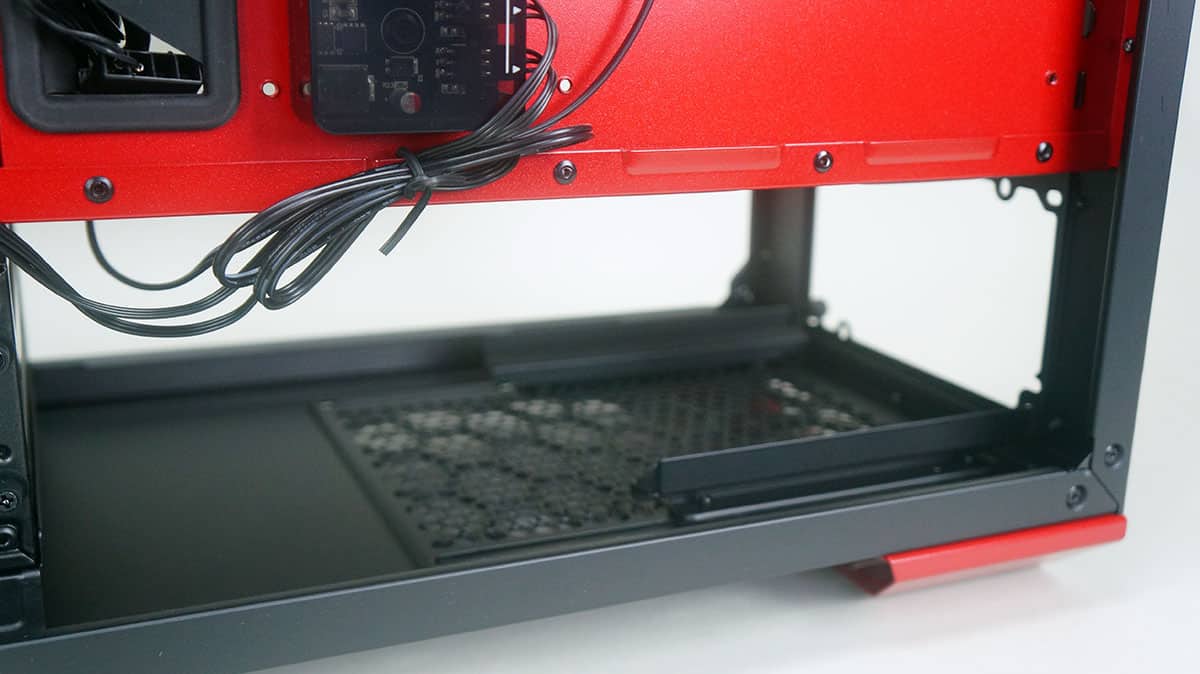
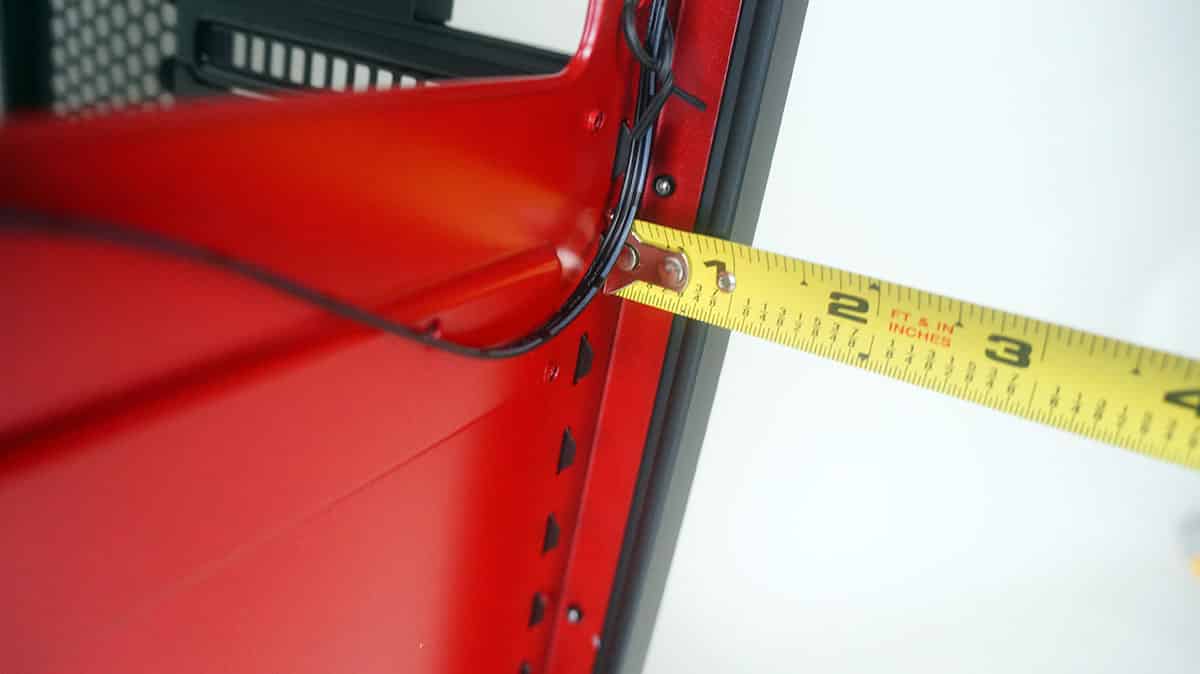
For those wondering about cable routing there is just under an inch of space between the motherboard tray and the rear of the case.