Installation
While the AiO portion of this kit is fairly easy to install, the additional wiring and control box step the difficulty up a bit especially given the lack of documentation included for wiring the RGBs. There is actually a separate manual available online that was not included as a hard copy which would have been extremely helpful.
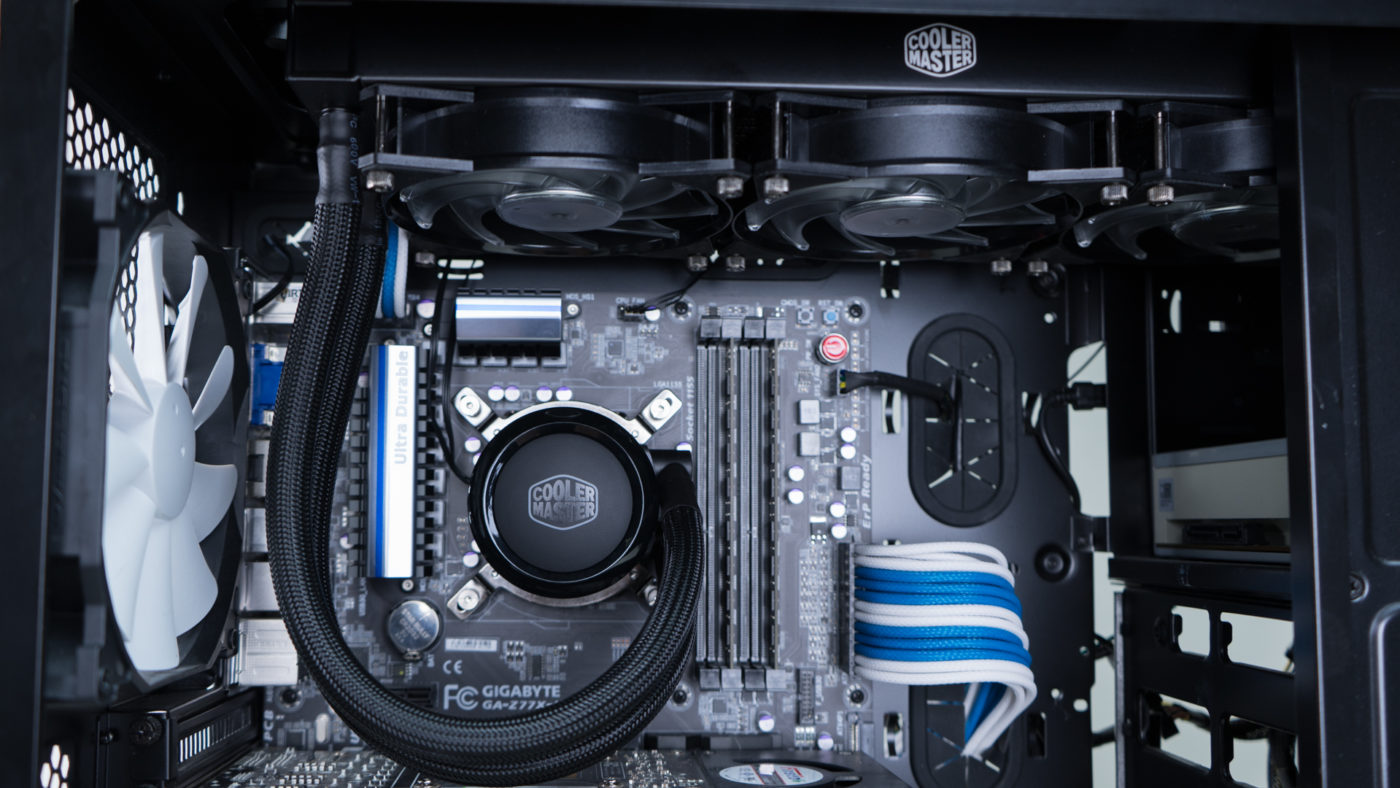
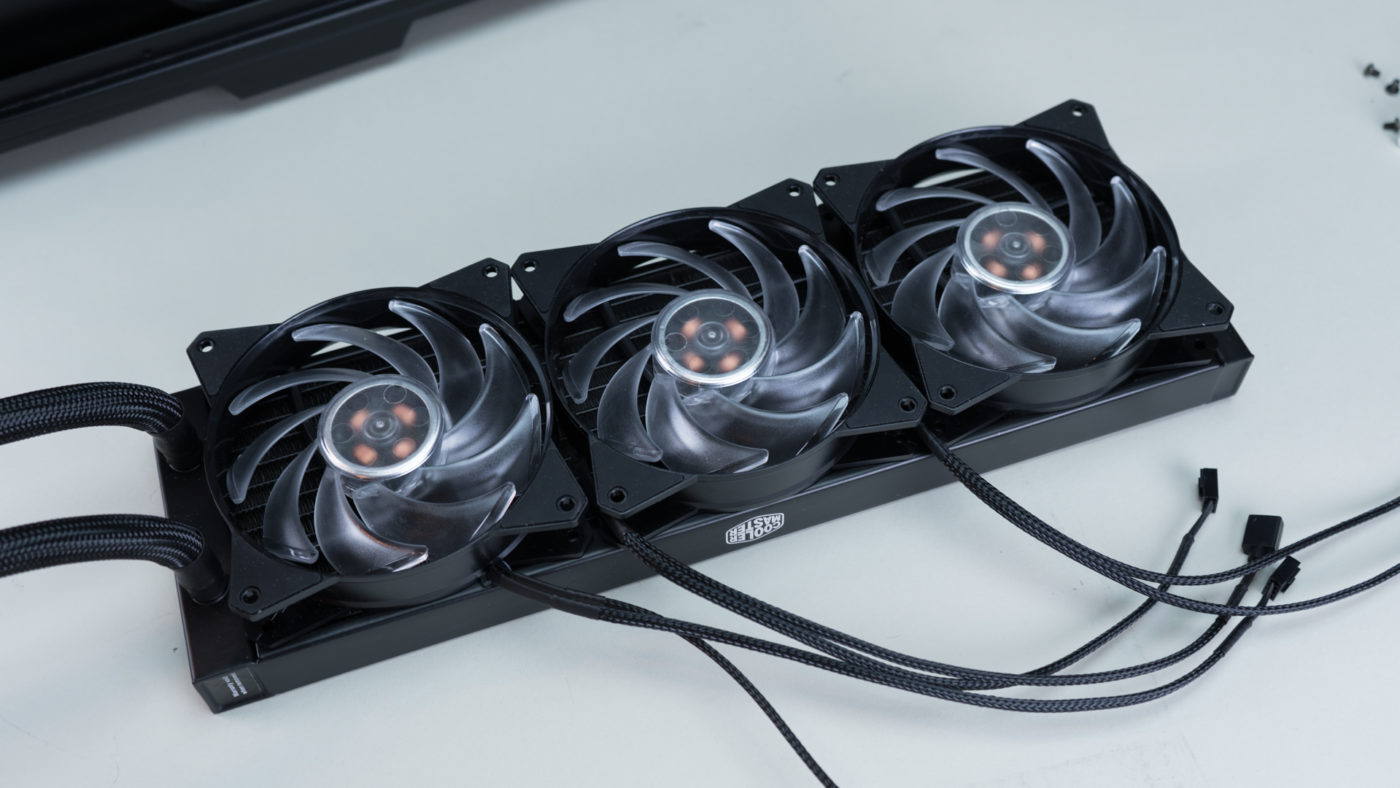
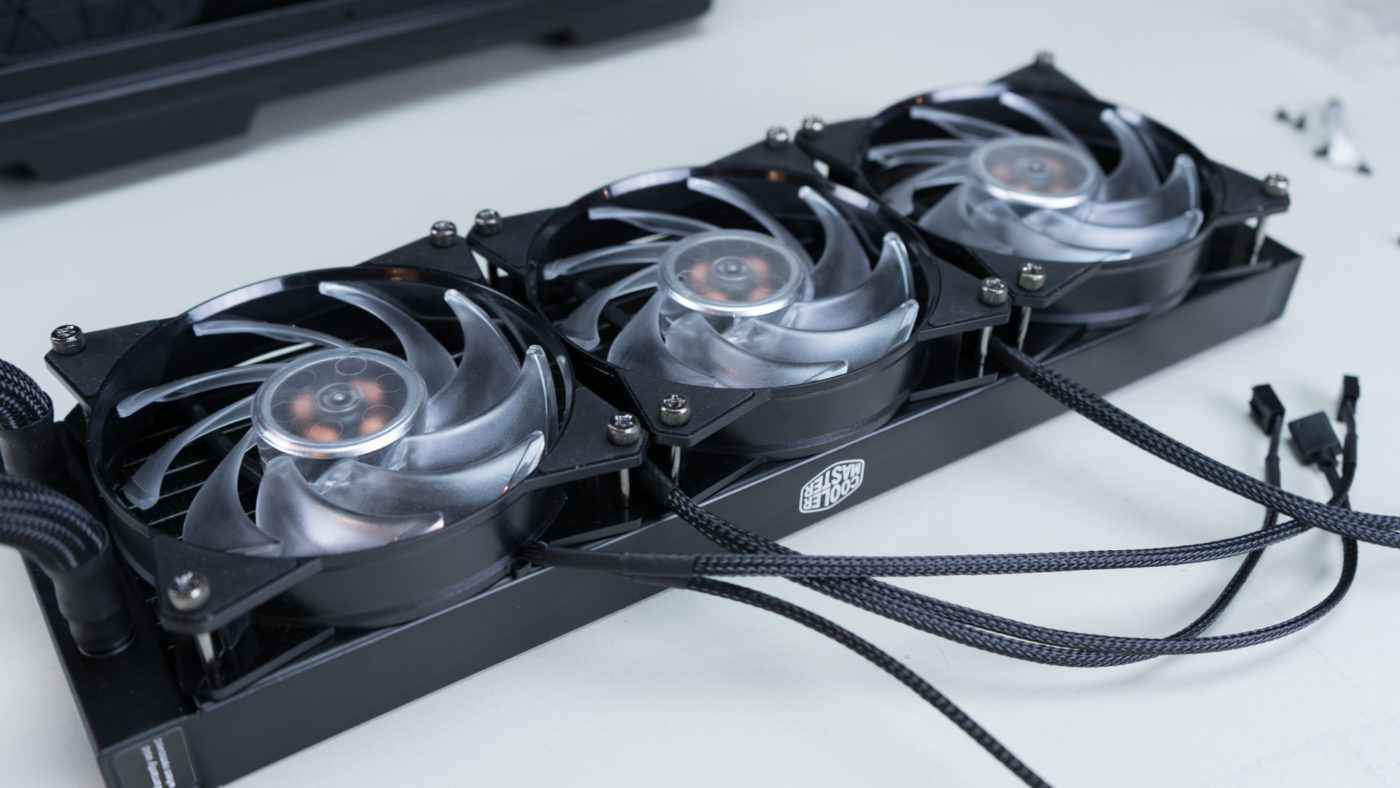
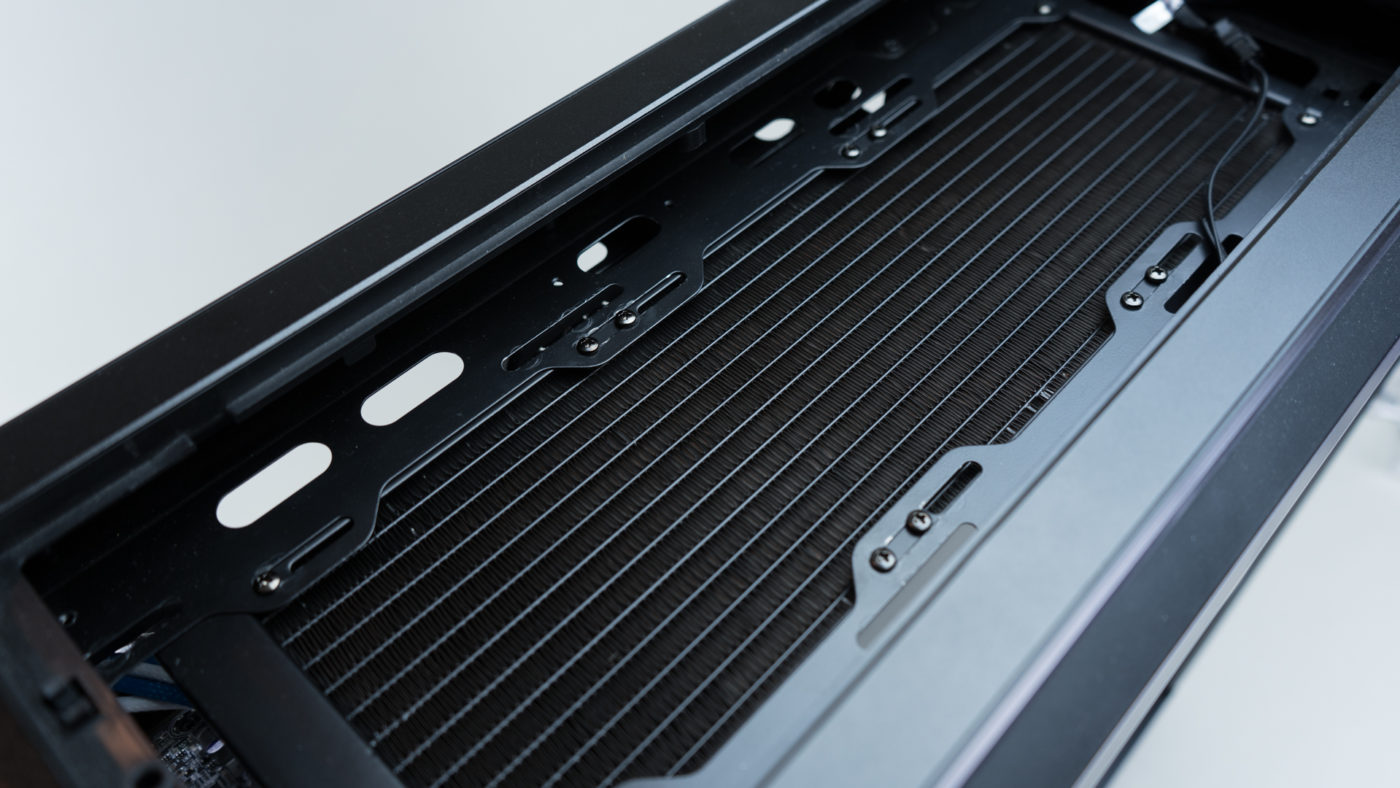
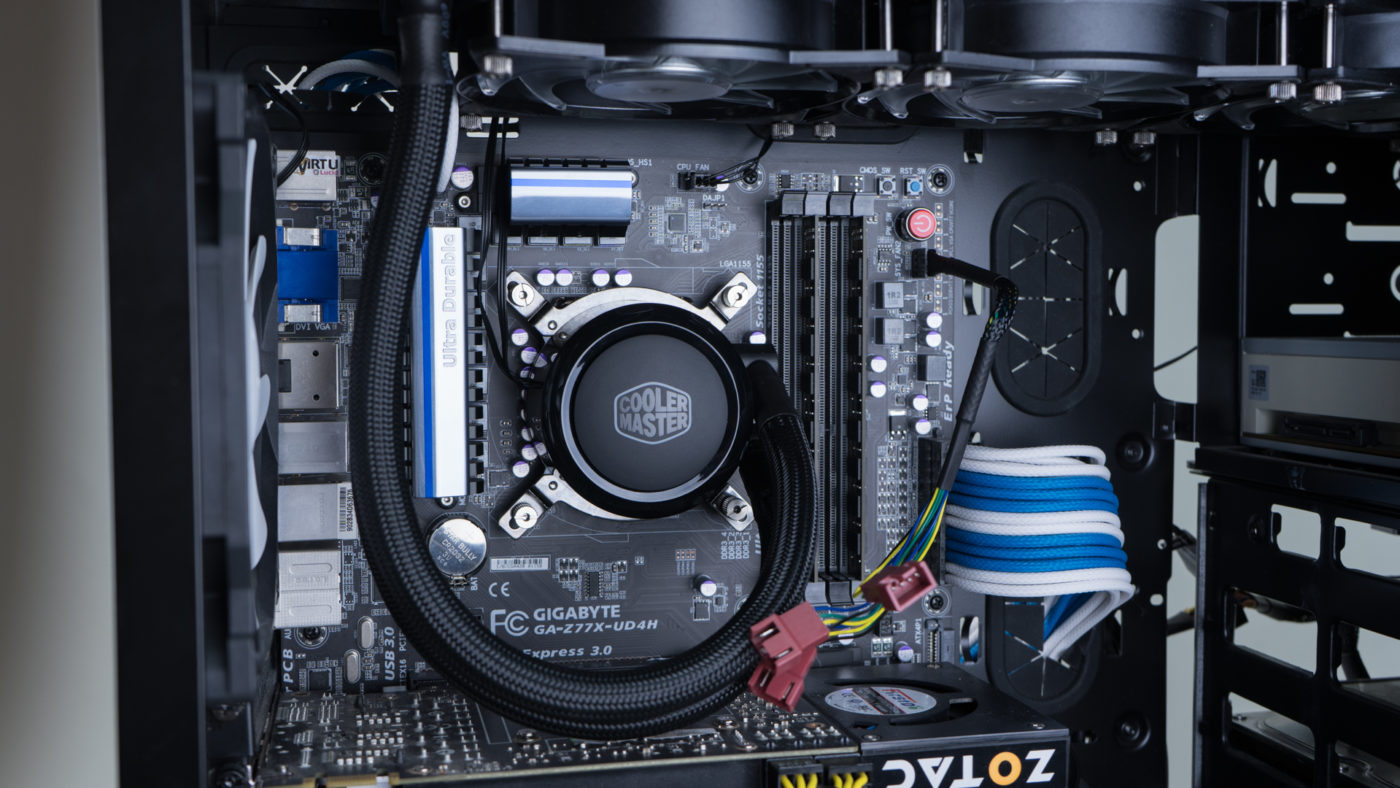
Getting started we want to first arrange and attach our fans to the radiator. Following the diagram in the installation guide we see that cooler master recommends installing the fans in push mode on the bottom of the radiator. Due to the short length of the tubing we are limited to installing the rad in the top of the case only with the tubing near the socket. Lay your fans on the rad with the wiring facing towards what will be the back of the case. Align all your screw holes and secure with the easy to use thumb screws.
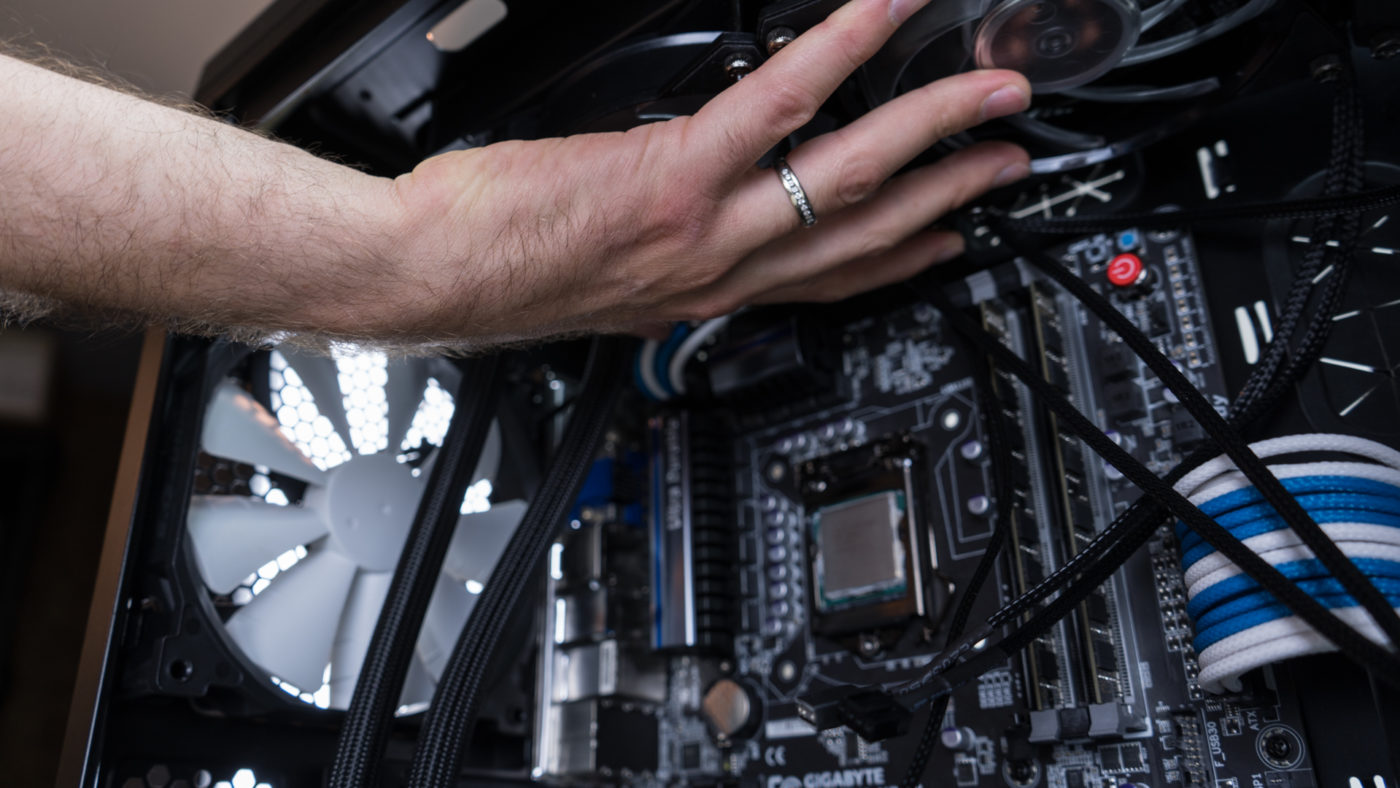
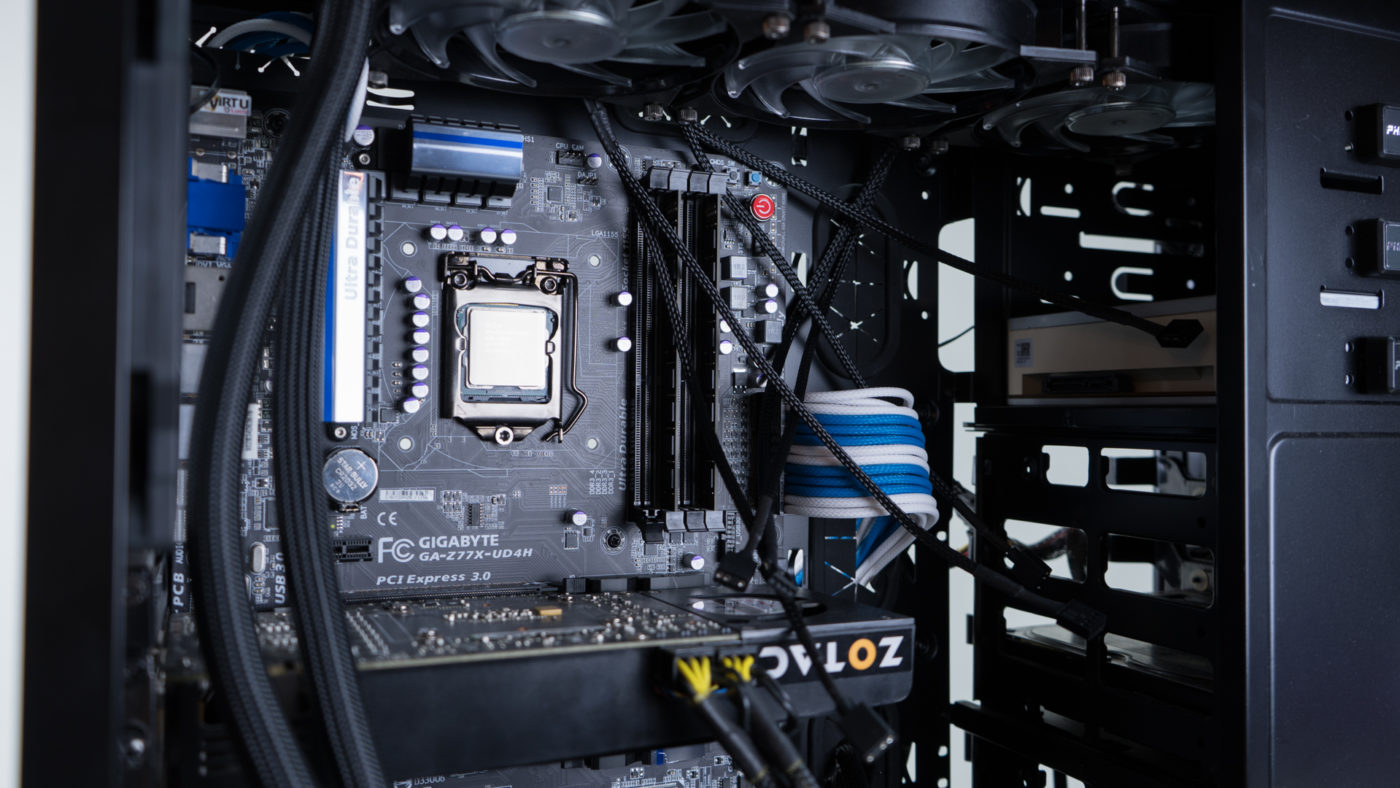
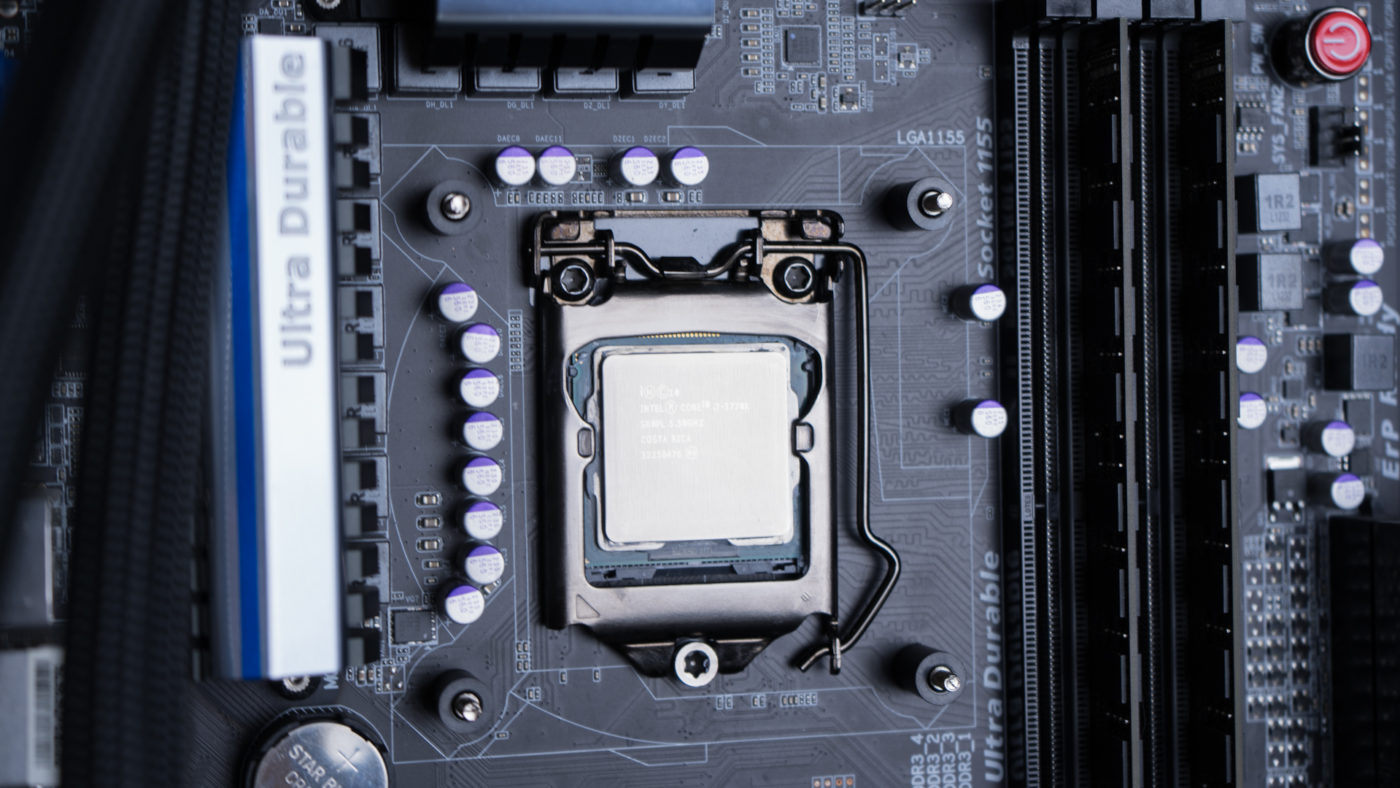
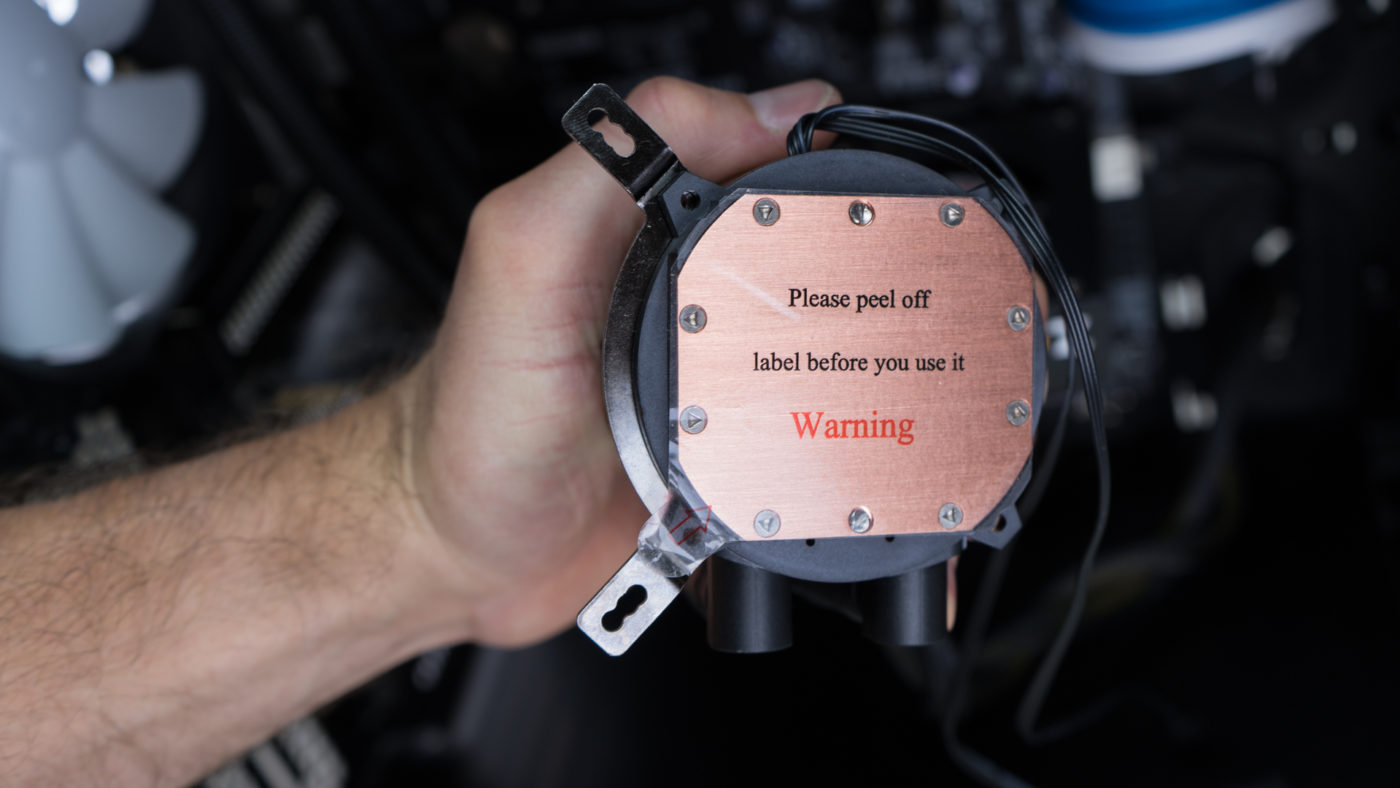
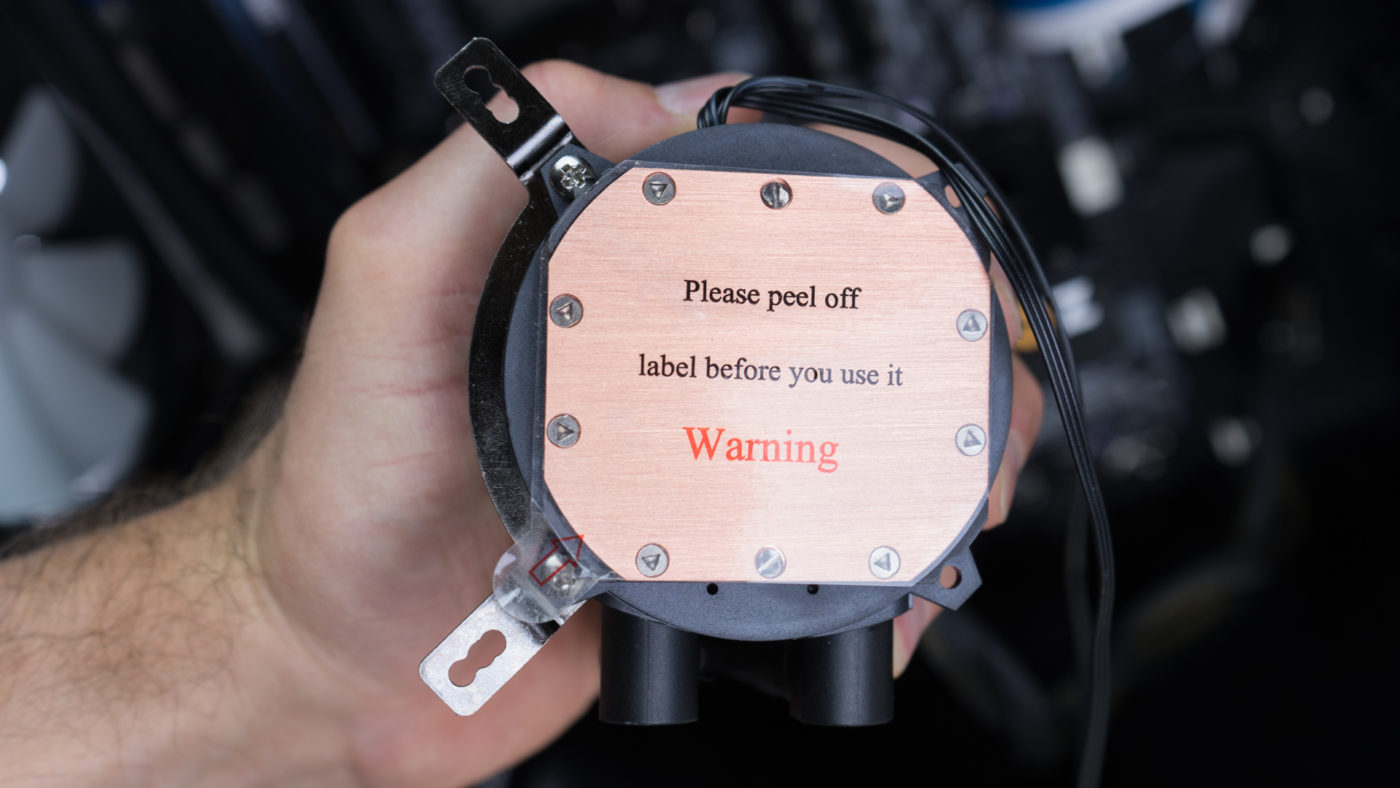
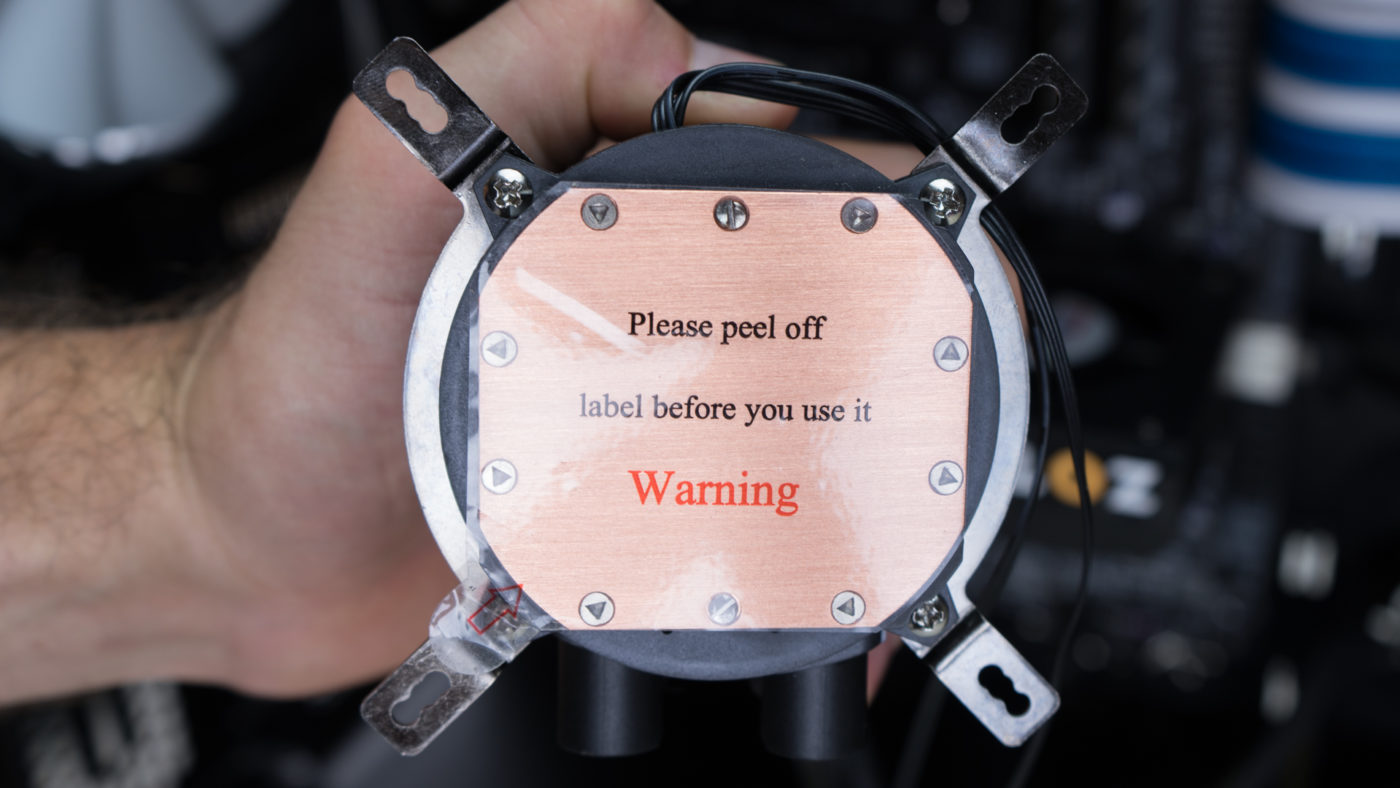
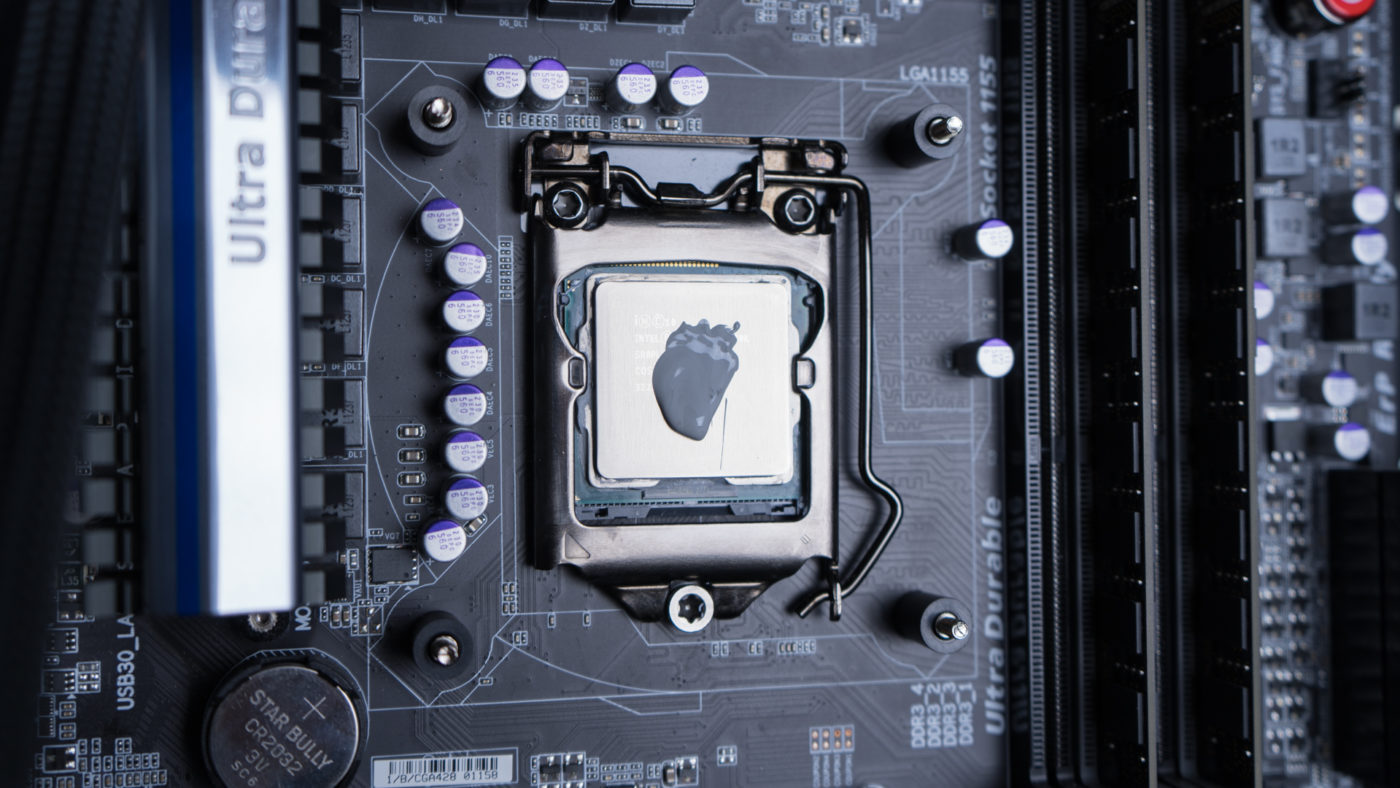
Everything but the CPU is set to go. Apply a VERY small amount of thermal paste to the center of the heat spreader and quickly press the pump, protective sticker removed, onto the surface. We found that this paste is quite fluid, much more than most, requiring much less than we anticipated. Holding the pump in place with one hand secure all four corners with the thumbscrews. And odd choice with the thumbscrews, Cooler Master chose to use a flat head screw driver interface rather than the Philips used elsewhere.
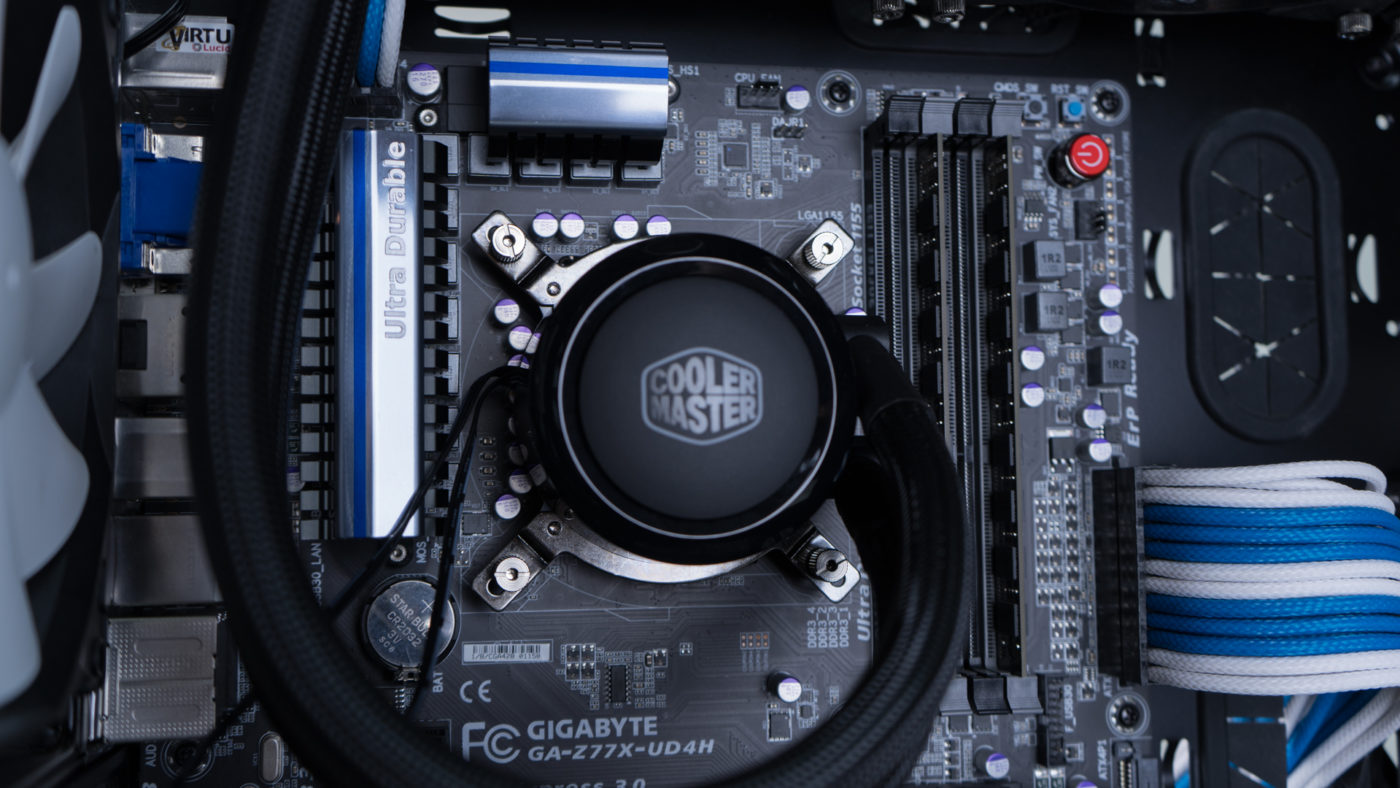
Normally we have just a couple of electrical connections to make and then on to testing. This time however our install is really only about halfway complete. We will still begin with the standard connections, fan splitter to motherboard header then back to fans, and three pin plugged into the CPU_FAN header.
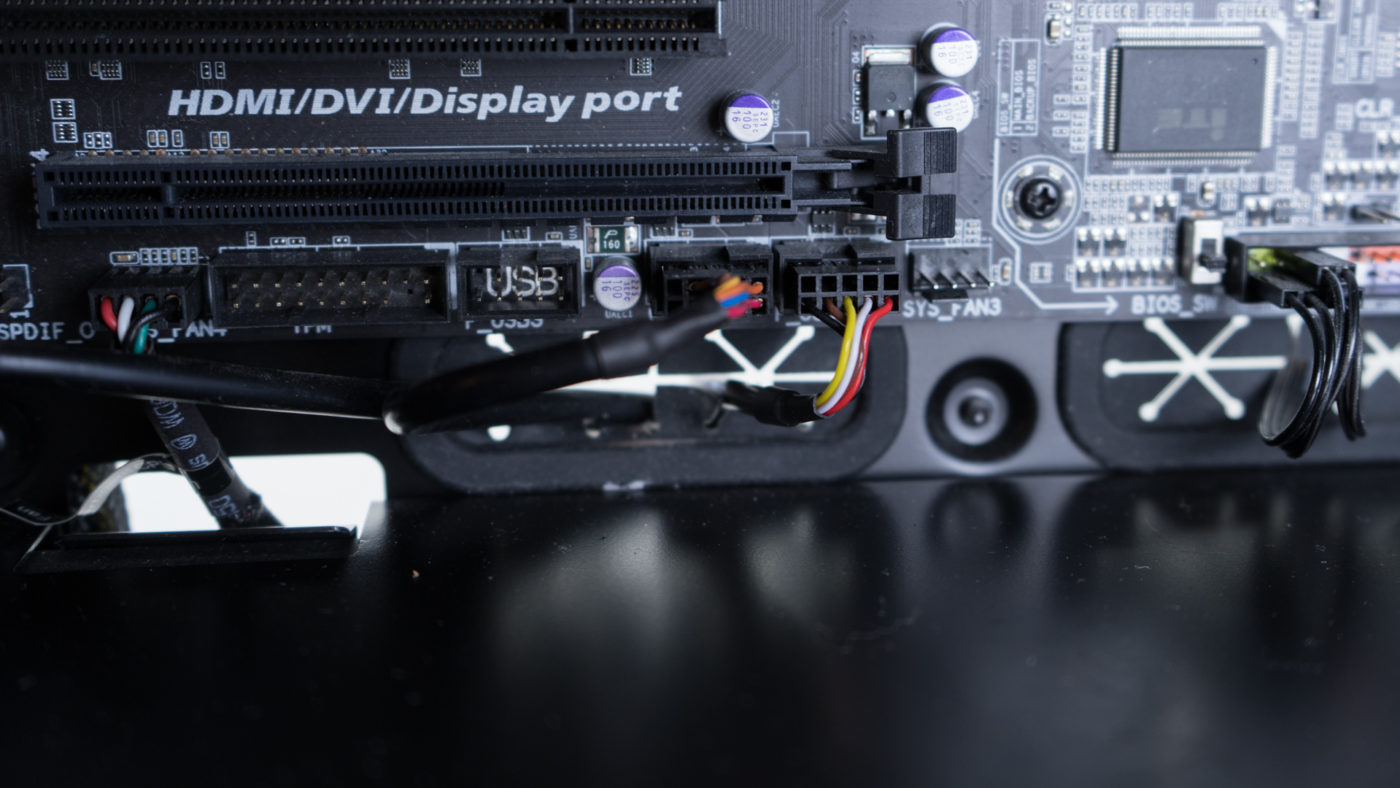
Next we plug the USB plug for the control box into the bottom of the motherboard. Run the other end to the back of the case ready to be plugged in.
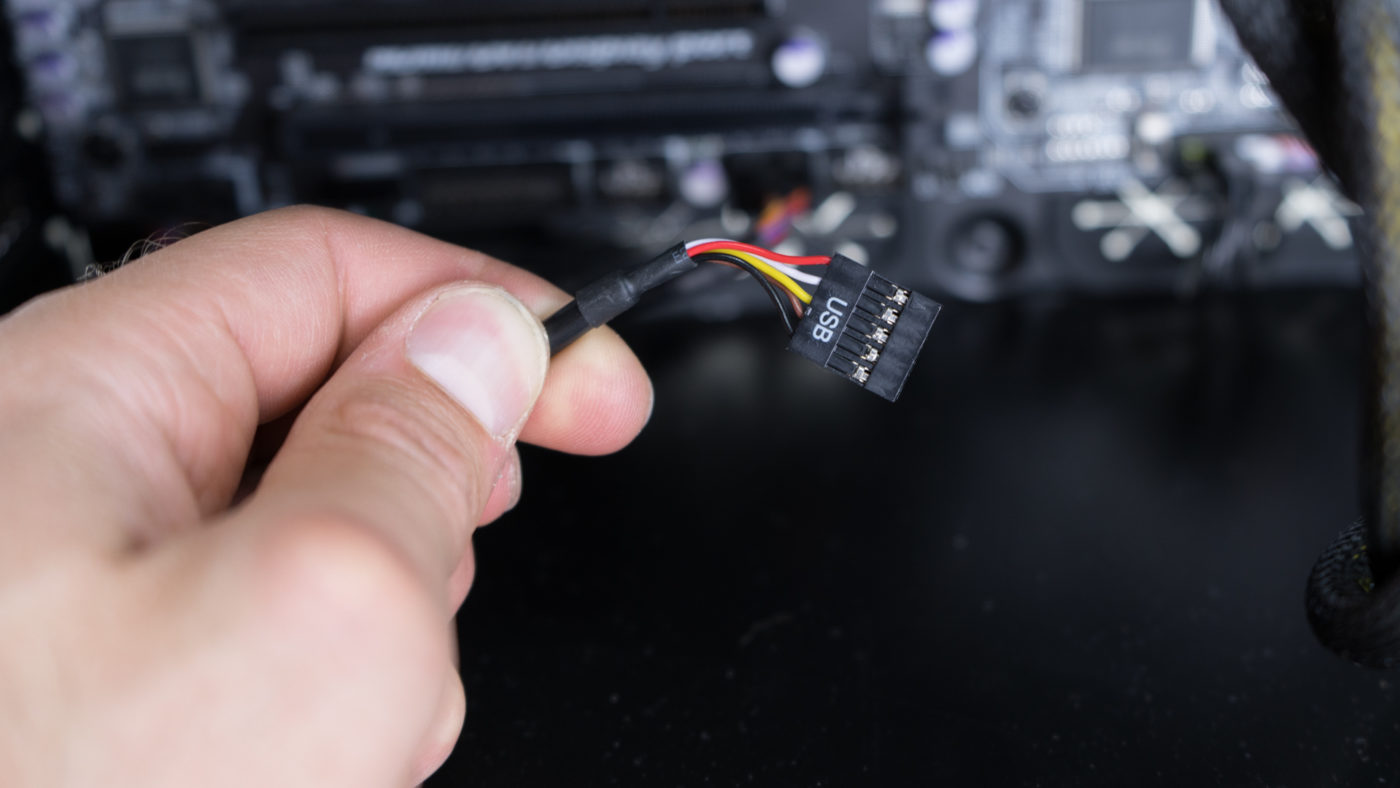
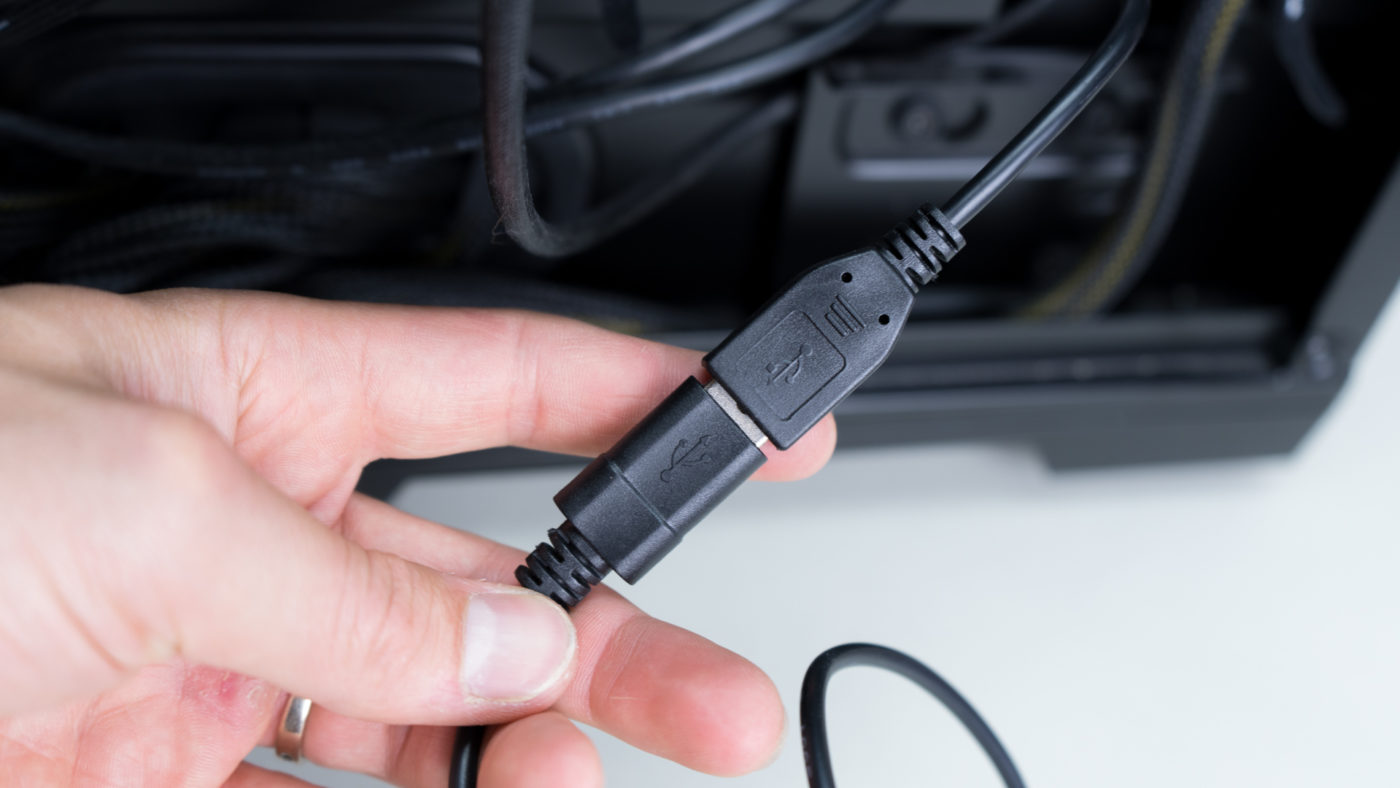
The kit comes with an adapter to pull fan info into the control box. This simple two wire connector sits between any of the fans and the splitter. The USB plug from the motherboard is plugged into the the adapter with the micro USB end. This will eventually be plugged into the control box as well.
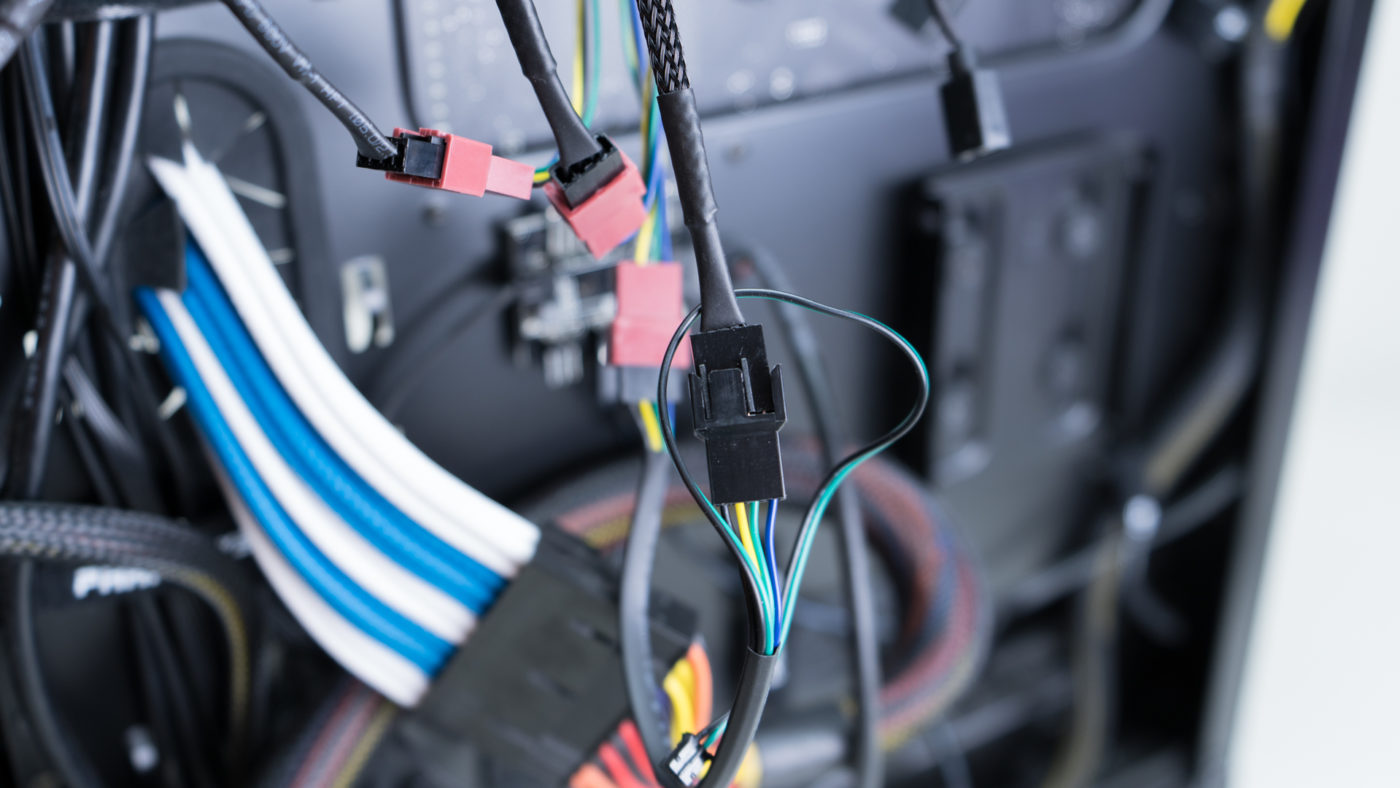
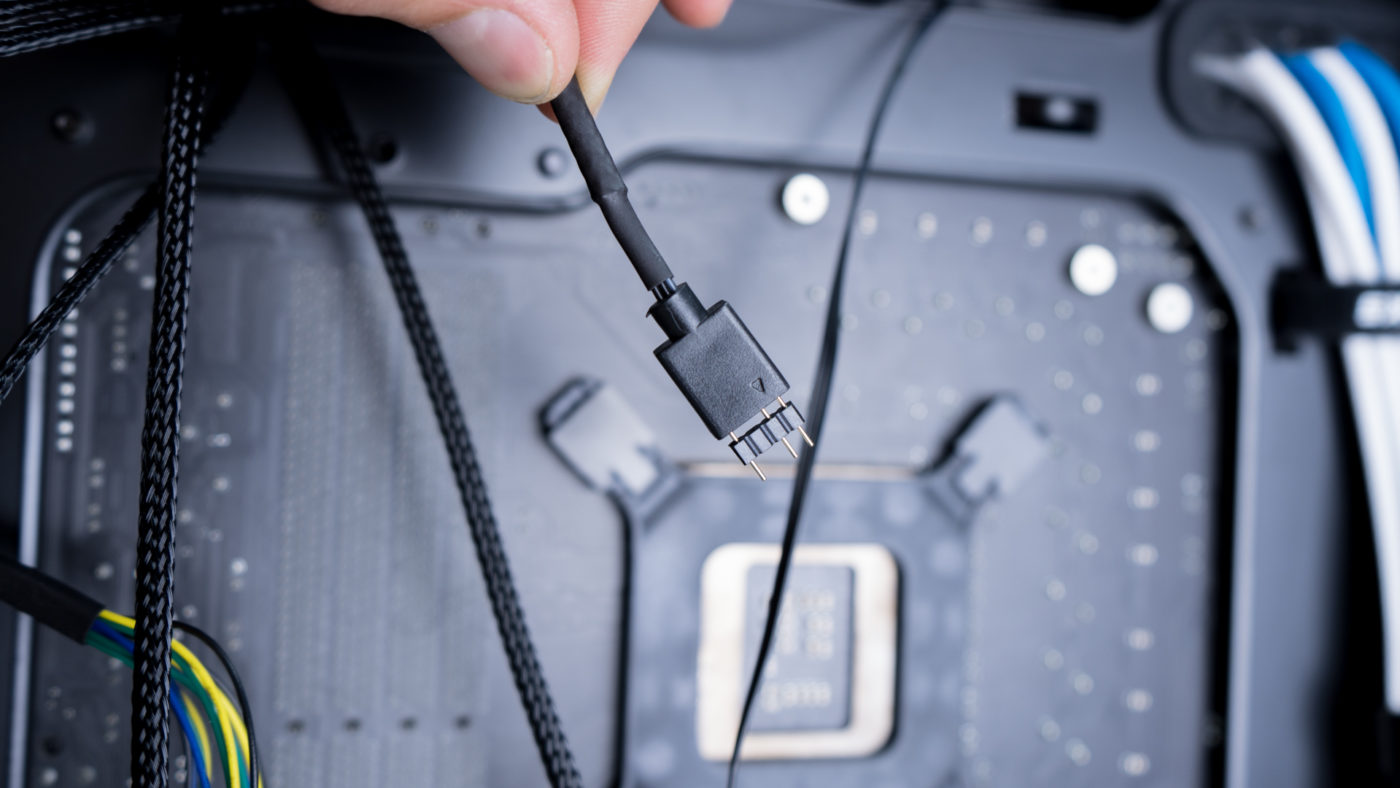
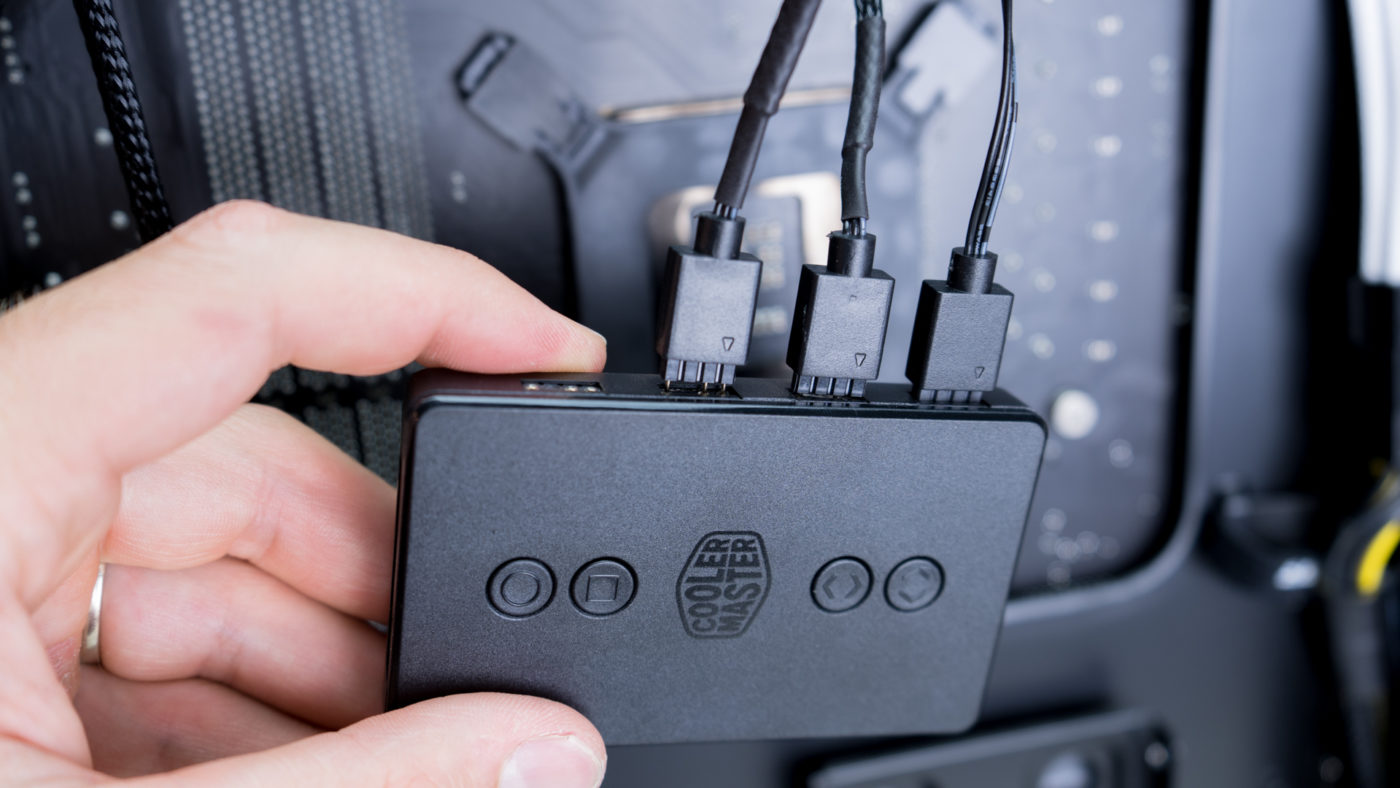
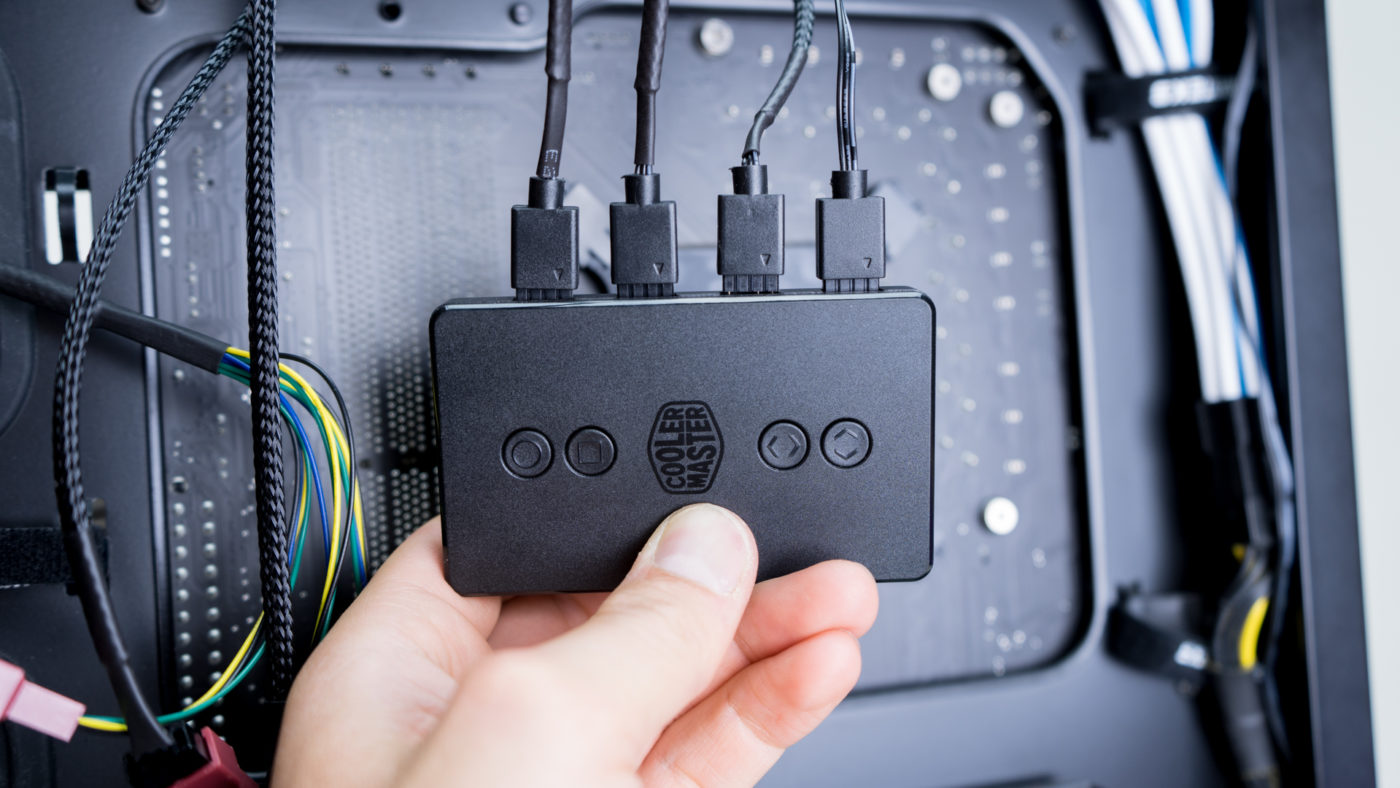
All of the RGB plugs are female and will need a male/male adapter plugged in. Repeat for all three fans and the pump. Additionally if you need to save the ports, the fans can be combined into a single adapter. Plug all four devices into the control box.
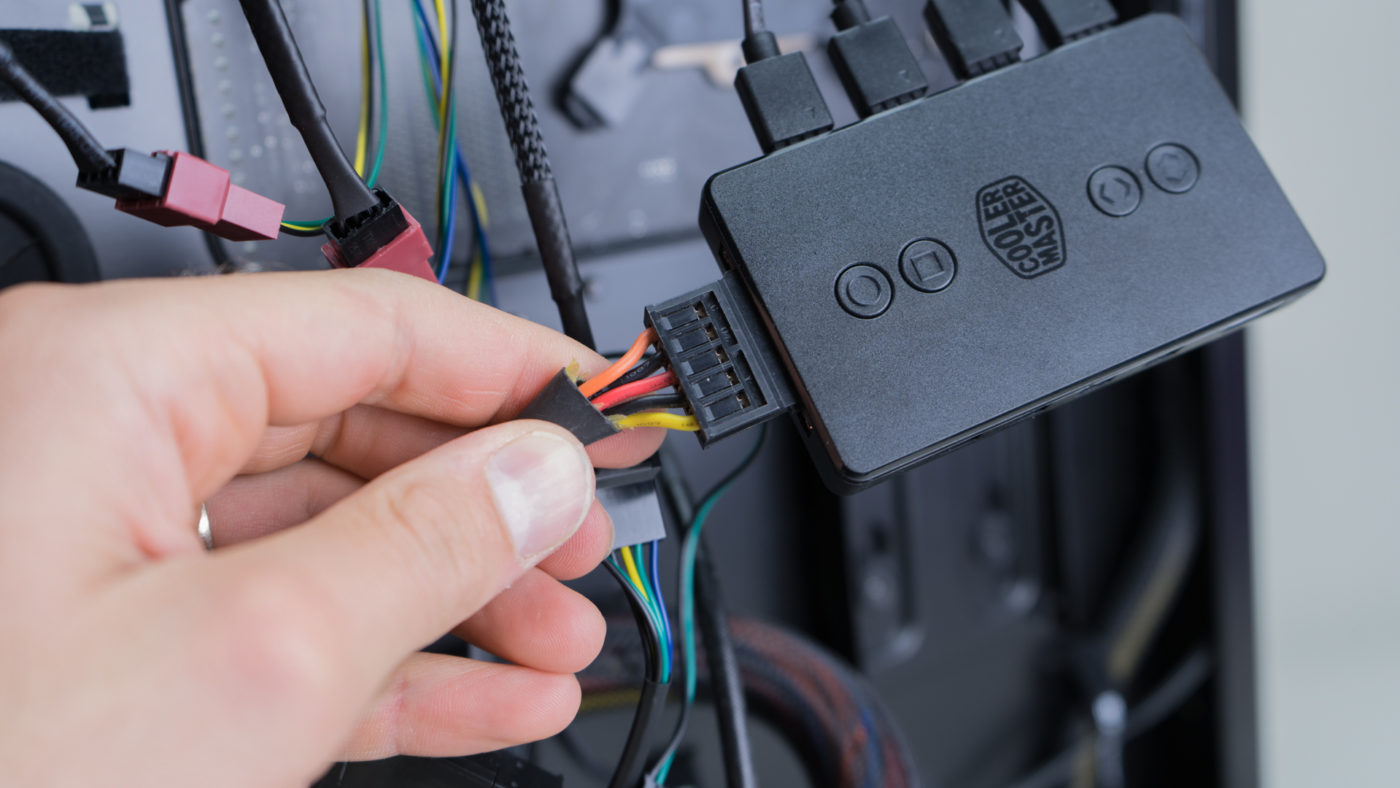
You will need an open SATA power connector to power the control box and RGBs through it. Attach that to the top of the box. Opposite you will plug in the micro USB connector. Finally plug the two pin for the fan in on the left side and find a nice bit of exposed metal away from the motherboard to stick the box to.

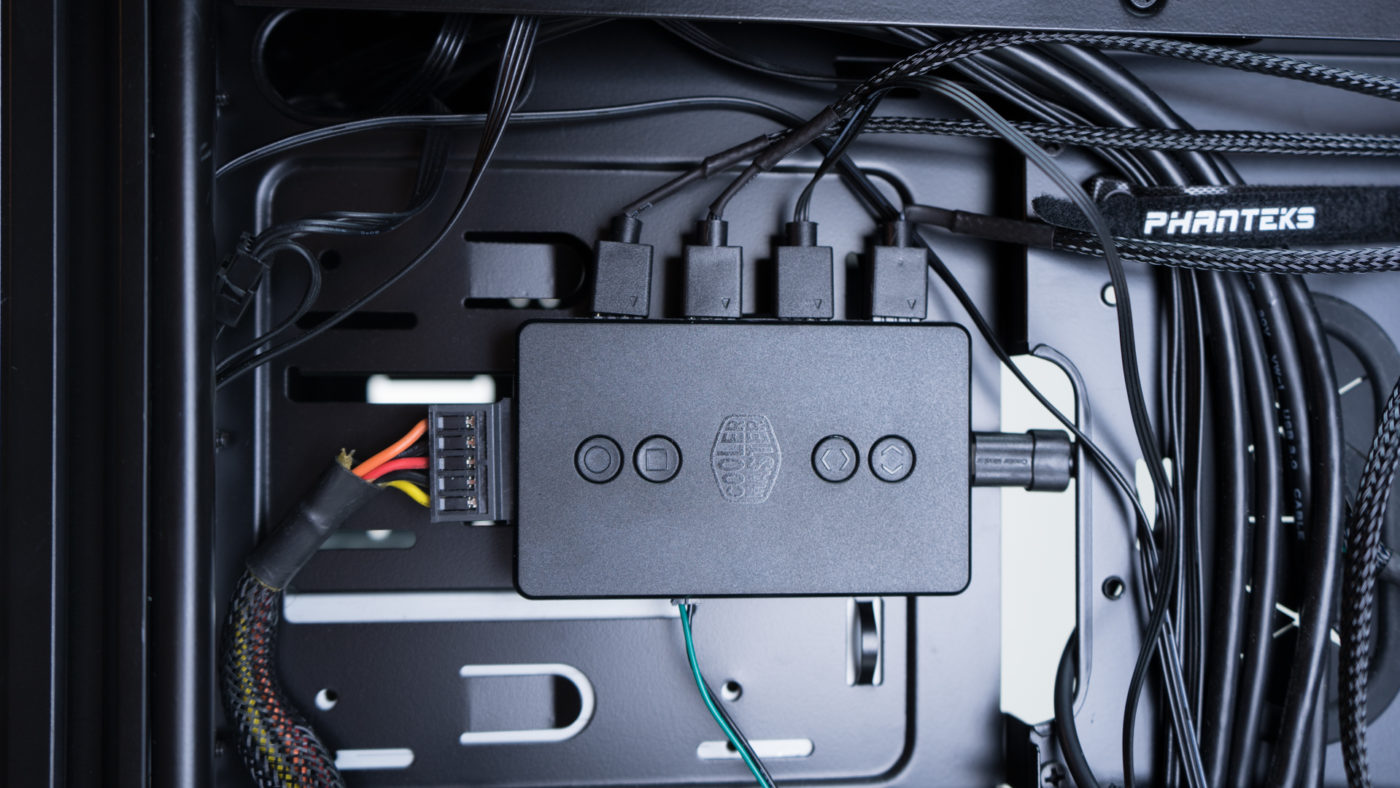
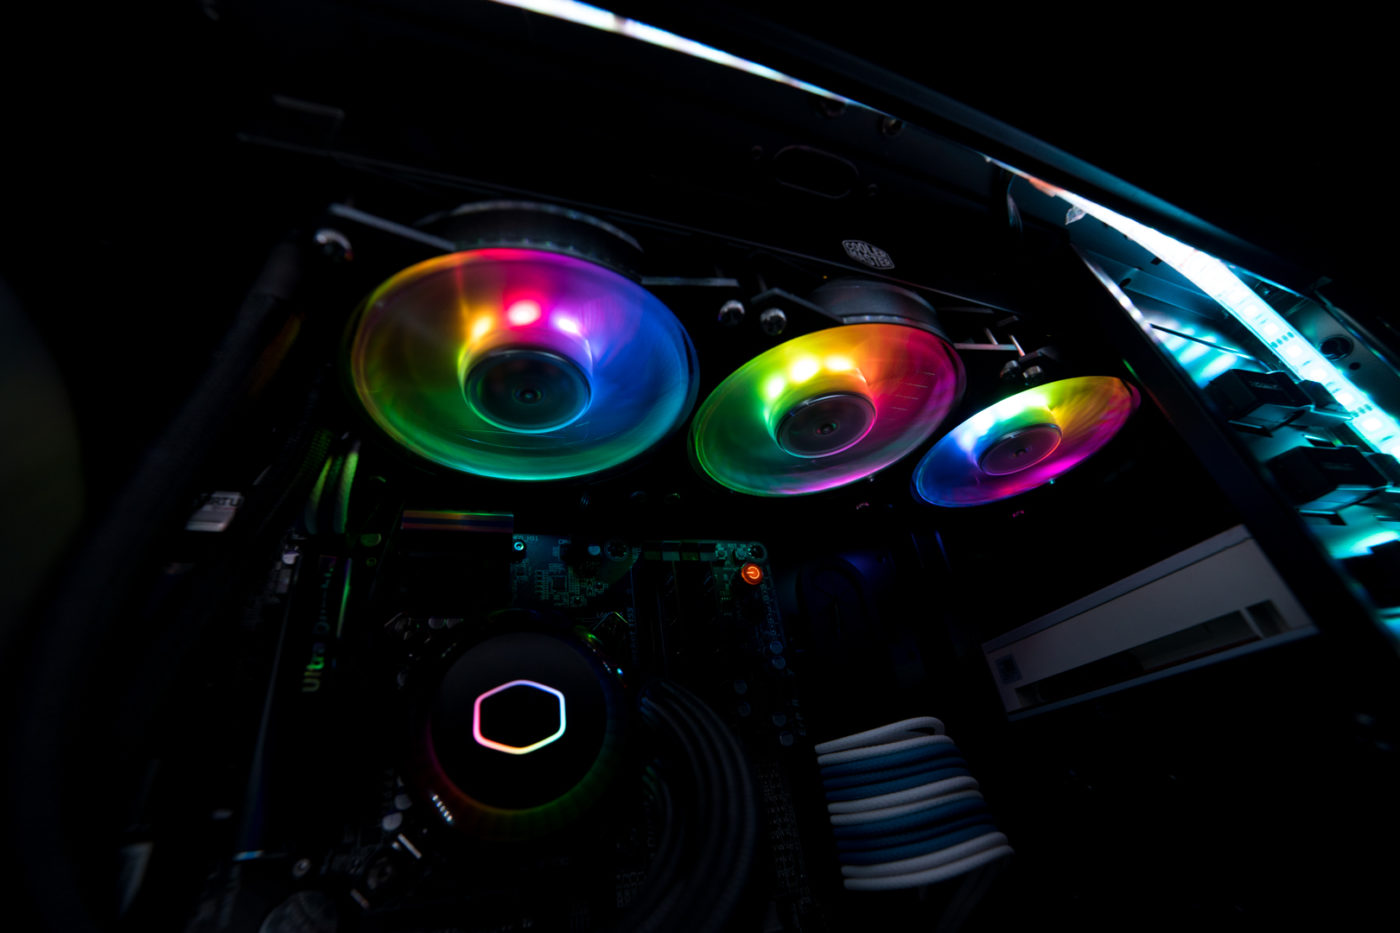
The control box will support many more RGB devices, syncing and controlling them from one source. Our installation is now complete. Go ahead and power up your rig checking to be sure that the pump and fans are all running.