Installation
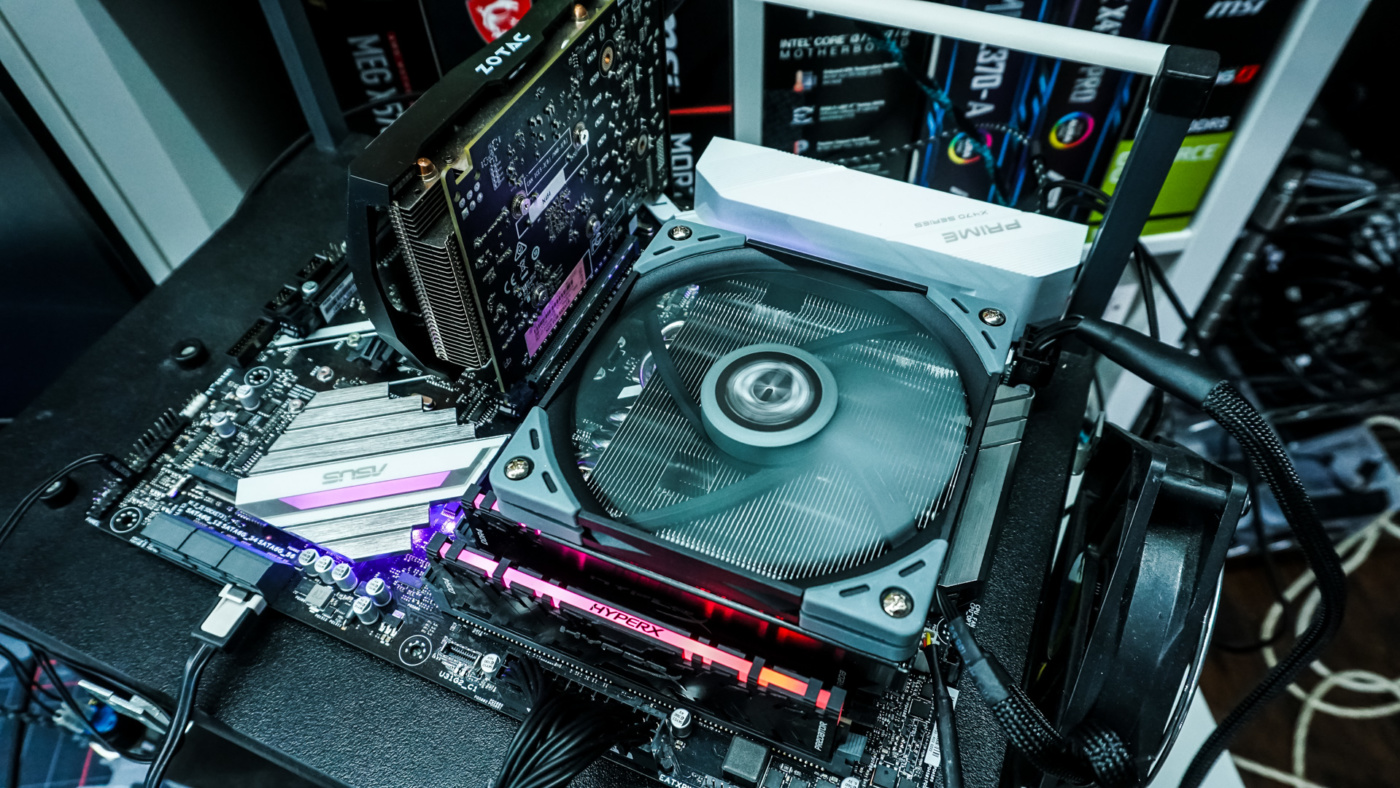
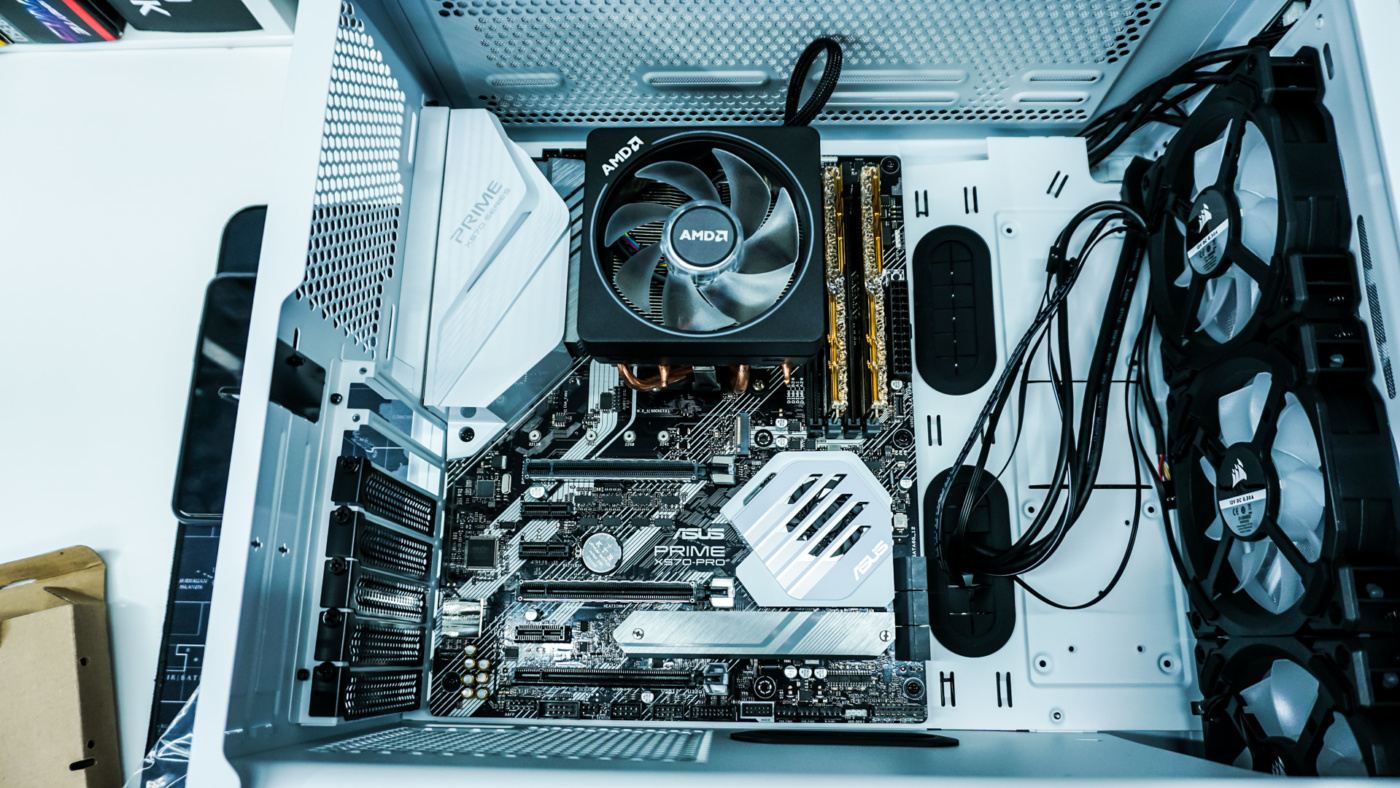
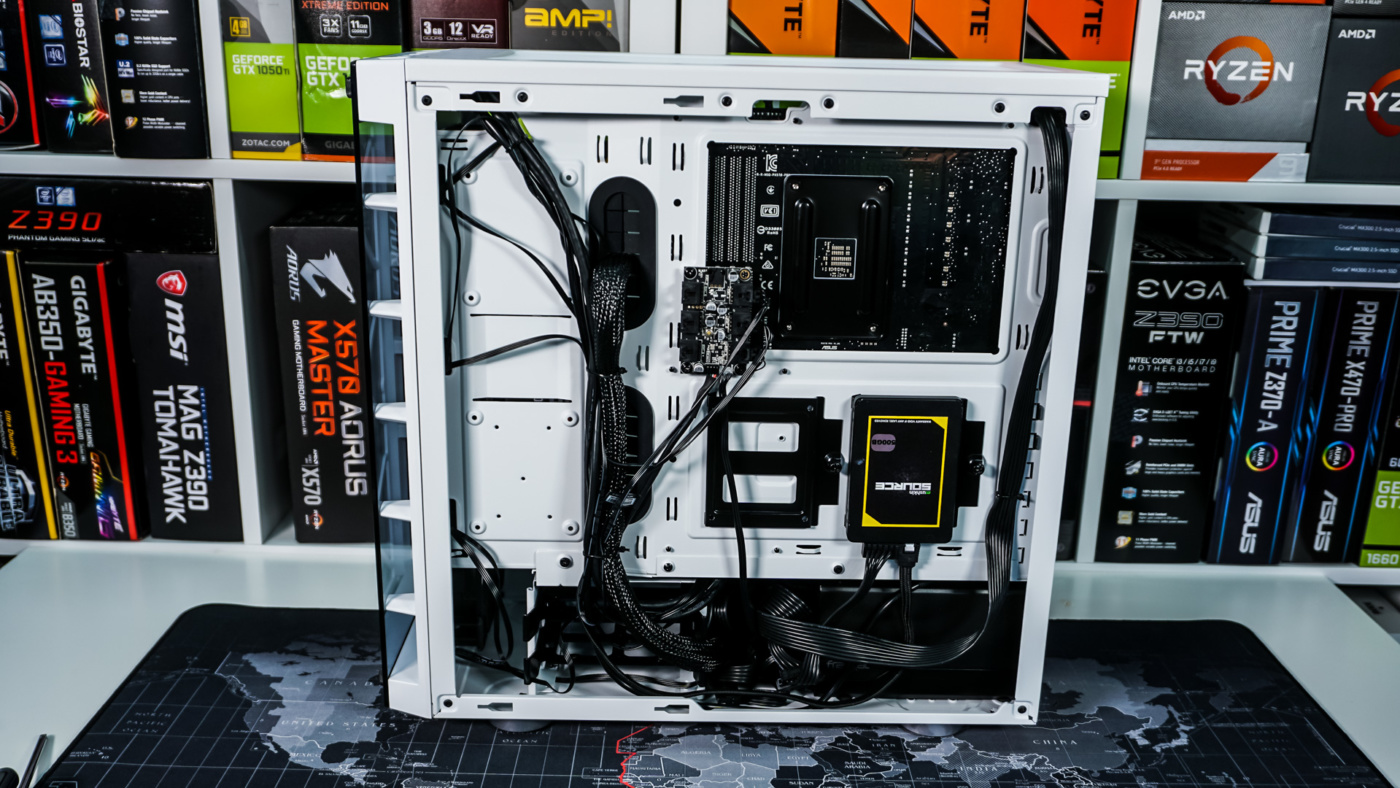
To start off installation we will be installing our motherboard. As a reminder the case fits motherboards up to ATX so our ASUS Prime X570-PRO should have no problem fitting inside. Even though this is a smaller case things really did not seem cramped when installing the motherboard. You can see with the motherboard installed the two large cable routing holes line up perfectly with the end of the board.
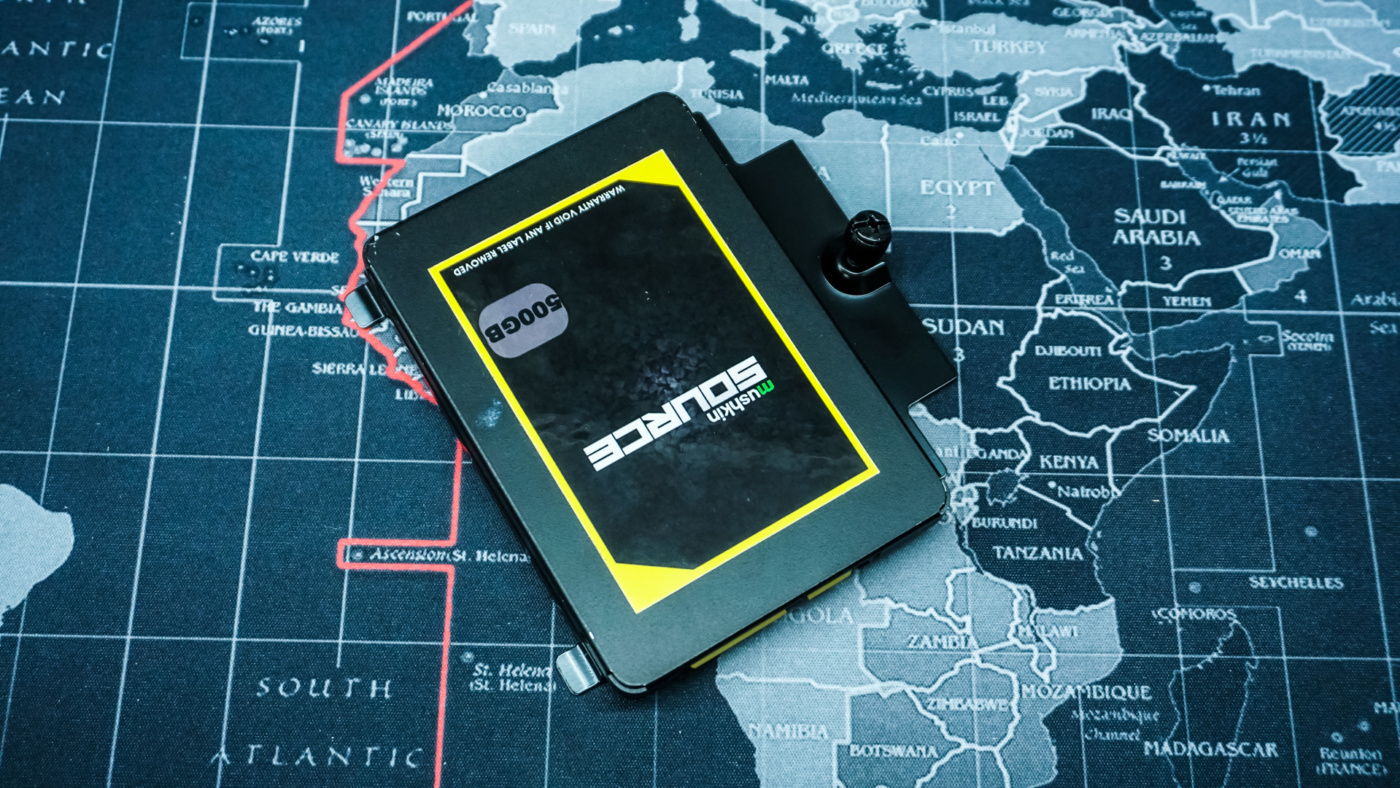
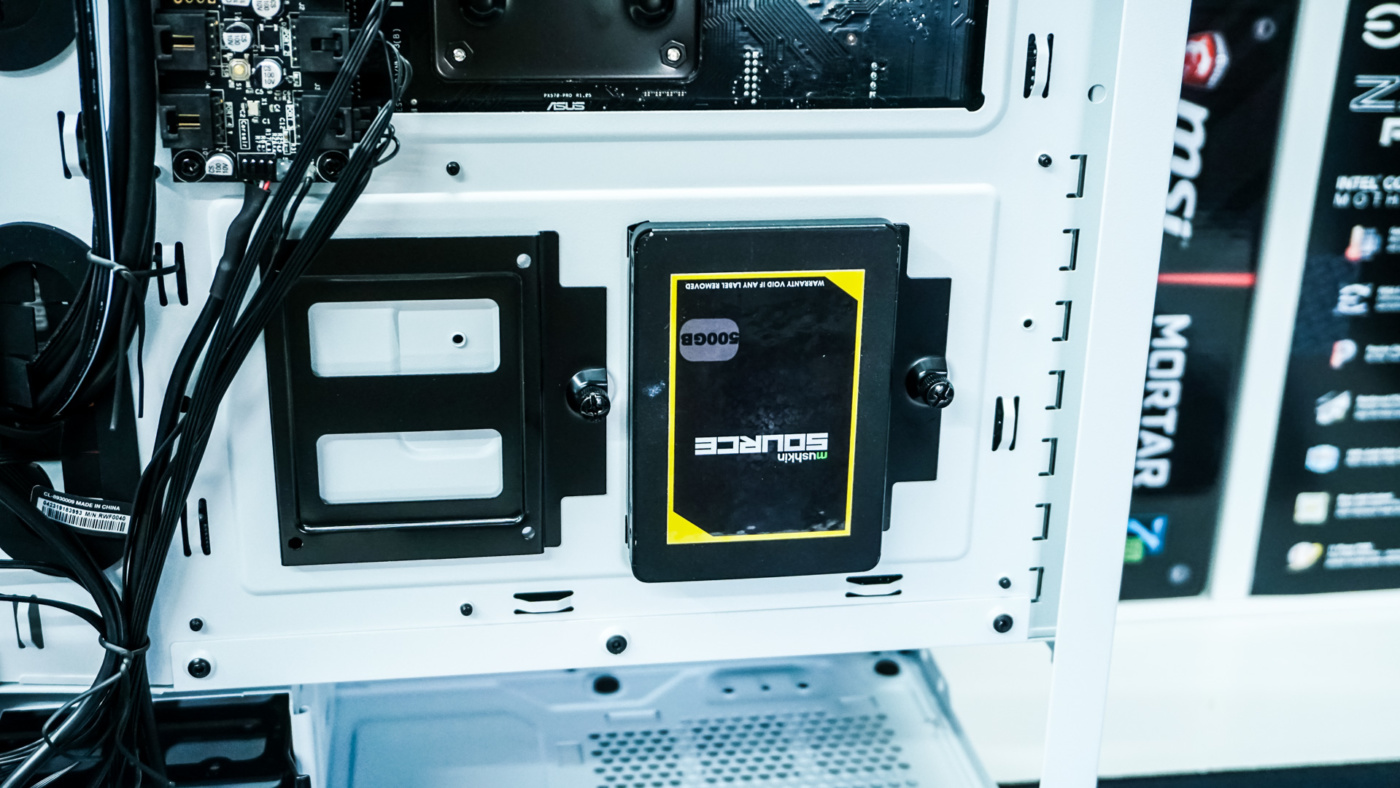
Up next we are going to be installing our SSD. There are a few different options, but we are going to install our drive on one of the removable mounts on the backside of the motherboard tray. These are removable trays so you just take one off the case, install your drive with the supplied screws, and then re-install the tray.
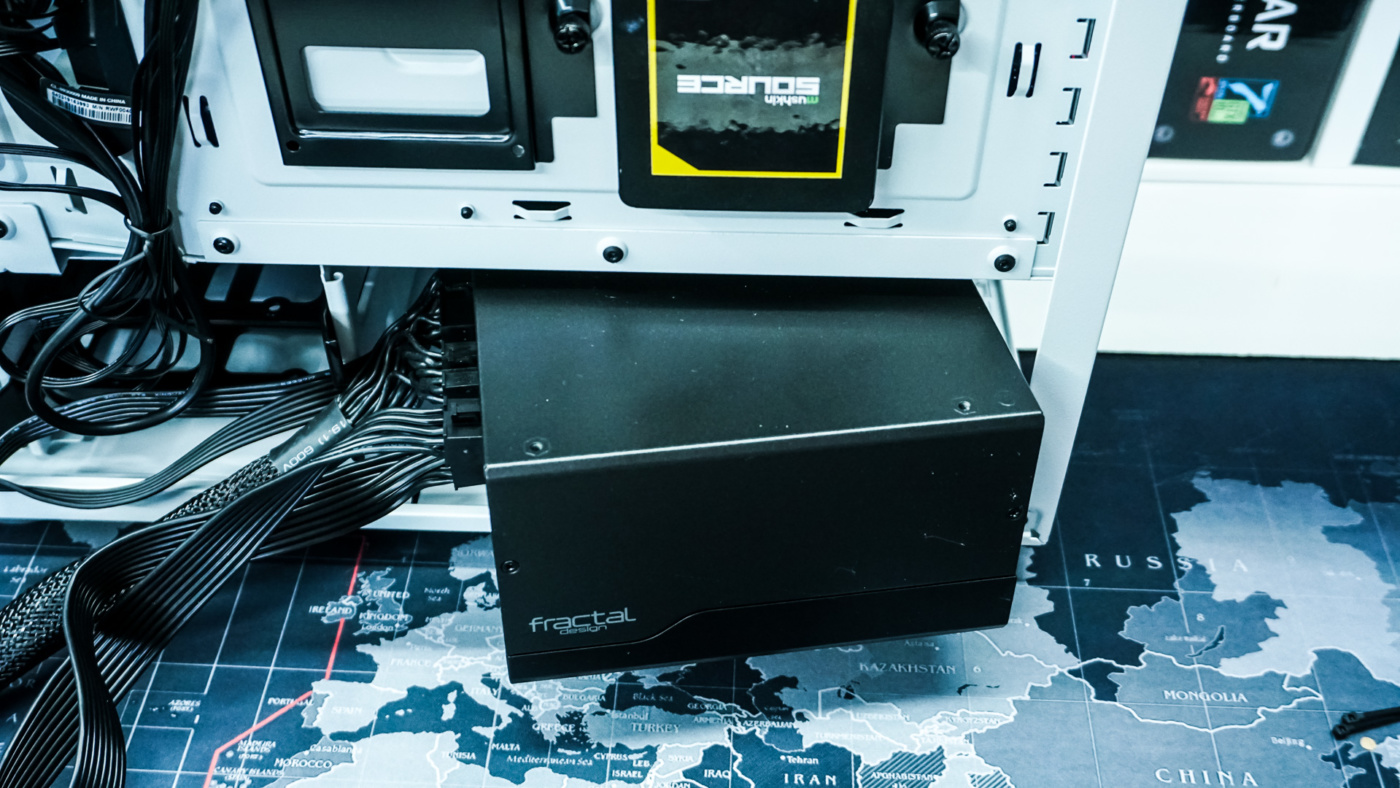
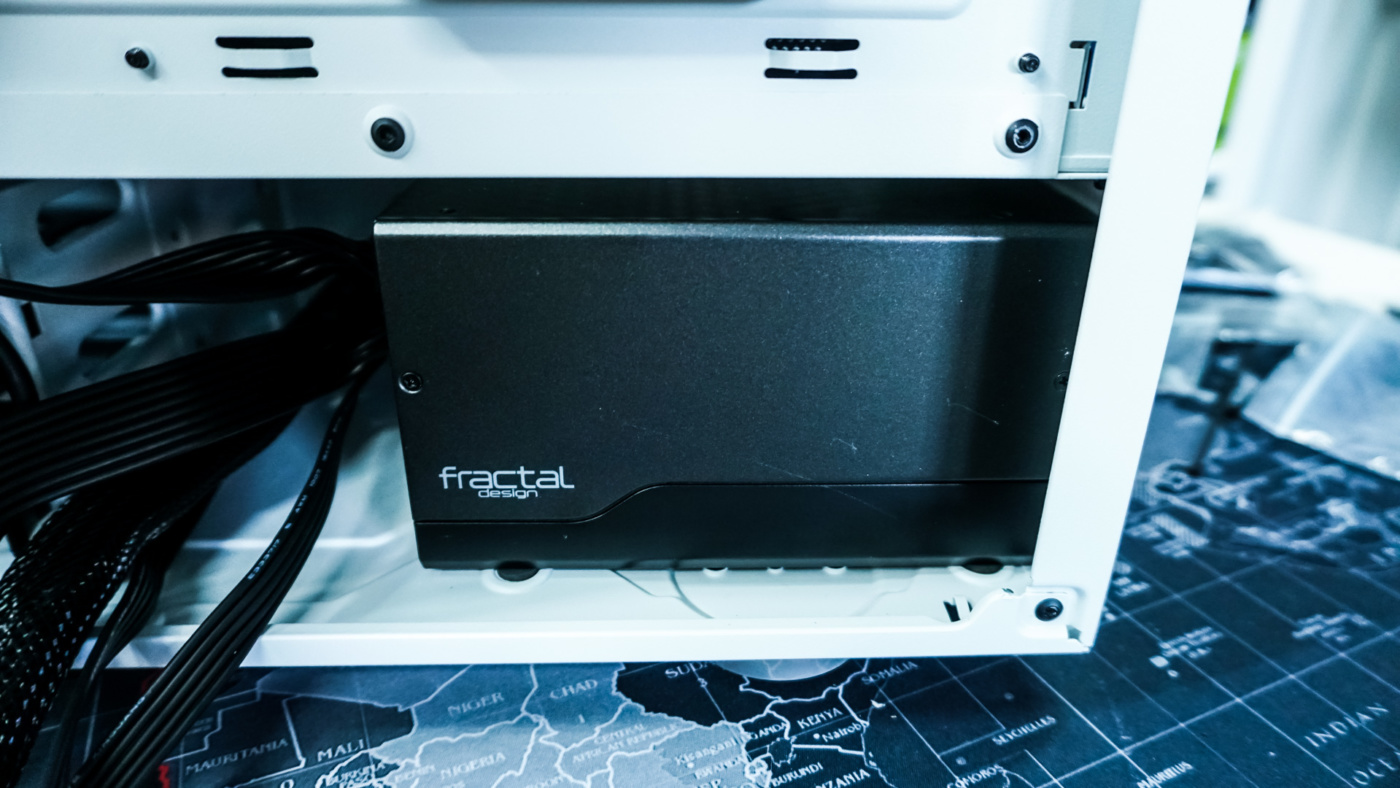
Installing your power supply is quite easy, you just slide it in from the backside of the case. It lines up with screw holes in the back of the case and you can easily secure it. If you happen to have a longer power supply or just want more space in the bottom of the case remember you can remove the bottom hard drive cage.
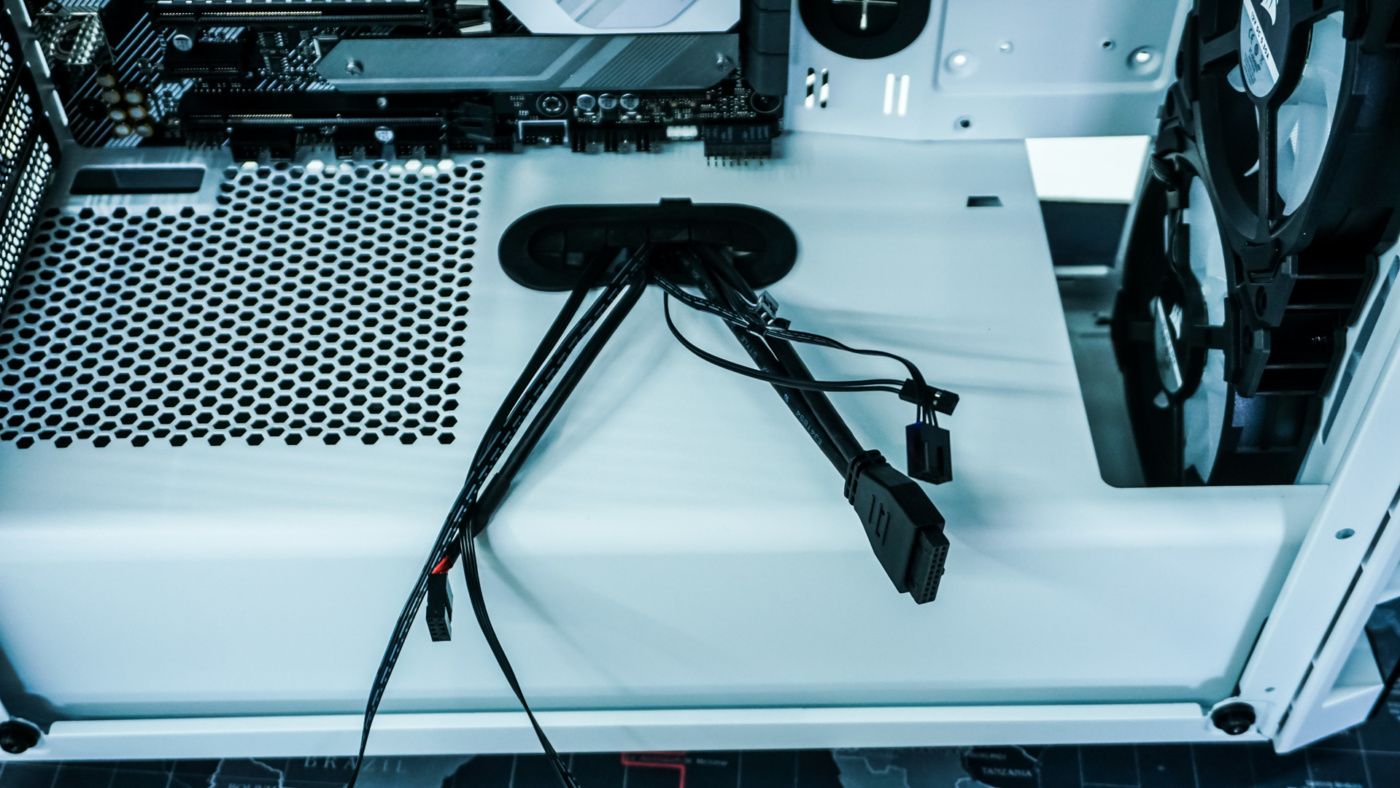
Before you install your graphics card you are going to want to run most of your cables, specifically the cables that will connect to the bottom part of your motherboard. Corsair has a large cable routing hole on the power supply cover, which makes it easy to connect all of these cables, but with PCI-Express cables as well it does get a little crowded.

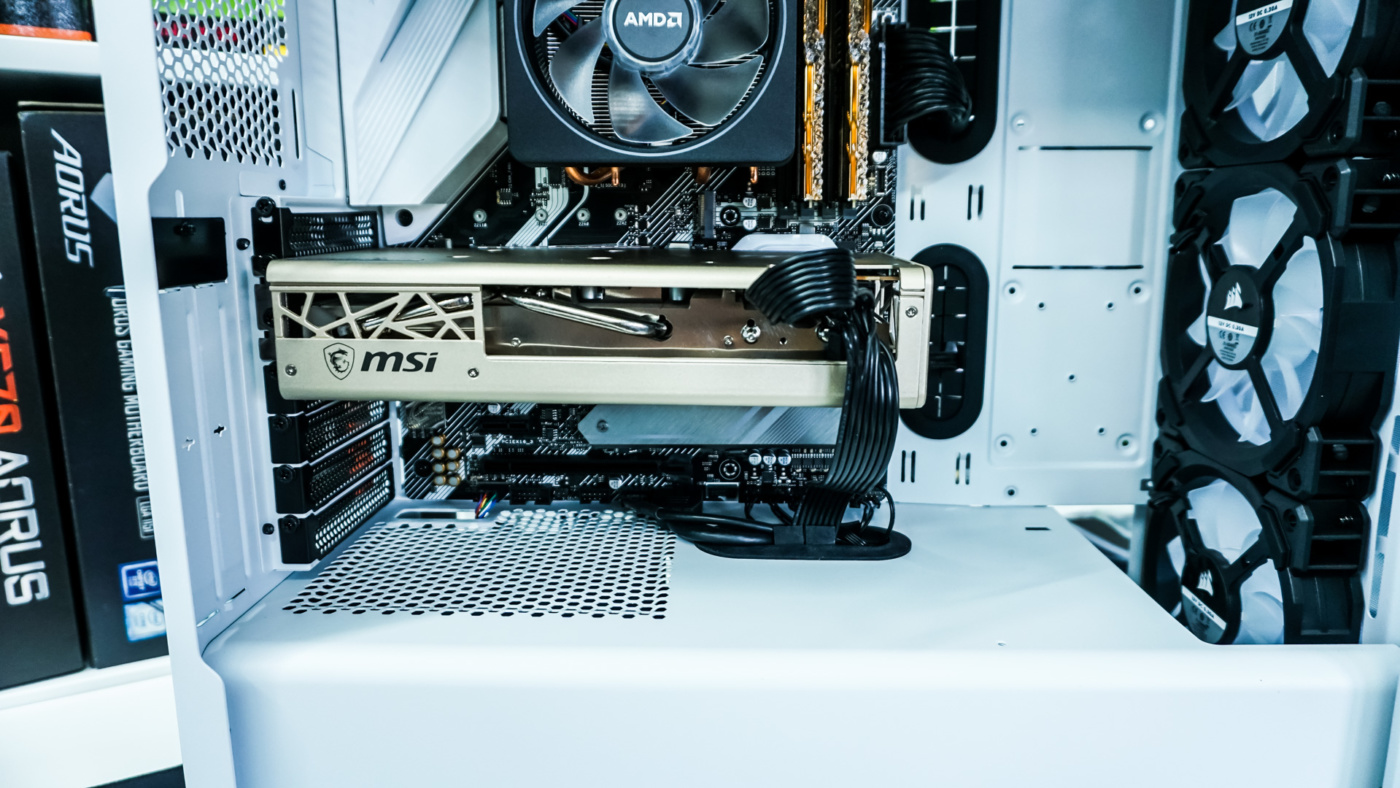
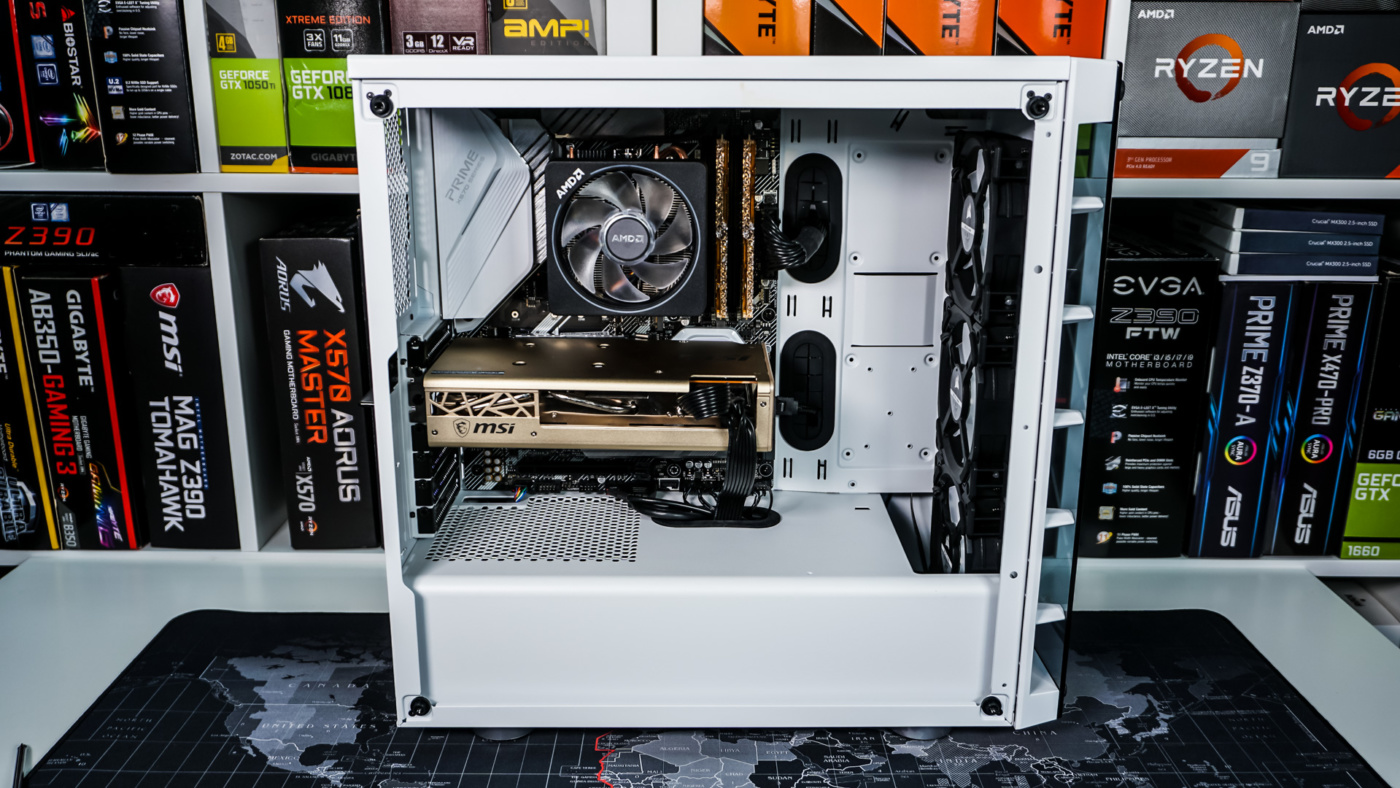
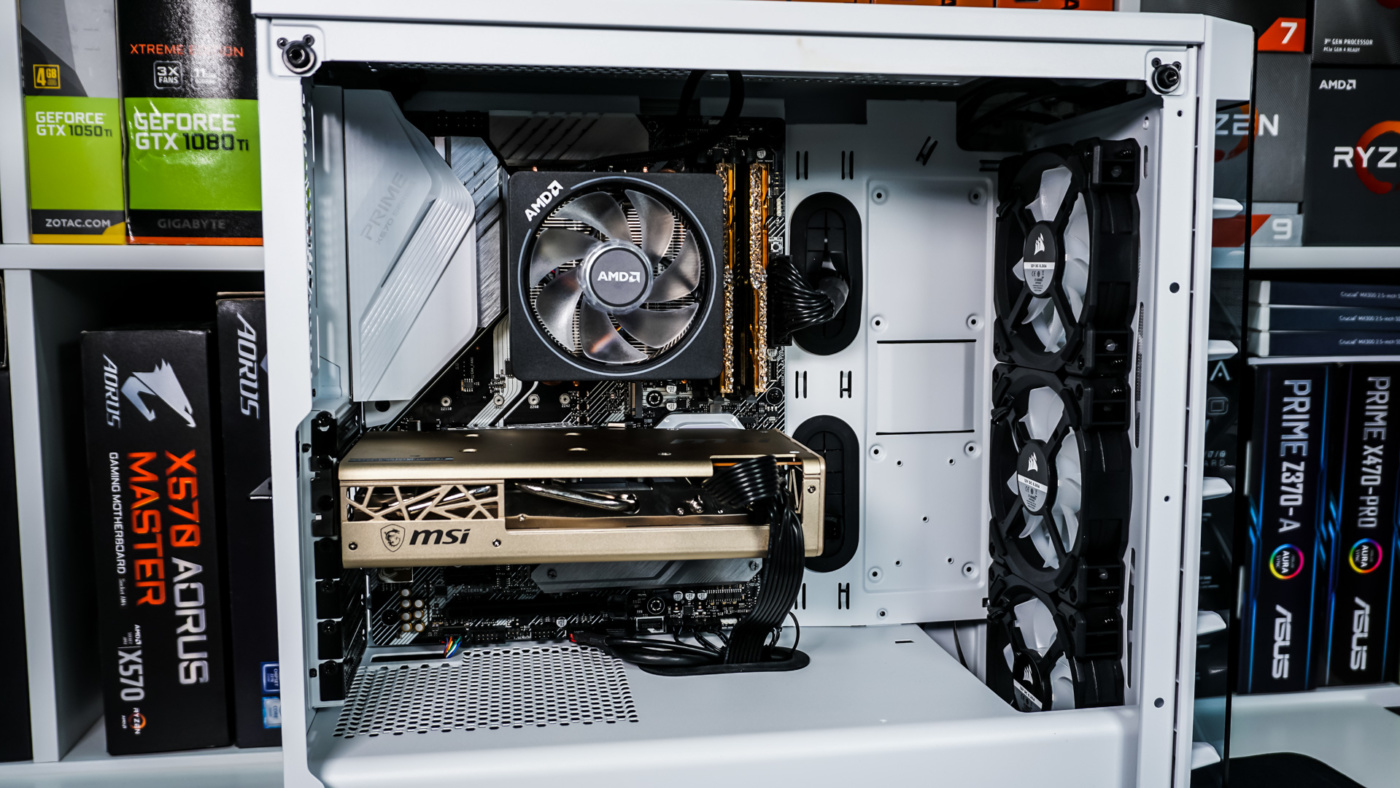
For our graphics card we’ll be installing the MSI RX 5700 XT Evoke OC, which has no problem fitting inside this case. For those wondering this case supports graphics cards all the way up to 370mm.
With all of our components installed it is time to route and organize all of our cables. There really is not much of a cable mess once we had everything installed, but we did use a few of the included zip ties to tidy up the backside of the case. Below is a before and after photo.
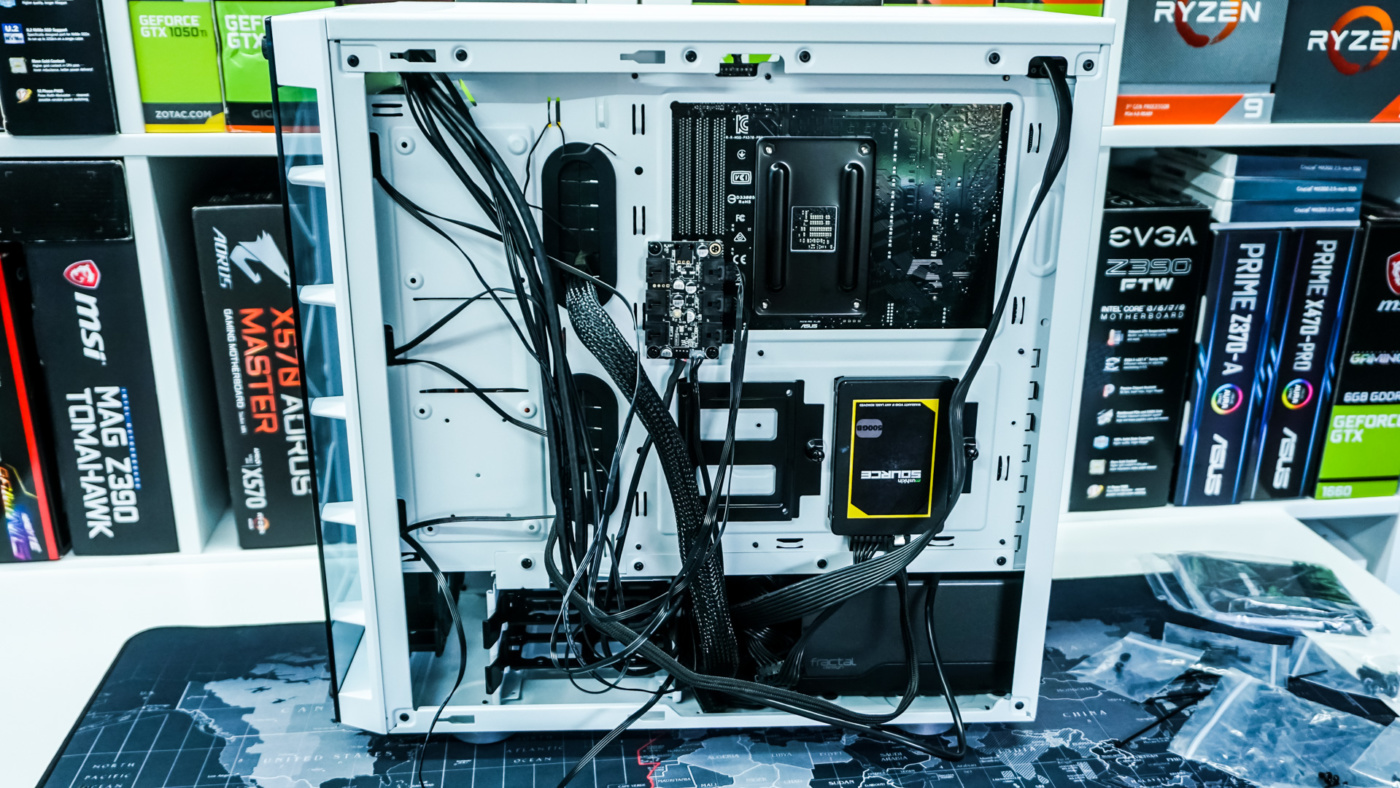
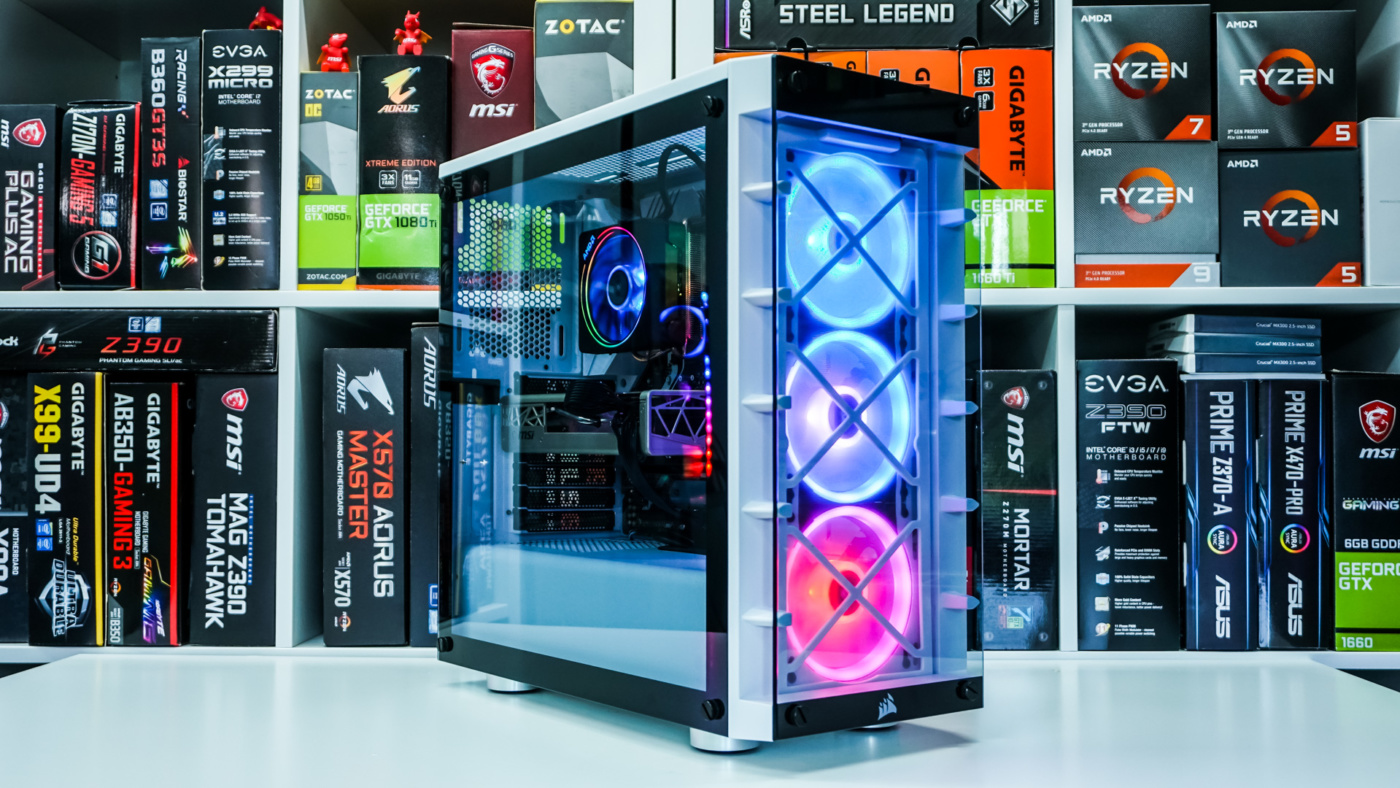
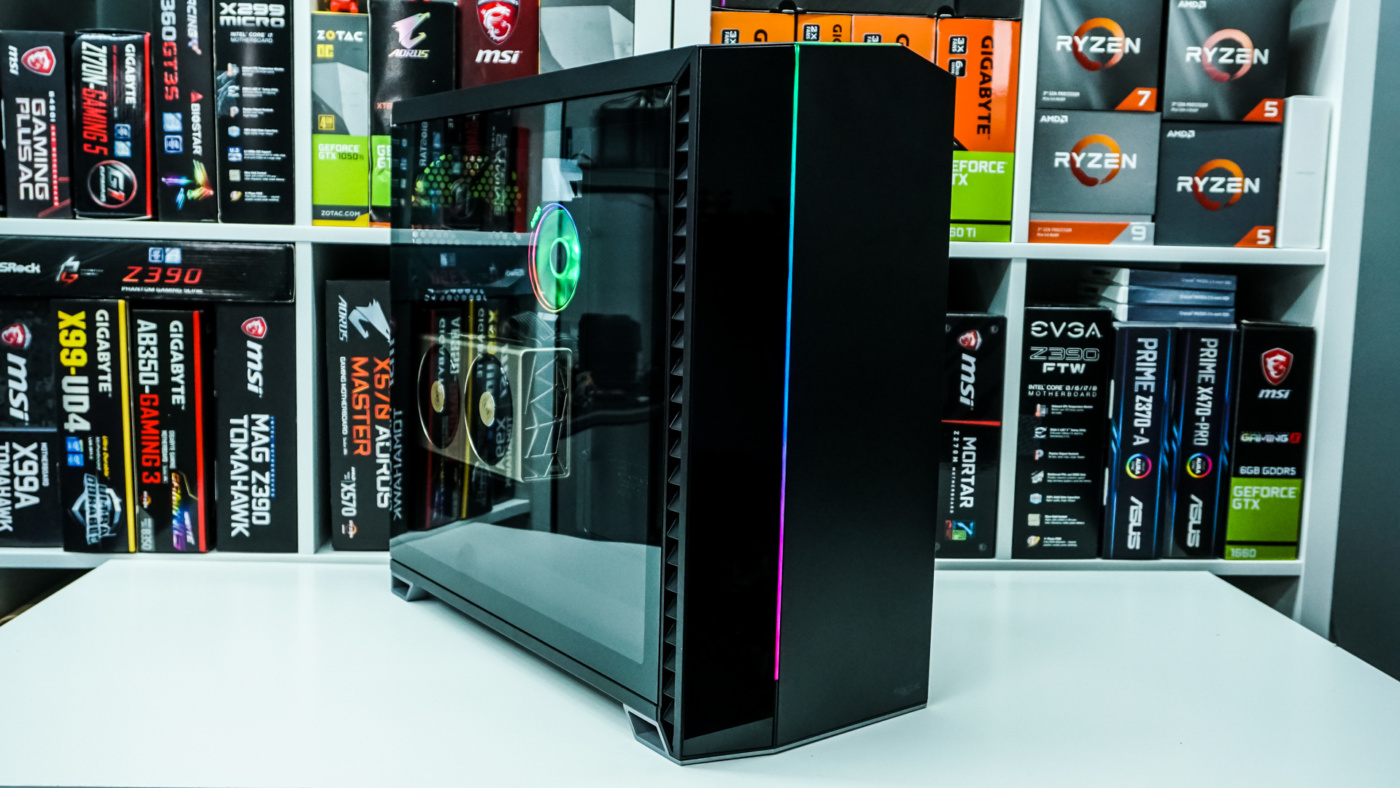
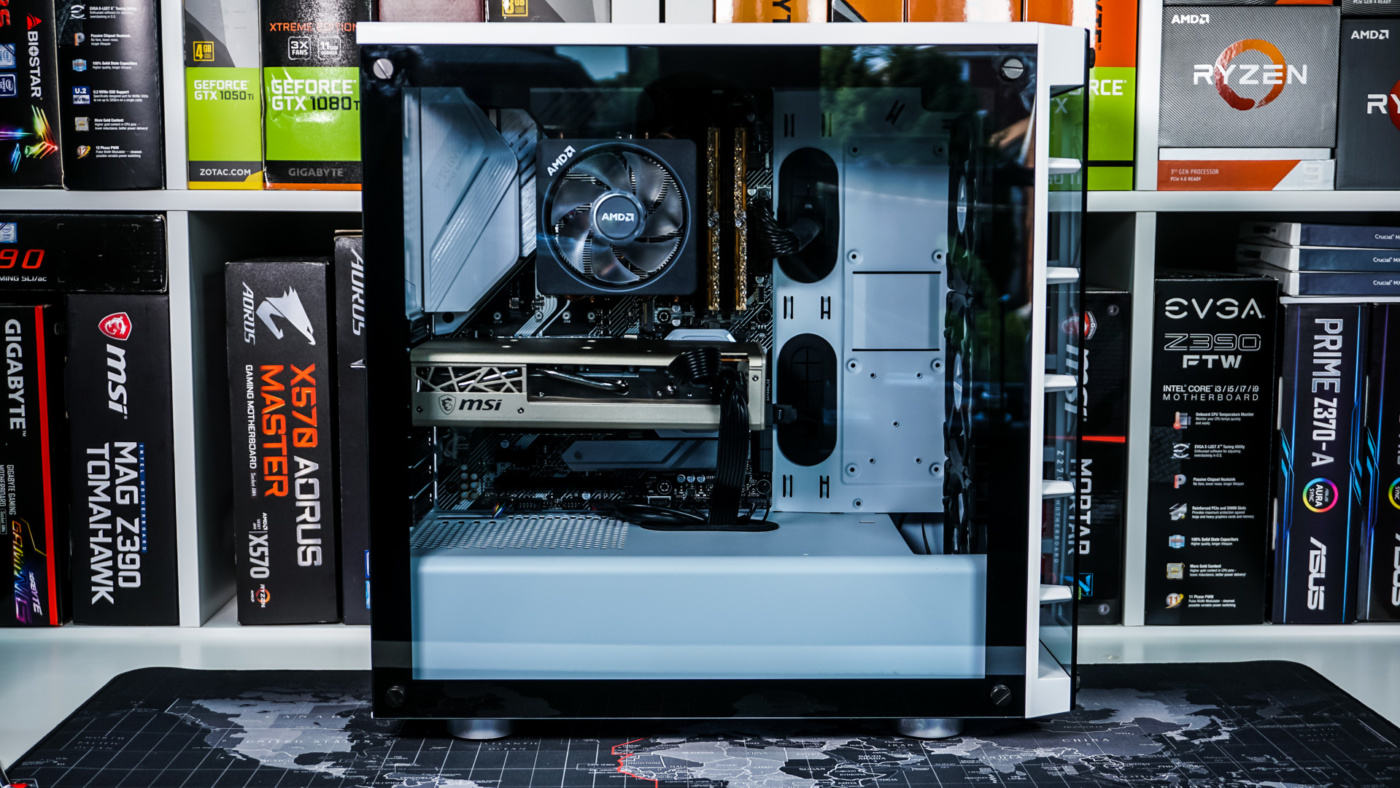
All in all we have a very clean build, especially looking at the main compartment of the case, which will be shown off with the large tempered glass panel. Talking about the tempered glass side panel, it is not tinted, so you’ll be able to see your hardware without any illumination from RGBs.

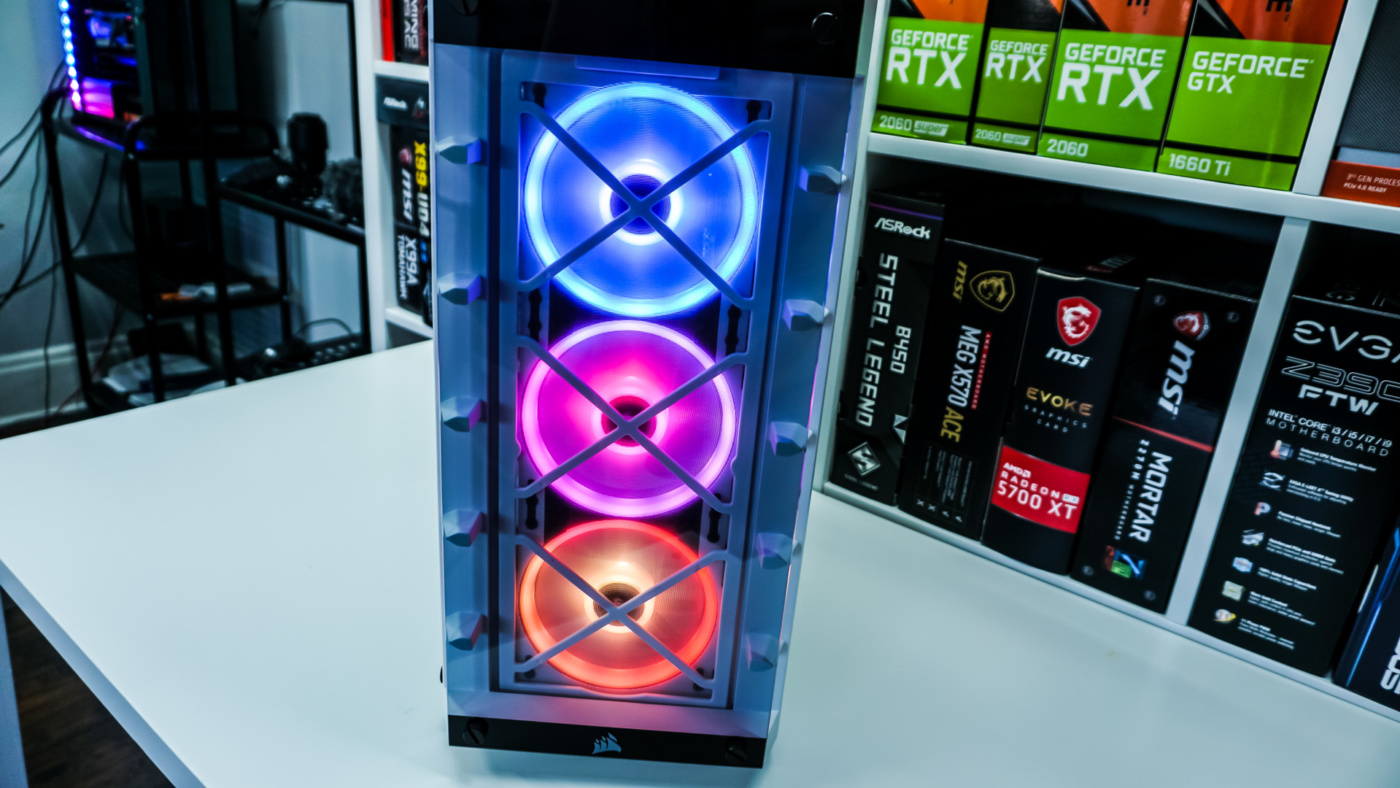
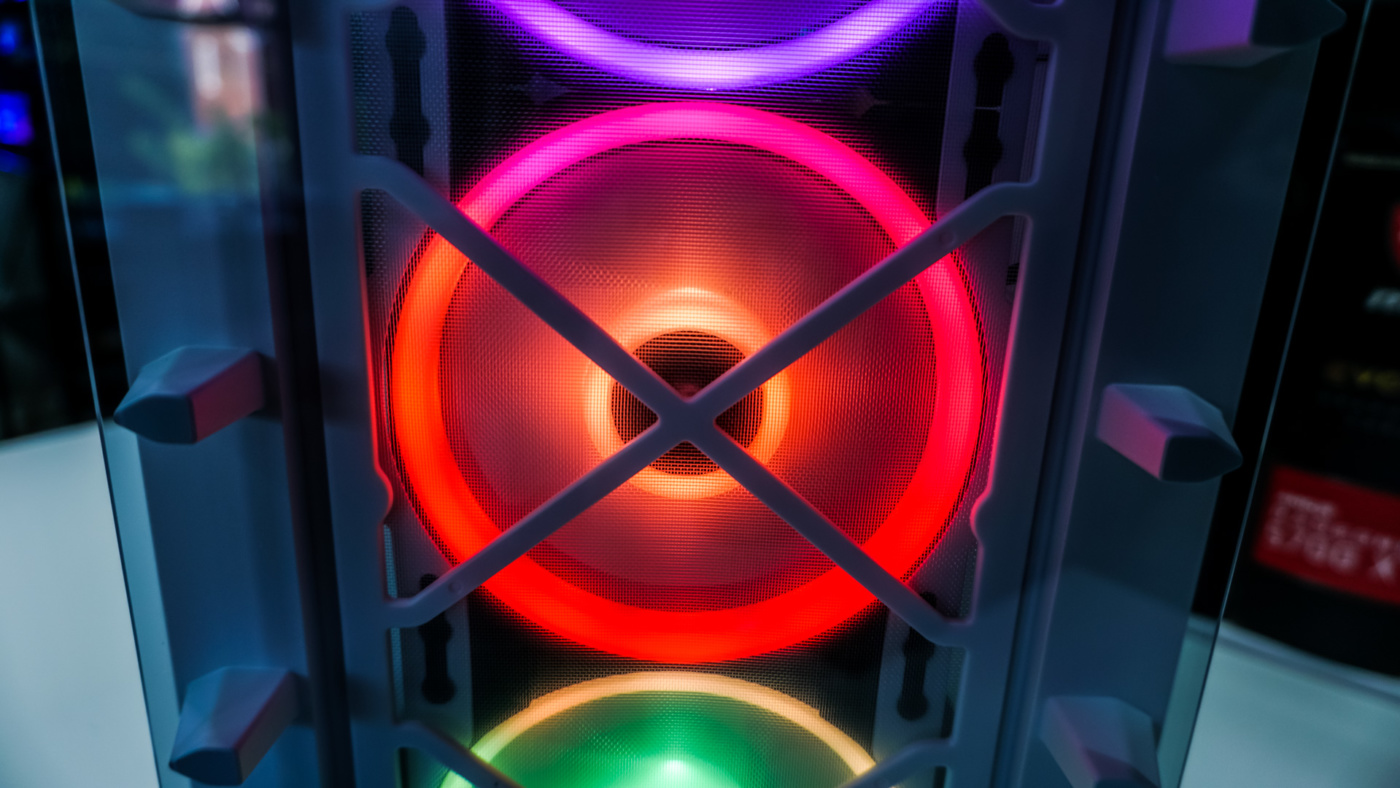
When you power your system on the three RGB LEDs will light up quite nicely on the front of the case. By default the RGBs will light up with a sort of wave effect. Once you install Windows and install the iCUE software you’ll be able to control what the fans can do. The LL120 fans feature a total of 16 individually-controllable RGB’s so you can really make them do some cool effects.