Setup & Usage
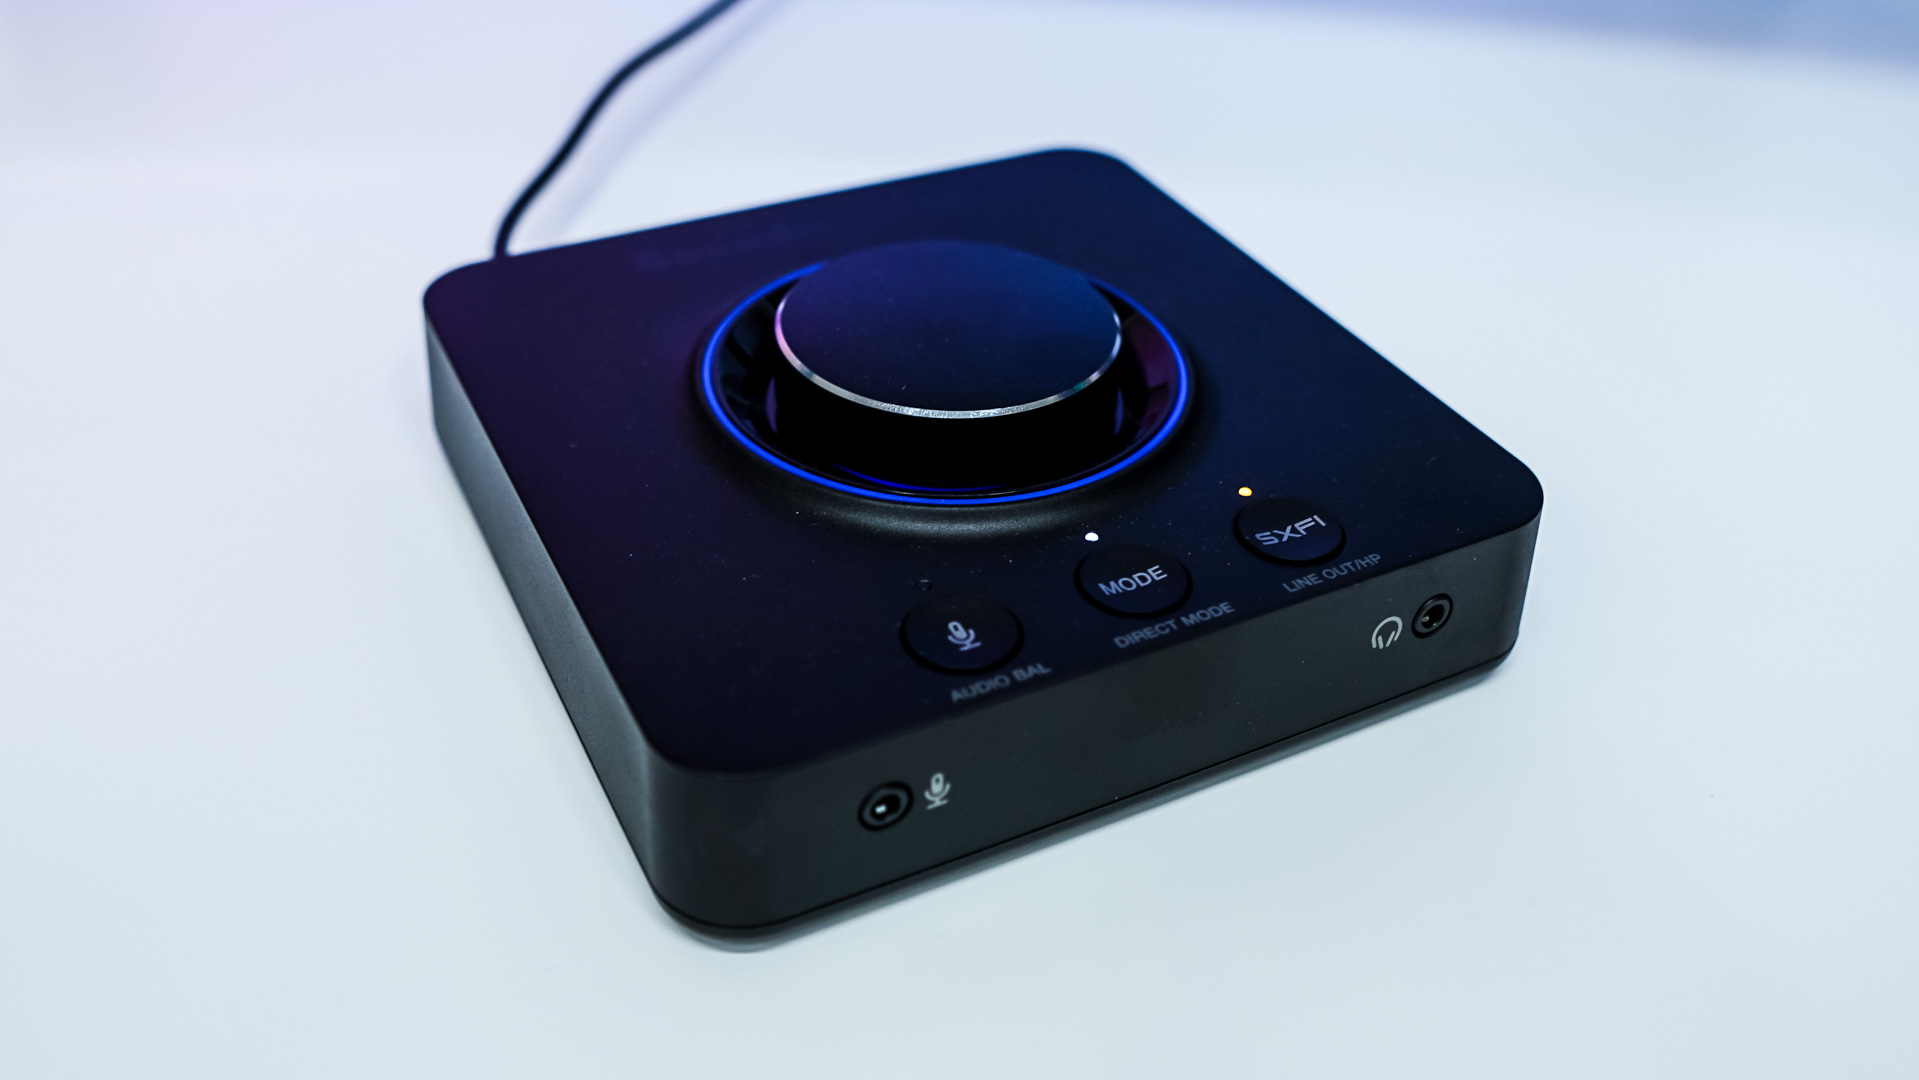
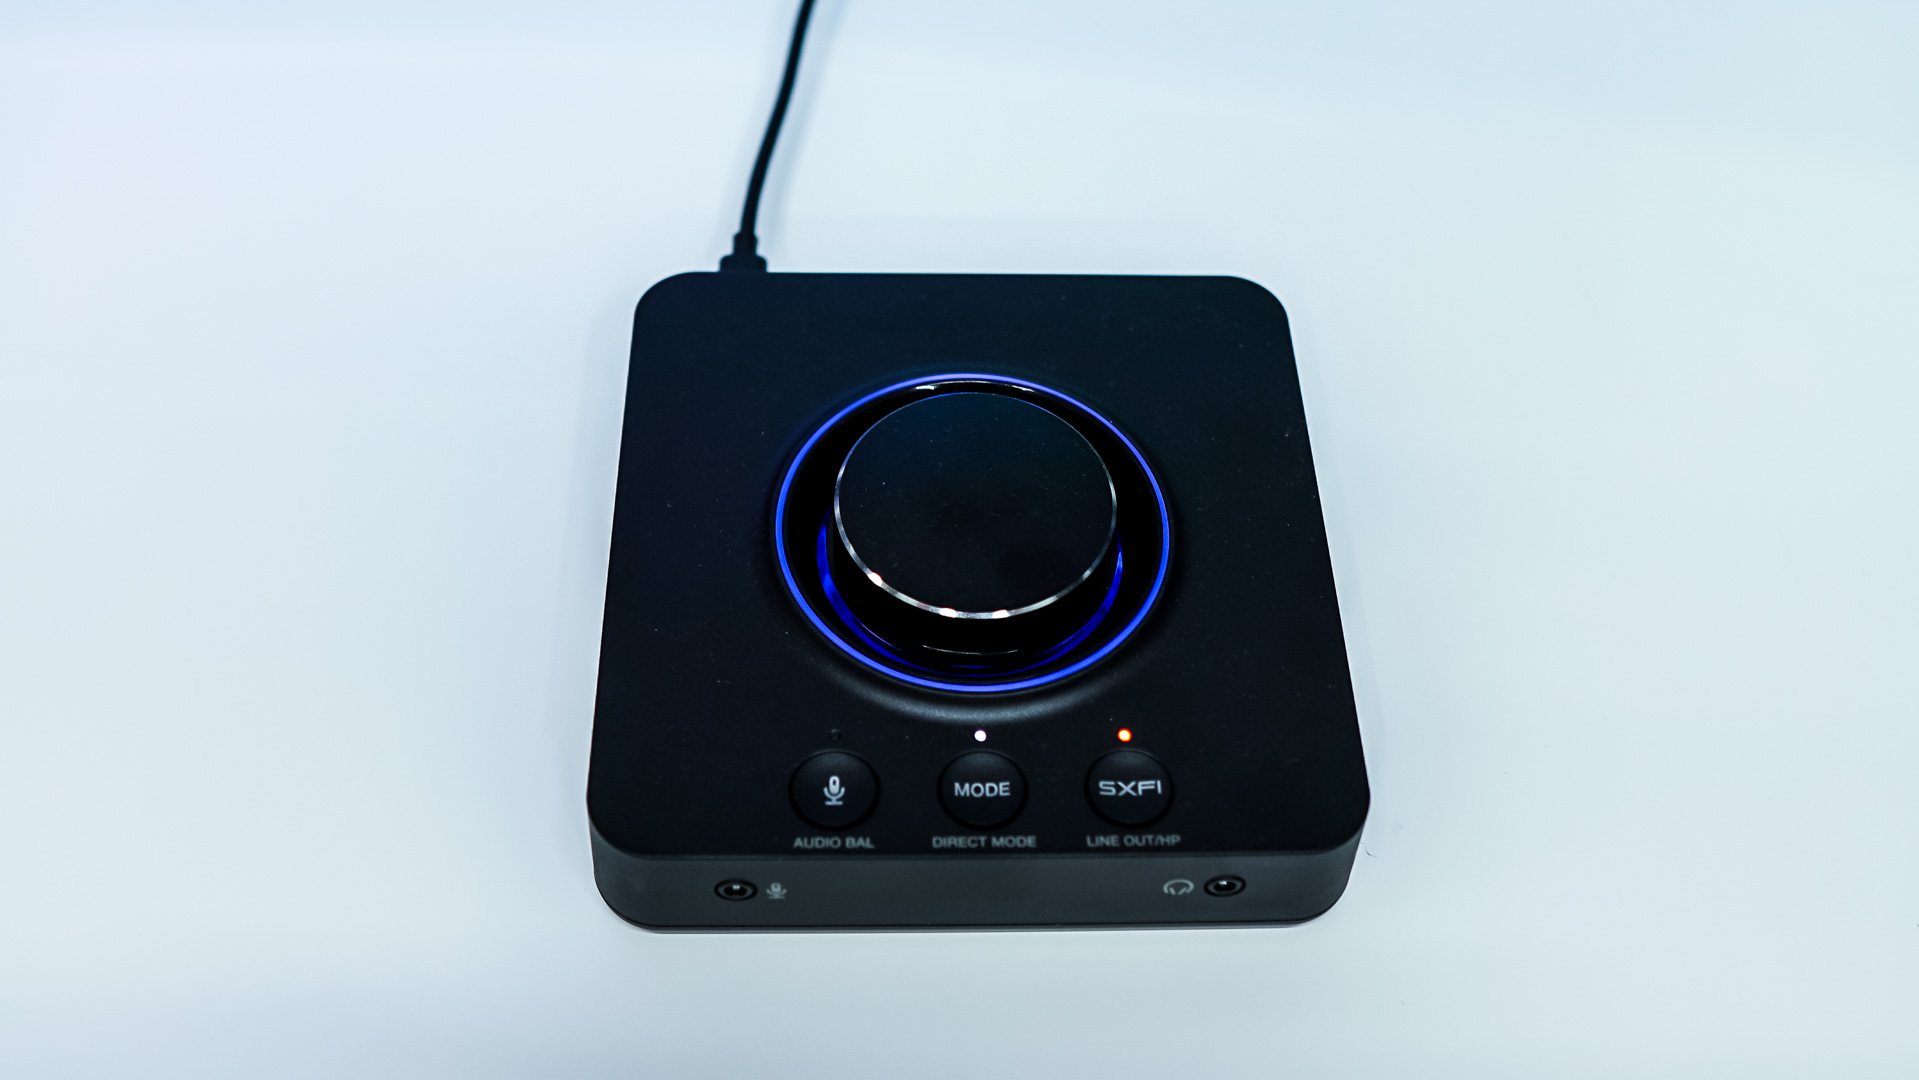
Getting the Sound Blaster X3 setup is incredibly easy, just use the included USB cable and plug the unit into your PC. Windows will automatically recognize the the device and it should show up in your audio devices for both input and output. Now you can use the device no problem without any software, using the buttons on the device to switch between inputs and settings, but you’ll get so much more functionality out of the X3 by installing the Sound Blaster Command software.
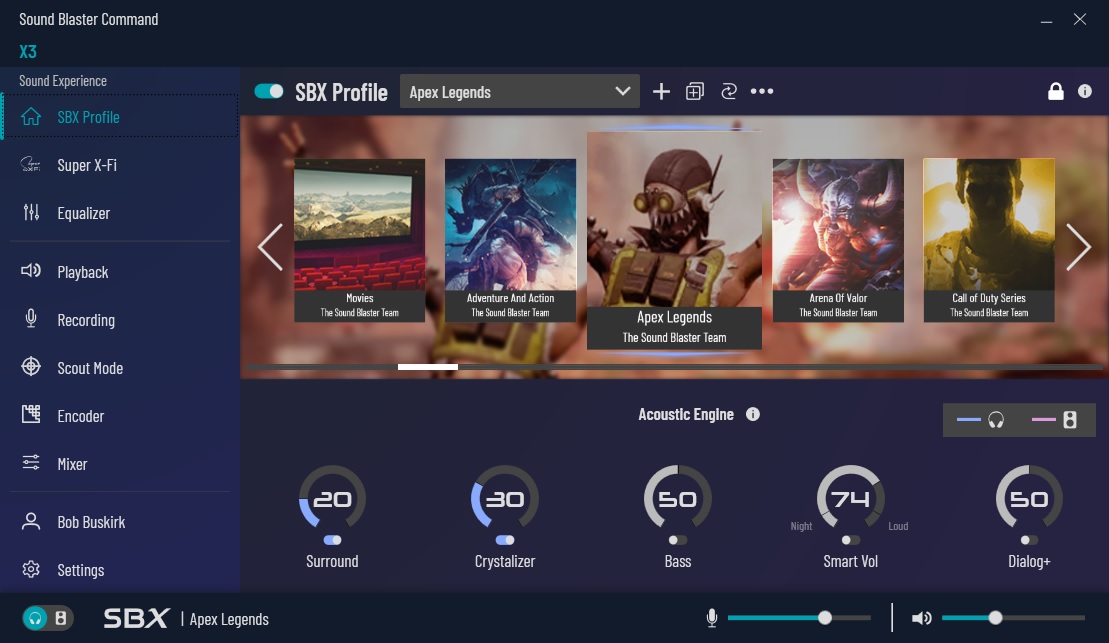
When you first open the software you are brought into the “SBX Profile” page. Here you can set a SBX Profile or just turn the profile section off. There are set profiles for gaming, music, and movies, but there are also profiles for specific games like Apex Legends, Call of Duty, Counter-Strike, Fortnite and more. These are quite useful if you are playing a specific game. I used the Apex Legends preset while playing the game and I found it helped me recognize enemies a lot faster. You also have the ability to add new profiles, duplicate a profile, and export a profile.
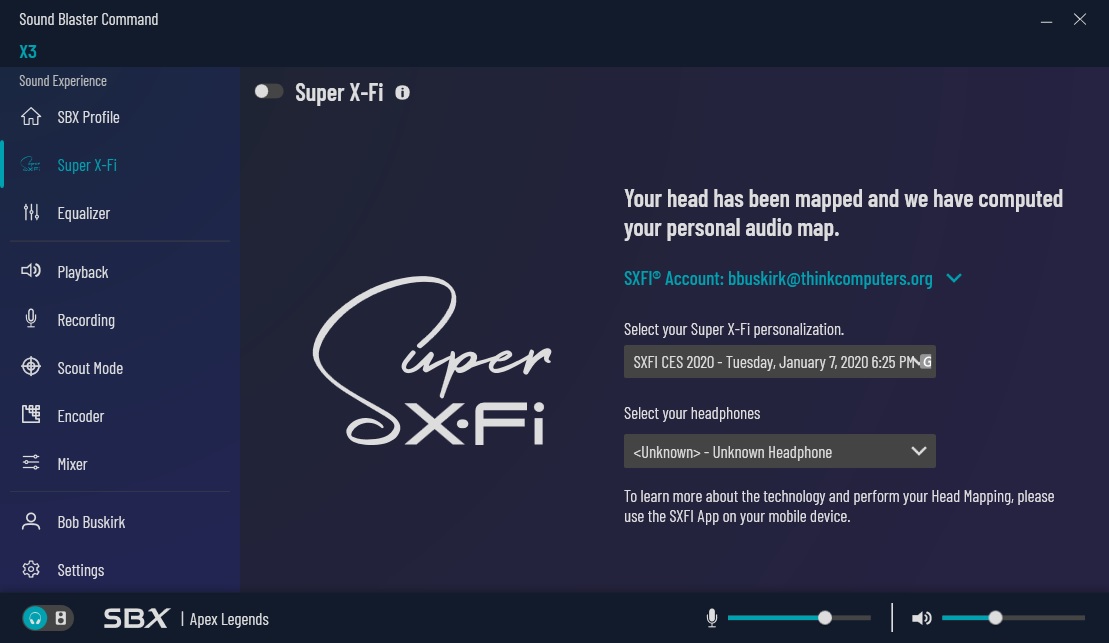
The next tab is “Super X-Fi”, which you’ll need to map your head to use. Creative has a mobile app that will help you do this, luckily this past year at CES I mapped my head so my profile was in there. Once you have your SuperX-Fi personalization selected you then select the headphones that you are using. If you do not find your headphones just select Unknown.
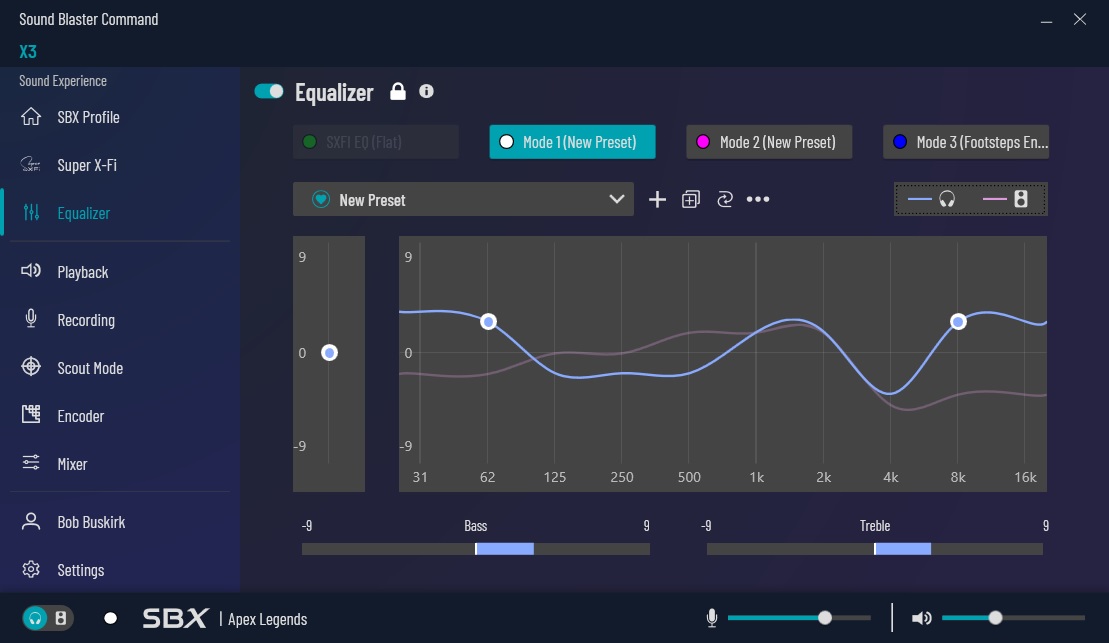
The Equalizer gives you a 10-band equalizer. You’ll see your three pre-sets in there, but you’ll also see presets for types of media, games, and more. Here you can also add, duplicate, and export presets.
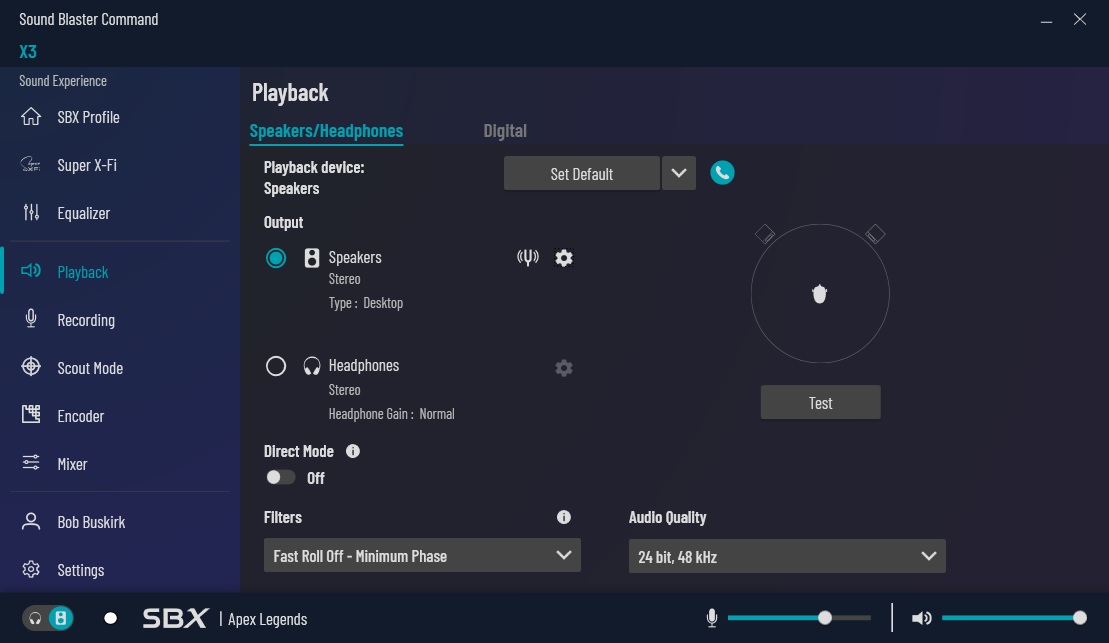
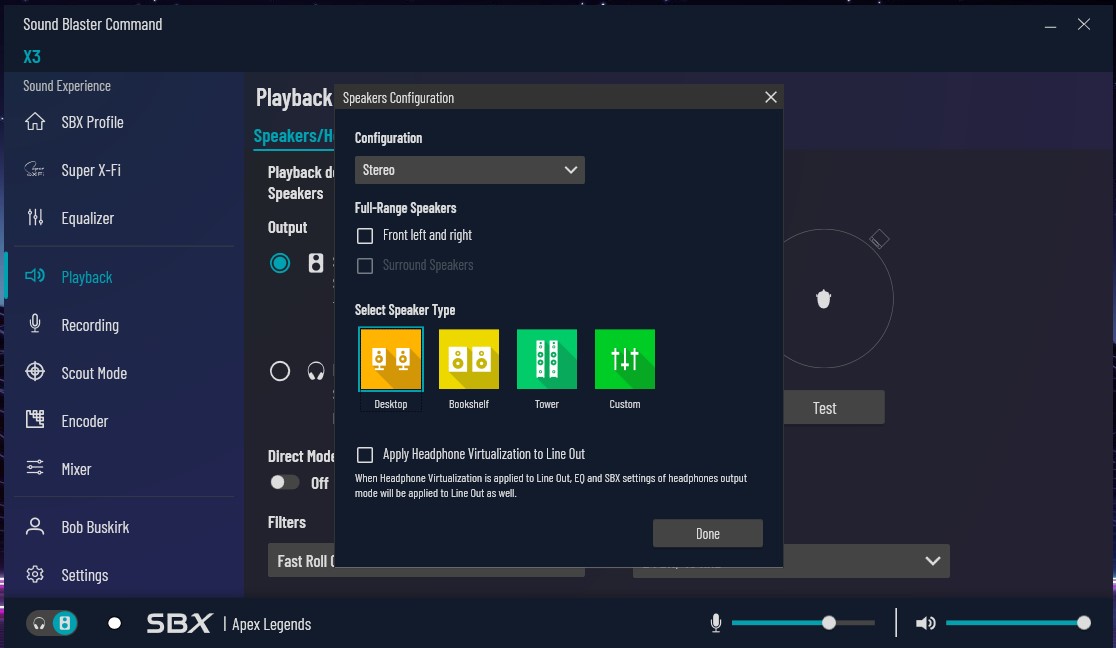
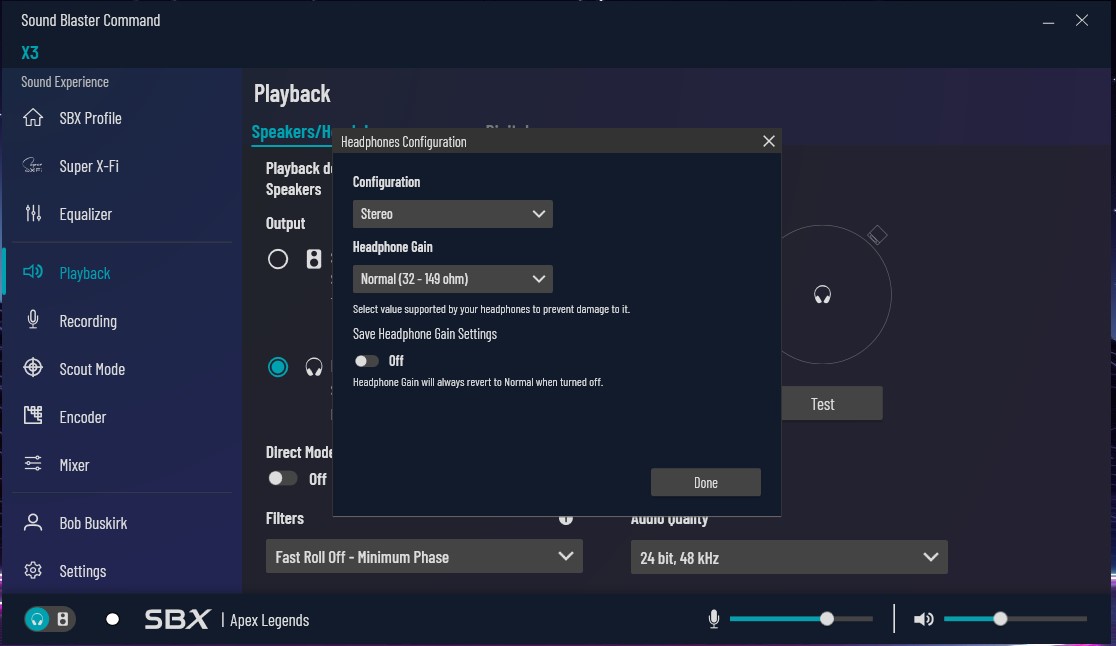
Playback is the next tab, here you can customize the settings for the speakers and headphones you are using. First you can select if speakers or headphones are your output device. If you select speakers you can choose the configuration (Stereo to 7.1 surround,), select if they are just left and right speakers or a full surround kit, and the type of speakers. If you select headphones the settings are similar as you can select the configuration and headphone gain (normal 32-149 ohm, High 150-600 ohm).
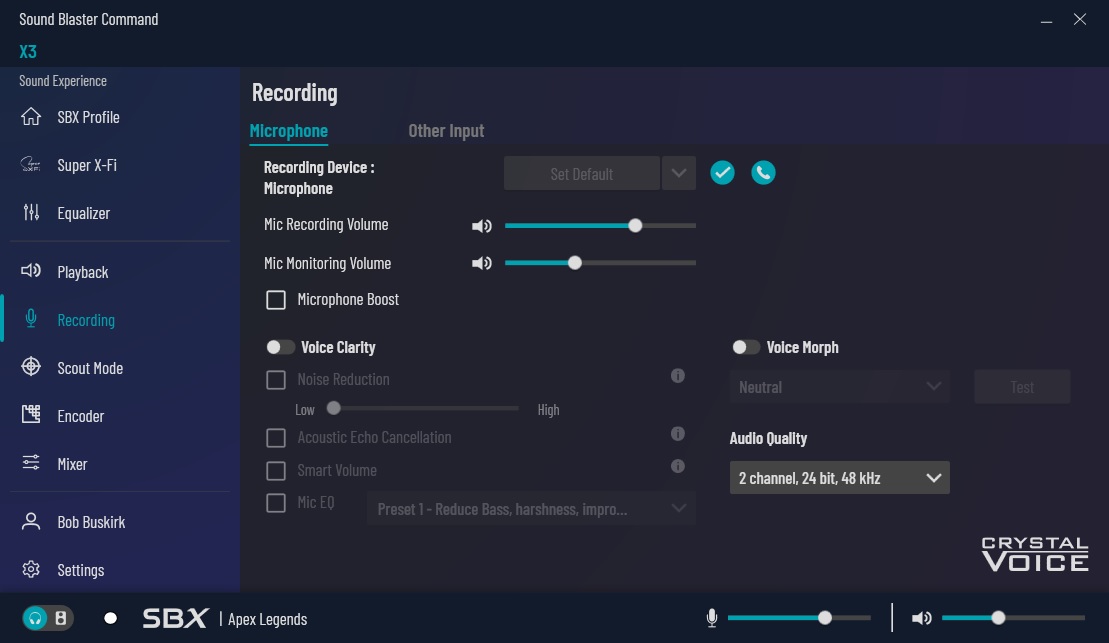
Recording is of course where you’ll find your recording settings. You can set your recording and monitoring volume, add microphone boost, enable voice clarity and voice morph, as well as set the audio quality.
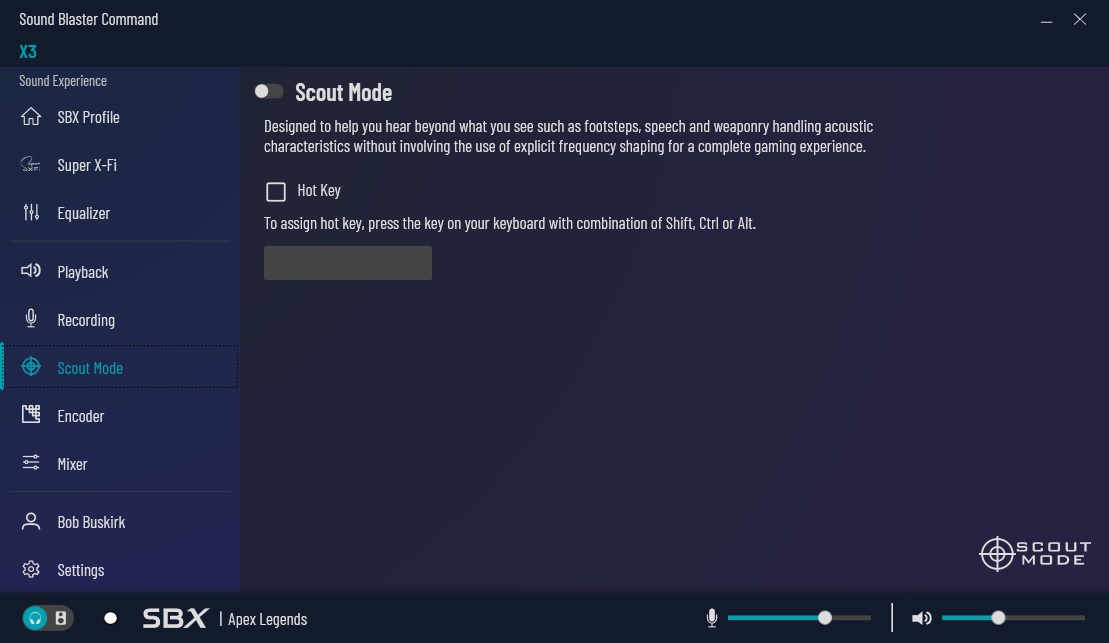
Scout Mode allows you to enable or disable Scout Mode, which is made to help you hear better in games. You can also set a hot key to enable / disable it, which will definitely come in handy during certain situations in games.
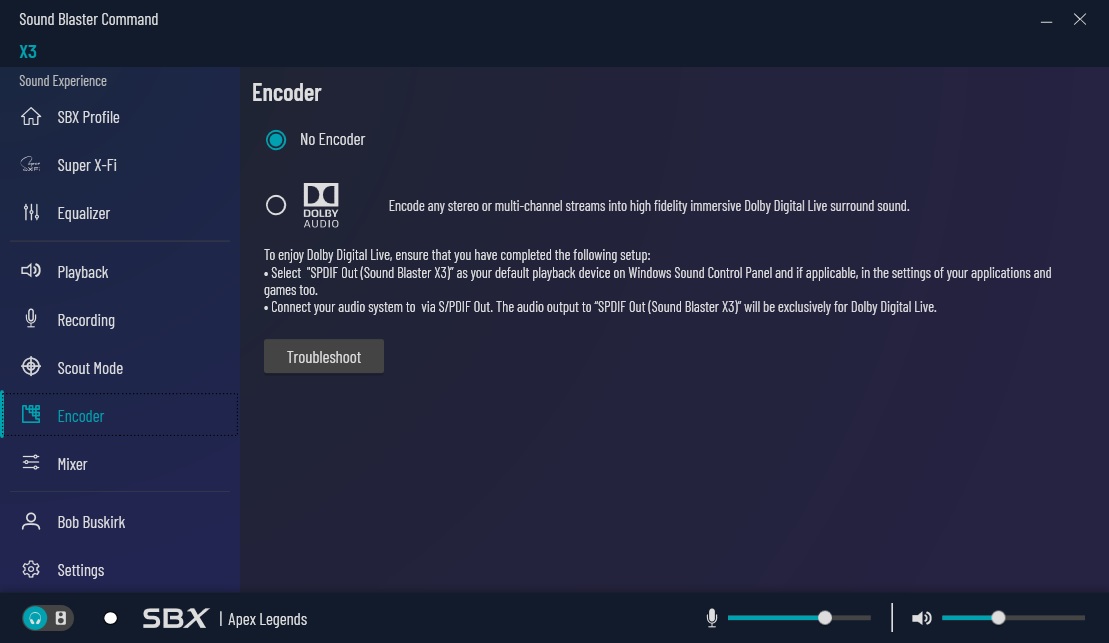
In the Encoder you can encode any stereo or multi-channel stream to Dolby Digital Live surround sound. If this is enabled you do need to have your output set as the SPDIF Out and have a device connected via the optical SPDIF out on the back of the X3.
Finally the Mixer allows you to easily set the levels for playback, monitoring, and recording.