Installation
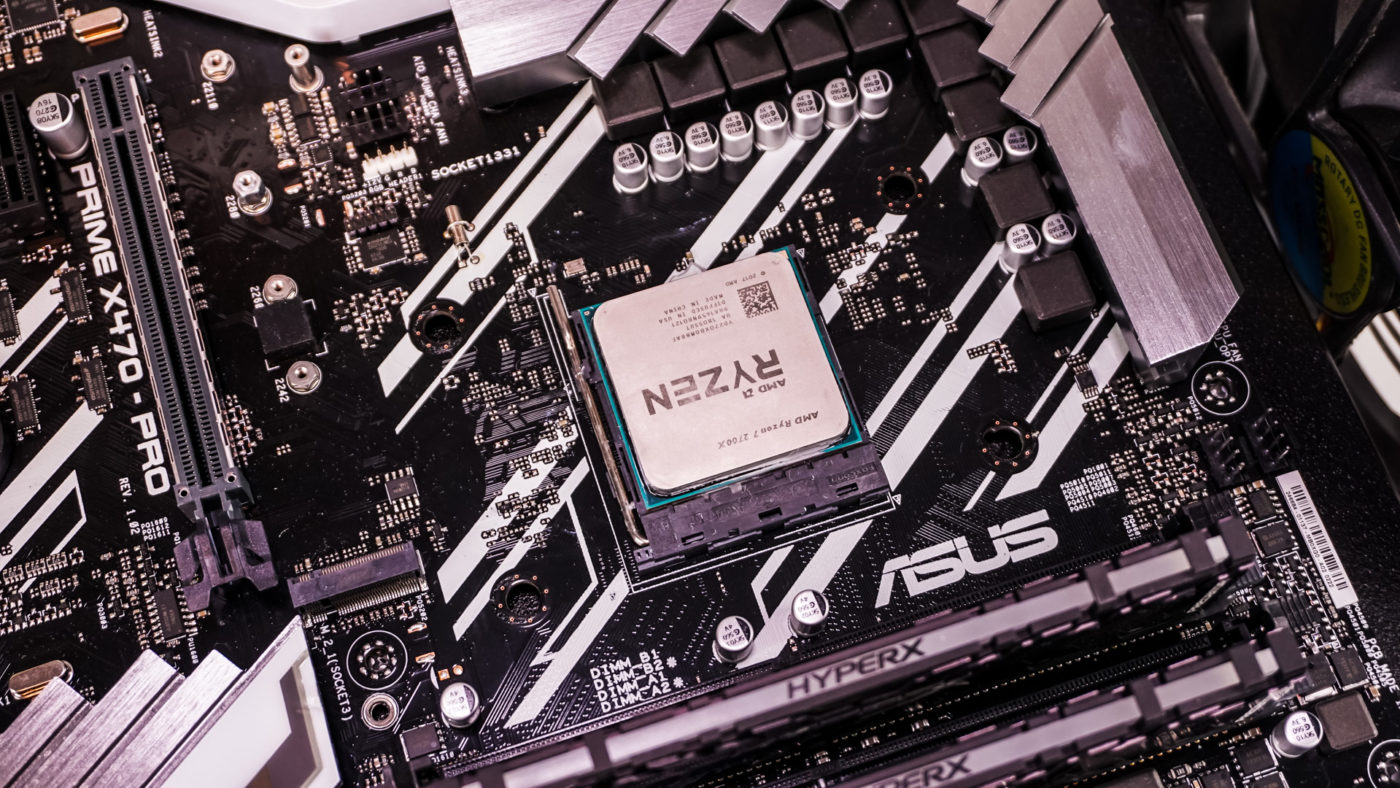
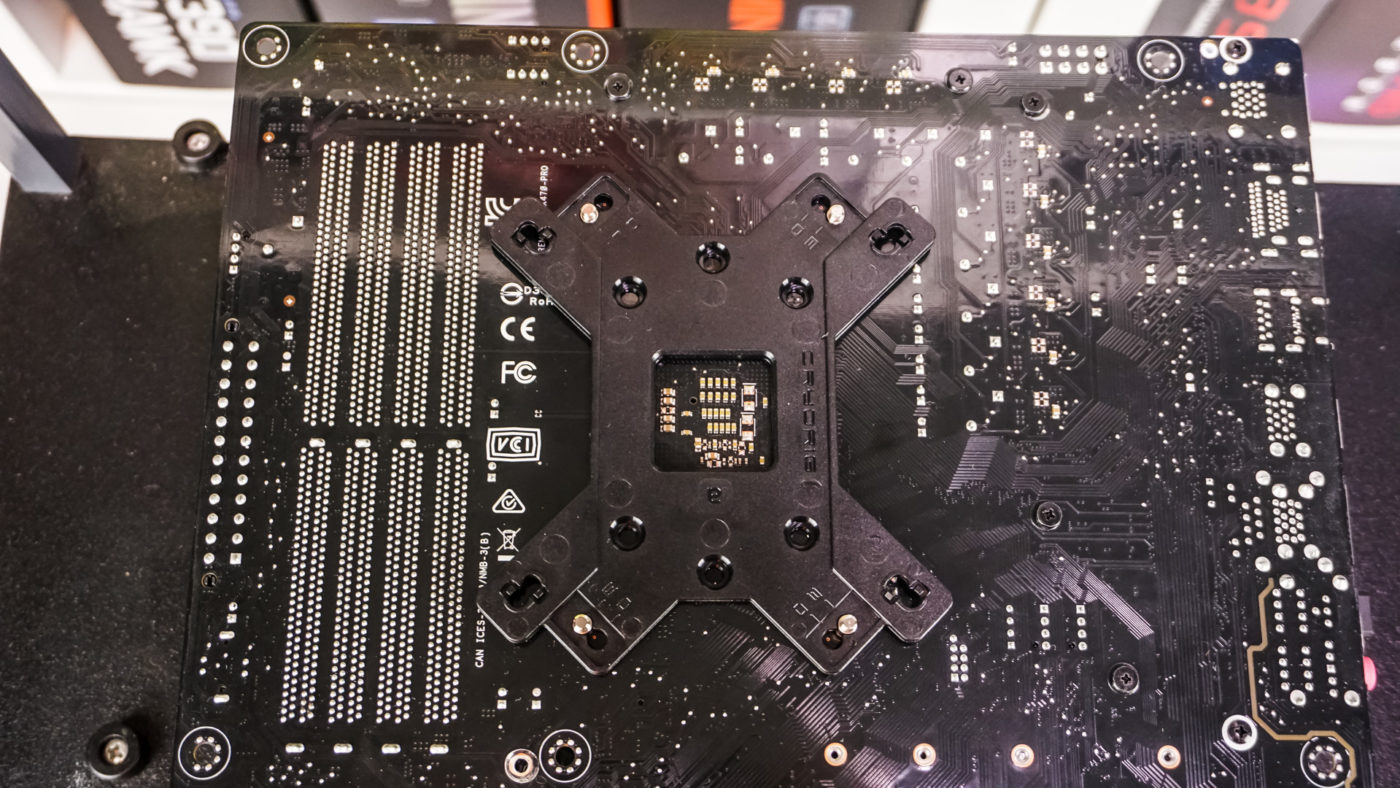
We will be installing the Cryorig C7 Cu in our Ryzen system, so our installation will be for the AM4 socket. The first thing you are going to want to do is remove the stock AM4 mounting bracket from your motherboard.
With that done we’ll need to adjust the mounting bars and mounting pillars on the bottom of the cooler. By default they are set for Intel installation and should look something like this…
So for AM4 installation you’ll have to remove one screw from each mounting bar and actually move each bar. You’ll also have to move the mounting pillars to the to the correct hole from AM4, please check the installation instructions so see which hole it is. The mounting pillars are on there quite tight and we actually had to use pliers to loosen them. When you are done with this step your cooler should look something like this.
Now apply the included thermal paste to your CPU and carefully place the cooler on top of your CPU with the mounting pillars going through the holes in the board. Now get the backplate and line it up with the pillars. Apply some pressure and the pillars should slide into the backplate. For AM4 installation the “a” side should be facing you.
Finally take the included hex screw caps and install them on the pillars, securing them with the provided hex screw driver.

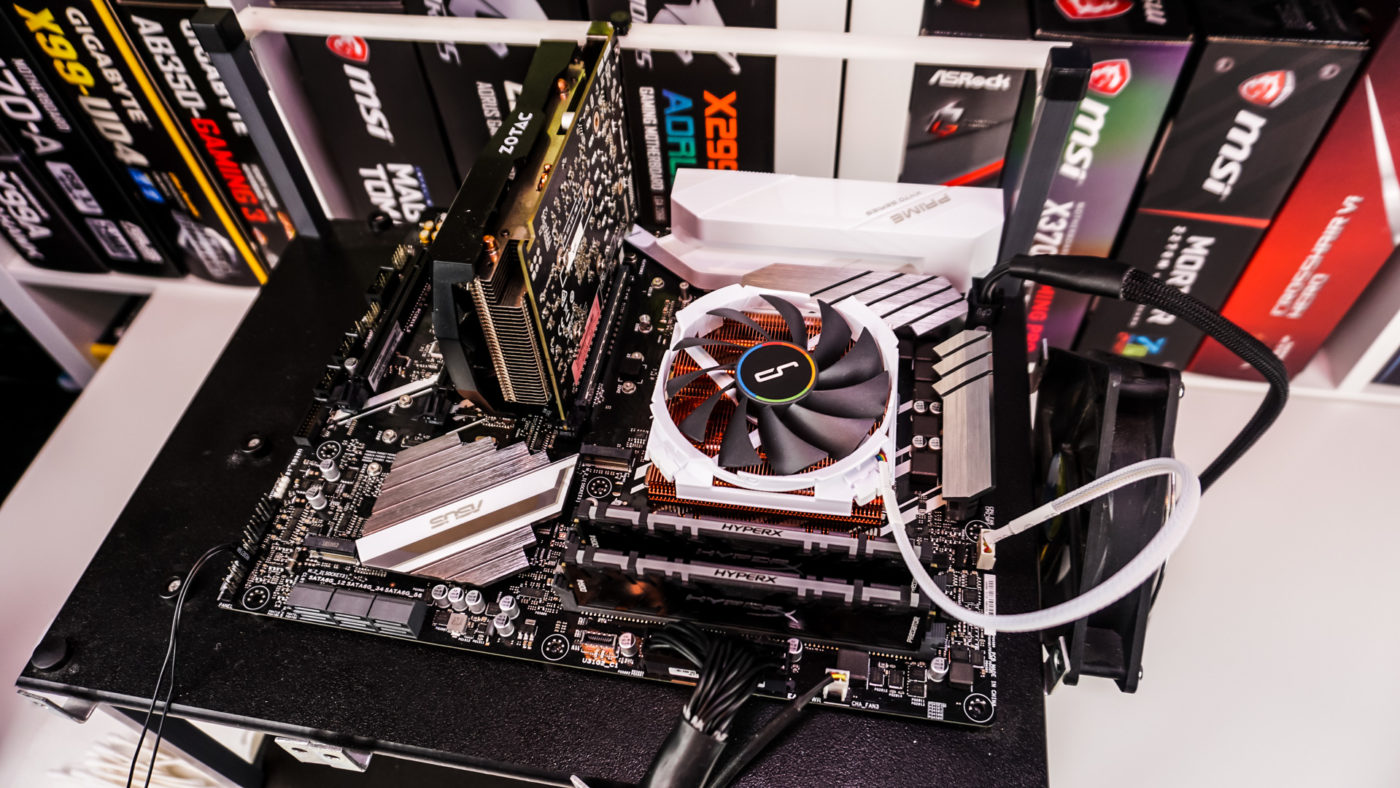
With everything install you can see we have more than enough clearance between the cooler and our memory and graphics card. Also with the cooler installed it only sits just slightly above our memory so if you have any height restrictions in your case this cooler will definitely work for you.