Setup & Usage
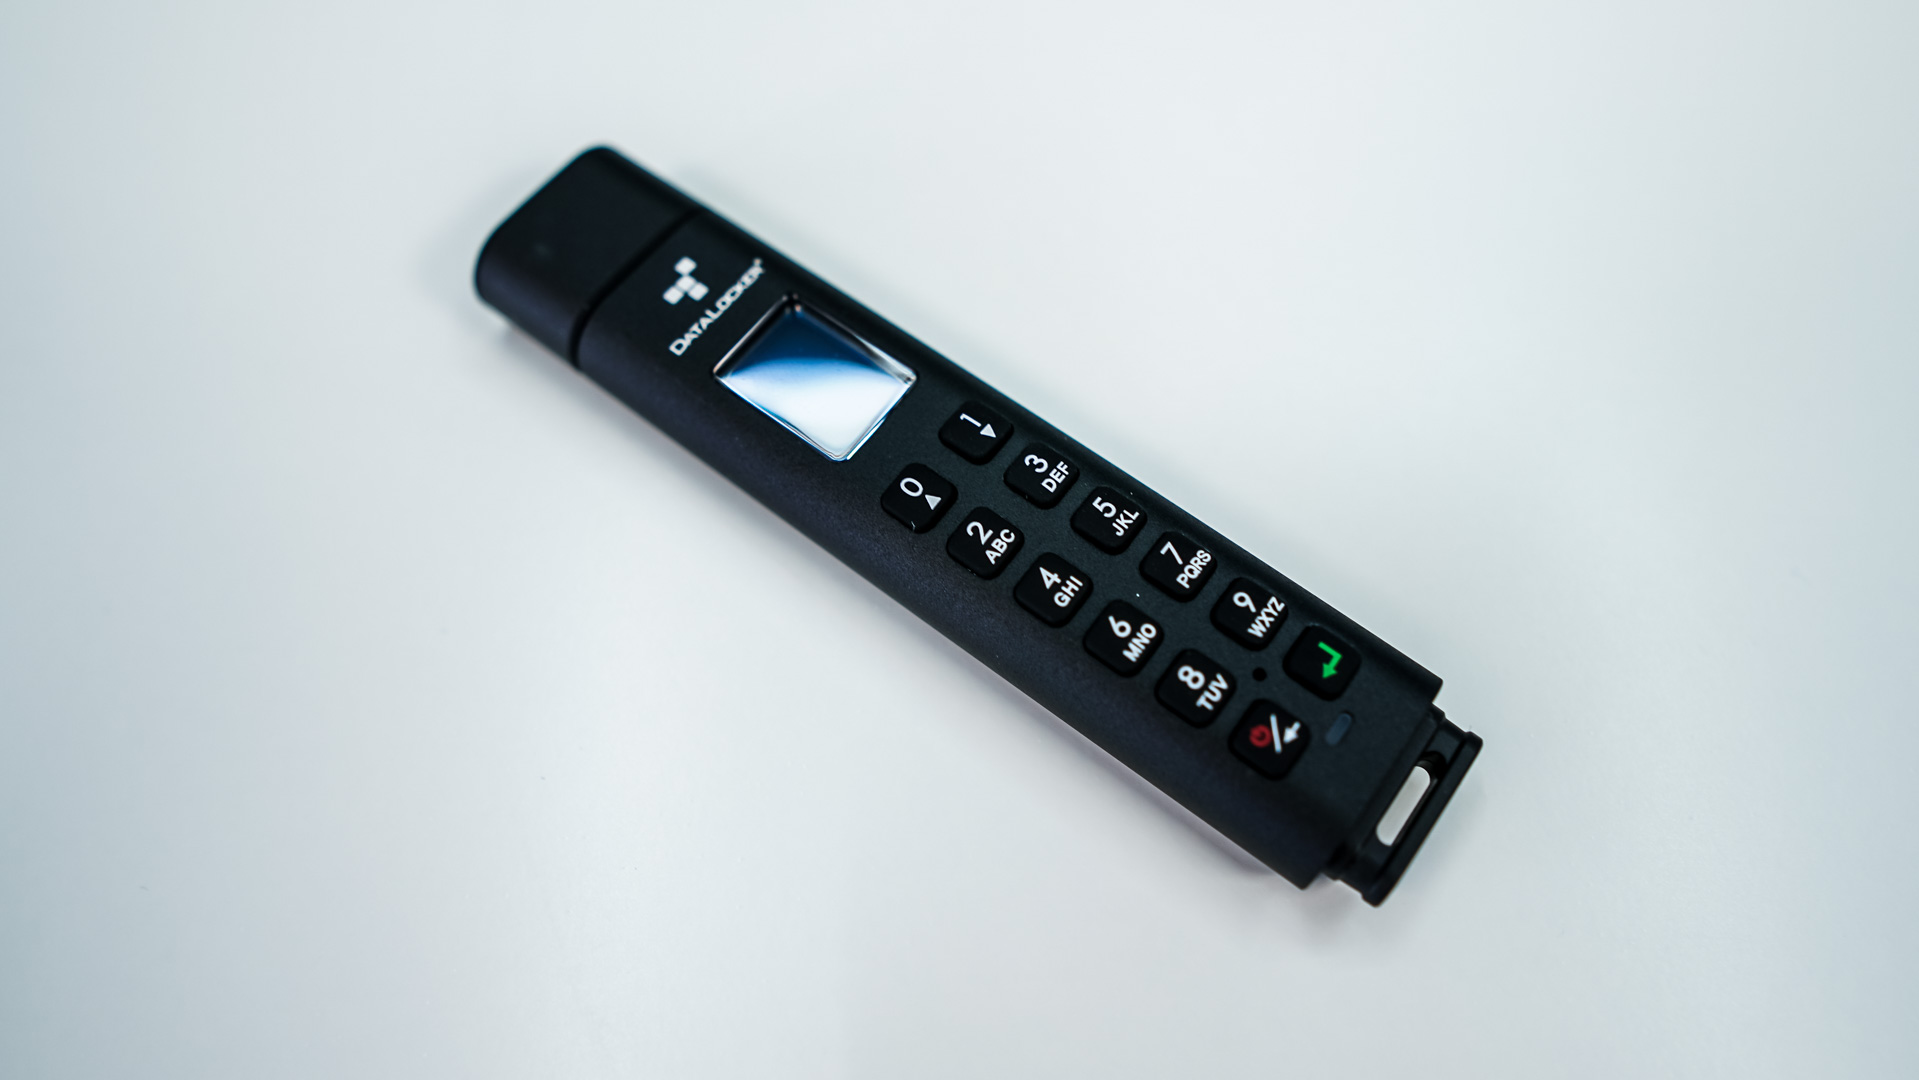
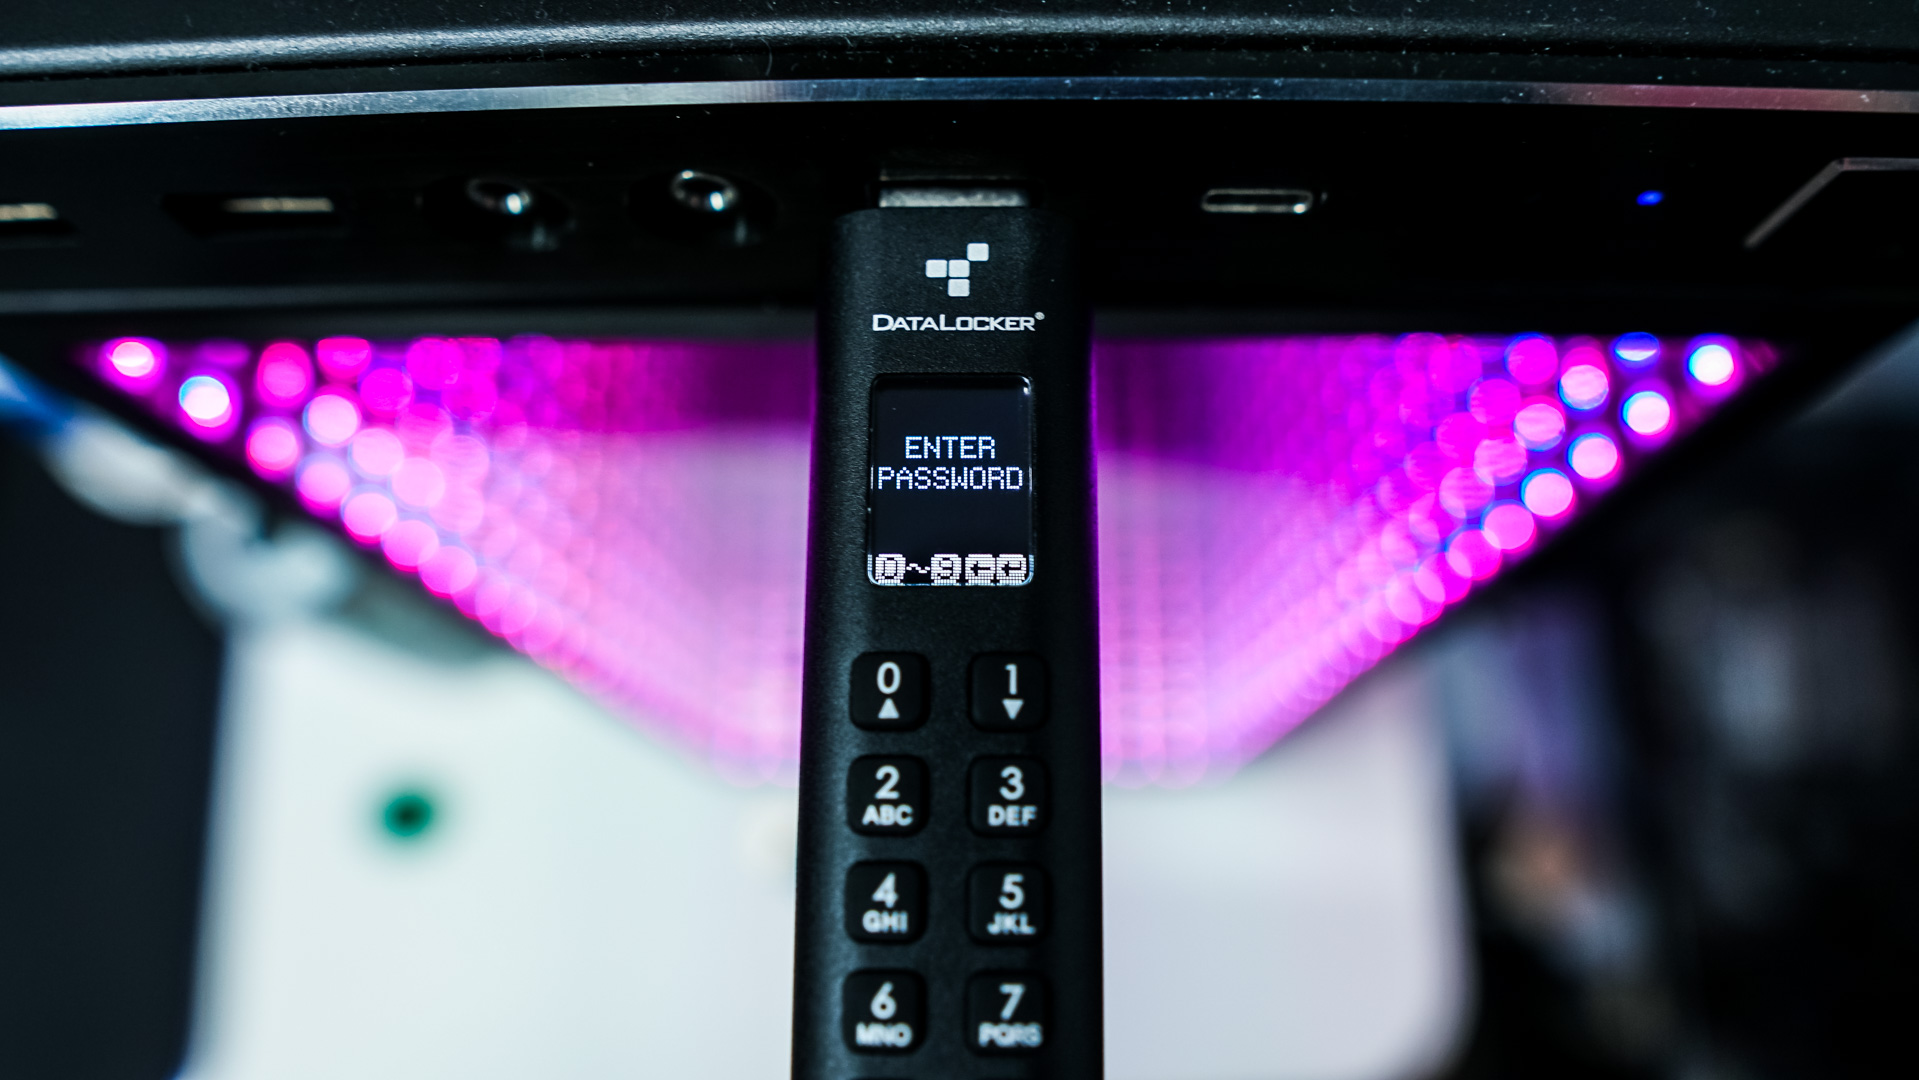
Getting the DataLocker Sentry K300 setup is pretty easy. First you want to make sure it is charged, in order to unlock it it will need at least some battery life. To do this just plug it into any open USB port in your PC for 30 minutes. Once charged press and hold the power button for 3 seconds and you will be prompted to enter the default password which is “1234567” and then press the green button.
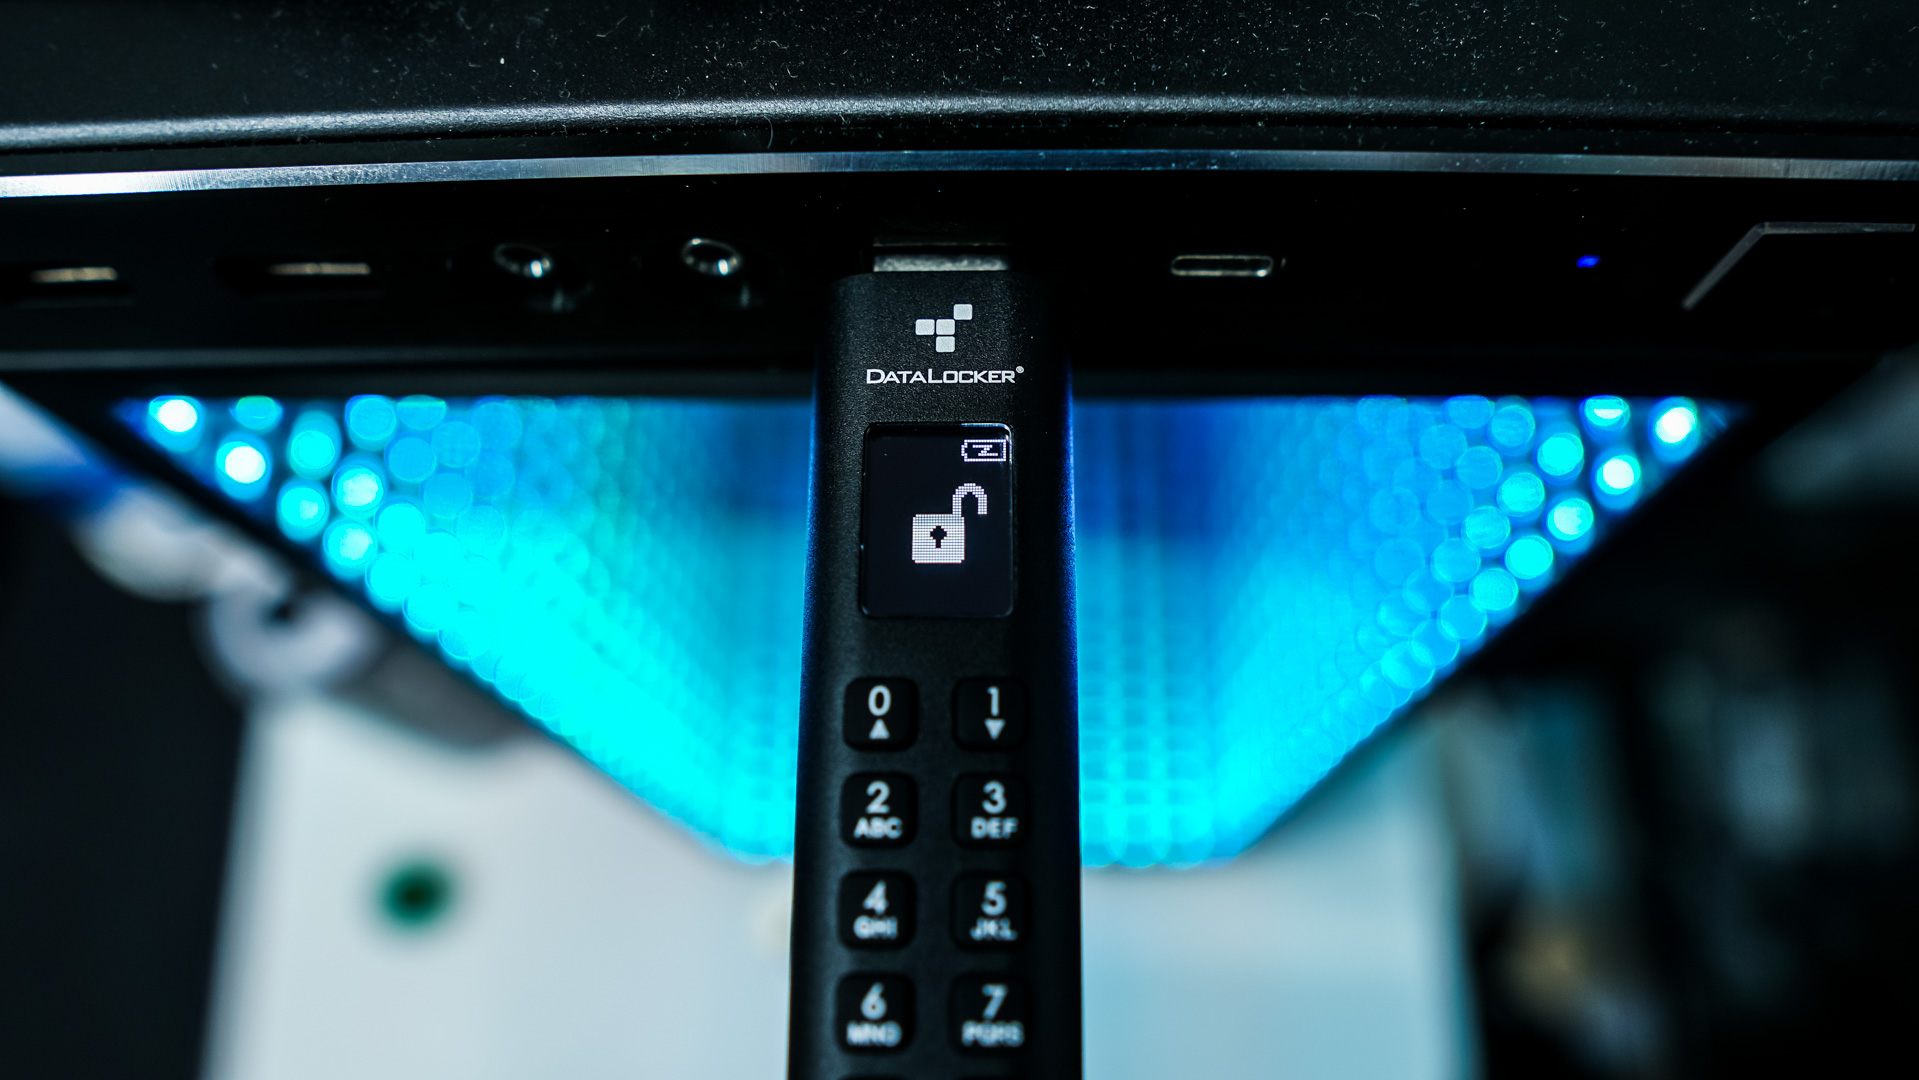
From there the drive will unlock and you’ll have the option to connect or do a few other things in the menu. When you hit connect the drive will be unlocked and will be recognized by Windows when you plug it into your PC. You’ll also notice a large unlocked symbol on the display.

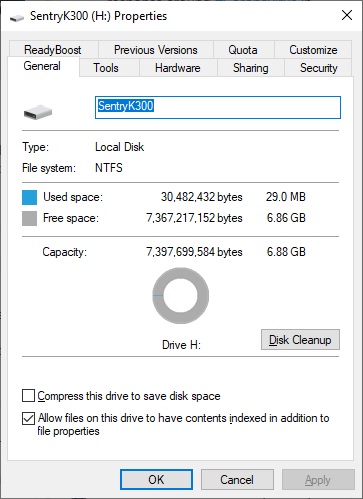
When the drive is recognized by Windows it should pop right up. There is not anything on the drive, no user’s guide or utilities. The 8GB version that we received has 6.88 GB of usable space.
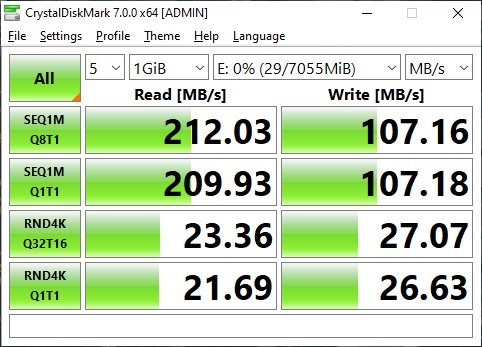
For those wondering about speeds this is a USB 3.1 gen 1 drive. Running CrystalDiskMark we have pretty good transfer speeds.
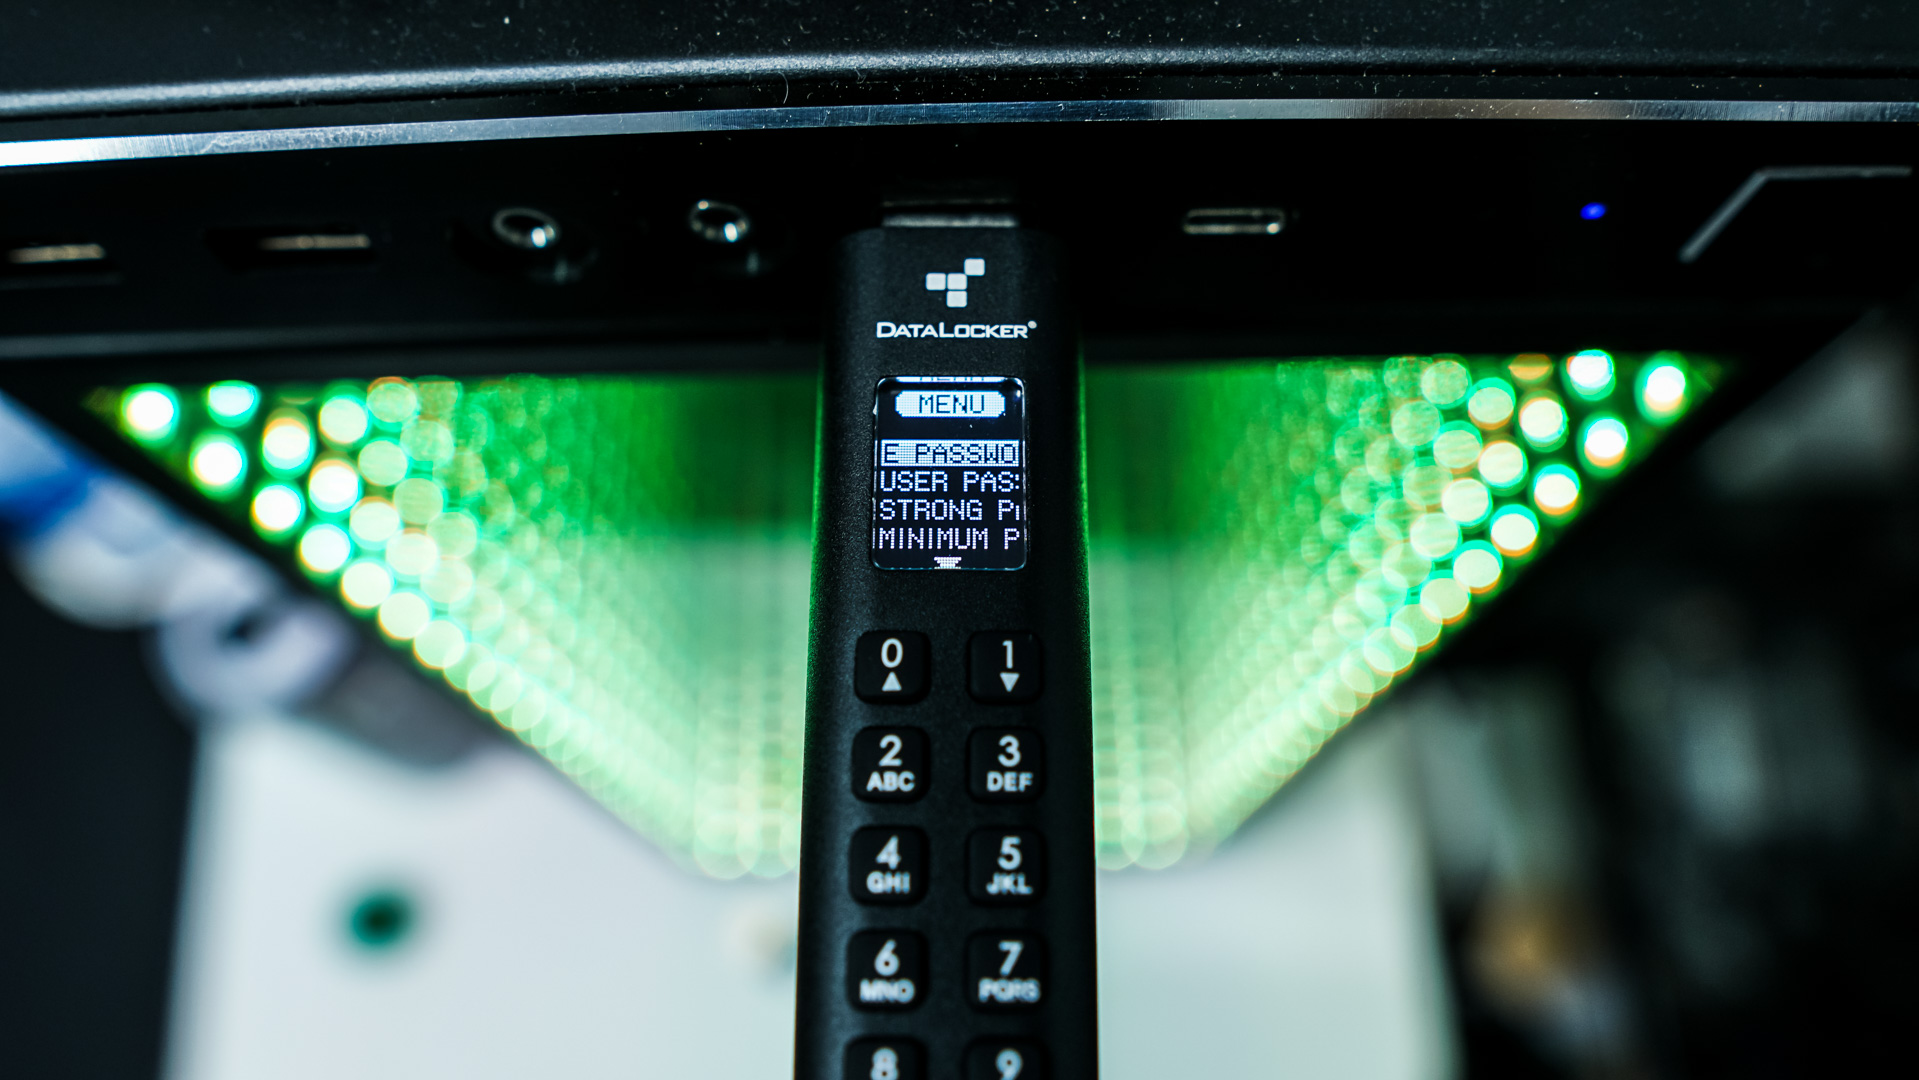
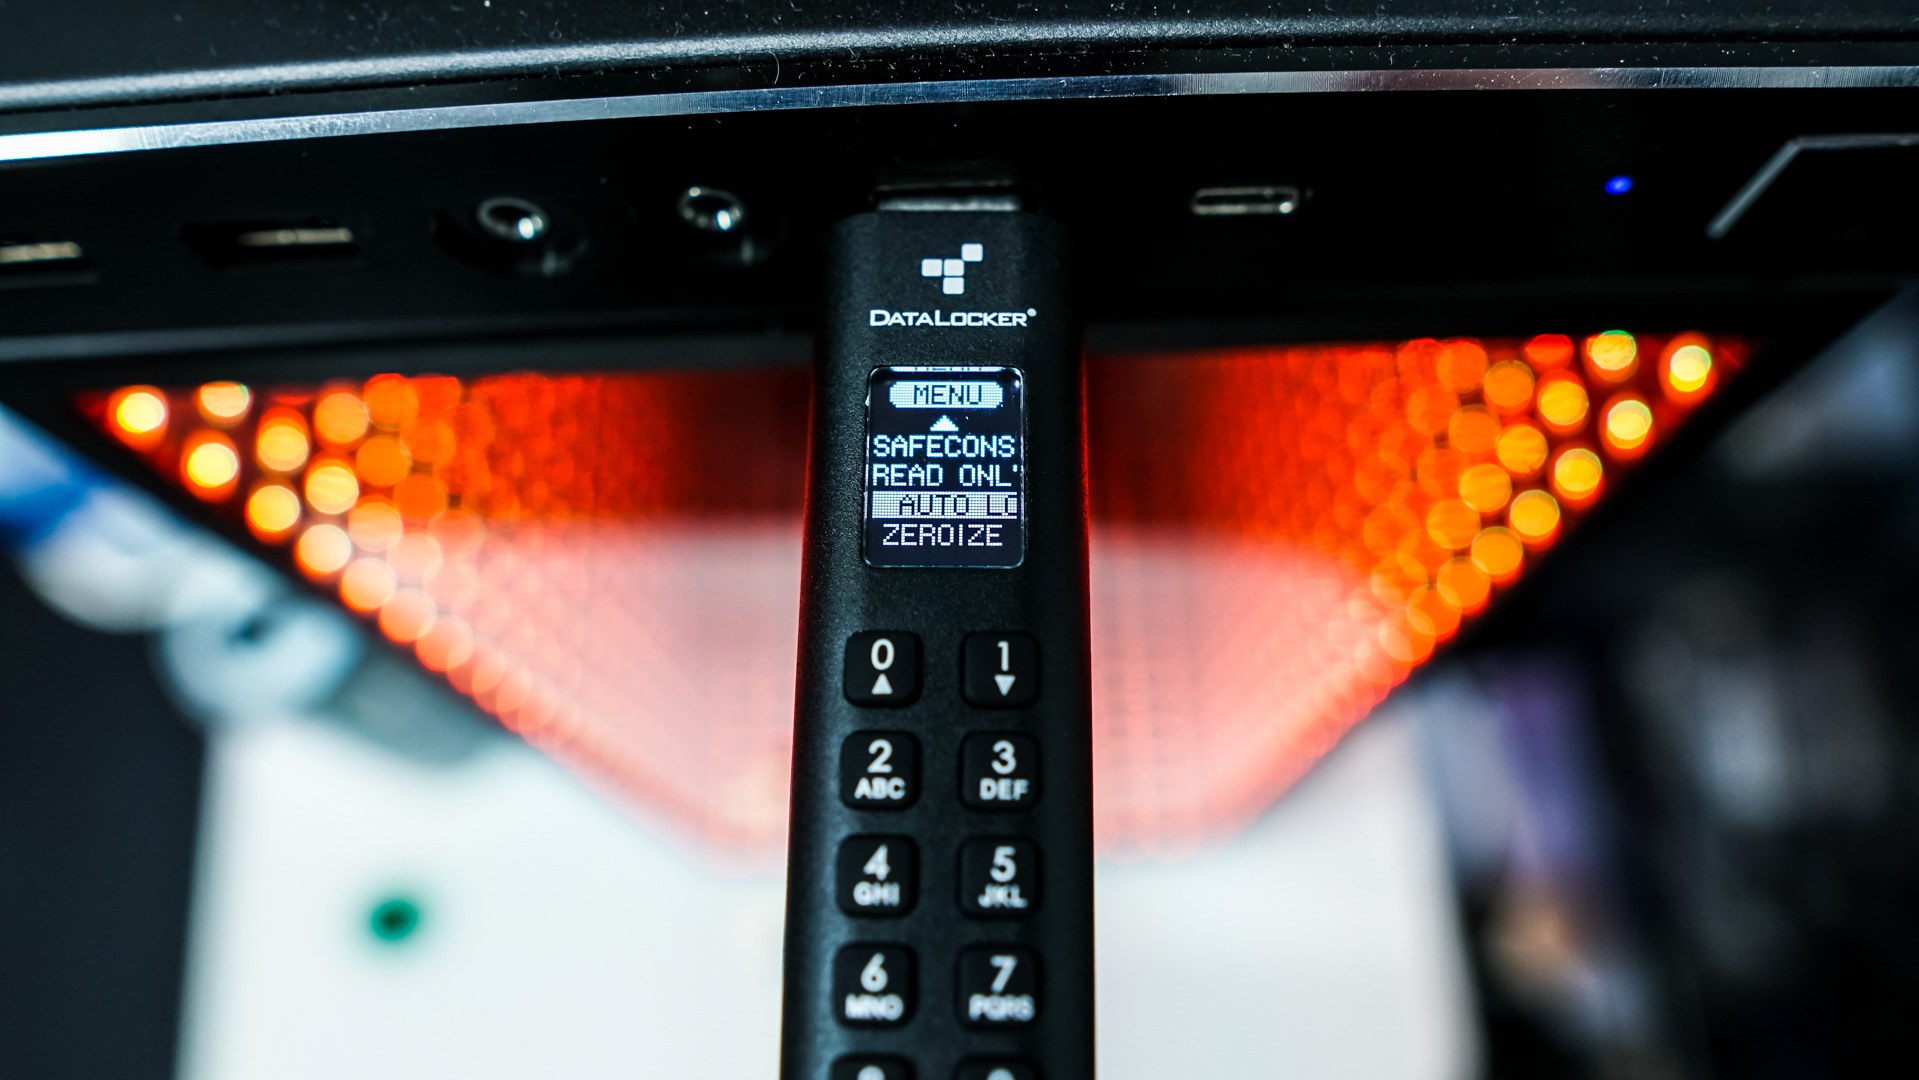
The OLED screen makes changing your password and much more very easy. We had no problem changing our password as well as setting the time for the auto-lock feature. Also since you have a screen you can input alphanumerical characters (pressing a number multiple times in a row) and actually see what your input is.