In this brief tutorial, we’d like to show the highest performance data access component called MyDAC in action. MyDAC is the unified connectivity solution by Devart and it provides boundless potential when working with MySQL. MyDAC provides components that provide direct access to MySQL and MariaDB from C++ Builder and Delphi. Here you can learn more about the MyDAC component set.
On the download page, you can choose your version. For this tutorial, we’ve selected RAD Studio 11 Alexandria which is the Professional Edition for evaluation purposes with some limitations. Let’s download and install it. After a successful installation, you can see the new MyDAC menu. Here, you can see the installed component set. You can go with Delphi or C++, we’re going to go with the multi-device application Delphi.

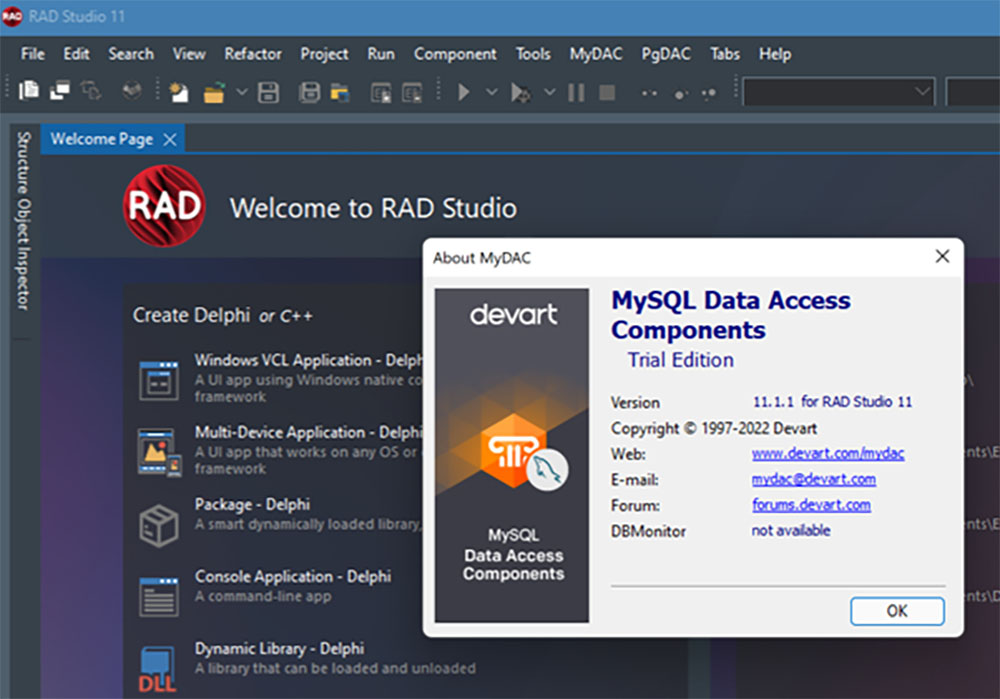
Figure 1. Information about MyDAC.
In the blank application, go to the palette where you can see MyDAC components. Using them, you can have all the features you need and additional product options to simplify your workflow like service tasks, HTTP tunneling, bulk data loading, row-level and table-level locking.
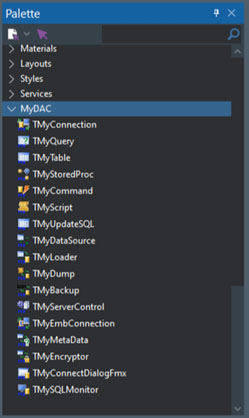
Figure 2. The base components for the MySQL connection and fetching processes.
Let’s see these components in action.
Click the TMyConnection component, place it on the palette, and double-click it. In the pop-up window that appears, you need to enter the credentials to connect to your server (see Figure 3).
In this tutorial, we will use SQL Workbench.
Let’s go to the Schemas window.
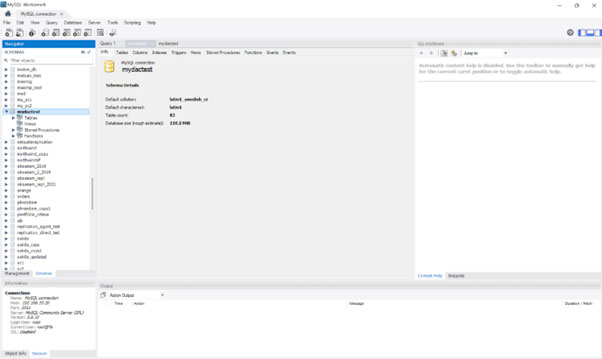
Figure 3. MySQL Workbench.
We can now create the query for the database.
In the shortcut commerce menu, select Select Rows where you can see the connection details you need.
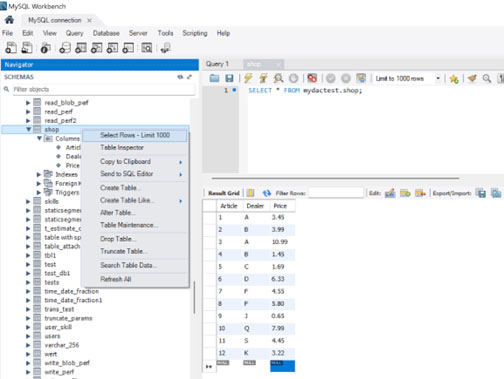
Figure 4. Reviewing the data from the table.
Go back to RAD Studio and put the localhost server connection details.
Insert your server name, the username, and give the password. Select the database and click Connect – OK. Now we have connected to the database.

Figure 5. Creating connection to a MySQL database.
Let’s put the TMyQuery component to create queries on the database with SQL.
As you can see, it is automatically showing the connection details. Now, let’s write our SELECT command to the SQL strings property where it affects the data from the table when it’s first connected.
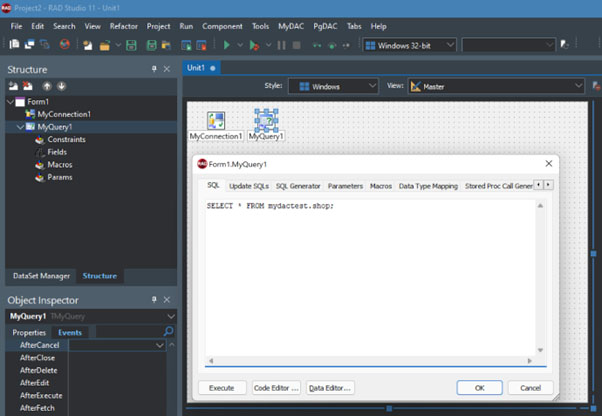
Figure 6. Creating query on the database with SQL.
Now let’s write one line of code here where we close the database connection between the application and the server when we close the application.

Figure 7. SELECT command input.
You can see the table already in the LiveBindings Designer.
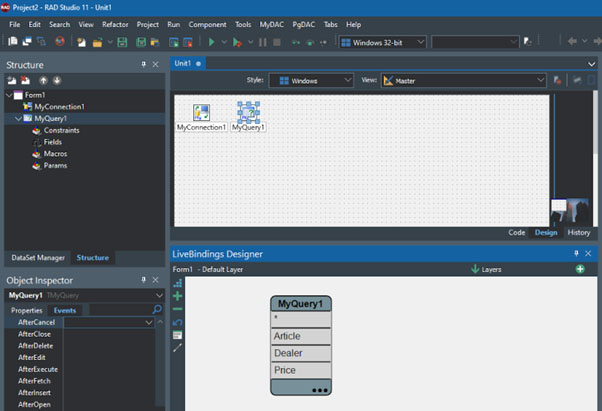
Figure 7. Table “shop” in the LiveBindings Designer.
Since we are creating a cross-platform application, it’s better to utilize tillis view component to show the data rather than using TStringGrid.
Now, let’s change the item appearance because we need to show more data in each list view item.
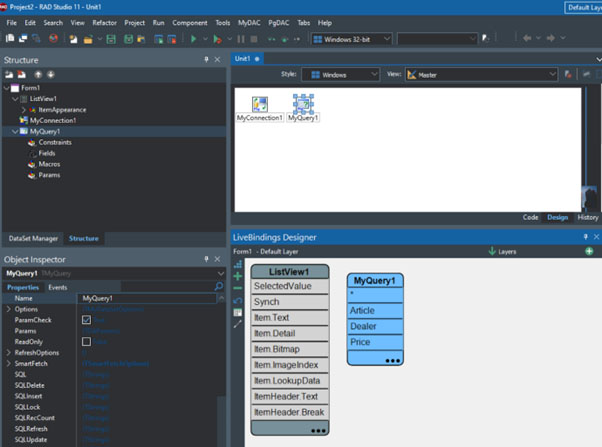
Figure 8. TStringGrid component settings.
Now, let’s connect the UI controls and data source. Sync properties should be connected first, then other columns.
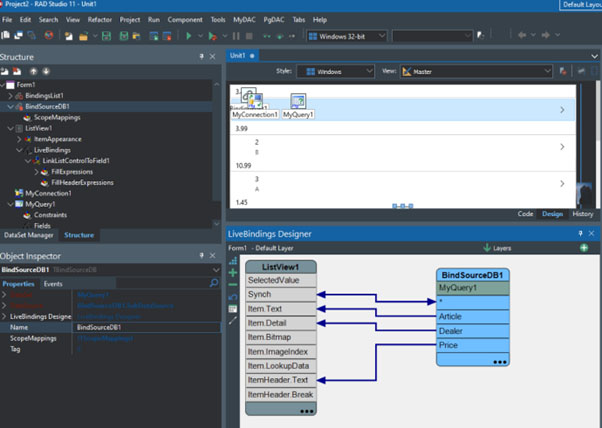
Figure 9. Properties synchronization
You can already see the data on the front Designer.
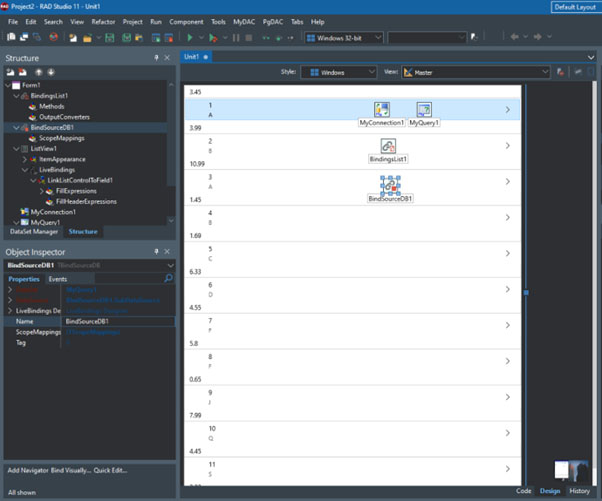
Figure 10. Data review on the front Designer.
Save and build your project.
This is our final app where we have connected to the MySQL database file and used LiveBindings to bind the data source to listview without writing any line of code.
Conclusion
MyDAC is the go-to component set when it comes to working with MySQL. It supports cloud-based MySQL services and allows mobile applications to work with MySQL databases as simply as desktop applications.