Installation
As with most AIOs, the installation of the EK-Nucleus AIO CR360 Lux D-RGB is quite easy. As DIY PC building seems to be getting more popular each and every day, the option of AIO liquid coolers is sure to entice those wanting to have a more advanced build, and easy installation will go a long way towards not scaring off first-time builders. As you would expect, EK has included all of the necessary mounting hardware for a large list of both Intel and AMD processors, including Socket 1700 and AM5, as well as a physical installation guide and manual. I have seen quite a few companies move to digital versions of their product manuals, and while I appreciate their reduced waste, I still prefer a physical copy of installation instructions, and was happy to have them for this kit.
Our testing is performed with fans in a push configuration, so to get things started, I first needed to secure the fans to the radiator using the supplied screws. This is a very simple process, and as long as you line up the screws with the screw holes, and can operate a screwdriver, you will be good to go.
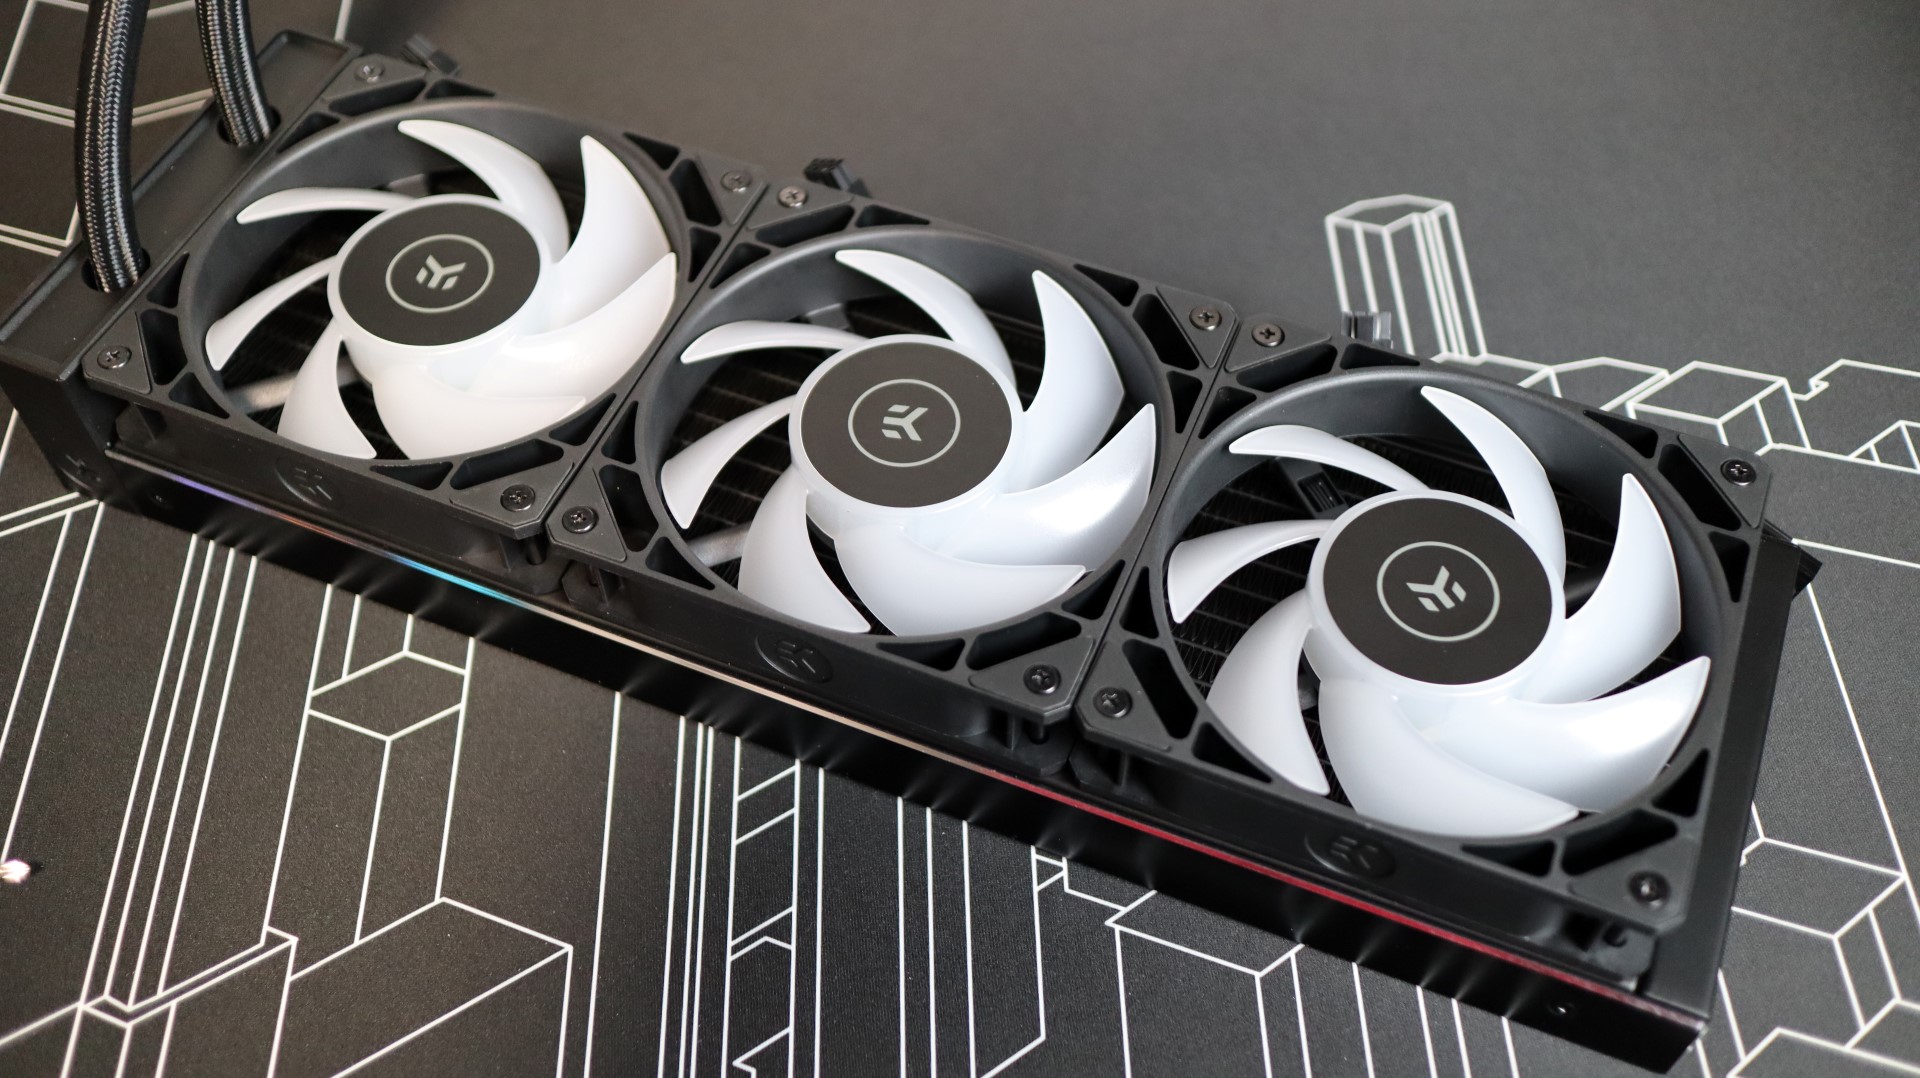
One thing to keep in mind however, is the orientation of the fans with regards to their power and lighting cables. I mounted the fans to the radiator so that their cabling would be between the fan frames and our motherboard tray. Thanks to the daisy chain design of the EK-FPT fans, this makes for much easier cable management.

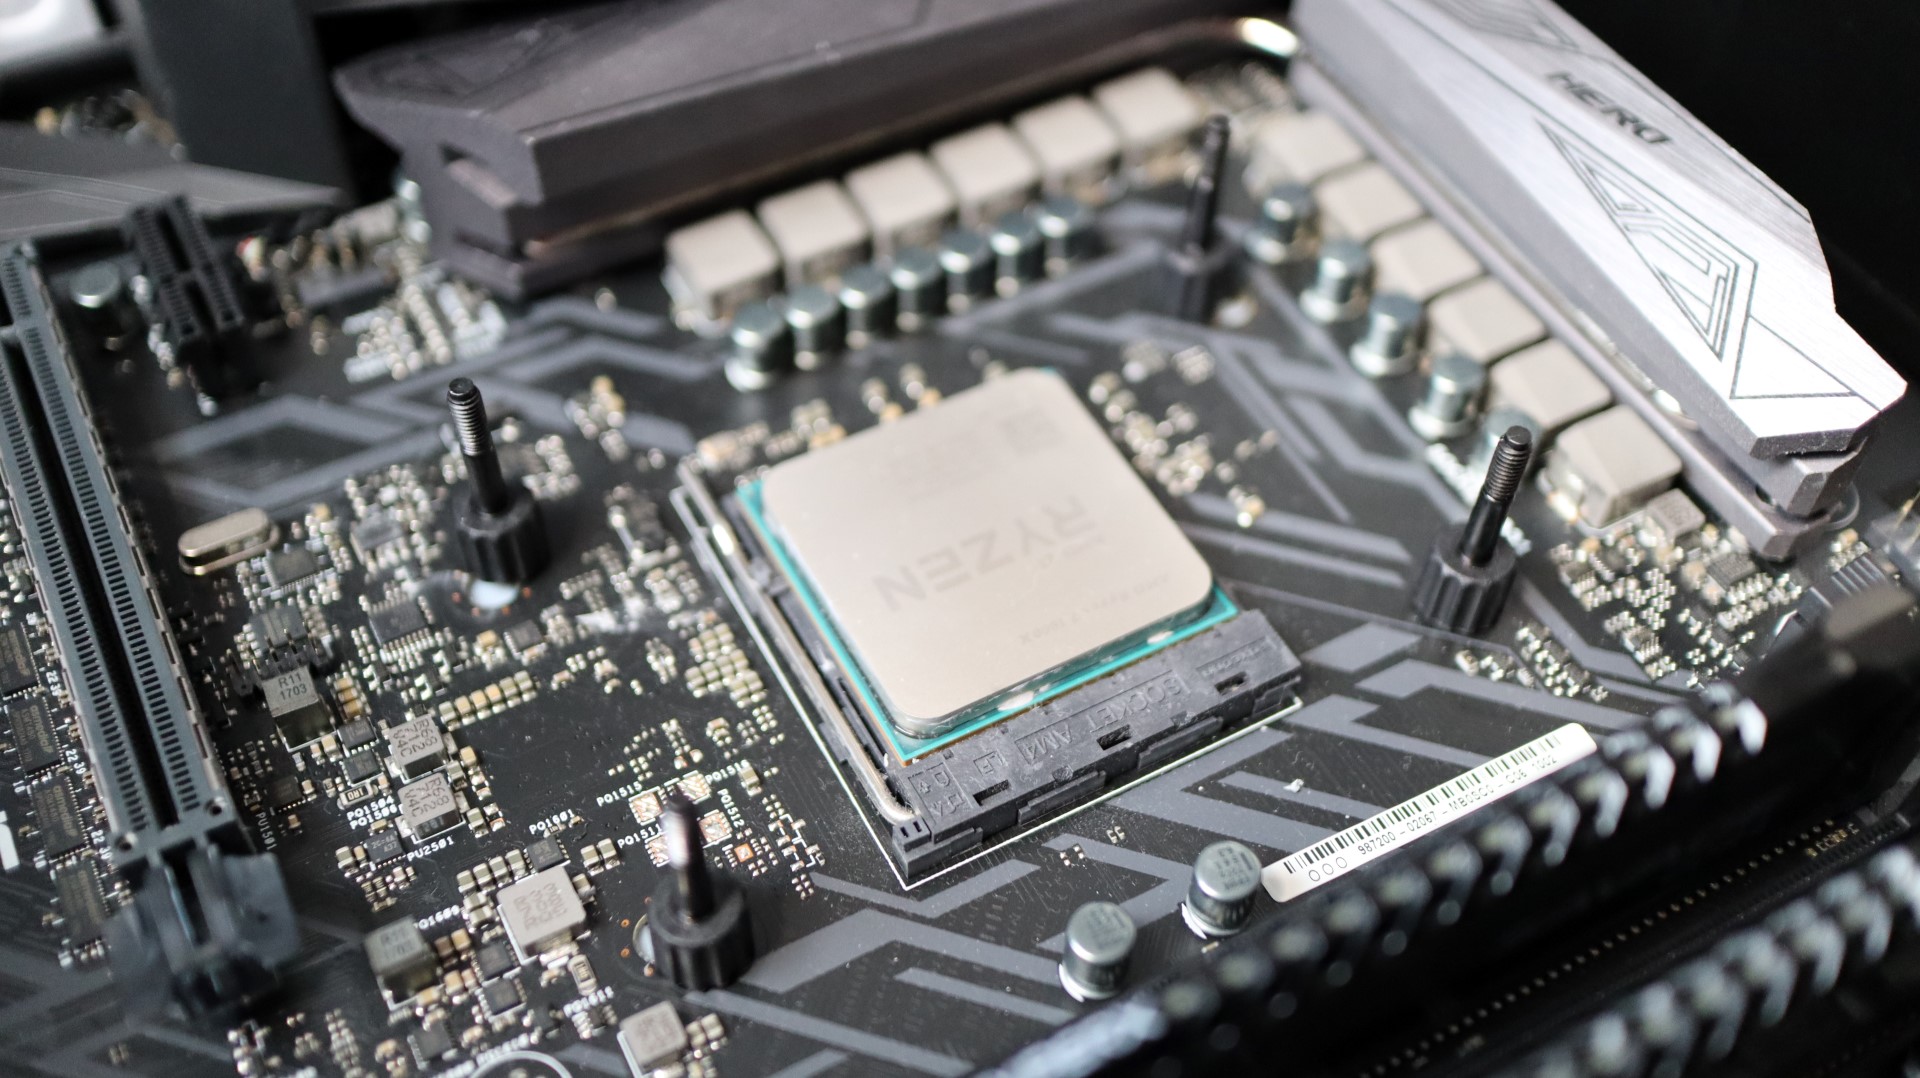
From the factory, the CR360 doesn’t have any AMD or Intel mounting hardware installed, so my first step of CPU block installation was to install the AMD mounting hardware for my Ryzen 7 1800X test system. This is a pretty trivial process that involves mounting a single bracket to the bottom of the pump housing with the included mounting screws.
Next up is attaching the radiator to the top of our case. Just like attaching the fans to the radiator, attaching the radiator to the case is a simple task. Using the twelve included screws, simply align them with the appropriate mounting points on your case, and tighten. With the fans connected to one another, the only cable that needed to be fed to the back side of the motherboard tray was from a single fan, and it included both fan power and D-RGB lighting leads, via a provided adapter cable.
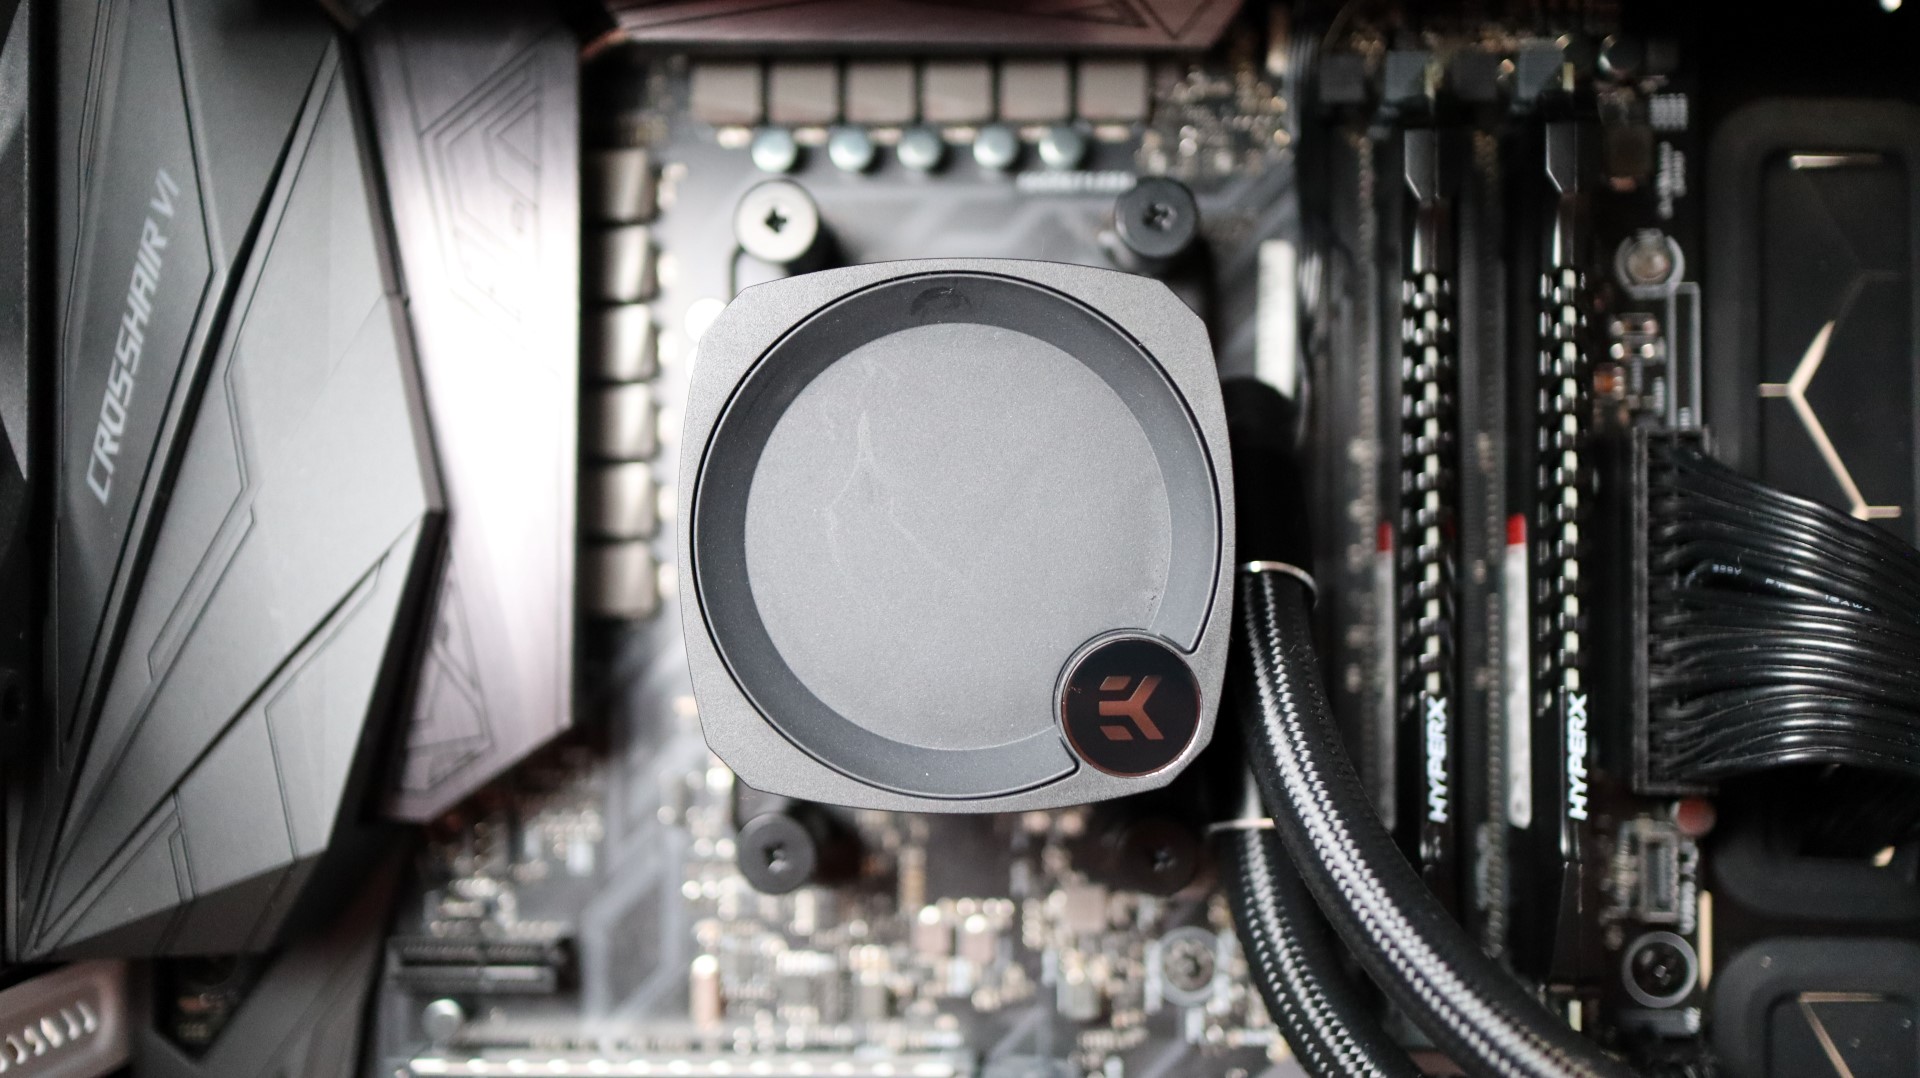
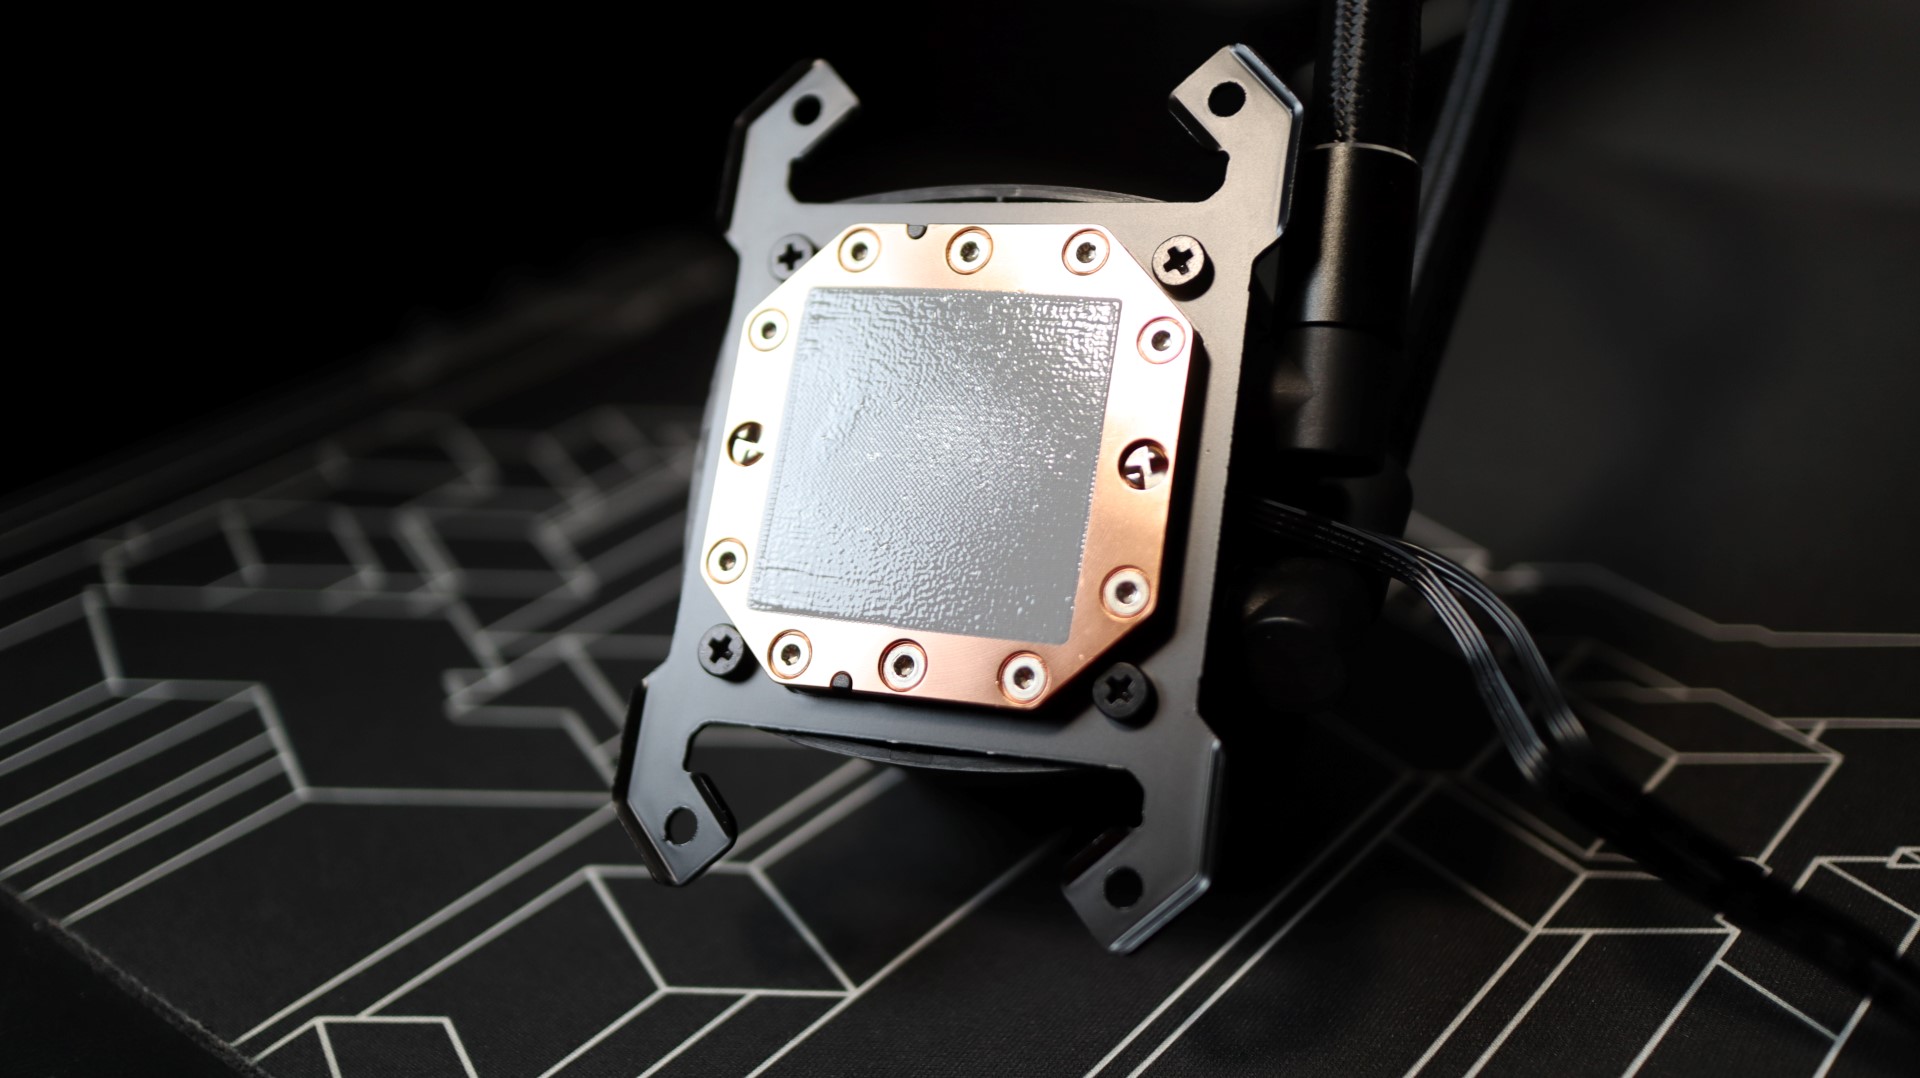
In order to install the cooler onto the CPU, I first needed to remove the plastic mounting blocks that many other coolers use for their mounting methods.

Adapter fittings are screwed into place, and then the cooler can be placed on top of them, secured with four additional thumb screws to keep the unit in place.
No need for a screwdriver here, as thumb-tight is good enough.

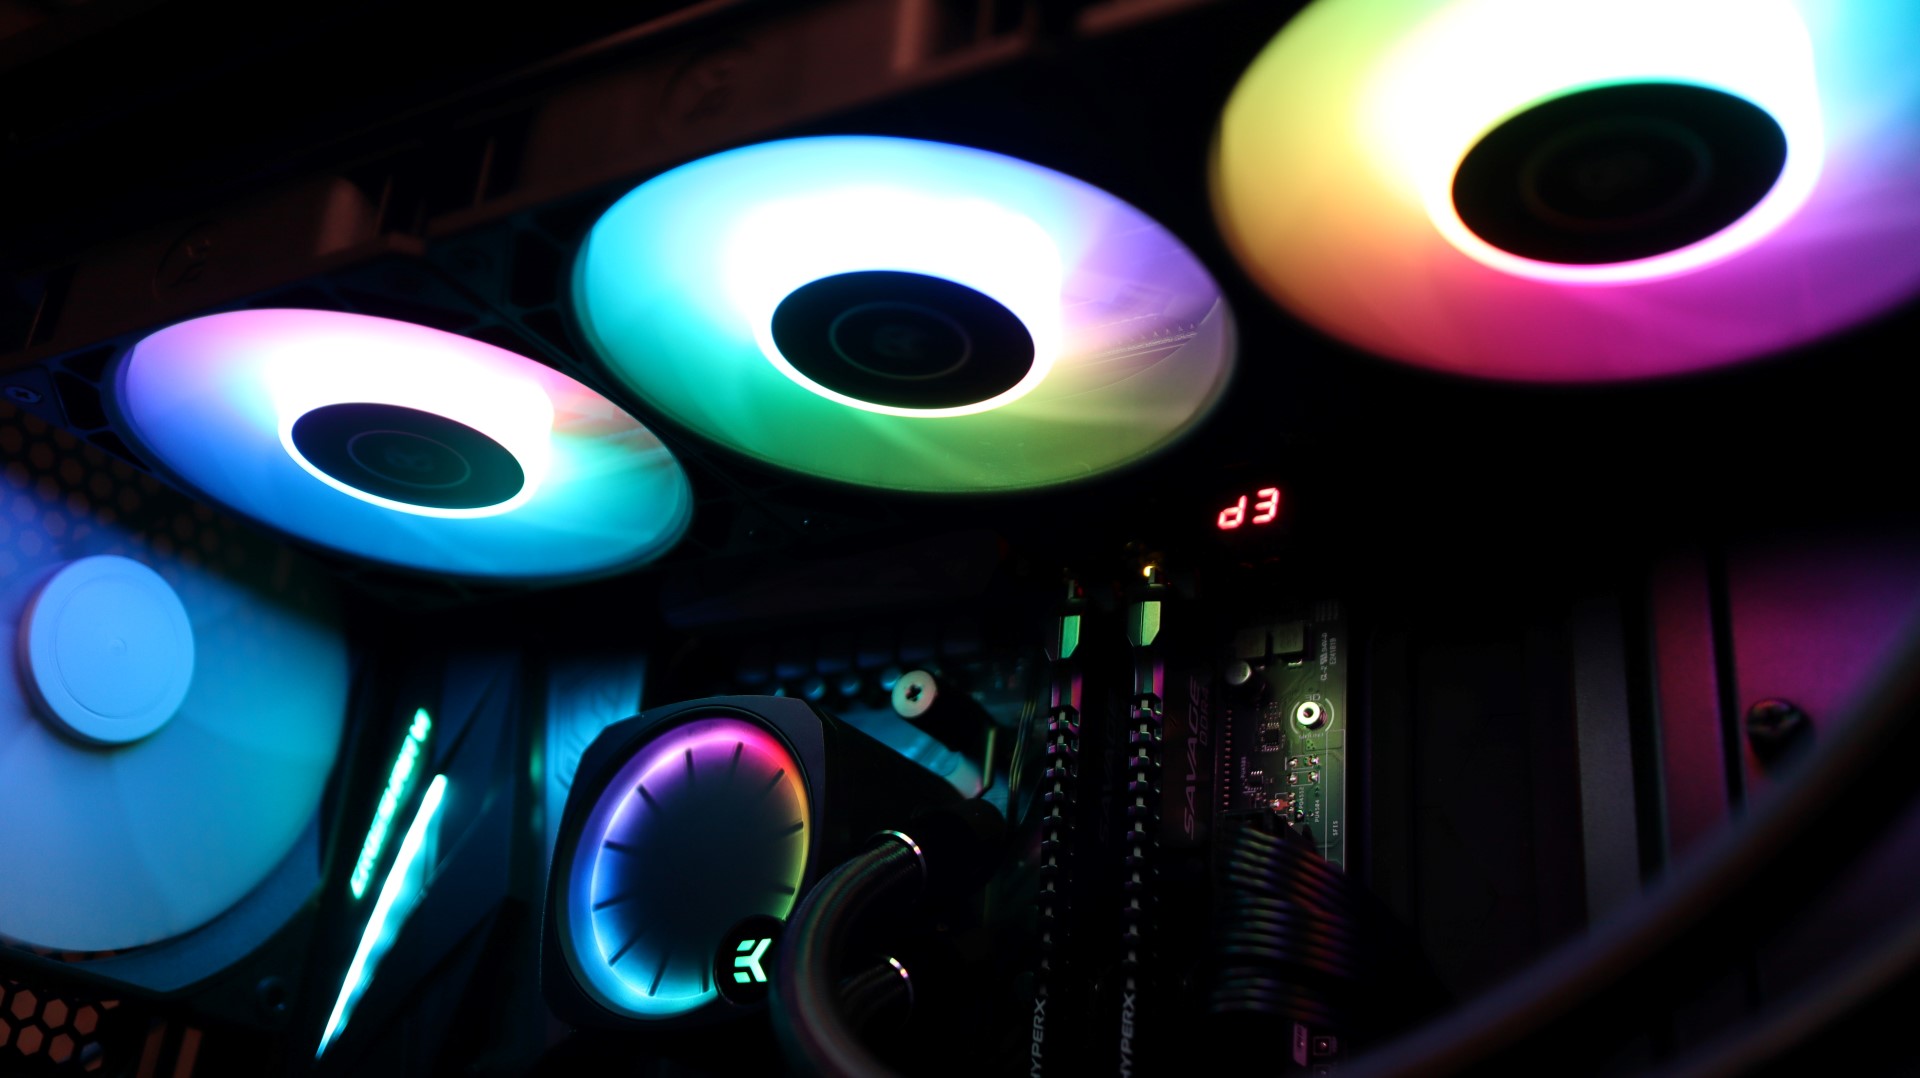
In order to power the CR360’s pump, I needed to connect the 4-pin PWM connector to my motherboard’s CPU_Fan header. This will allow me to not only power on the pump, but monitor its speed. Next I connected the pump’s 3-pin, 5V lighting connector to my RGB controller.