Filmora X is the tenth generation of the popular Wondershare Filmora X video editor. The Wondershare Filmora X video editing software gets points for being user friendly. It also has a number of features that automate advanced functions so that beginners to intermediate users can include them in their videos. One of the best features is the Filmora X motion tracking.
What is the Filmora X Motion Tracking Feature?
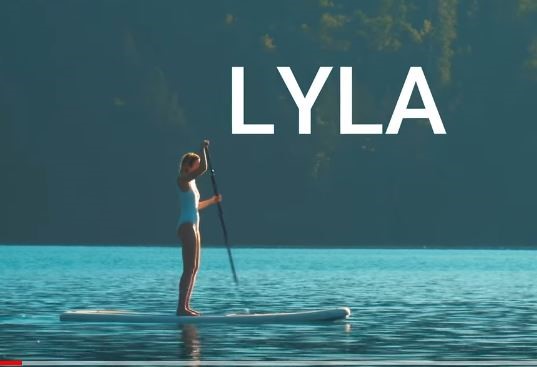
You’ve probably seen this in sportscasts, where they label the players as they move around the court. It can be used to track items in a training video, so that viewers know which item is which. Motion tracking generally requires specific hardware and software to both capture and process the related data.
Motion tracking can be used in animation. The motion tracking feature allows you to break down a moving person or object into separate, identifiable parts. This information can be used to create a stored motion template. Then you can transfer that motion template to an animation. You can keep the elements you want and replace others with the desired images. For example, you can record the movement of a human body but replace the head with a still, cartoon image. Or transfer a talking head onto a different real or graphic body. However, most people just need the addition of text to add detail or even a touch of humor to their videos.
Why Should You Use the Filmora X to Make Funny Videos?
There are a few things that separate the viral video from the rest. They tend to be short, since that makes them easy to consume. They’re always emotionally evocative. This generally means funny, though it can be surprising, shocking or inspiring as well. If you’re trying to create a marketing video or short video that increases viewership of your social media content, then the easiest solution is to try to create a short, funny video. Humorous is accessible and often shared, and more importantly, it is something most of us can identify. It is also less likely to go viral for the wrong reasons, since the goal is clearly to make people laugh. Because you can create funny video clips that are just a few seconds long, they’re already ready-made for smartphone viewers and social media sites.
At least, that’s what is possible when you create your funny videos using Filmora X, thanks to all the features it has that make this possible.
For example, Filmora X gives you access to a large royalty-free sound library, so you can add funny sounds to the video. It lets you add more than 800 stunning effects to your video, too. You can add them to the video foreground or use the Filmora X green screen and screen detection features to import a new background. However, one of the best tools to use when creating funny videos is the motion tracking feature in the FIlmora X video editor.
How to Use the Motion Tracking Feature in Filmora X Video Editor
Motion tracking in Filmora X allows you to attach an element to a moving object.
Once the movement has been tracked in Filmora X, you can add text, image or element. This could be a character introduction, whether you use their real name or a joke name like “The hapless fool”.
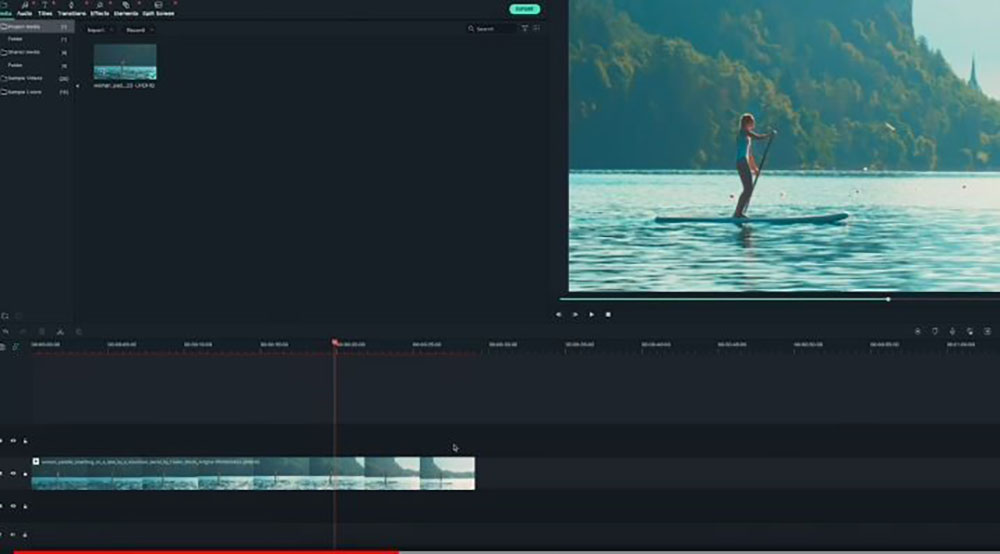
Step 1: Drag the footage you want to apply motion tracking to into your timeline in Filmora.

The subject you want to track in the frame must be in the frame for the entire clip. If they aren’t, you may need to shorten the clip by trimming it down. If there are interruptions in their appearance, this may necessitate using motion tracking to identify them in every clip where they do appear.
Step 2: Apply motion tracking.
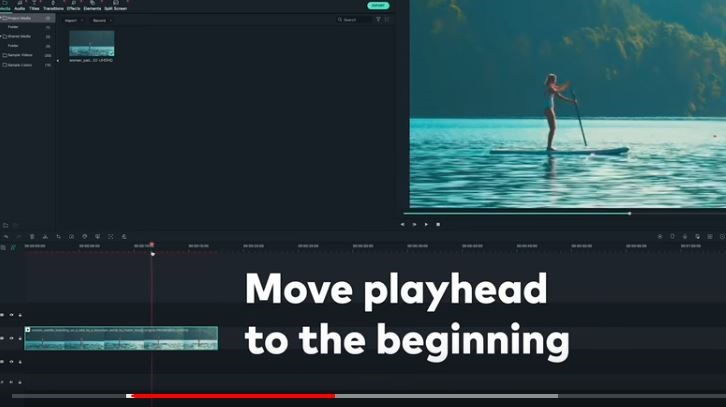
Move the playhead to the start of the video. You must do this because the tracking will start wherever the playhead is. Any video before that time stamp won’t be motion tracked. However, you can use this feature to start motion tracking two or three seconds into the video clip so that viewers get the context before you introduce the people and things in the video.
Open the motion tracking toolbar from the icon on the toolbar in Filmora X. You can do this by double-clicking on the clip, then selecting motion tracking from the editing menu. This causes

Step 3: Edit the motion tracking box.
The motion tracking box will be in the video clip. You’ll need to move and resize it to select the object you want to track. We recommend selecting the entire body of the person or the entire visible portion of any object. On the other hand, the box needs to be as small as possible so that it doesn’t try to track birds or balls in the background.
Step 4: Run motion tracking.
Once you’ve selected the right object in Filmora X, click on the “Start Tracking” button.

Filmora will take a few moments to analyze the footage. The wait time will depend on how long the video clip is and how complex its motion is.
Step 5: Add the object that will follow the track and adjust.
Now, it’s time to add the object to follow the moving path. The simplest object is a text identifier. To add a person’s name above them in the video without any preset animations, you’d open up the Title menu. Select a default title, and then drag it to the track above the video clip. Type in the text that will track the subject.
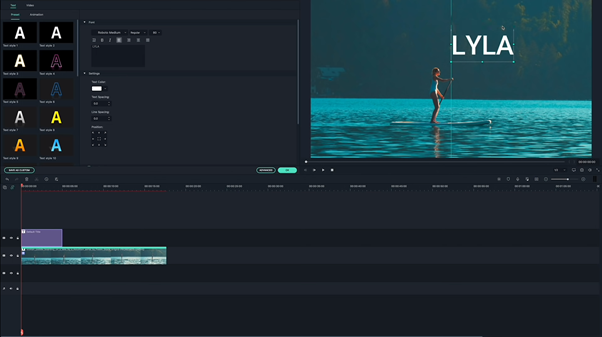
While you’ve created the title label, you need to position it in the video where you’ll want it to remain throughout the video clip.
Filmora X allows you to determine how long the label will be seen. This could be anywhere from a few seconds to the entire video clip. Go to the timeline and stretch the effect’s duration so that it lasts as long as you want it to. If you want it in place for the entire video clip, the duration time should be until the end of the clip.

While you’ve created the title label, you need to position it in the video where you’ll want it to remain throughout the video clip. You can also adjust the size of the text or other inserted elements. Once you set it, Filmora X will integrate it into the video and show the label in that location as the subject moves around.
Step 6: Add an object to follow the motion tracking movement.

You can return to the video by double-clicking the footage you’ve applied the tracking to. This gives you access to the motion tracking menu. The motion tracking menu allows you to see all tests, images and other objects available. From here, you have to select the element so that it is set to move with the clip you just set to be tracked.
When done, you can continue editing the video and introducing other effects. The Filmora video editor has quite a few features. The list includes but is not limited to split screens, green screen, and creative transitions.
You would use the video editor titles to create title slides and transitions for your video.
All of these features are as easy to use as the motion tracking feature in Filmora.