Installation
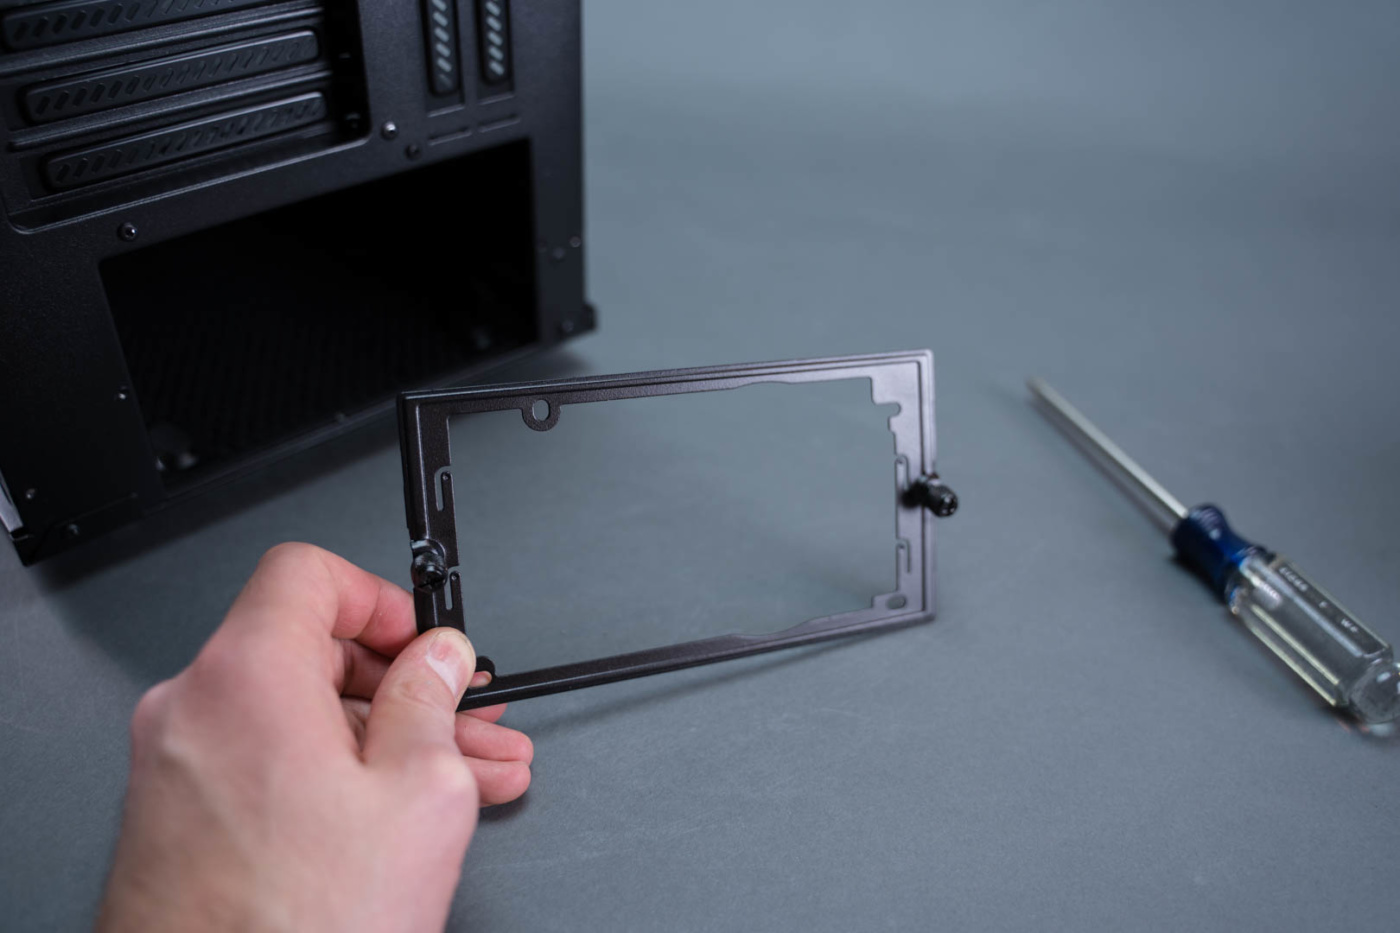
We start our installation at the PSU. Undo the thumbscrews at the bottom rear of the case to remove the bracket. Align the mounting holes with the back of your power supply and attach the bracket with the included screws.
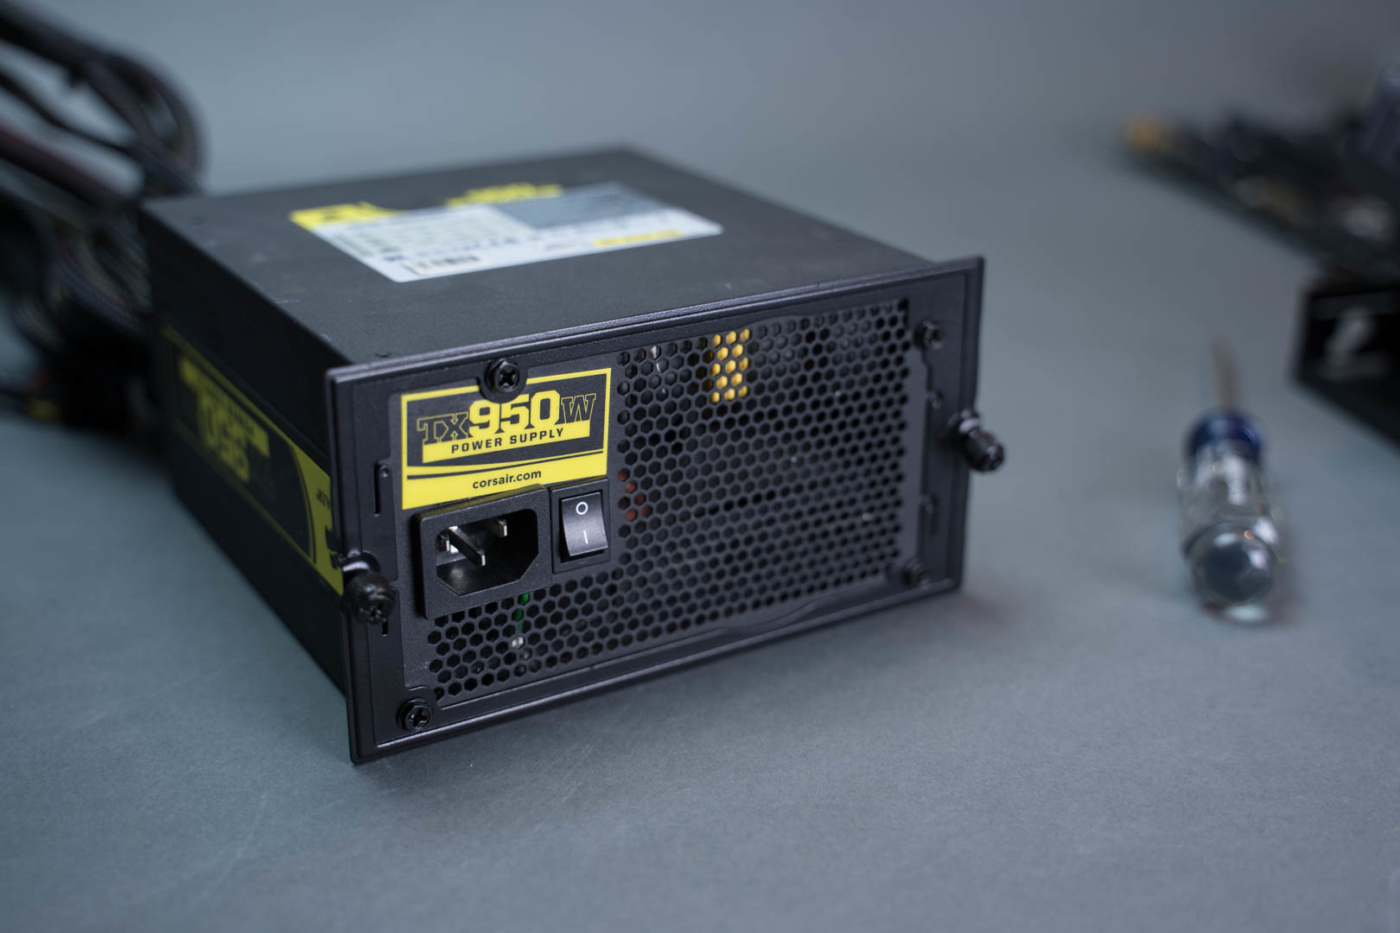
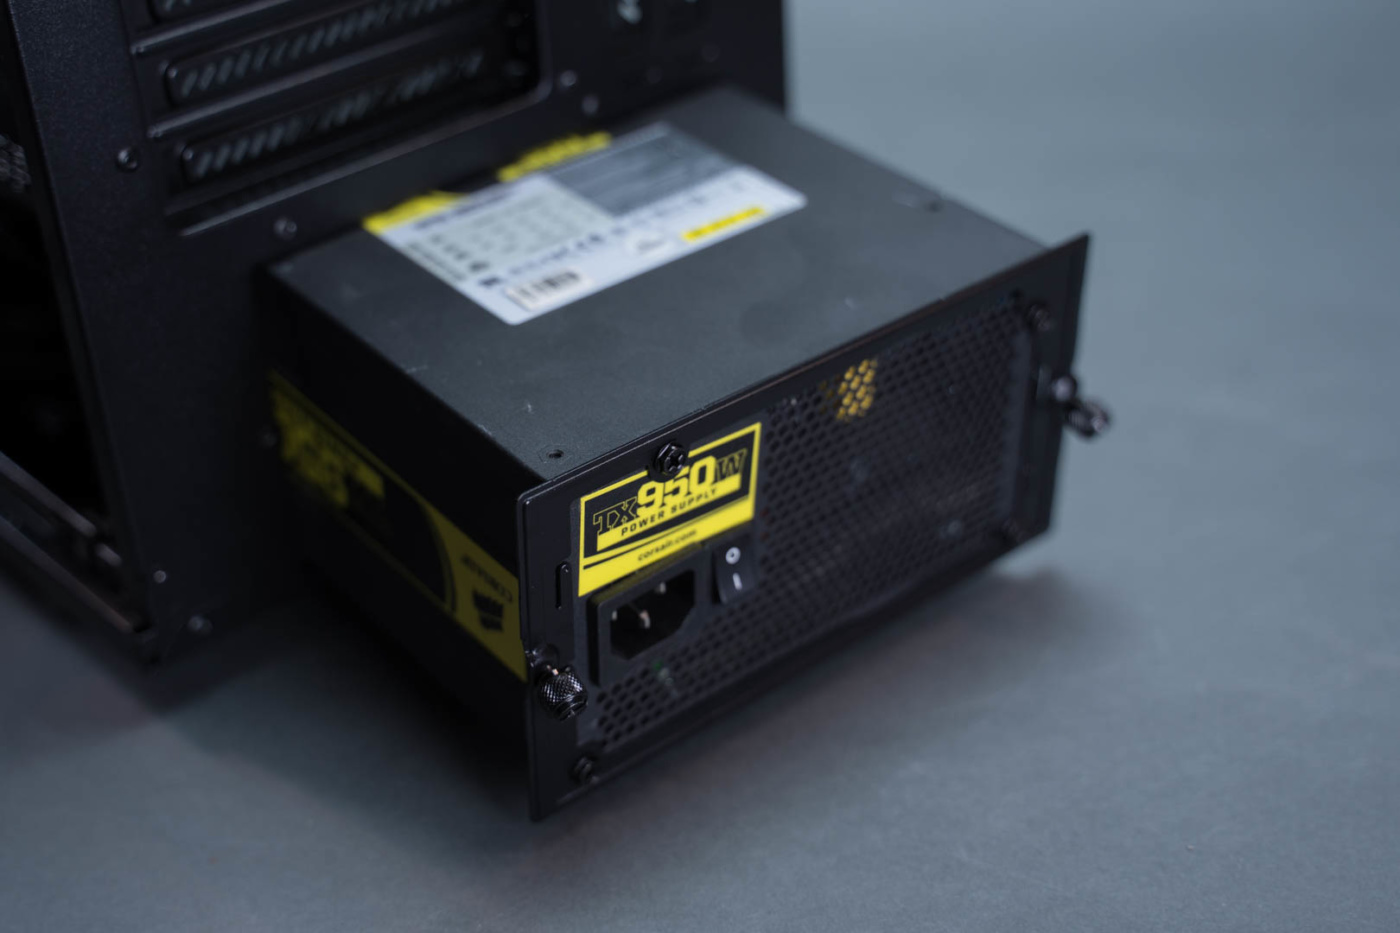
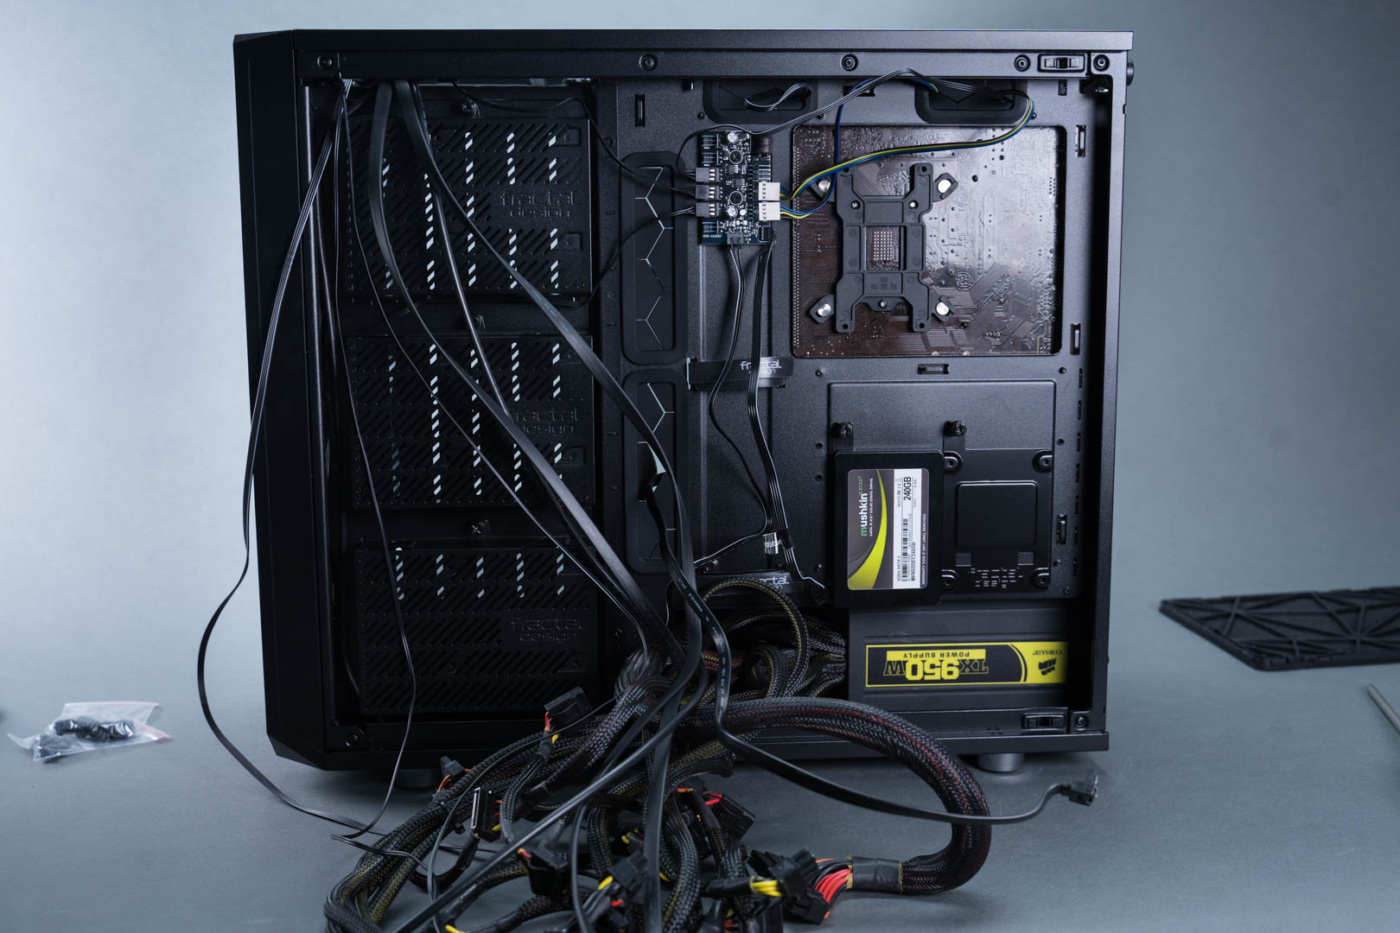
With the bracket in place you can now install the PSU into the case. Our non-modular Corsair PSU has a ton of cabling. Run this through the hole in the back first then out the long side access on the back panel.
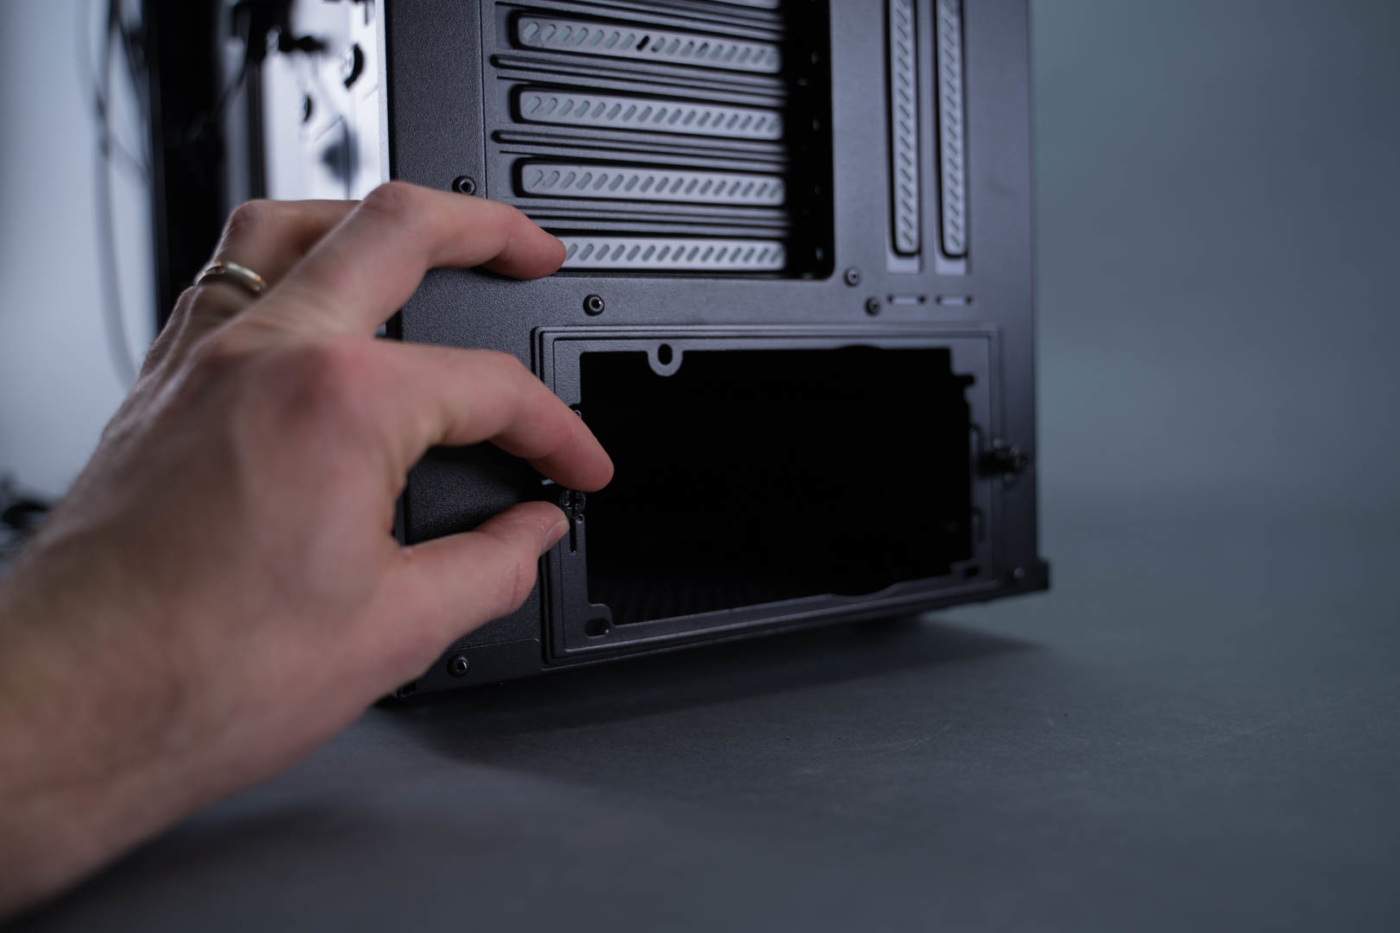
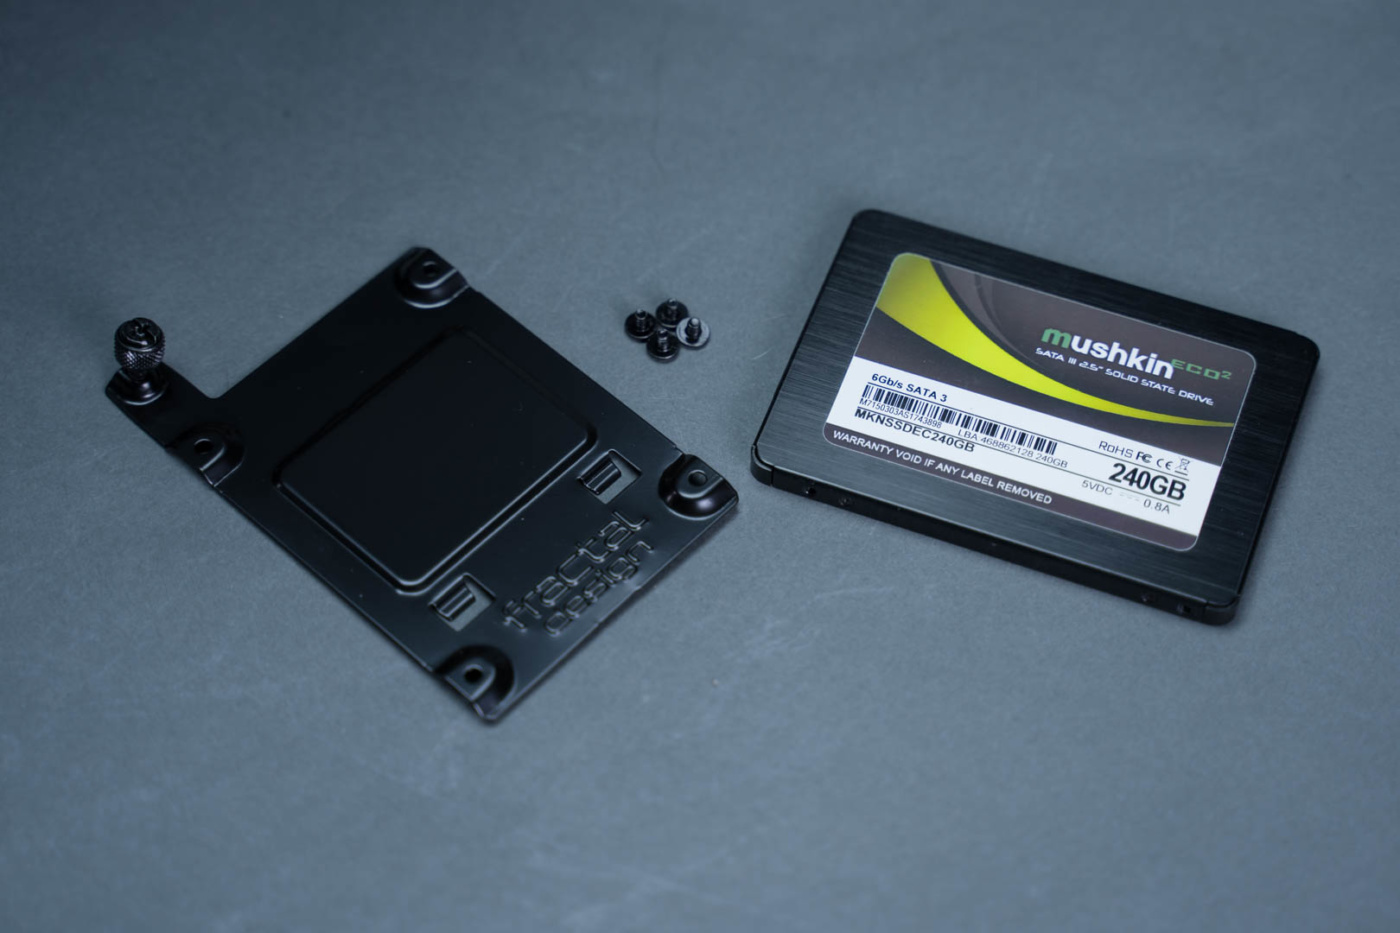
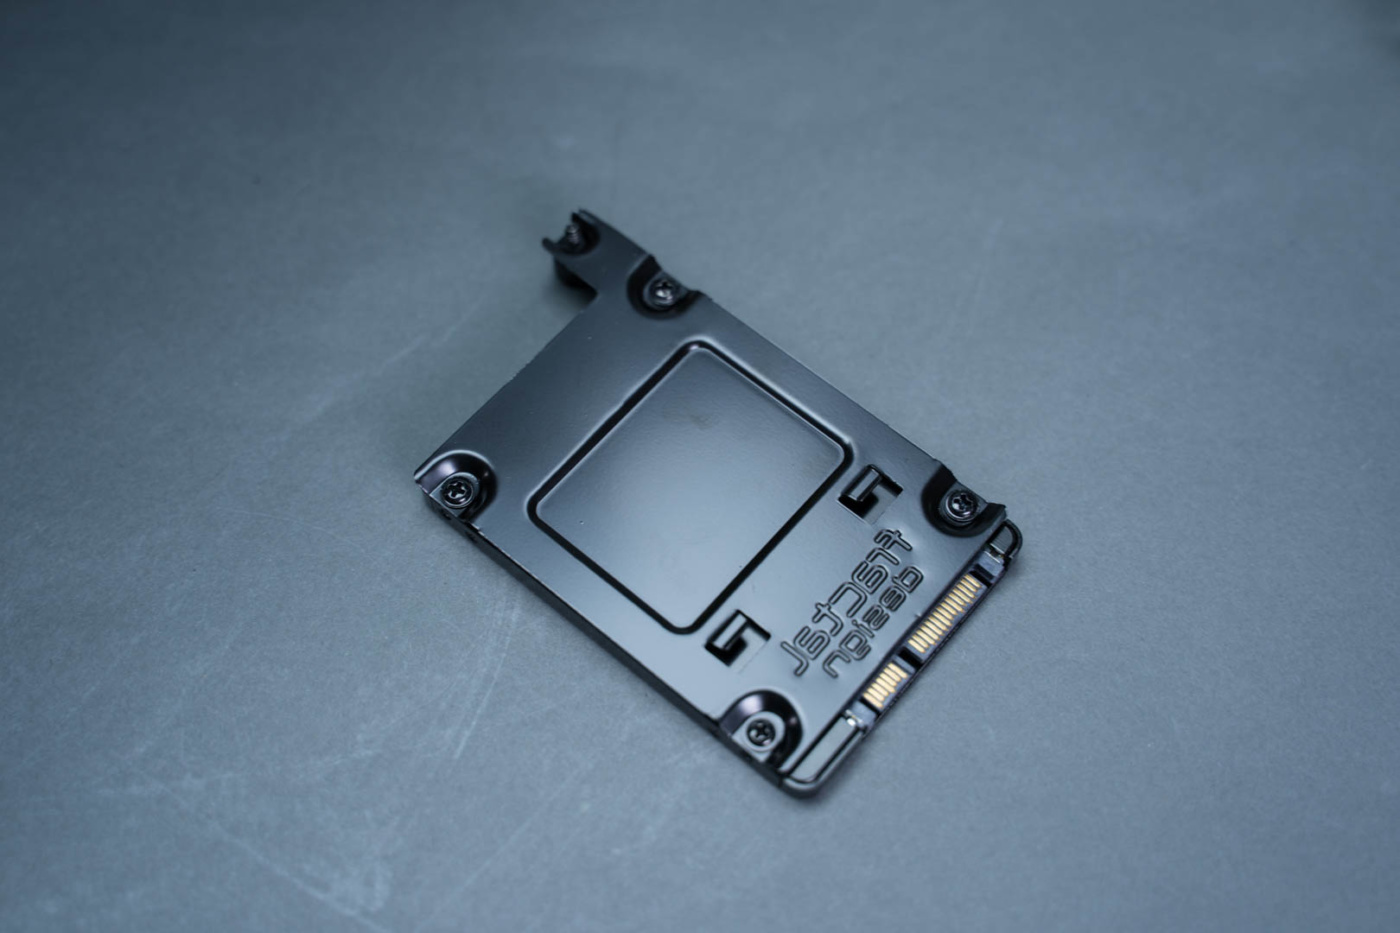
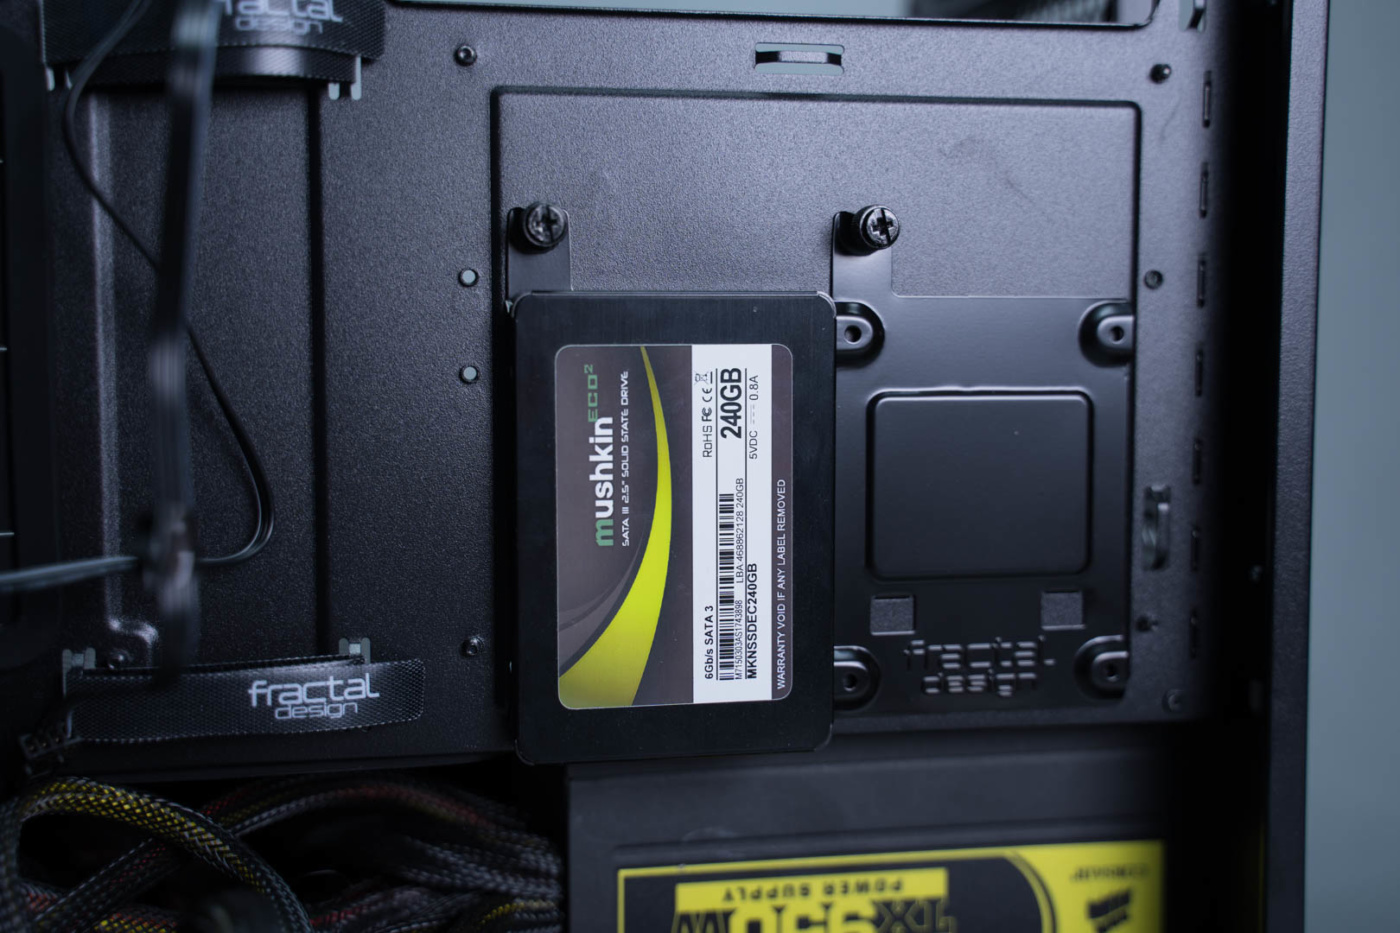
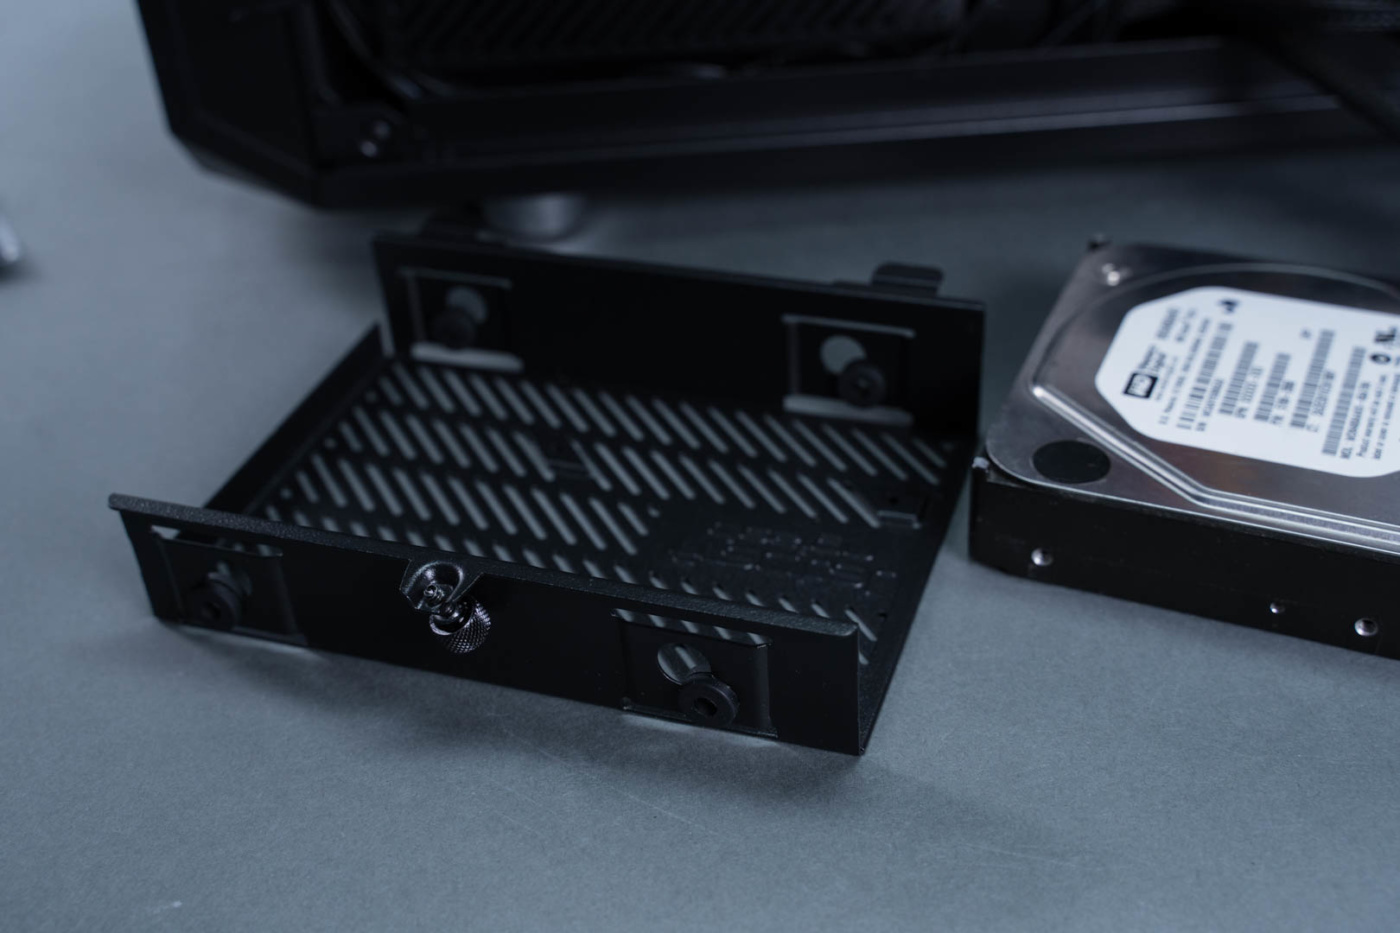
Next we install our SSD onto one of the 2.5″ brackets. Using the appropriate screws from the parts kit, we fix it in place from the back of the plate. Once secured simply reverse the process you used to remove the bracket to install it back into the case.
Now for the motherboard. Before going forward install the I/O shield in the upper left of the back of the case. Moving internal, align your motherboard mounting holes with the standoffs and secure with the correct screws.
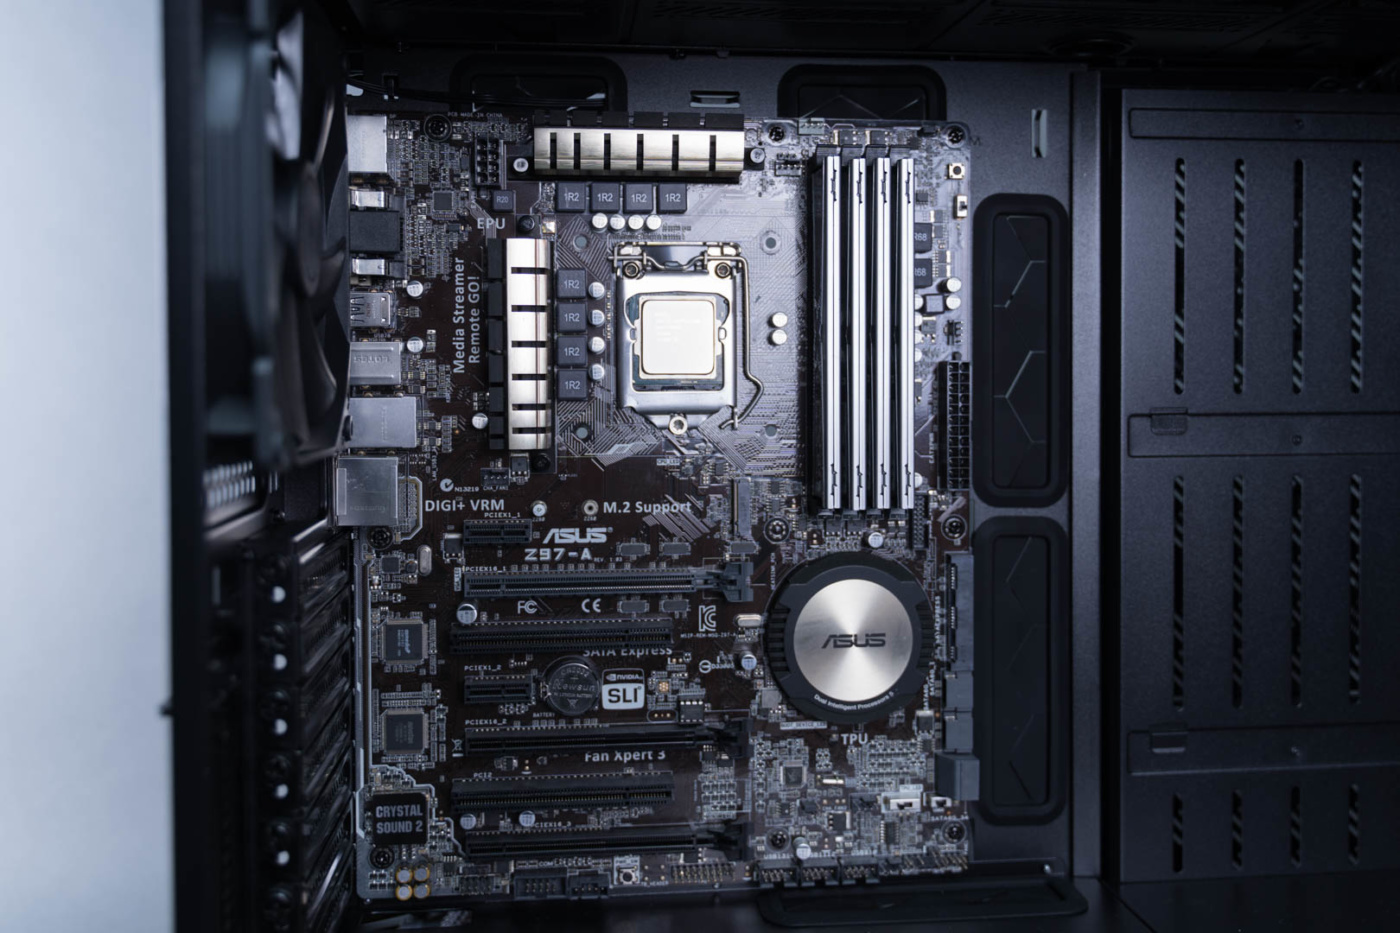
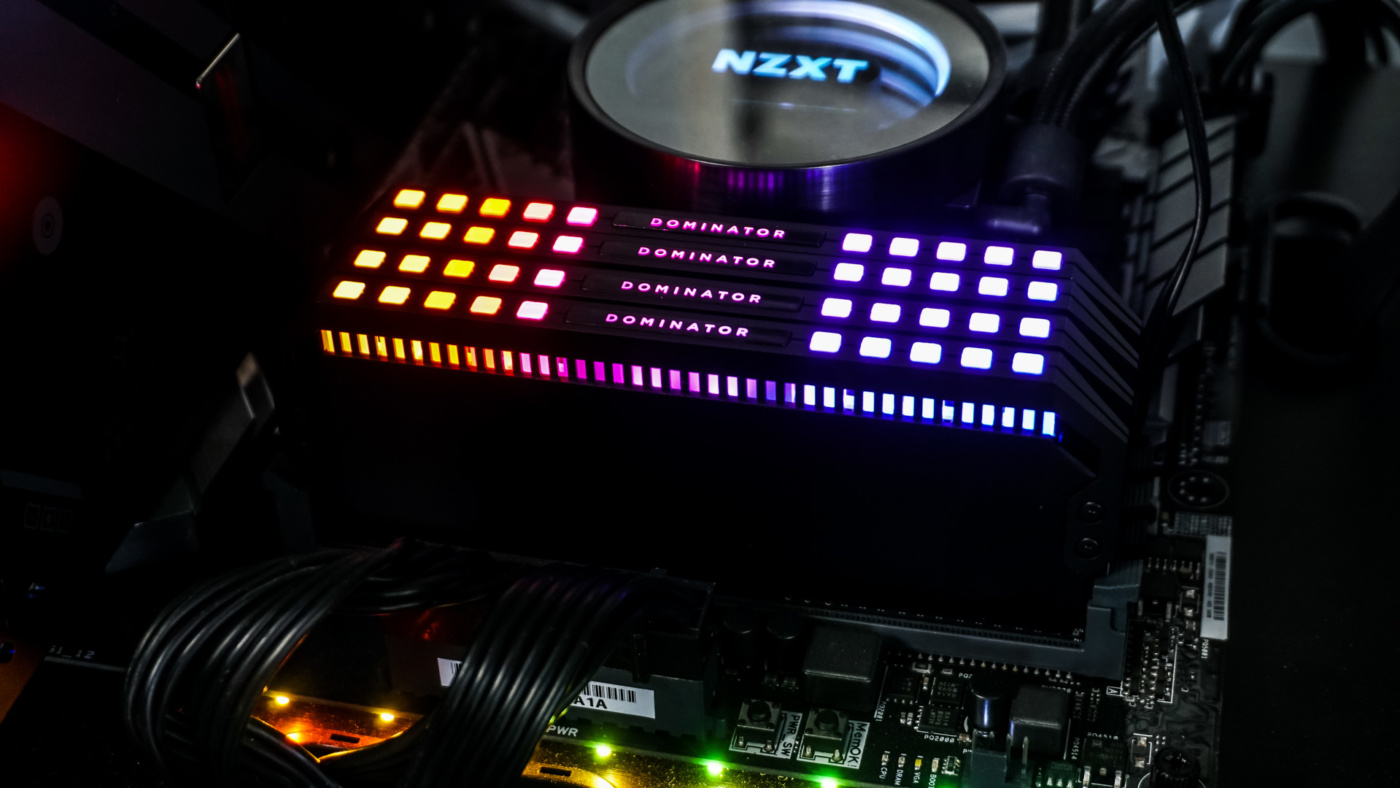
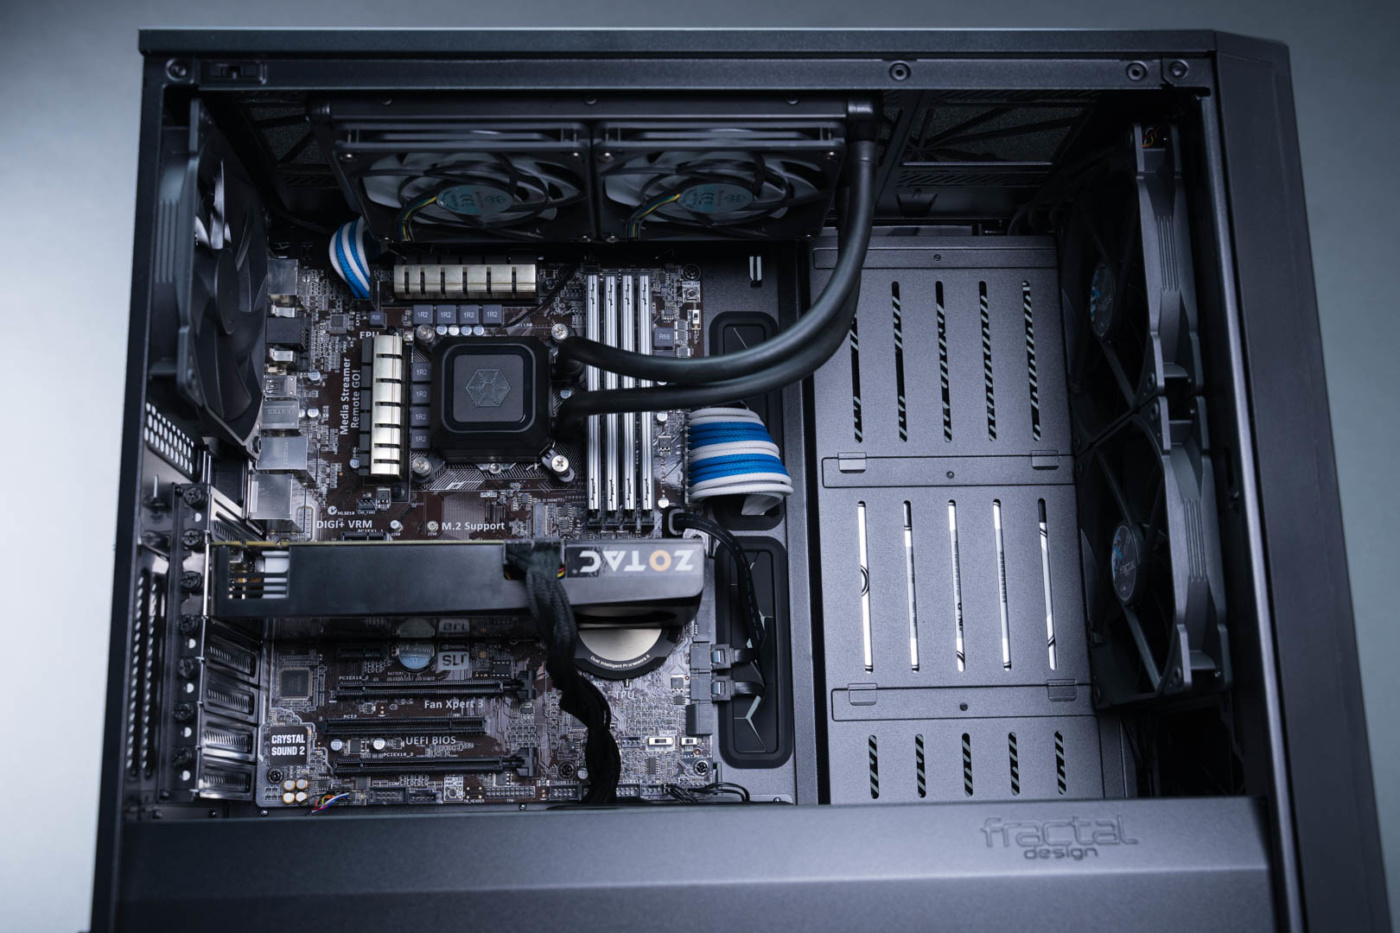
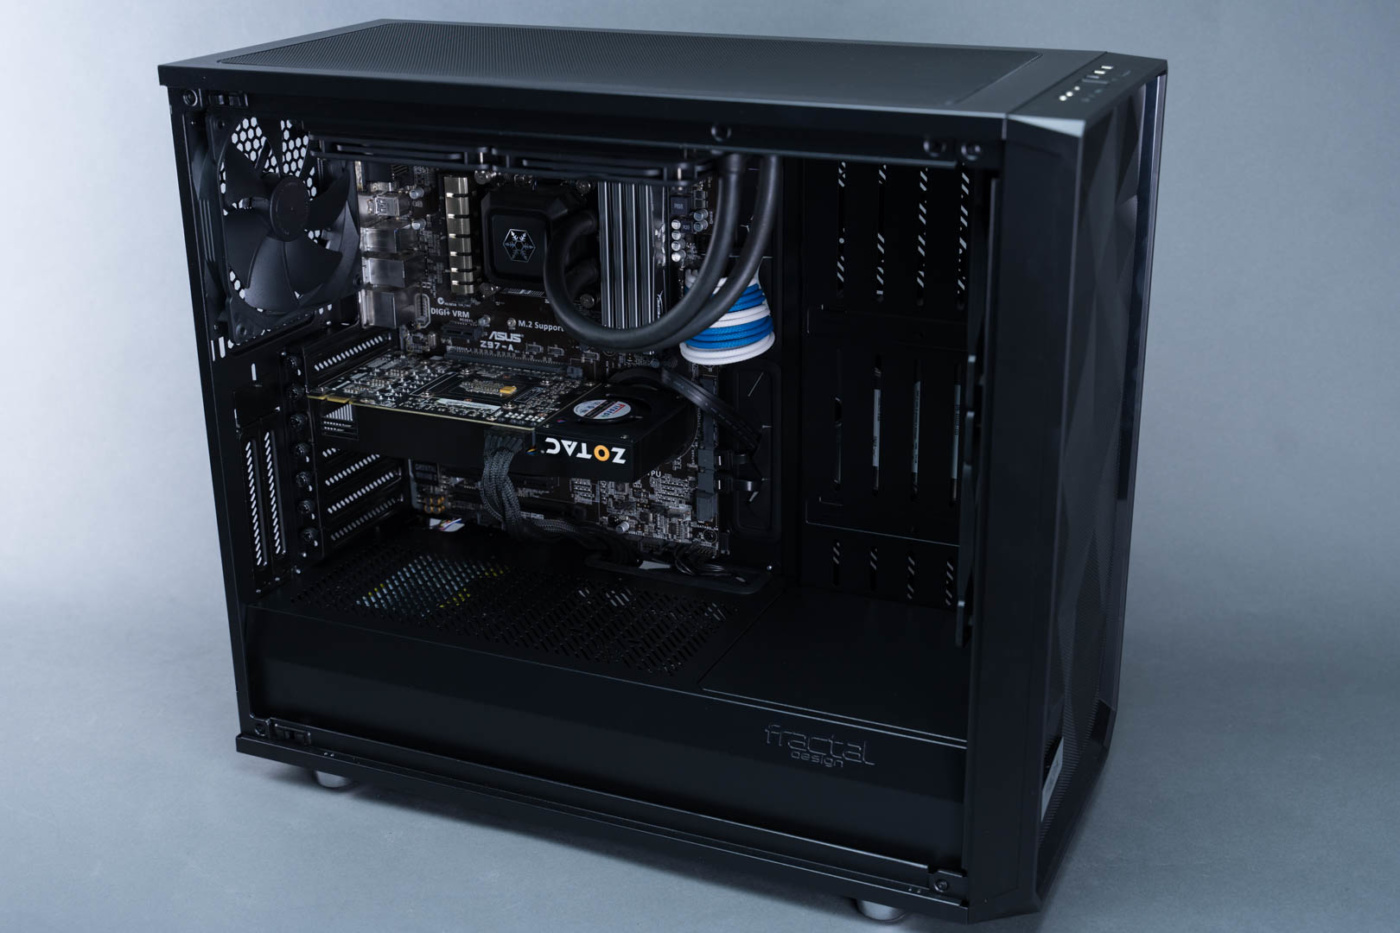
Motherboard secure we move on to cooling. We are installing a 280mm AIO into the top of the case. There are multiple mounting positions available. We tested several positions and distances to find one that would make our tubing look optimal as well as give us the most space to work with. Once set we installed the radiator and pump. We also installed our GPU at this point which involved simply removing the correct expansion slot covers and slotting in the card.
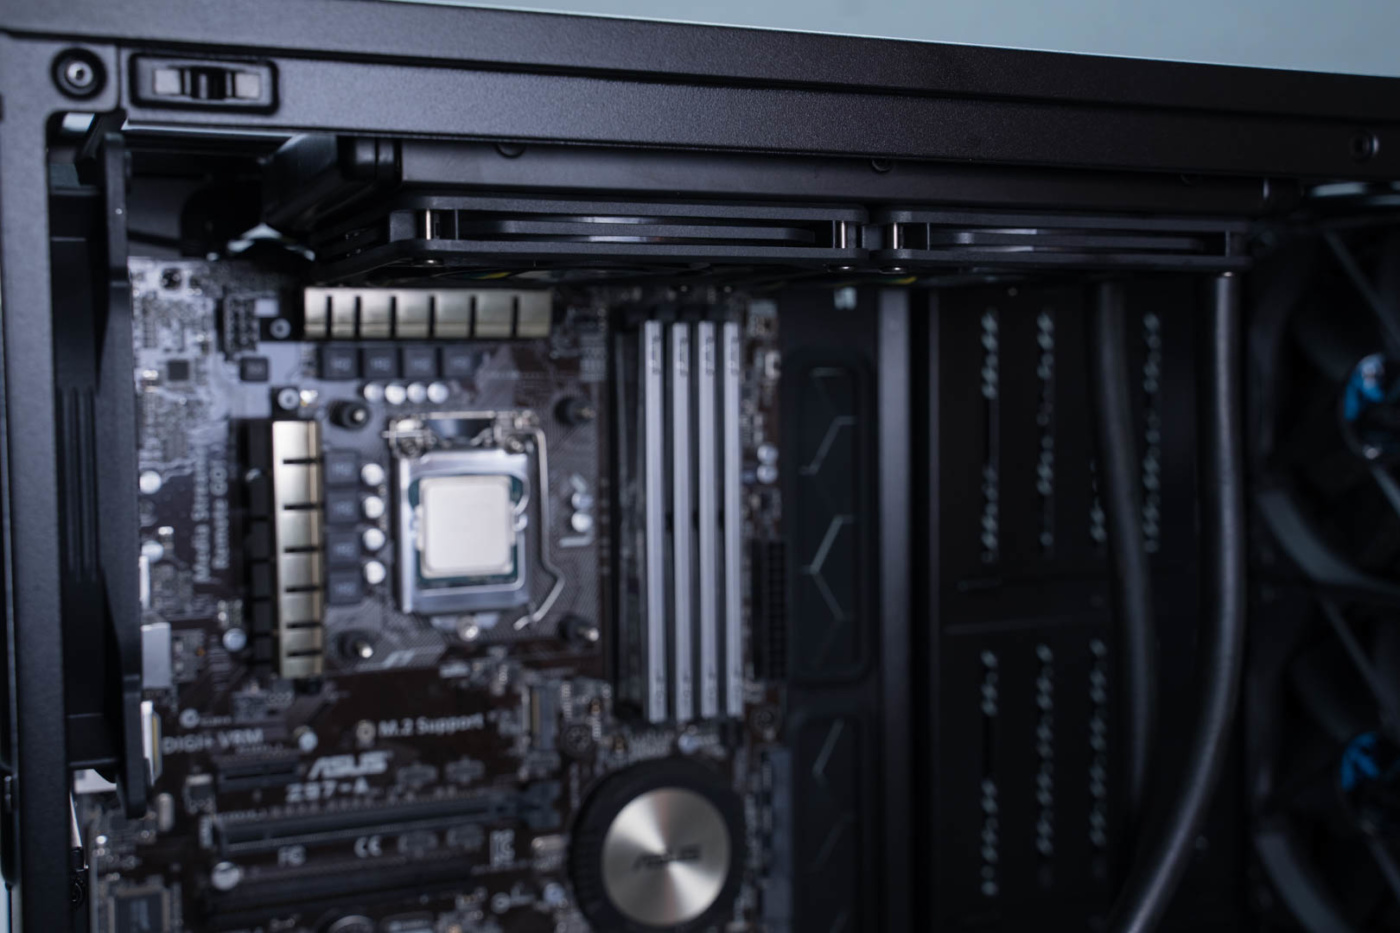

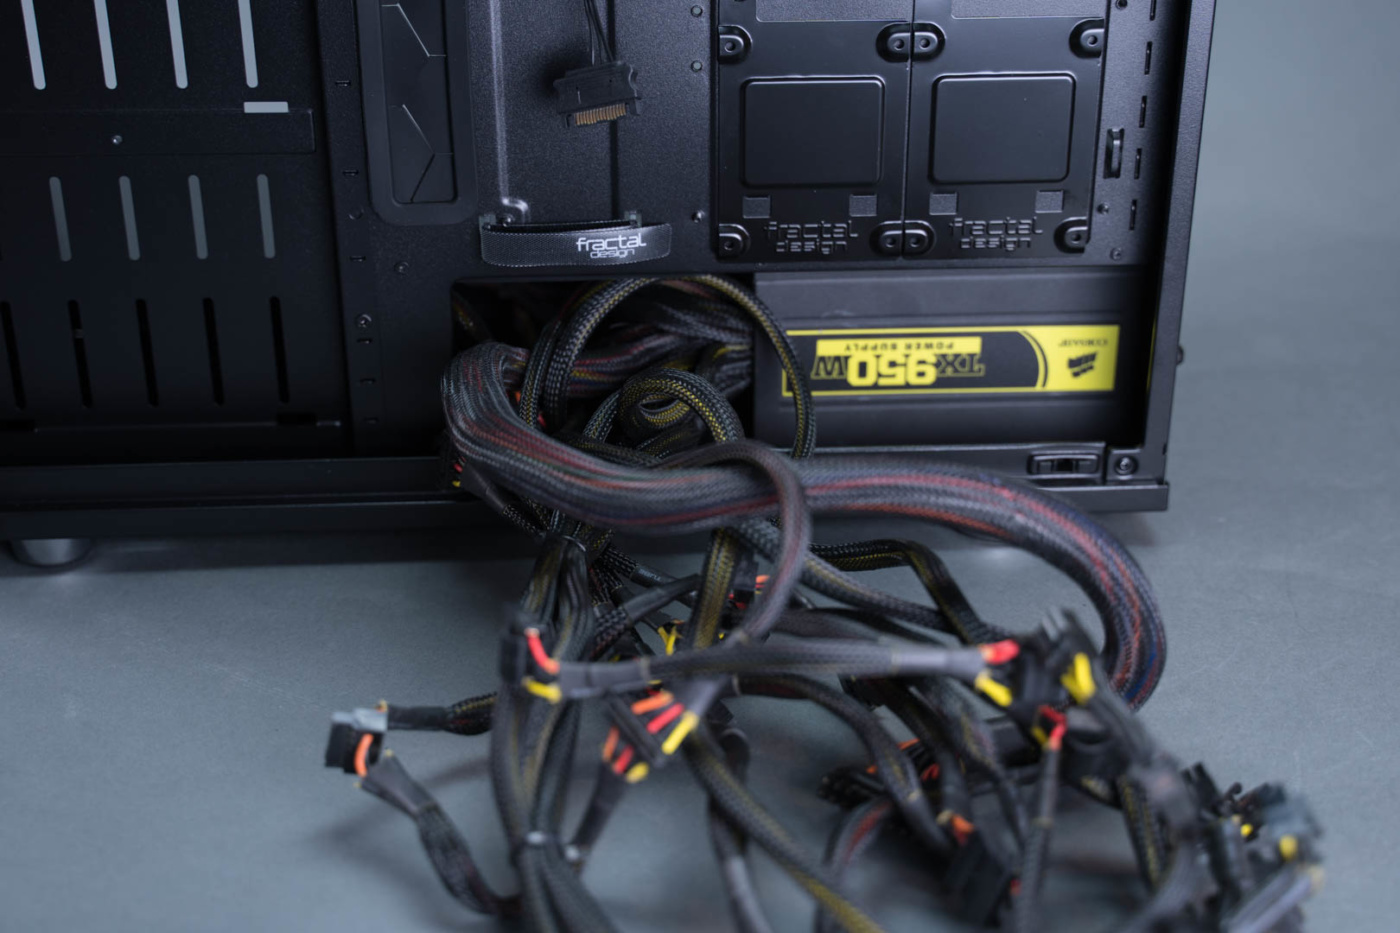
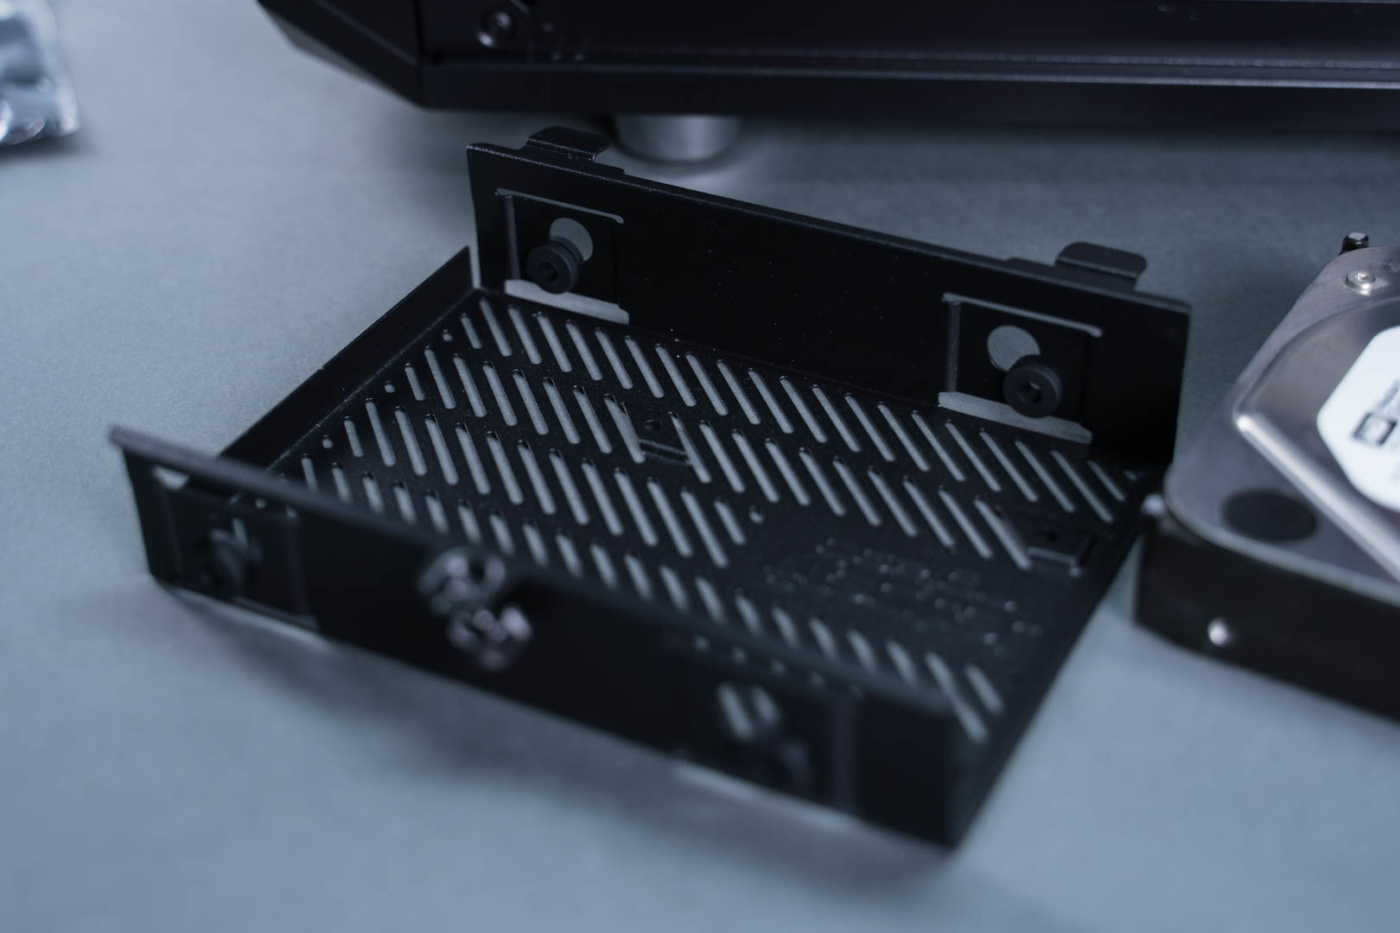
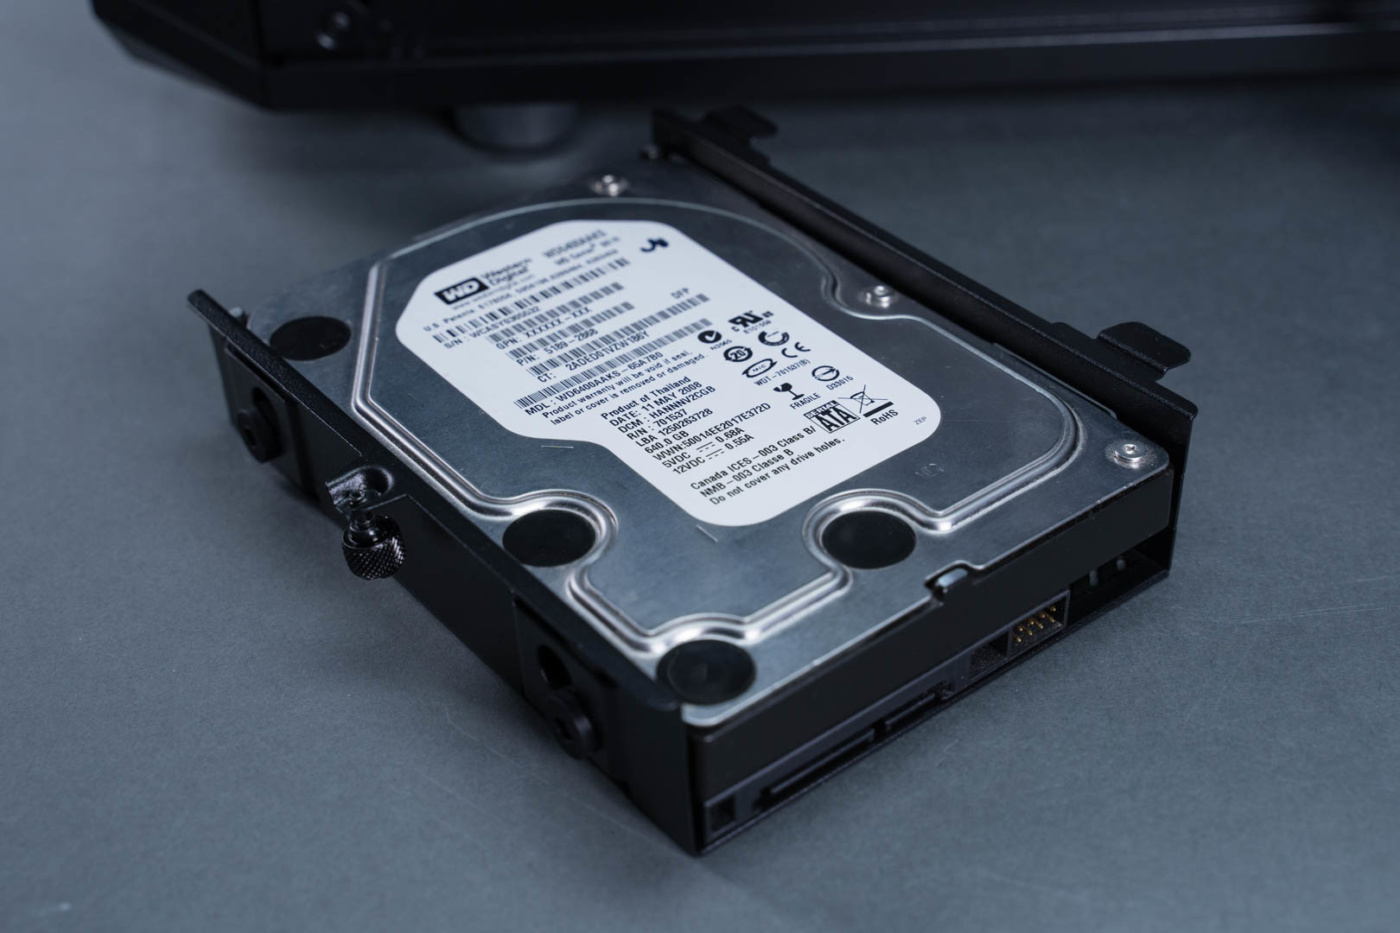
For this install everything but attaching connectors to the motherboard is complete, time to focus on the back panel side. Currently we have an serious mess of cables hanging out of the case. Hopefully the Meshify S2 is up to the challenge. Before we tackle the rats nest that’s built up we need to get a single HDD installed. Using the rubber anti-vibration mounts we secure the drive to the bracket and install the bracket back into the case.
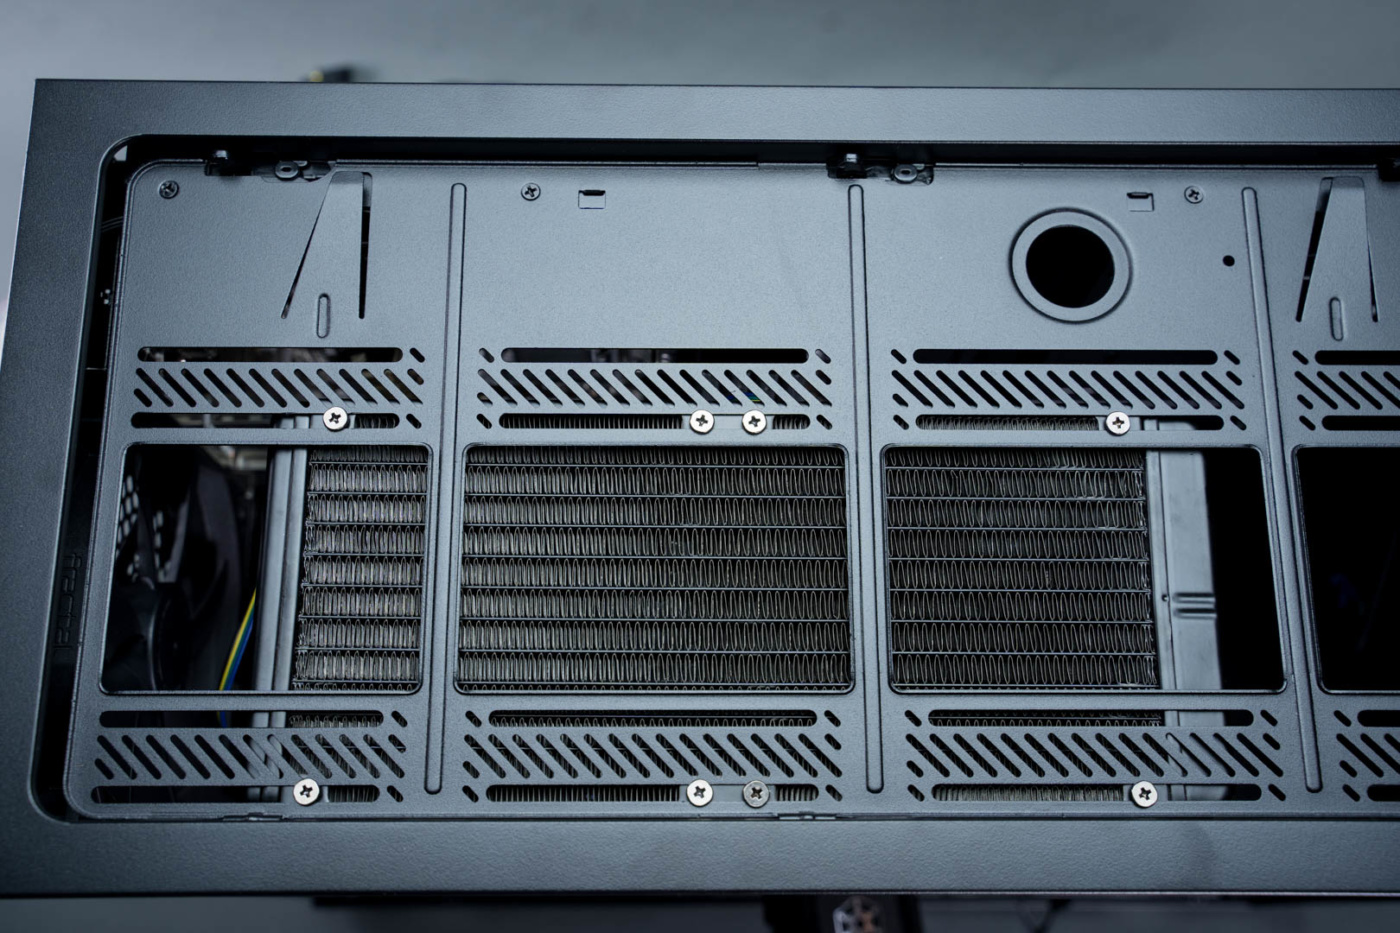
Now onto that mess of cables. As we mentioned earlier the Meshify S2 is equipped with both a ton of cable routing points as well as some Velcro tie downs running across the center. Combined with some creativity we were able to make pretty steady progress on taming the mess of cables lounging around our case. Other big help comes in the form of the carefully placed pass-throughs. These are clutch in allowing you to keep your cable runs short and to the point. We ended up using a total of ten zip ties to mount and secure the cables to the case. This meant using four more than those provided. While the six that come with the case aren’t really short of the industry standard it does seem pretty obvious when you examine this case that the small number probably won’t cut it.
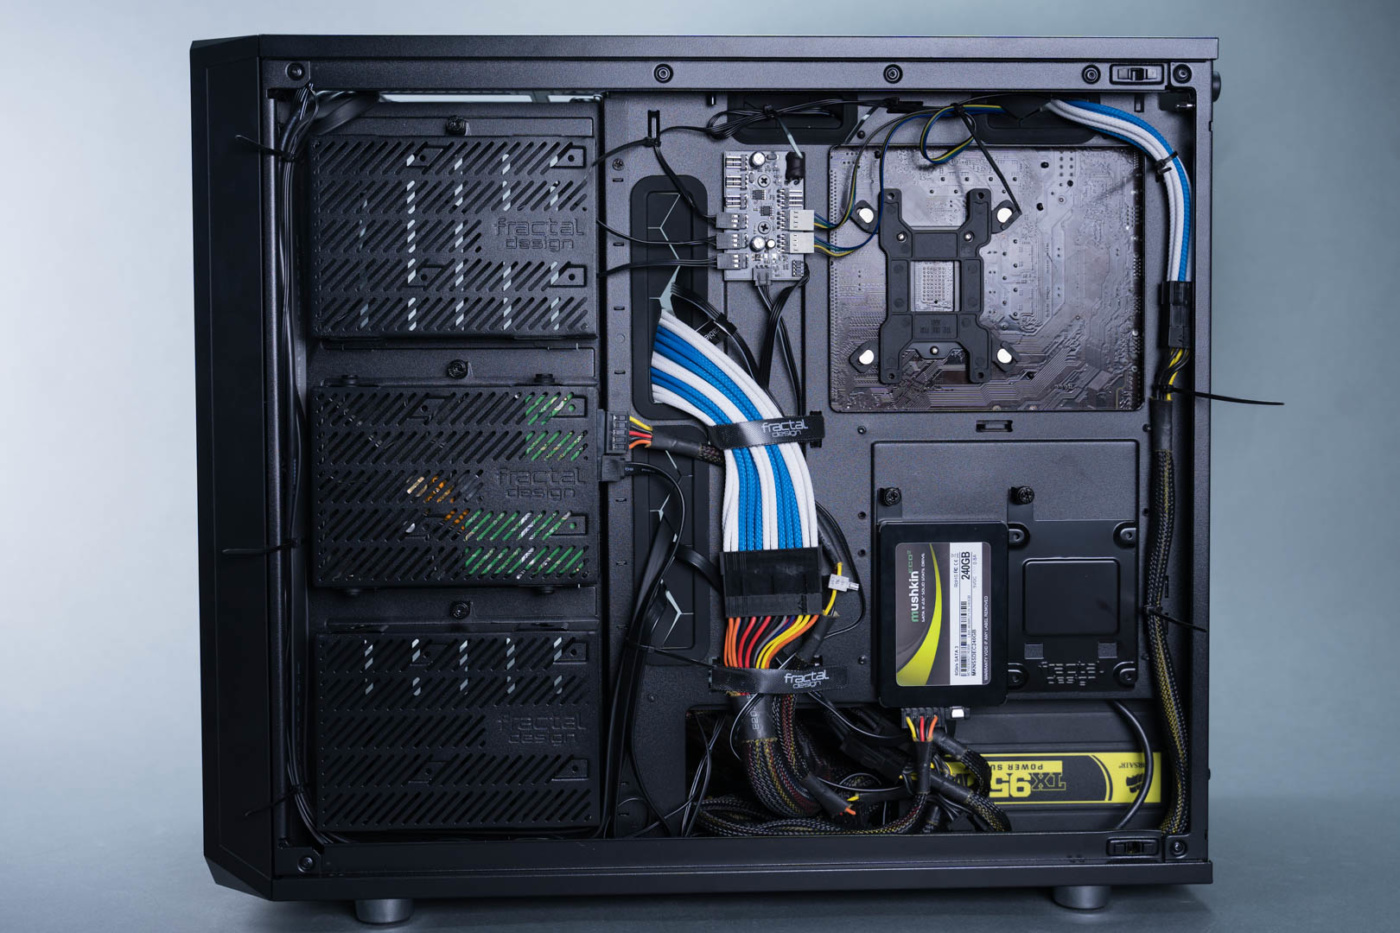
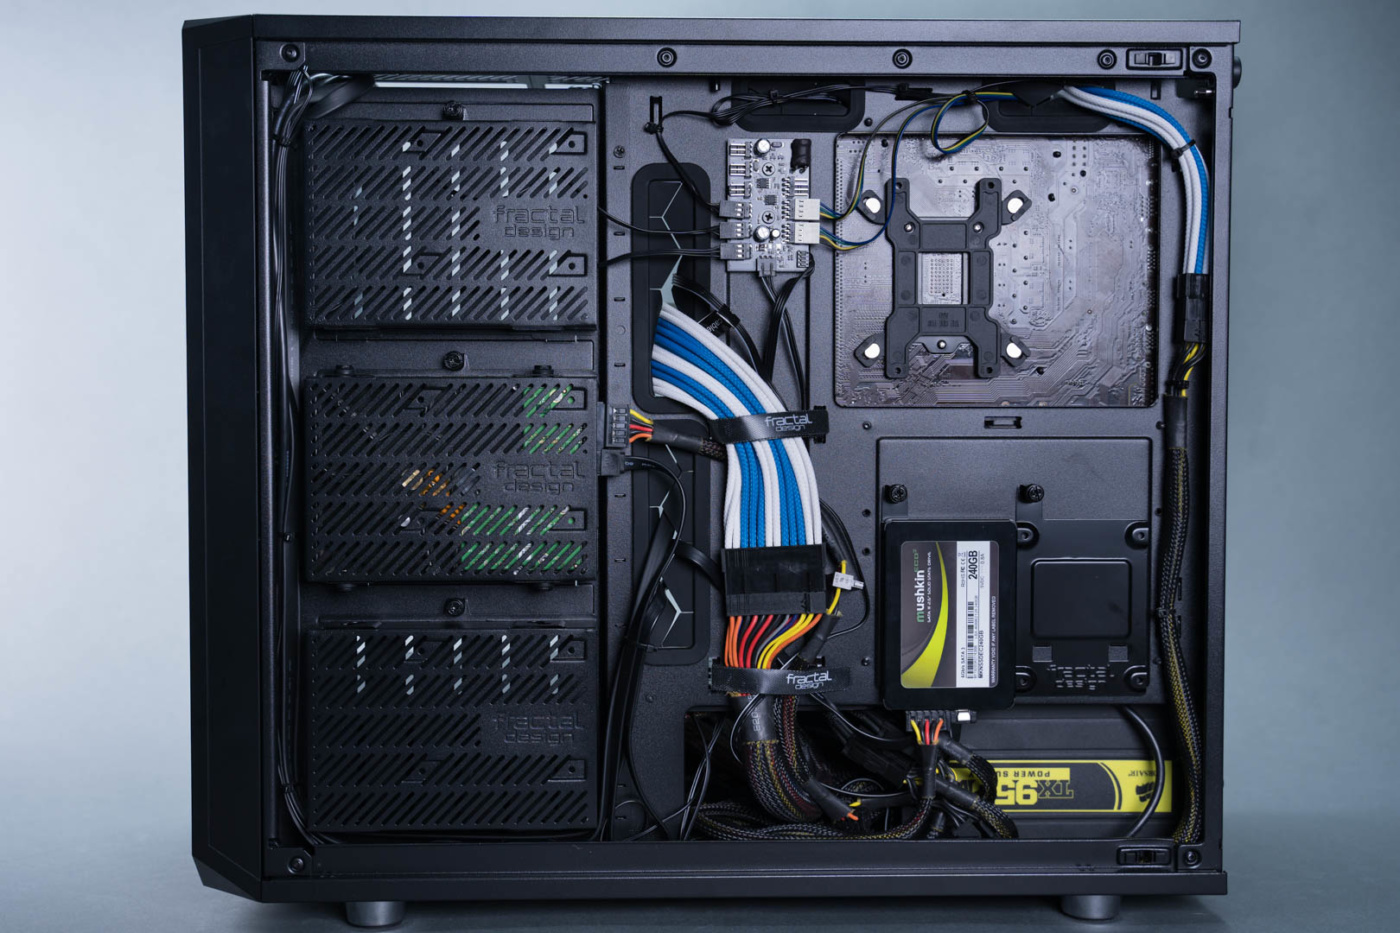
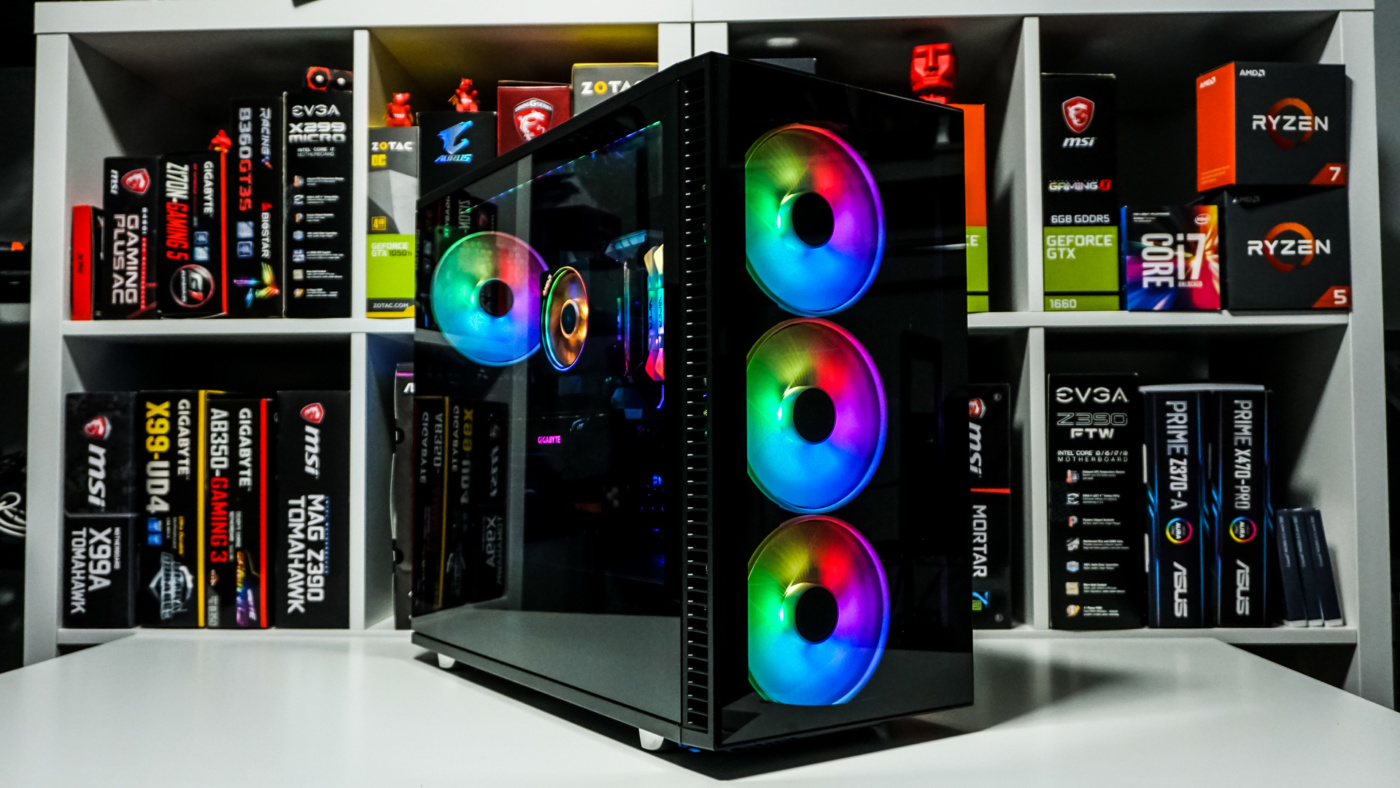
The completed build is clean on both the front and backside and it didn’t take a feat of engineering or artistry to get it done. Sure you’ll need to be careful and thoughtful, but all the cable tie offs that you’ll need to do a really nice job are exactly where they need to be.
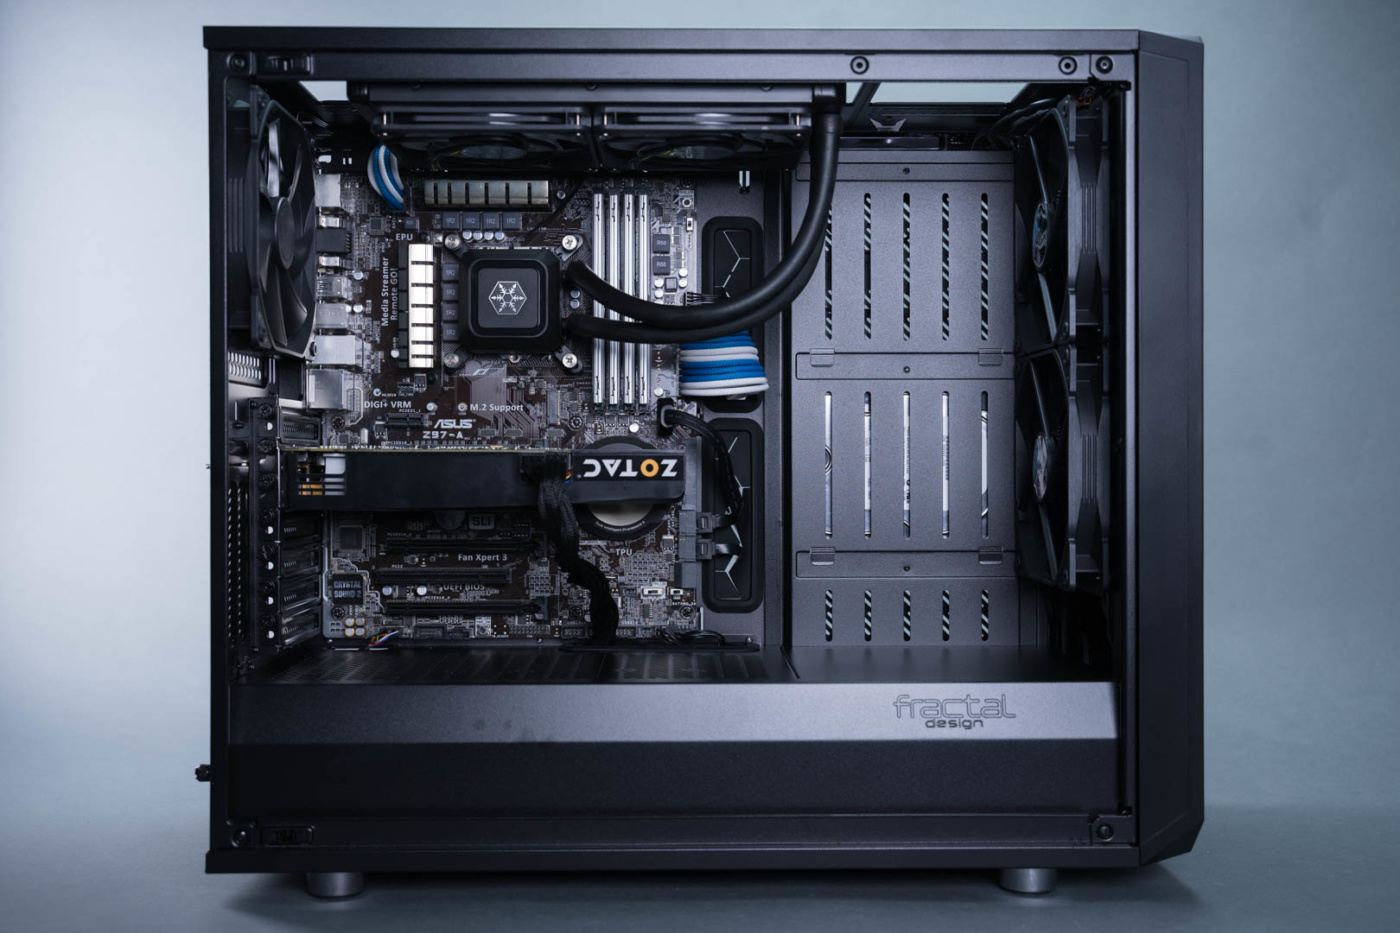
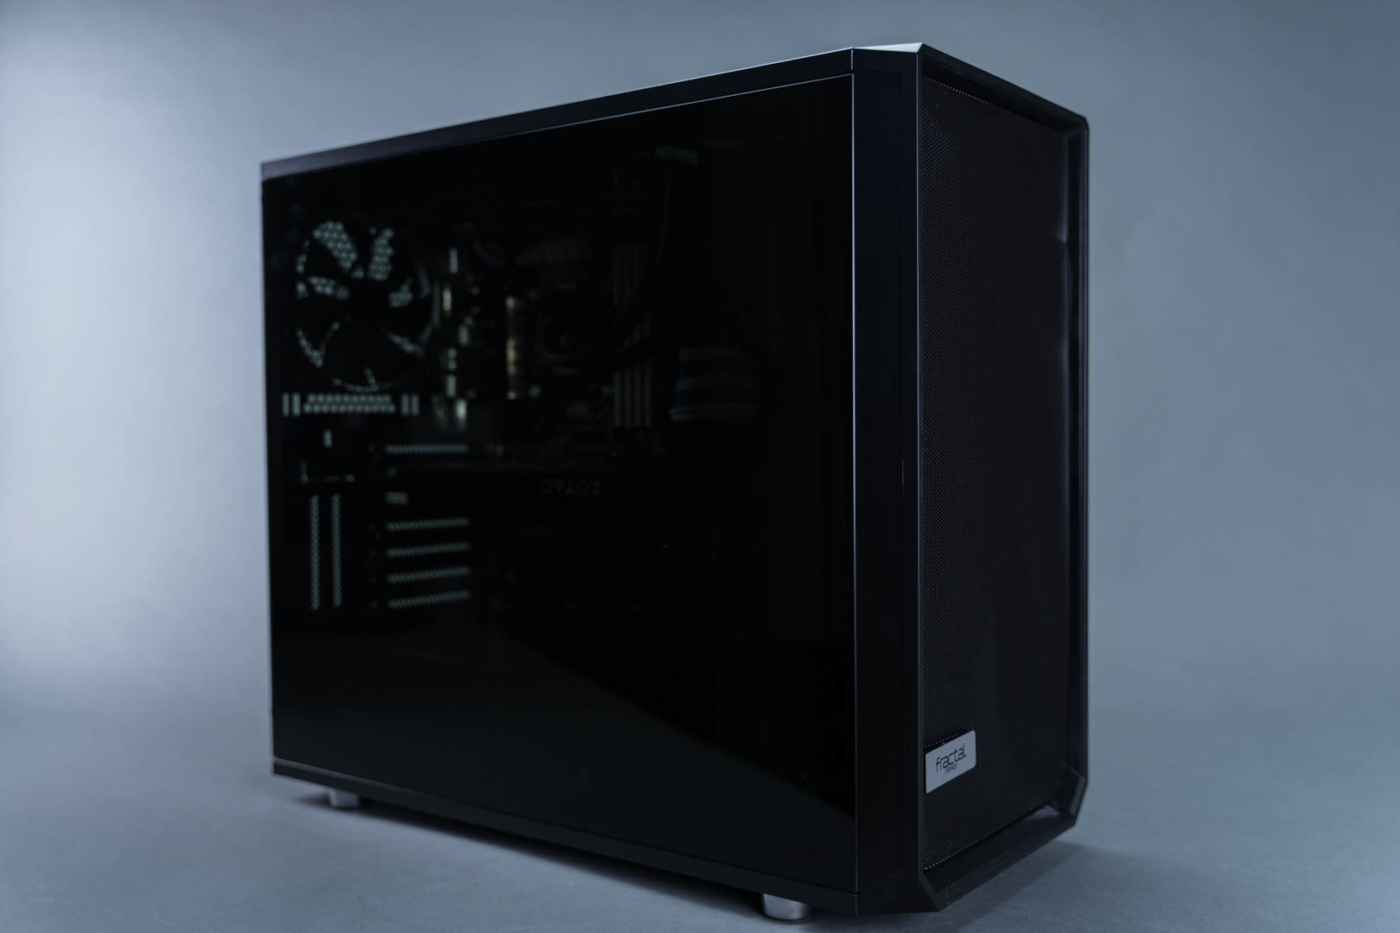
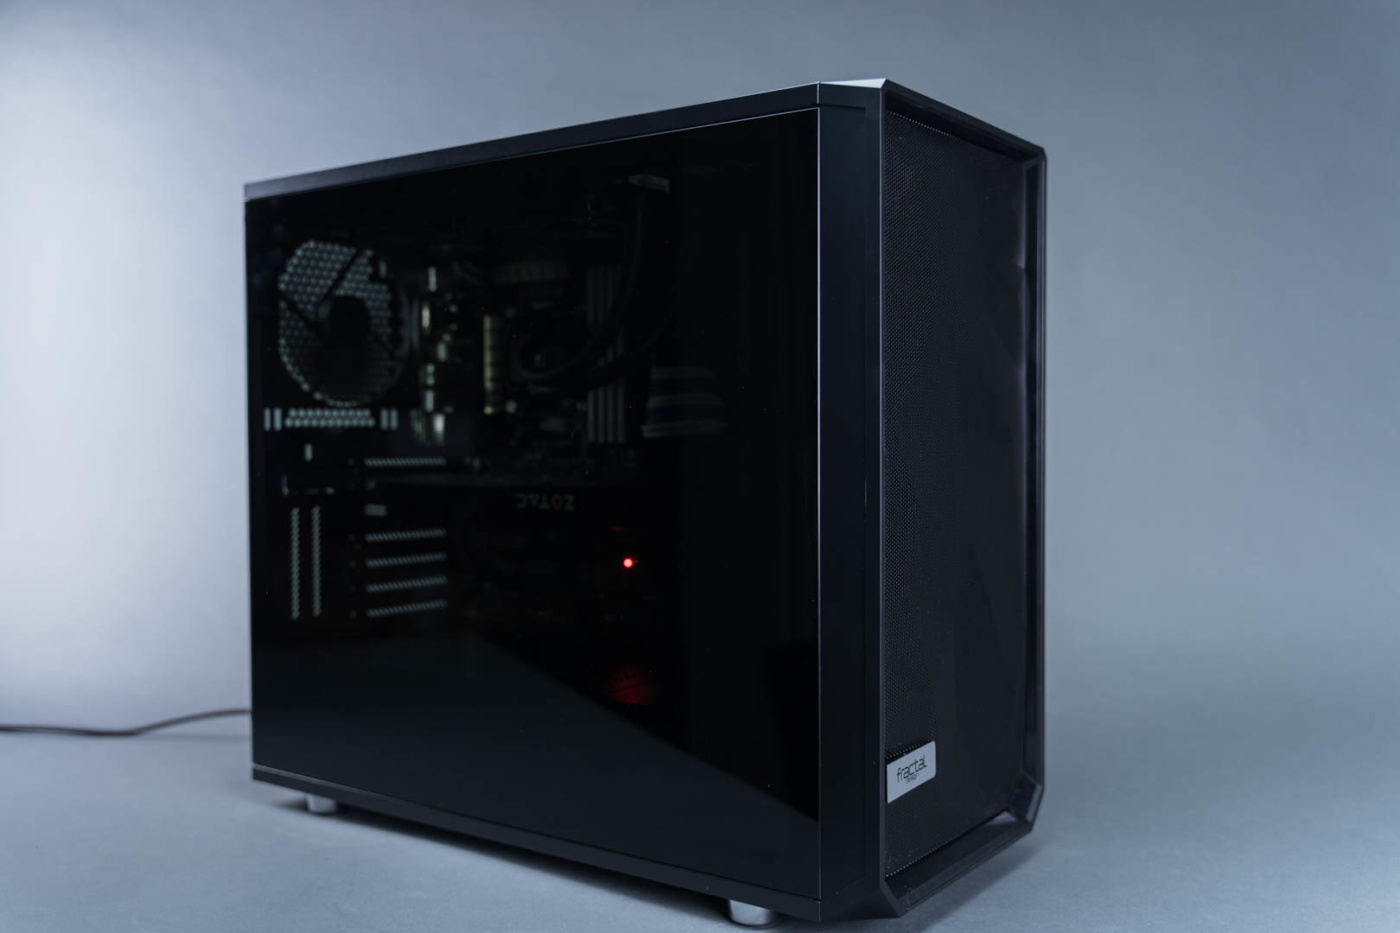
Putting the tempered glass panel on we can mostly see through it though it is tinted but not too deeply. The only lighting on this case is the power LED on the front upper right.