Installation
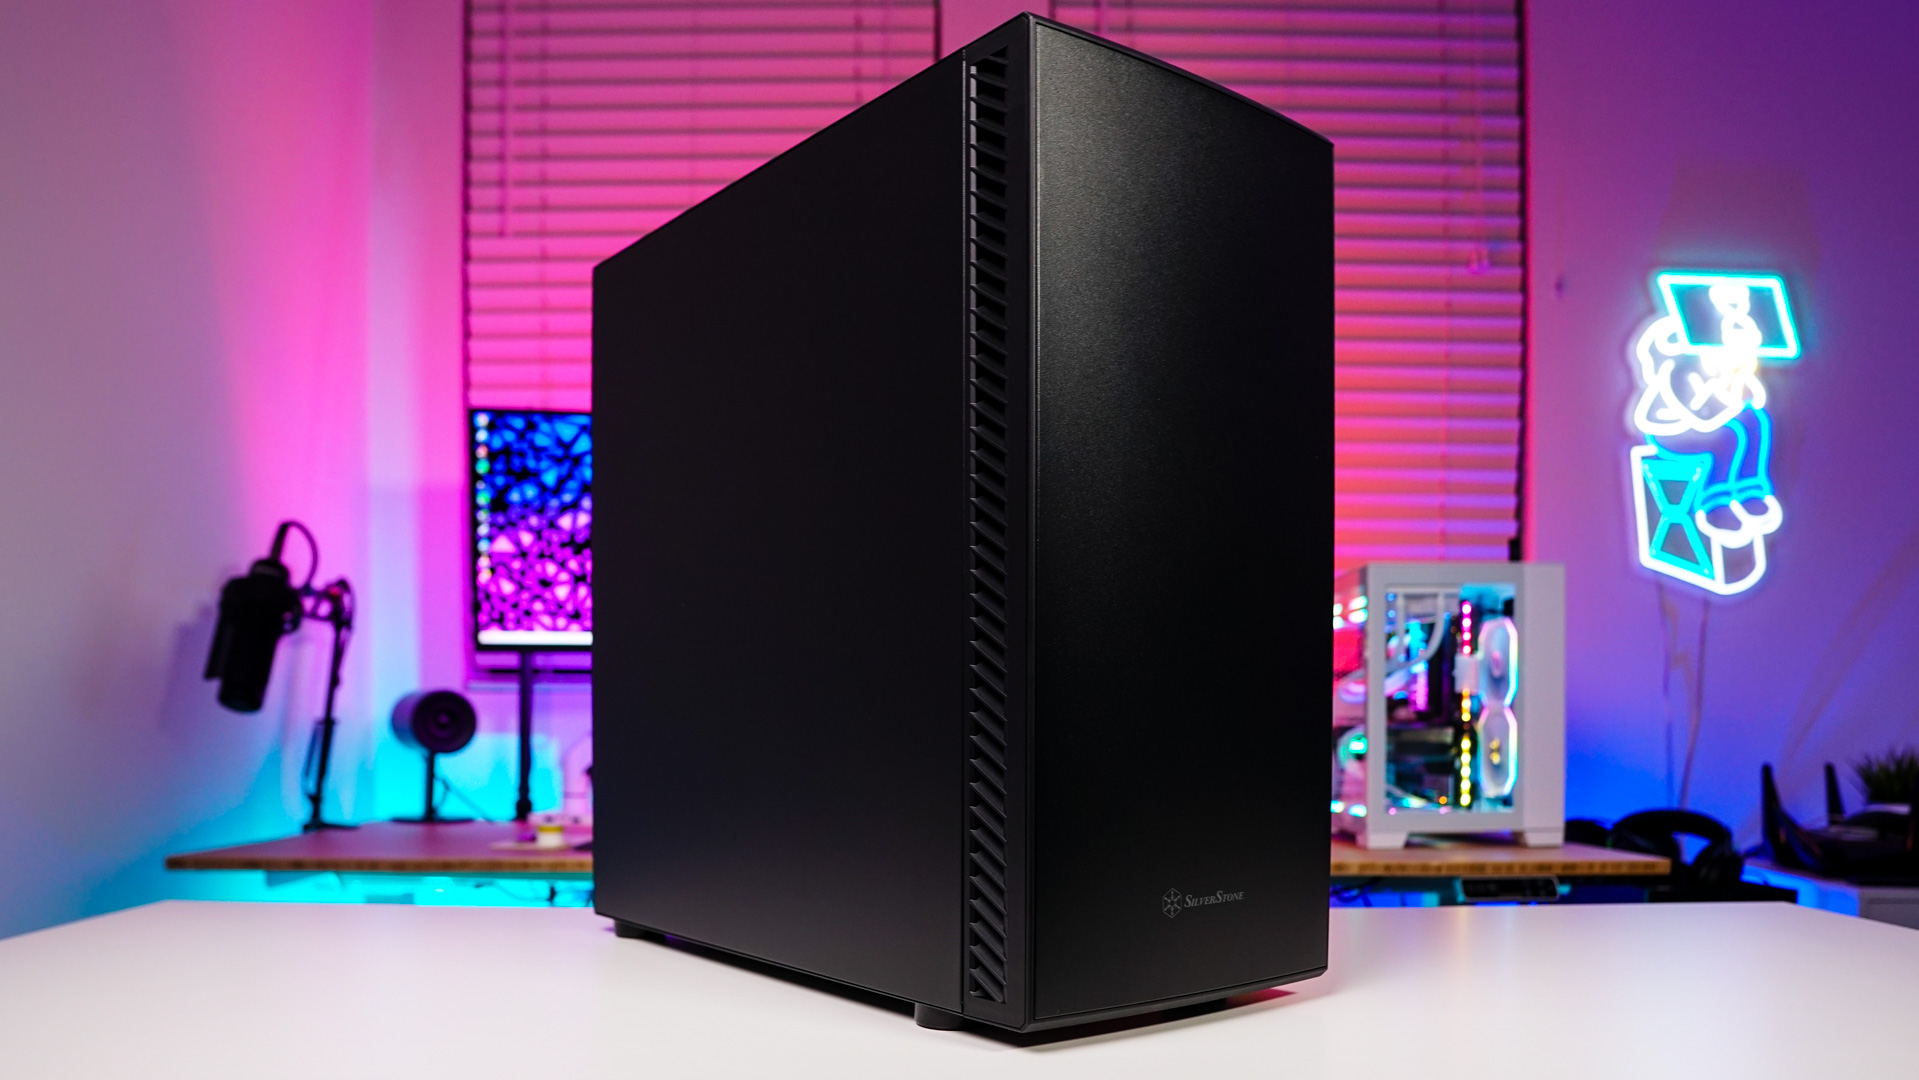
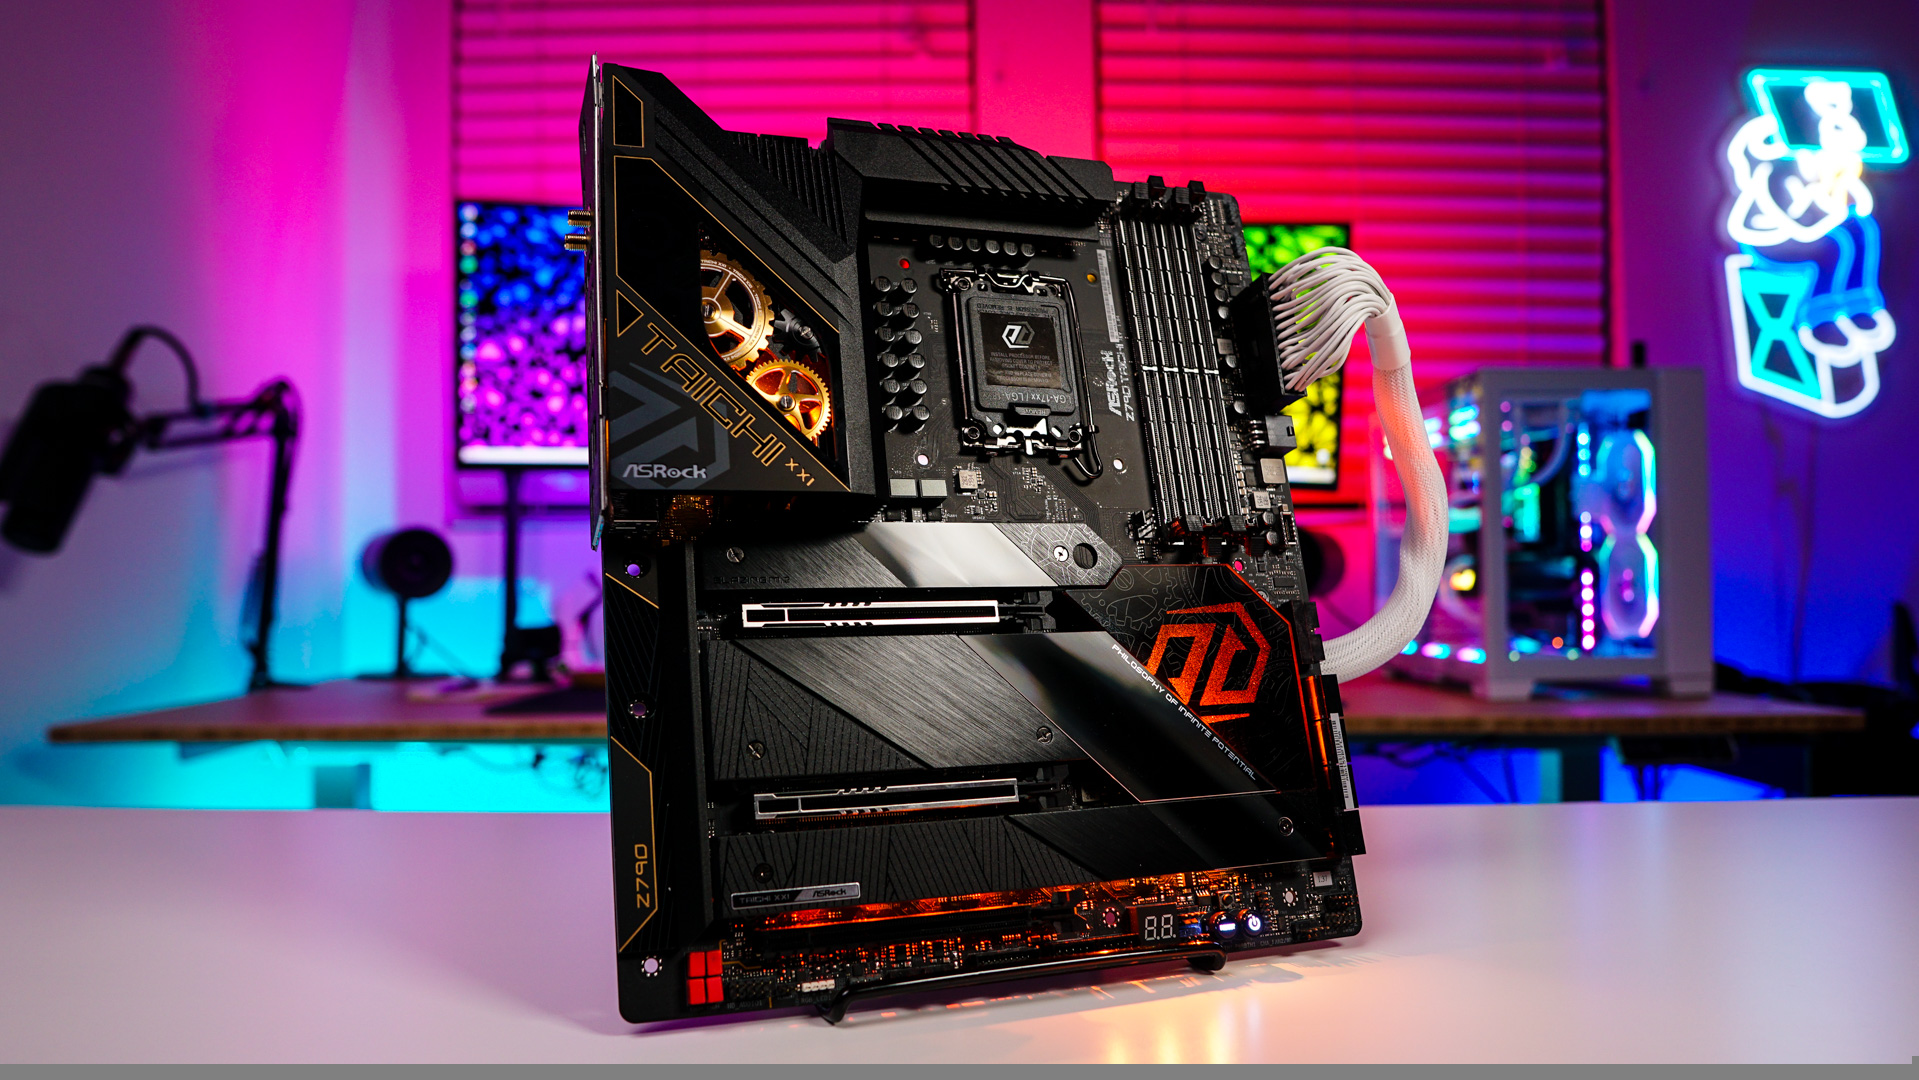
Installation is pretty straight-forward on this case. The first thing we installed was our motherboard, which went in with no problems.

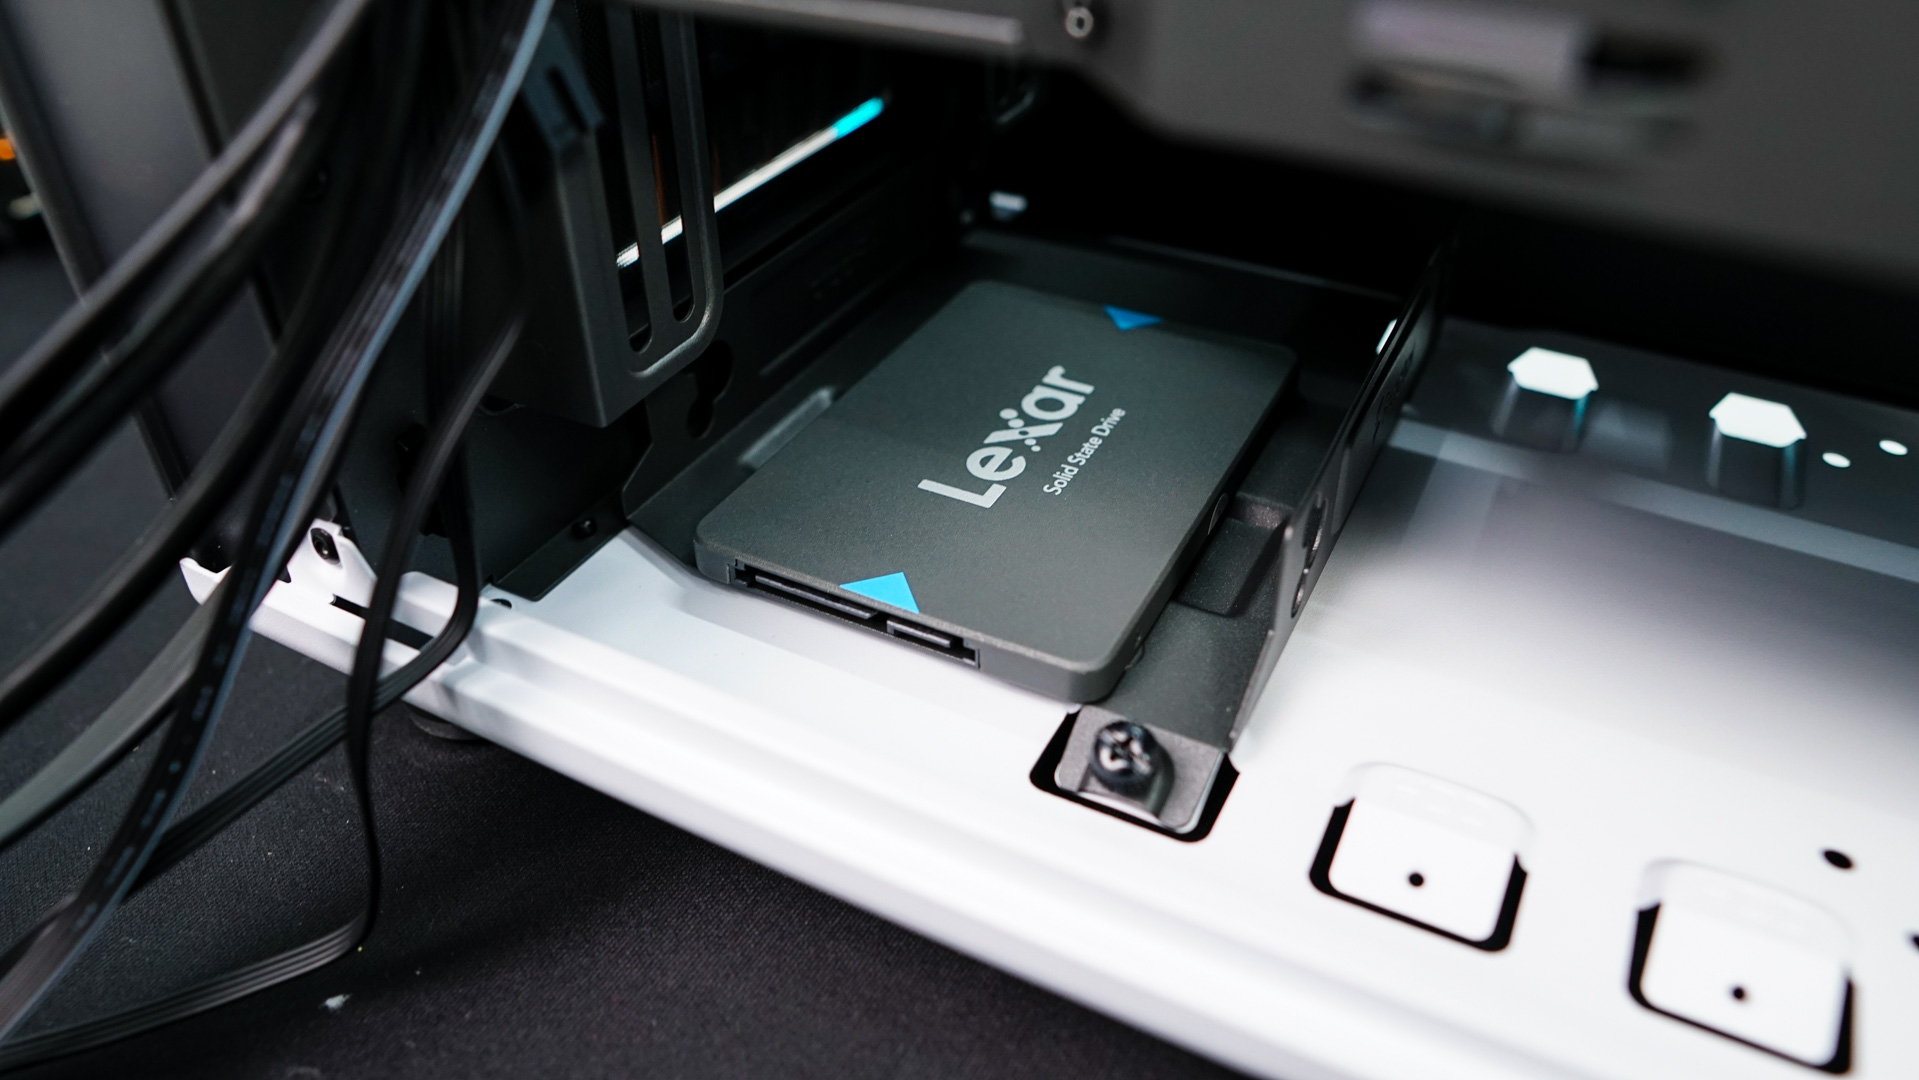
I decided to install our solid state drive in one of the larger trays. Since the trays are removable I was able to install my drive outside of the case, then simply reinstall it. I also removed the second tray as I was not going to use it.

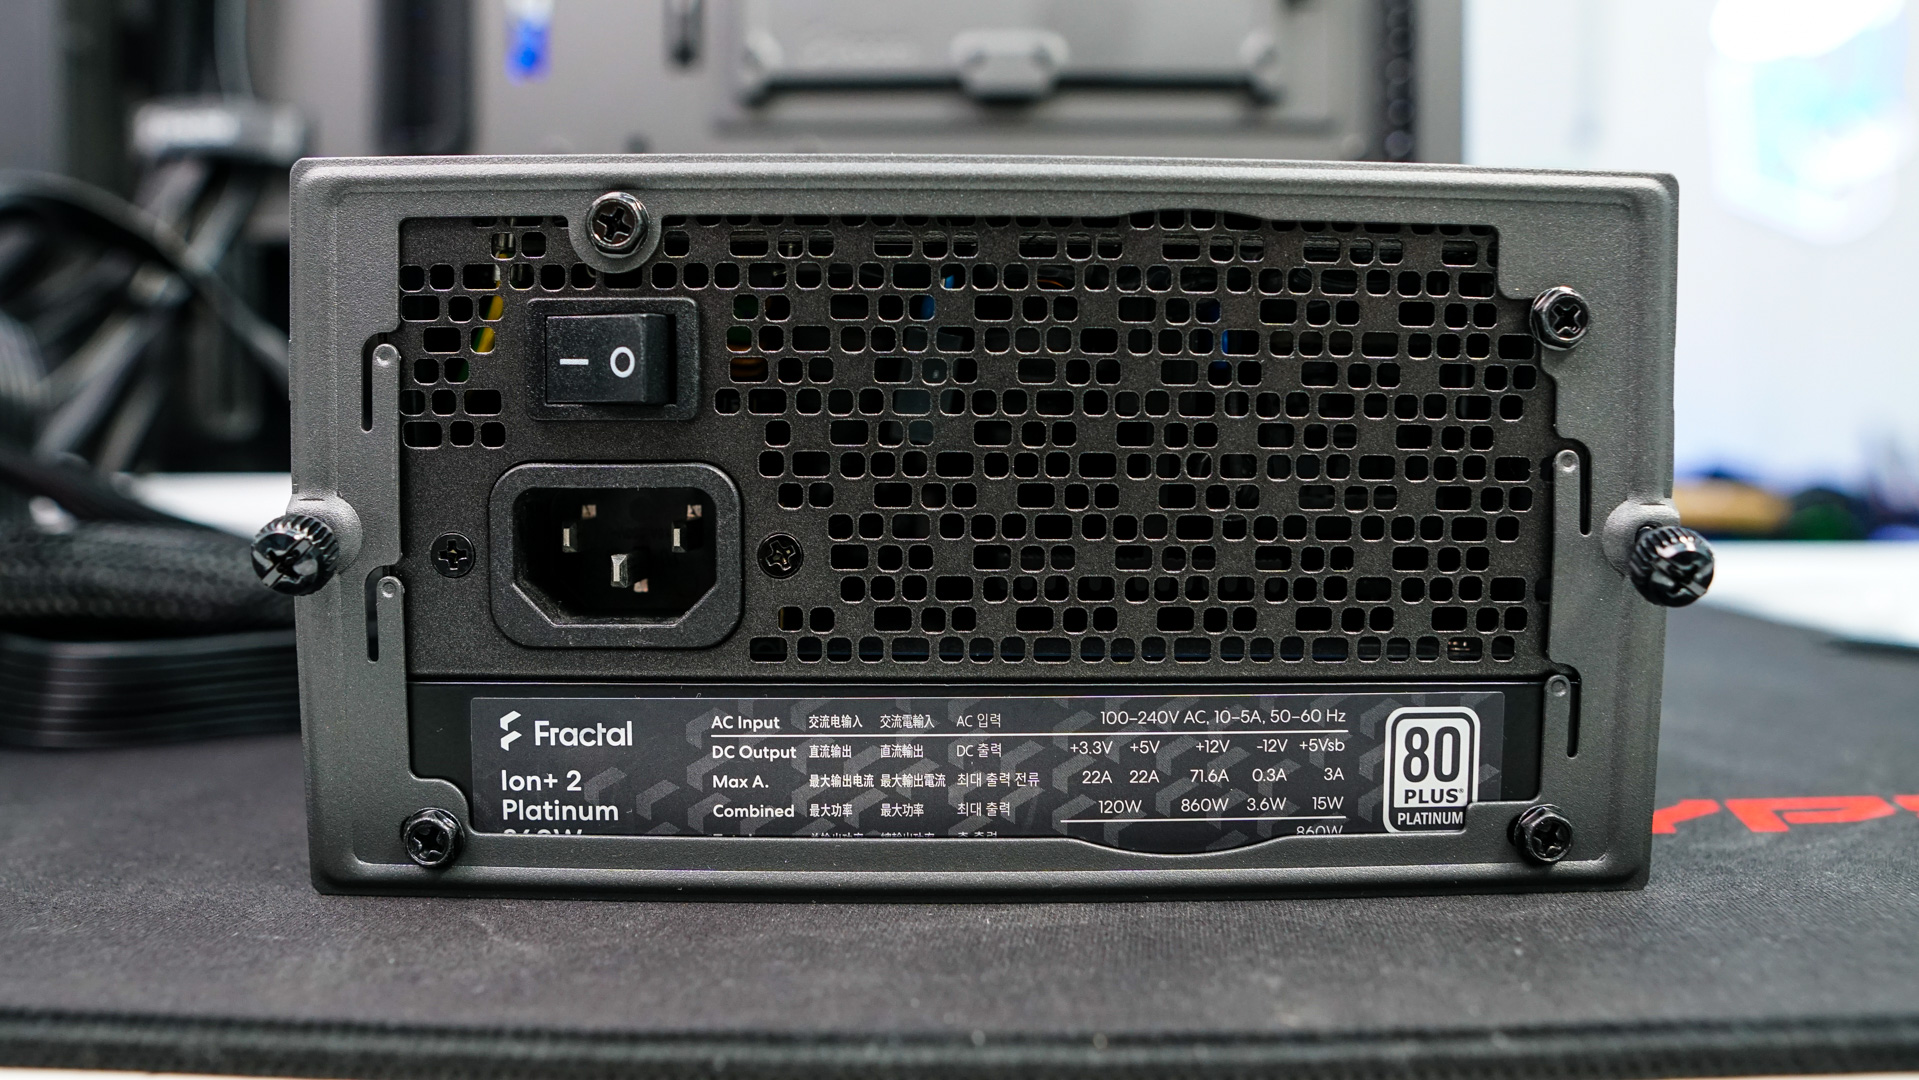
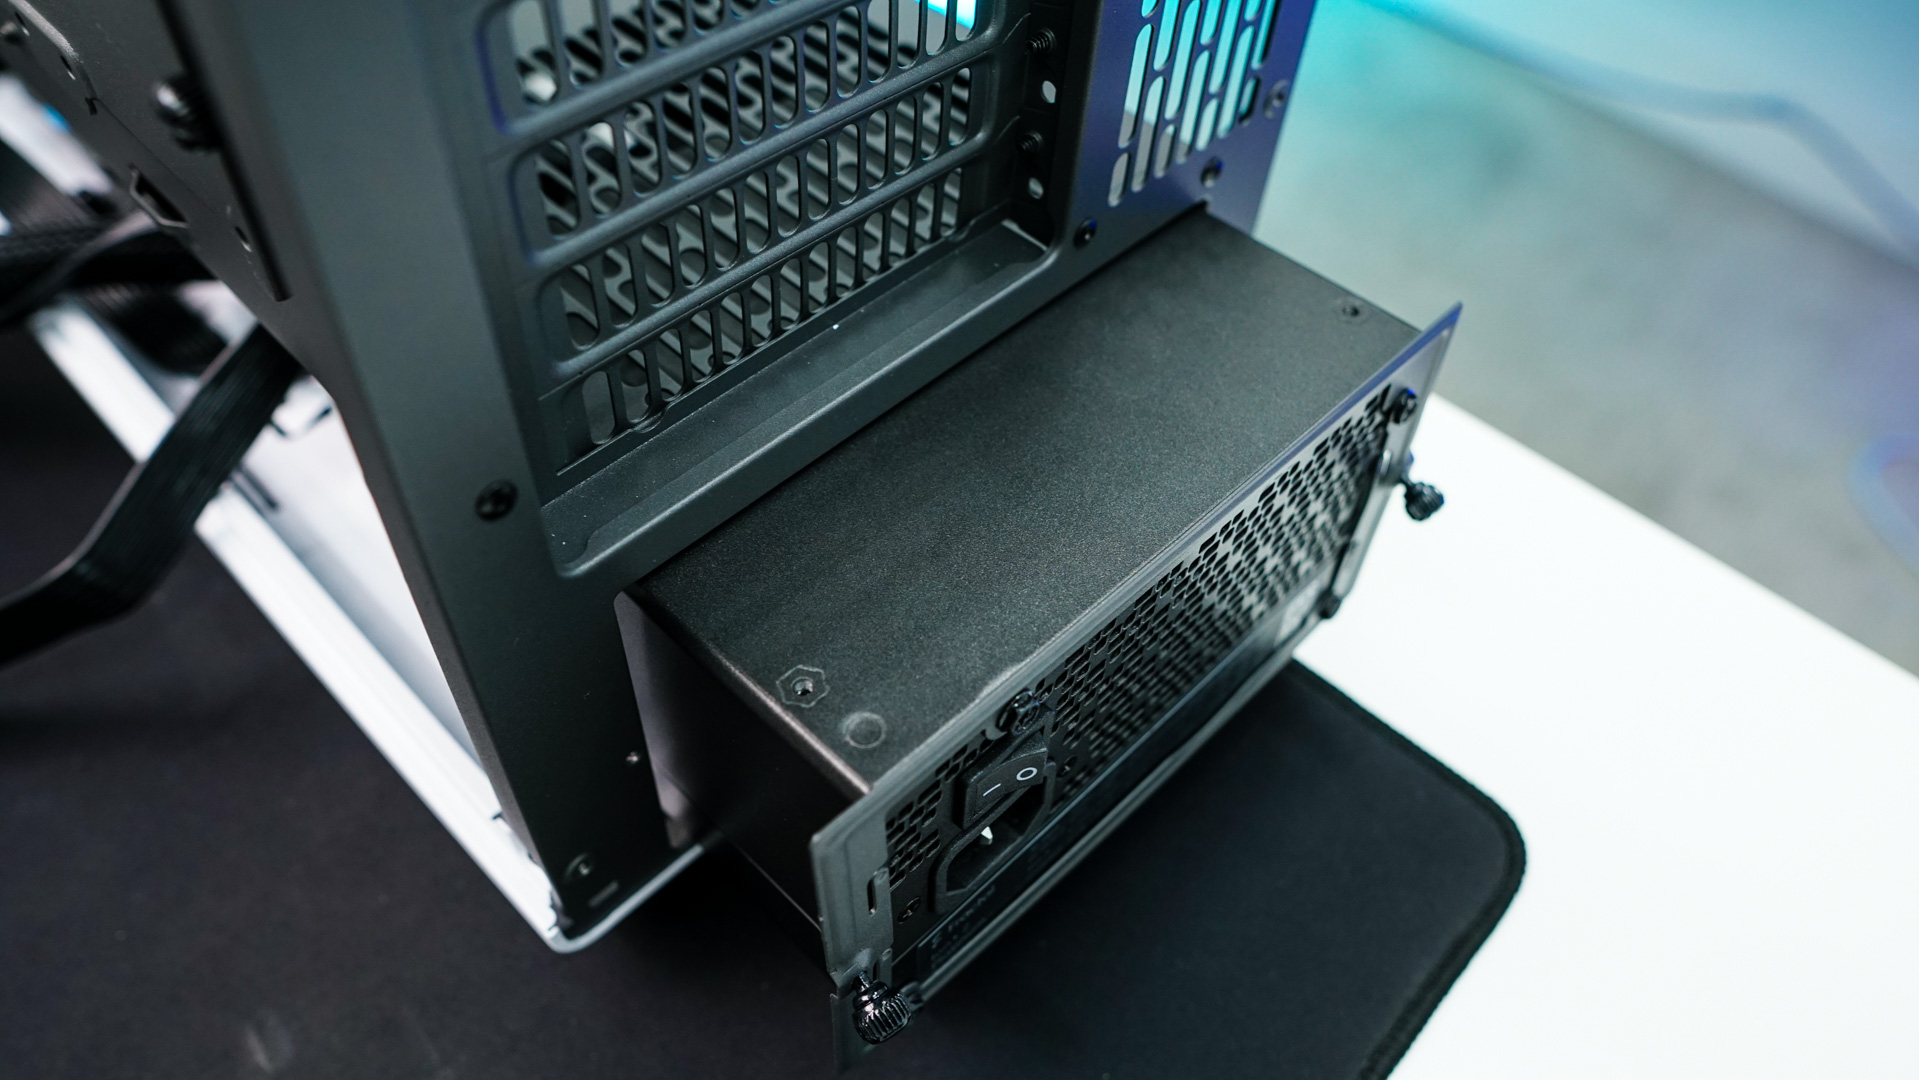
For the power supply you’ll need to remove the power supply bracket from the back of the case and install it on your power supply. Then slide your power supply in from the back of the case, securing it with the two thumbscrews on the bracket.
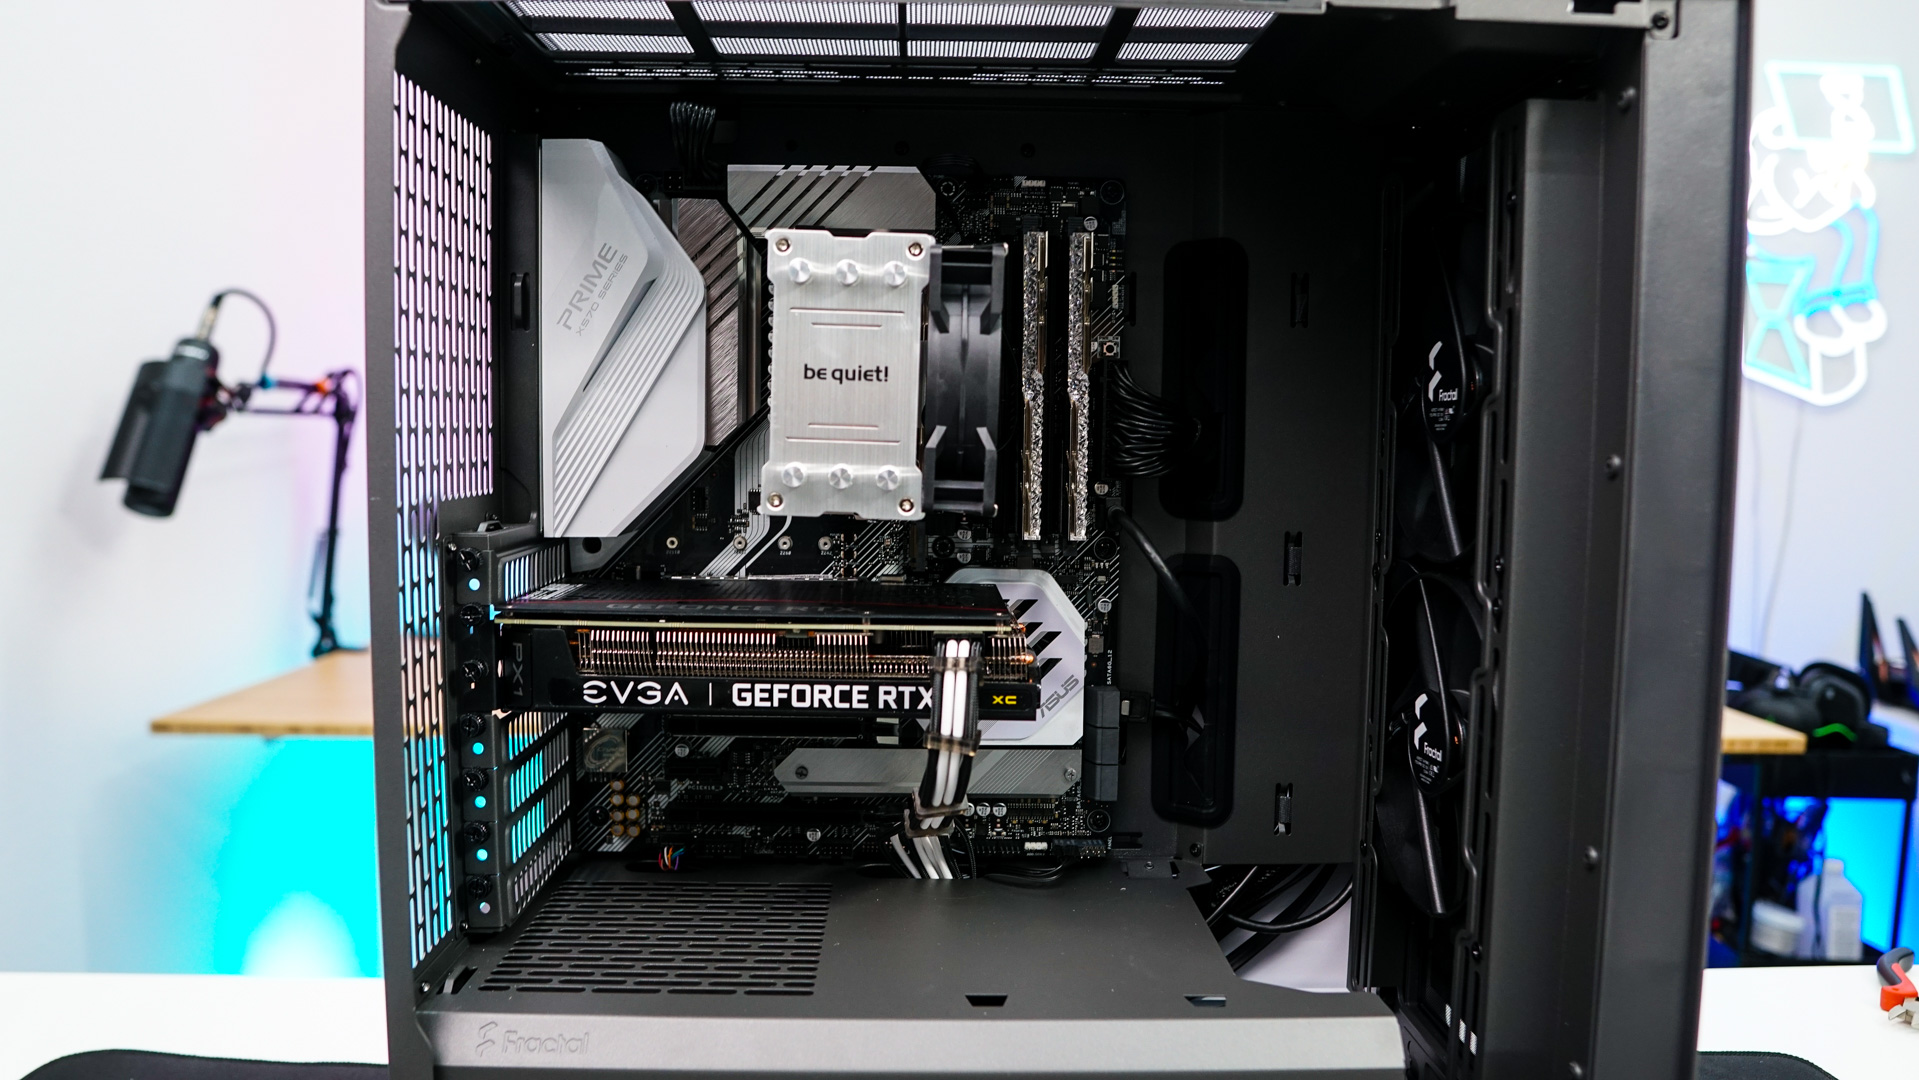
The last thing we need to install is our graphics card, which goes in no problem. The case support graphics cards up to 355 mm, so long graphics cards are no issue at all.

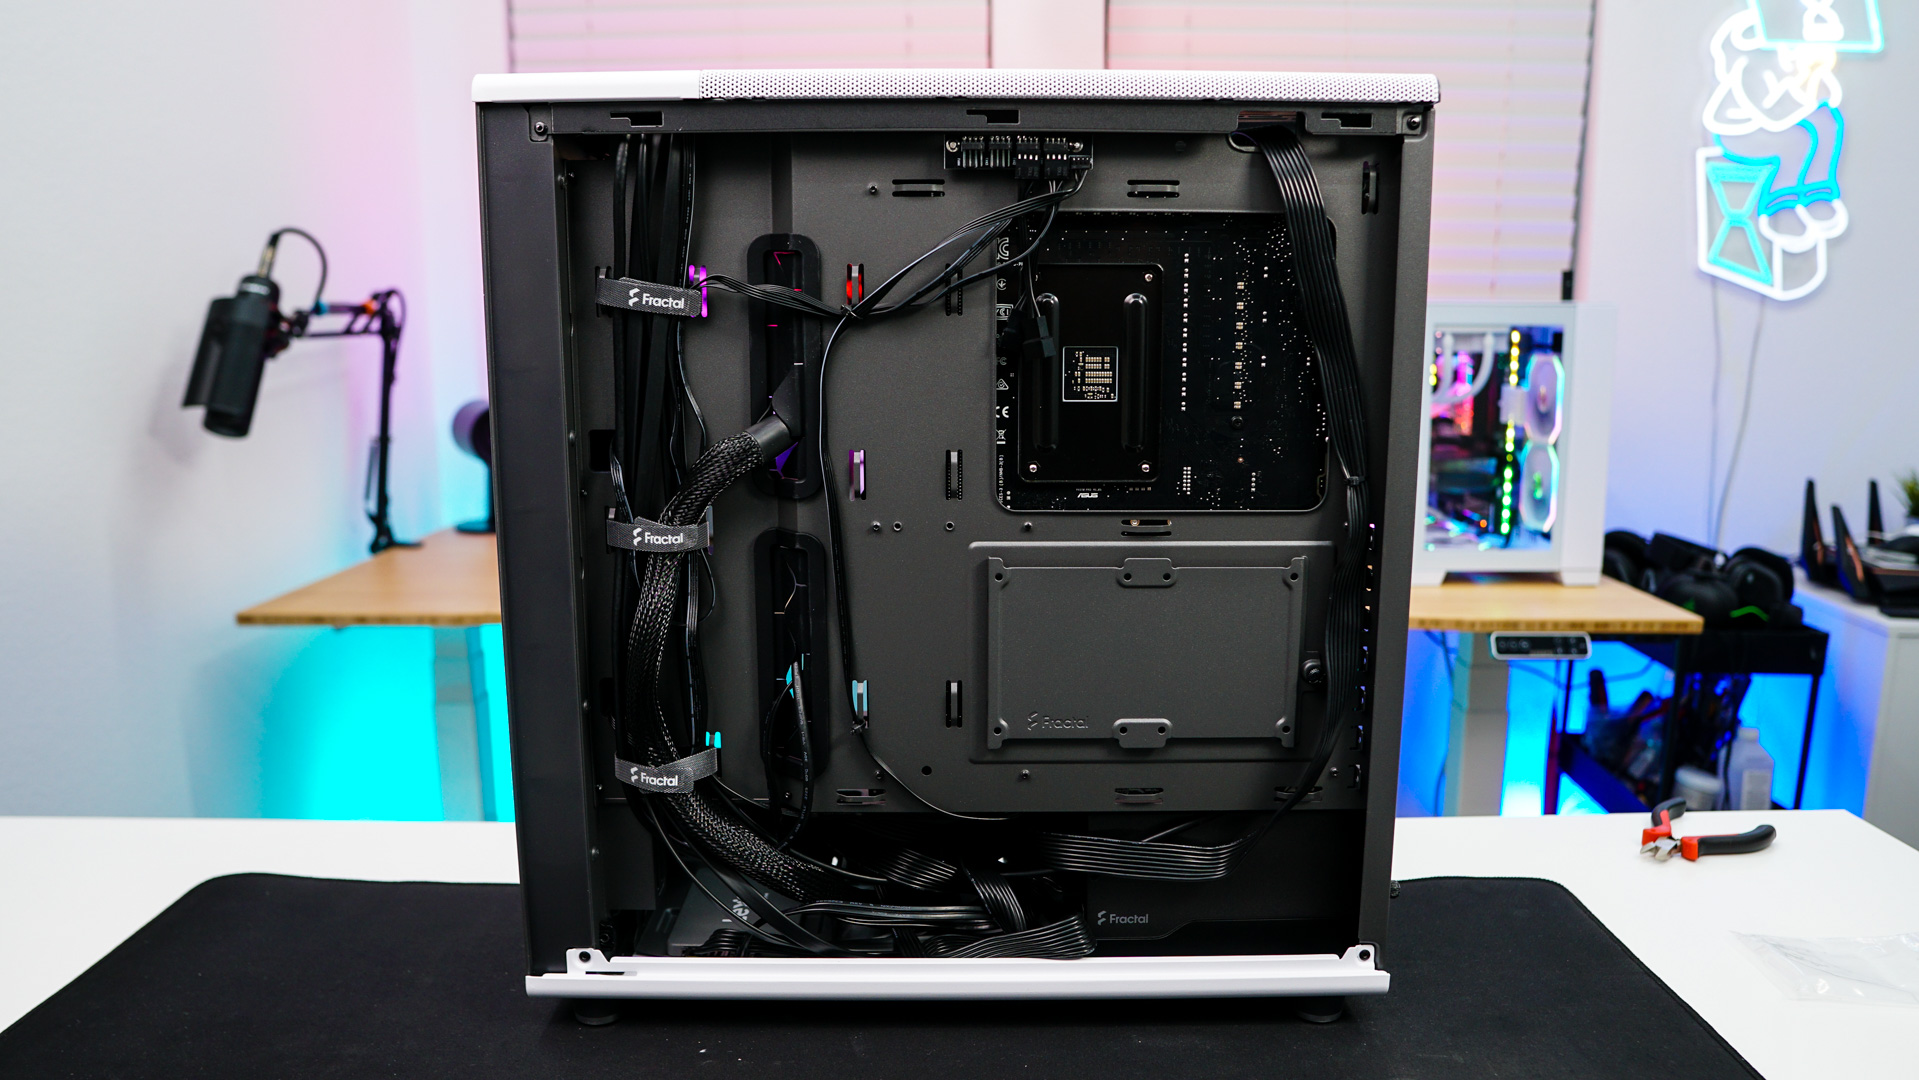
Now it is time to wire everything up and organize all of our cables. The larger velcro ties on the backside of the case really help with organizing things and and there are plenty of tie-down point for the included zip ties. When it is all said and done we have a very clean build.