Why go for readymade keyboards for programming when you can make one on your own? You can decide on every feature of your self-made keyboard and change it if you wish to.
Also, if you want everything personalized according to your needs, why compromise on a keyboard? You can bring all components of a keyboard separately and assemble them. The best part of making a custom keyboard for coding is that it can never disappoint you.
However, it’s not as easy as it seems; you need to know everything regarding keyboards, including which part fits where and how. And for that, here we are with our guide on making a custom keyboard out of scratch.
Also, we have included a list of things you will require for making a programming keyboard and a detailed step-by-step guide on how to assemble your custom keyboard.
What do I need to build a keyboard?
Keyboard case- Keyboard cases are available in different sizes, starting from the full-sized one to the 40% one, so get a keyboard case accordingly. Also, keep in mind many other items depend on this keyboard case.
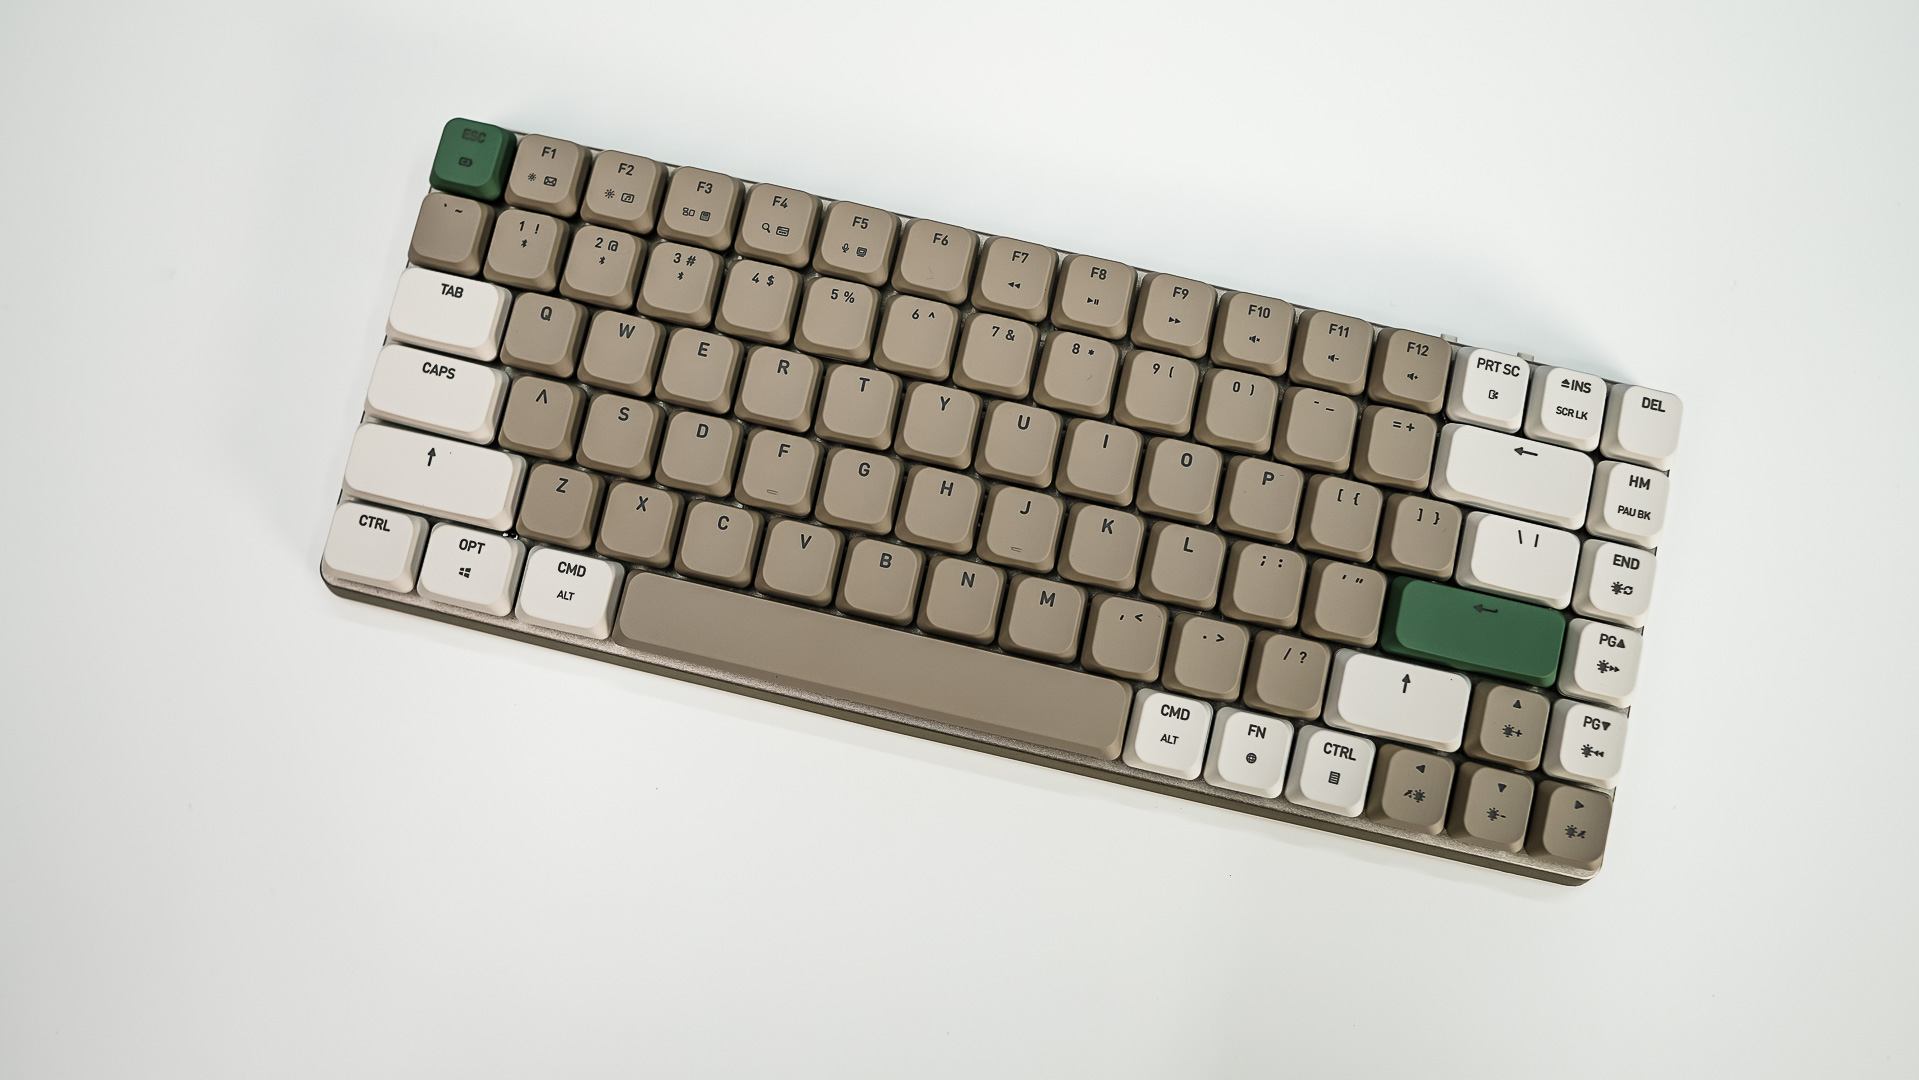
Keycaps- Other than the not-so-cool keycaps, you can get separate keycaps, color, and design. However, make sure they are strong and probably made of PBT or ABS.
Mounting plate- The key mounting plate, also known as the switch plate, is the most essential component while assembling a keyboard. These plates make sure your keys stay in one place and don’t get loose.
Mechanical switches- When you opt for a mechanical keyboard, you have several switches to choose from. The most popular mechanical switches are those of the Cherry MX brand. However, it is recommended to use Cherry MX Red linear switches for coding keyboards. They are simpler in design, producing no click when actuated. The typing feeling is therefore more fluid and is considered much better the tacticle switches due to the smooth and consistent actuation.
Printed circuit board- The PCB you buy should always match your keyboards case. Many circuit boards are available online with additional features such as a backlighting connection and hot-swappable features.
Stabilizers- As their name suggests, they provide good stability to your keyboard and its keys. You will probably require only five of them for the bigger keys.
USB cable- If you are not thinking of making a wireless custom keyboard, a USB cable is essential for connectivity.
Additional requirements
- Screwdriver
- Soldering iron and solder
- Tweezer
How To Build A Custom Mechanical Keyboard for coding?
Once you have all those requirements ready with you, here are the detailed steps you should follow to make a custom keyboard.
Step 1: Testing the PCB
This step is crucial for ensuring each of the switches will work properly and your PCB is not faulty. For testing the PCB, you have to connect it to your PC/ laptop using a USB cable and use the tweezer for testing each of the switches.
Step 2: Installing the stabilizers
Once you have checked your PCB and, fortunately, every switch works perfectly, it’s time to install the stabilizer. Many people prefer to mod their stabilizers as an upgrade, you can also do that, but it’s optional. Installing them requires time, so be patient and place each of them on the bigger and wobbly keys.
Step 3: Installing the switches
Before installing switches, you may also consider lubing them as they perform better with it. If not, simply start installing the switches on the PCB. However, you should place the mounting plate, so your switches don’t move from their place. For installation, press the switches gently on the PCB to get locked with their pins inside.
Step 4: Soldering the switches
If you have a hot-swappable PCB, you can avoid this step. If not, you can start by soldering the two pins of the switches on the backside of the circuit using the soldering iron and solder. At this step, make sure you know how soldering works, or you can check for online tutorials.
Step 5: Installing the PCB
Once you have installed the switches and soldered them, it’s time to install the PCB into the keyboard case. For that, gently lift the PCB with its switches on and place it into the case. Moreover, use a screwdriver and tighten the PCB to the case using screws.
Step 6: Placing the keycaps
The last step of making a custom keyboard will give you immense satisfaction. All you have to do is place the keycaps at their respective places and start testing the keyboard.
Conclusion
Making a custom keyboard is pretty much fun if you have the right knowledge. These custom keyboards can help you work productivity, and if you are a gamer, they will surely enhance your gaming experience. Therefore, do try making one for yourself using our guide on how to make a custom keyboard, and also, do not skip any of the steps as they are crucial.