Installation
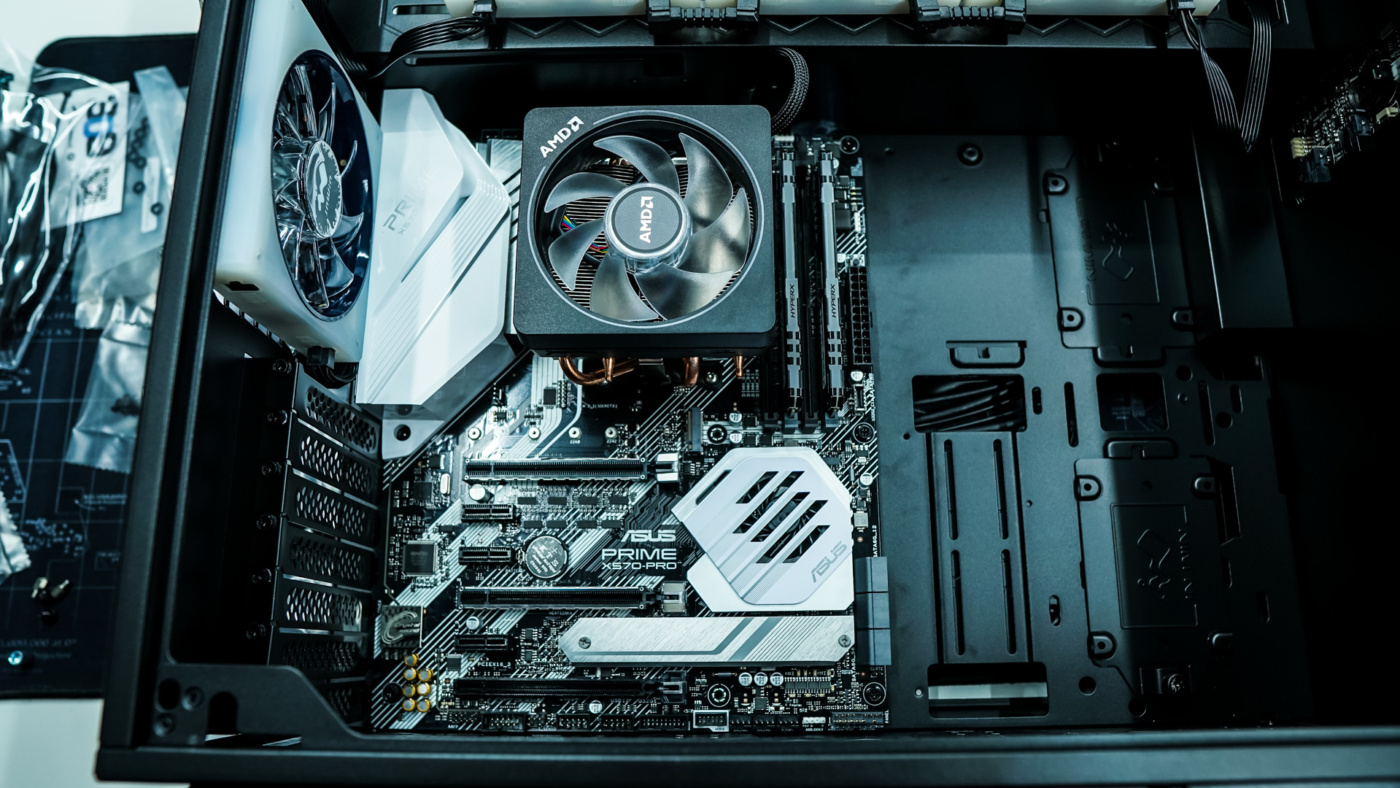
To start installation the first thing we need to do is install the motherboard standoffs since they were not pre-installed. InWin does provide a tool to get them in there nice and tight. With those installed it is time to install our motherboard. We had no problem getting our motherboard installed, but it is a tight fit, especially towards the bottom of the case.
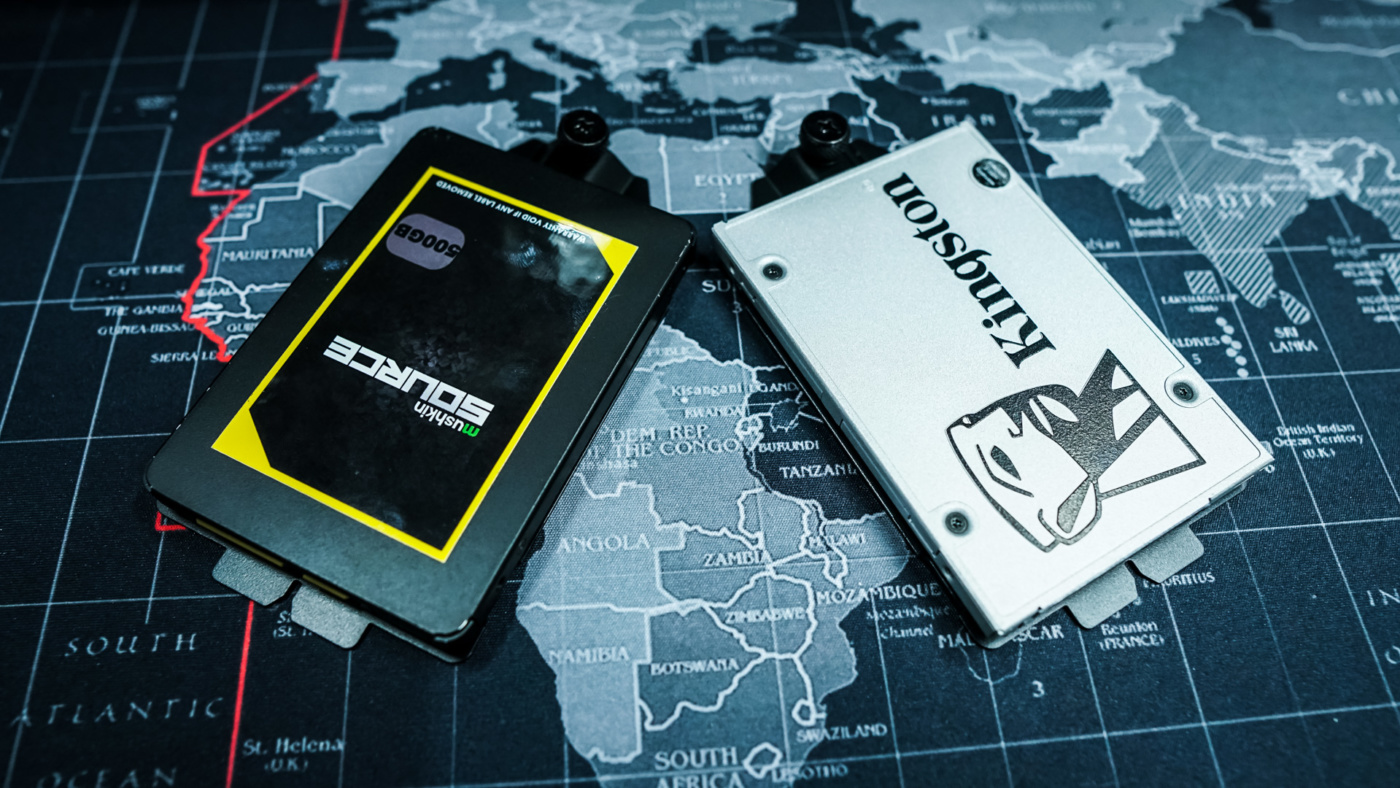
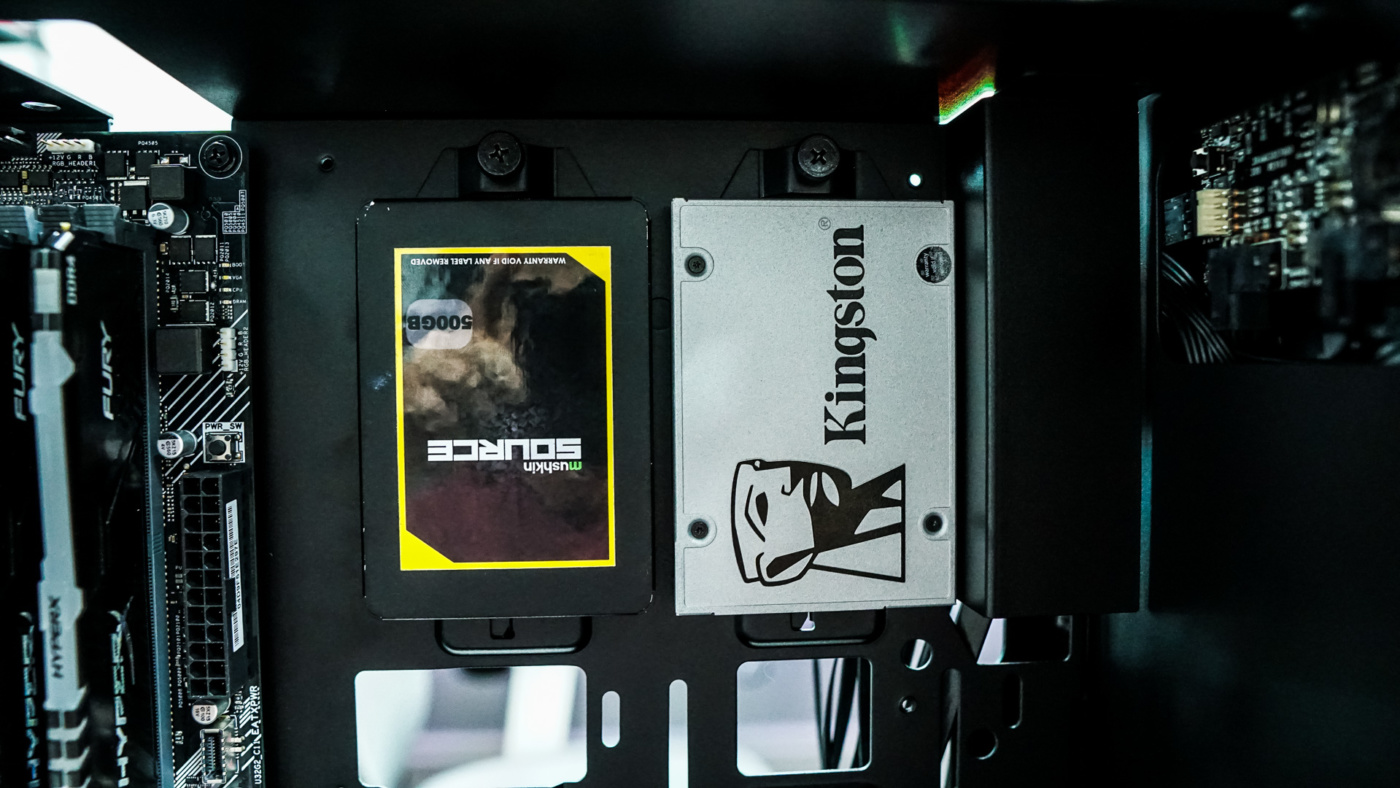
Hard drive installation is next. We will be installing two 2.5-inch SSDs in this case. We easily remove the two included 2.5-inch mounts and install our drives with the included screws. Then we simply reinstall the mounts.
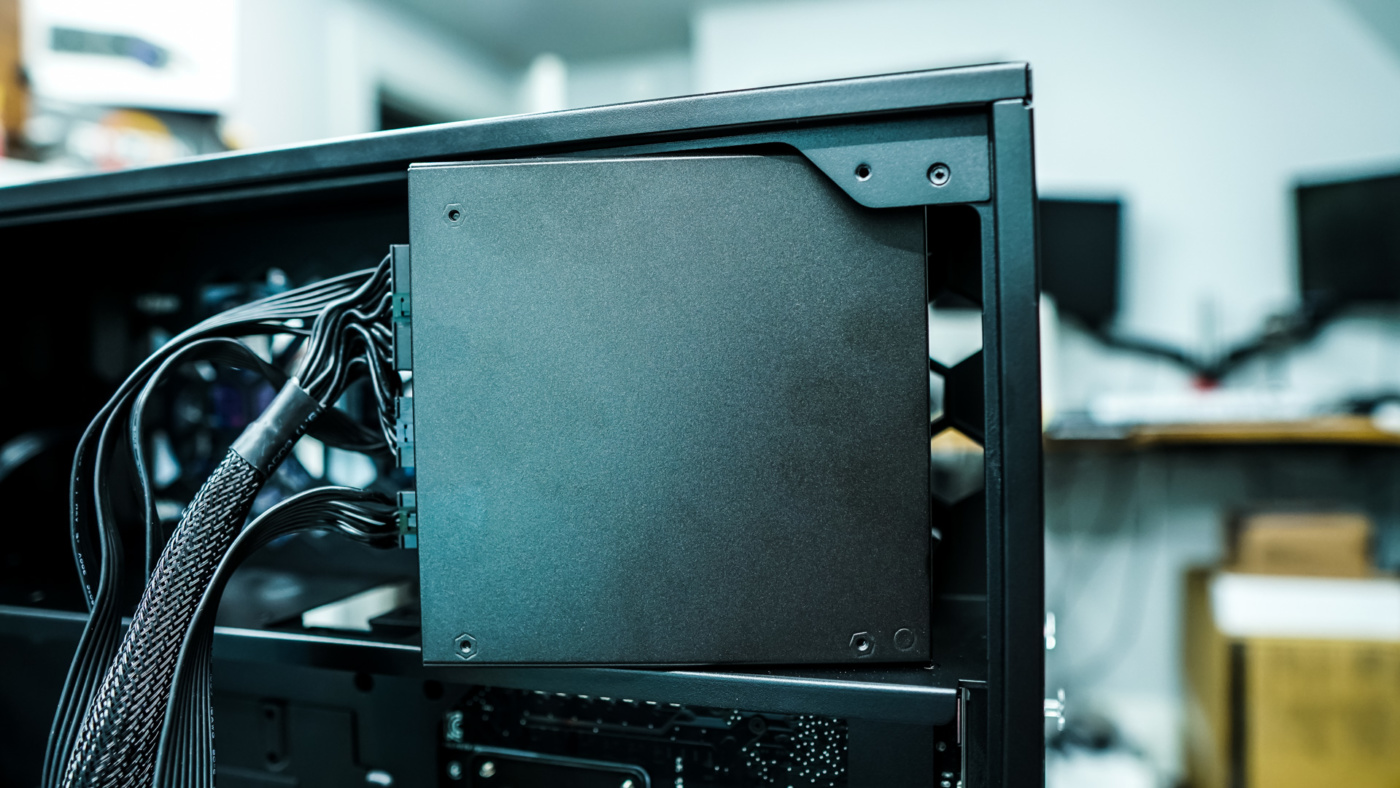
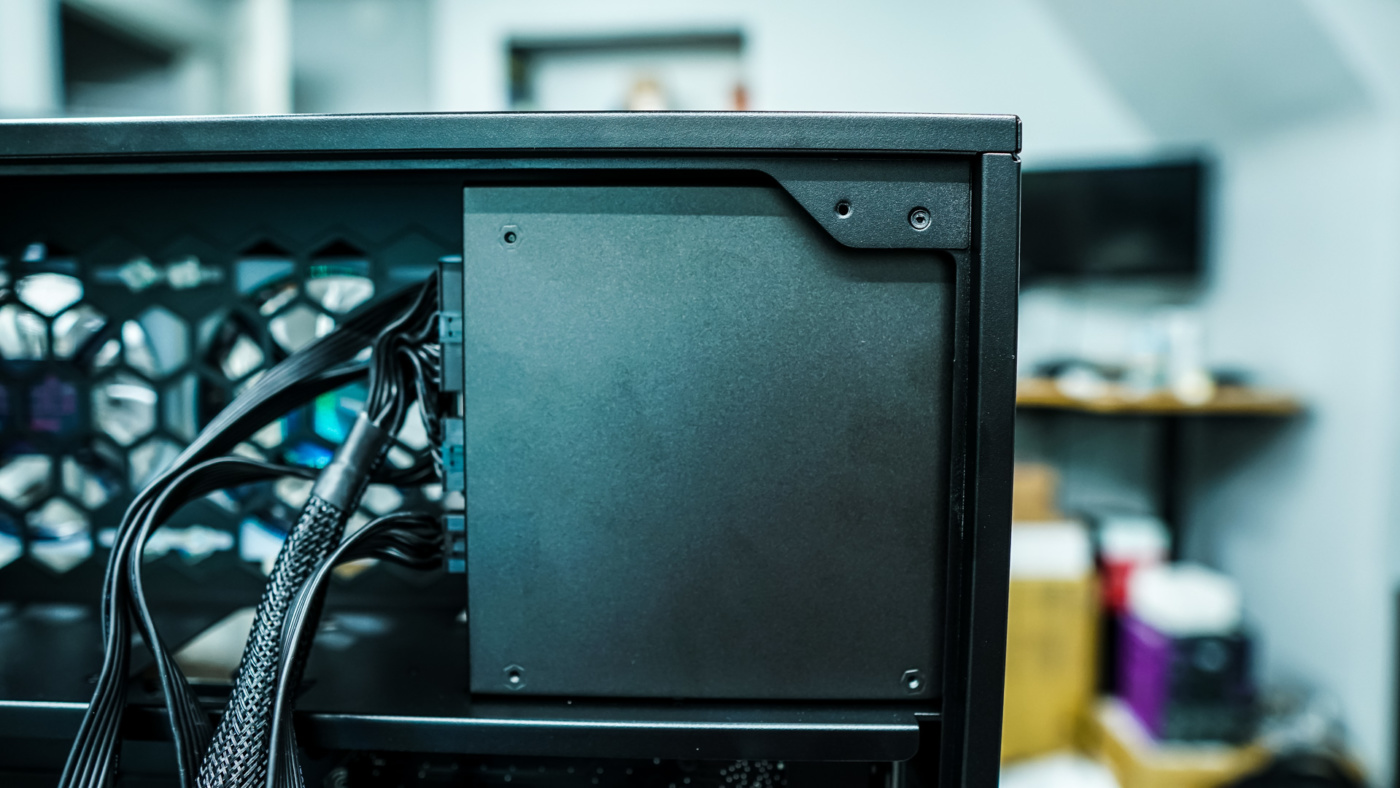
When it comes to the power supply it installs from the backside of the case so you’ll need to remove the back side panel to get it installed. It easily slides in and you secure it with four screws. I was pretty surprised that in the manual it says to install the power supply with the fan facing inwards, rather than facing towards the exhaust vents on the case.
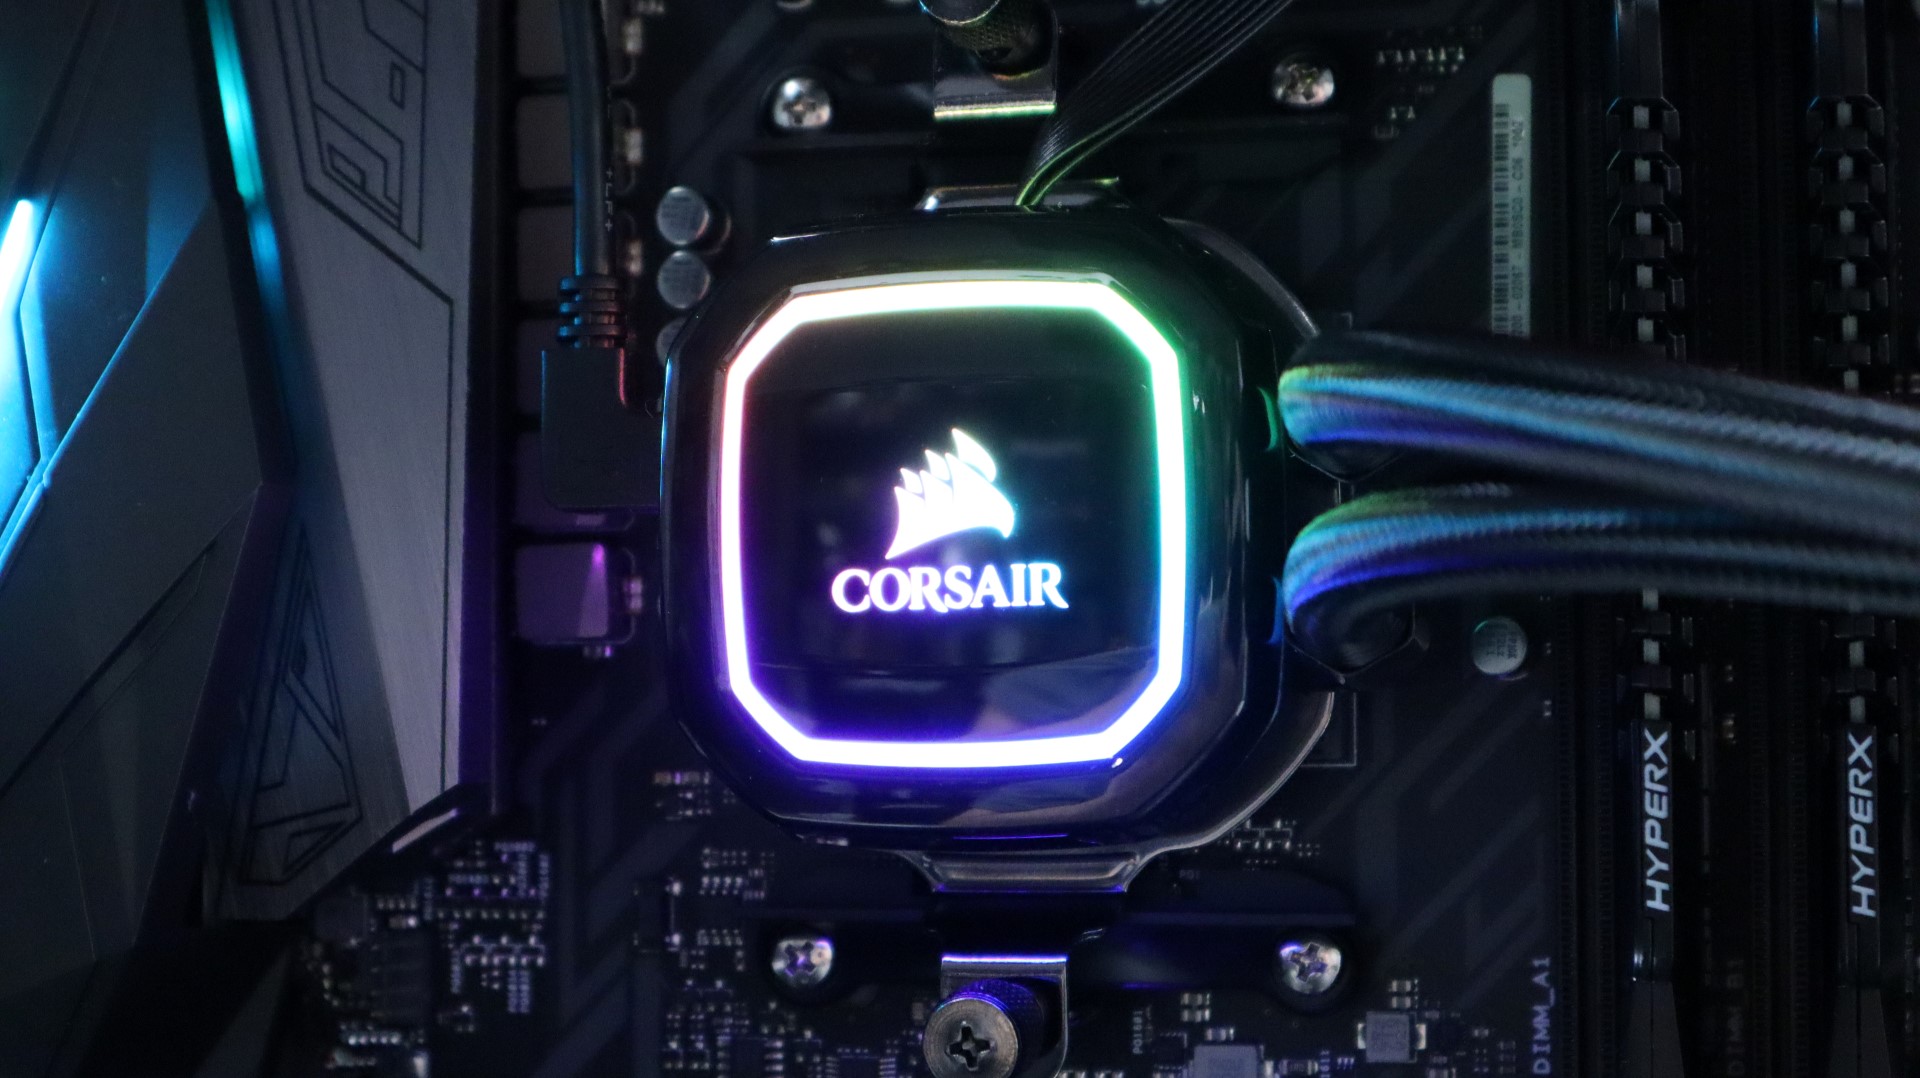
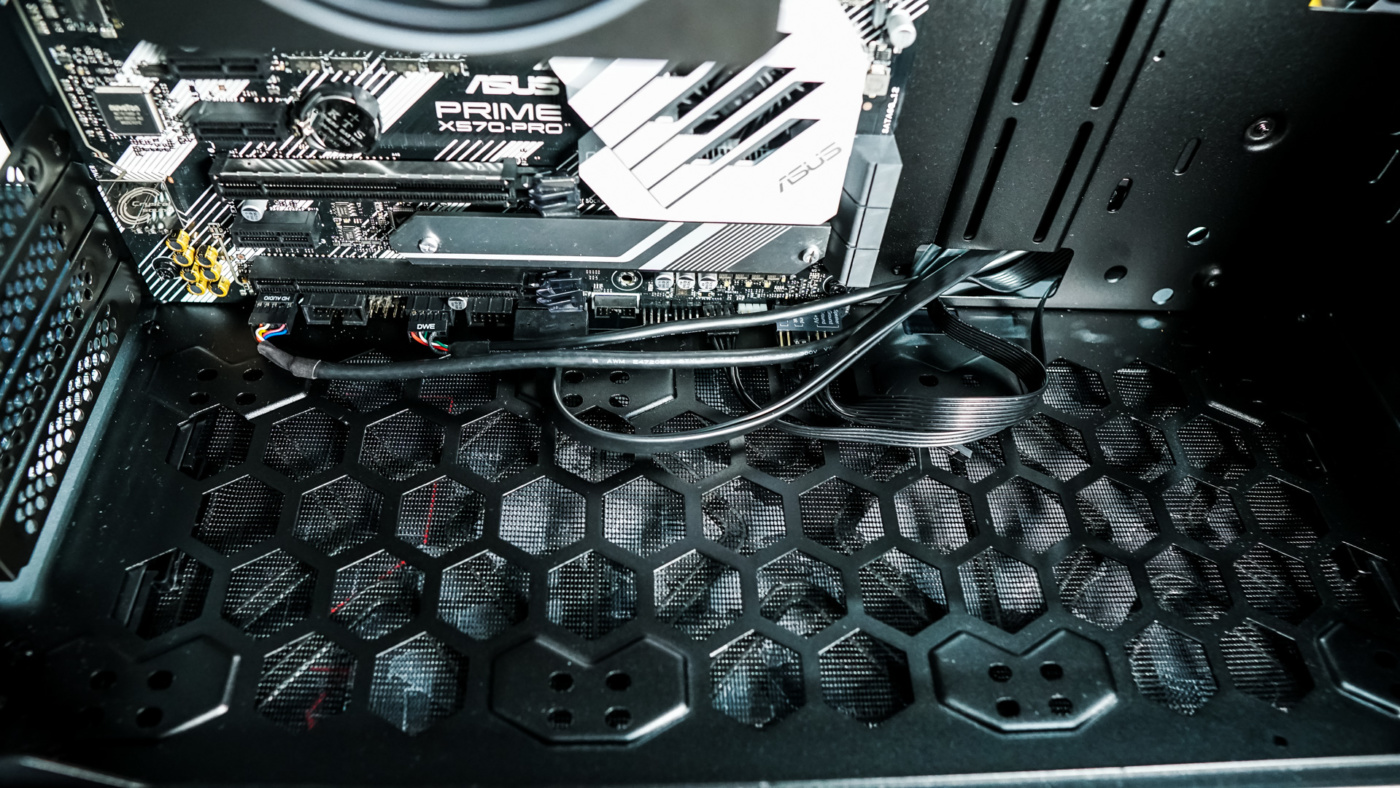
Before installing your graphics card you are going to want to connect all of the headers on the bottom of your motherboard as they are going to be hard to access with a graphics card installed. You are going to want to be sure to plug in the USB cable labelled “DWE” coming from the front panel of the case. This allows your PC to talk to the front panel so you can use InWin’s software to control the aRGB LEDs. Upon connecting all of my cables I did notice some of the cables sort of “just made it” to the headers. You can also tell that if you did install fans or a radiator on the rear of the case these headers would be pretty much inaccessible.
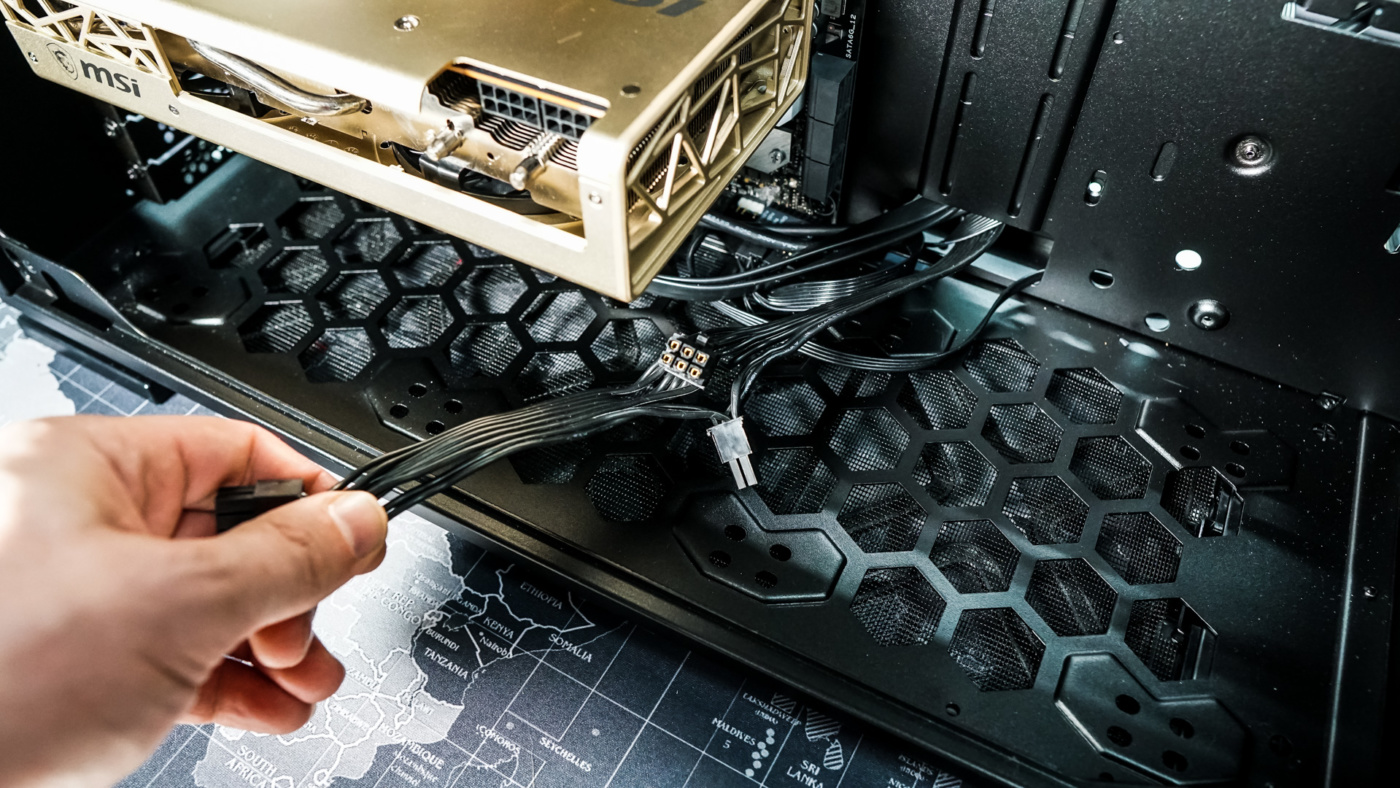
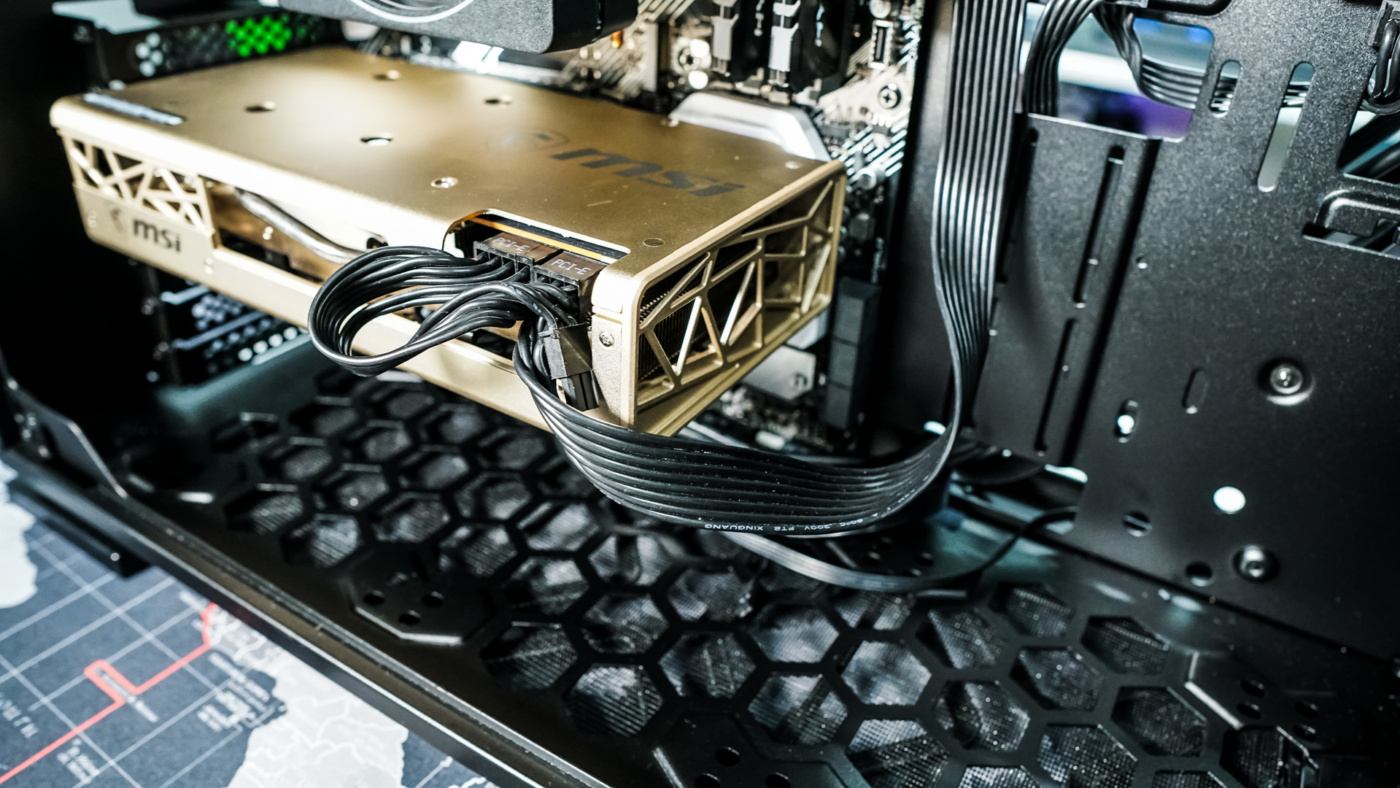
Now when it came to installing my graphics card I ran into another issue. The PCI-Express power connectors would not reach if I had them routed through the bottom cable management hole. This was a little upsetting was I would either have to use the next hole up or the one towards the top of the case, which I ultimately opted for.
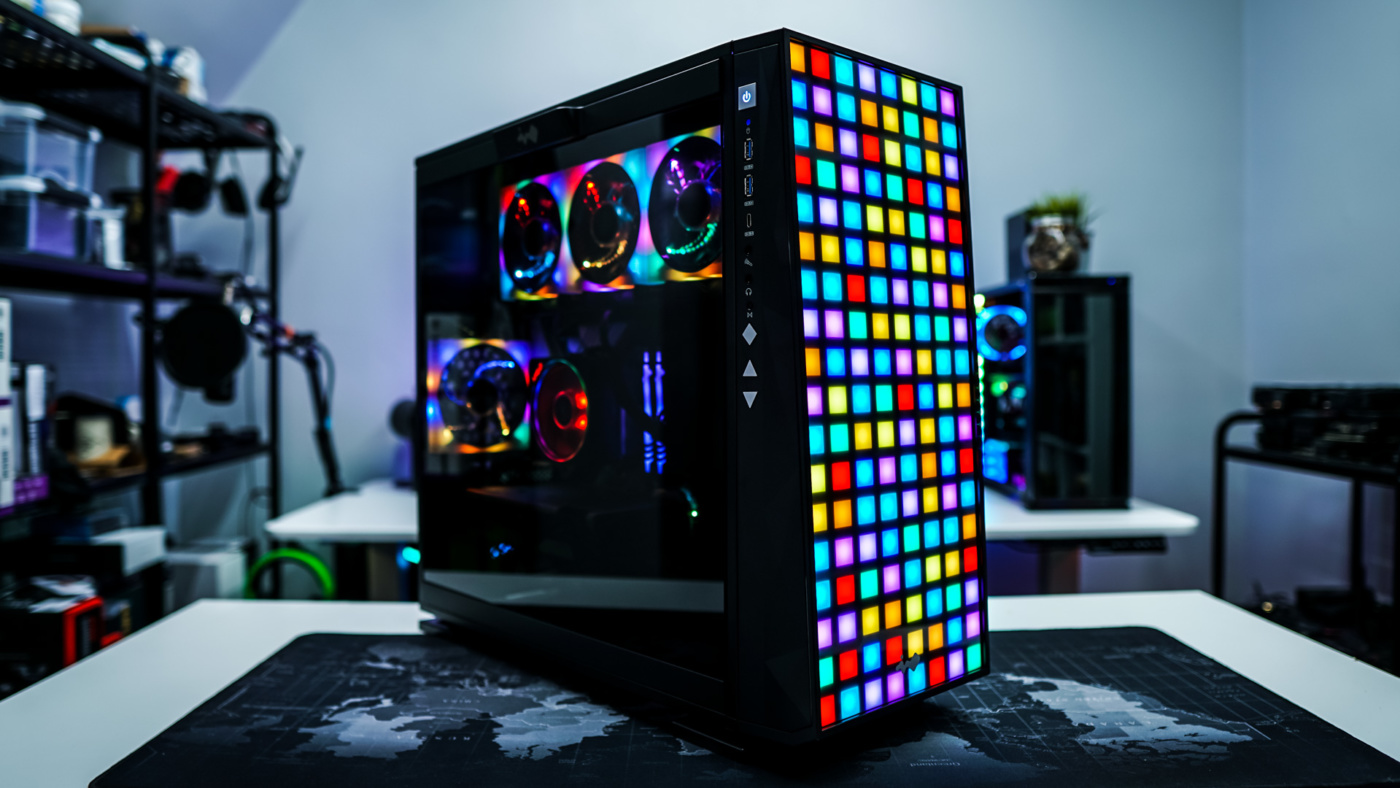
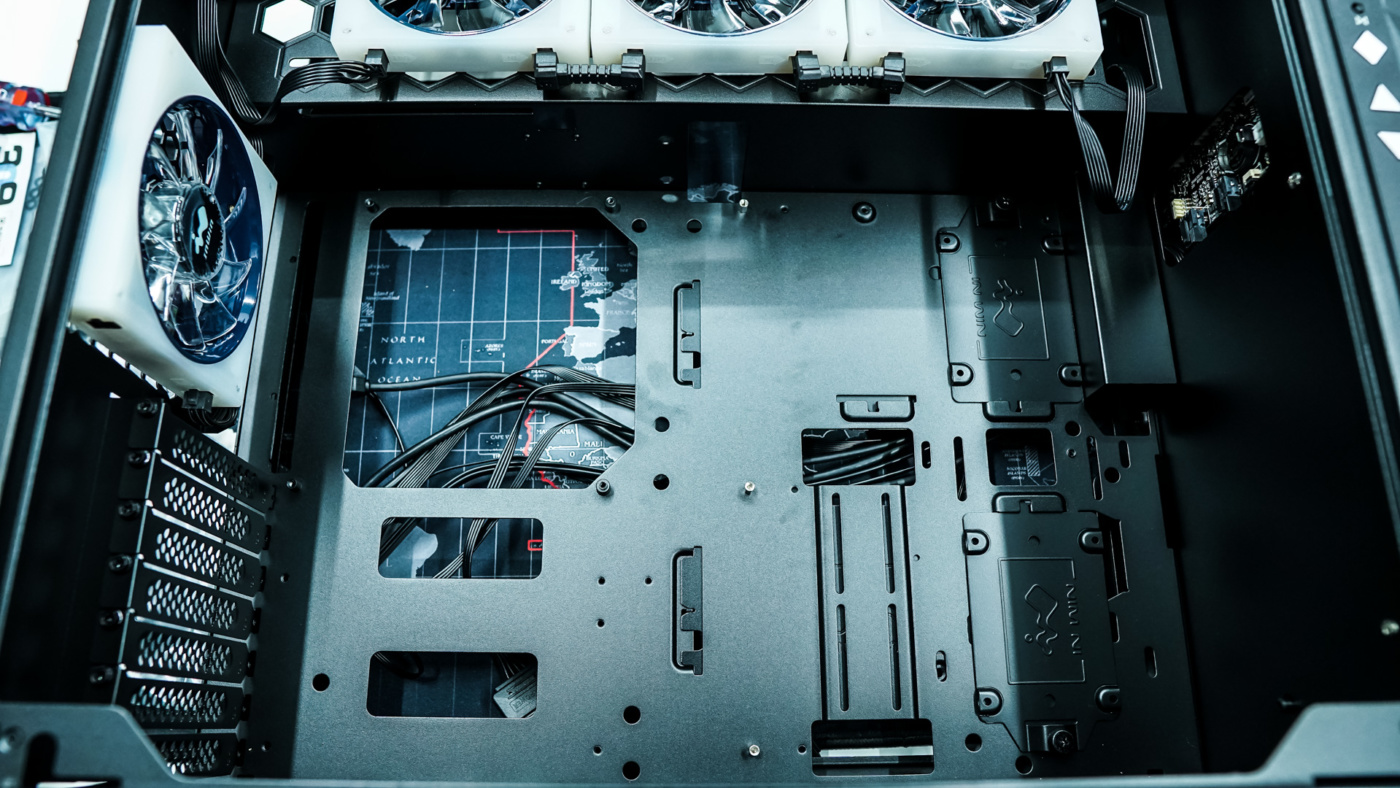
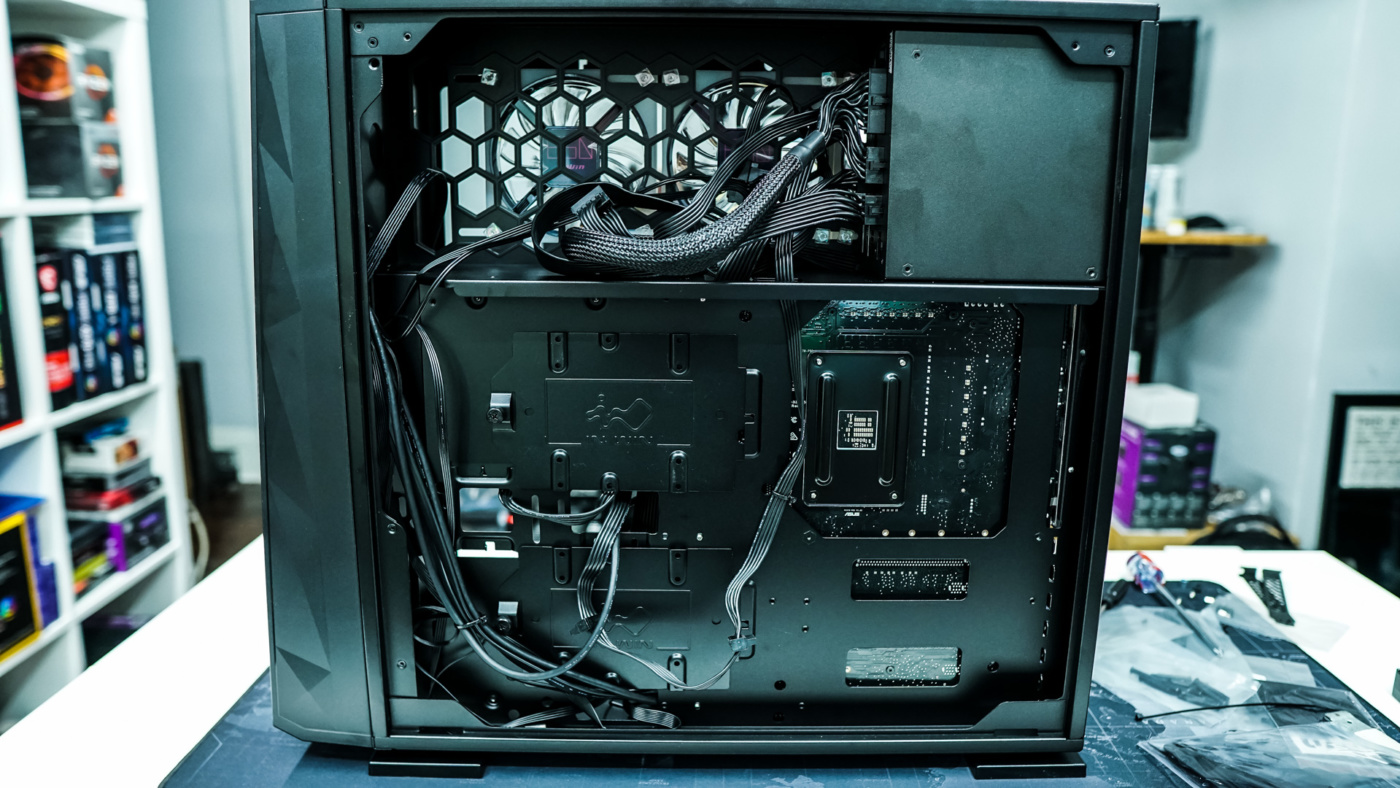
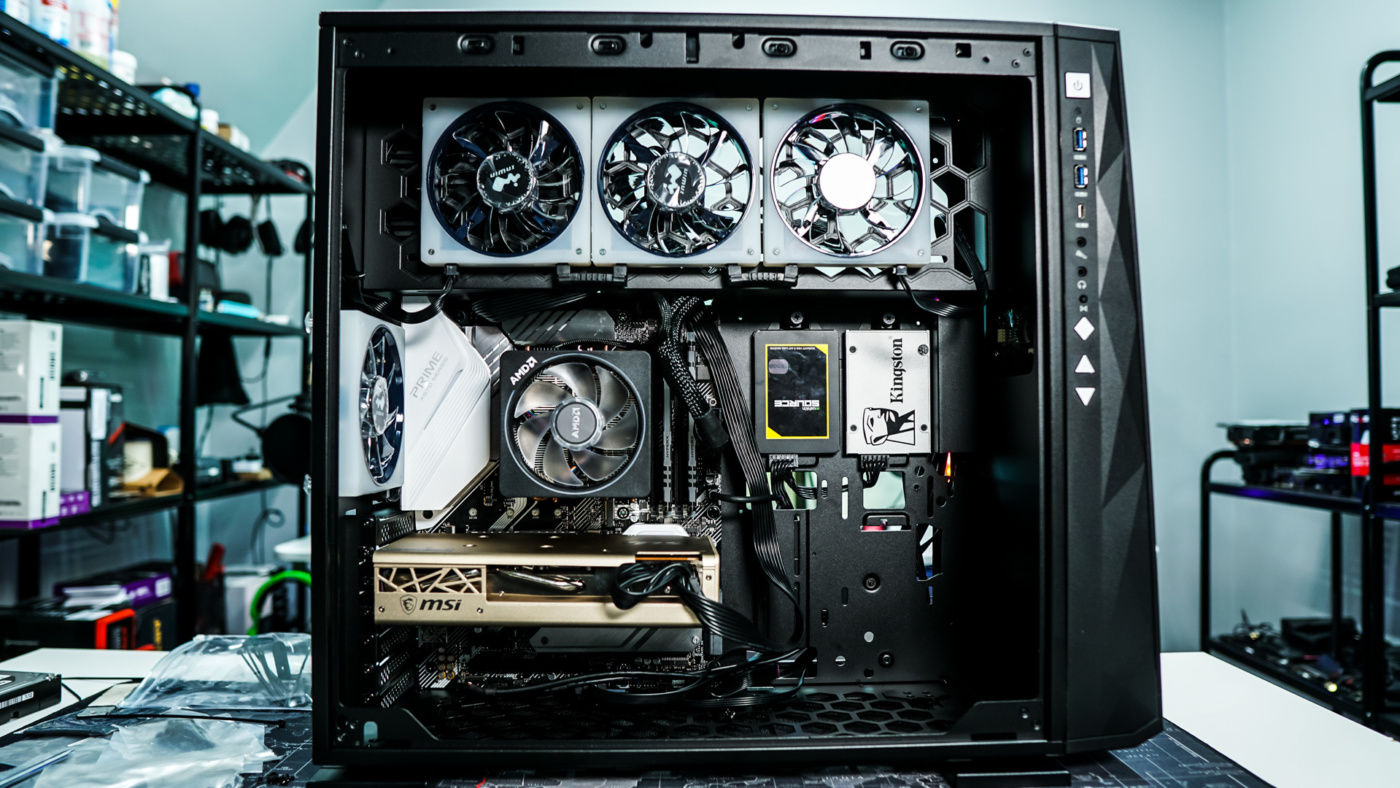
With everything installed we have a very clean build on both sides of the case. One thing I did notice was there were not any cable tie-down points on the backside of the motherboard tray. Also looking at the main side of the case it just seems there is a lot of wasted space towards the front of the case.
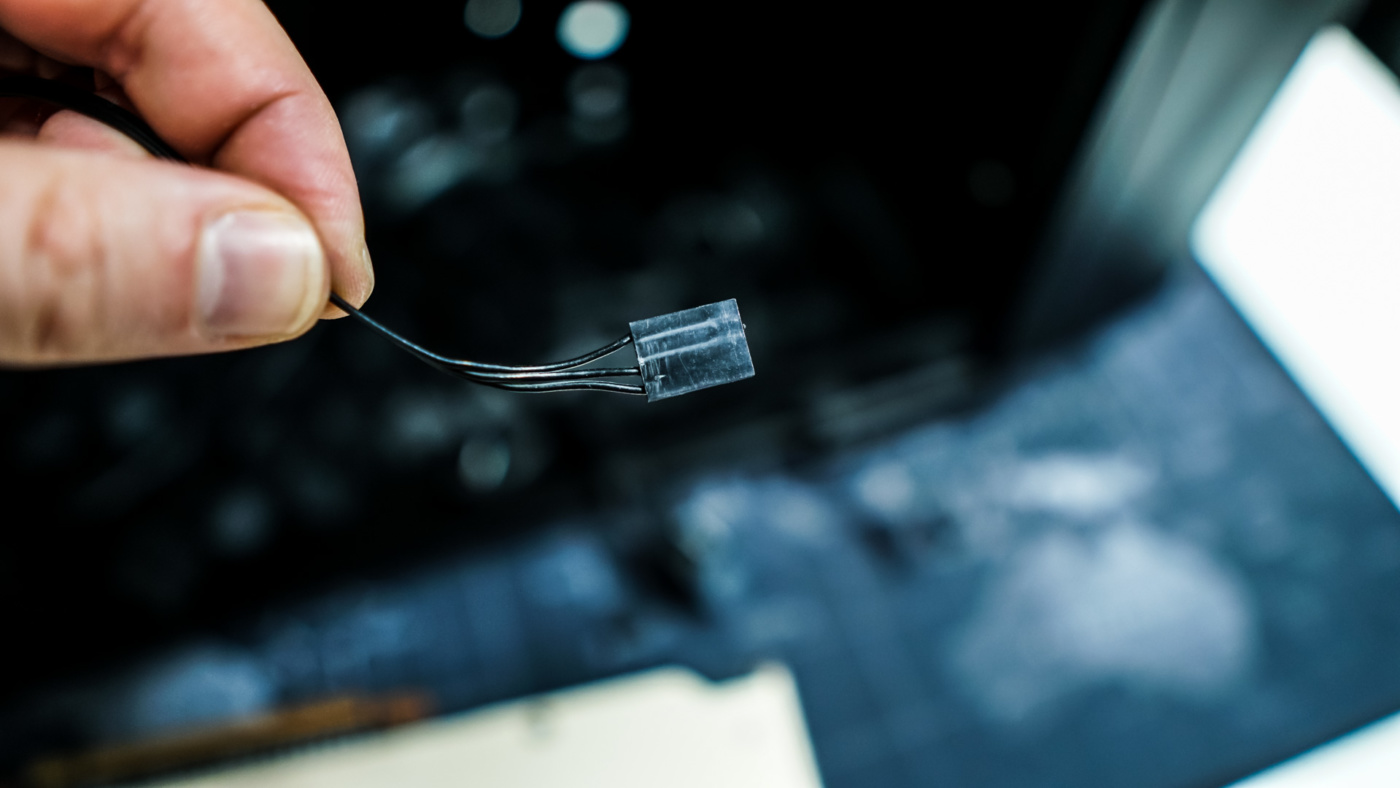
Before you close the case up there are two things you are going to want to do. The first is remove the piece of plastic that is on the battery on the front of the case. It simply pulls out, but make sure that you don’t pull the battery out as well. Secondly if you don’t want to use InWin’s RGB software, but rather your motherboards you want to connect the 3-pin aRGB connection to an aRGB header on your motherboard. This cable is not labelled at all so it might be confusing to some.