Installation
We will be doing our installation on an Intel Z490 system so this installation would be pretty much the same for Intel LGA 1200, 1150, 1151, 1155, and 1700 sockets.
To start off installation you are going to want to take the backplate and affix it to the backside of your motherboard, lining up the pegs with the holes in your motherboard. Our backplate was slotted for LGA1200, but you may need to move the pegs for other sockets.


Next take the plastic spacer adapters and put them on top of the pegs on the backplate. Be sure to install them with the narrow side down. They should lock on to the pegs pretty easily. Now go ahead and take the mounting brackets and install them on either side of the CPU socket with the included screws.


Now with the fan on the heatsink removed, carefully place it on top if your CPU lining up with screws on each side with the pegs on the mounting brackets. Secure the cooler by simply screwing it in.


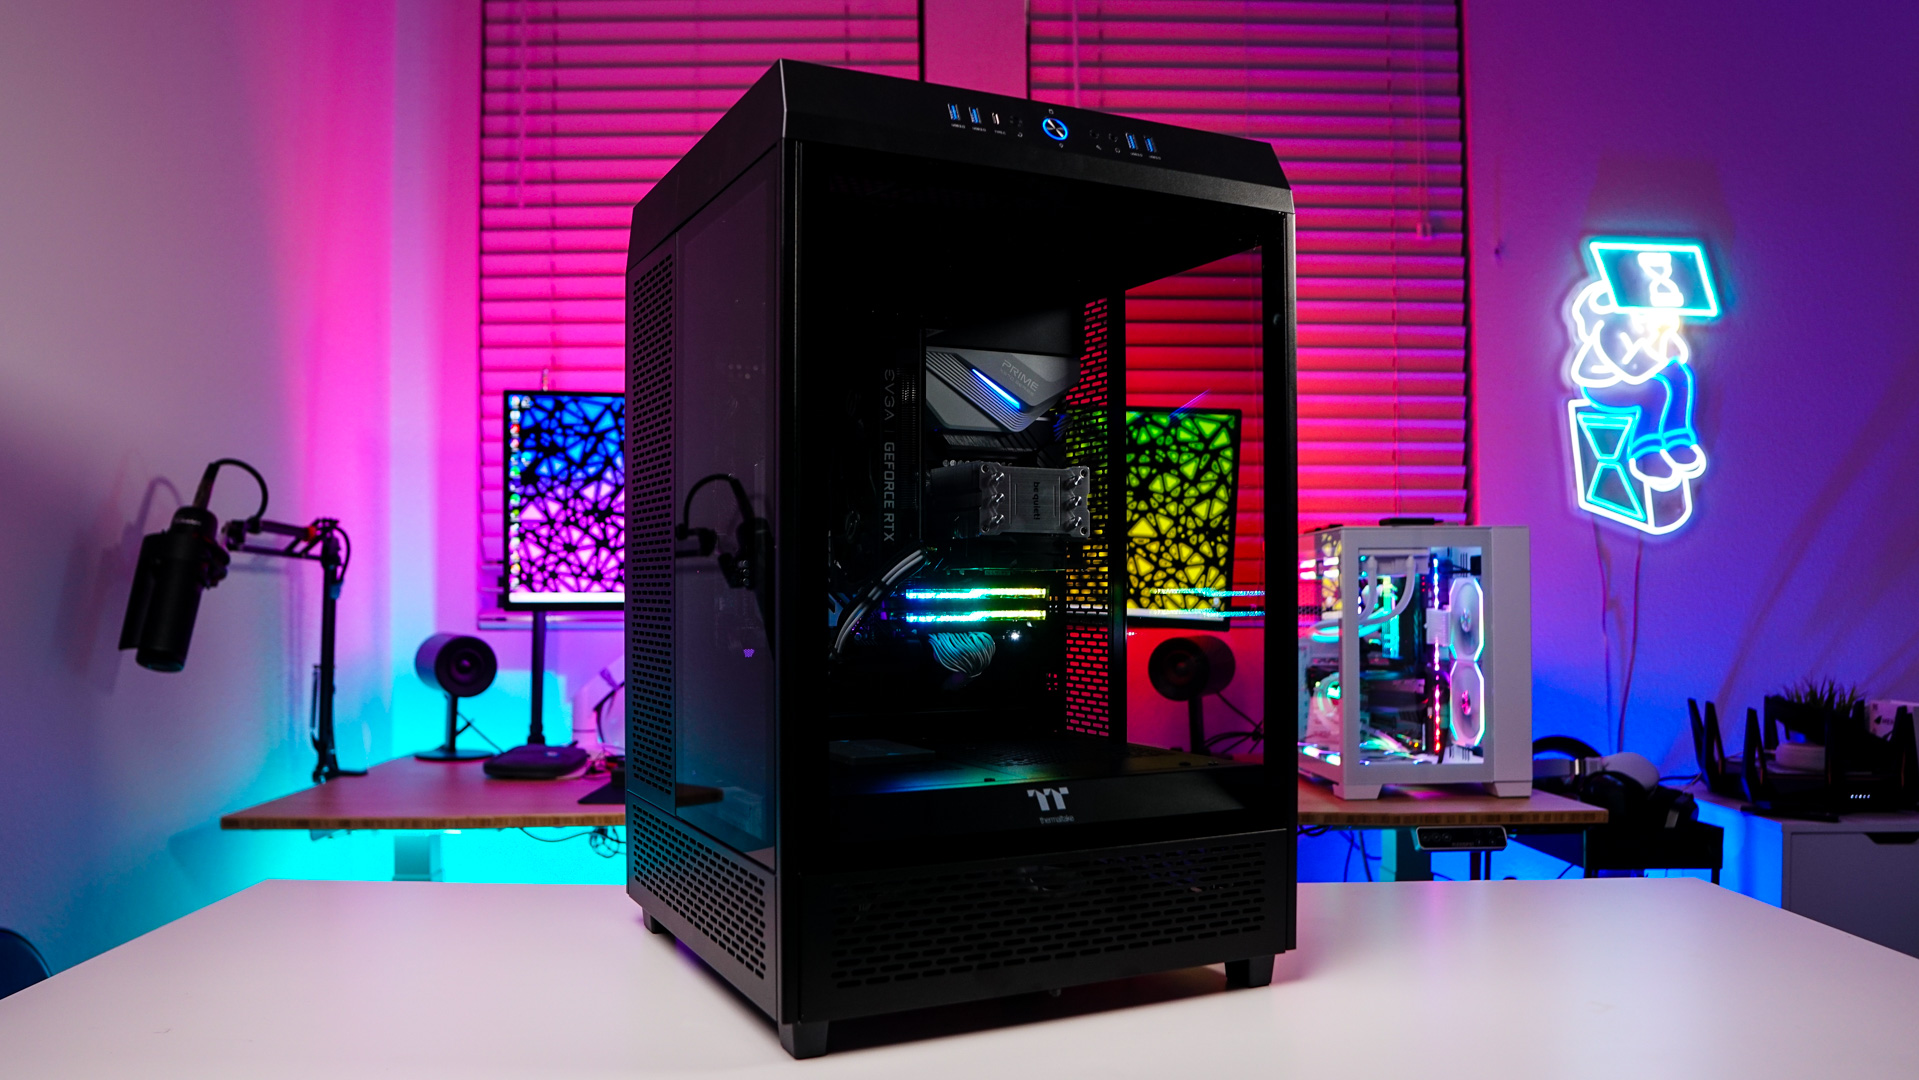
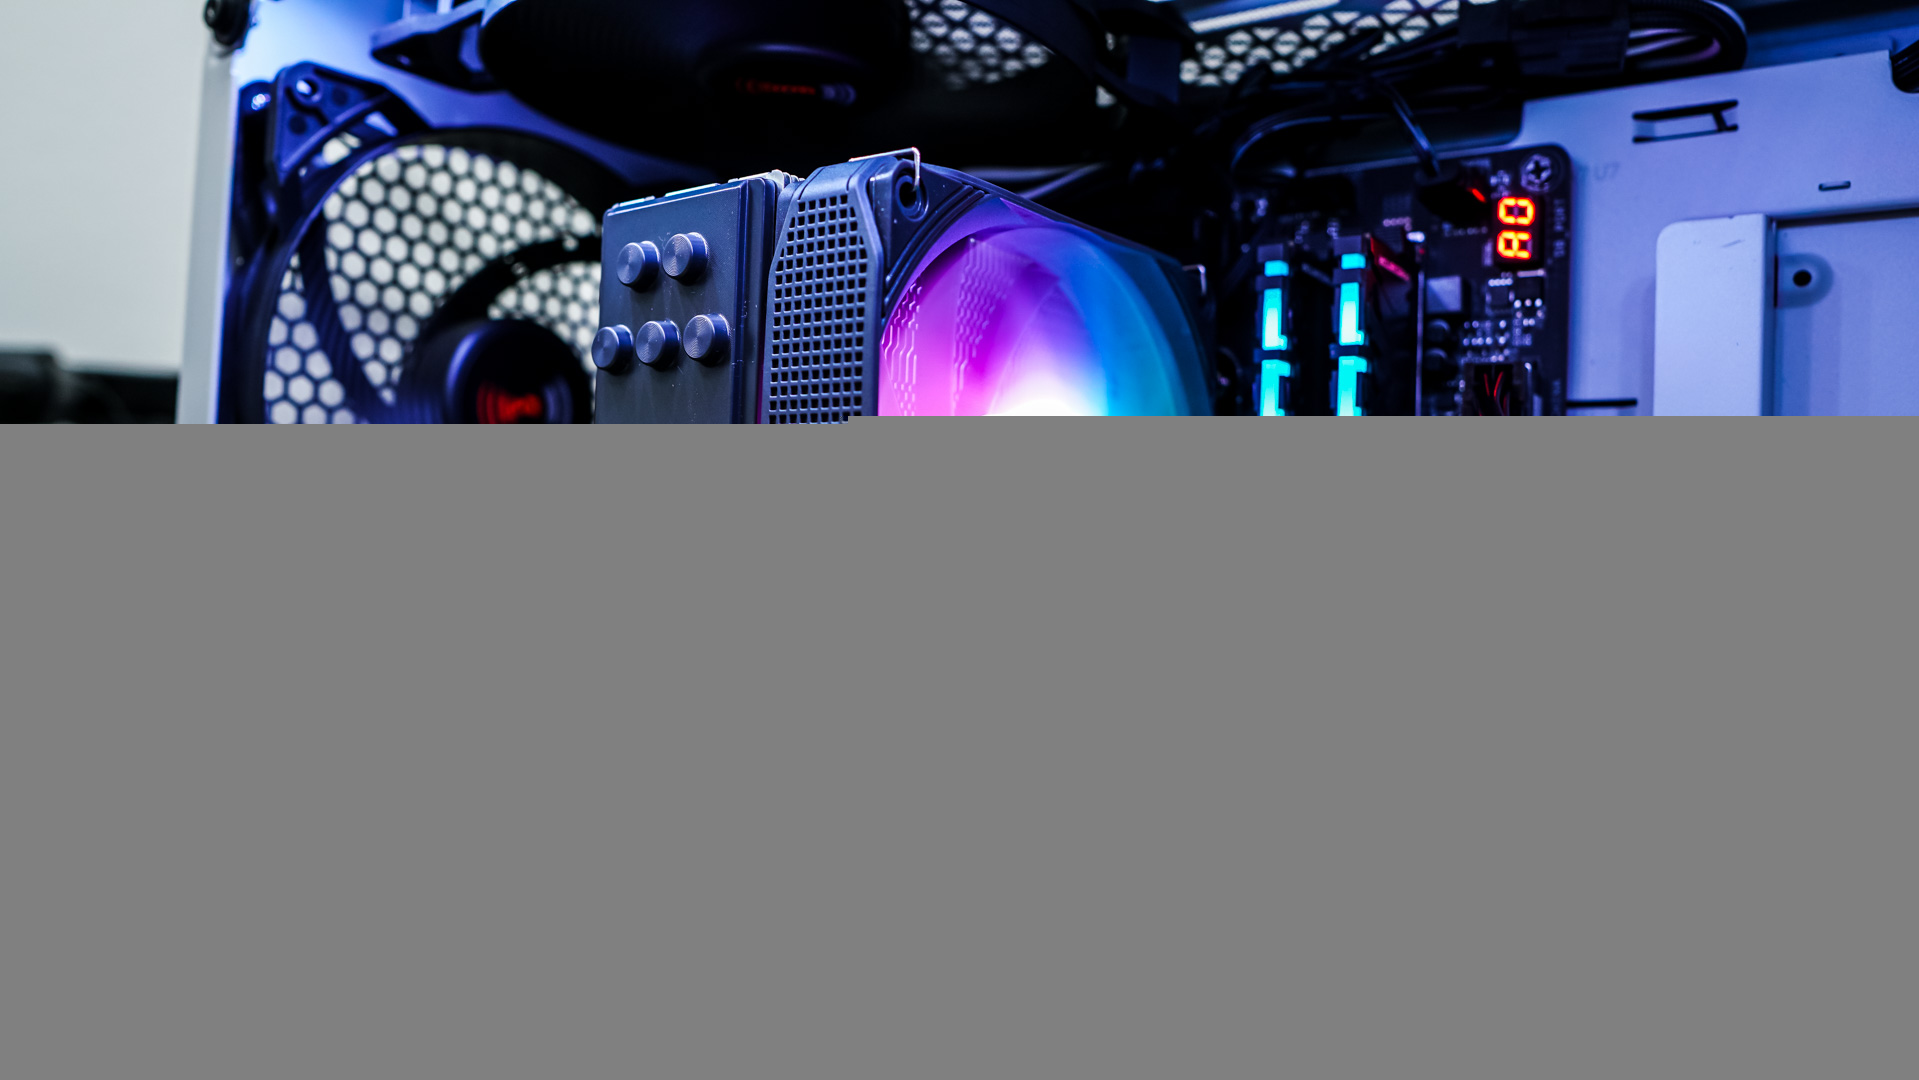
Using the included fan clips go ahead and install the fan on the front of the heatsink. Be sure to plug the power cable and RGB cable into your motherboard. With the cooler fully installed we can see that there is 100% memory clearance.


As far as the RGB lighting goes on the fan it does look pretty good once installed. Remember you can easily control the lighting with your motherboard’s RGB software. It is also nice to see that our memory is not covered up by the cooler at all.