Installation
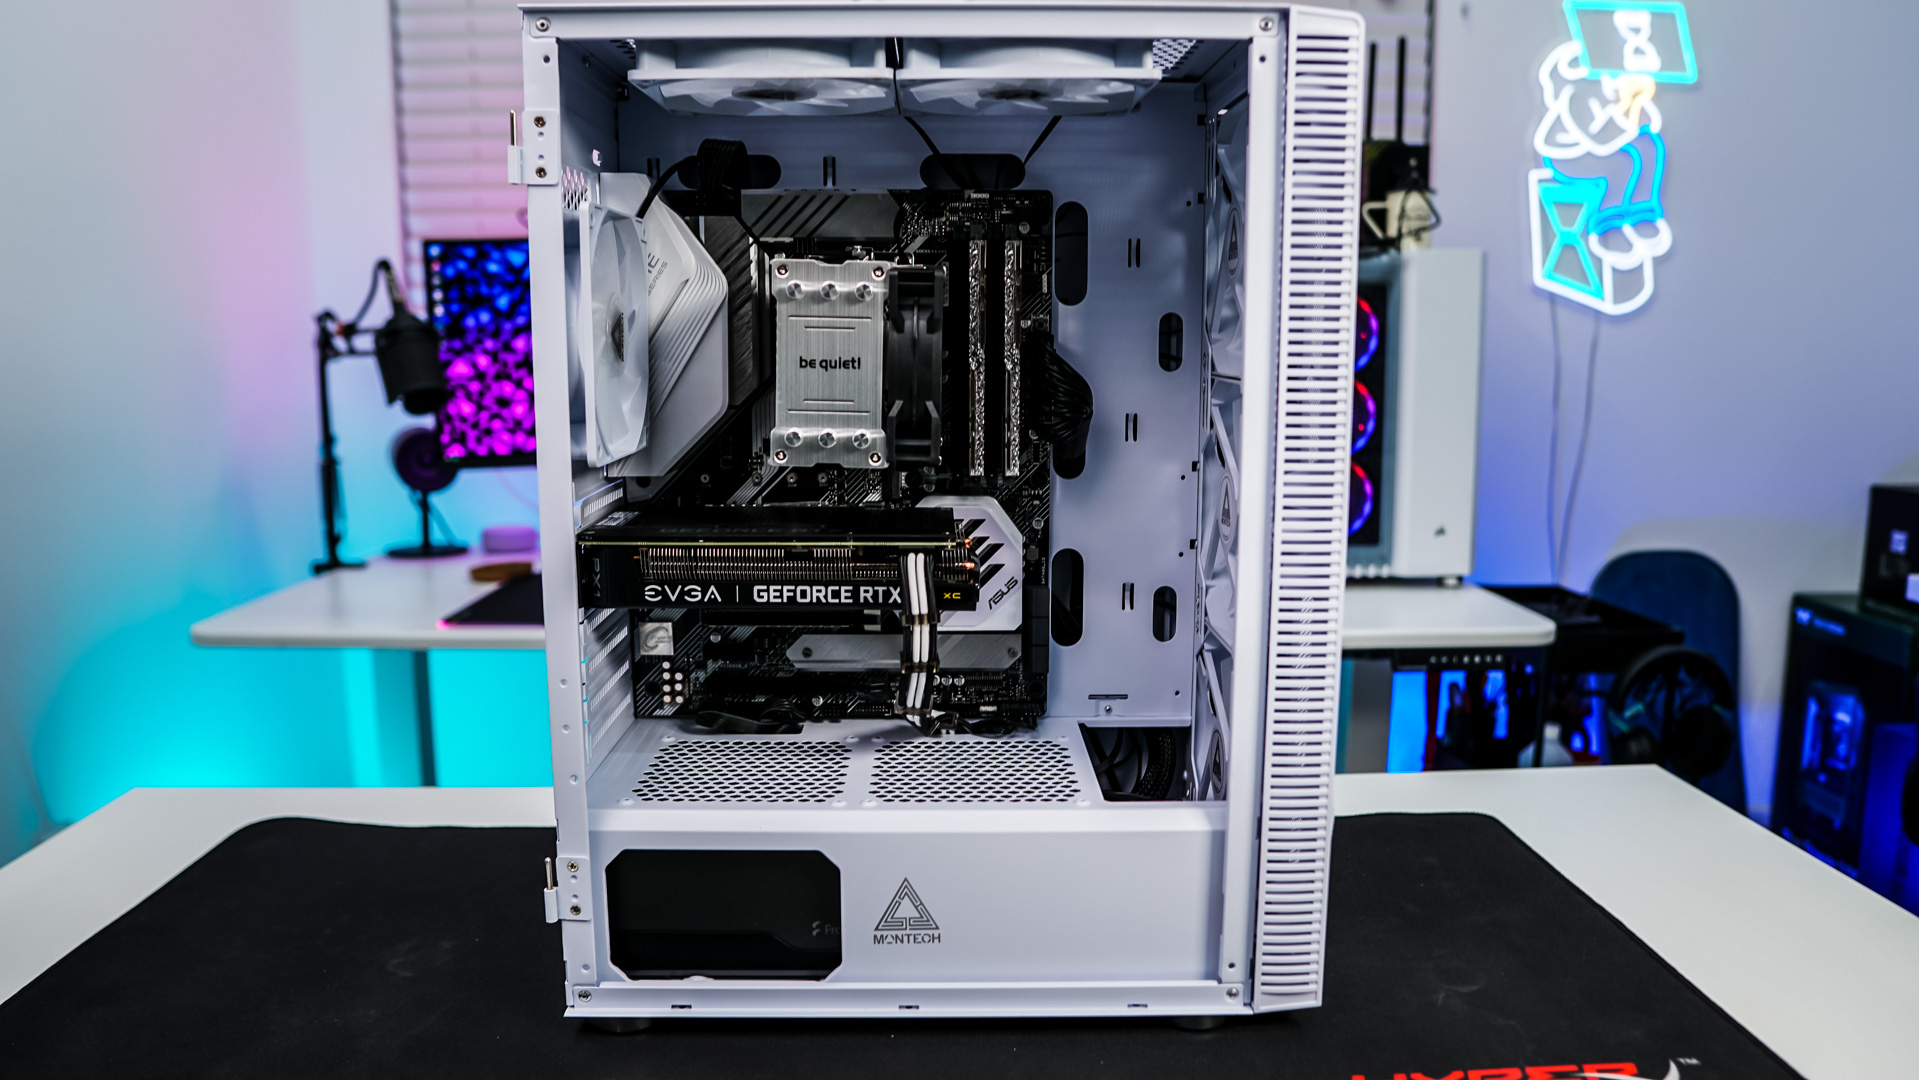
Installation in this case is pretty straight-forward. When I went to install my motherboard I did notice there were only a few standoffs installed and not enough for an ATX motherboard. Extras were included with the case, but they are a pain to install, especially since Montech does not provide a stand-off tool.
Our motherboard went in no problem and there was ample room to work with.

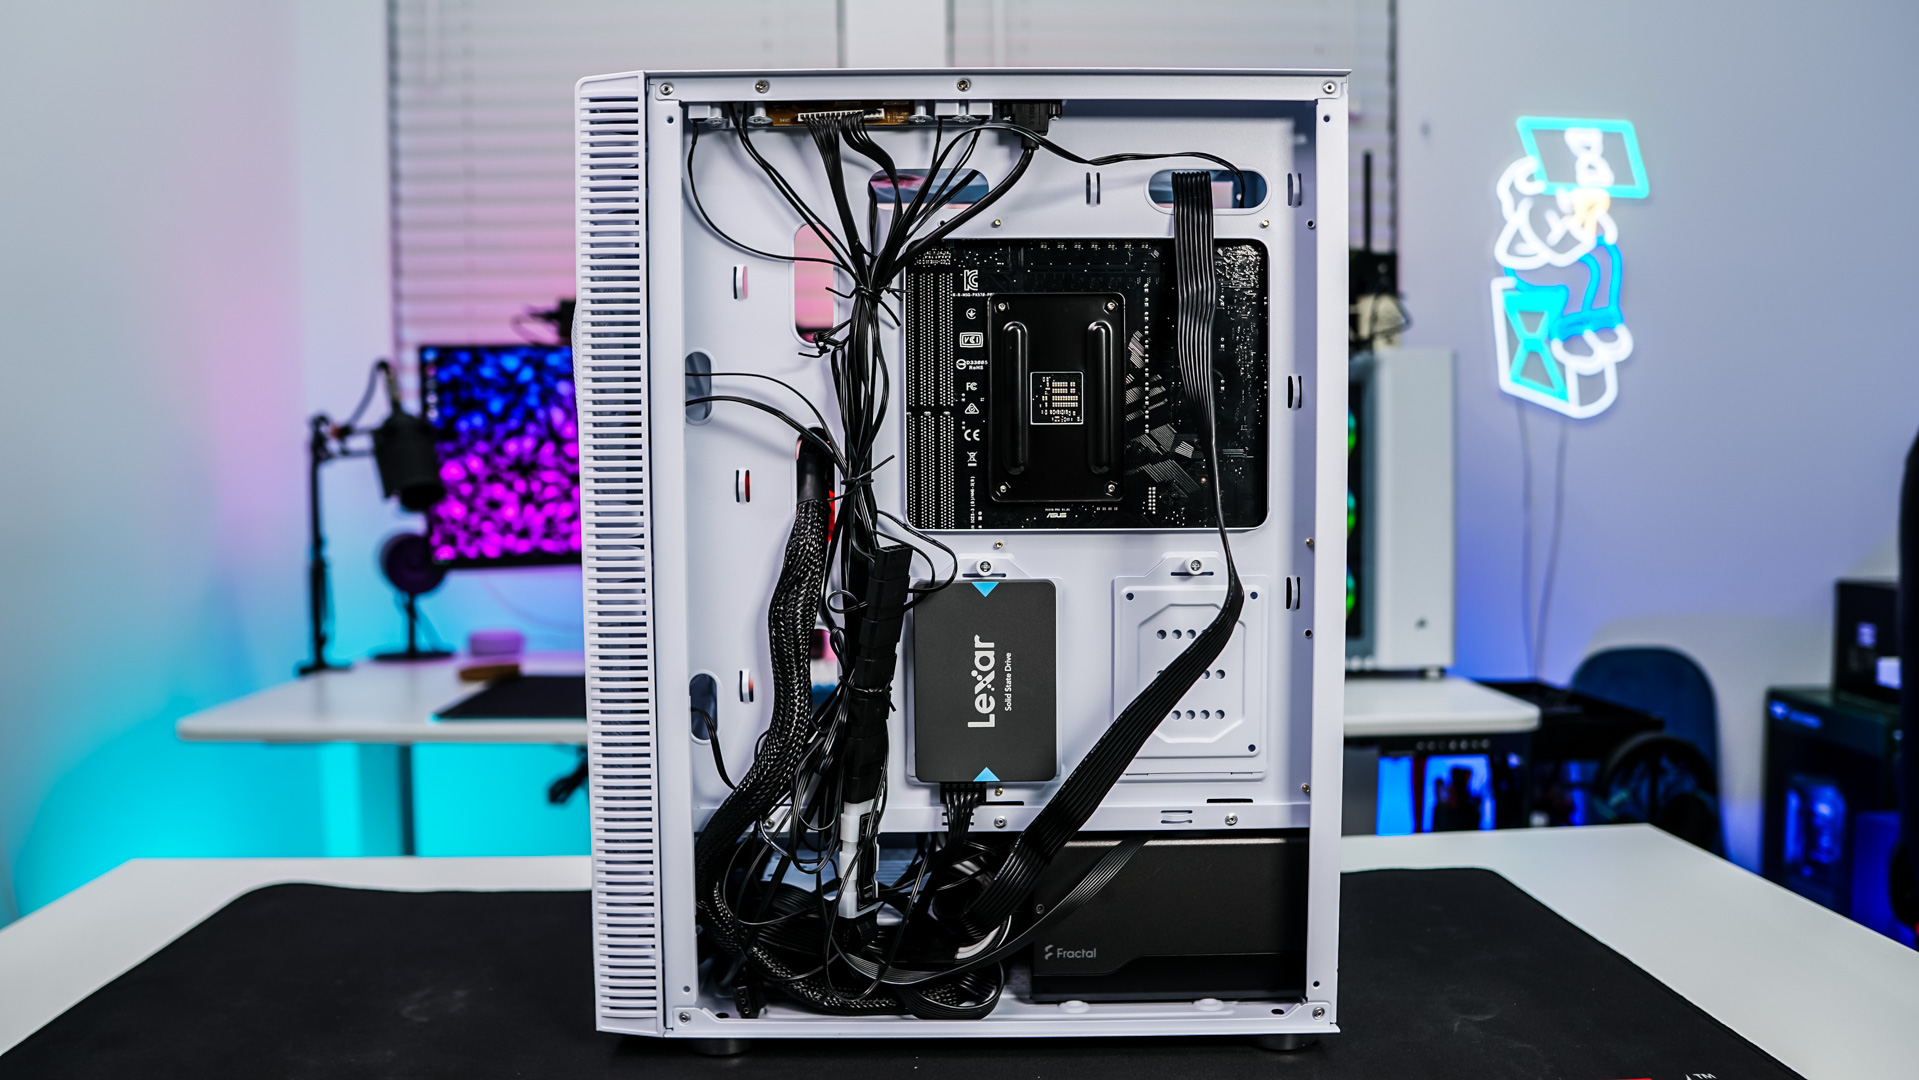
Next up is our hard drive, which I decided to install on one of the removable trays on the backside of the motherboard tray. Since they are removable I can easily install my drive outside of the case, then simply reinstall it.


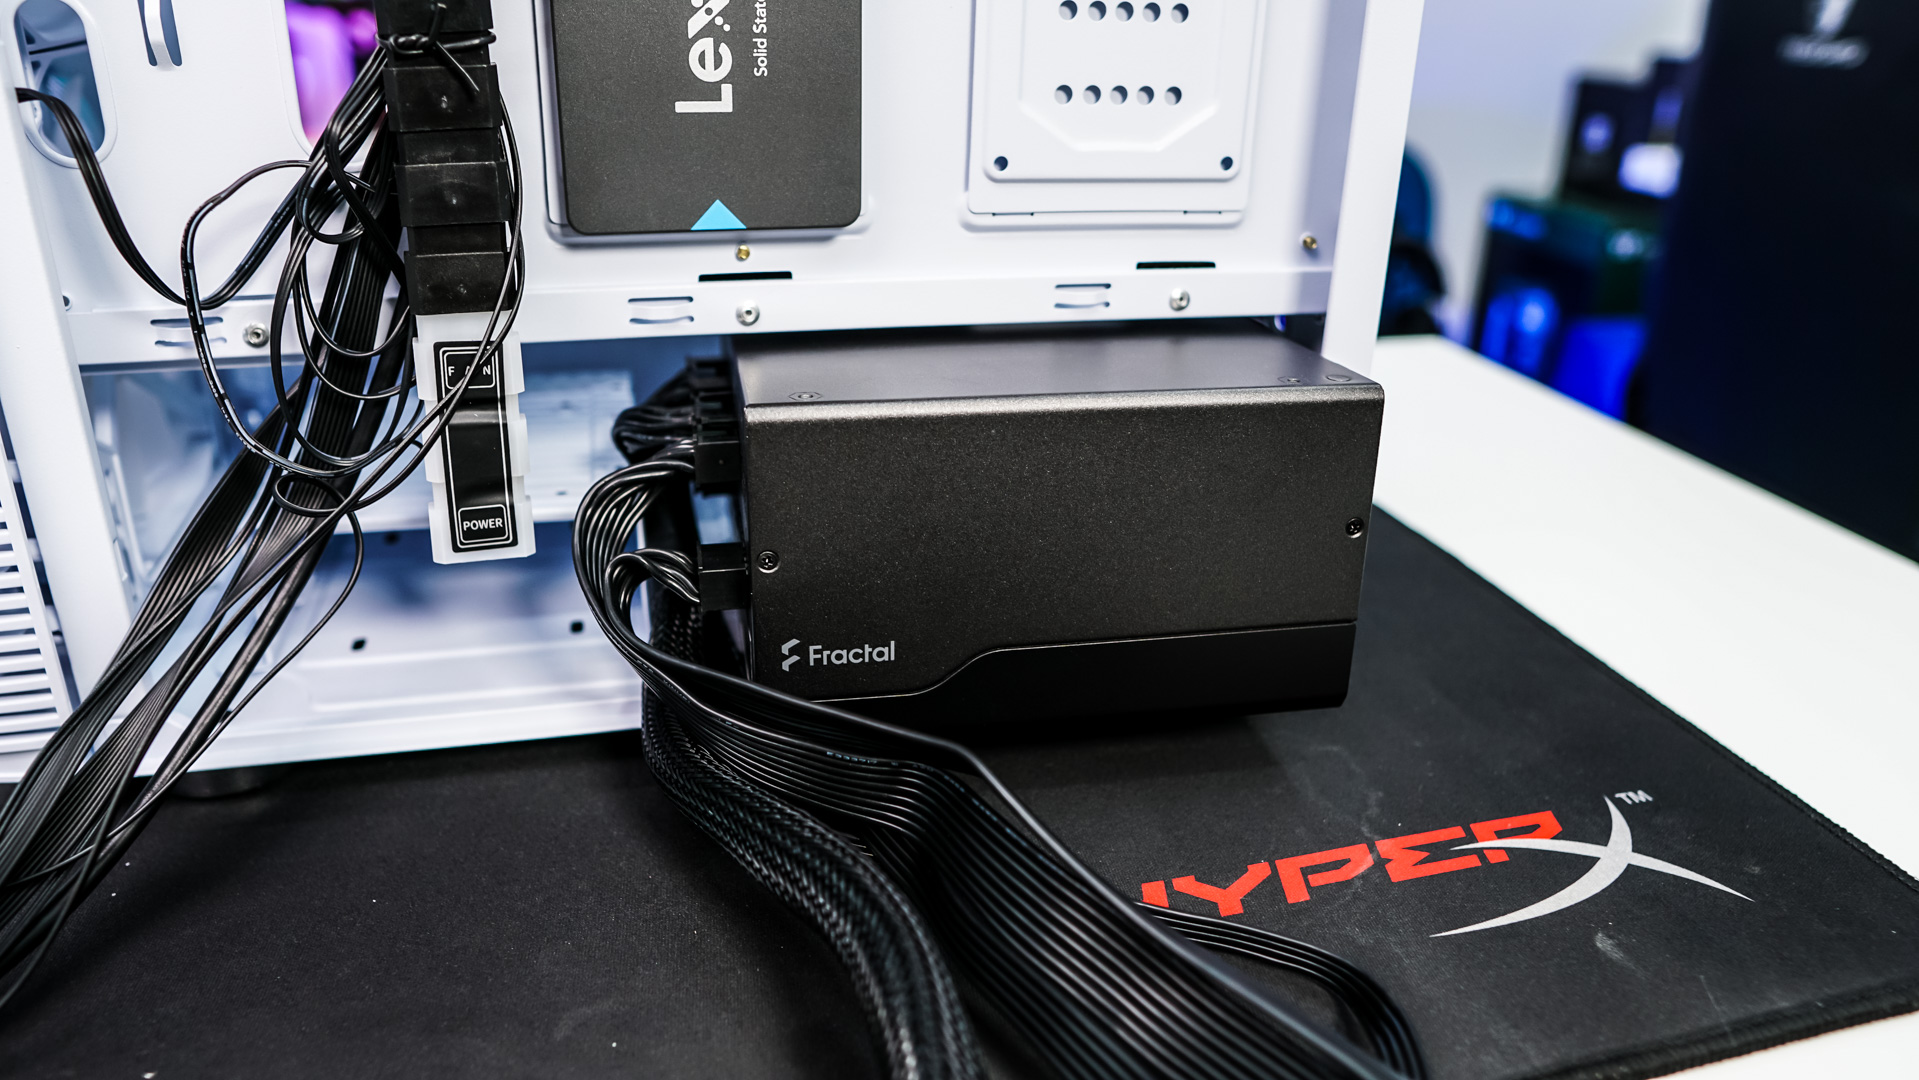
Your power supply should easily slide in from the backside of the case. If you have a long power supply you might want to remove the larger hard drive cage in the bottom of the case. We are using the Fractal Design Ion+ 2 Platinum 860W which is 325 mm long and it just fit in. We had to carefully lift our cables over the hard drive cage. I would say if you aren’t using the hard drive cage just remove it to make power supply installation easier.
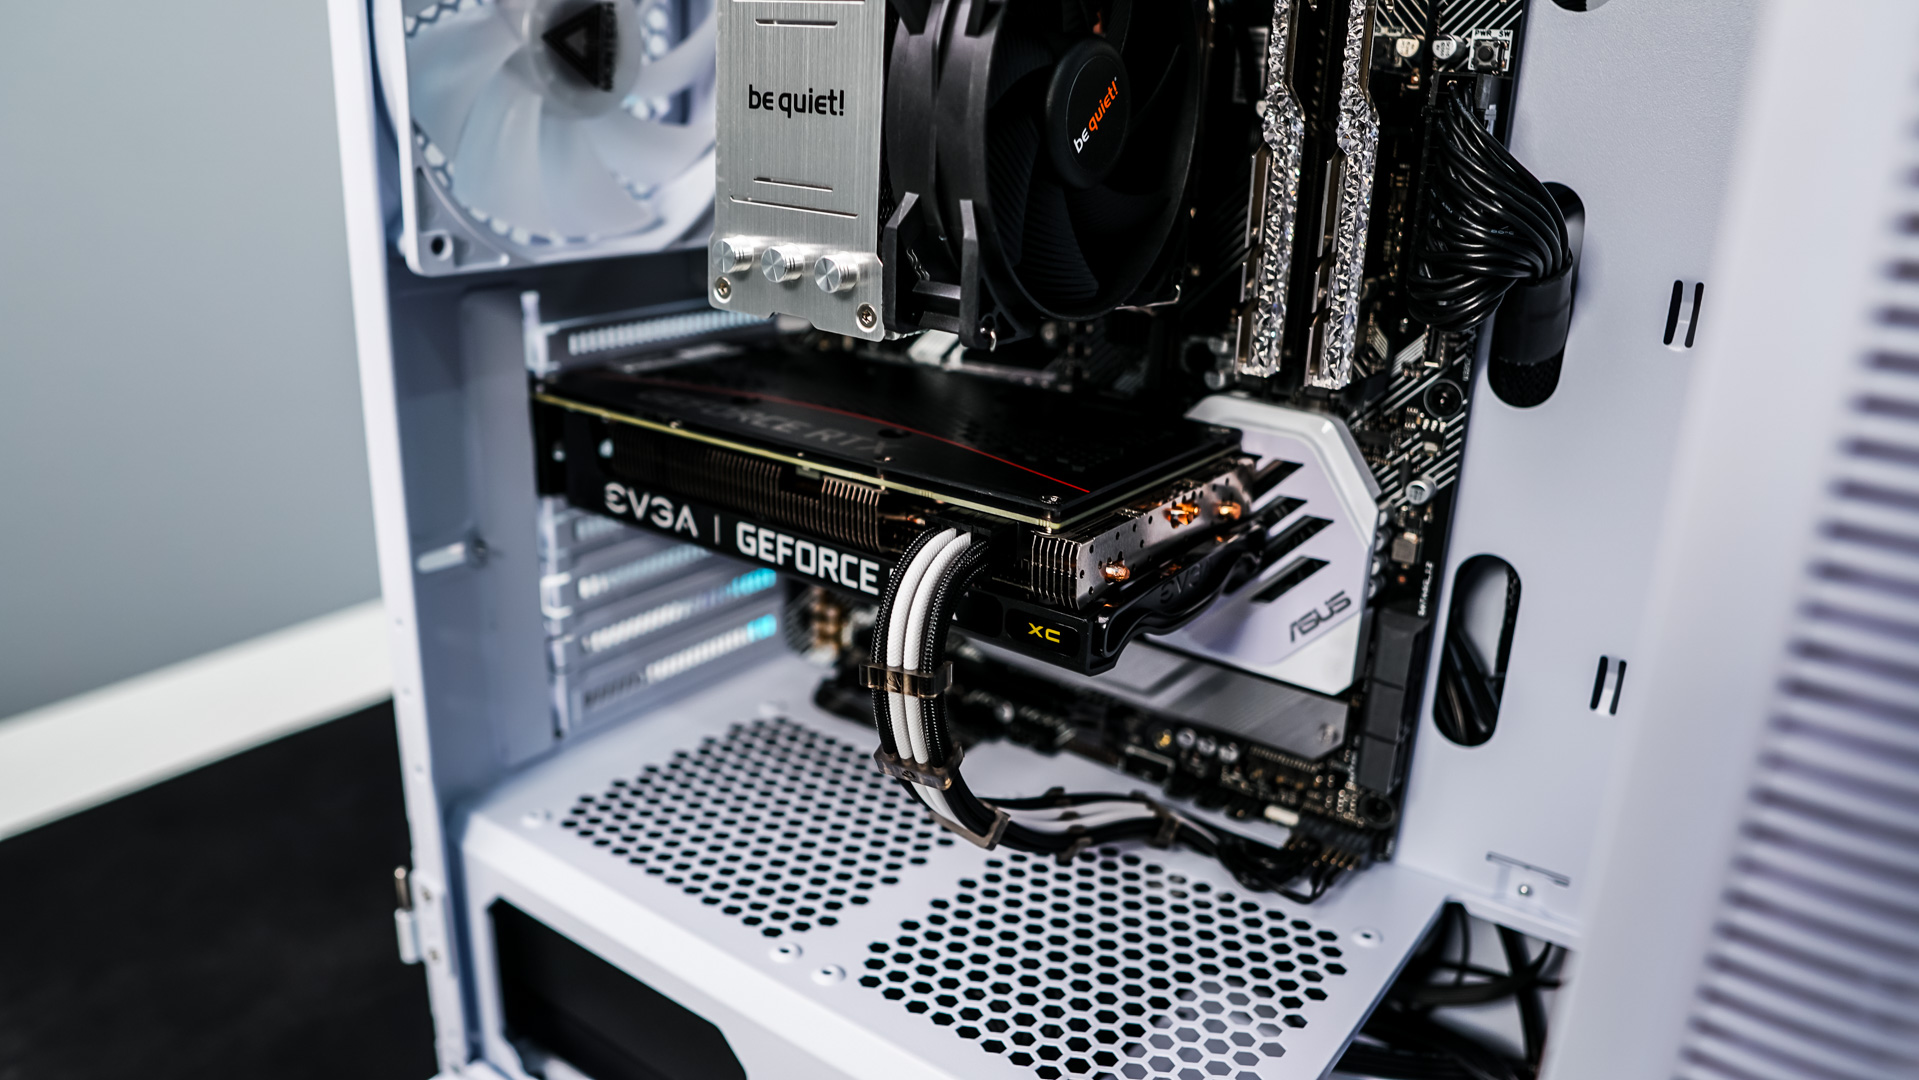
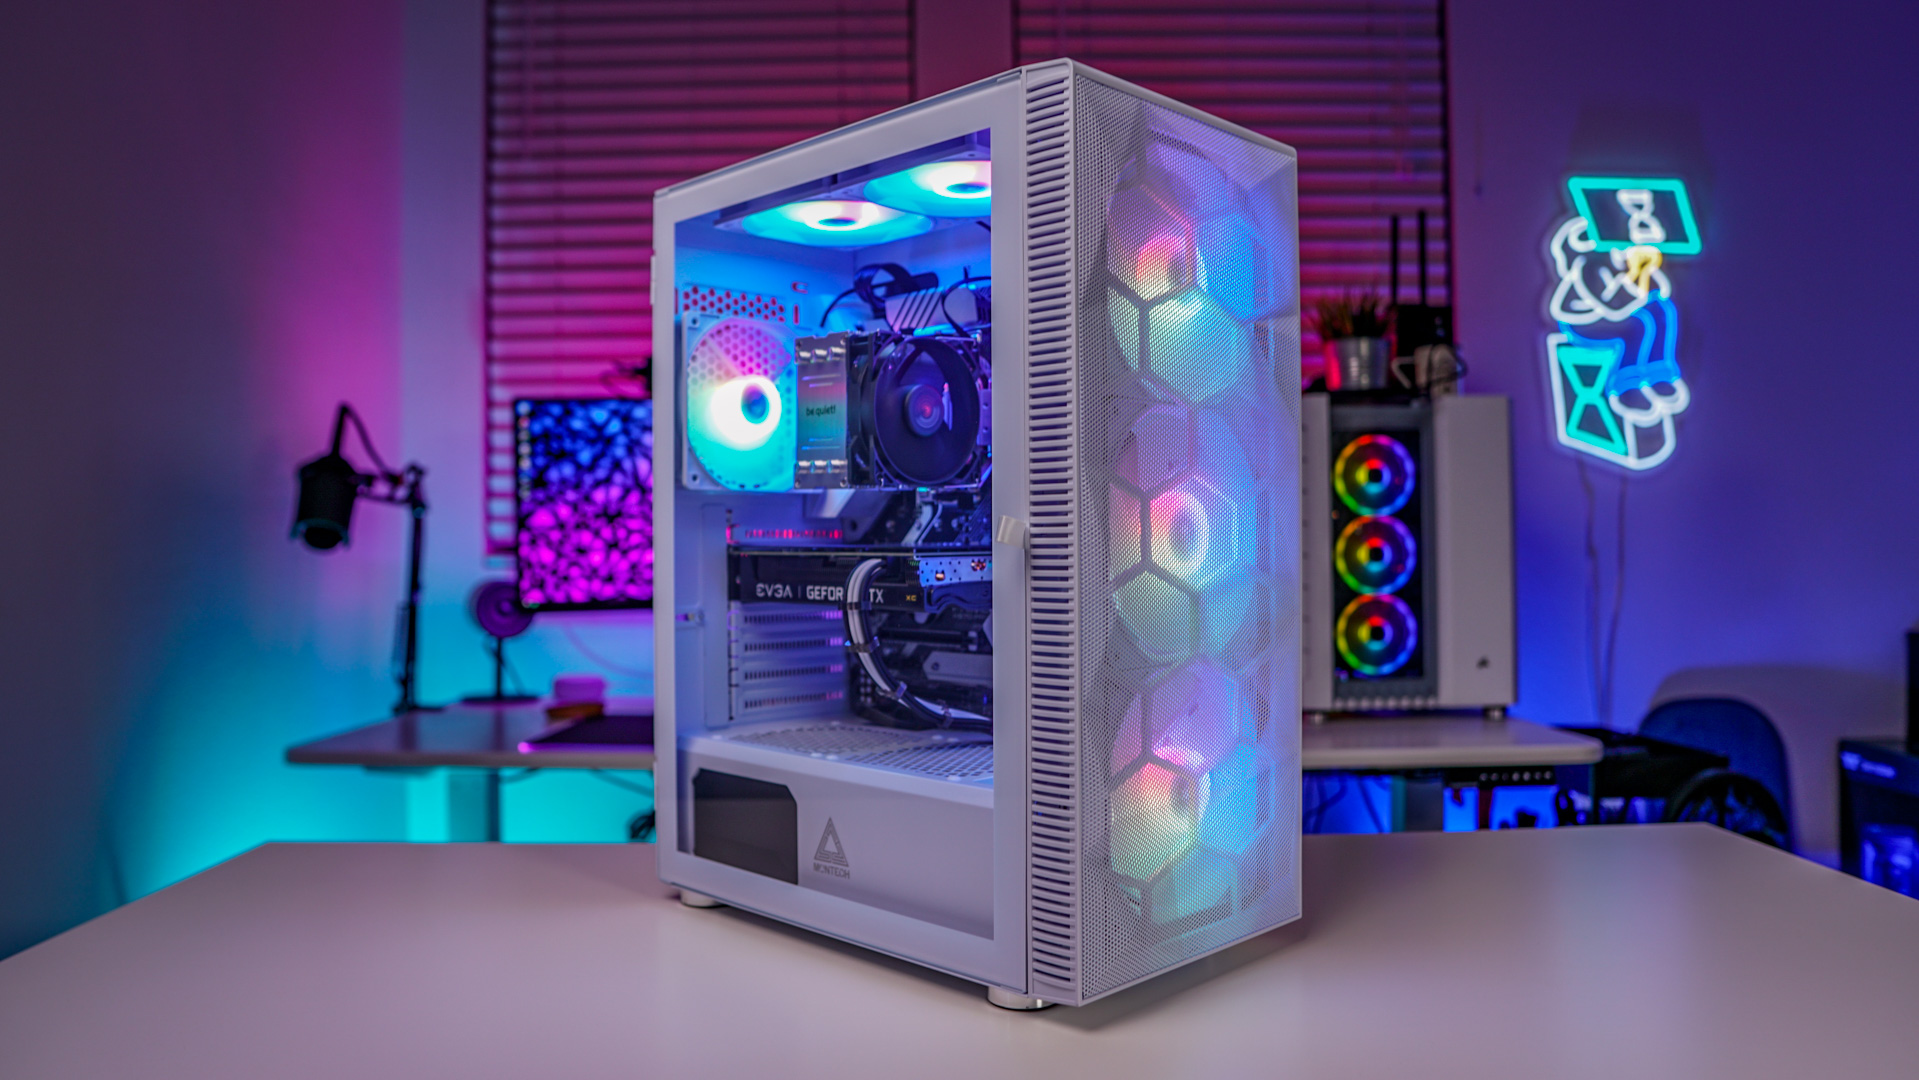
Now it is time to connect everything and install our graphics card. Keep in mind that the expansion slot covers are the ones that pull off from the case and cannot be replaced, so I would line up your card first and make sure you are removing the correct ones. Cable routing is not all that difficult on this case, but even though there are plenty of tie-down points Montech does not include any cable ties so you’ll have to use your own. Overall though you should end up with a pretty clean build overall.