What is it like inside the MEG MAESTRO 900R?
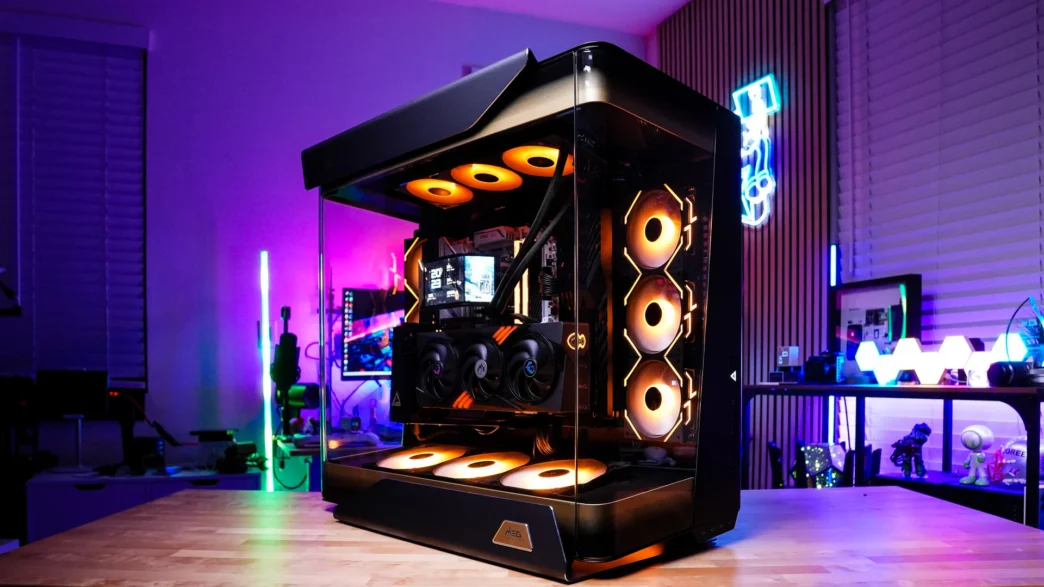
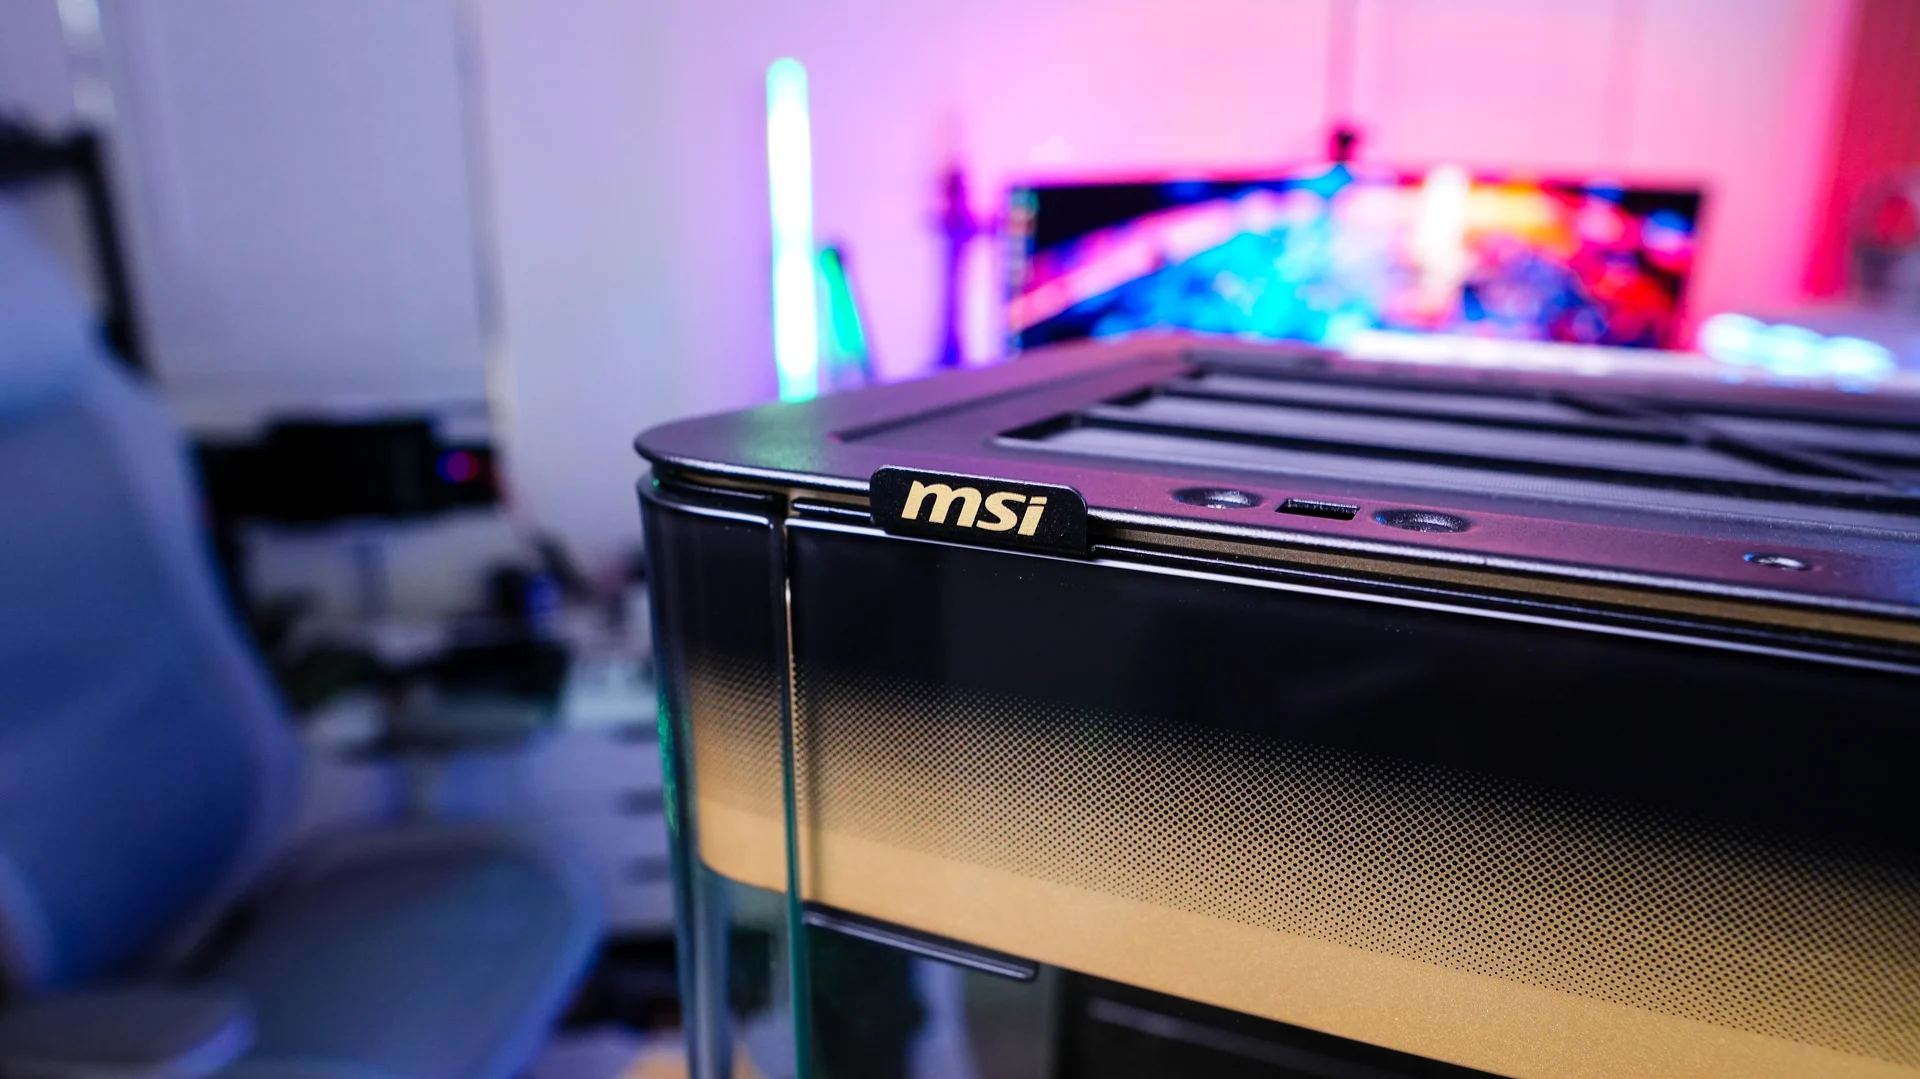
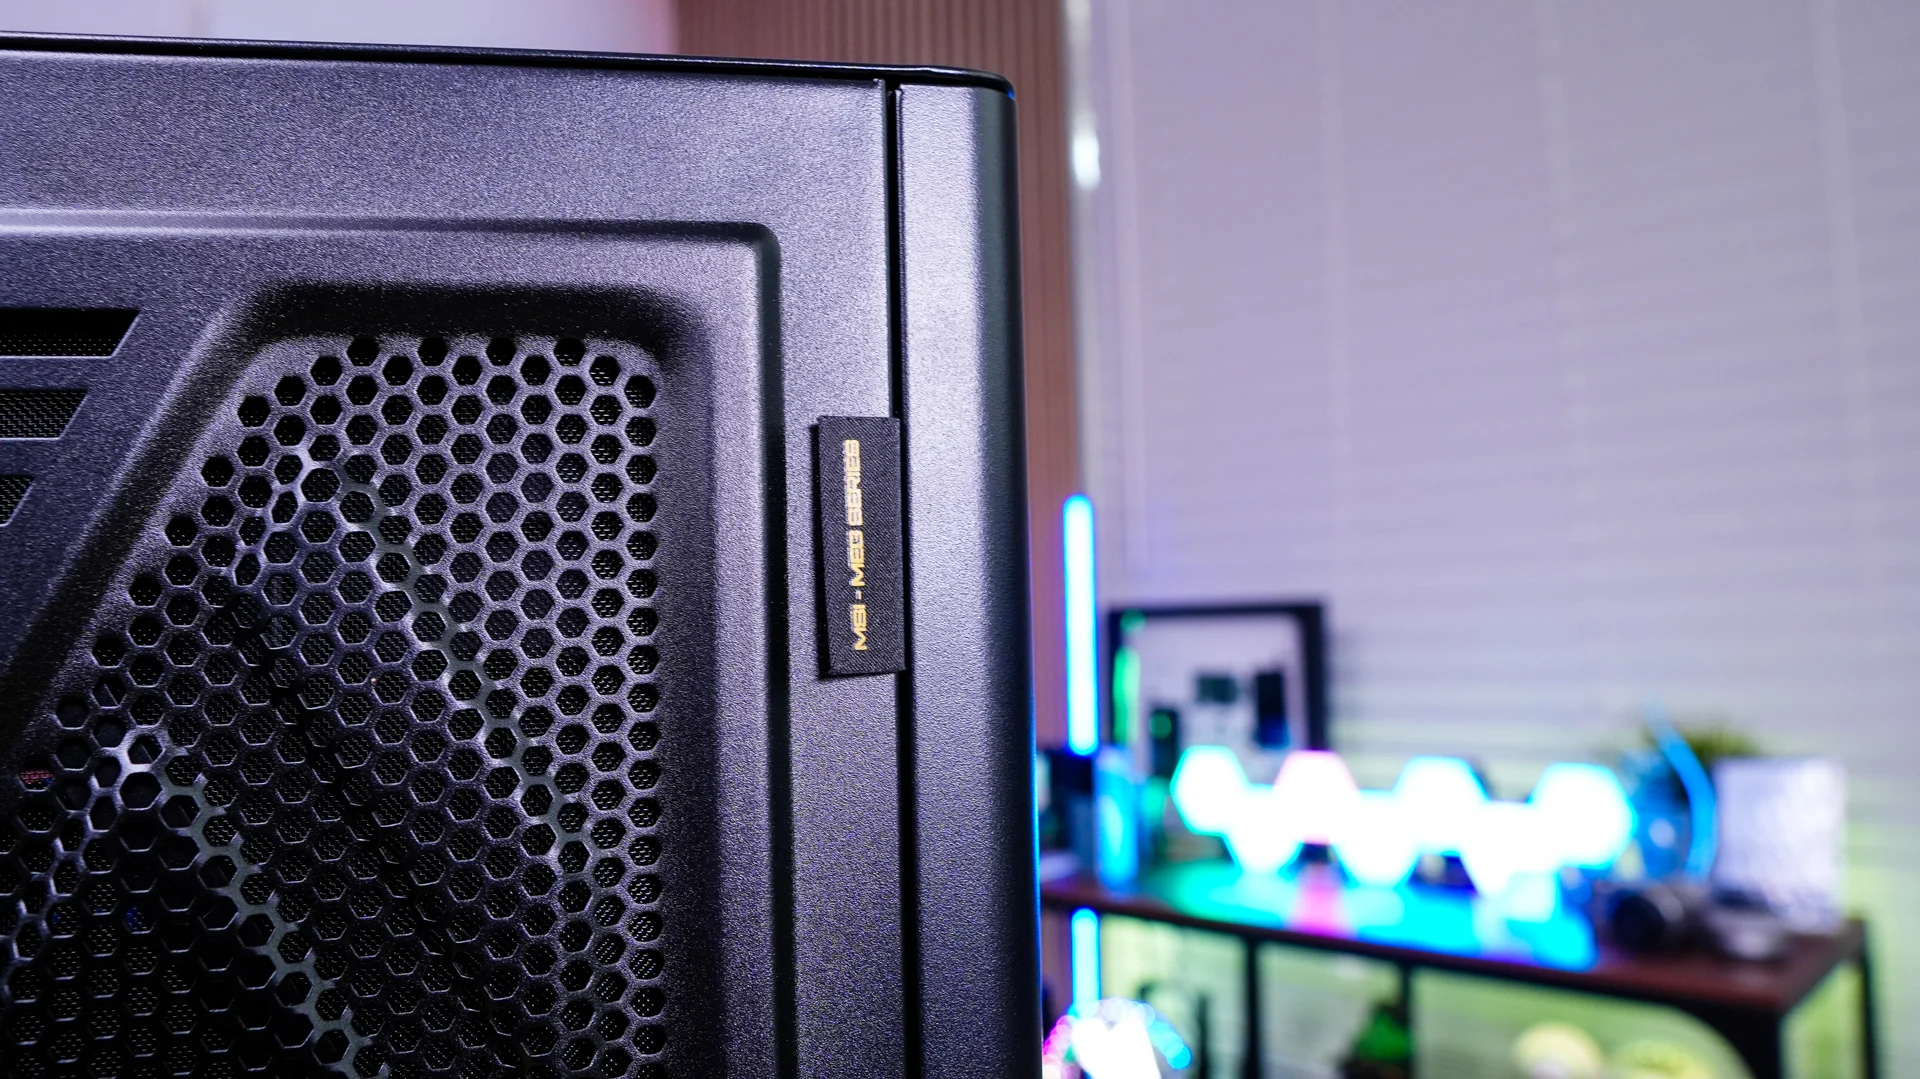
Getting inside the MEG MAESTRO 900R involves removing the top aluminum panel and then finding the tab with the MSI logo on it. Pull back on it and the panel will sort of pop off, but be careful because this is definitely the heaviest side panel I’ve removed from a case! If I didn’t mention it before you can see once you remove the main side panel that the front and back panels are slightly curved. Now you can easily access the inside of the case with just the main side panel removed, but you can remove the two smaller panels as well. They easily pop off.
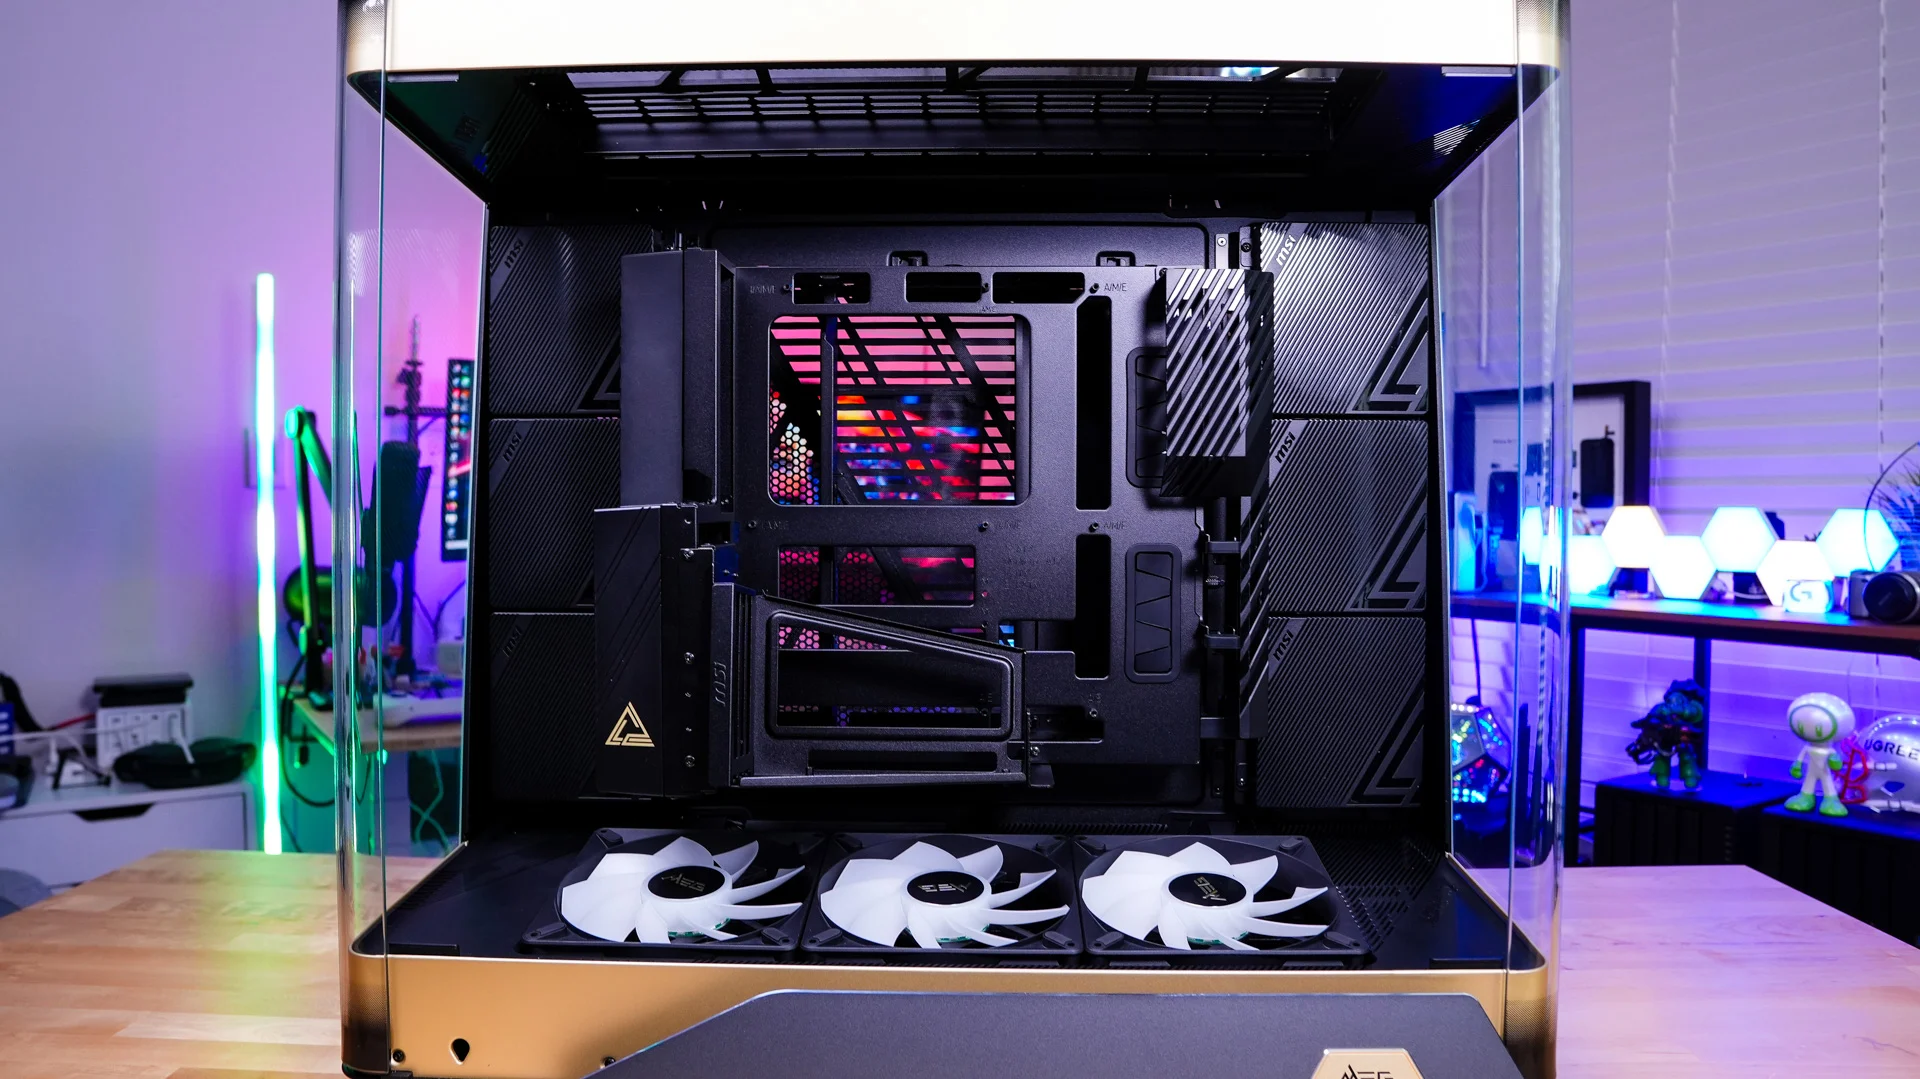
With the main side panel removed we can take a closer look at the motherboard tray, which serves as the foundation for the centrally positioned hardware. The tray can be installed in four different orientations, allowing you to change the direction of the motherboard’s rear I/O to suit your build and cooling layout. It can also be removed completely and converted into a standalone test bench using the included feet, and separate power-and-reset button set, making it convenient to assemble and test your components outside the enclosure. MSI includes a pre-installed vertical GPU mount with a PCIe 5.0 x16 riser cable, allowing the graphics card’s cooler and lighting to face outward through the glass. The GPU bracket offers a 10-degree angle adjustment for fine-tuning its presentation, and it can be removed if you prefer conventional horizontal graphics card installation. Together, these features give you considerable flexibility in how you assemble, test, and display your system.
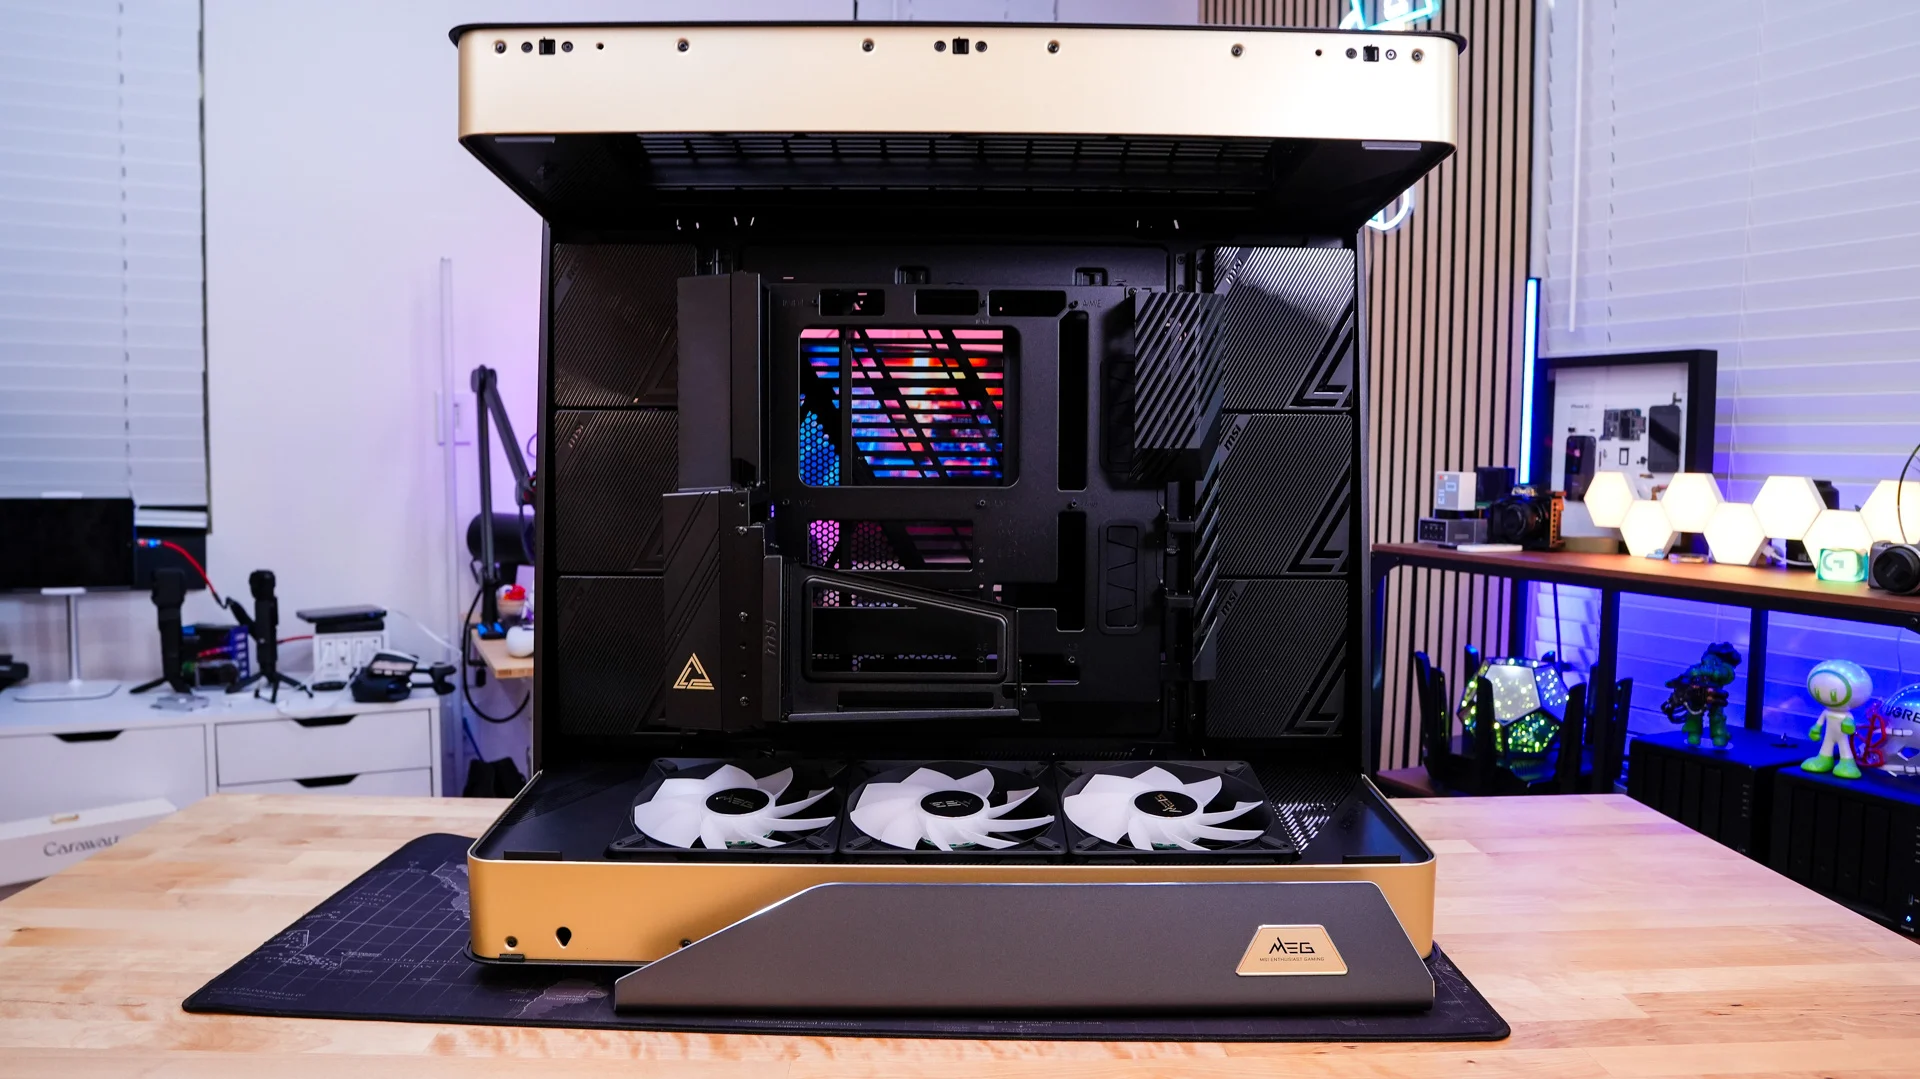
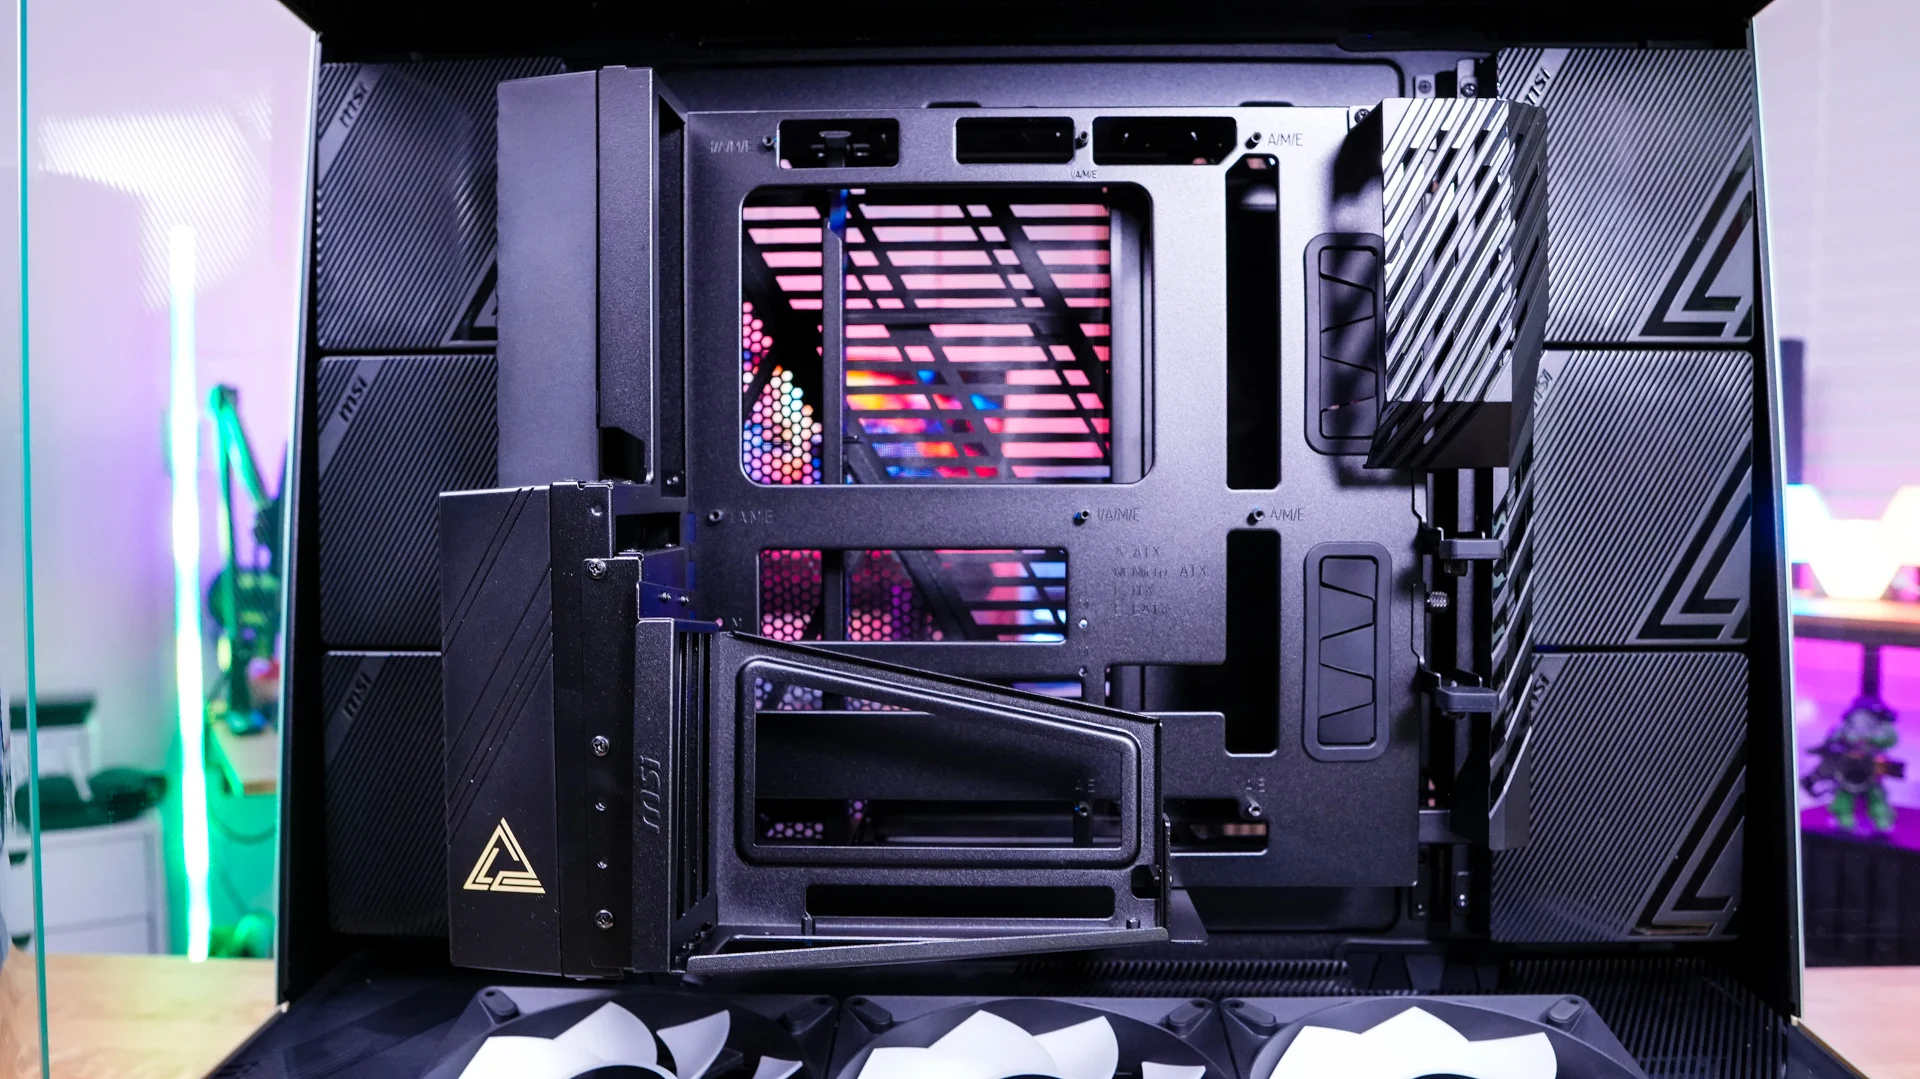
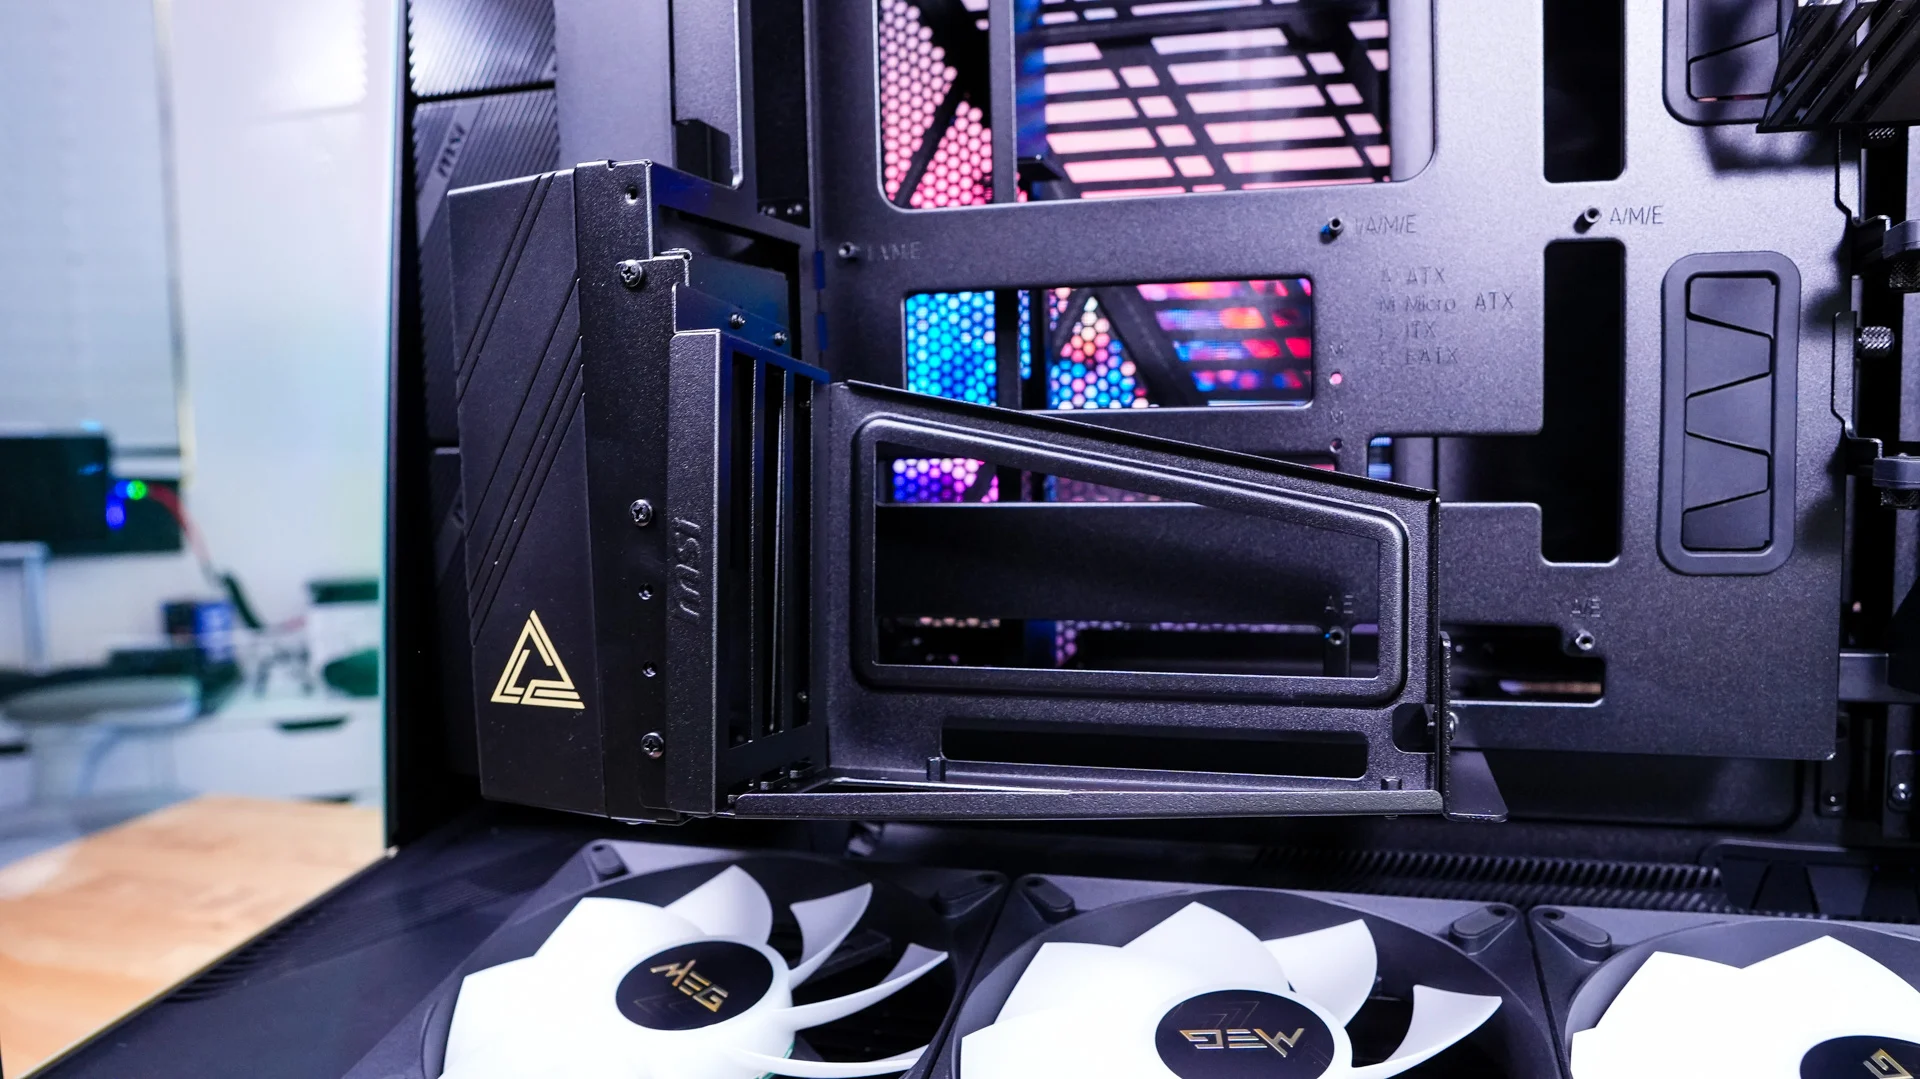
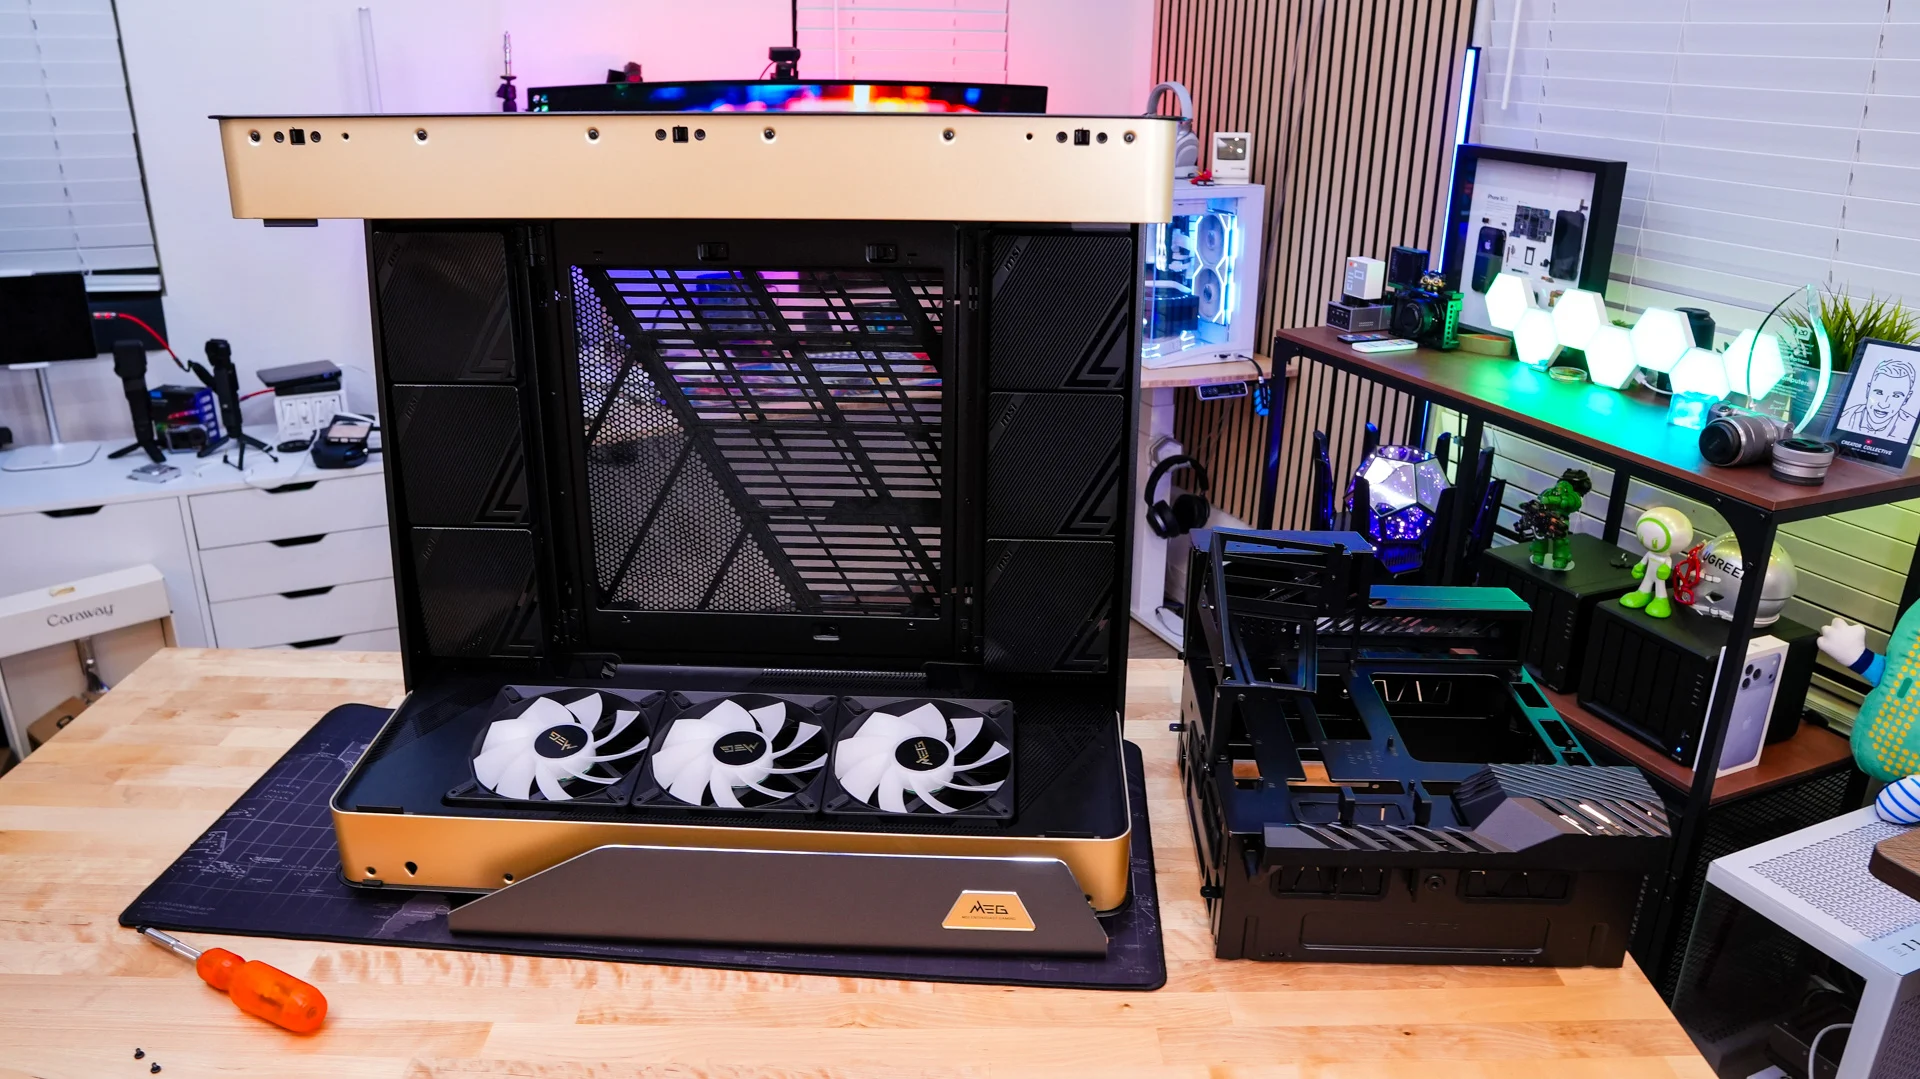
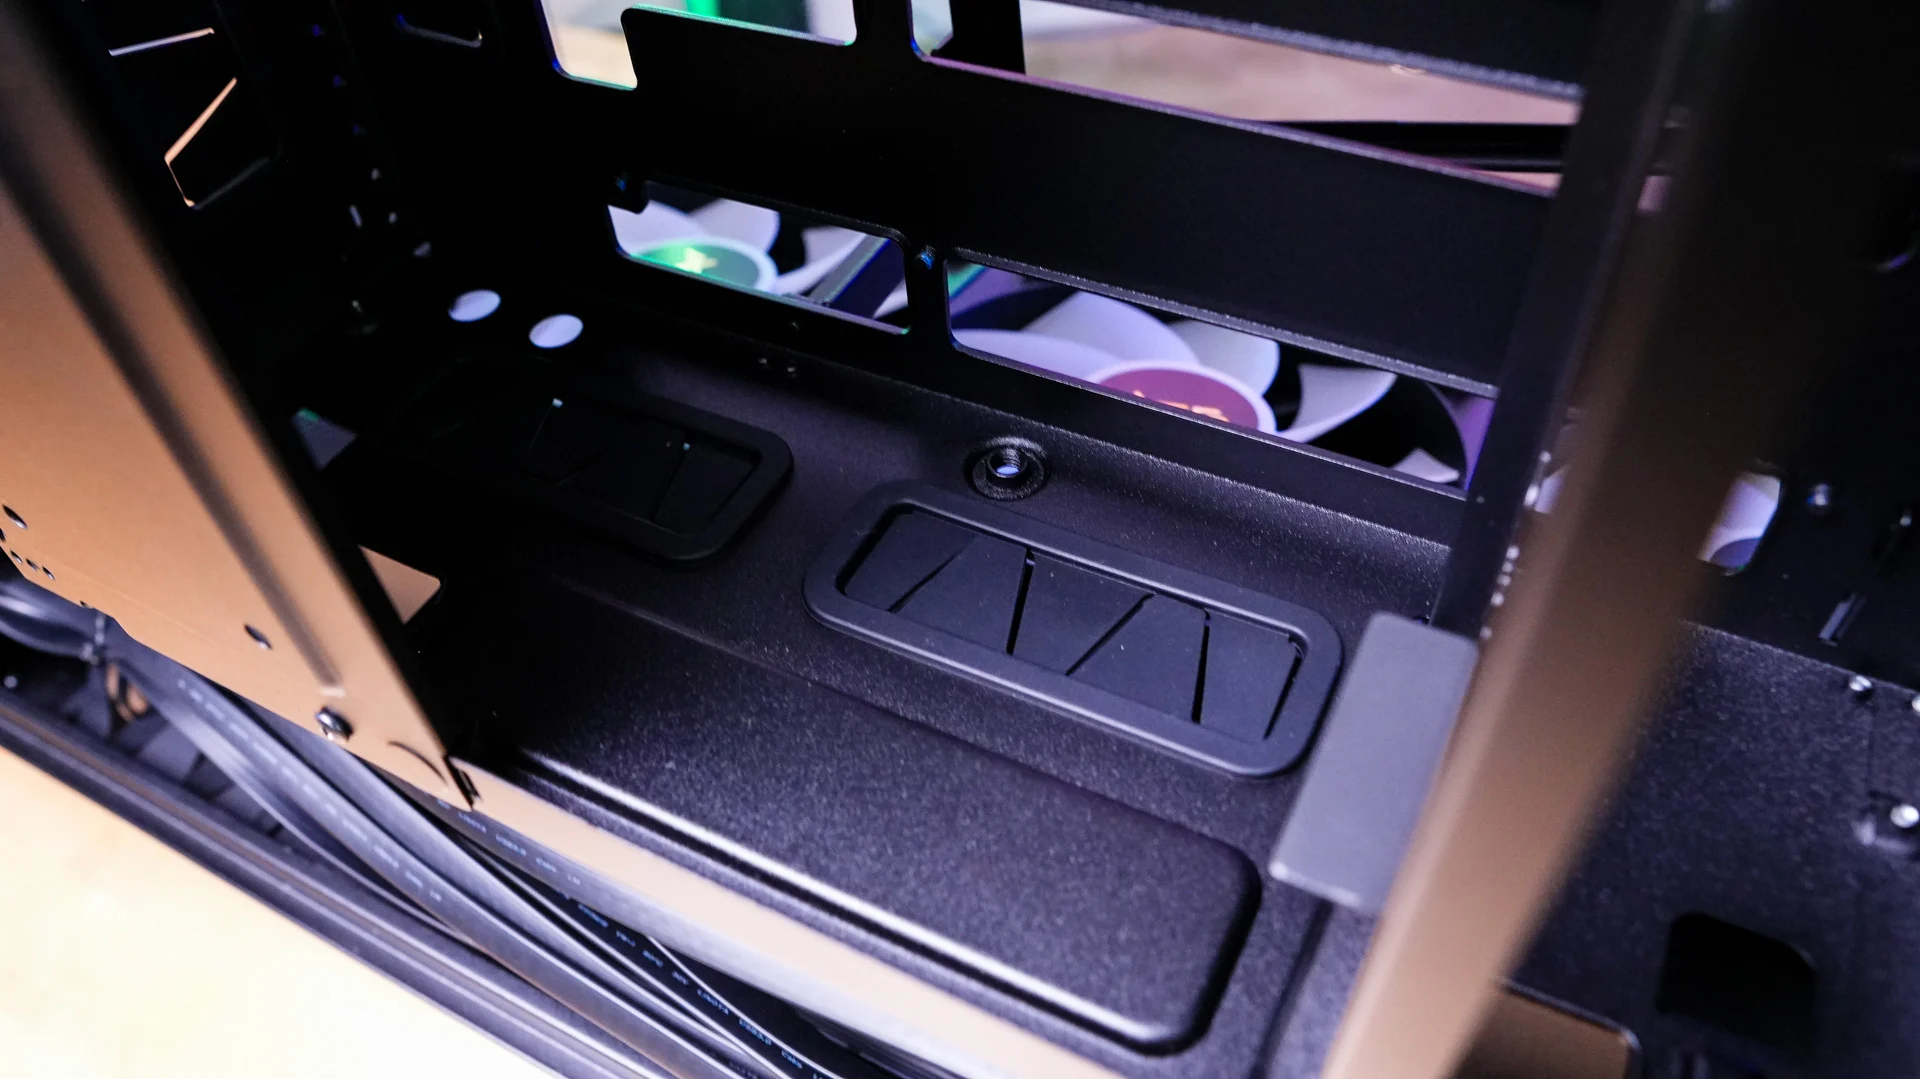
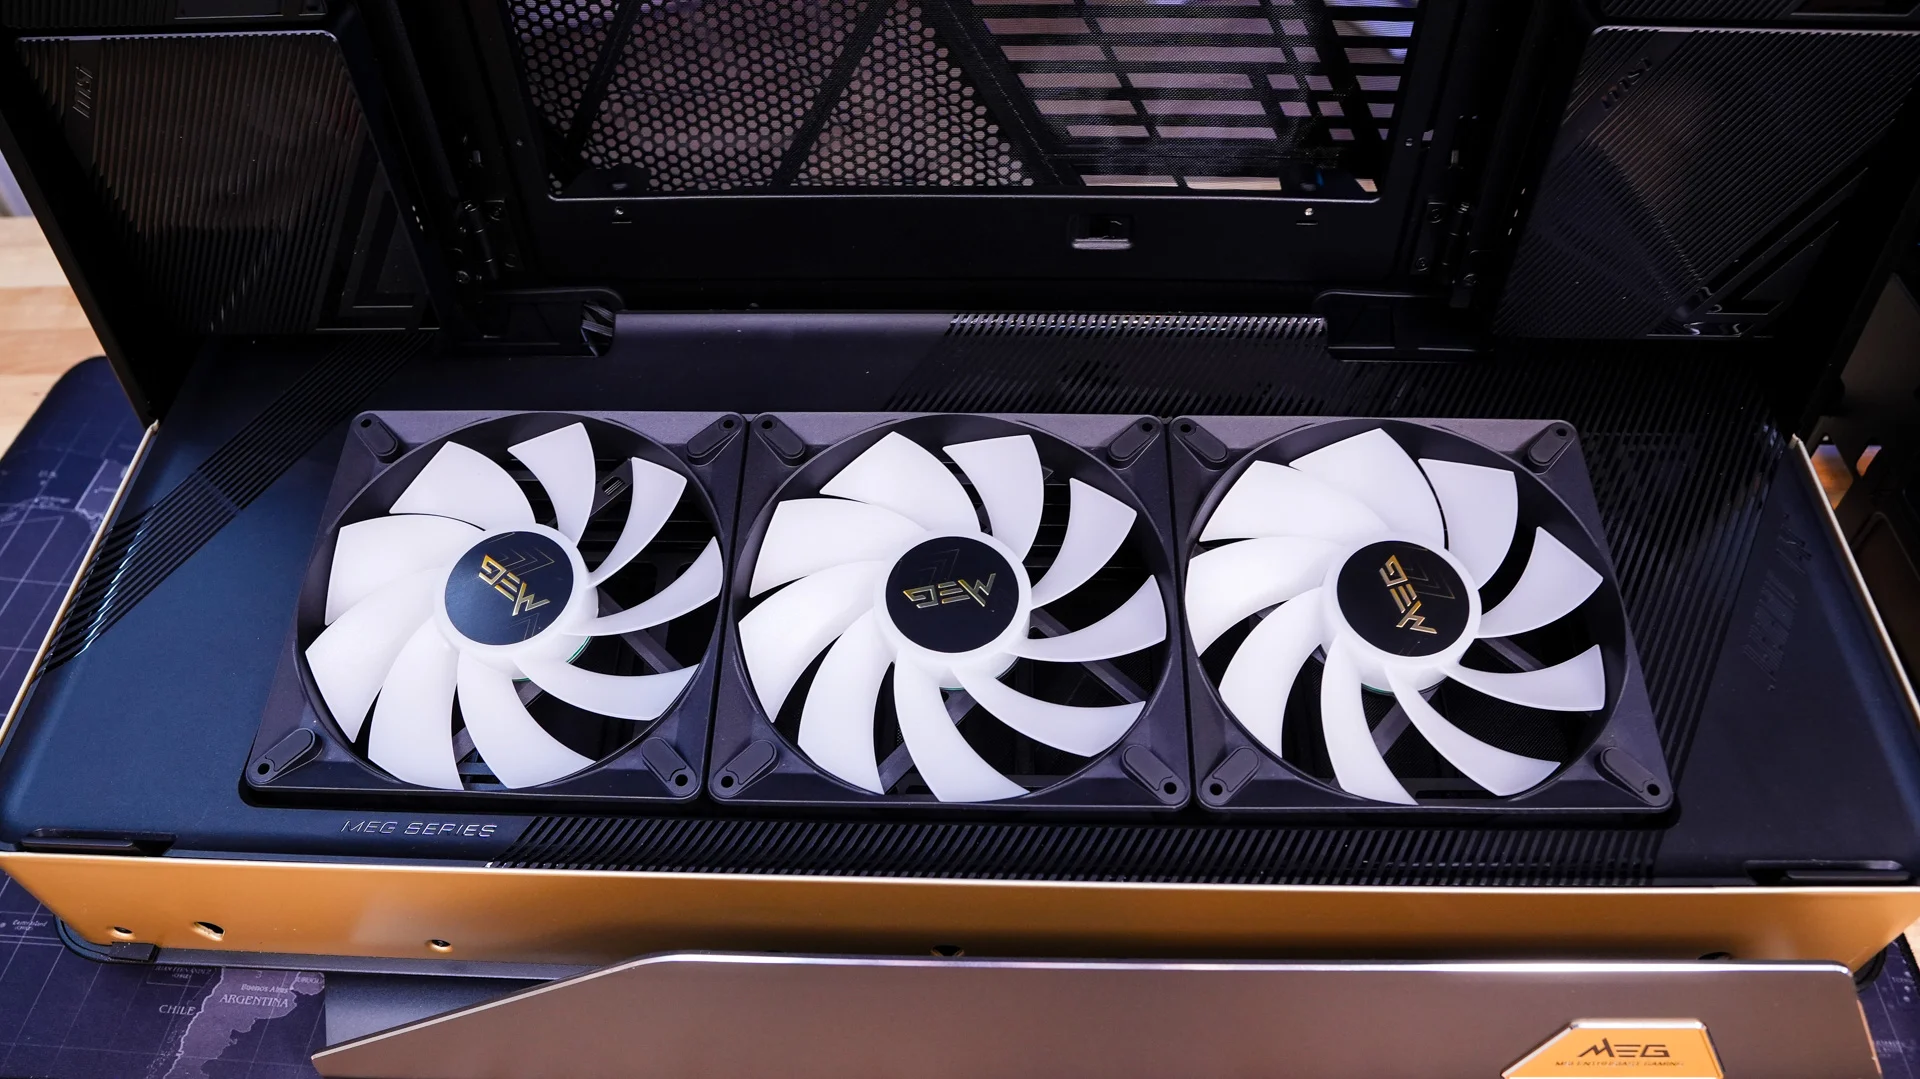
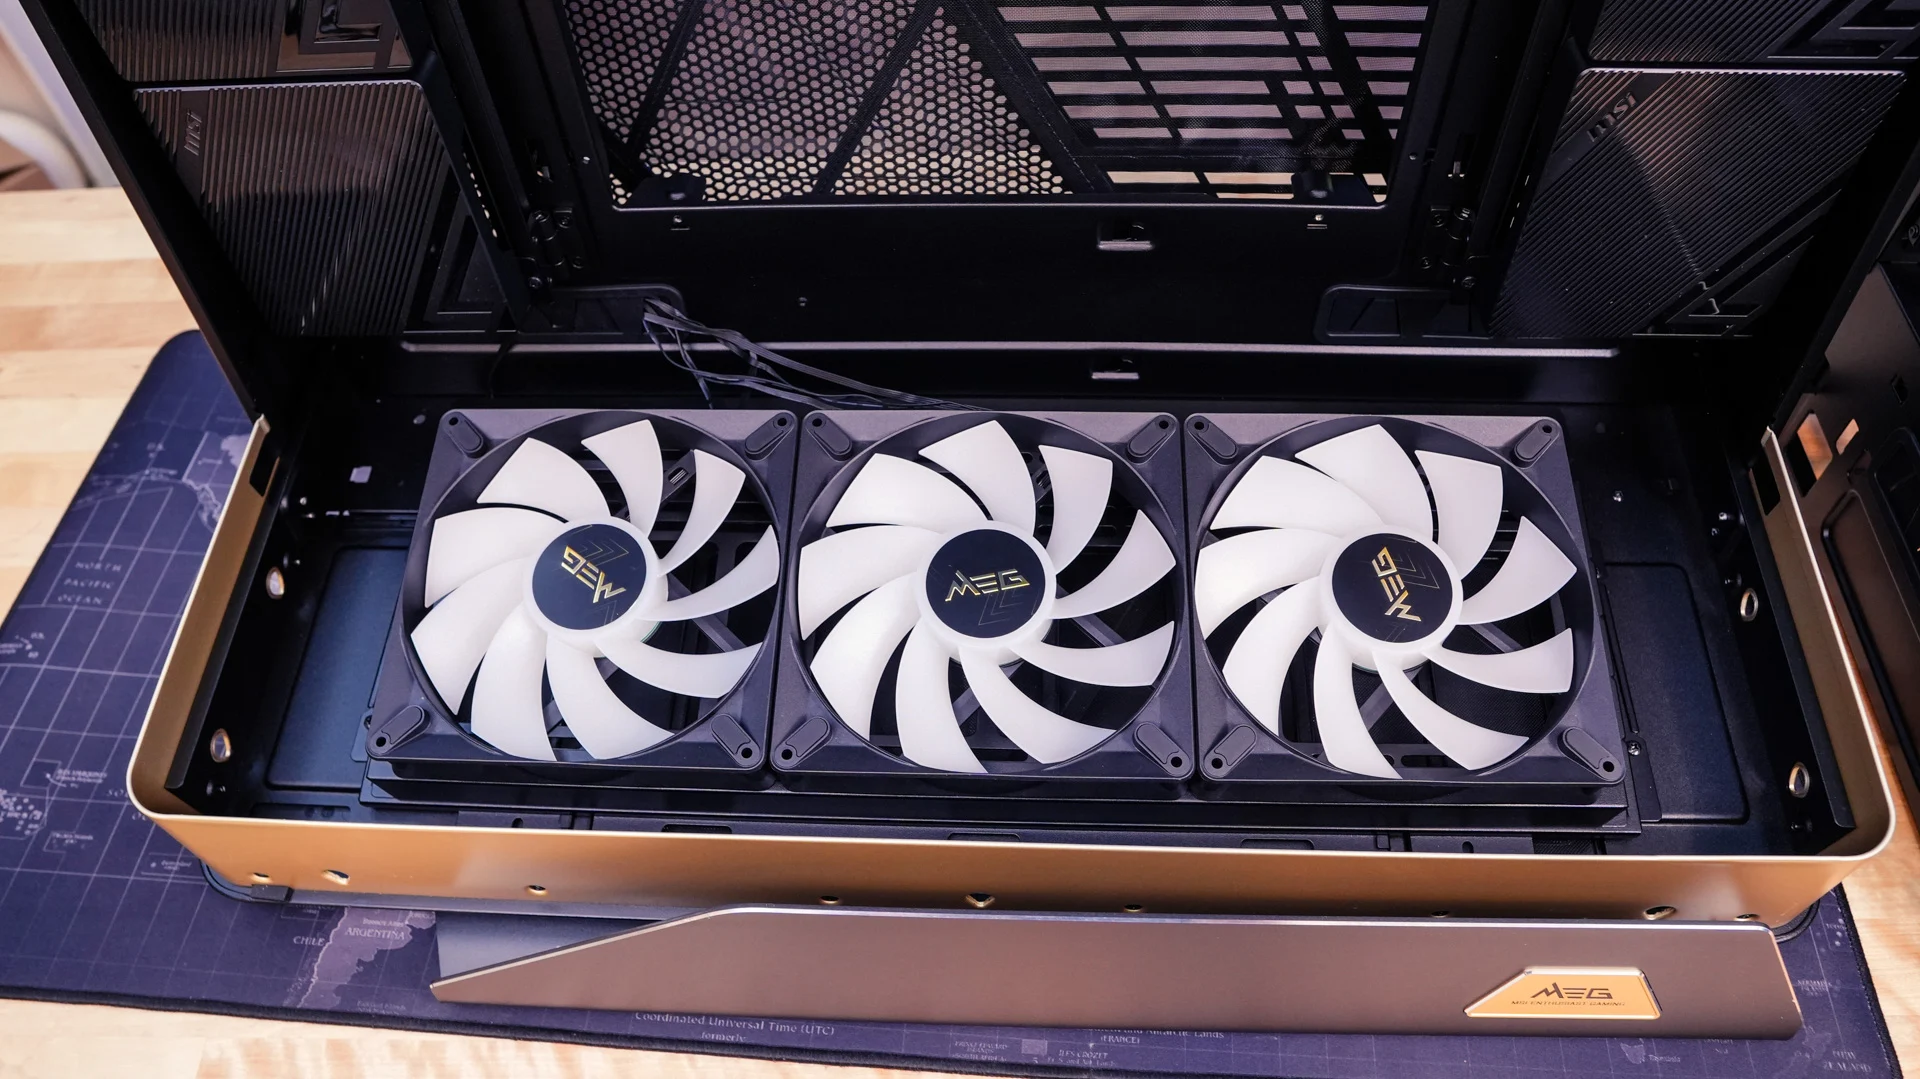
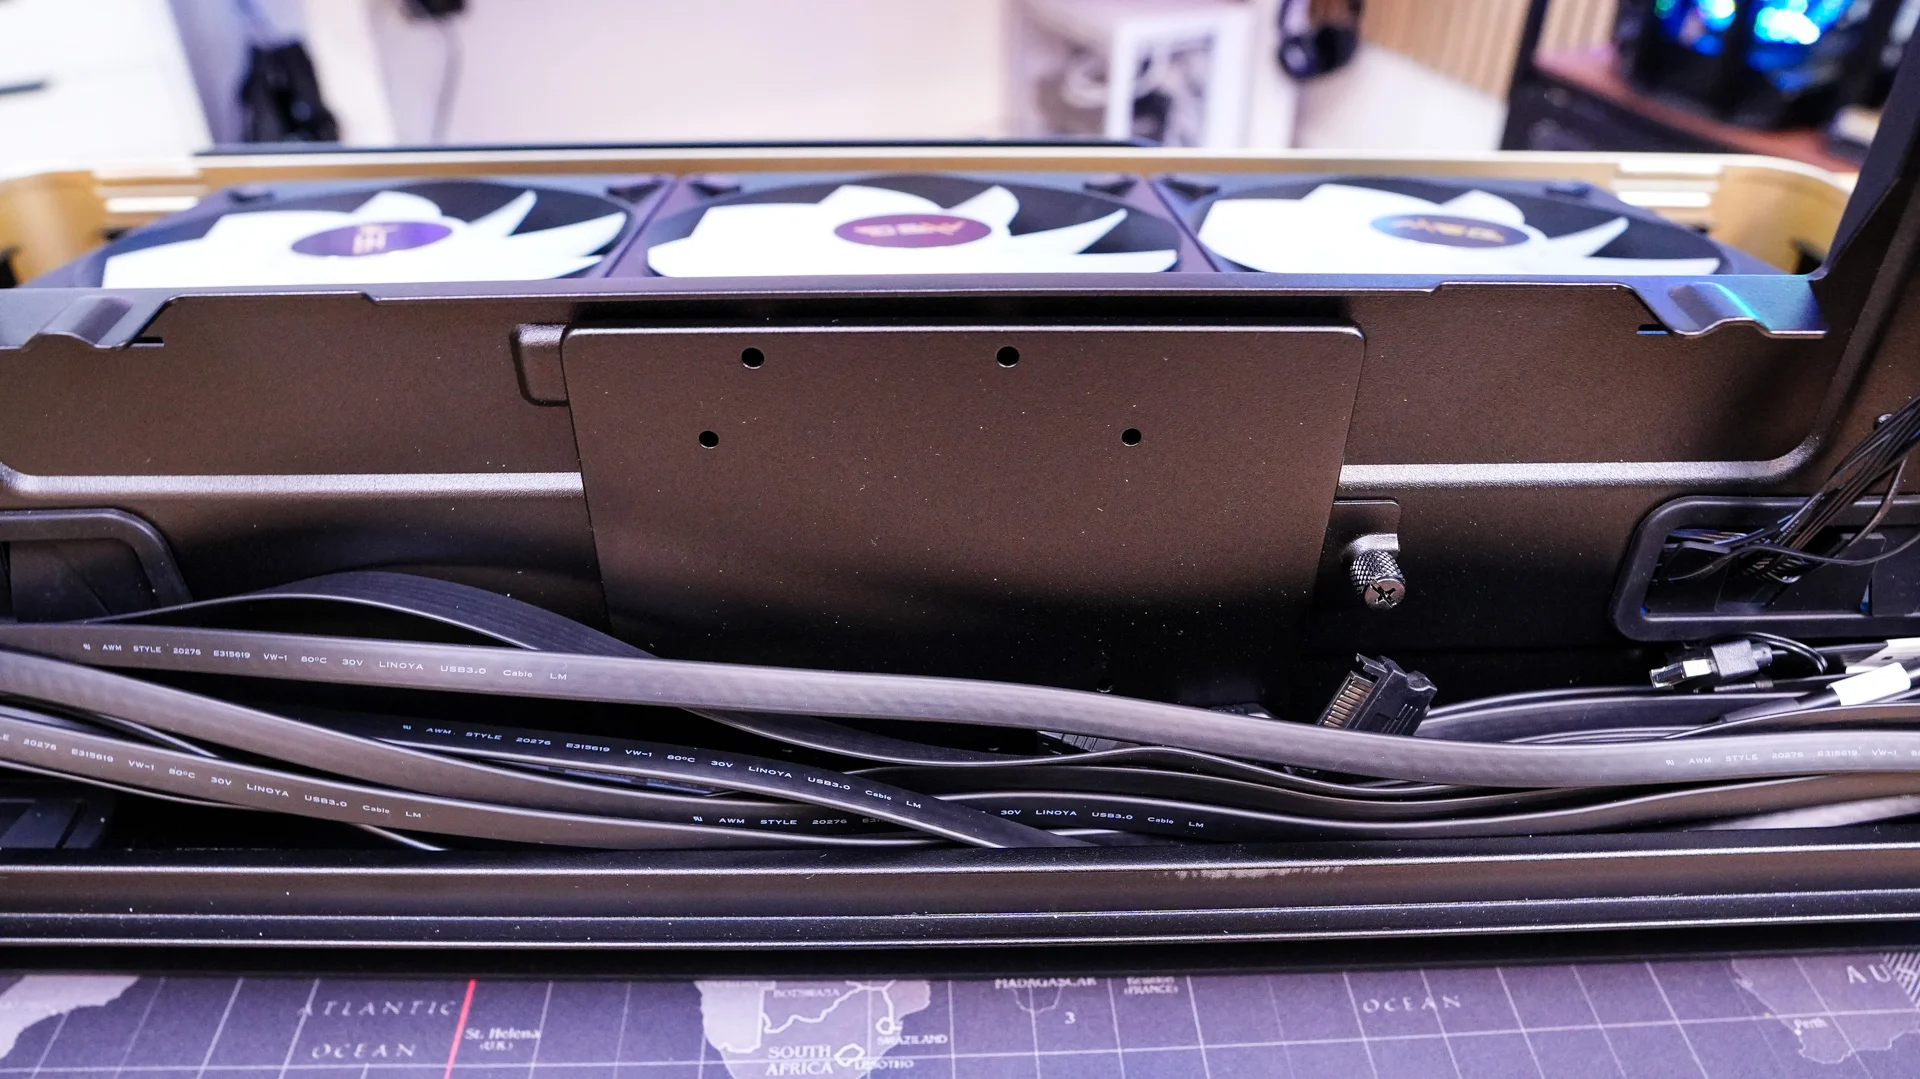
MSI equips the bottom of the MEG MAESTRO 900R with three pre-installed 160 mm ARGB fans, providing a substantial intake to feed fresh air toward the centrally mounted hardware. Their reverse-blade design allows the illuminated front faces to remain visible inside the case while drawing air in from underneath, giving you a cleaner presentation without exposing the usual rear support struts. The fans sit on a removable cooling bracket that can be configured in either a flat or tilted position, allowing you to adjust their presentation to suit your build. If you want to change the cooling setup, the bottom bracket supports four 120 mm fans, three 140 mm fans, or three 160 mm fans, along with radiators up to 420 mm in size. Being able to remove the bracket also makes it easier to install fans or a radiator outside the chassis before securing the complete assembly back in place.
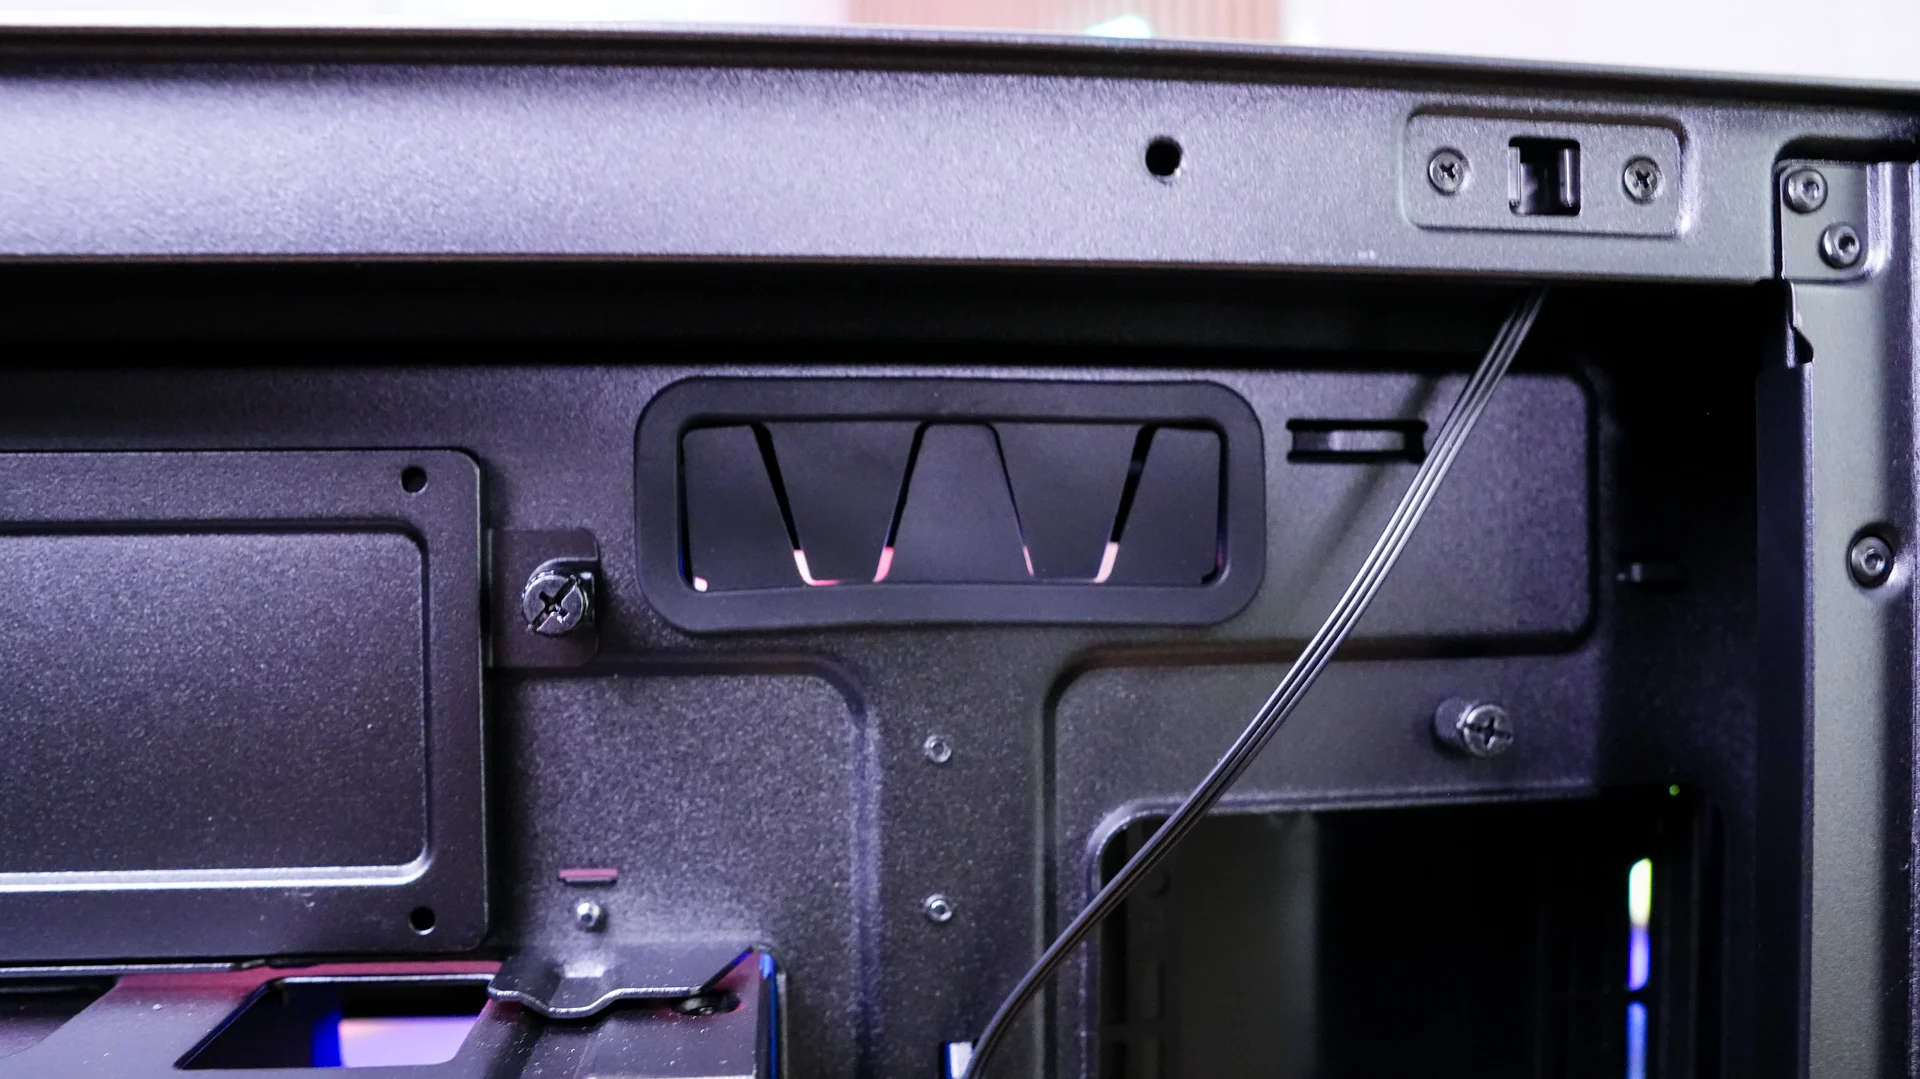
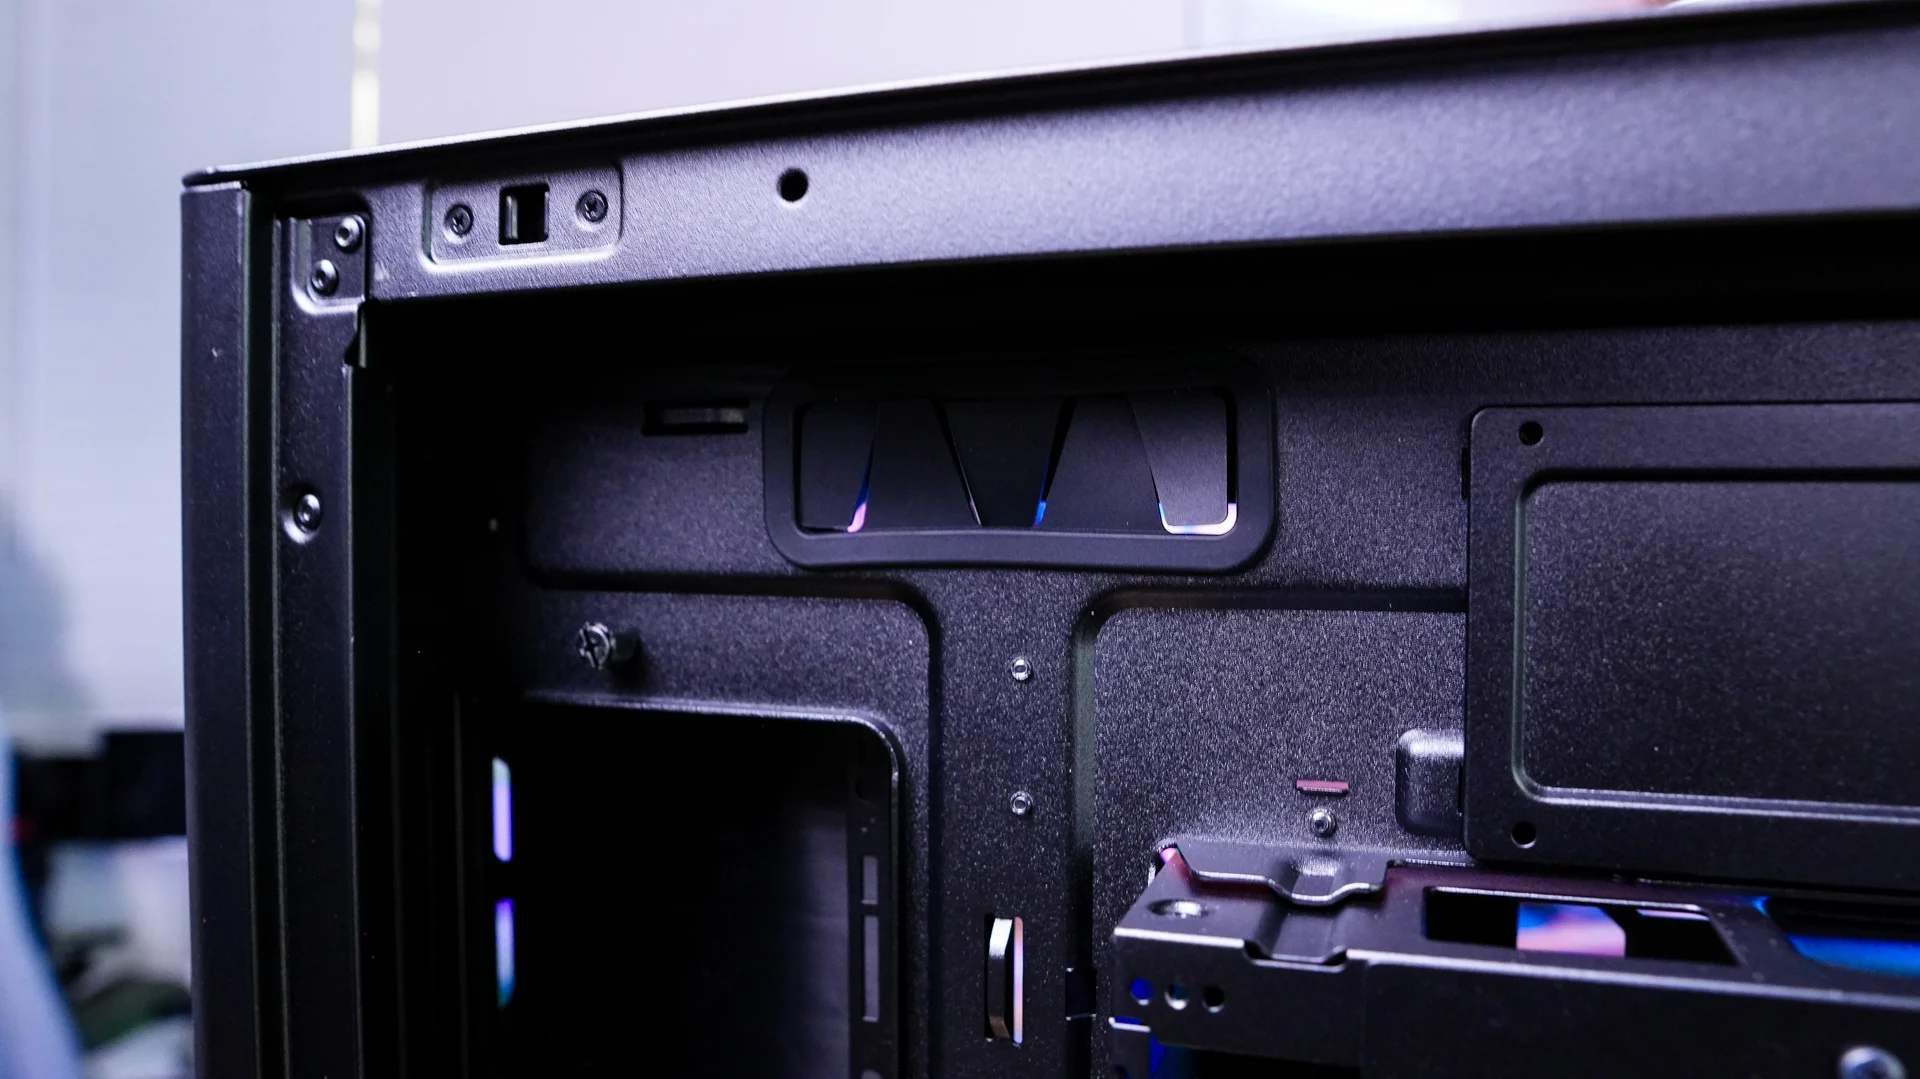
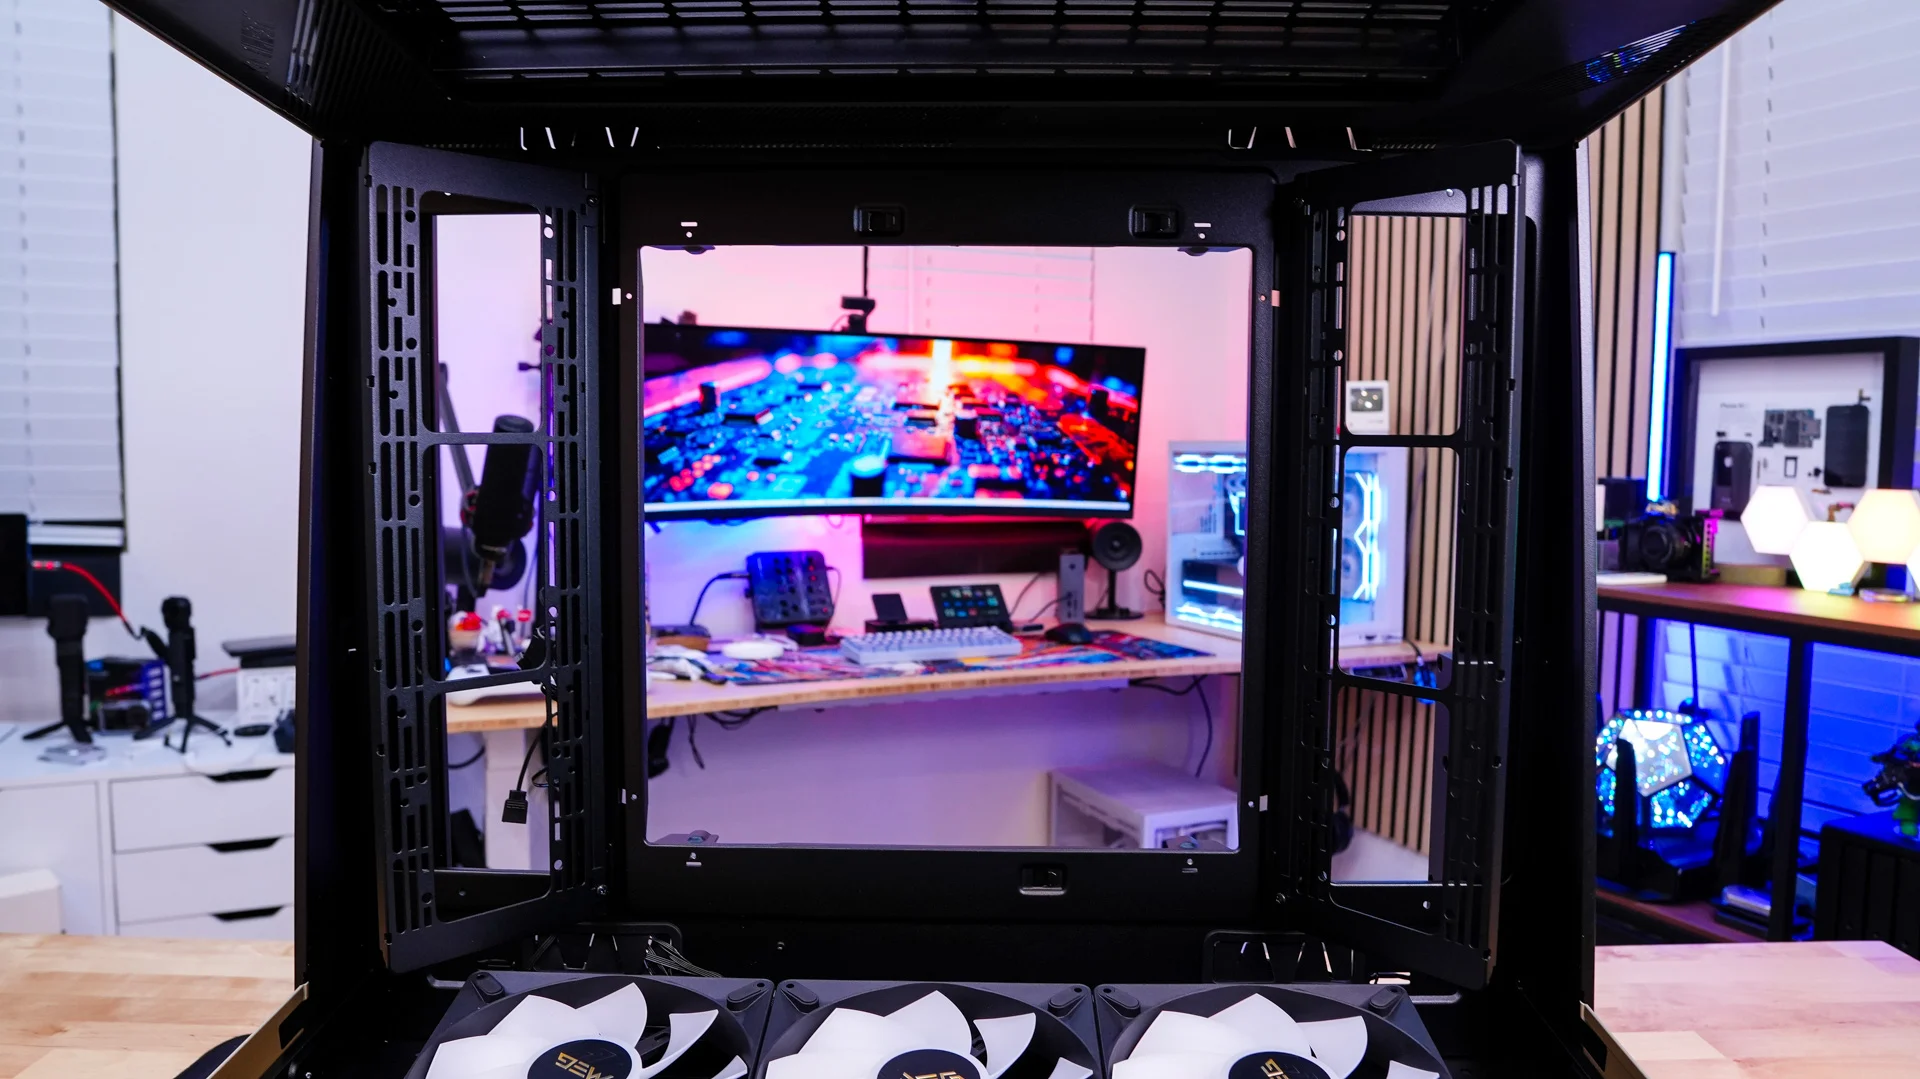
Flanking the motherboard tray are two internal cooling brackets, each supporting up to three 120 mm fans or a radiators up to 360 mm. These provide additional cooling locations alongside the top and bottom mounts, giving you more flexibility when positioning an AIO radiator or planning a custom loop. Both brackets use a hinged design that allows them to rotate up to 90 degrees, making installation easier and letting you adjust how the fans face into the main chamber. MSI also includes removable covers for these brackets if you don’t plan on using them. The combination of adjustable cooling mounts and cable covers suits the 900R’s showcase layout, allowing you to add cooling hardware while maintaining a clean presentation around the motherboard.
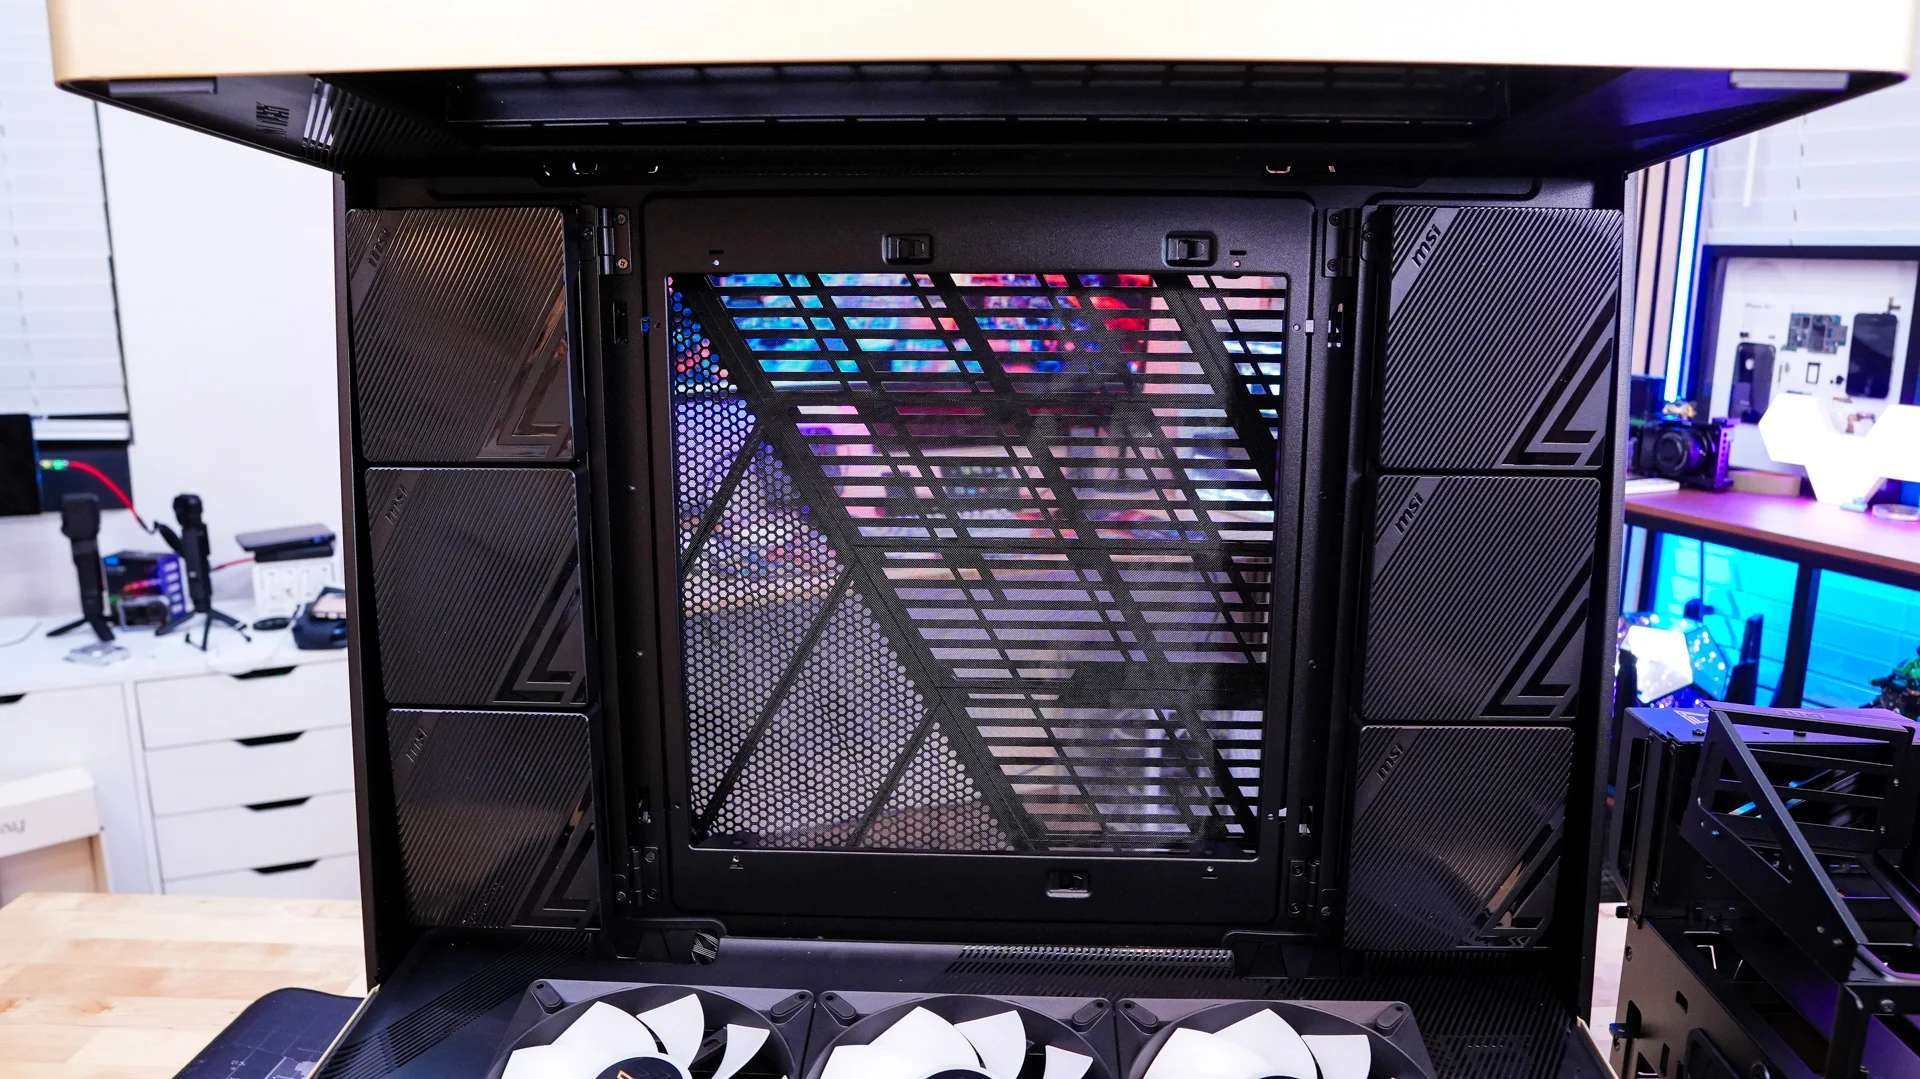
To remove the opposite side panel of the case you’ll find a cloth tab. When you pull on it, the panel will pop off. With the panel removed we can see that it features a removable magnetic dust filter that covers the ventilation openings. The fine mesh helps catch dust before it enters through this section of the chassis, while the magnetic attachment keeps it in place without additional screws or clips.
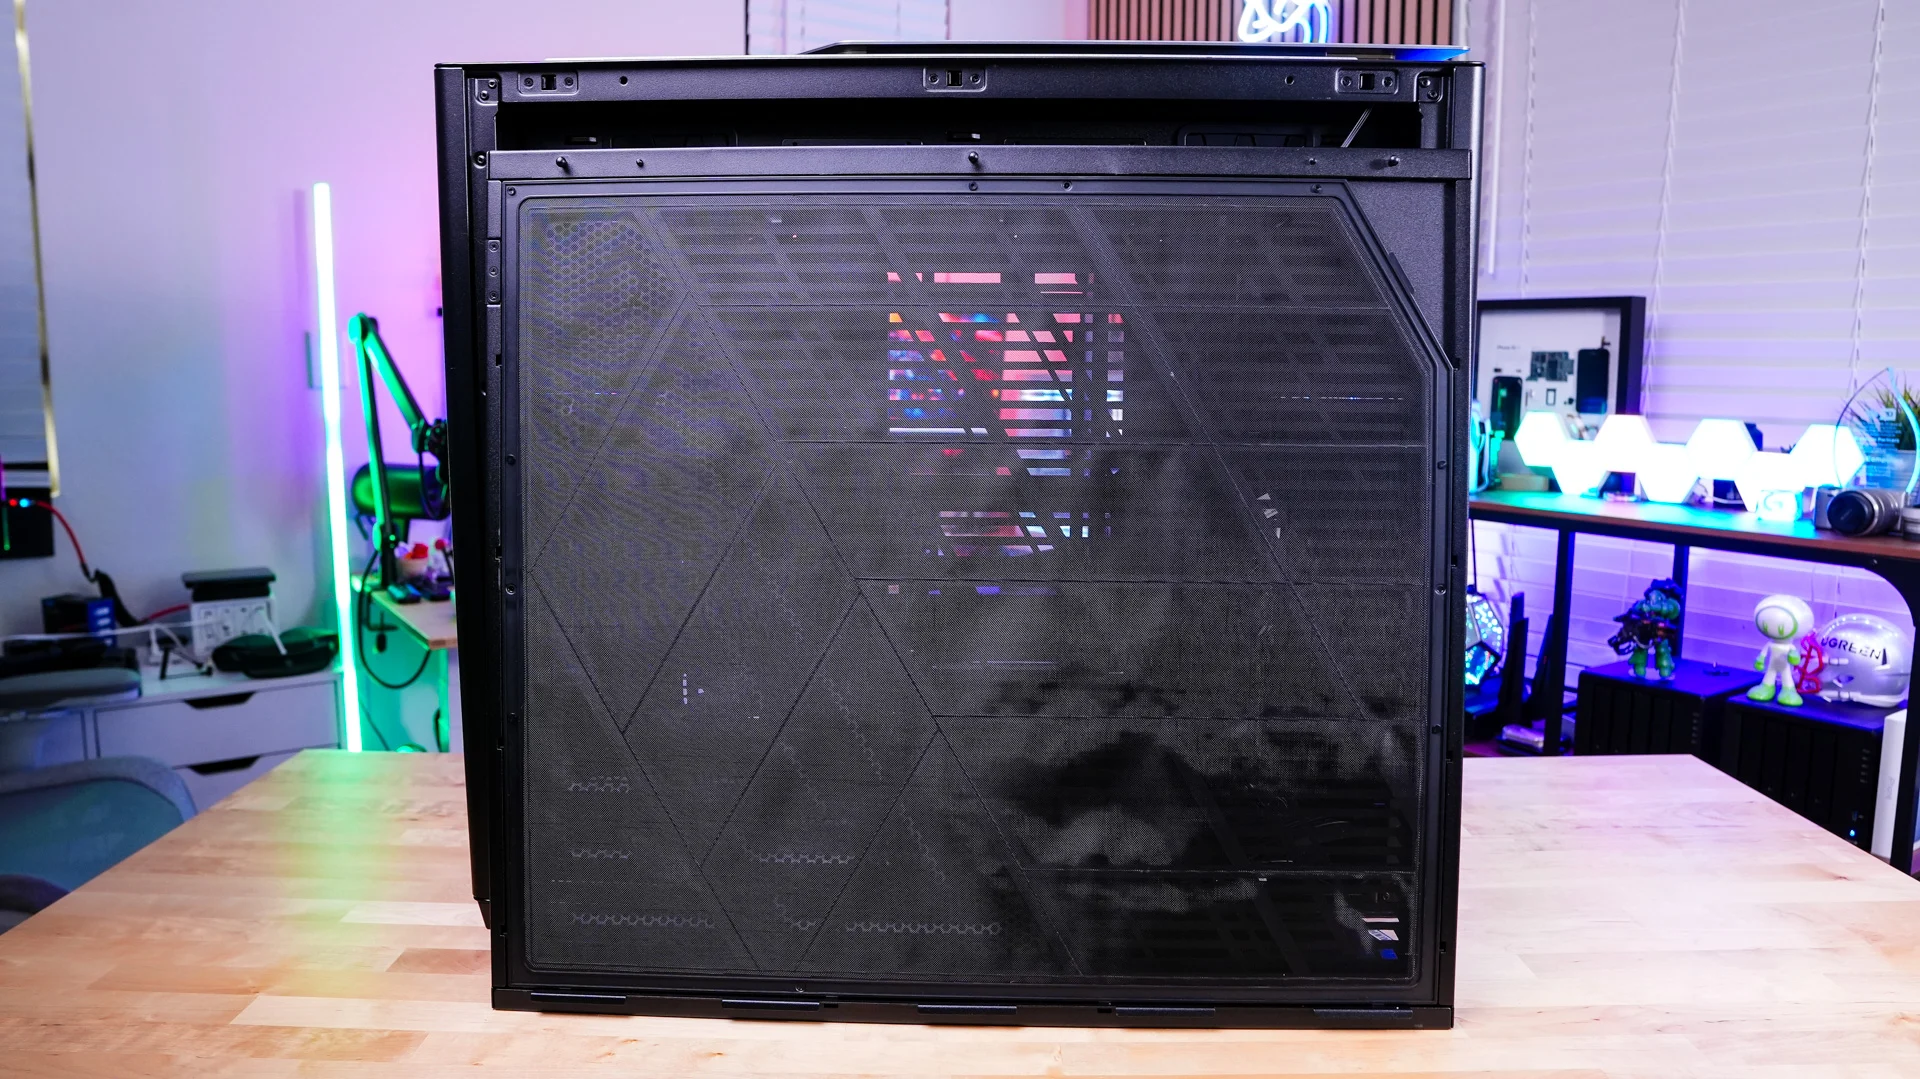
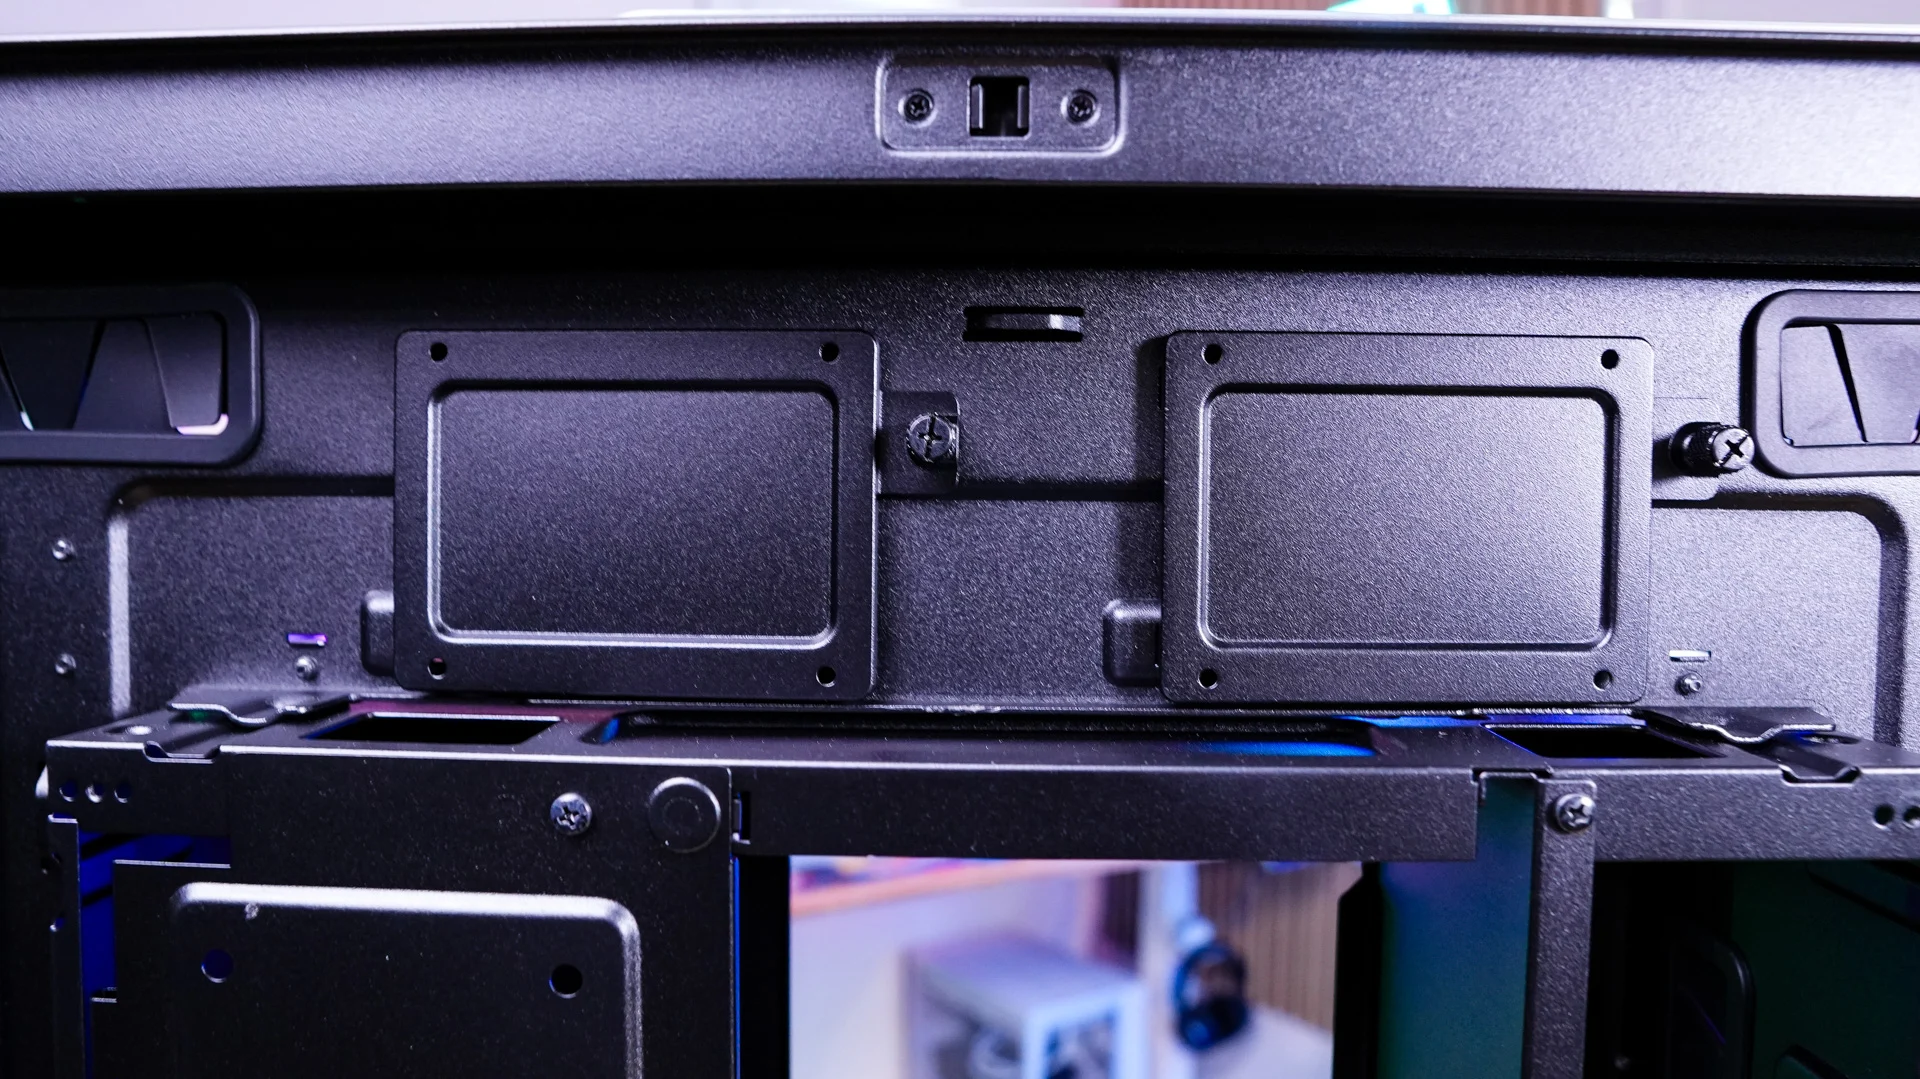
With the opposite side panel removed we can see a pretty simple design for the rest of the case. Back here is where you’ll find your storage mounts. Towards the top of the case there are two removable SSD mounts and then towards the bottom there is a larger mount which will support a 3.5-inch drive or 2.5-inch drive. And there are two more SSD mounts on the removable If you are thinking this is not a lot of storage for such a massive case, MSI allows you to mount drives on the internal cooling brackets that flank the motherboard tray. MSI officially lists support as nine 2.5-inch SSDs or five 3.5-inch hard drives, with the final combination depending on which mounts you use.
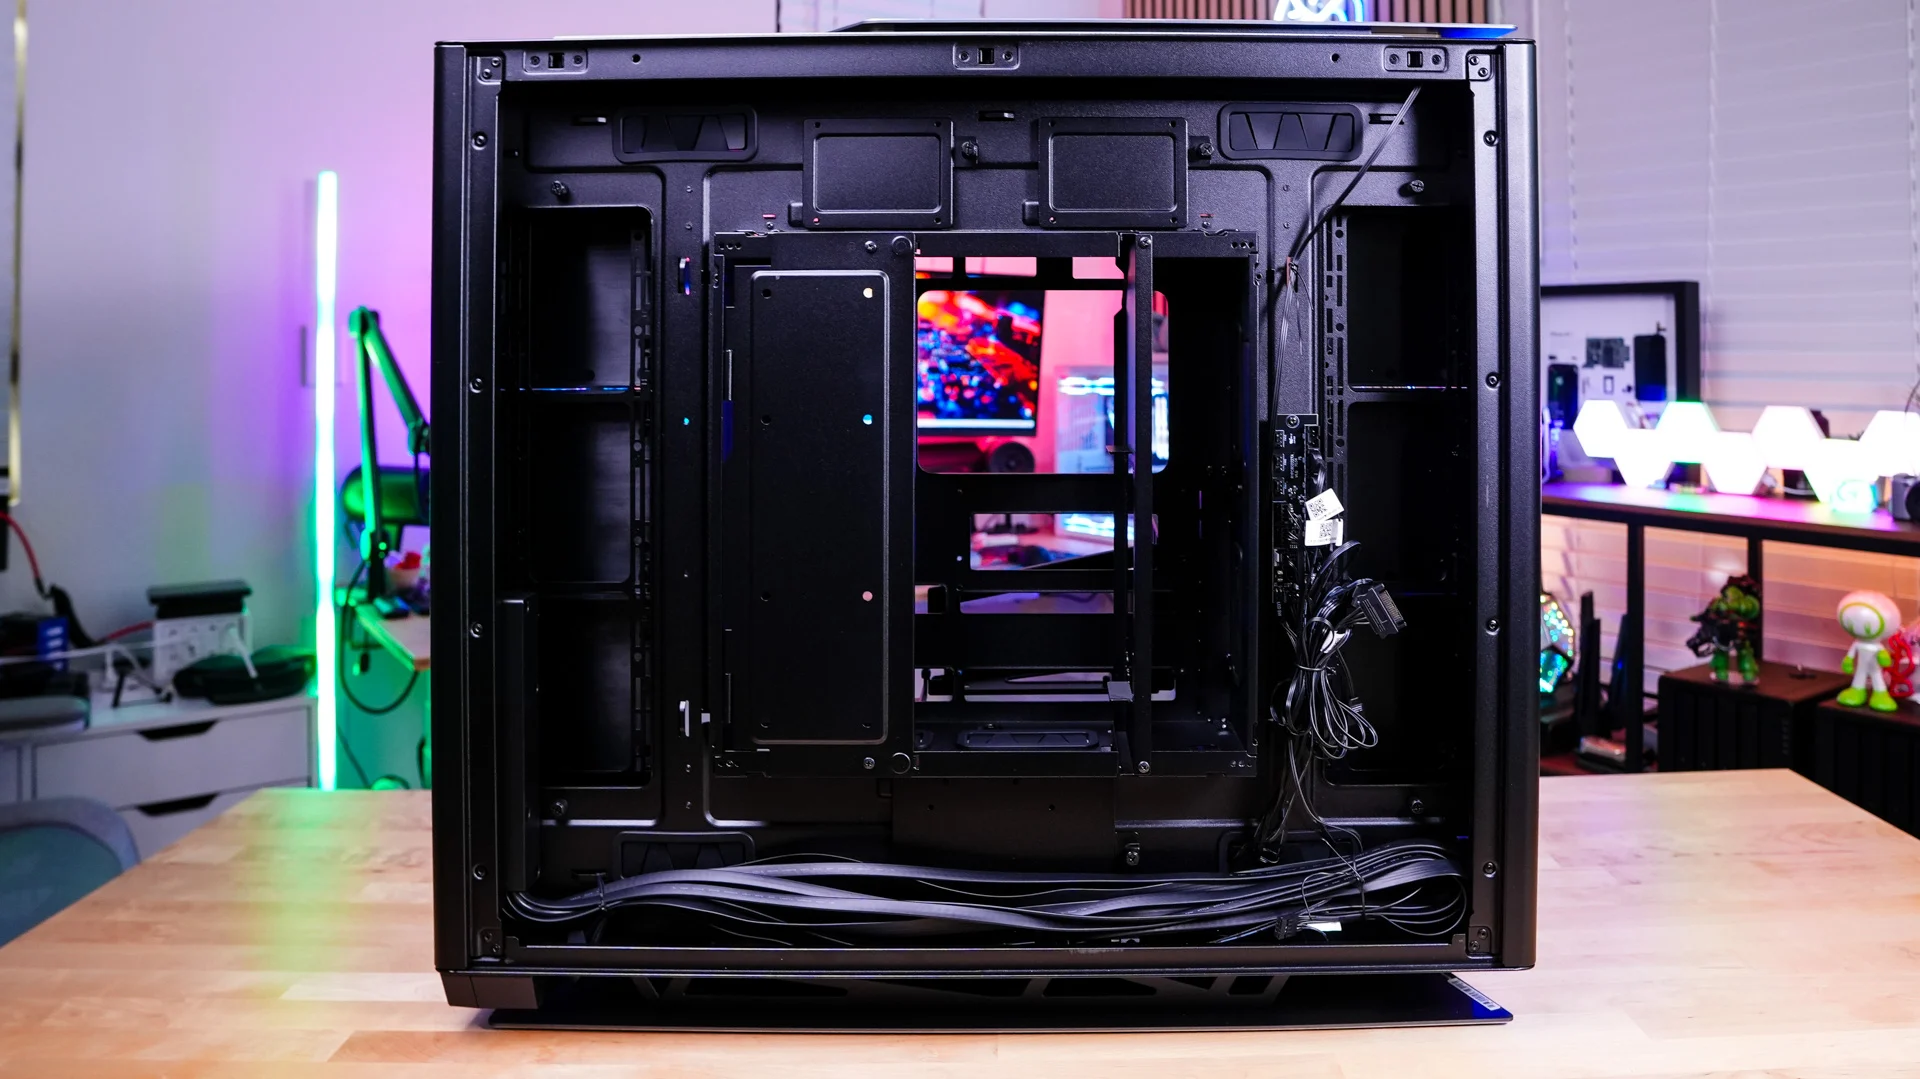
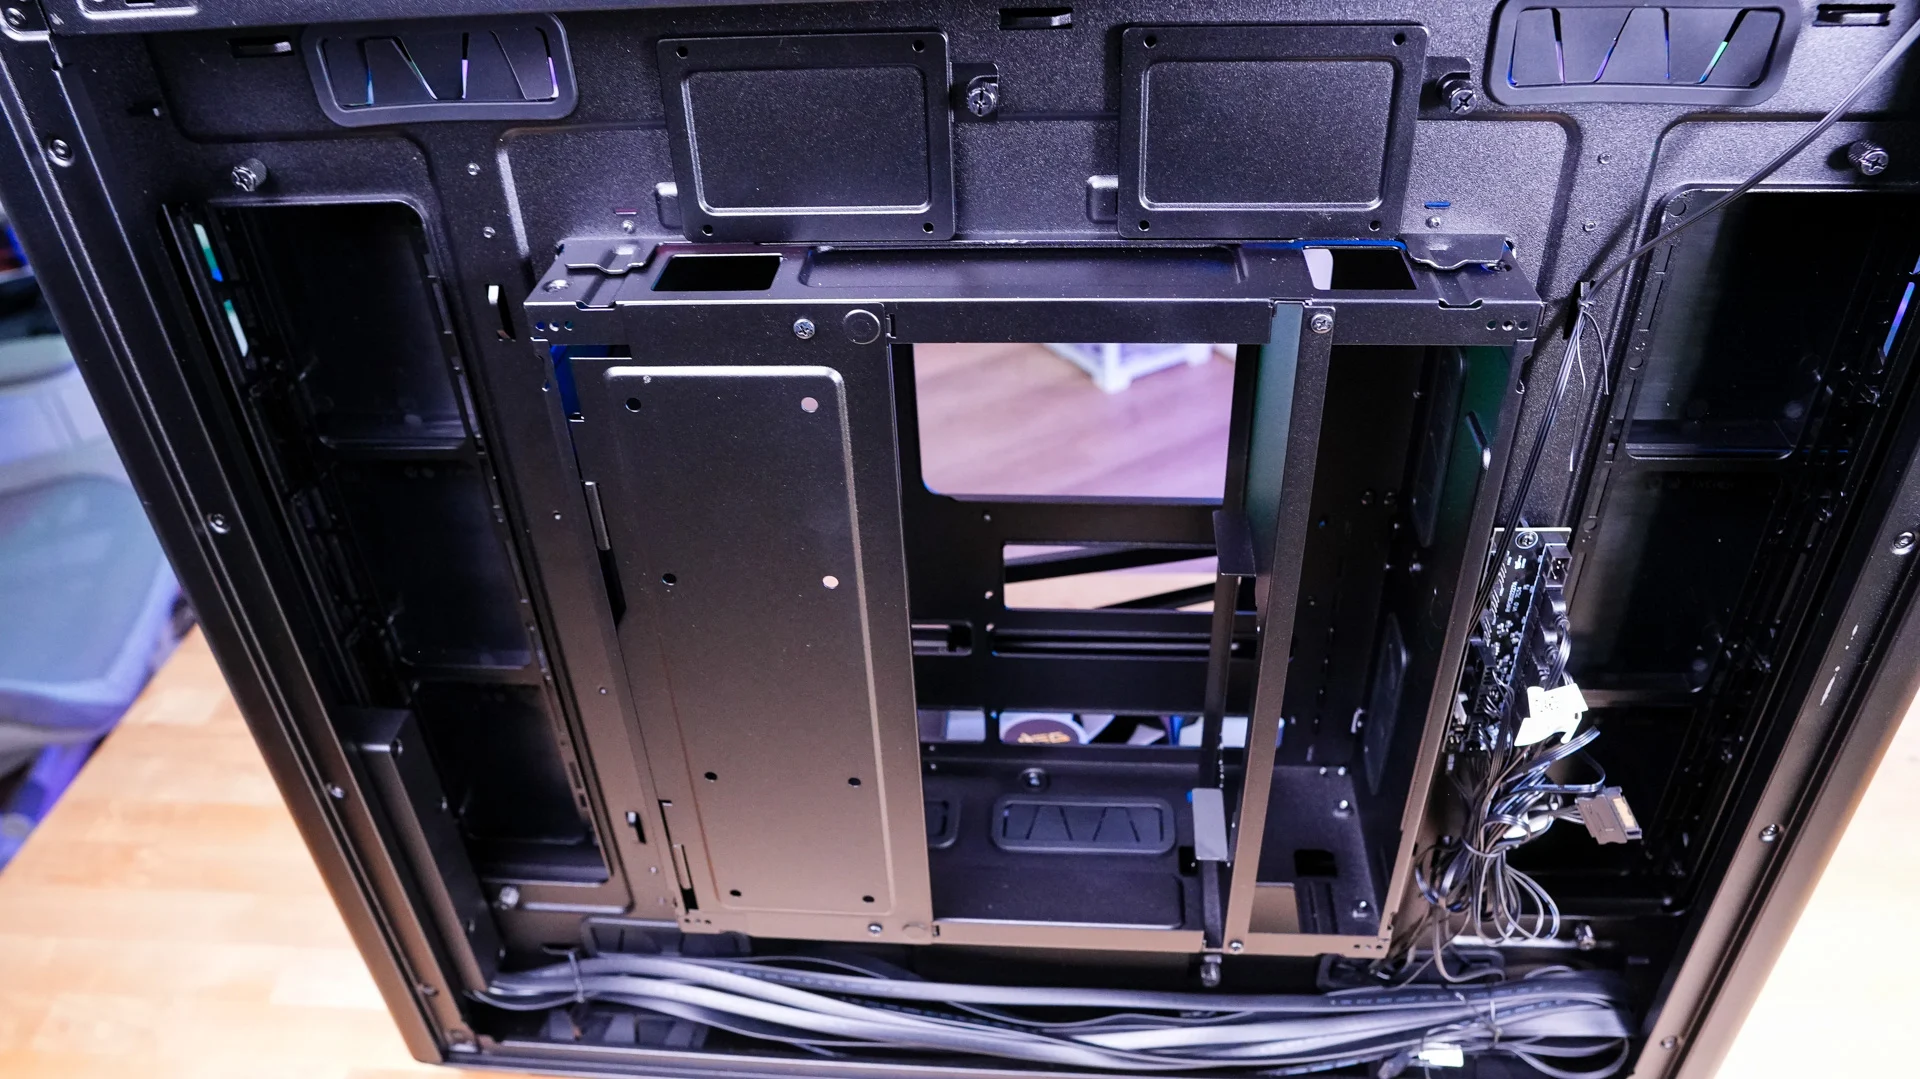
Mounted back here is a fan and ARGB hub, giving you a central connection point for organizing the case’s cooling and lighting connections. The included fans and RGB elements in the case are already pre-wired to this controller. The LED button on the front of the case will allow you to cycle through built-in effects without opening any software. Holding that button for two seconds switches the lighting to motherboard control, allowing it to match the rest of your system, and a longer six-second press turns the lighting off. The hub can also be relocated to the opposite side of the chassis to better suit your motherboard orientation and cable routing, a useful detail given the 900R’s flexible internal layout.
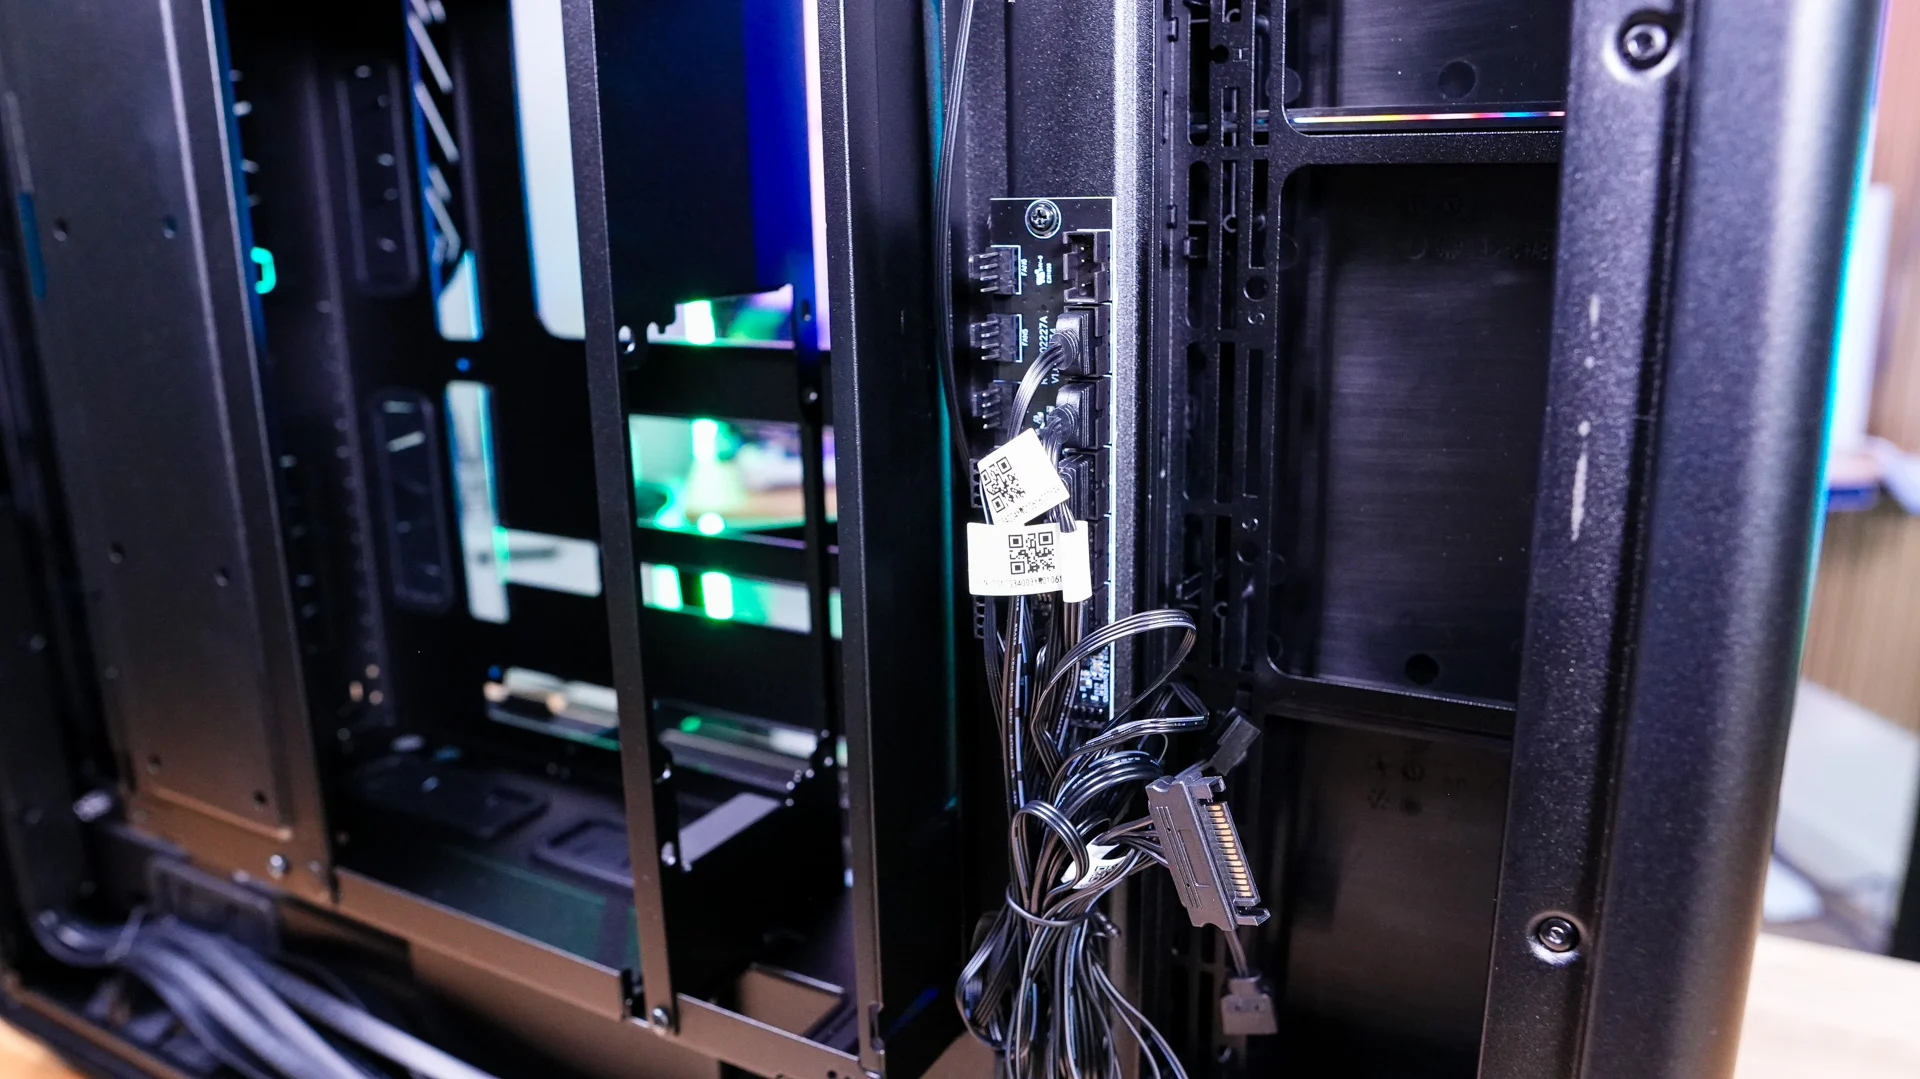
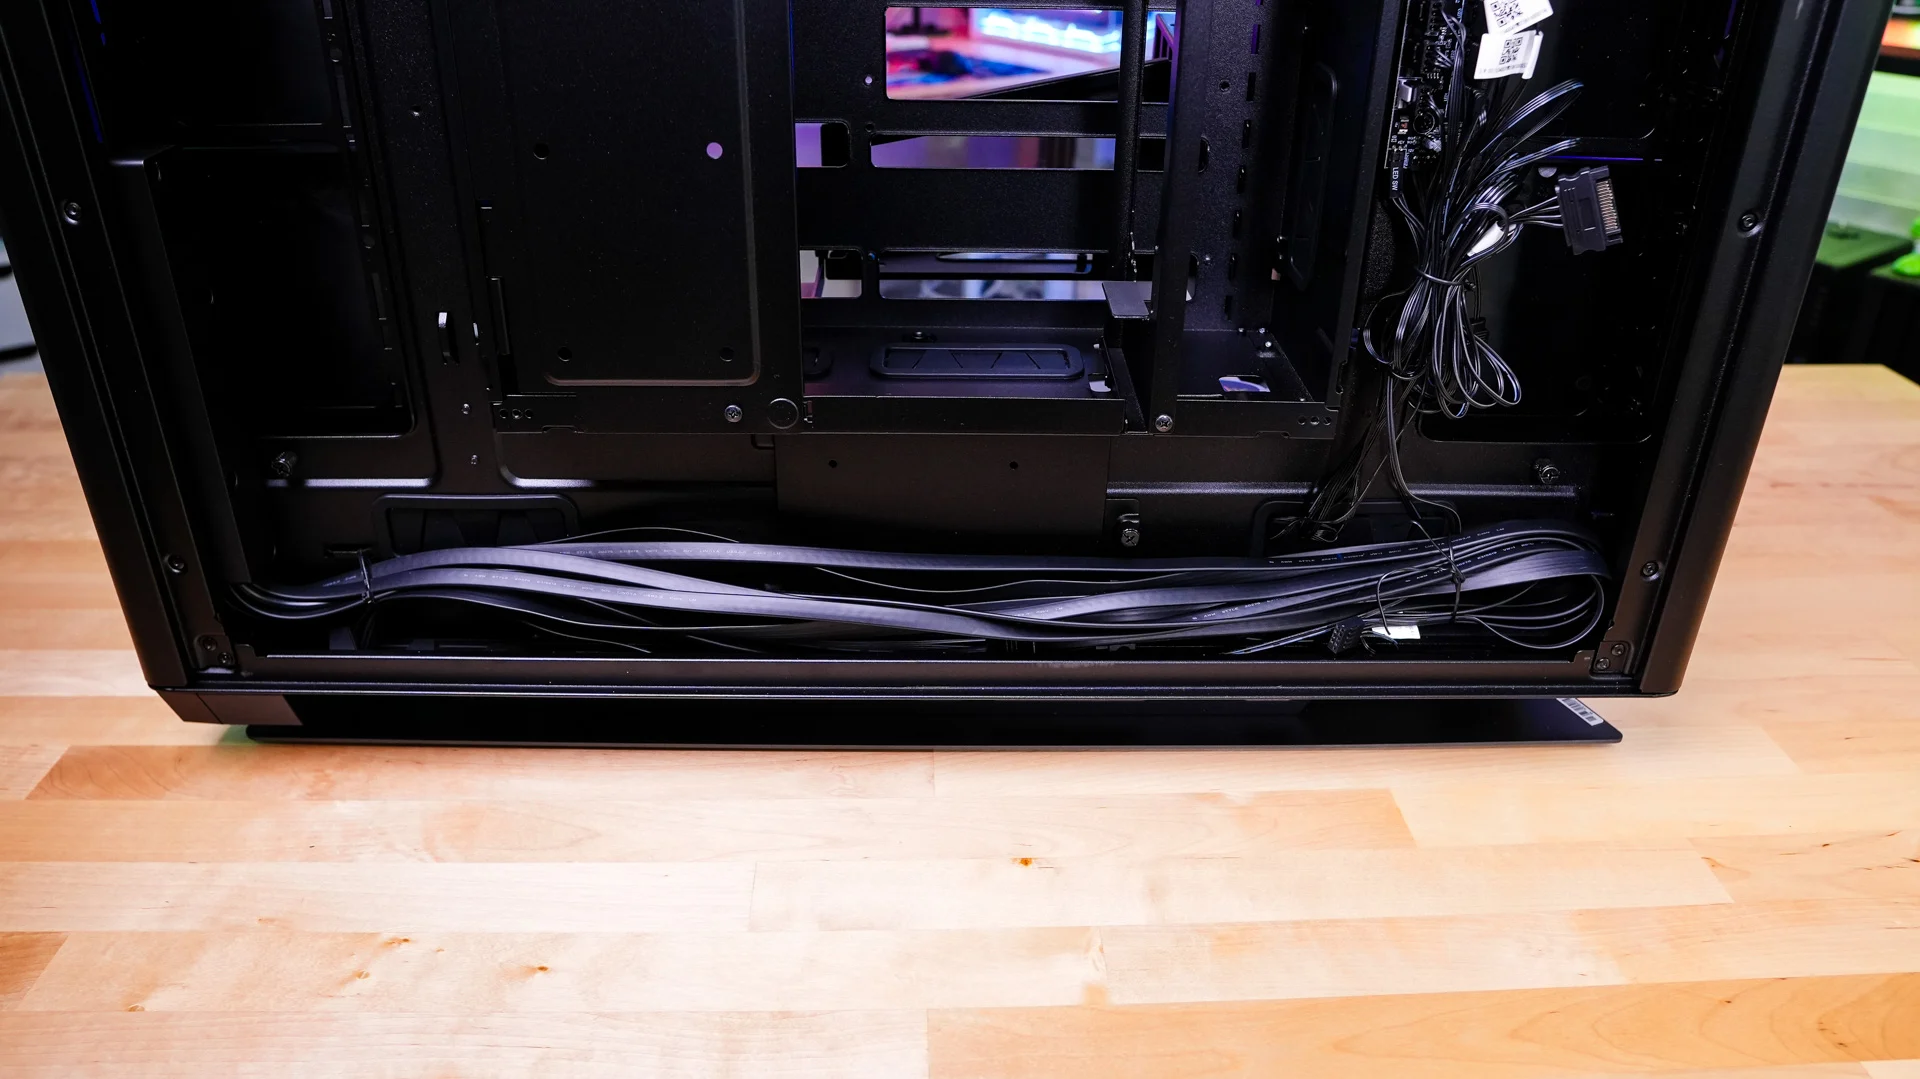
There are also plenty of cable routing holes throughout the case, which will make routing all of your cables quite easy.