Is the MSI MEG Maestro 900R Case Easy to Build In?
I really like that MSI has included the removable motherboard tray in this case. One it makes things a lot easier, but also this case is so big it is not something you want to put on its side. With the motherboard tray out of the case we can first install our motherboard.
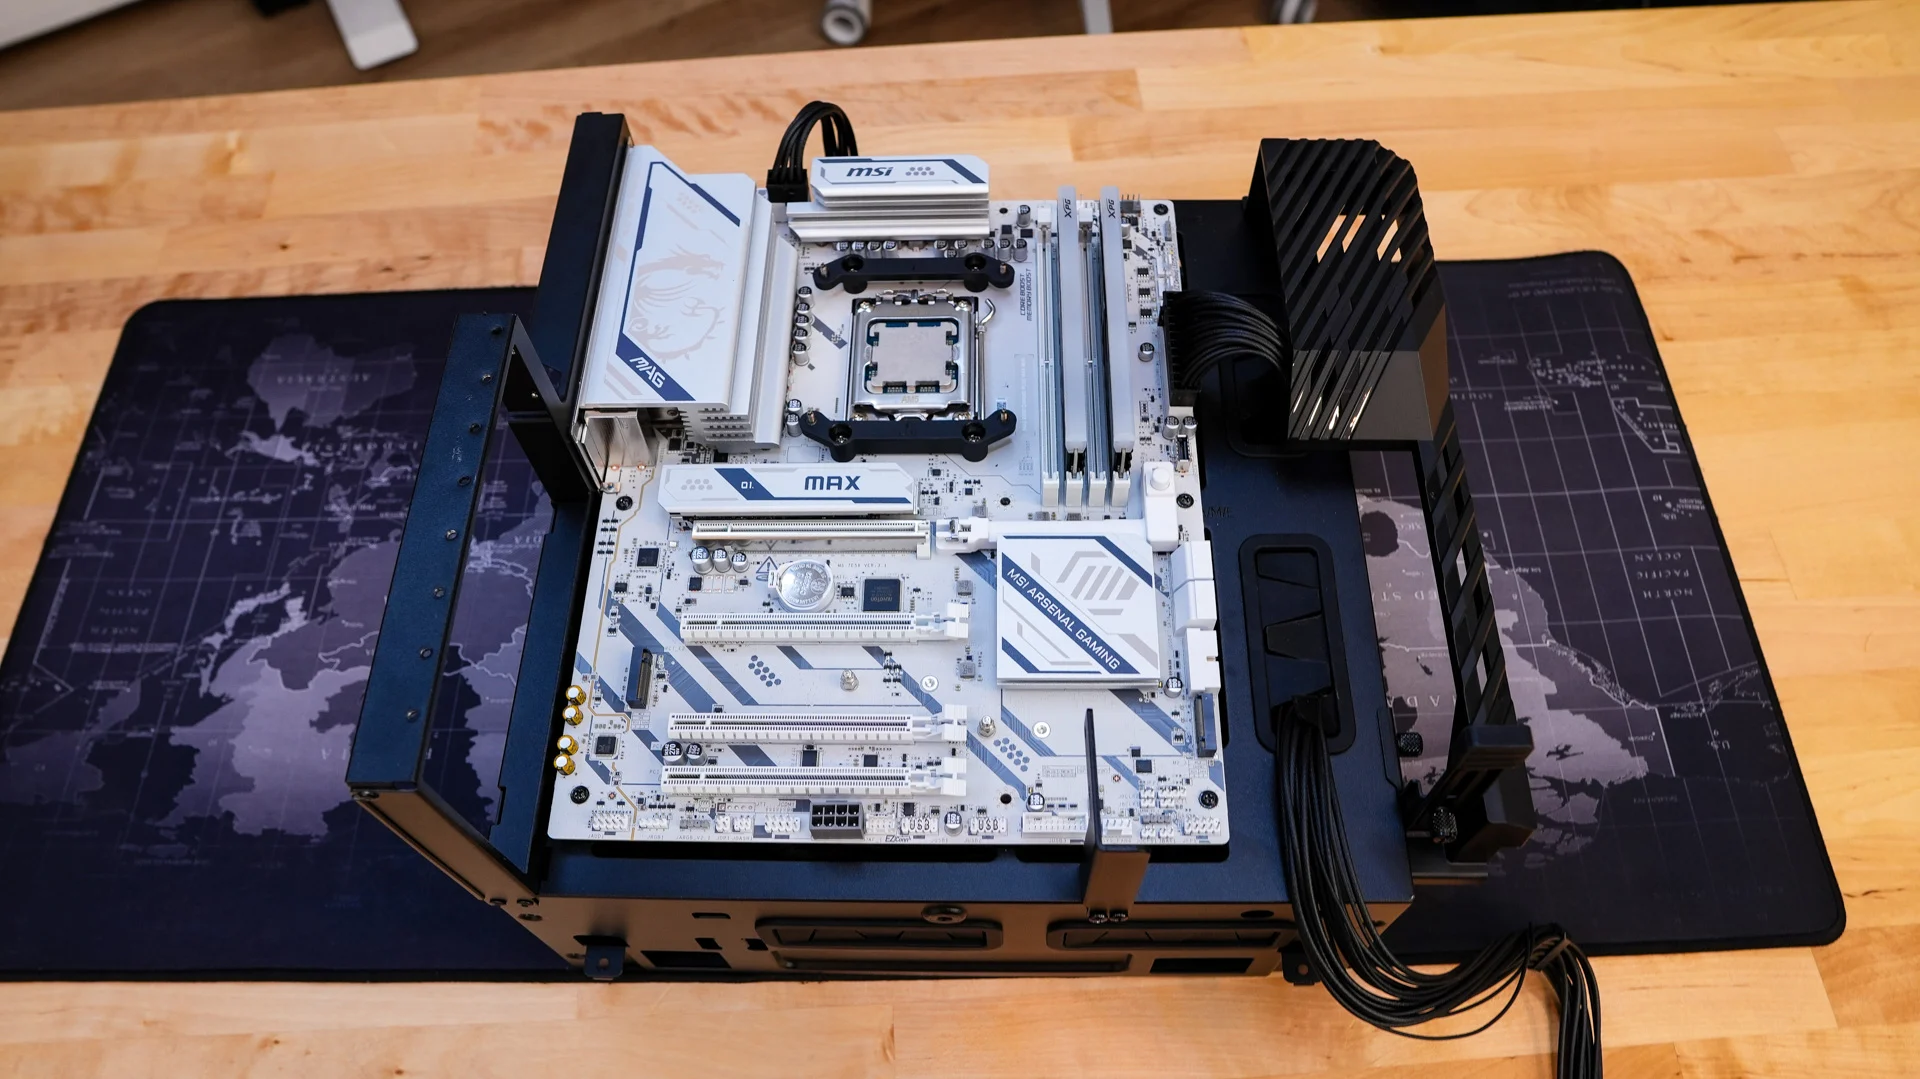
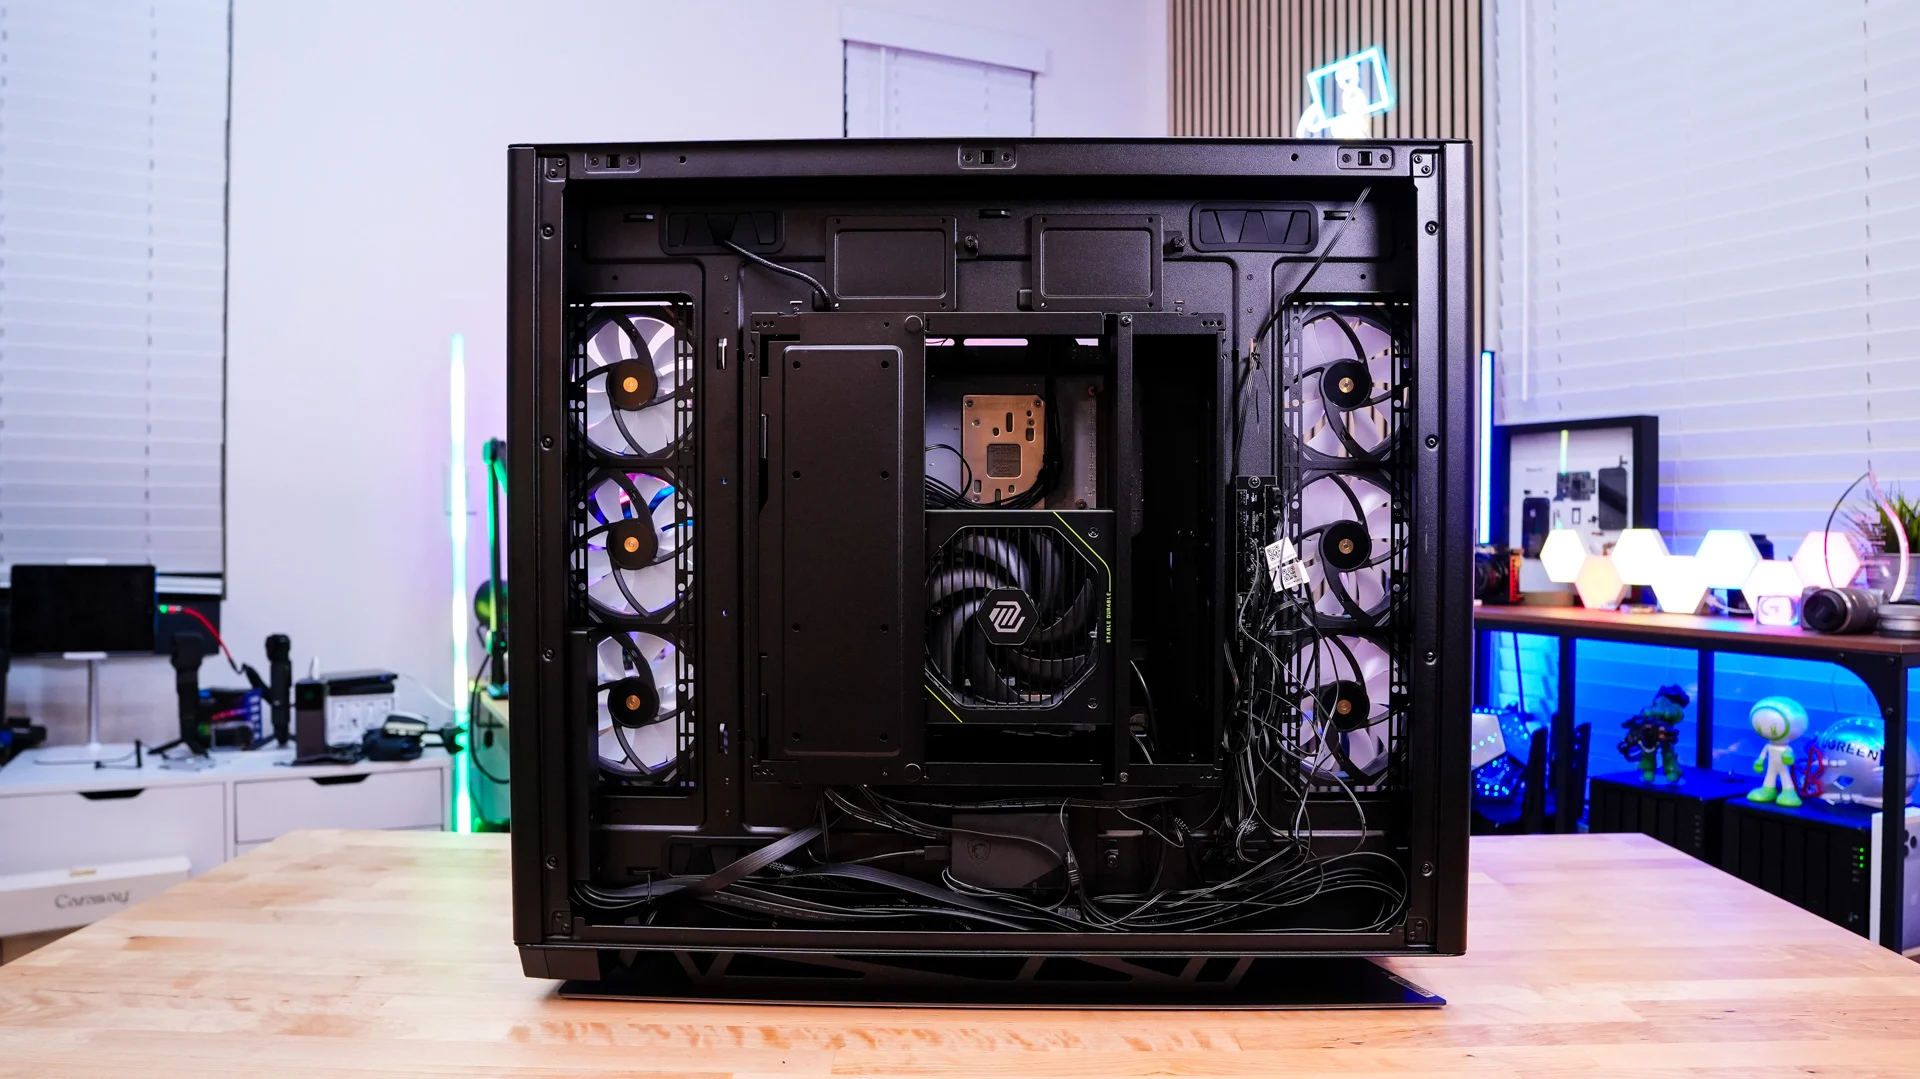
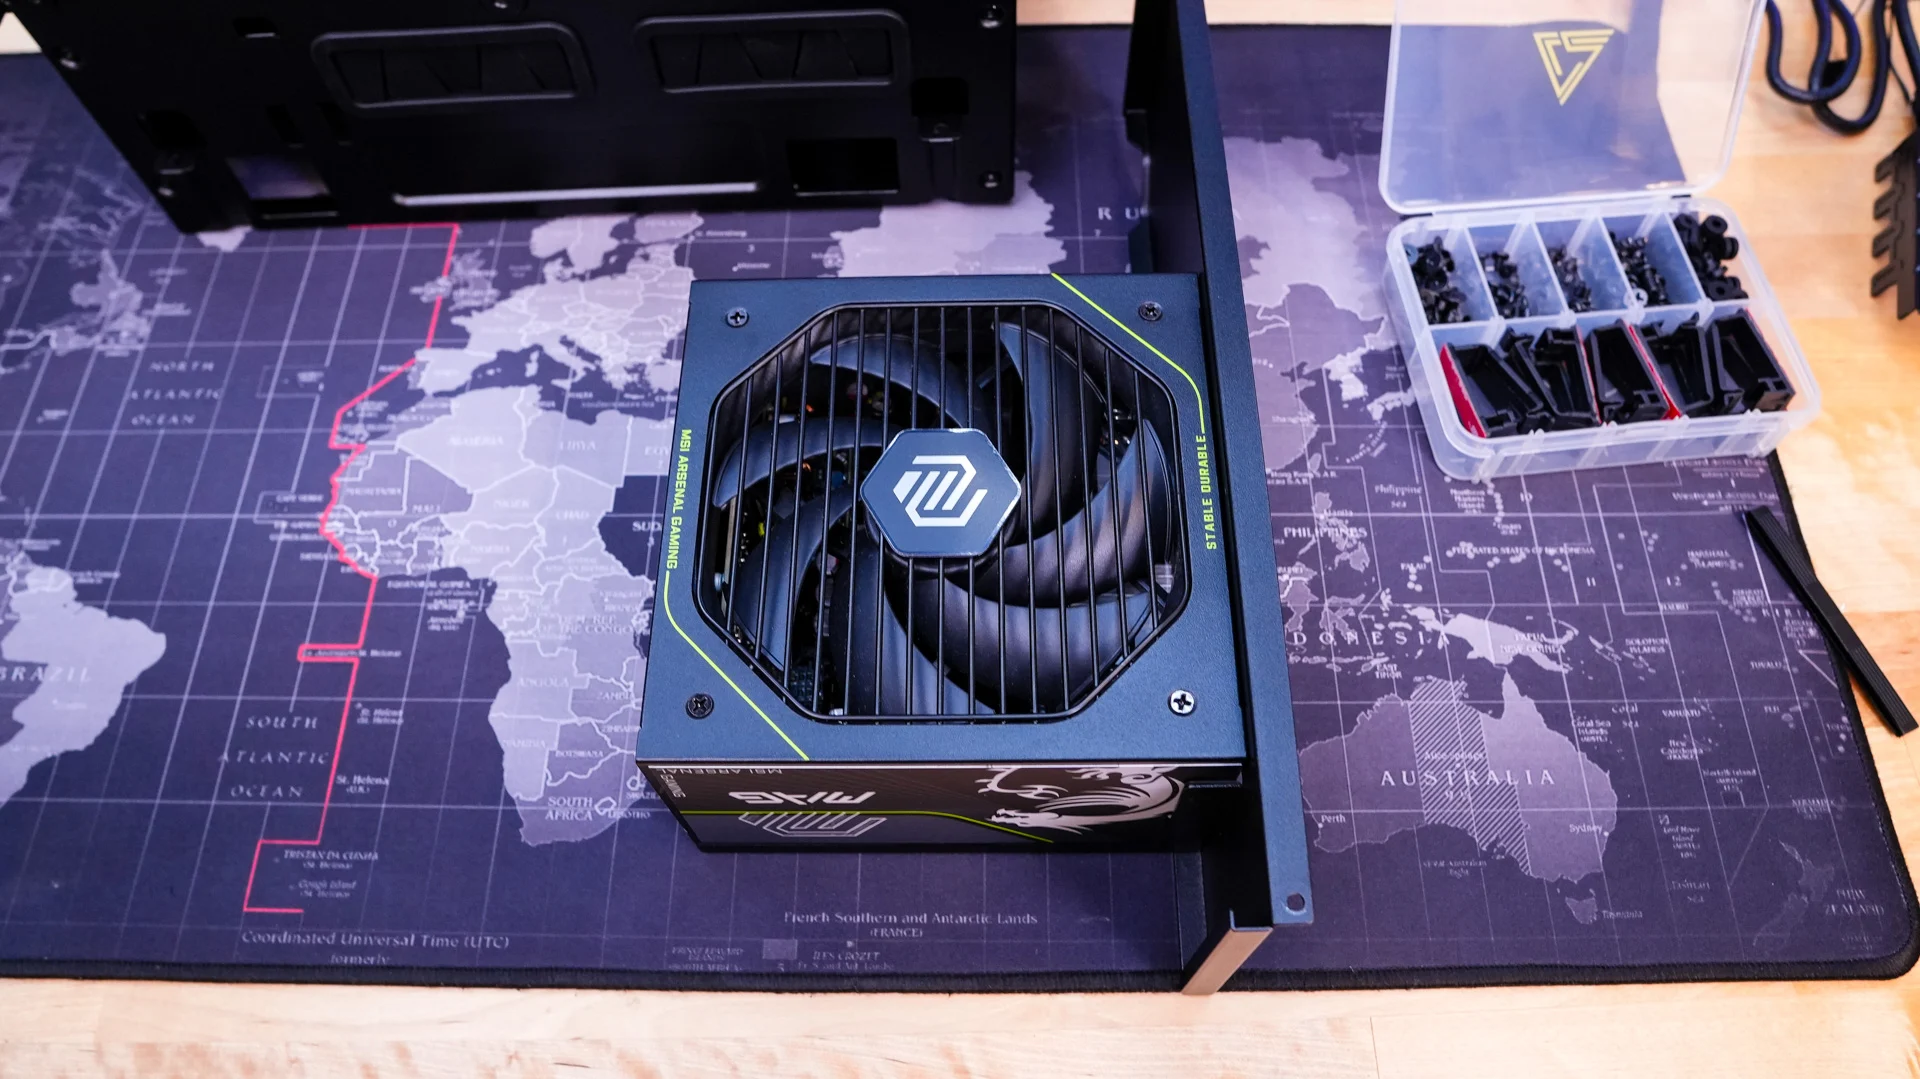
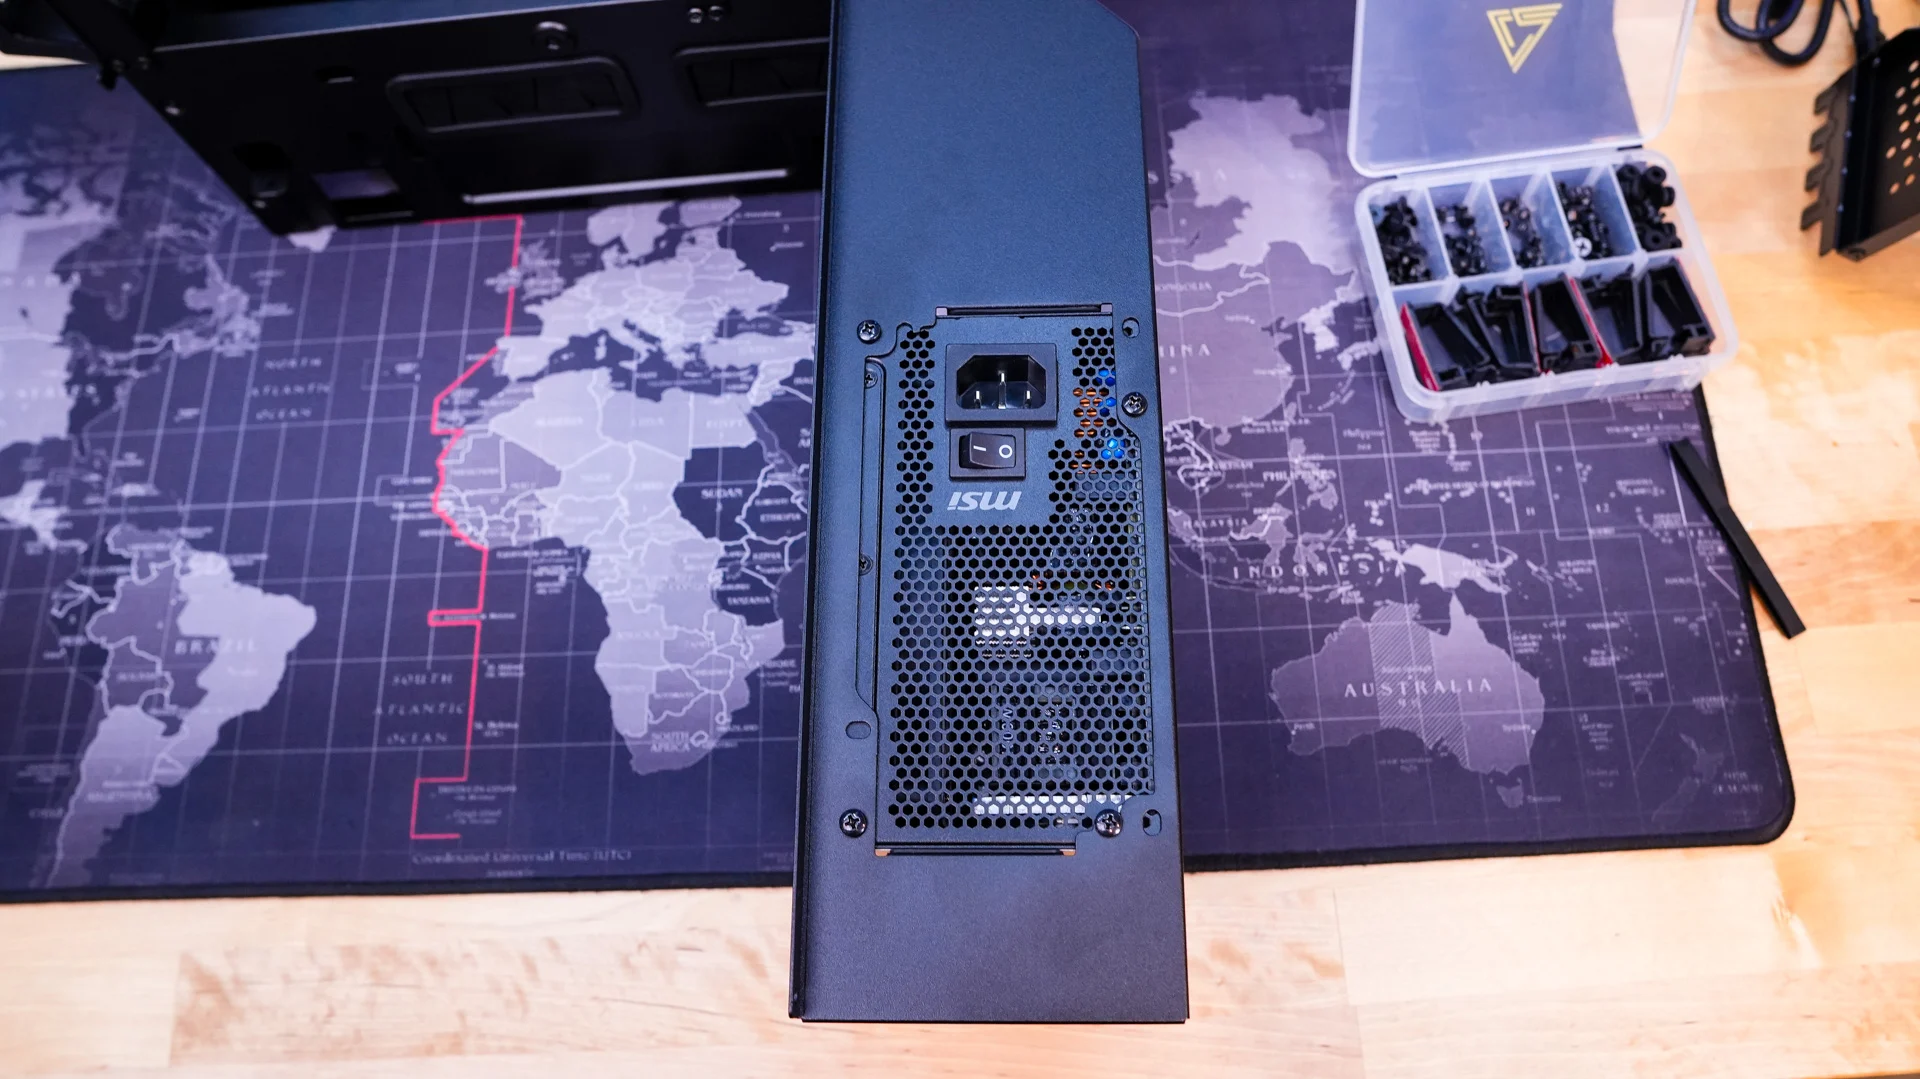
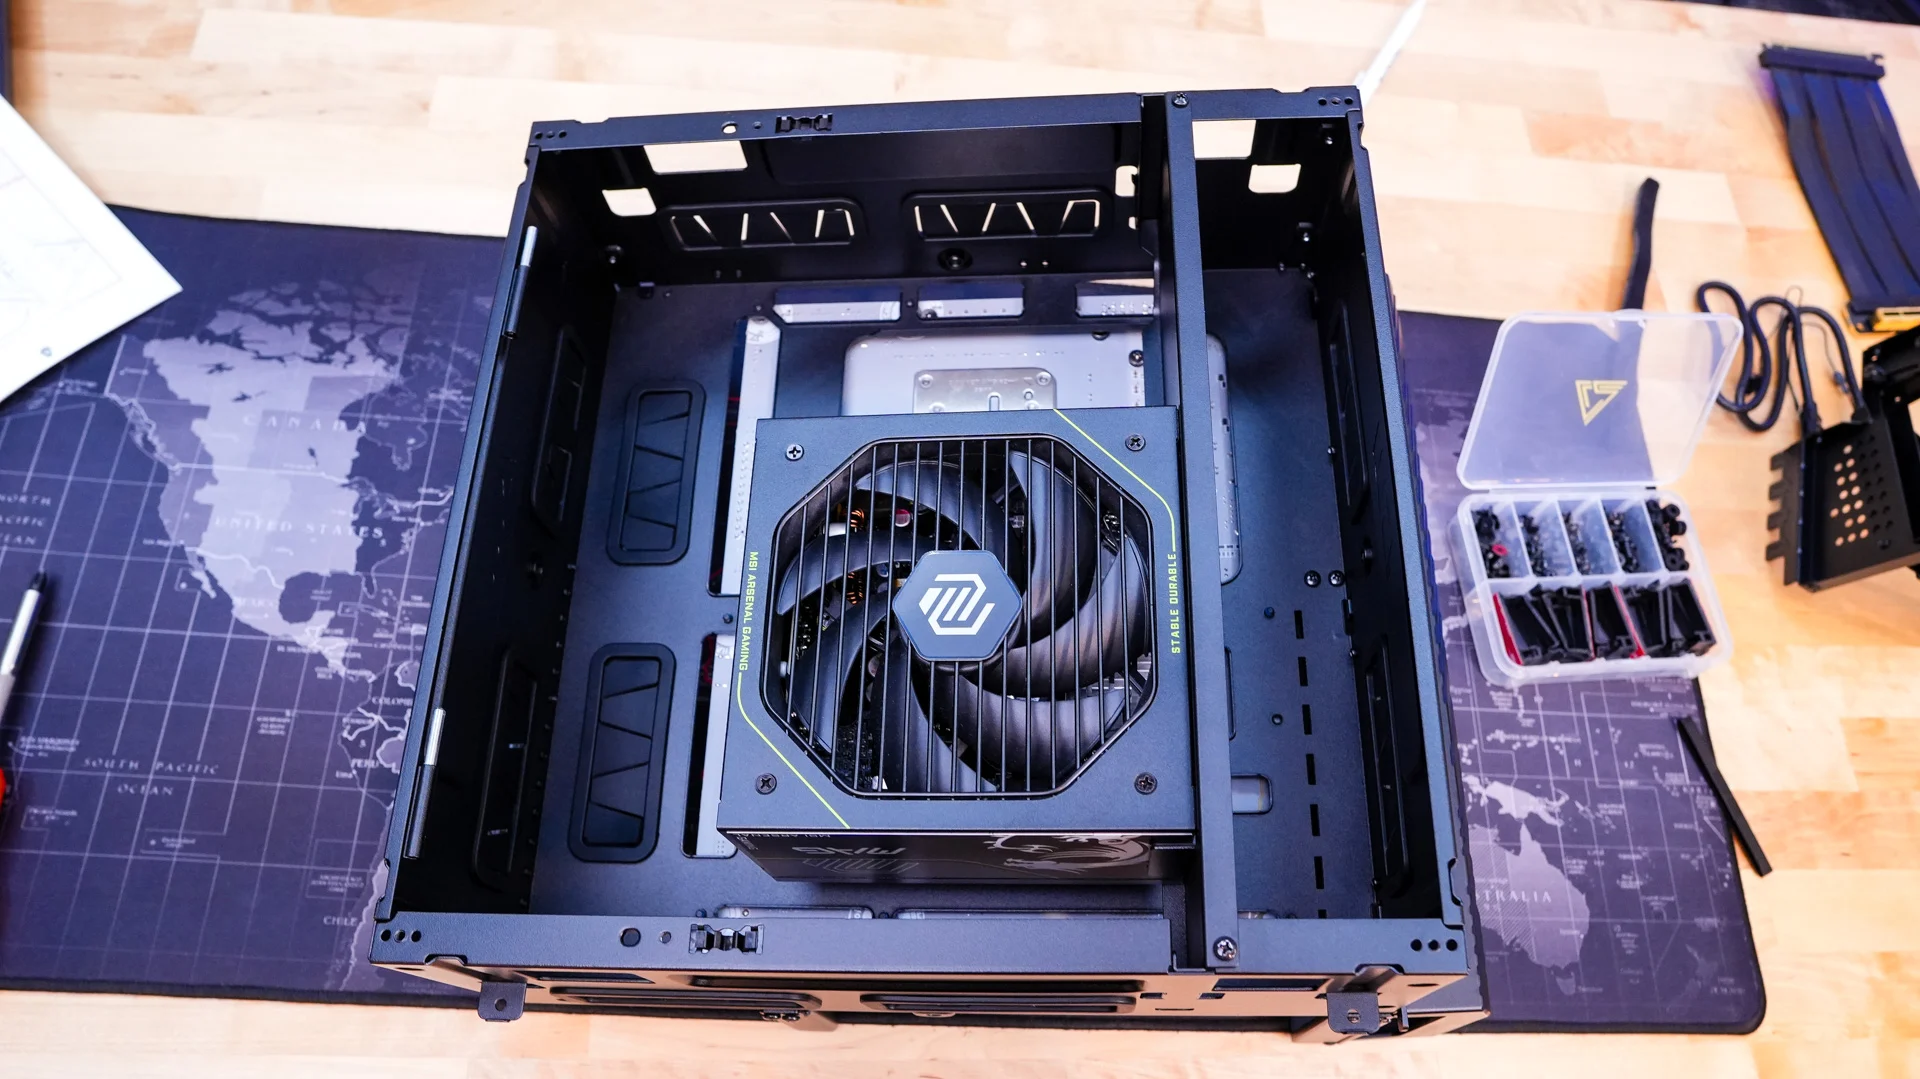
After the motherboard you want to install your power supply in the motherboard tray / test bench. There is a removable panel behind the motherboard tray which once removed allows you to install your power supply. With the power supply attached you can reinstall this panel and run your 24-pin and 8-pin cables to your motherboard.
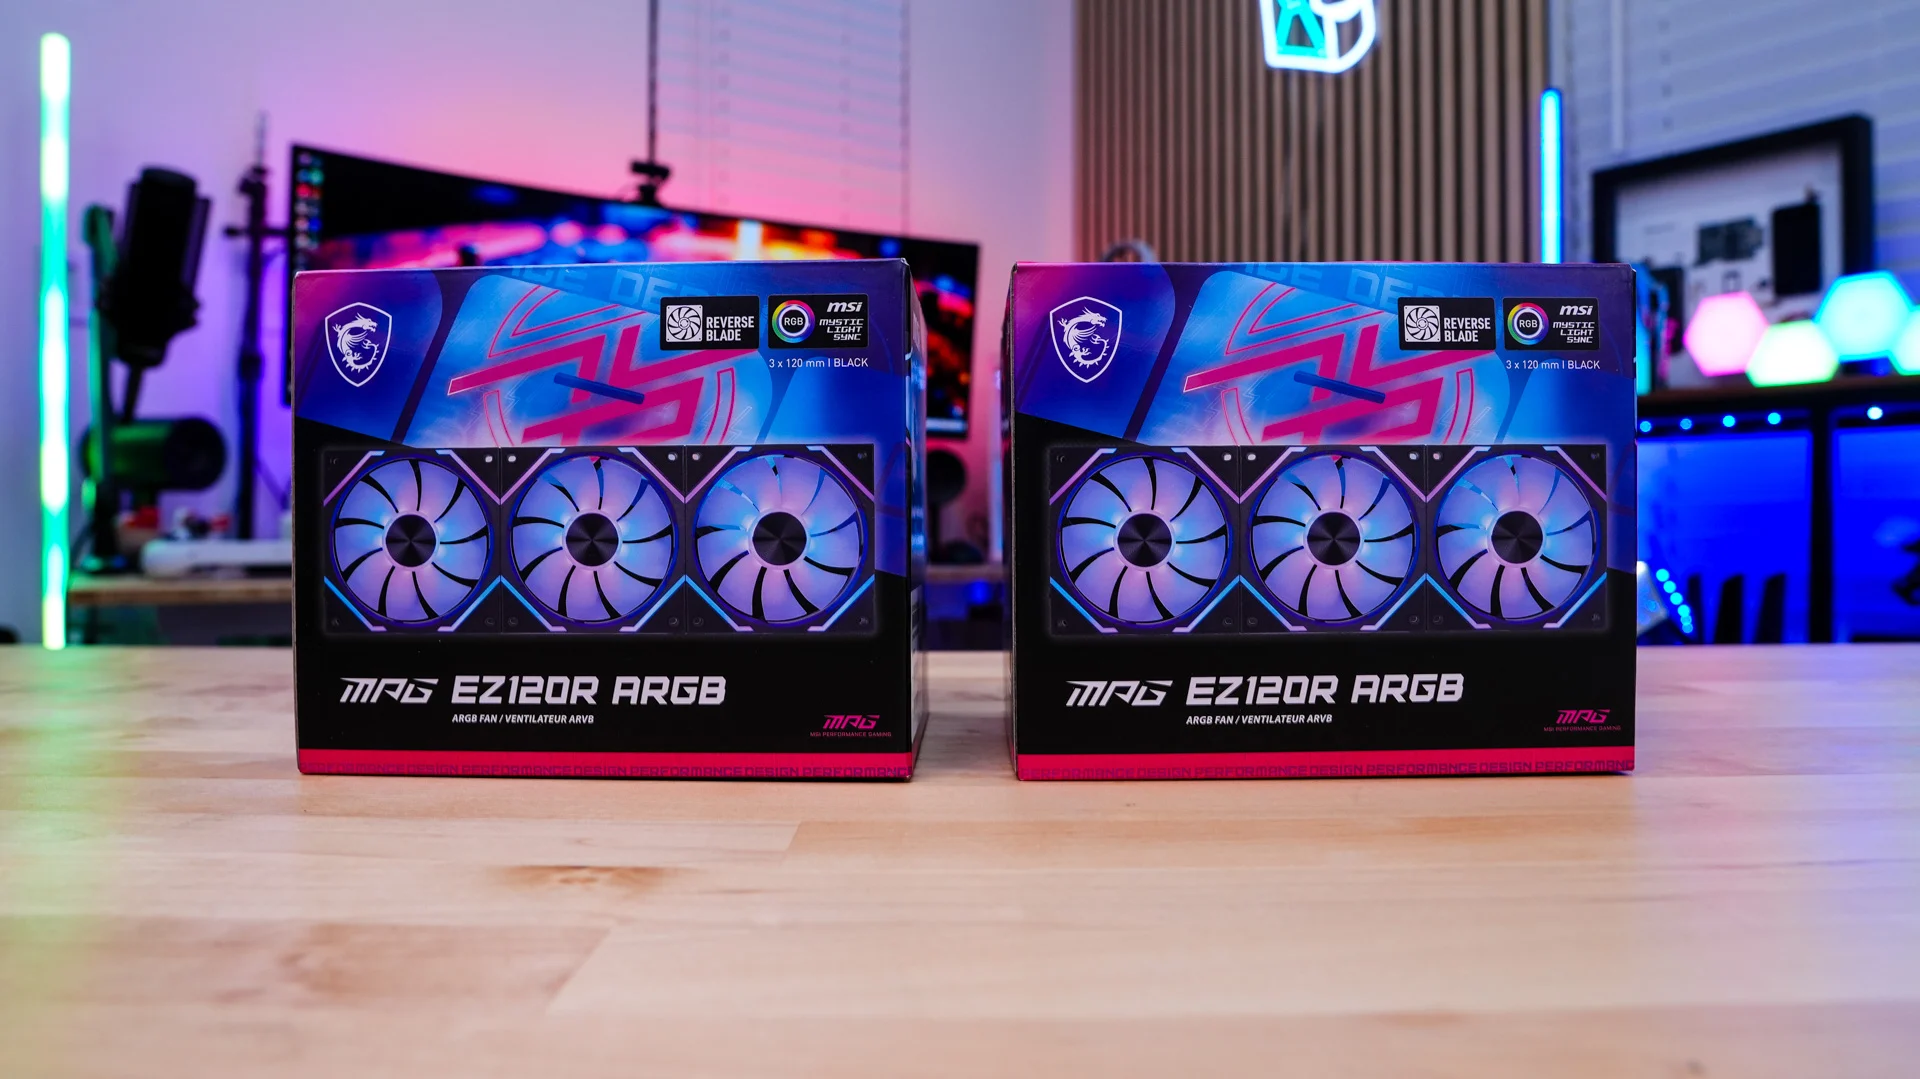
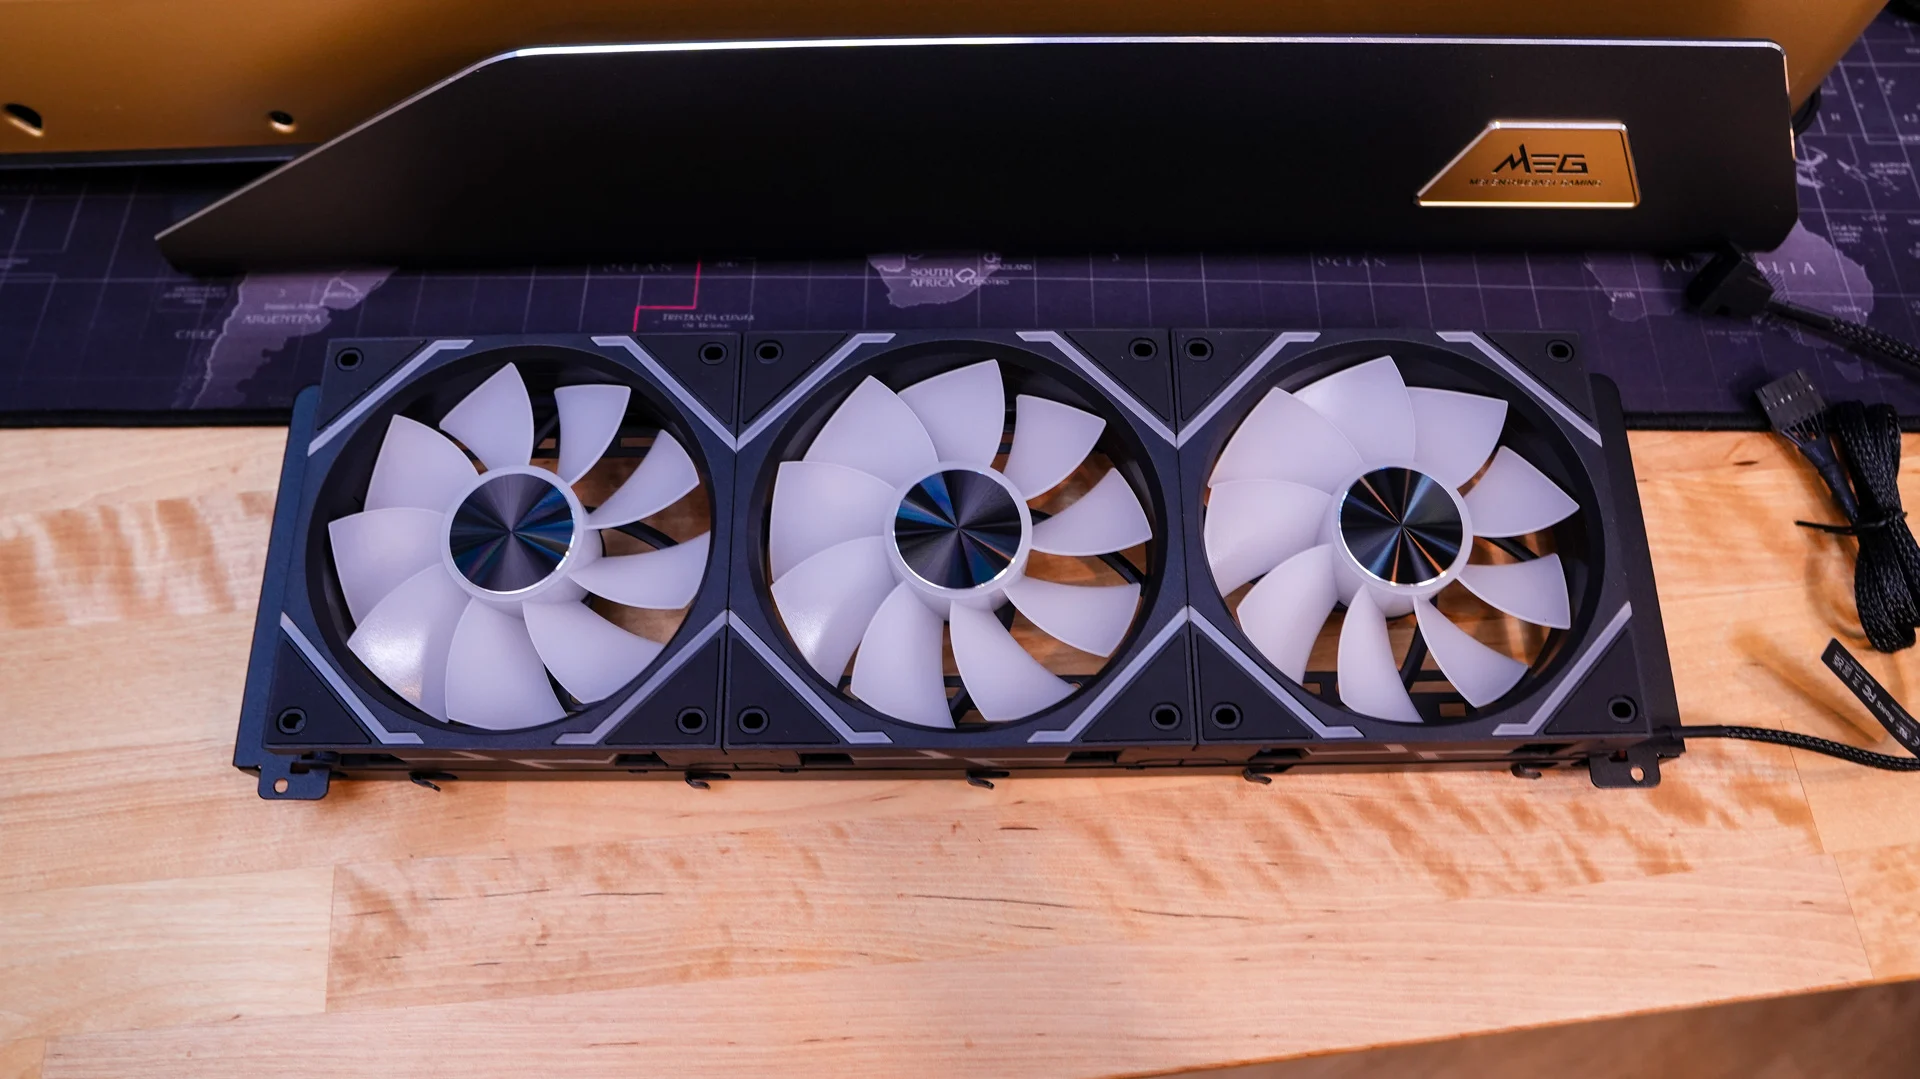
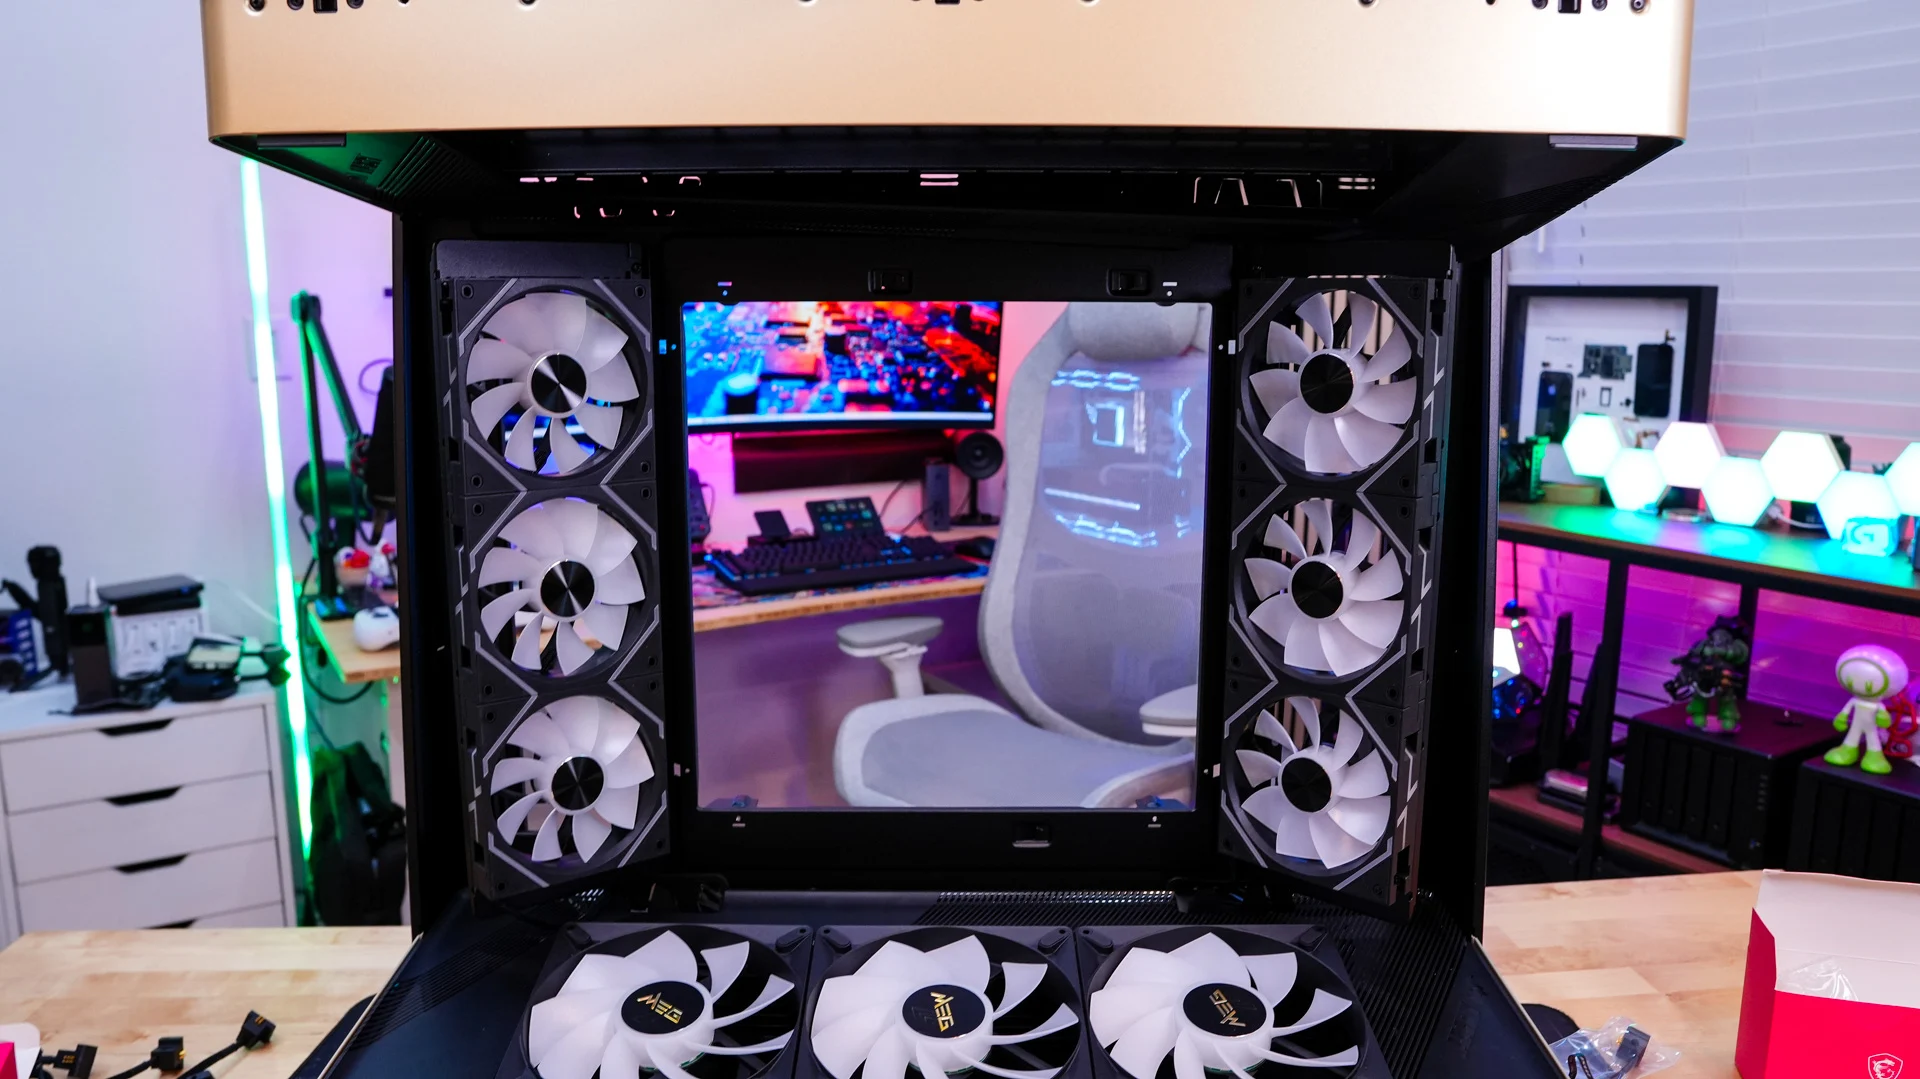
MSI did sent us over two packs of their MPG EZ120R ARGB fans for this build so we’ll be installing them in the cooling brackets on either side of the motherboard tray. What is nice is that these cooling brackets can be fully removed from the case to make installing fans or radiators really easy.
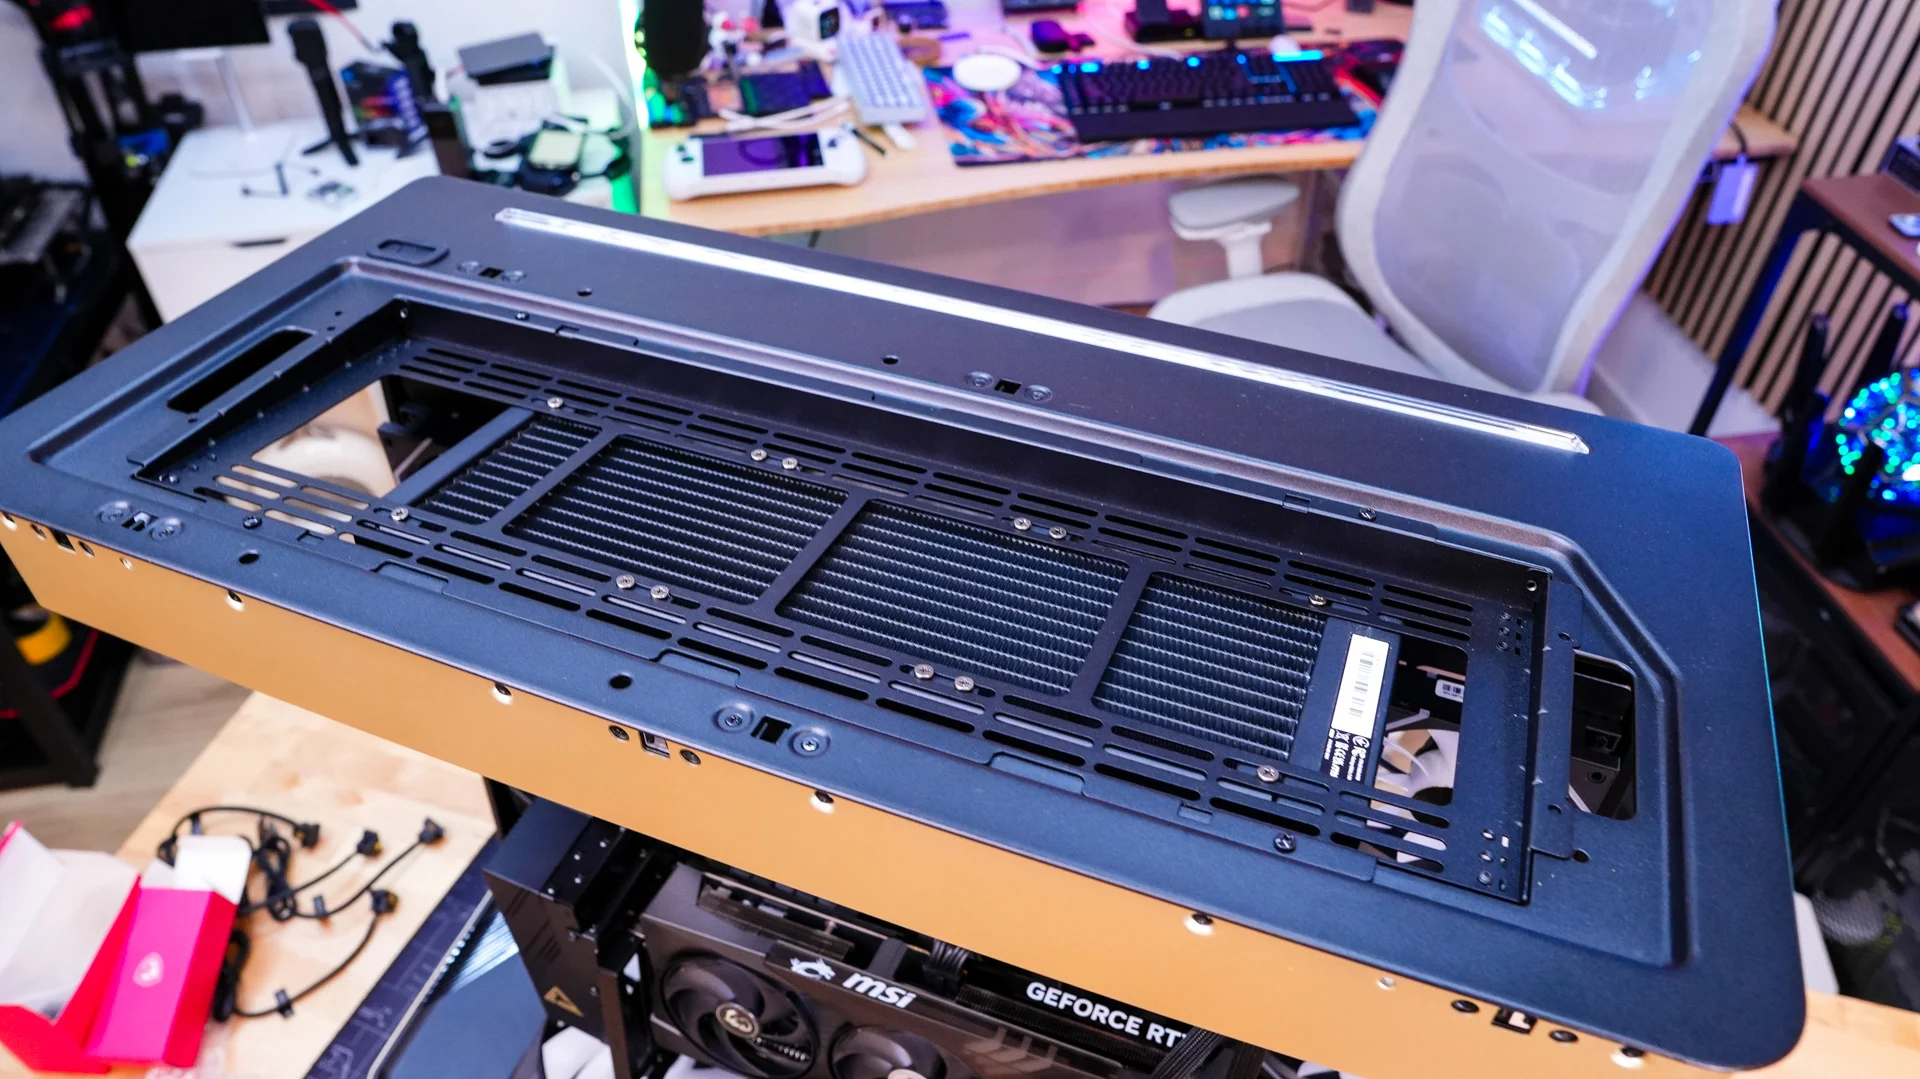
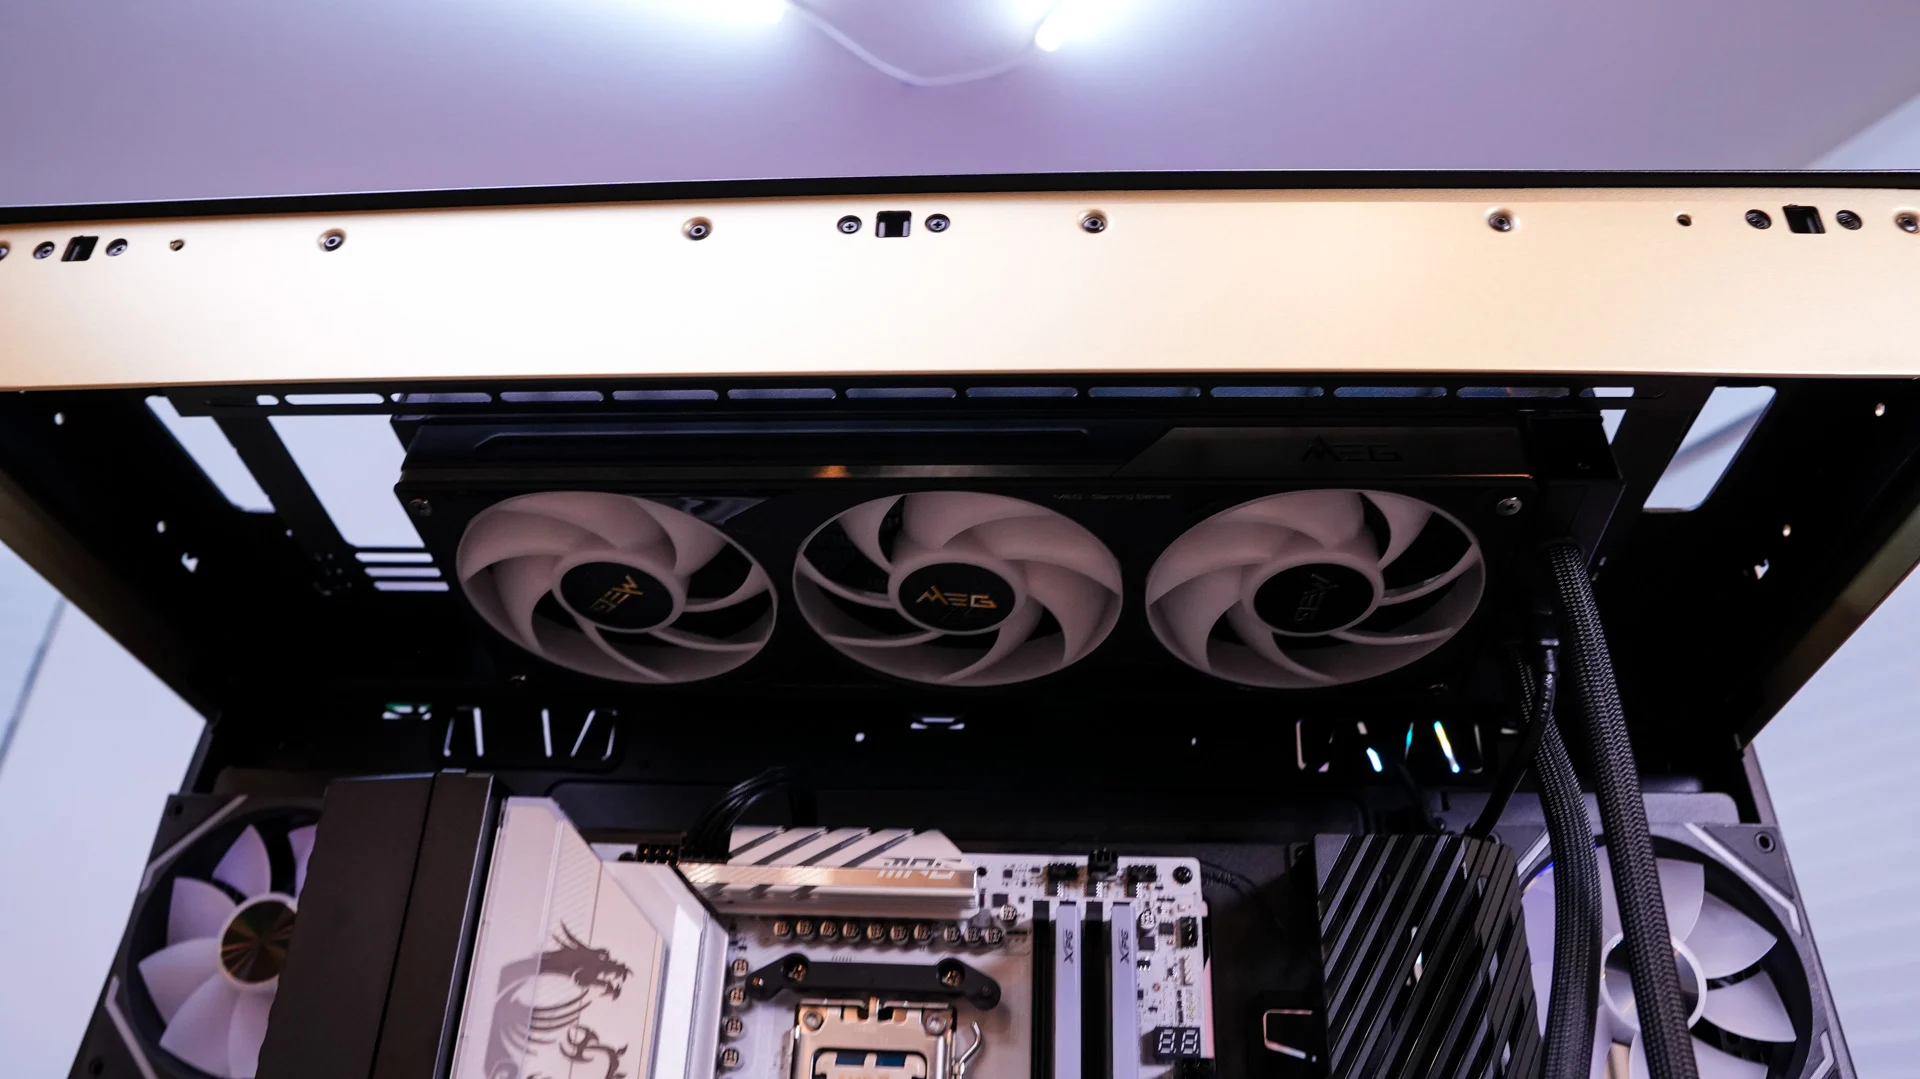
We are also going to be using the MSI MEG CoreLiquid E15 360 for this build. I opted to install it in the top of the case. Now the cooling bracket here is removable, but I didn’t feel the need to remove it. Once I installed the radiator in the top of the case I also reinstalled the motherboard tray. For how big it is, it is honestly quite easy to get back in the case.
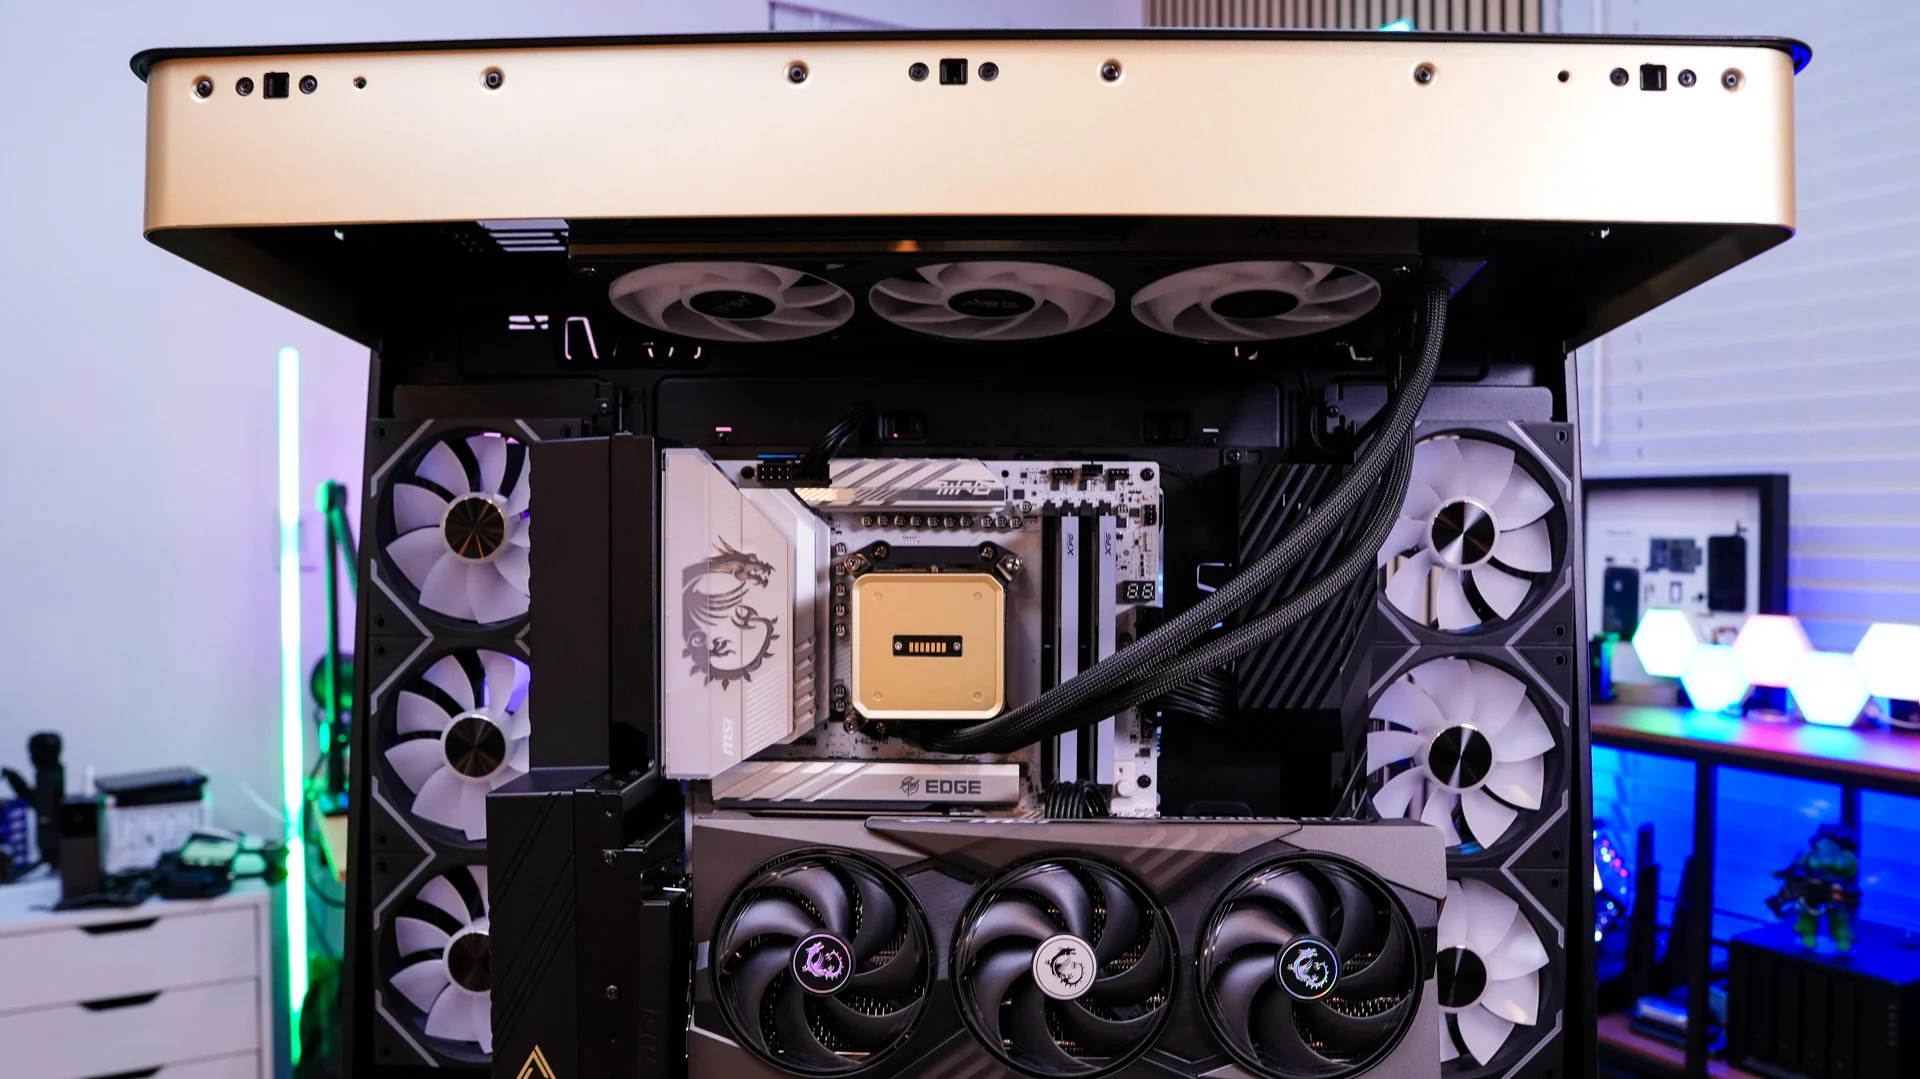
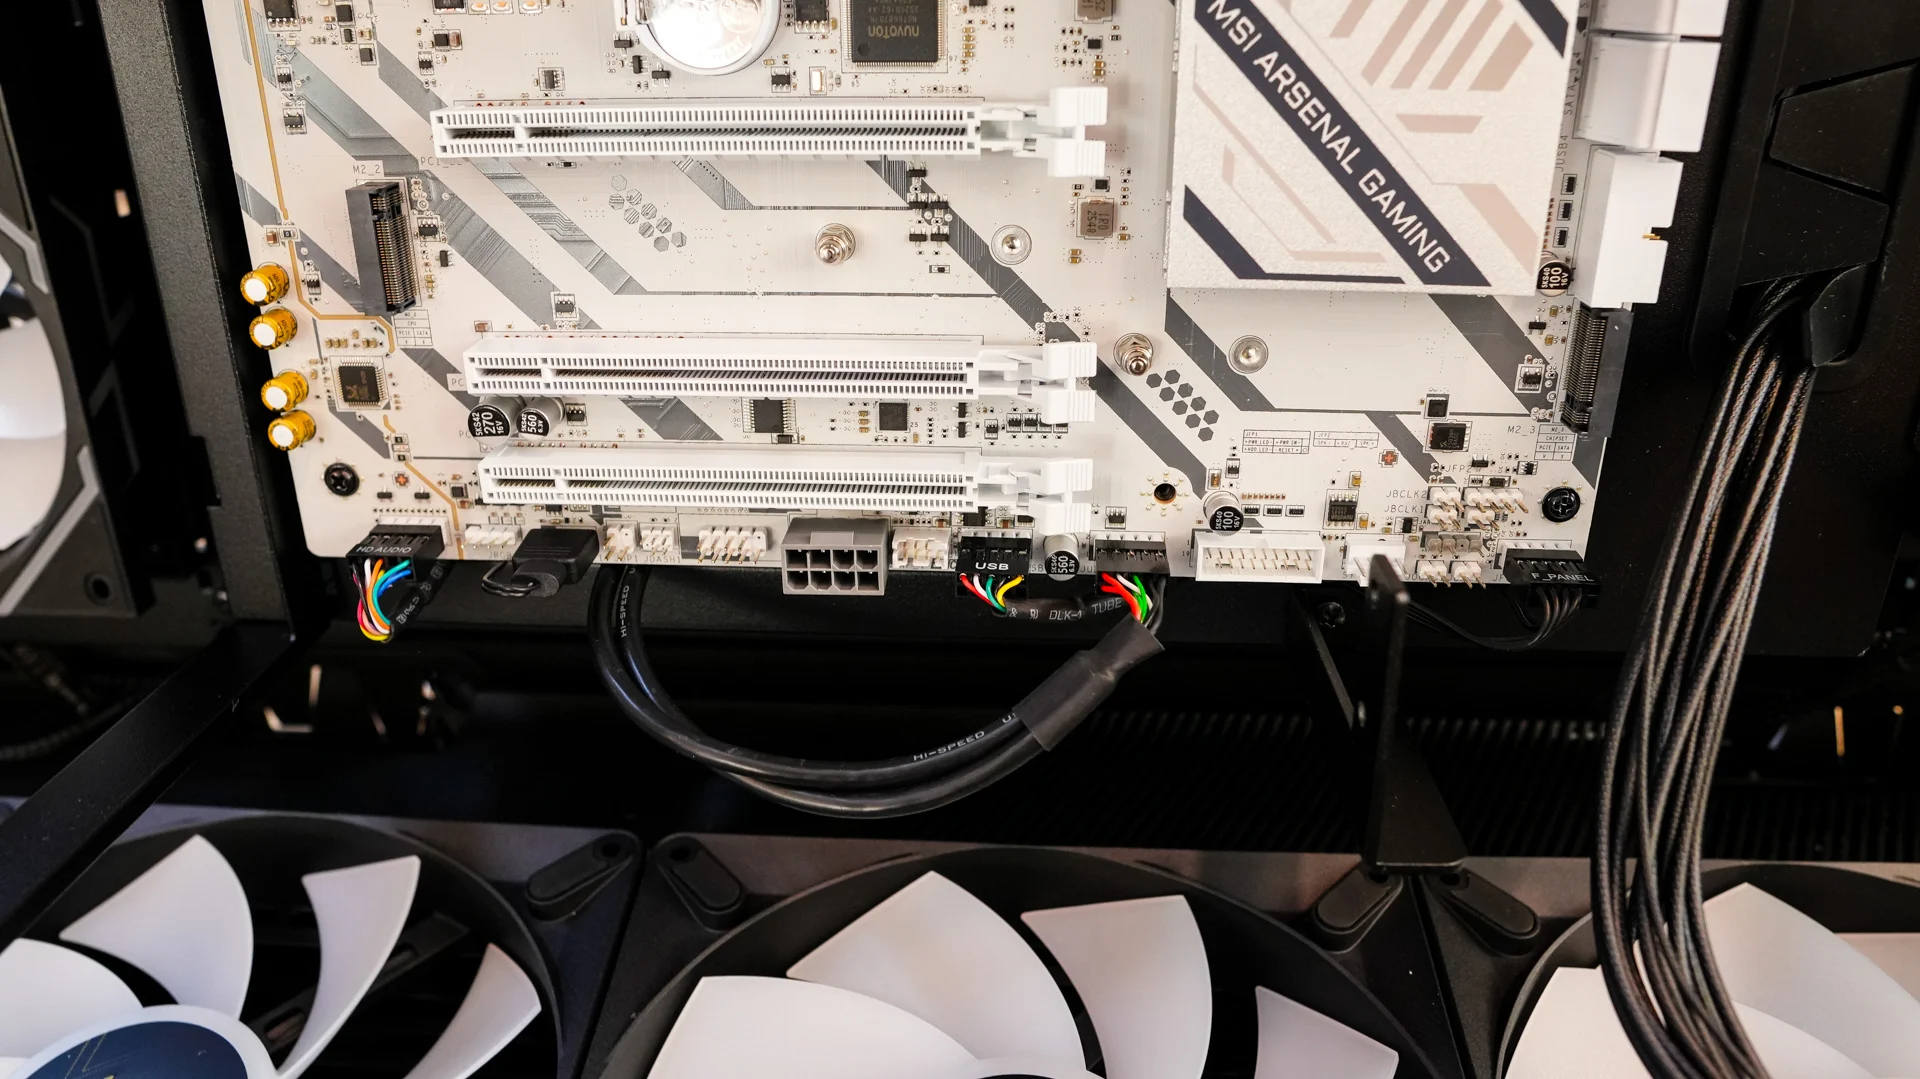
Before you install your graphics card (if you plan to install it vertically) you are going to want to make sure you connect everything to the bottom of your motherboard as this will get covered up by the vertical GPU mount.
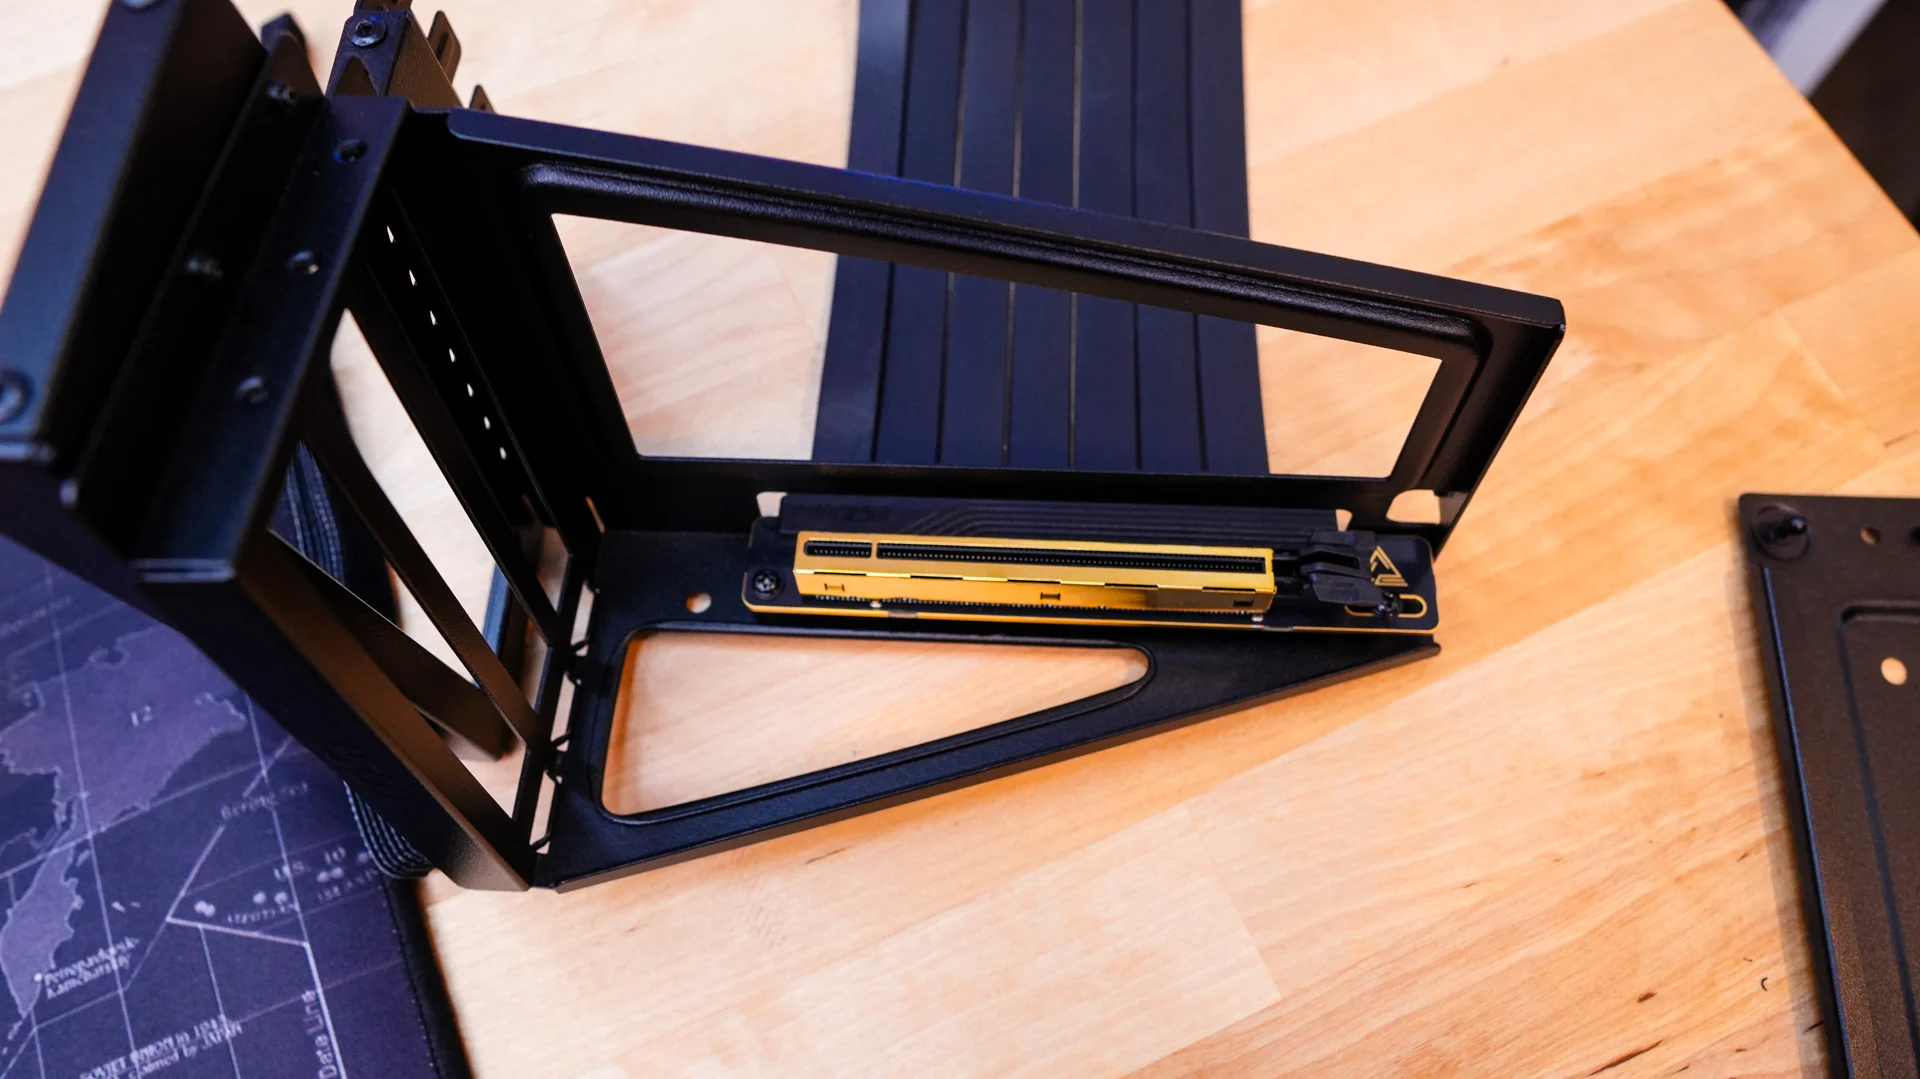
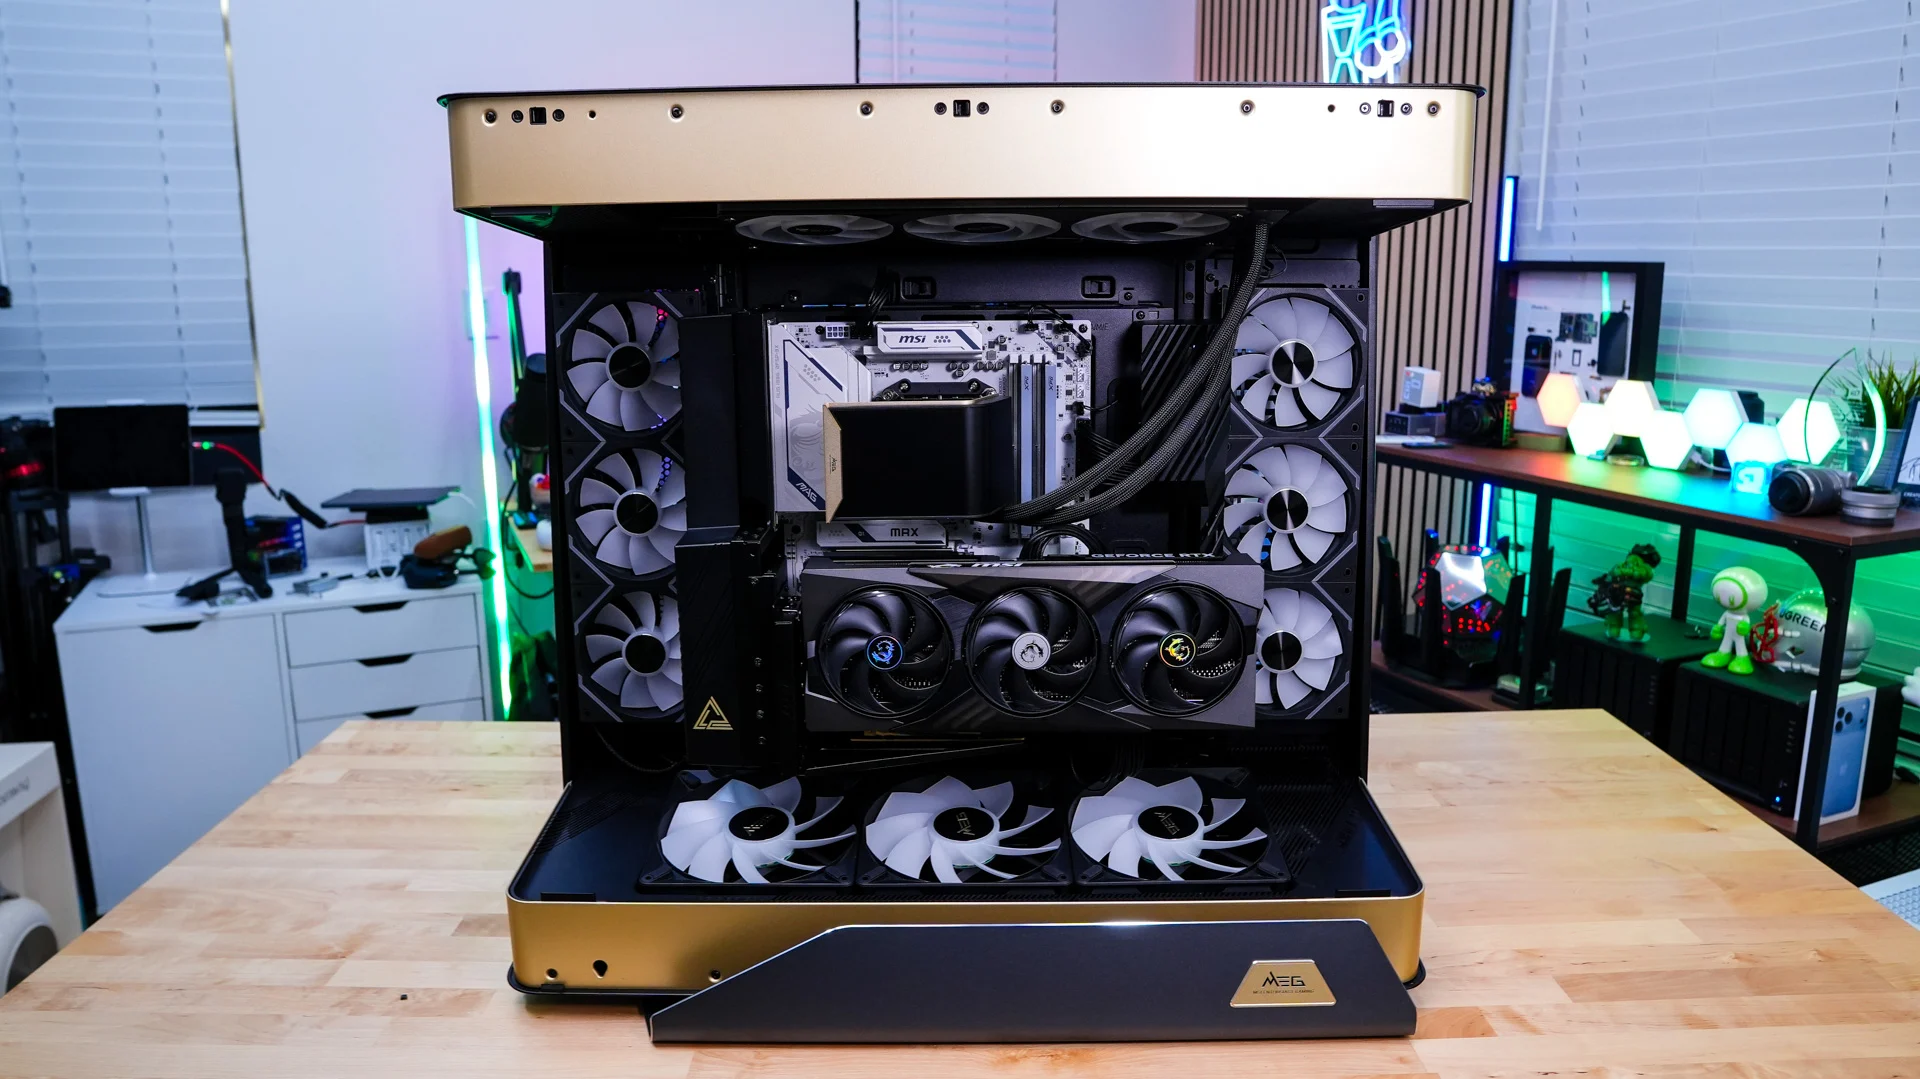
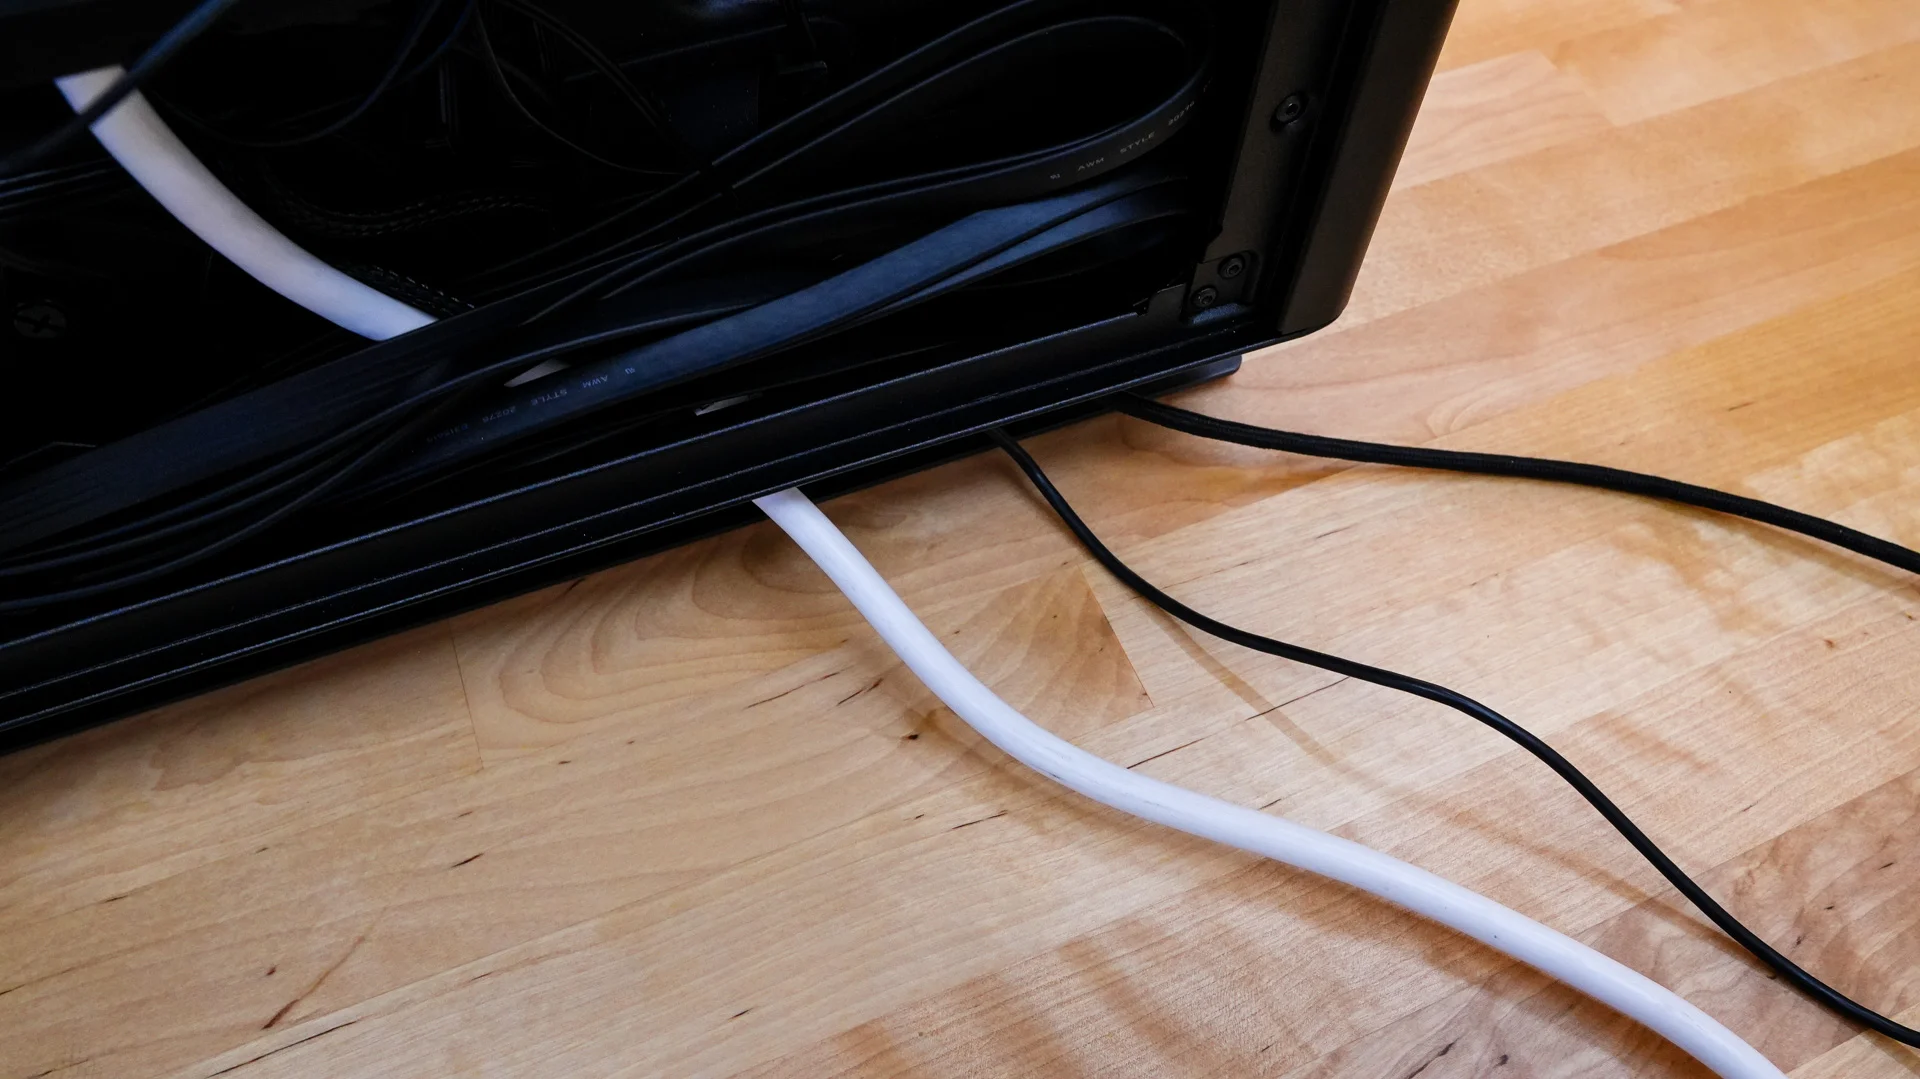
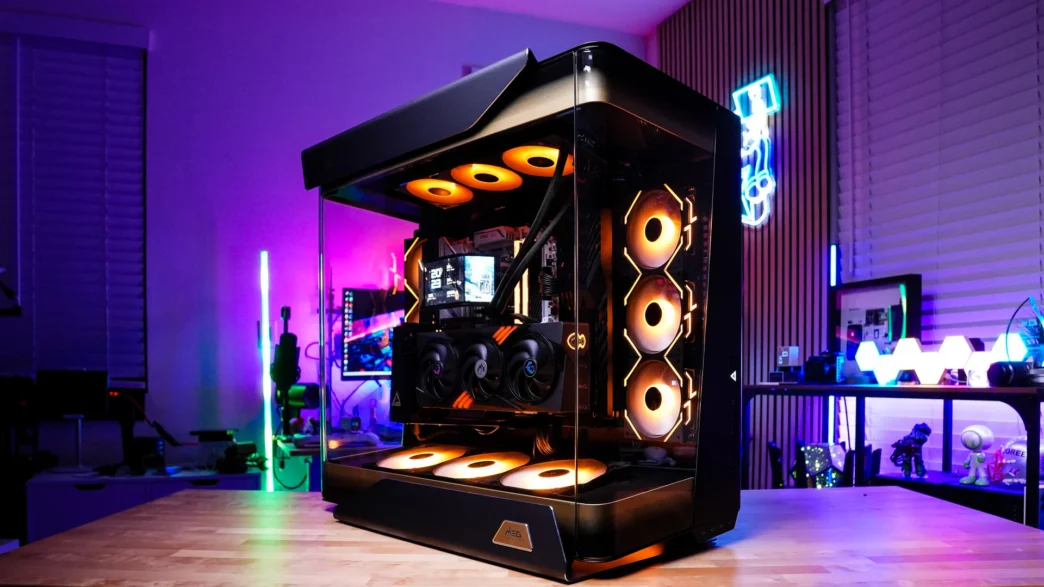
The last thing to do is install our graphics card, since this is an MSI build we of course went with the MSI GeForce RTX 5070 Ti Gaming Trio OC Plus! I opted to install it vertically so I am going to use the included PCIe 5.0 riser, which is quite easy to install into the vertical GPU mount. With our graphics card installed you can really see how nice this build came together. We can also see the back of the case is pretty clean too. Now you are going to want to make sure you run your cables to your motherboard, graphics card, and power supply before you close the case up. These will actually route out of the bottom of the case.