Installation
From a technical perspective, I find the installation of the X31 to be fairly simple. I would rate it as an intermediate level install. Mostly this is due to the all too brief manual. If you are familiar with AIO coolers it should be straight-forward. But a novice without any prior experience could find themselves not following what to do next.
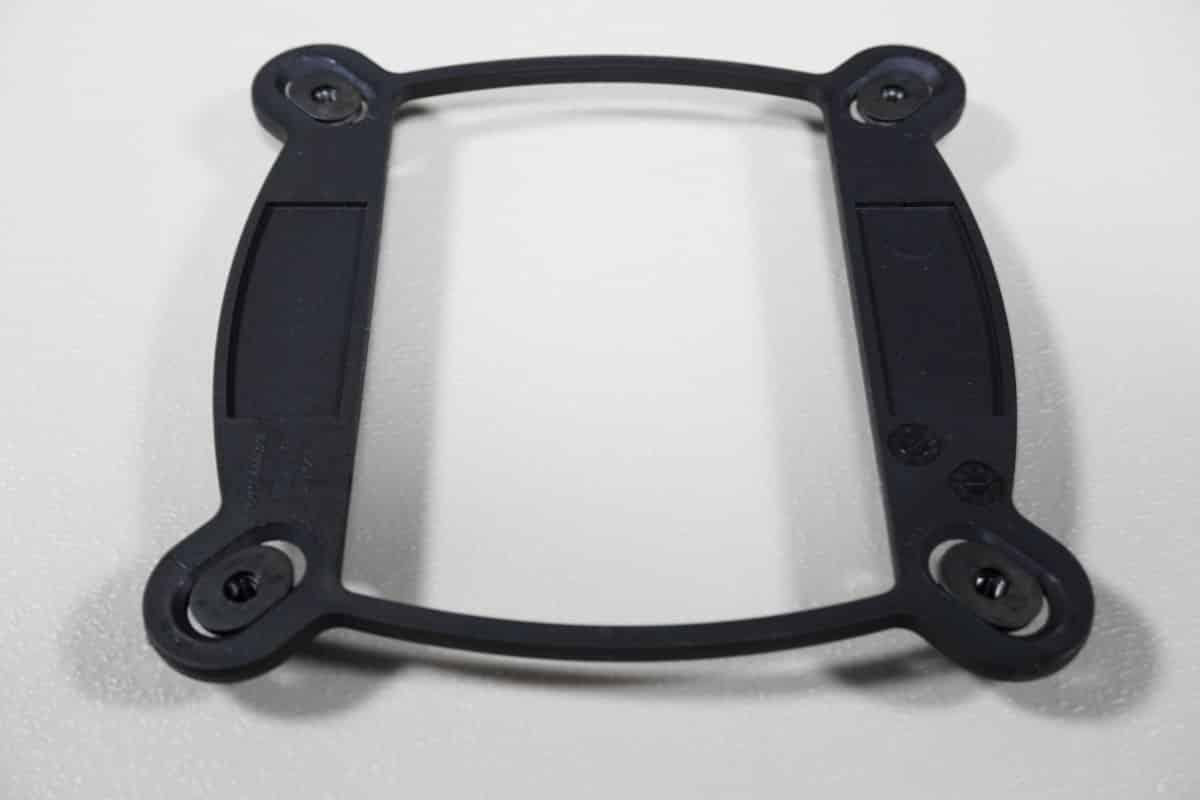
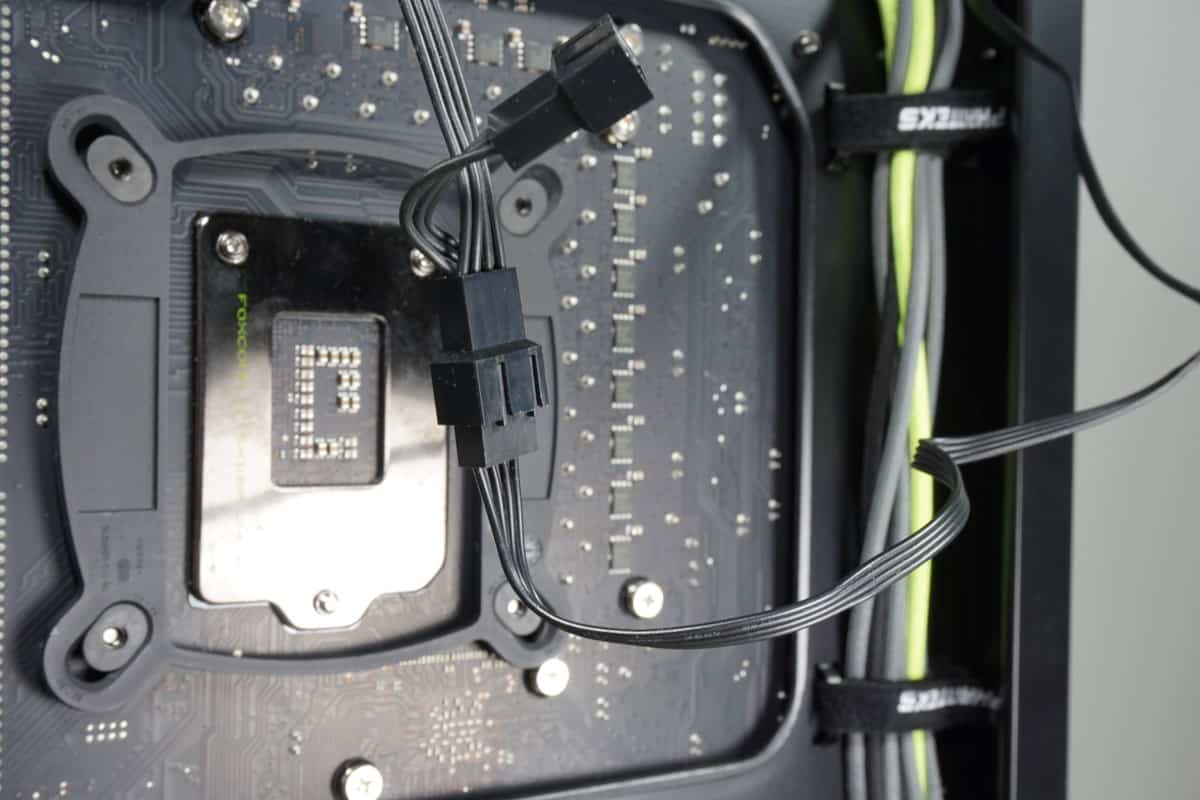
The first thing we want to do is to install the backplate. The pins in the backplate slide within their slots. Line the plate up with the back of your motherboard and slide them to the necessary positions. With all the pins in the correct location, slide them all into place.
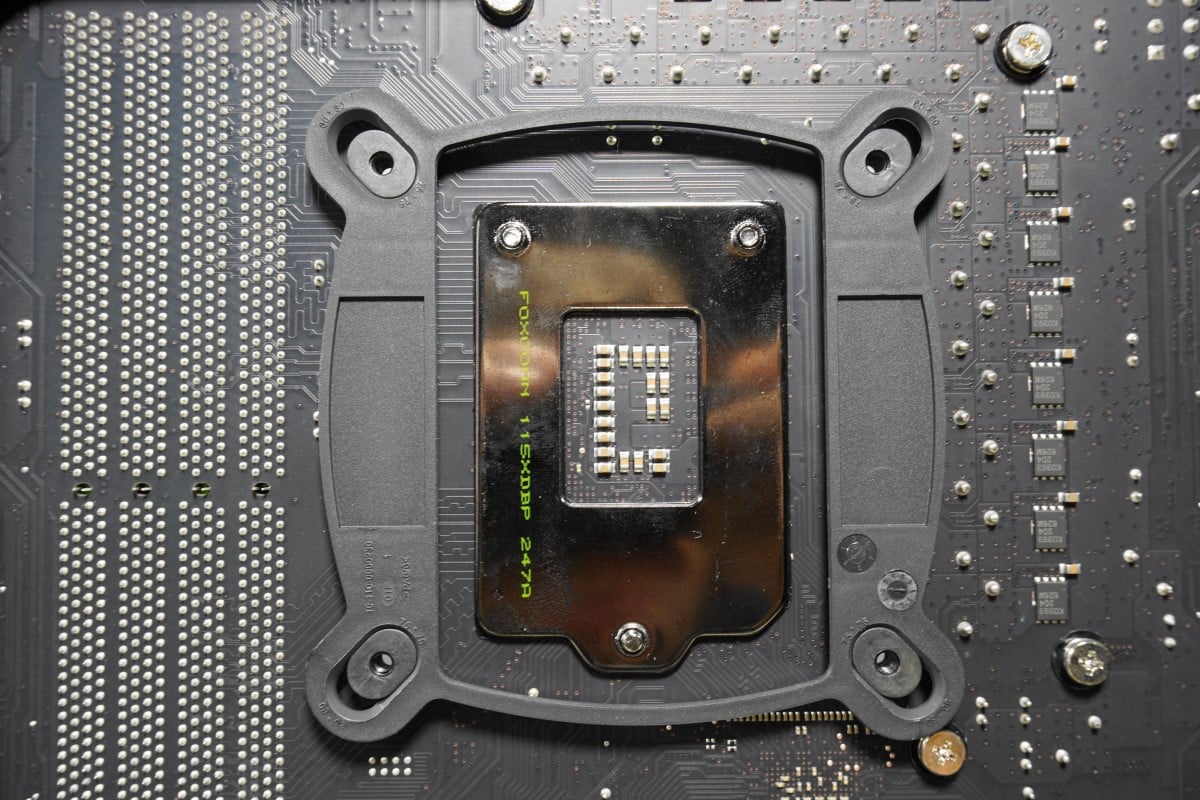
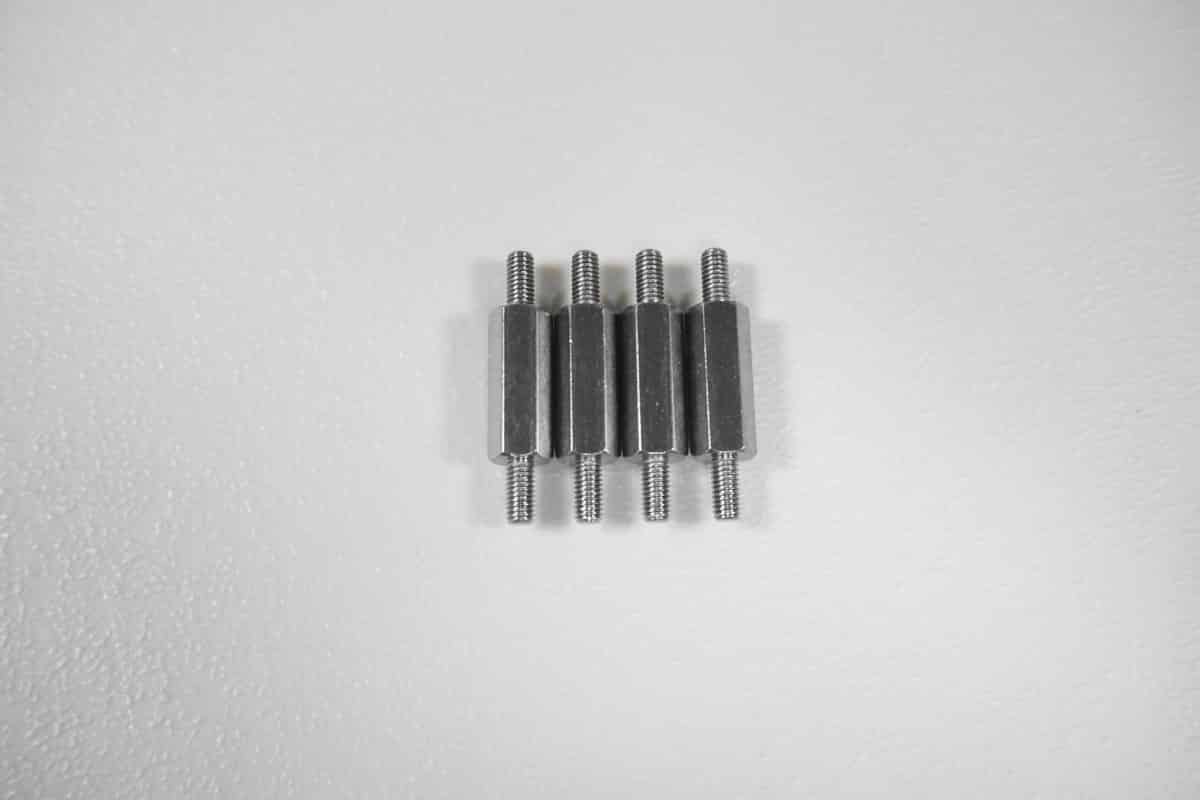
Now using the correct standoffs, secure the backplate to the motherboard. You may find it easier to hold the backplate with one hand while you install the standoffs with the other. Do this for all four until they are all finger tight.
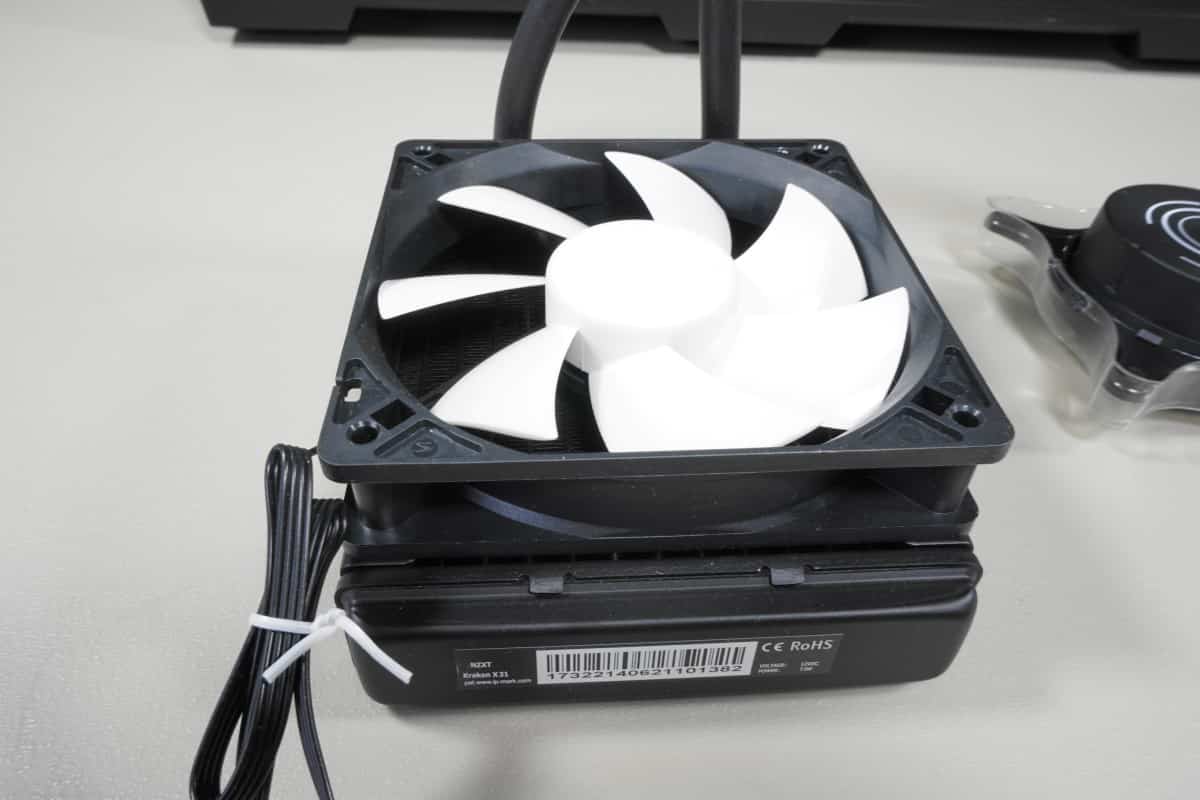
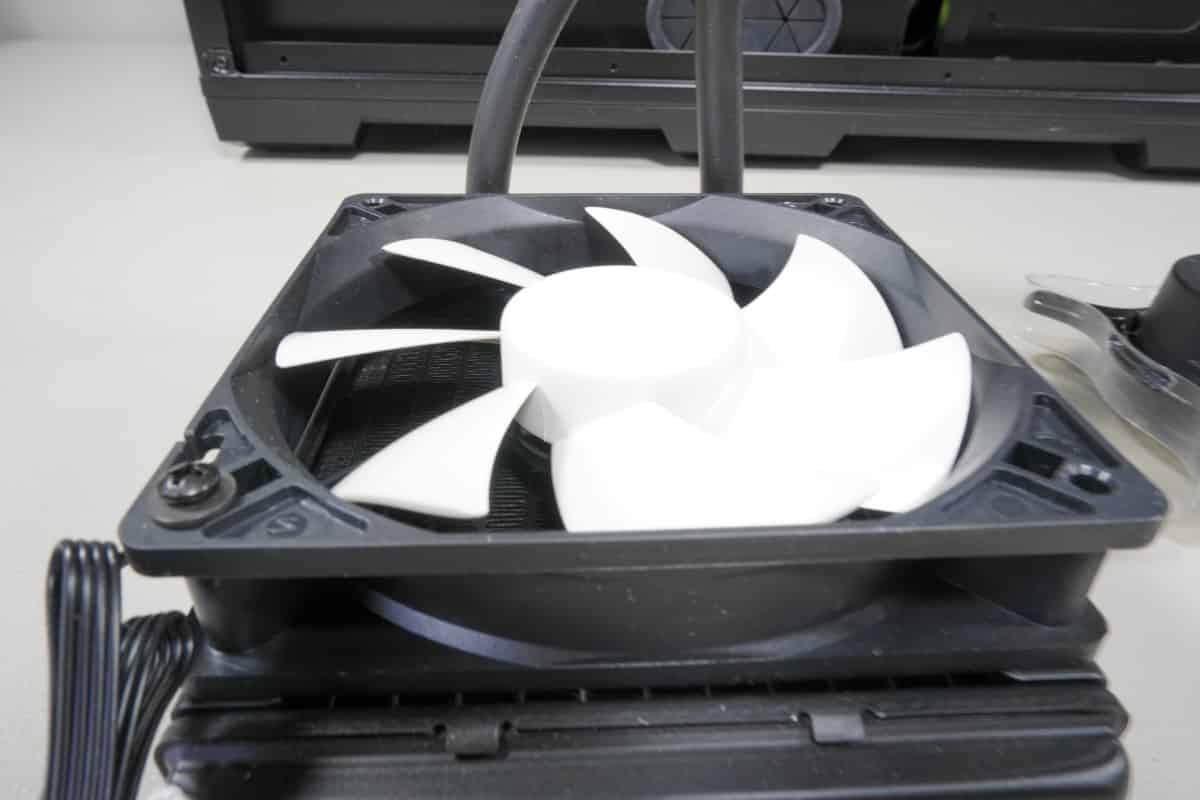
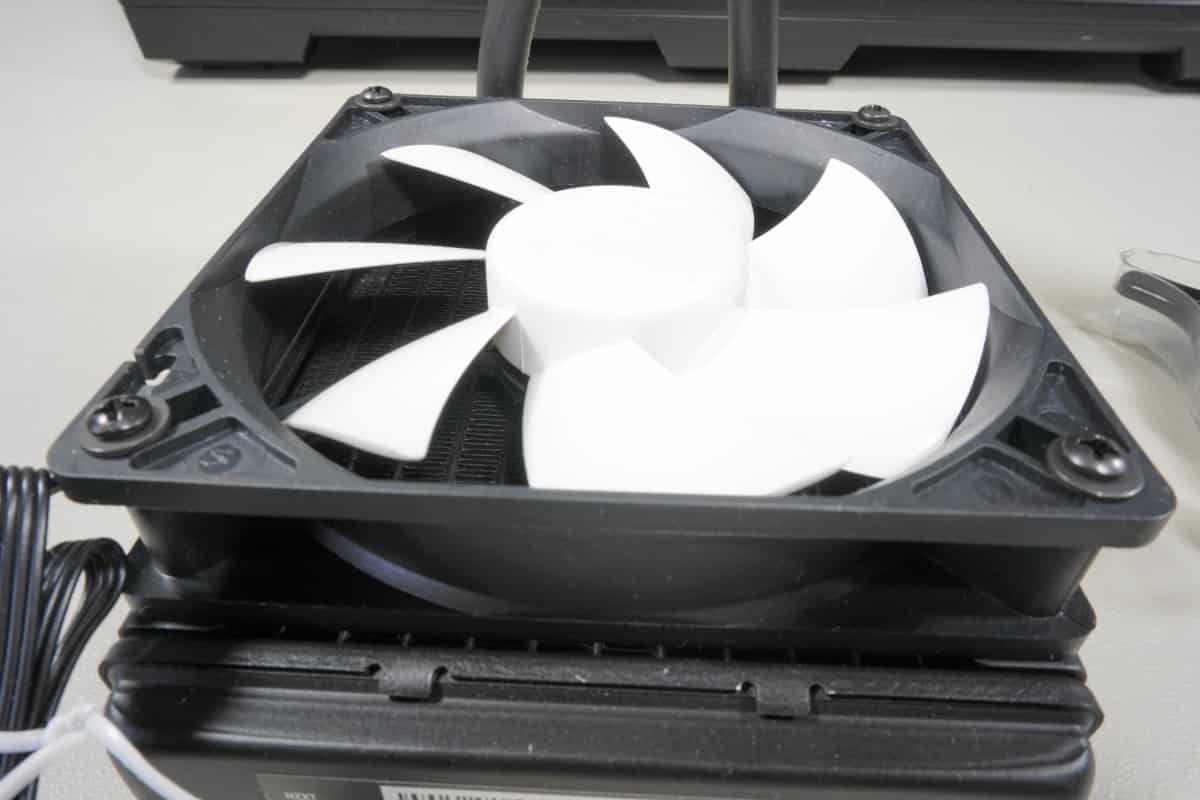
Now we will install the fan onto the radiator. Following the manual we find that NZXT wants us to attach the fan so that it is pushing air out the back of the case. With the fan in place attach it with four long screws and washers.
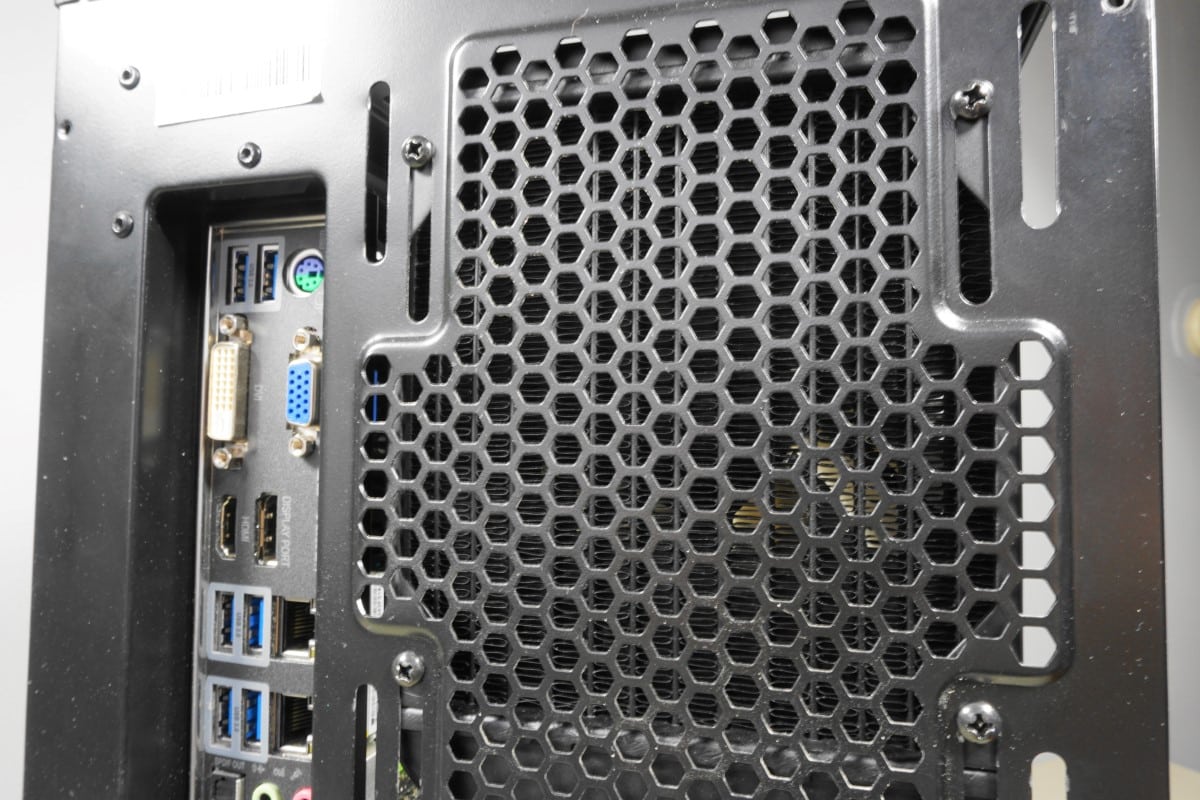
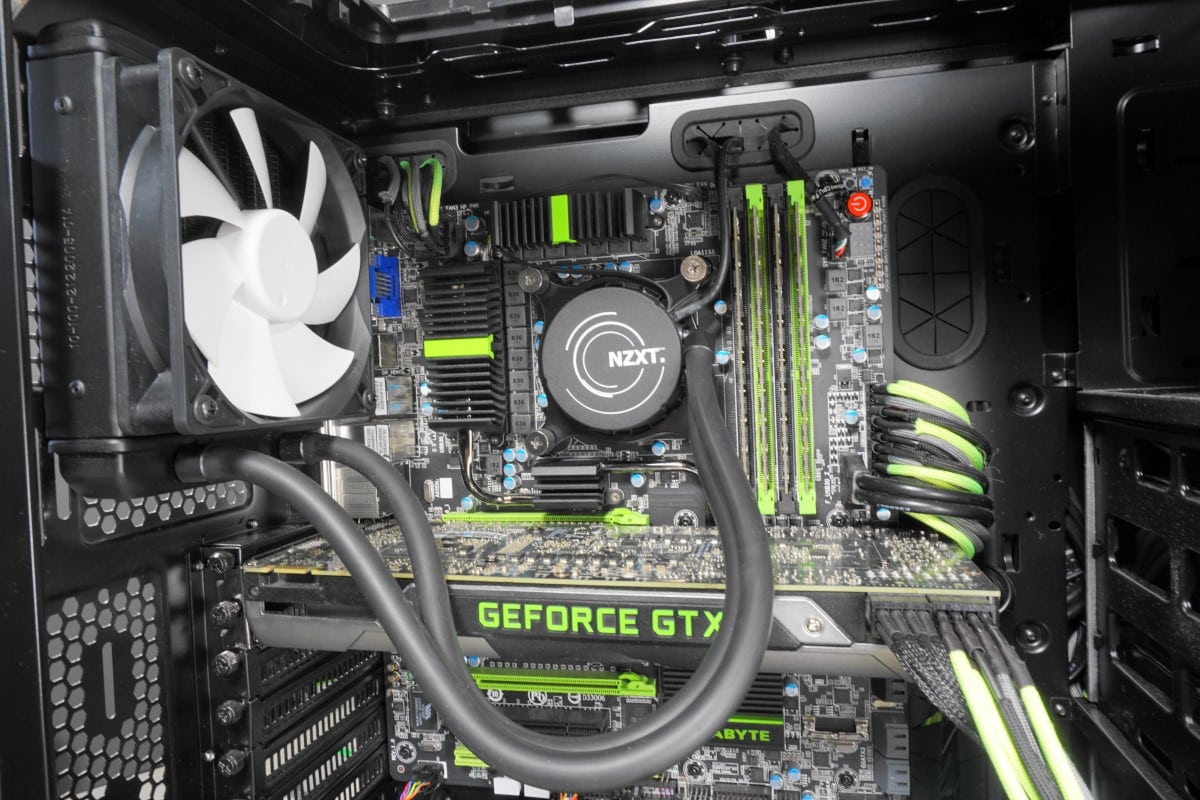
Now I would suggest attaching the radiator to the case. We are putting ours in the top back exhaust port. Secure it with the four short screws. Once installed, pass the fan cable through to the back side of your case.
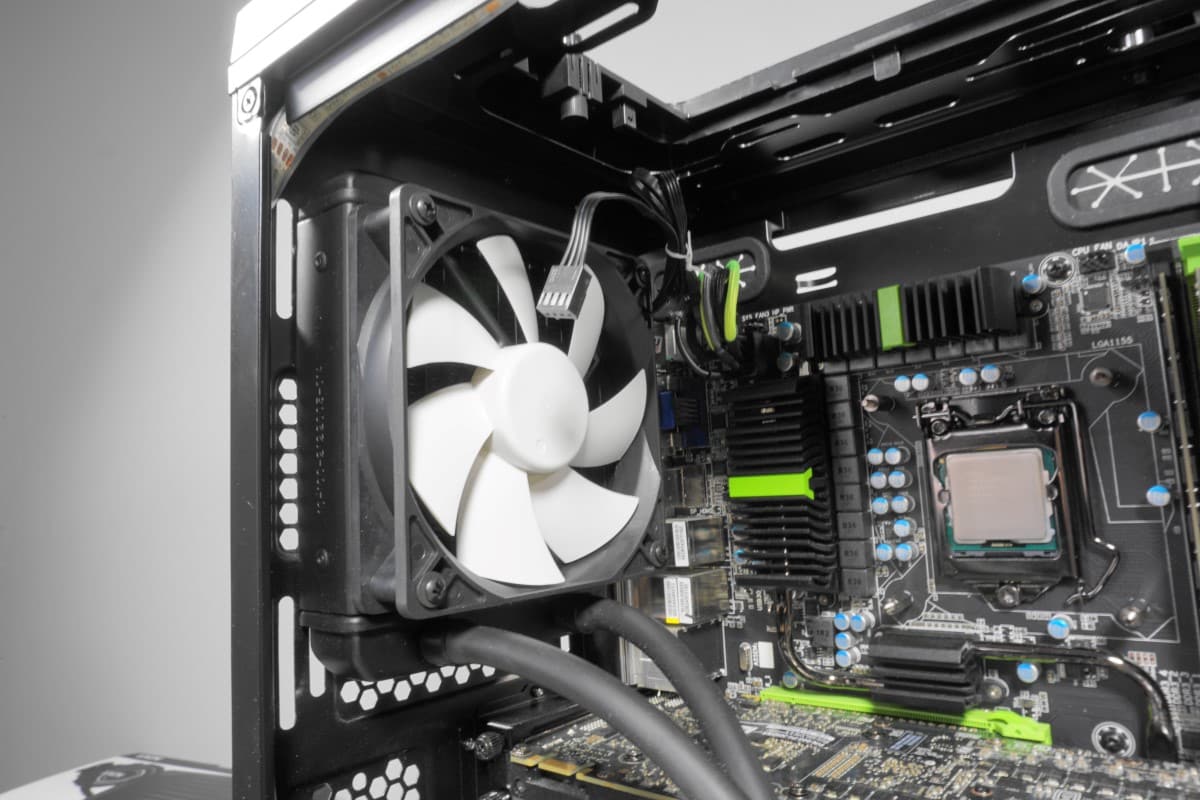
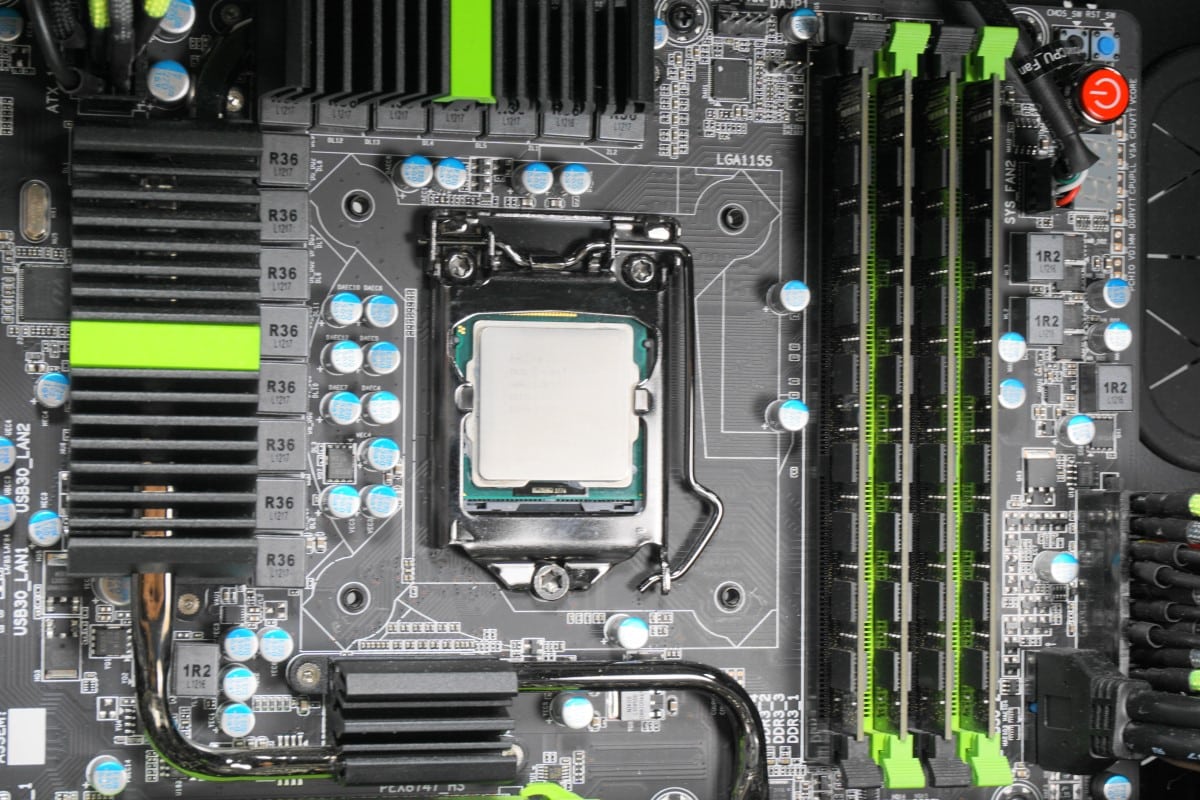
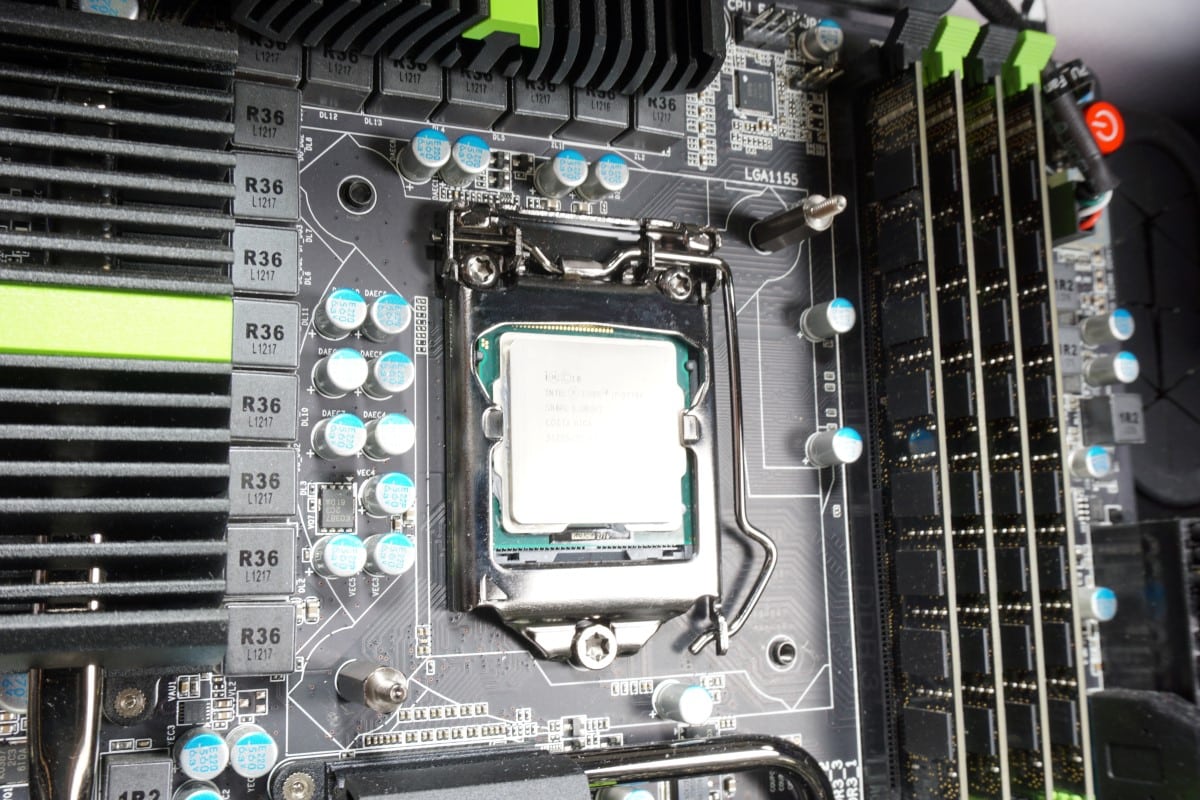
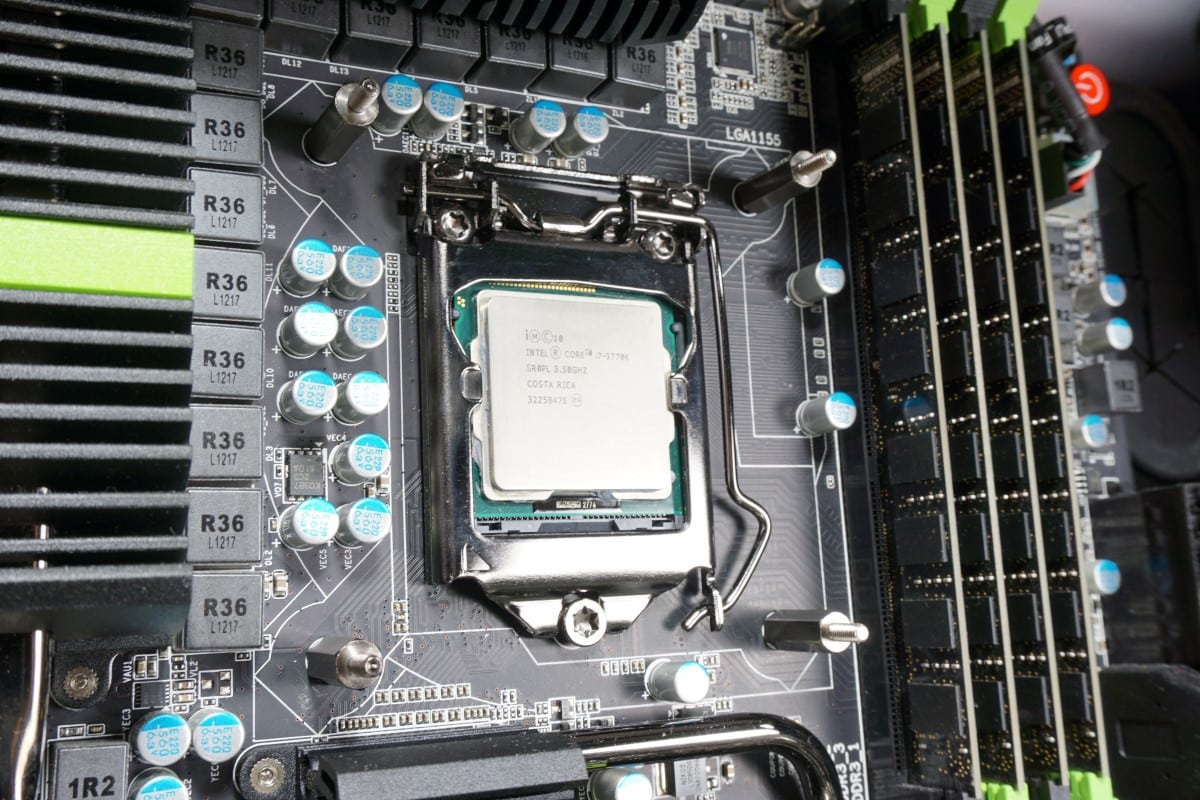
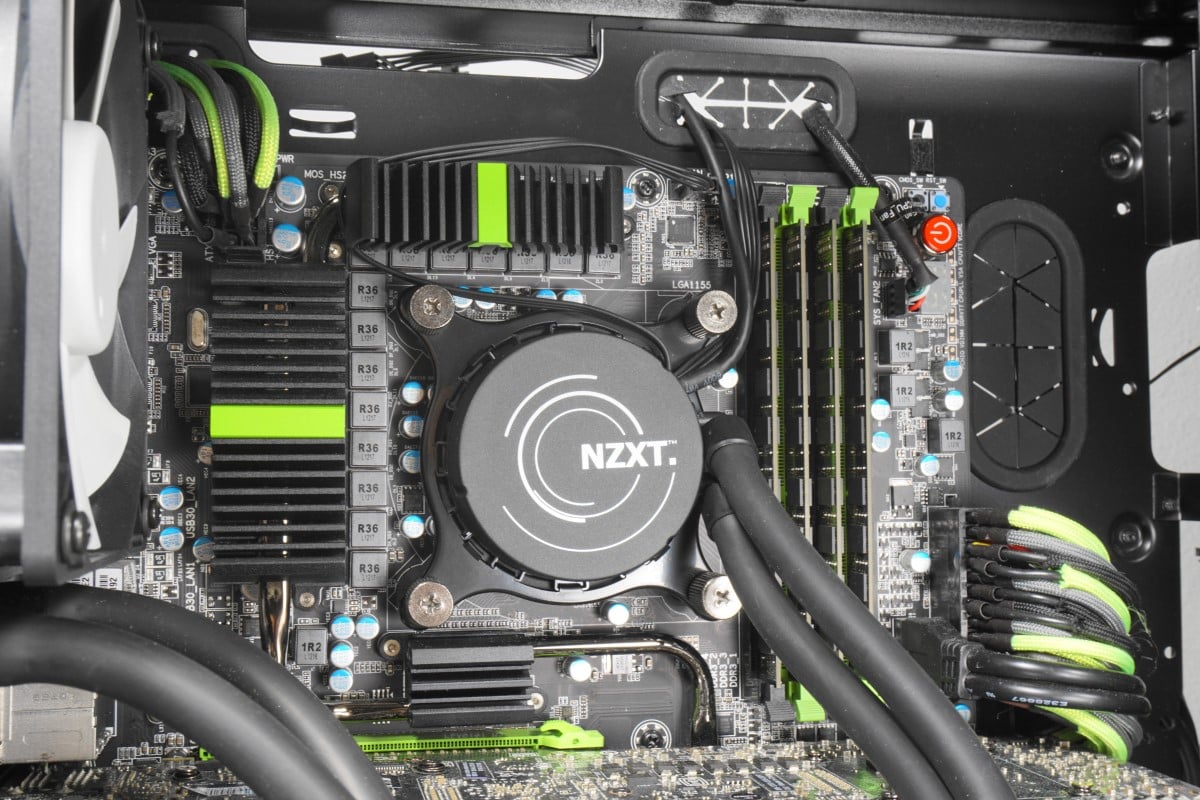
Next we will attach the pump to the CPU. Simply line the pump bracket up with the standoffs you installed earlier and press the pump firmly to the CPU’s heat spreader. While holding the pump with one hand secure it using the four thumb screws with the other. Once you have all four finger tight, I would suggest using a screwdriver to get each thumbscrew just a bit tighter.
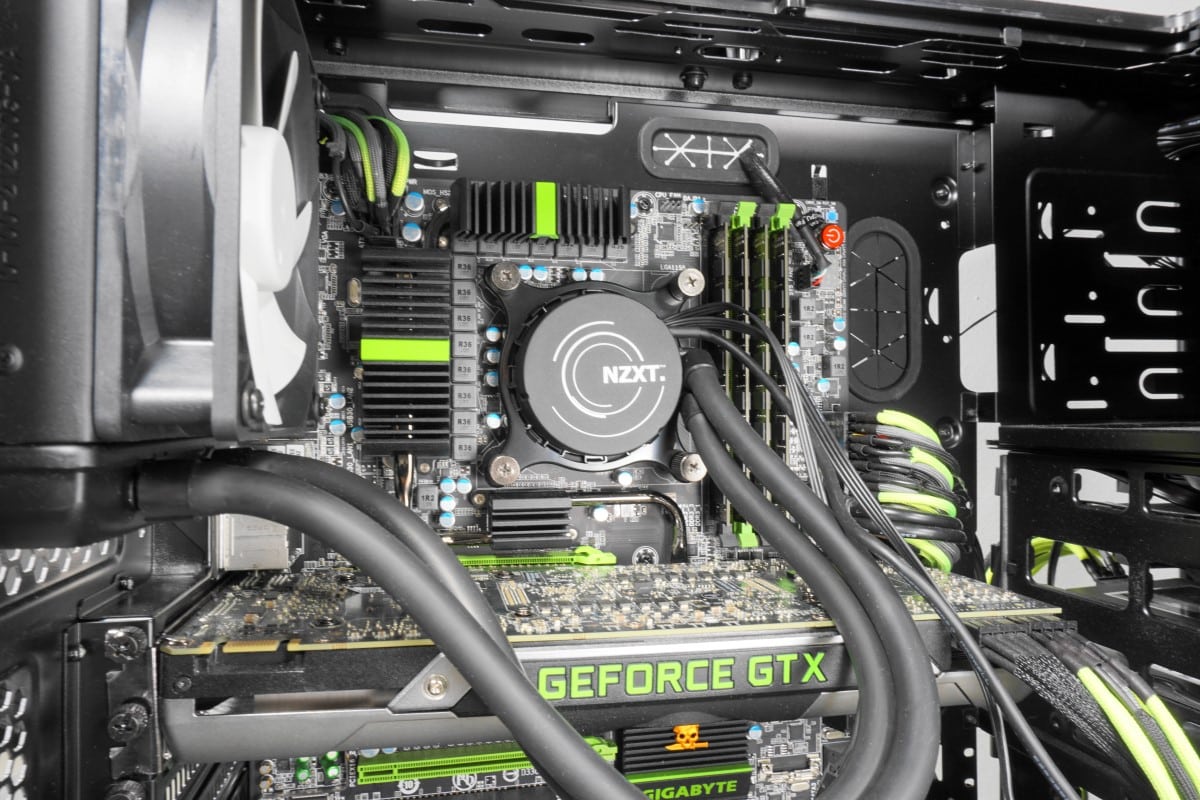
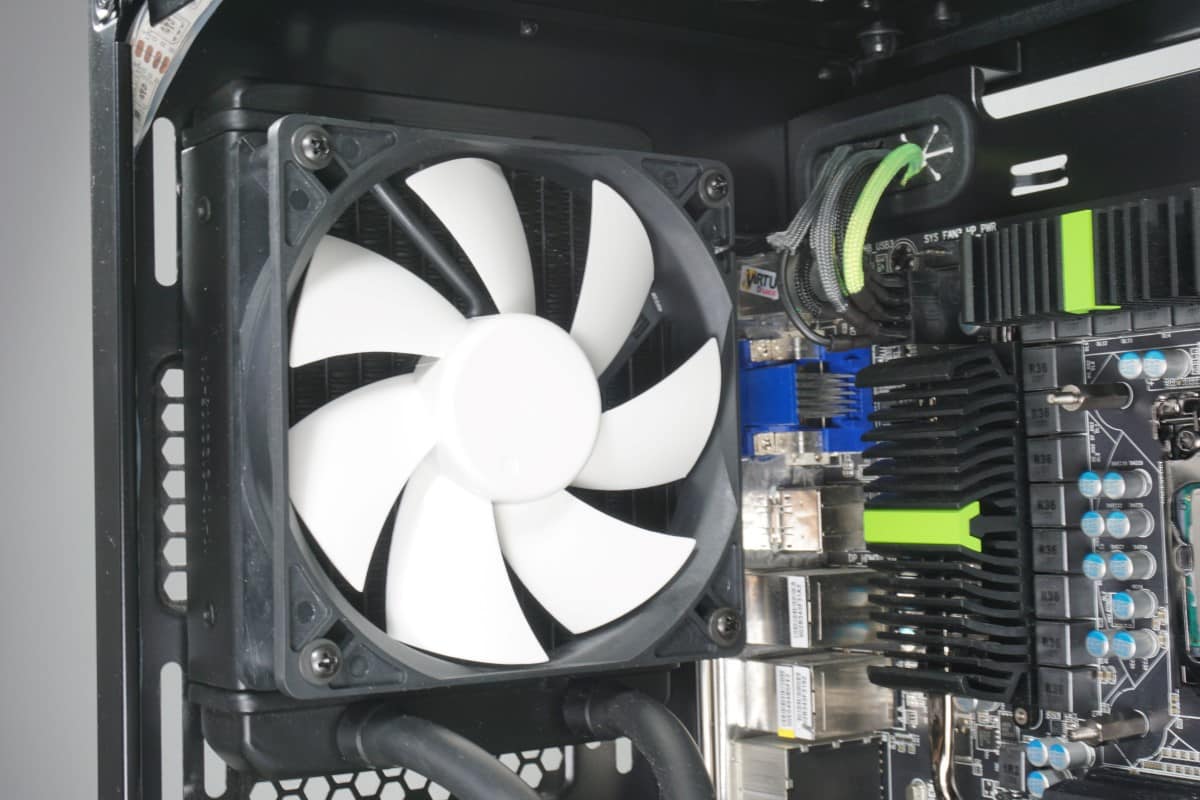
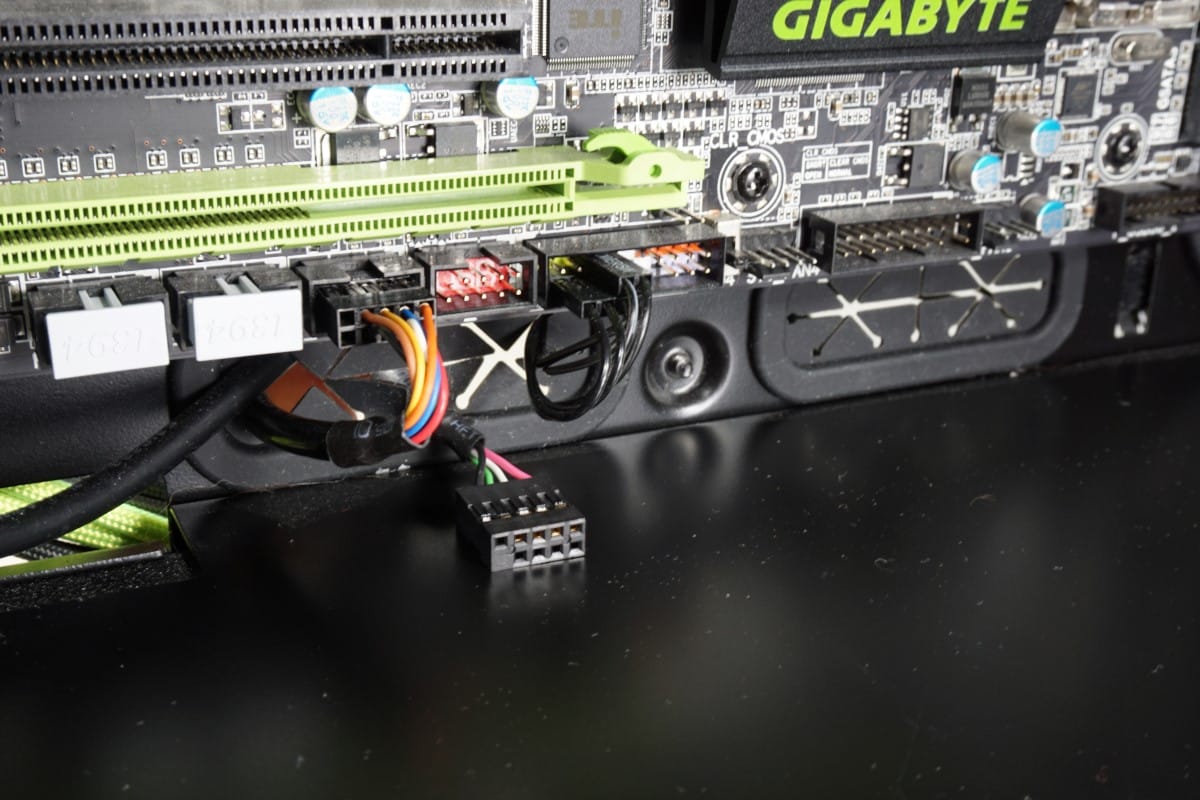
With the pump installed, you can now connect all those wires. The 3 pin simply connects to the CPU_FAN header on your motherboard. After you’ve run the USB 2.0 connector to an open USB 2.0 header on the bottom of your motherboard, go ahead and attach it. NZXT included an extra long wire for this, and you should have no problem hiding it.

With those two out of the way, that leaves us with just the fan to connect. The X31 will support up to two 4 pin fans, since we just have the one included fan that is all we will connect. With that fan connected, tiddy your wires and there you have it, a nice clean install of the NZXT Kraken X31.
Lastly you will want to head to the NZXT website and grab the CAM software from the downloads section of the of the X31 page. The software is a quick install, and you can create an account or choose to use it without. If you do create an account you will then have access to the mobile app which allows you to monitor and control your Kraken + from your iOS device. We are still waiting for an Android version to be released.