
Installation
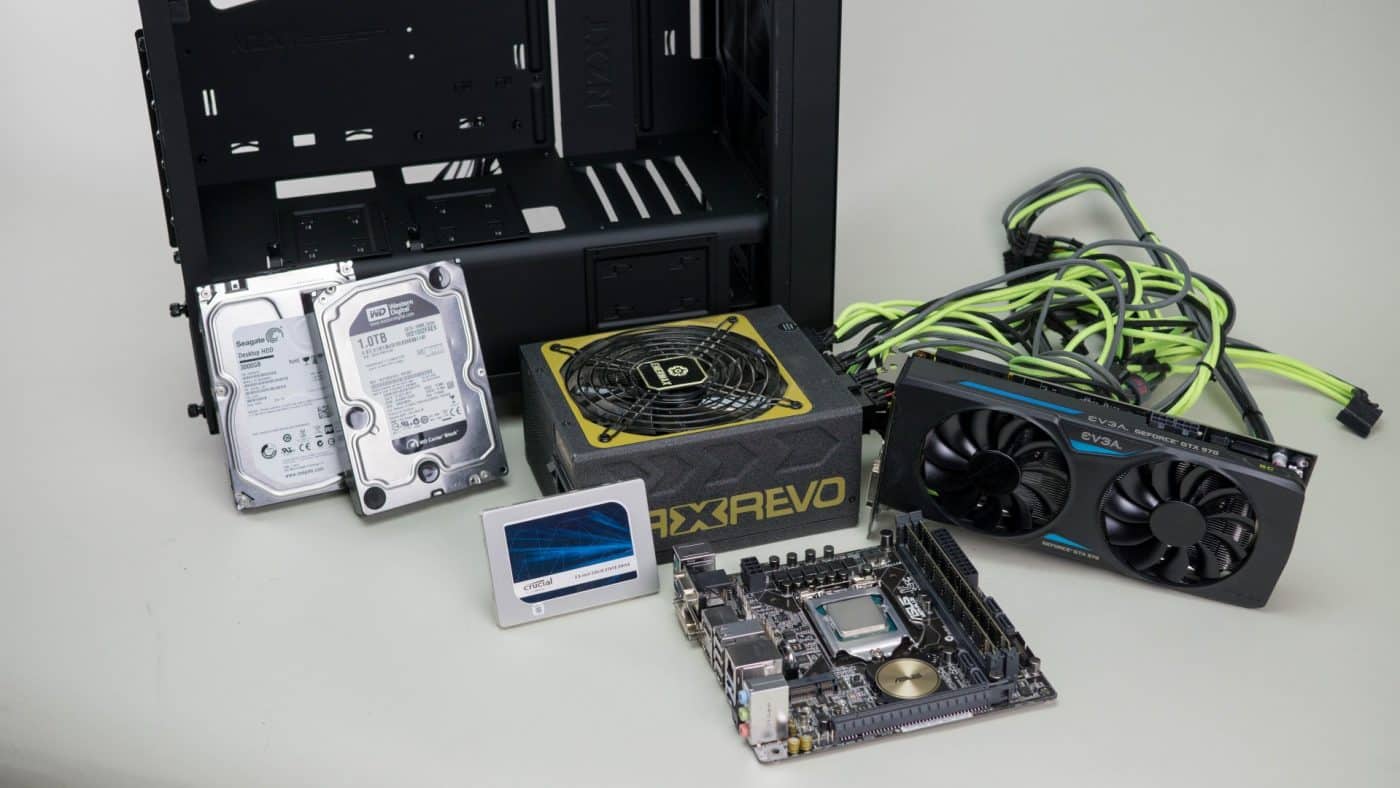
We have a pretty big and small at the same time build planned for our S340 Elite sample. Our Intel based system features an Asus micro ATX motherboard which is small and should have no issue fitting. On top of that however we’ll be installing a pair of traditional HDD’s, a standard size SSD, an Enermax Max Revo 1500 watt modular PSU with full custom sleeved cables and a full size EVGA GTX 970. We aim to cool the CPU with a 240mm CoolerMaster AIO. While it’s not a huge build it is enough gear to push the capacity of a not so well thought out case design.
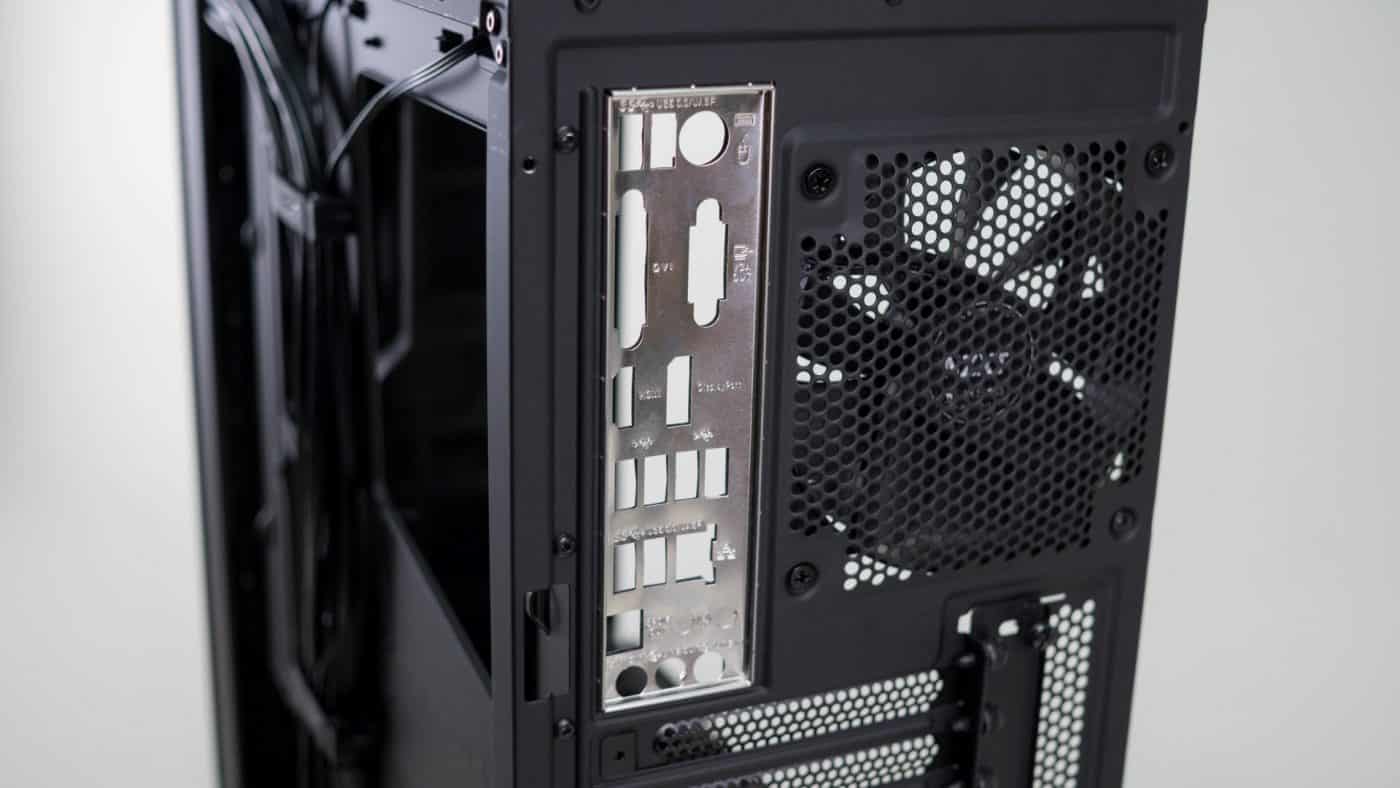
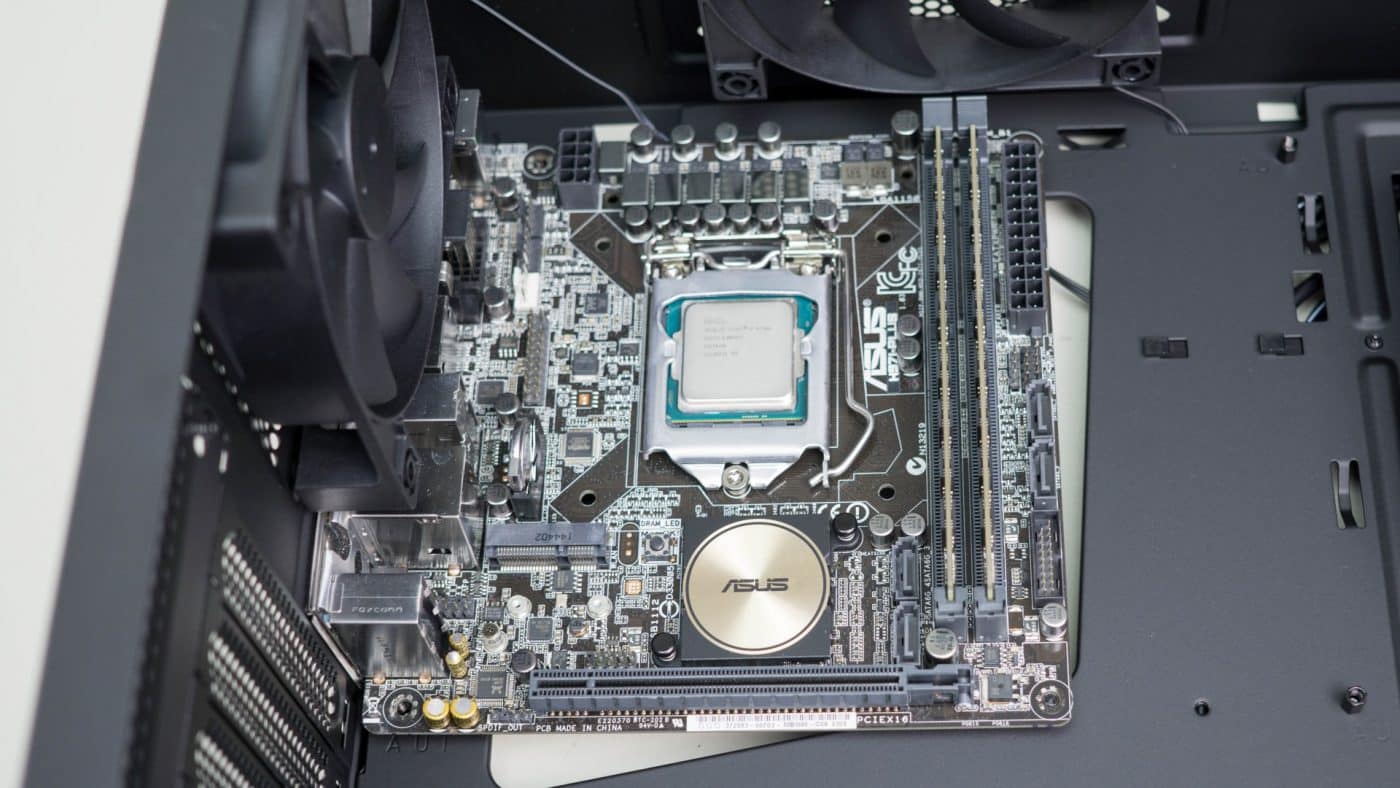
First step of course is to install the I/O shield in the rear of the case. The tin plate snaps into place nice and snug thanks to good machining from NZXT. Now we can securely install the micro ATX motherboard. After pressing the board into the foam backing of the shield it settles down on the pin of the corner stand off and is held securely in place. These pins are great as they keep the board in place while you line up your screws. Our board only needs three screws but they line up correctly and thread in easily.

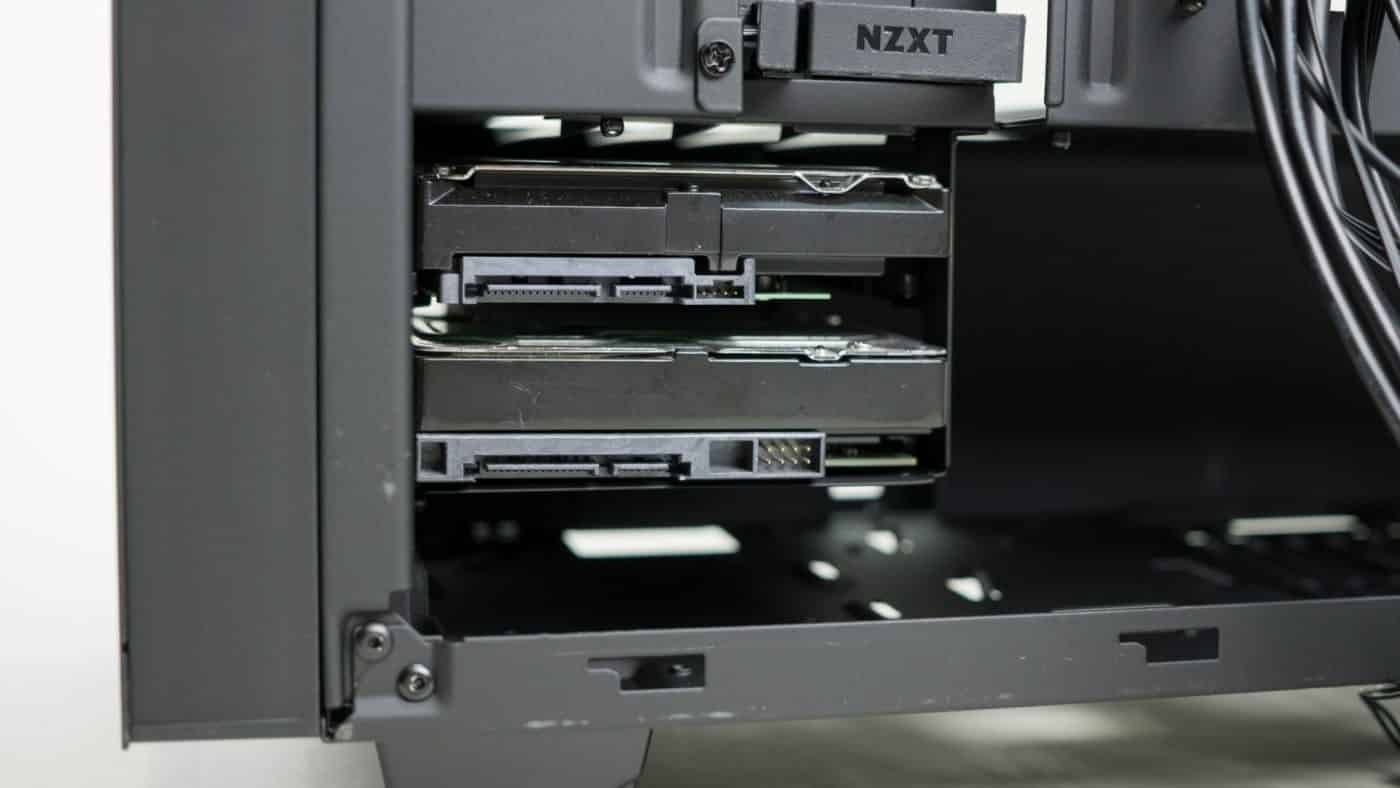
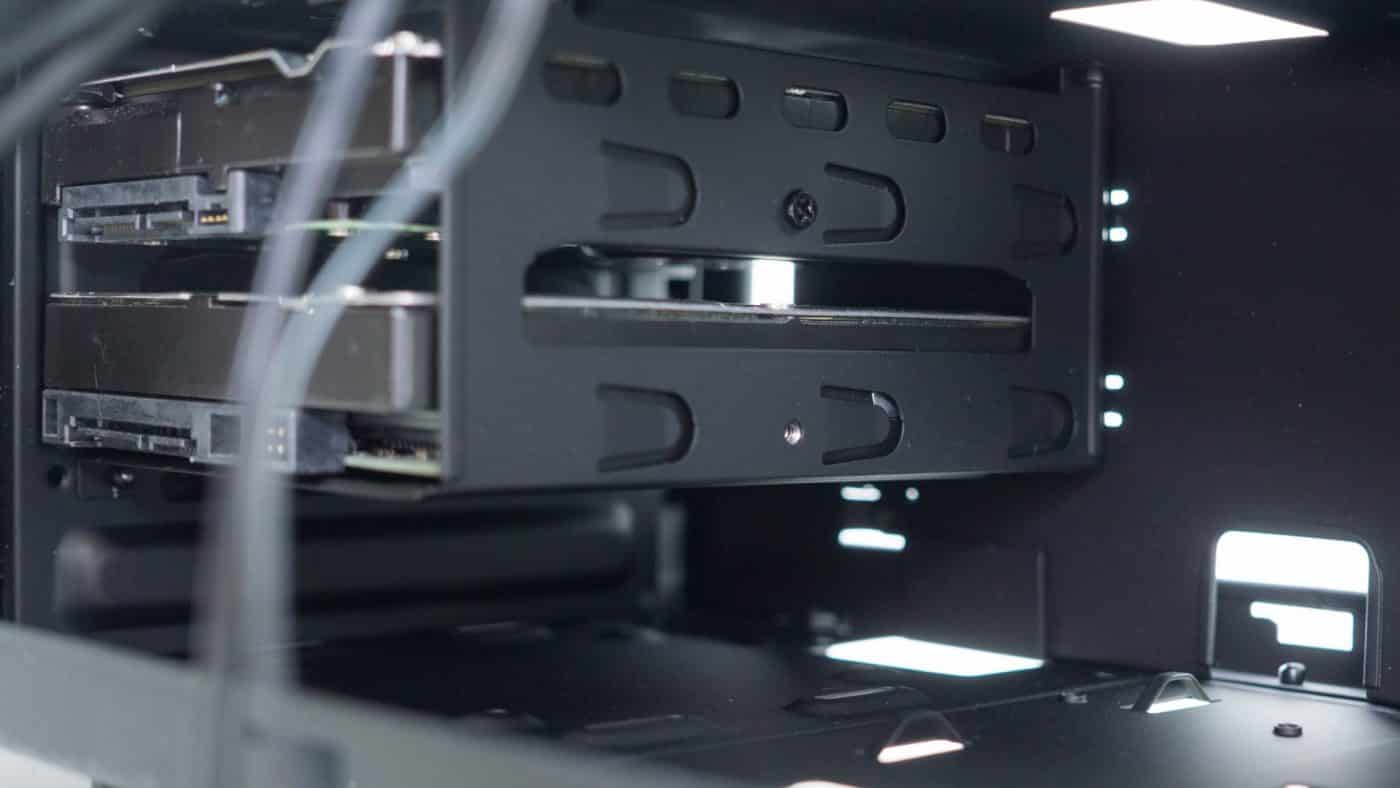
Next you’ll want to install your HDD’s in the bottom of the case. These need to be installed before the PSU as you need to attach the screws to the side of the HDD from the rear of the case. The drives slide in easily one on top of the other and secure easily with a single screw to one side.
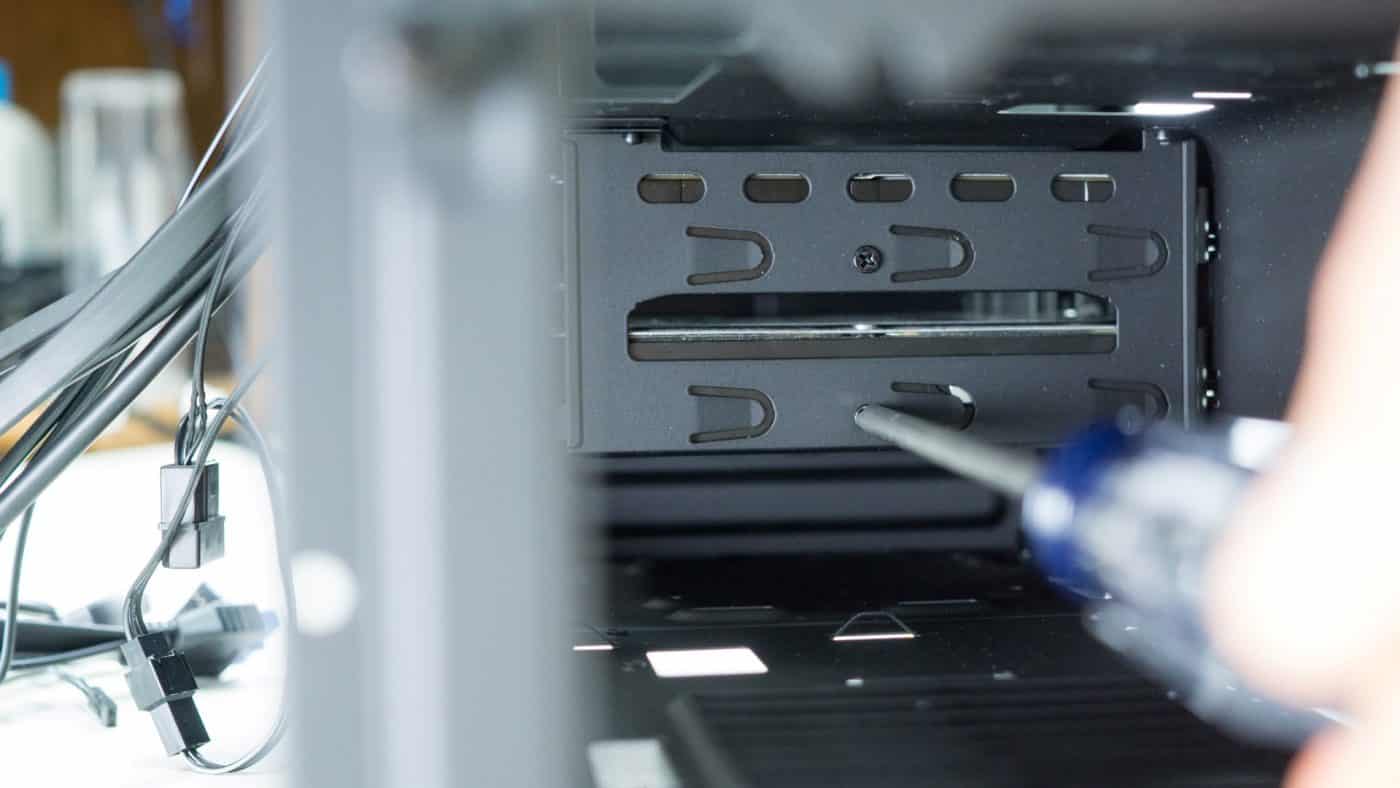
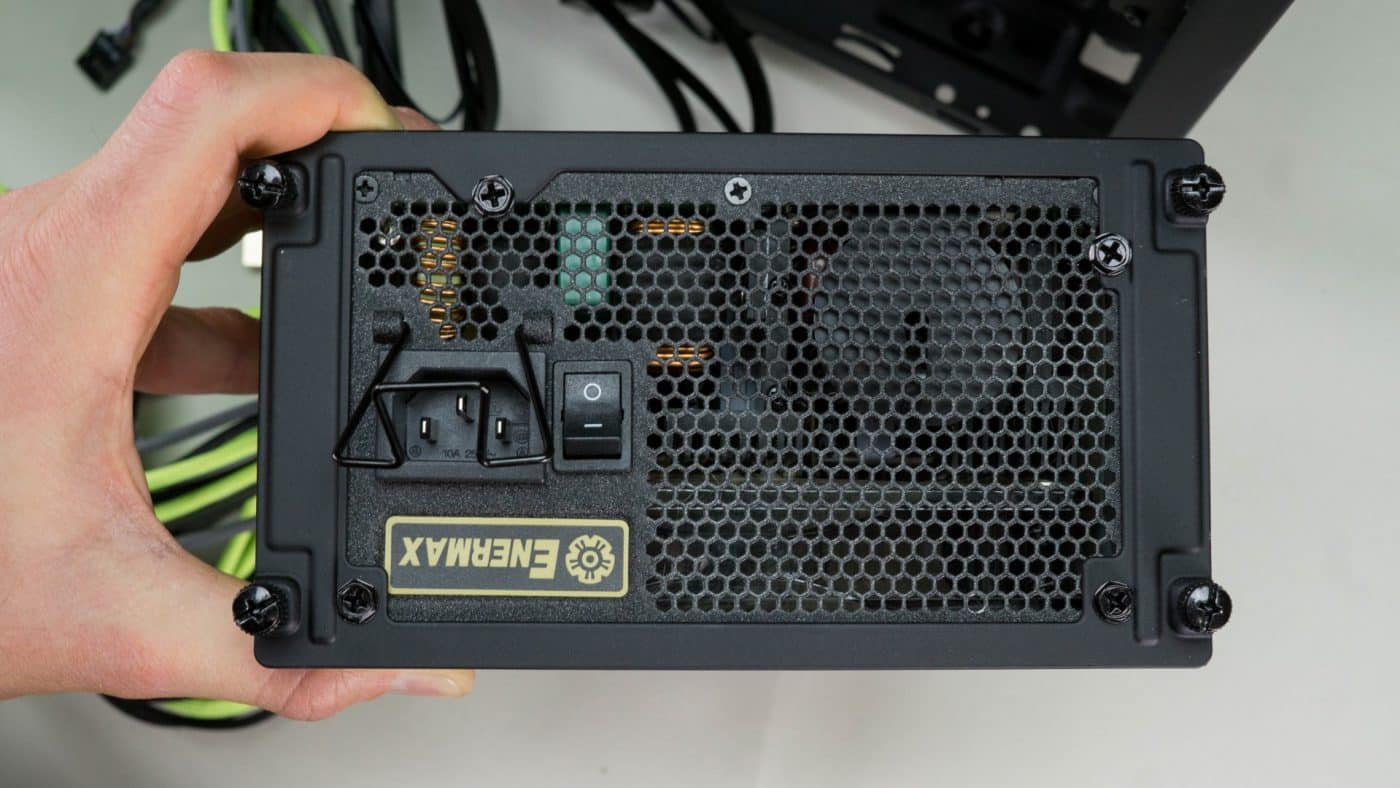
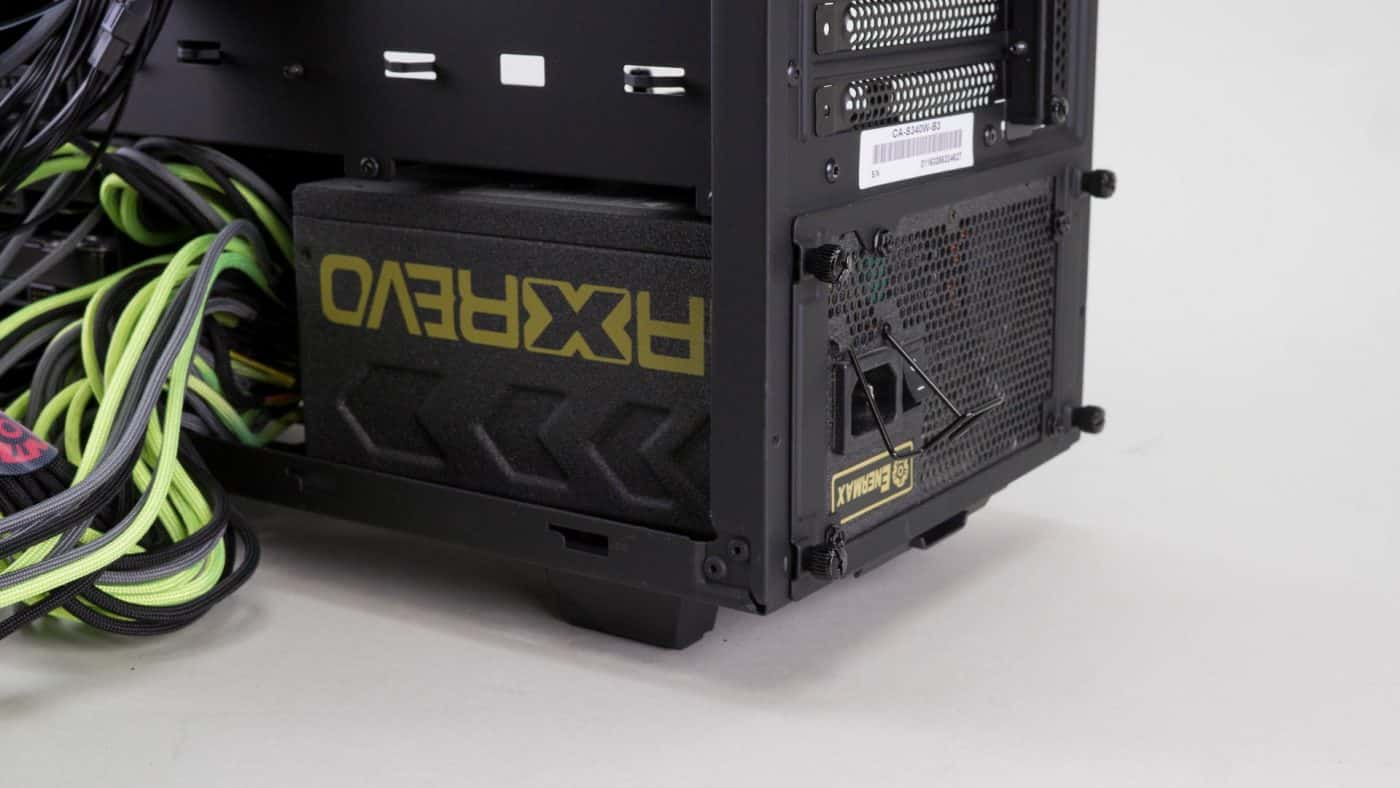
With those bulky HDDs installed you can move on to the PSU. Loosening the four thumbscrews from the rear the bracket lets it come right away from the rear of the case. One note is that you will need to use a screwdriver to get all the thumbscrews started the first time. They are screwed in pretty hard initially and you’d be hard pressed to loosen them with just your fingers the first time around. You can now line the bracket up with your PSU mounting holes and attach all four. With the bracket attached you can slide the PSU in, cables first until the bracket reaches the case and then re-secure it with the retained thumbscrews. While there is a good amount of room under the PSU shroud you will find that it’s only just enough if you have a longer PSU of any sort. We were able to get all of our cables run and attached, but it makes things a bit more difficult and tight than one would desire.

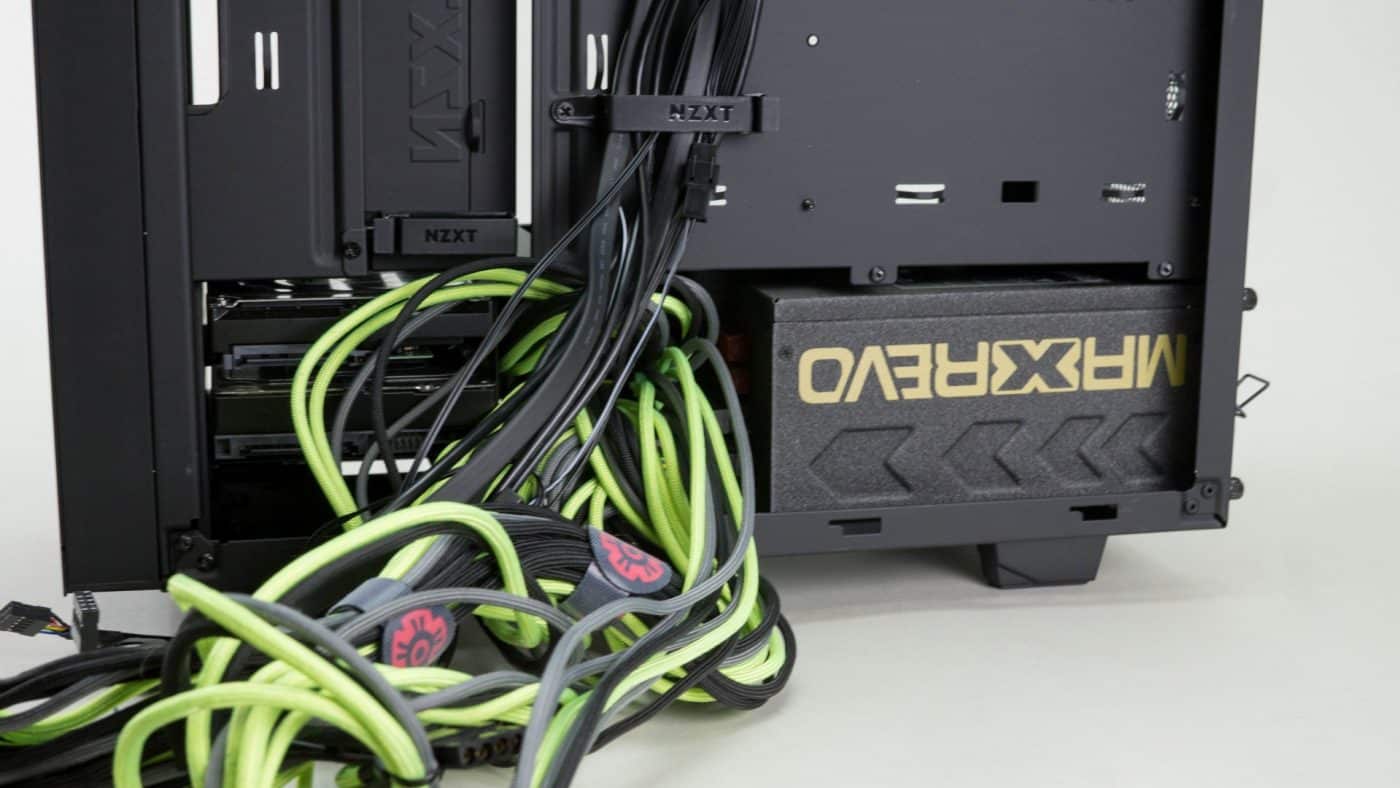
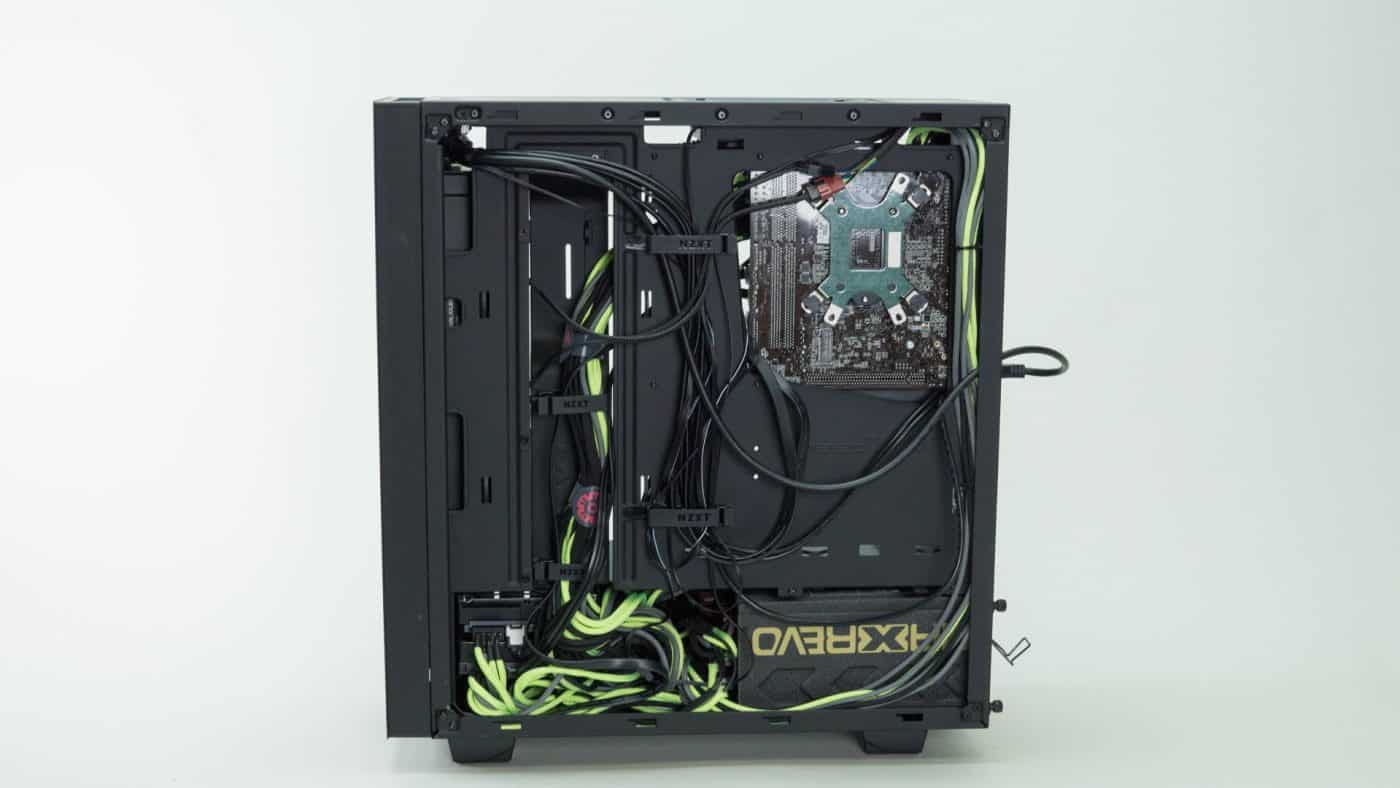
We are now going to go ahead and run our cables before we go any further. This is one case that doing so is a breeze. All the previously mentioned tie off points and cable holders combined with pass throughs everywhere you look really simplify everything about cable management down to almost a noob level. The addition of the rectangular NZXT labelled clips is especially useful. They are large enough to handle the entire bulk of our individually sleeved 24pin cable. The only difficulty we encountered was again due to the tight confines of the space below the PSU shroud.

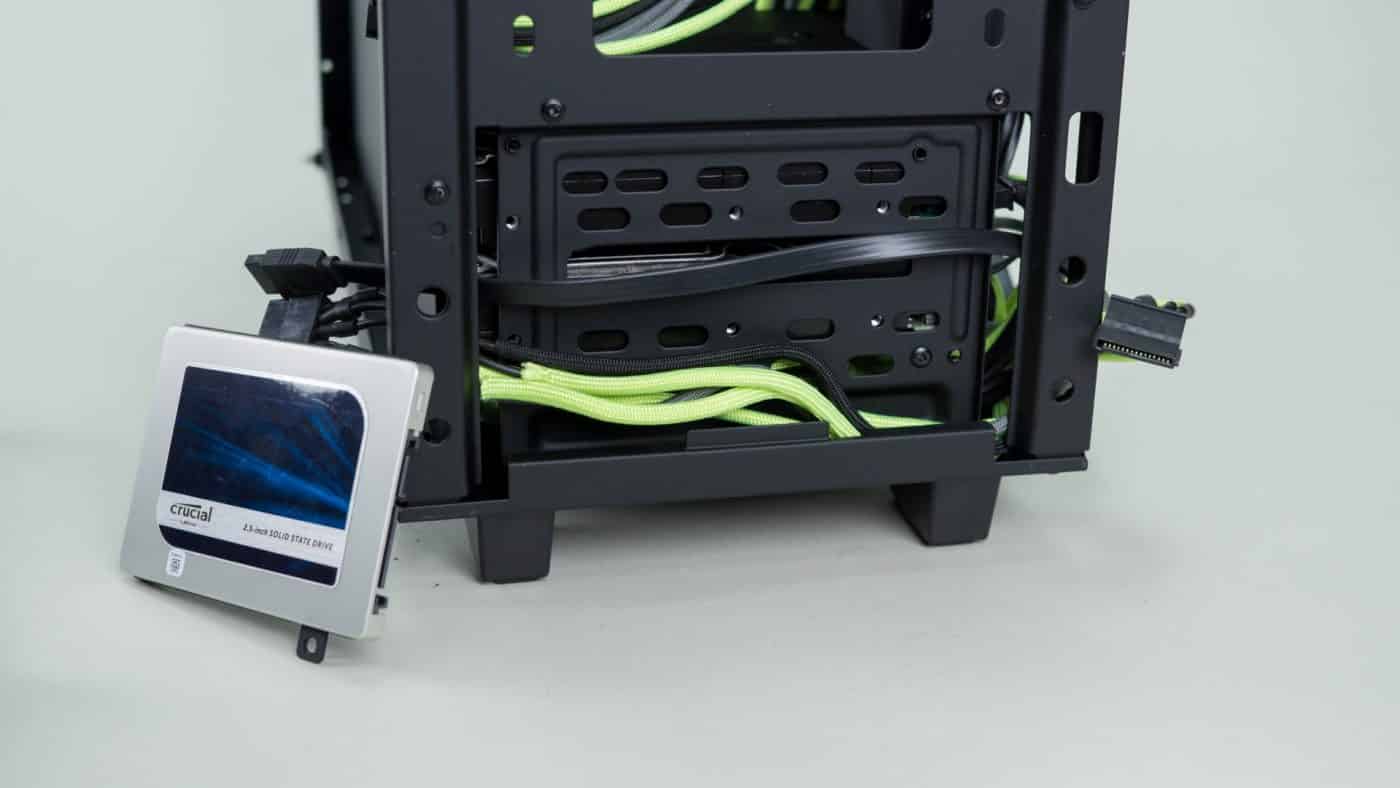
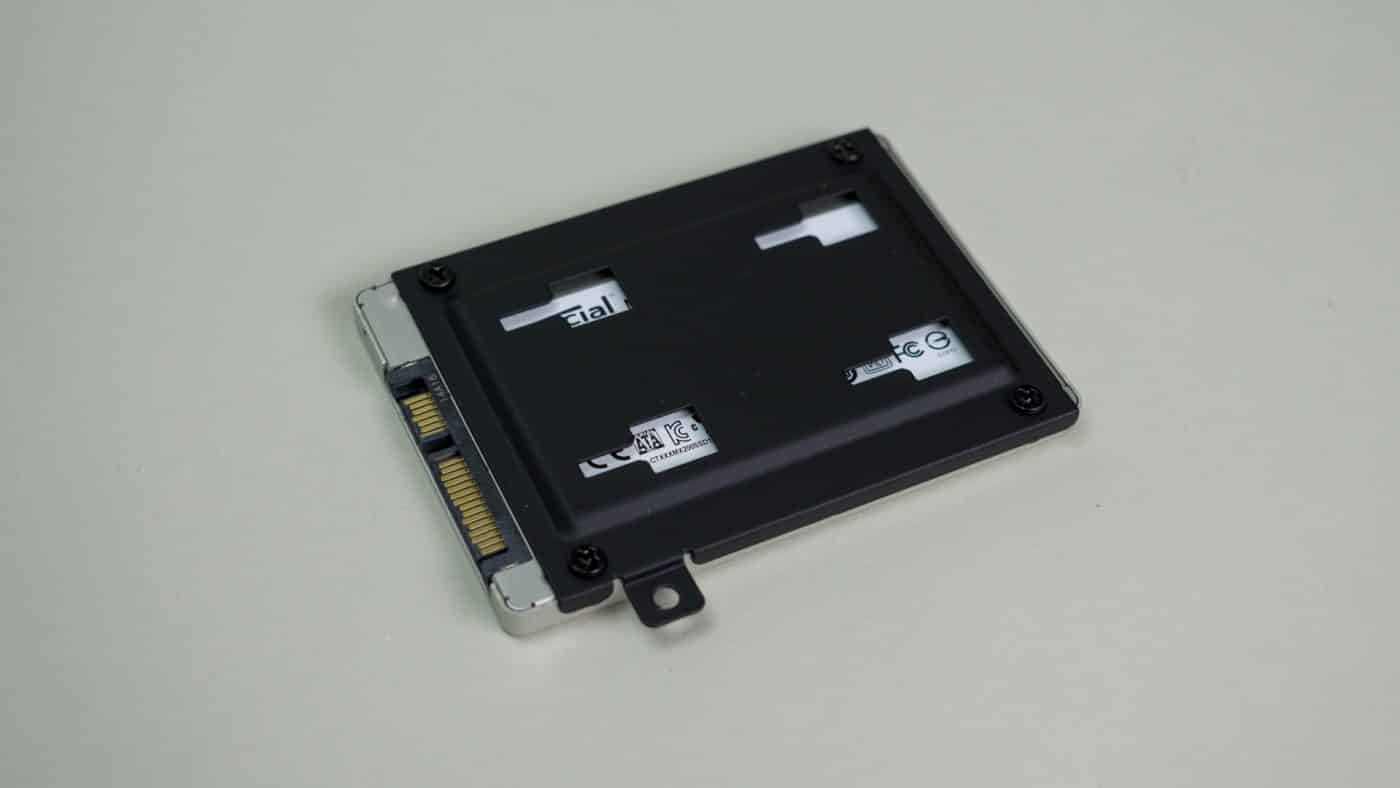
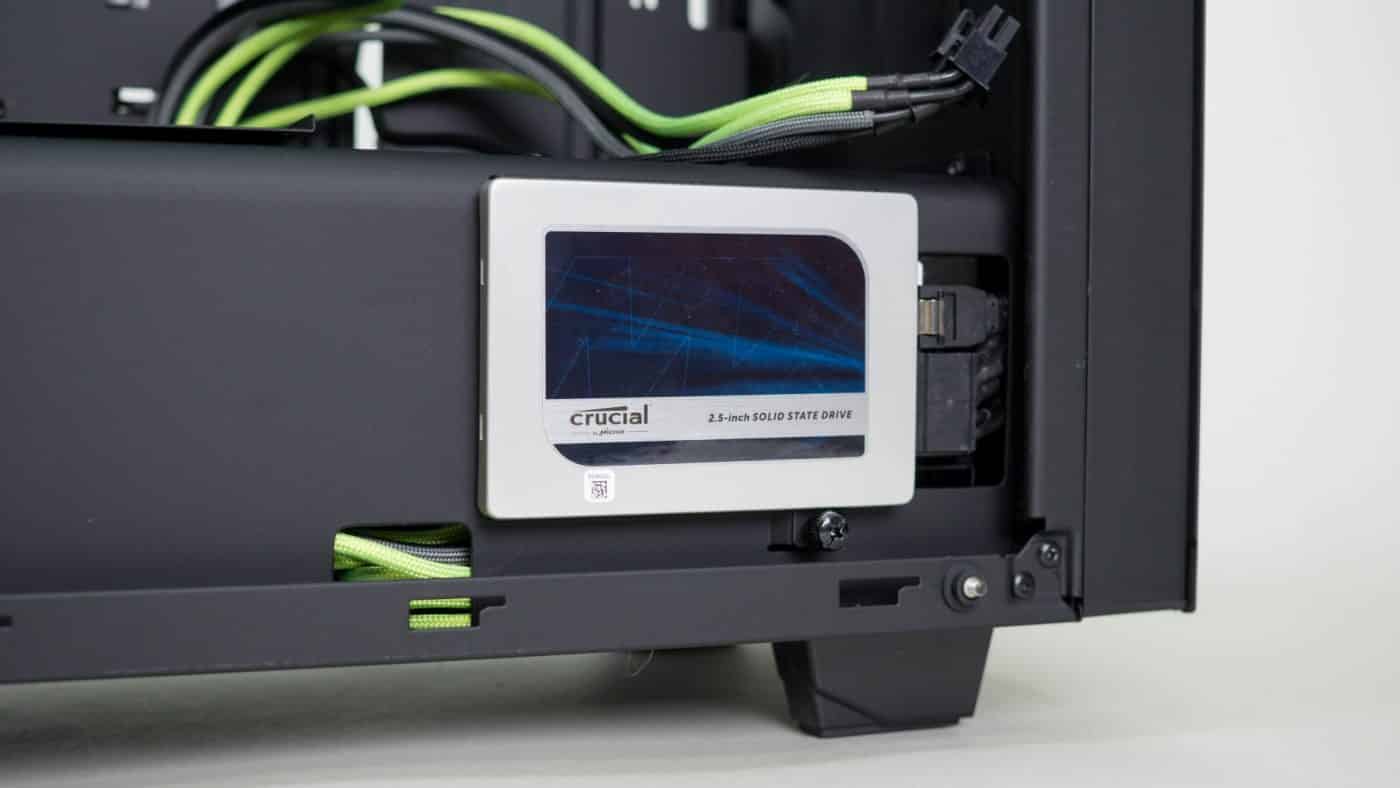
With the back of the case managed we are ready to finish up the front. To begin we will install the SSD in the bracket in the front of the PSU shroud. We experimented with multiple mounting directions, but chose to run the cables around the front of the case just behind the front intake filter in order to allow for our drive to be right side up. This is really convenient as it allows any drive to be installed right side up. Removing the thumbscrews from the bracket and sliding it to the left releases it. Place your 2.5” drive into the bracket and secure from the back with four of the included screws. You can now slide the bracket back into place and reattach it with the thumb screw.

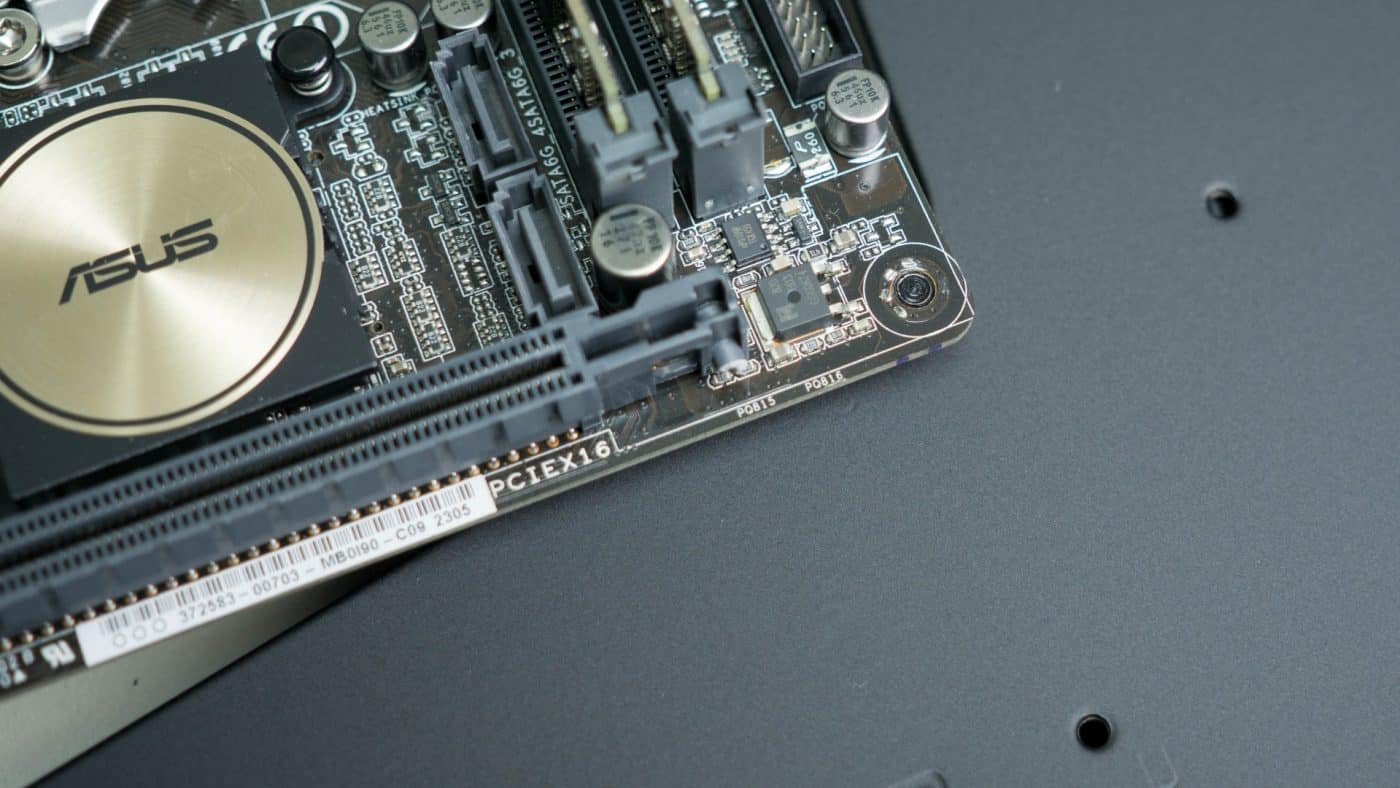
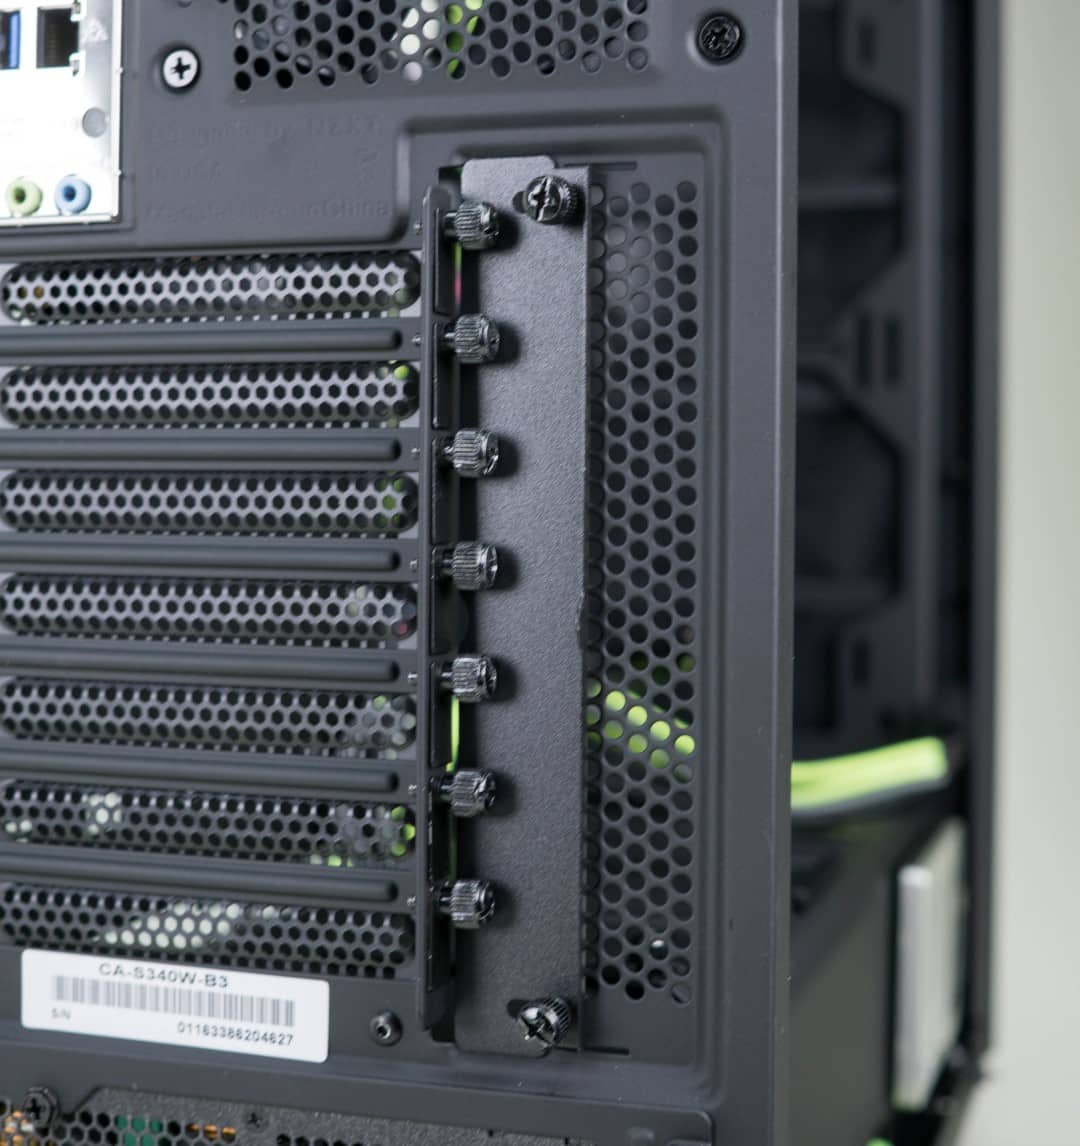
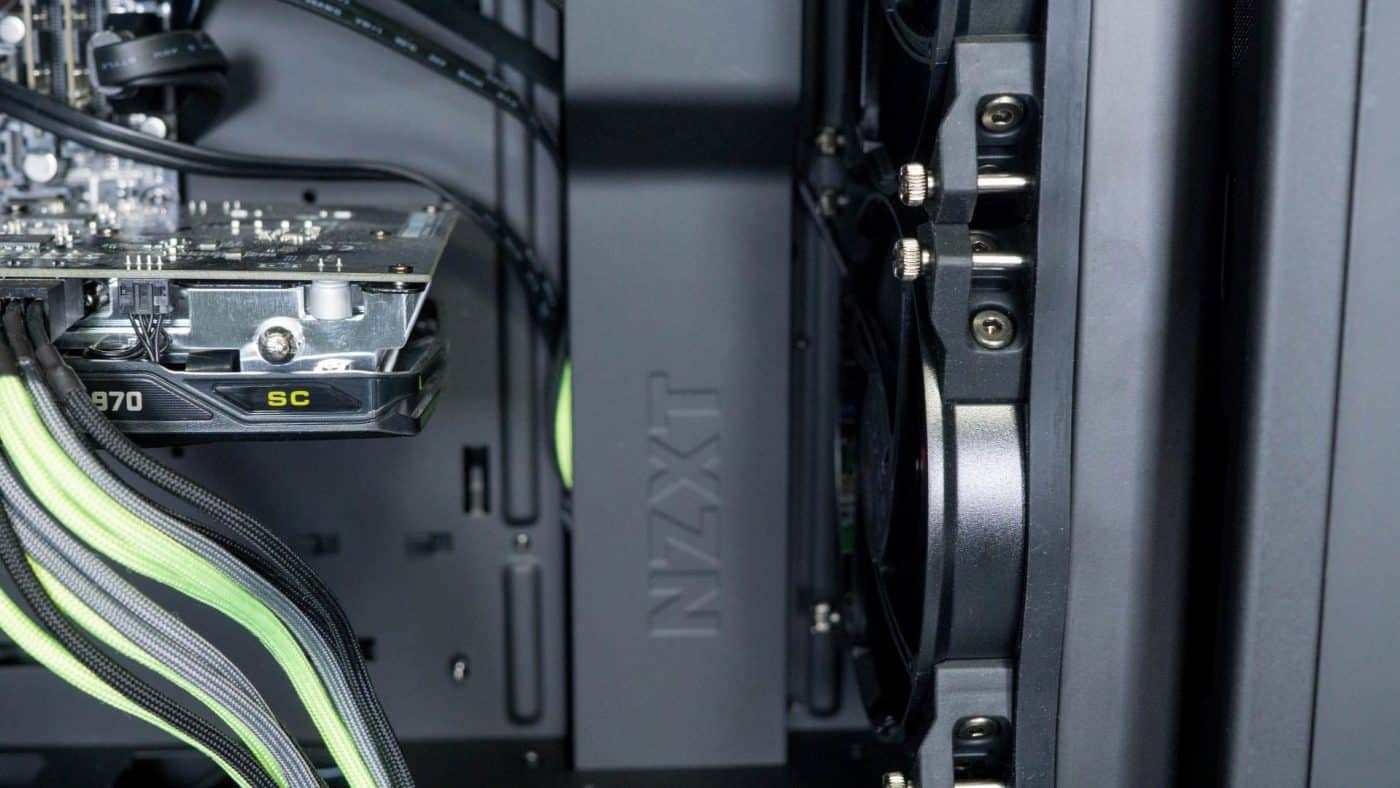
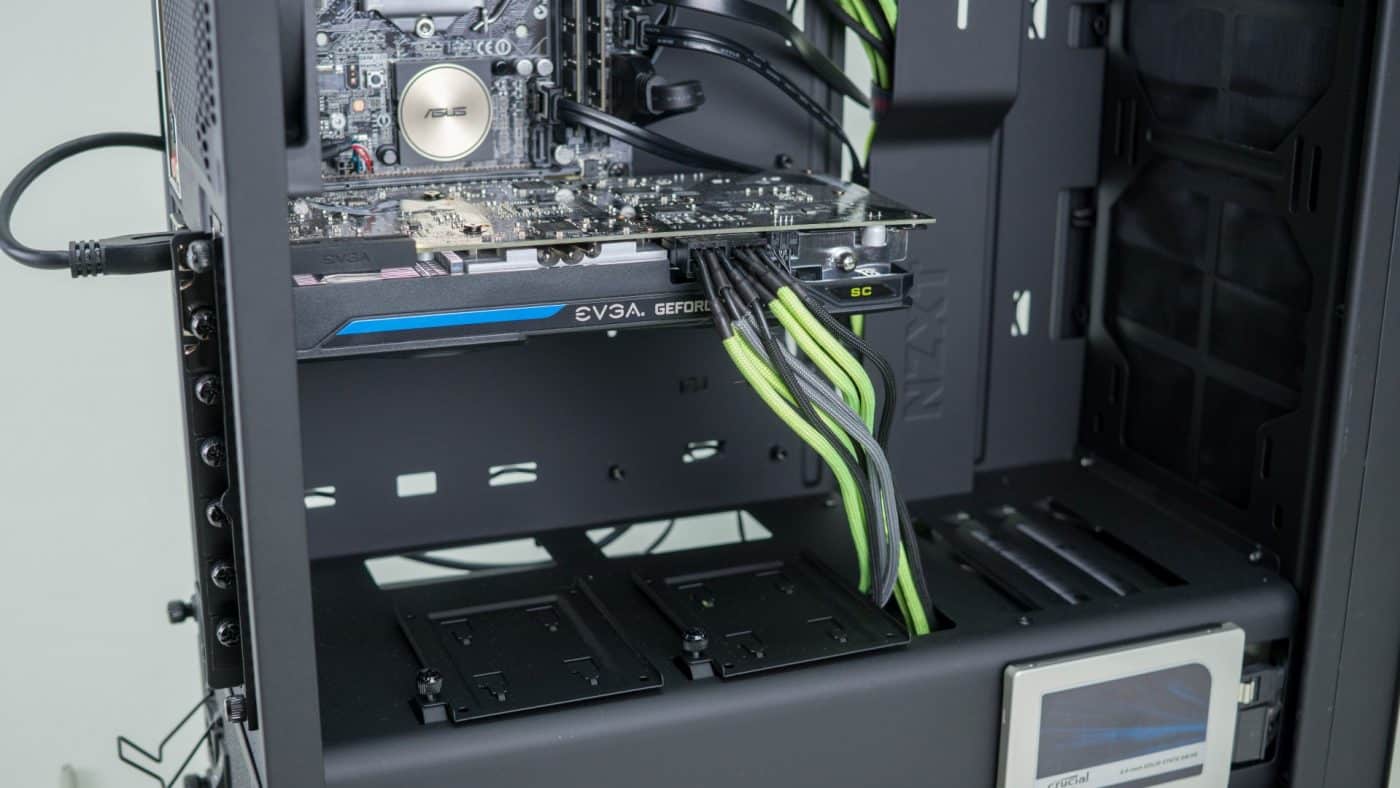
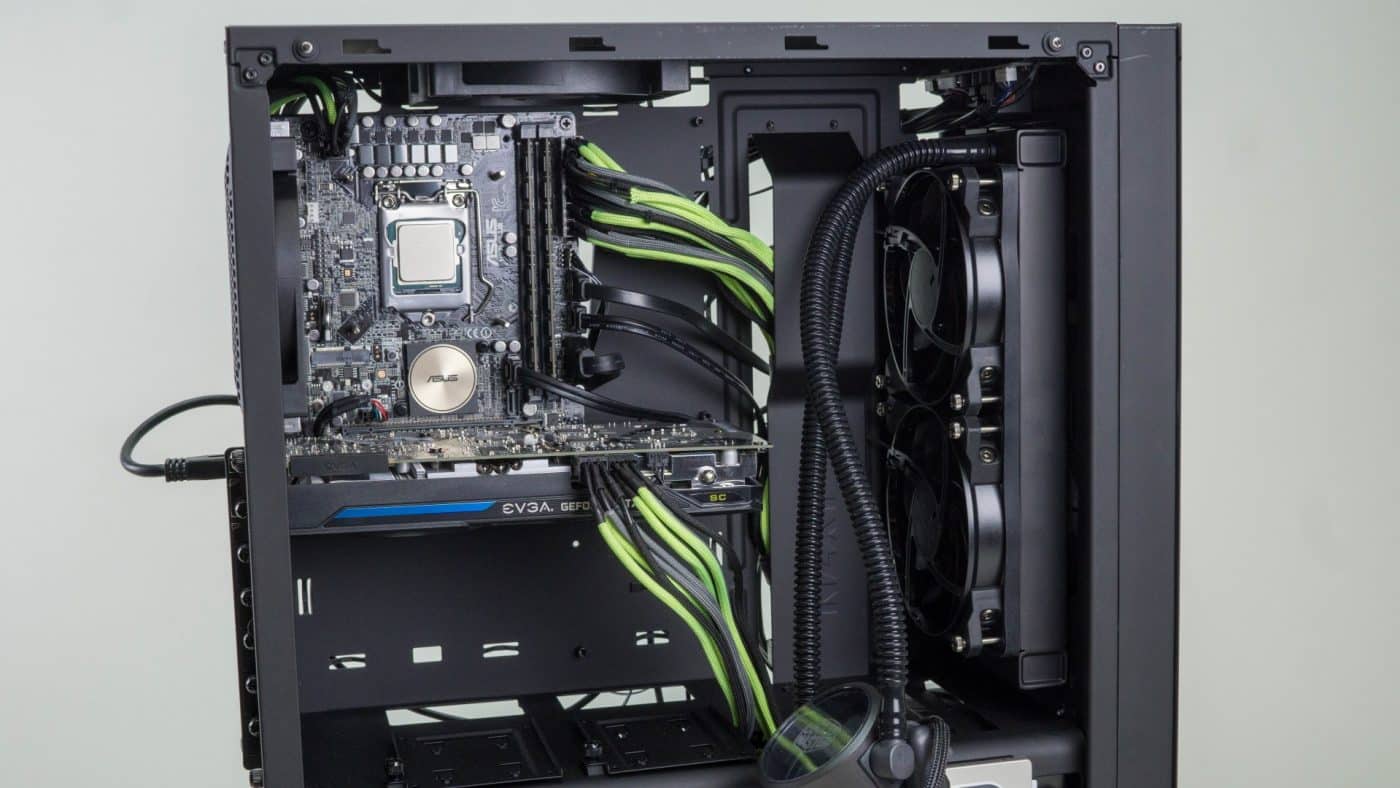
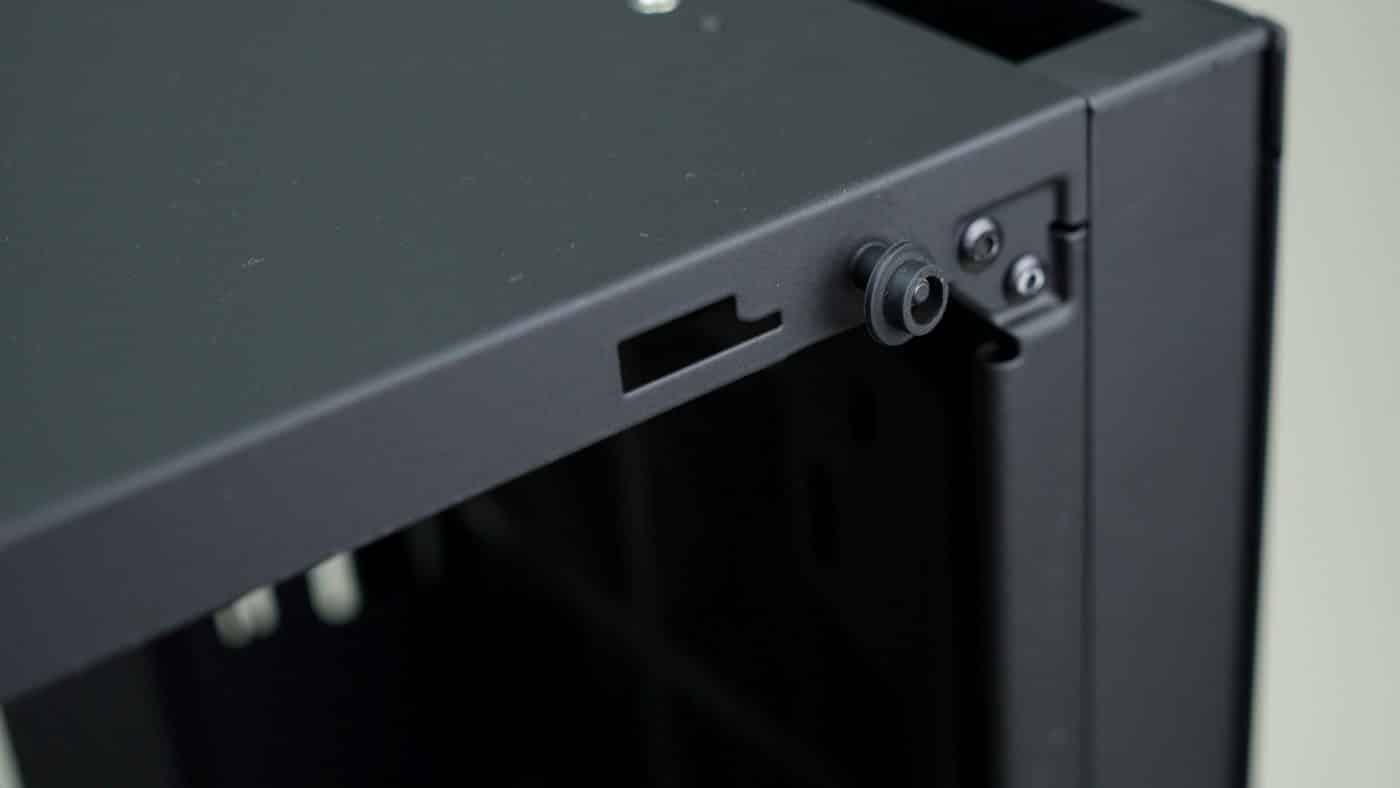
Now that the drives are all installed and connected well move on to the GPU and finally the AiO cooler. Before we can install the GPU we need to remove the expansion slot cover. NZXT has a unique retention mechanism on this bracket and that must be loosened first. Loosen the top and bottom thumb screws and slide the plate back. Now you can remove the thumb screws from the top of the two plates that you need to remove. Installing the GPU from here is simply a matter of slipping the metal retention plate on the GPU through the gap in the back of the case and then pressing the connector into the PCIe slot. There is so much space between the end of the GPU and the front of the case that your GPU choice is limitless. Even once we get our AiO installed there is a good 4-5 inches of extra room off the end. The only thing to consider with GPU choice is whether or not you will be using a watercooling reservoir in the middle of the case. That would certainly cut down on the amount of space available the GPU.

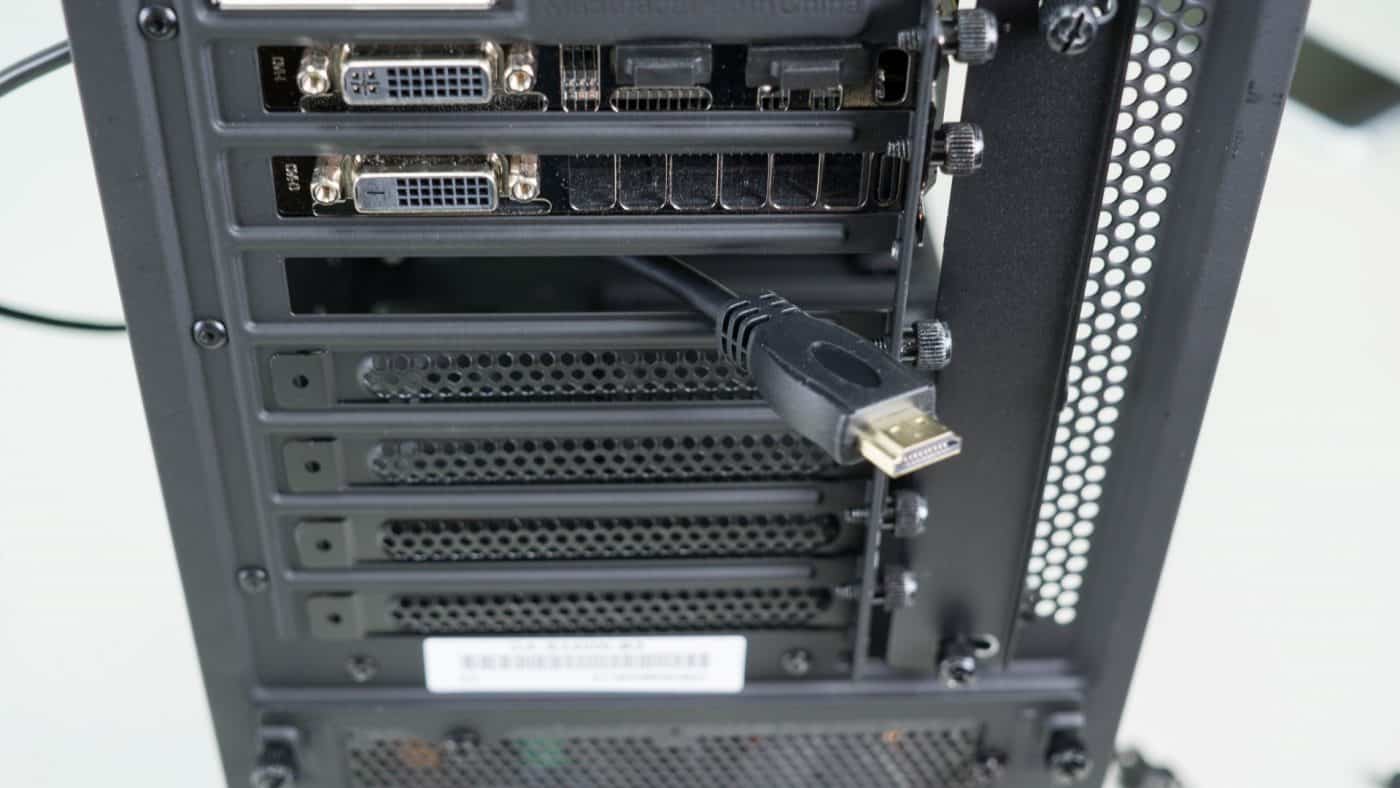
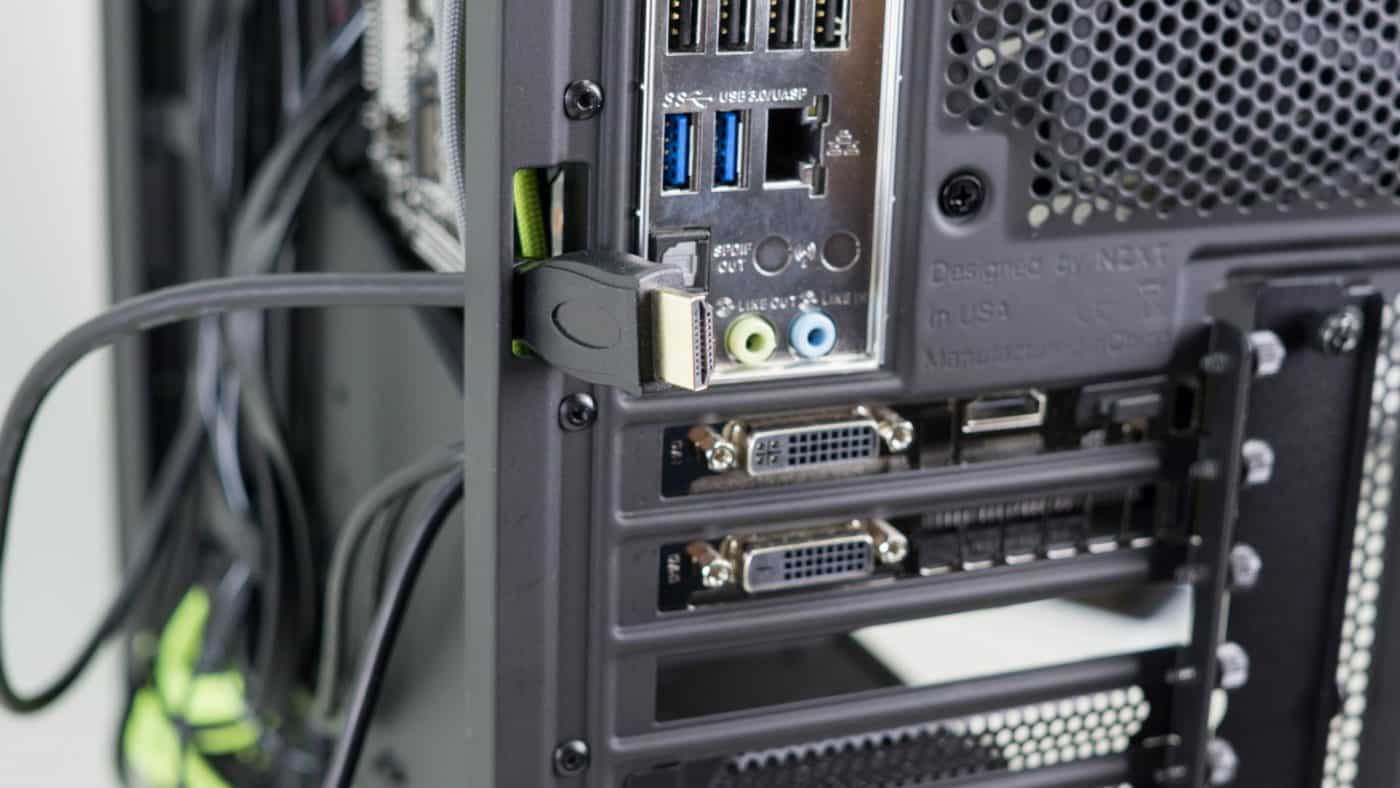
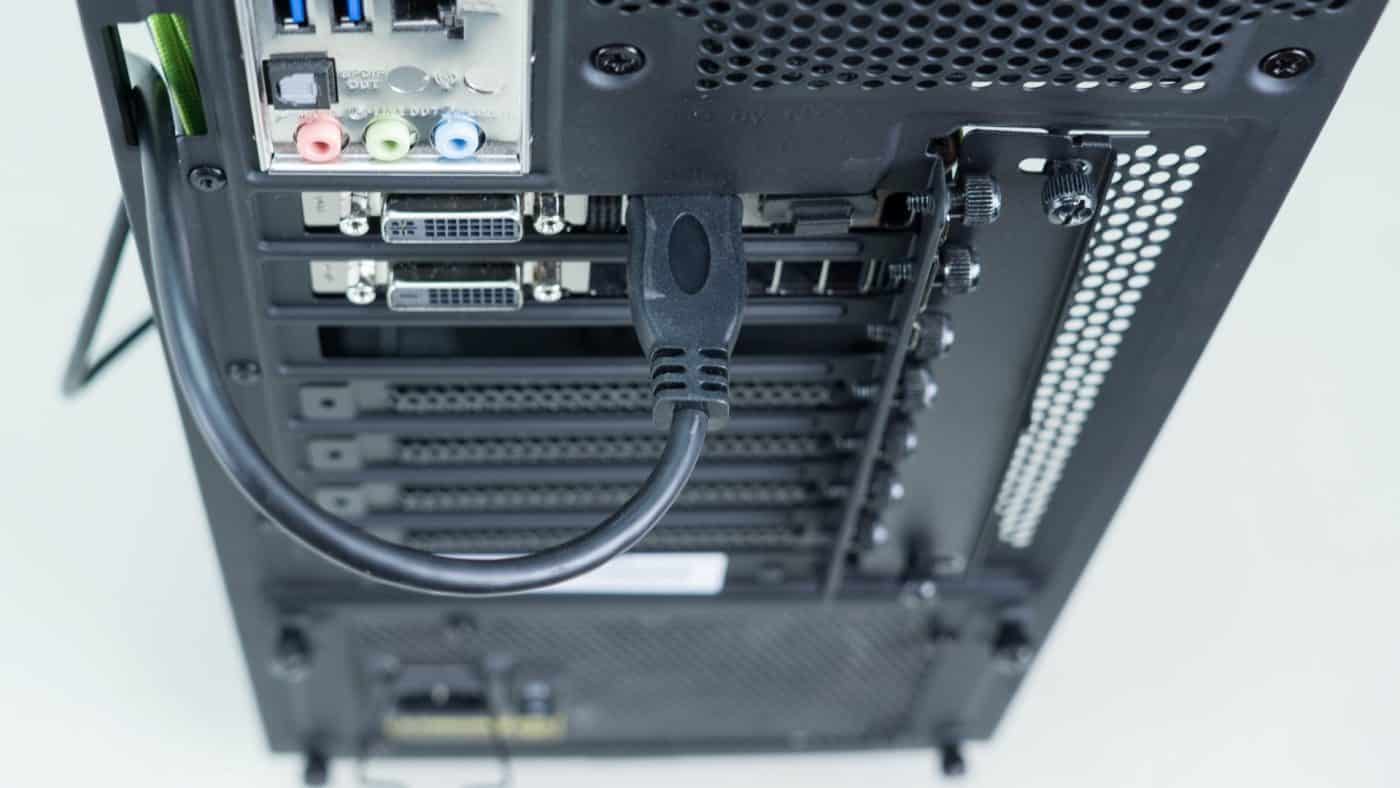
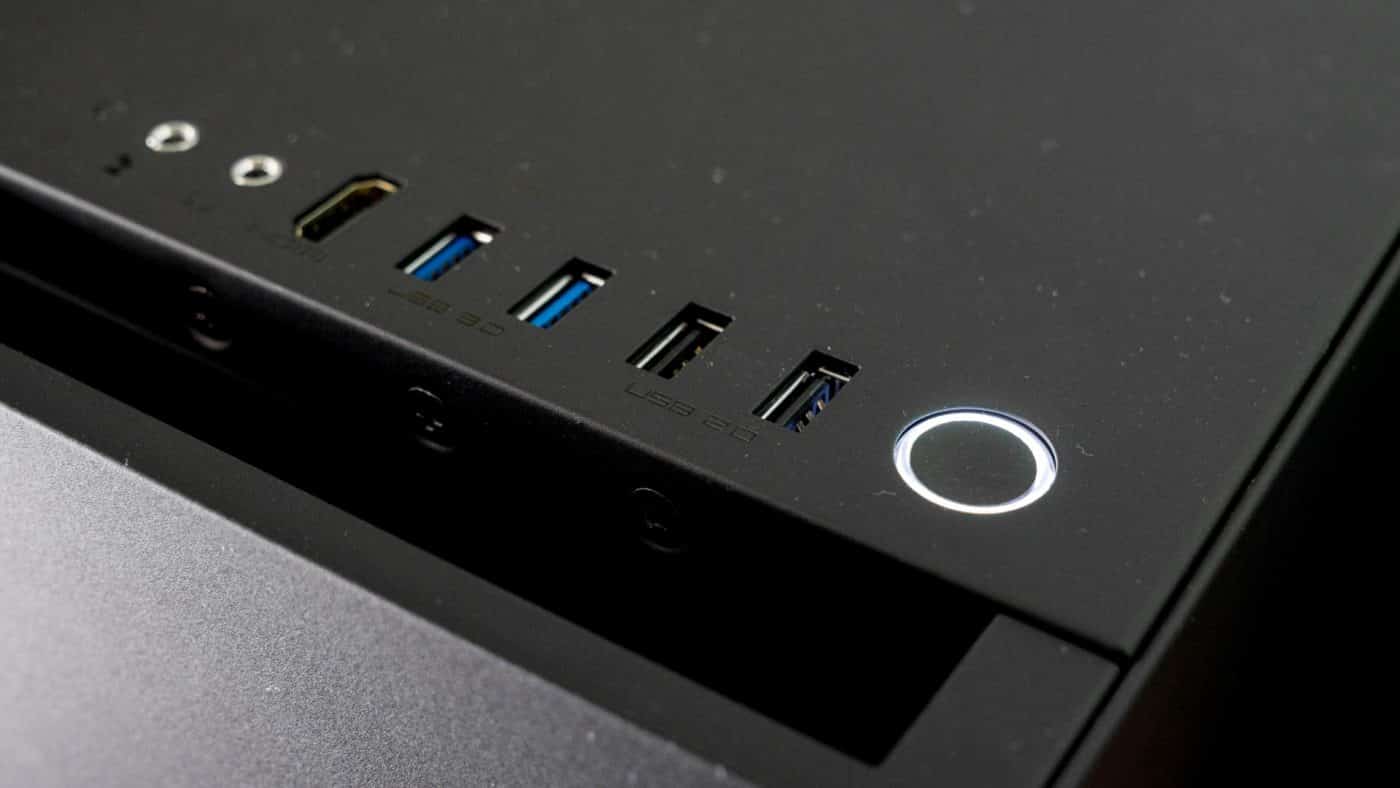
With the GPU physically installed you can go ahead and attach the HDMI cord for the front I/O connector. Run the cable across the back of the case and through the slot provided in the edge of the case. This saves you from having to run the cable through an open expansion slot. It’s a subtle and simple change but really improves the cleanliness of running this cable. We’ll also go ahead and connect the power to the GPU now.
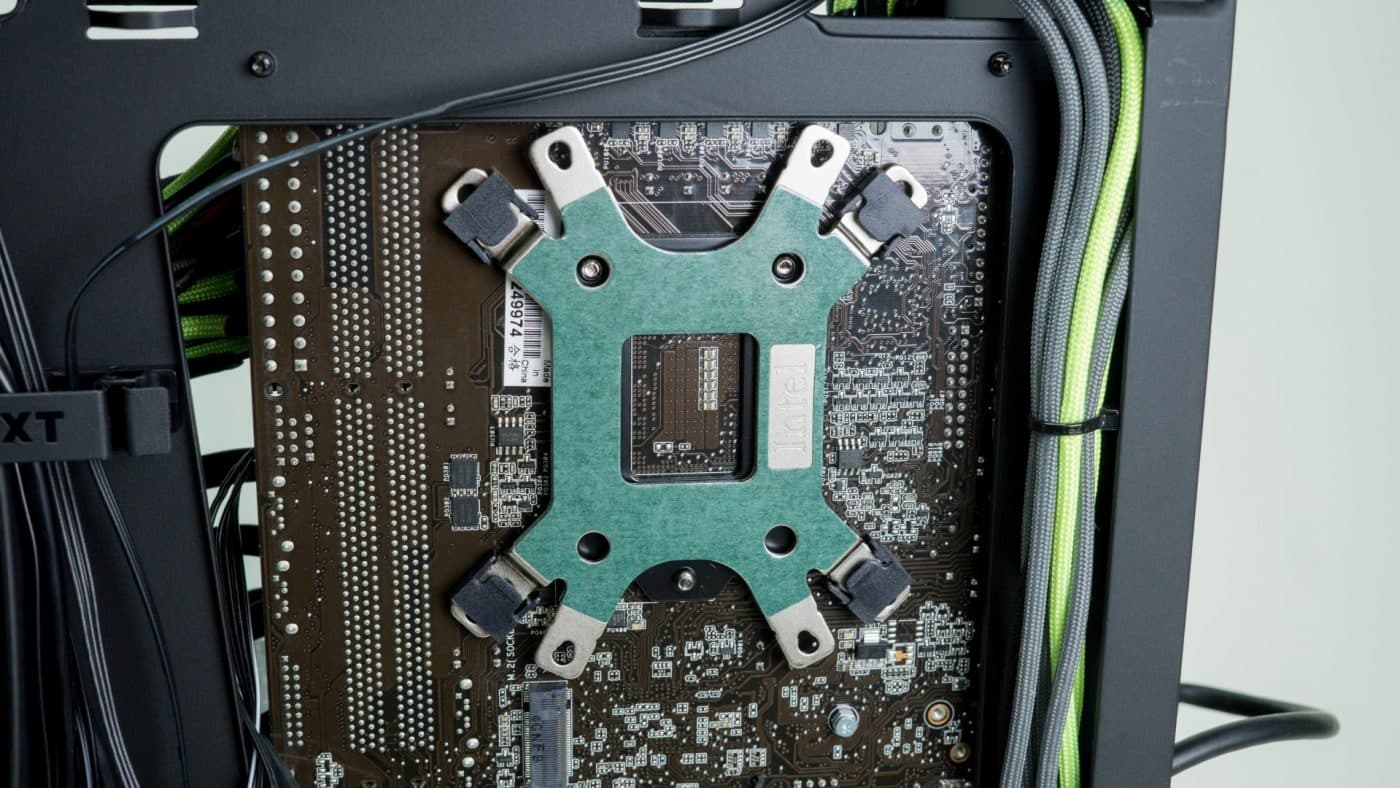
Installing the AiO begins with placing the backplate in the motherboard. This is a good test of whether the cut out is sufficient for installing coolers without removing the motherboard. As you can see in the photo there is just enough clearance allowed.
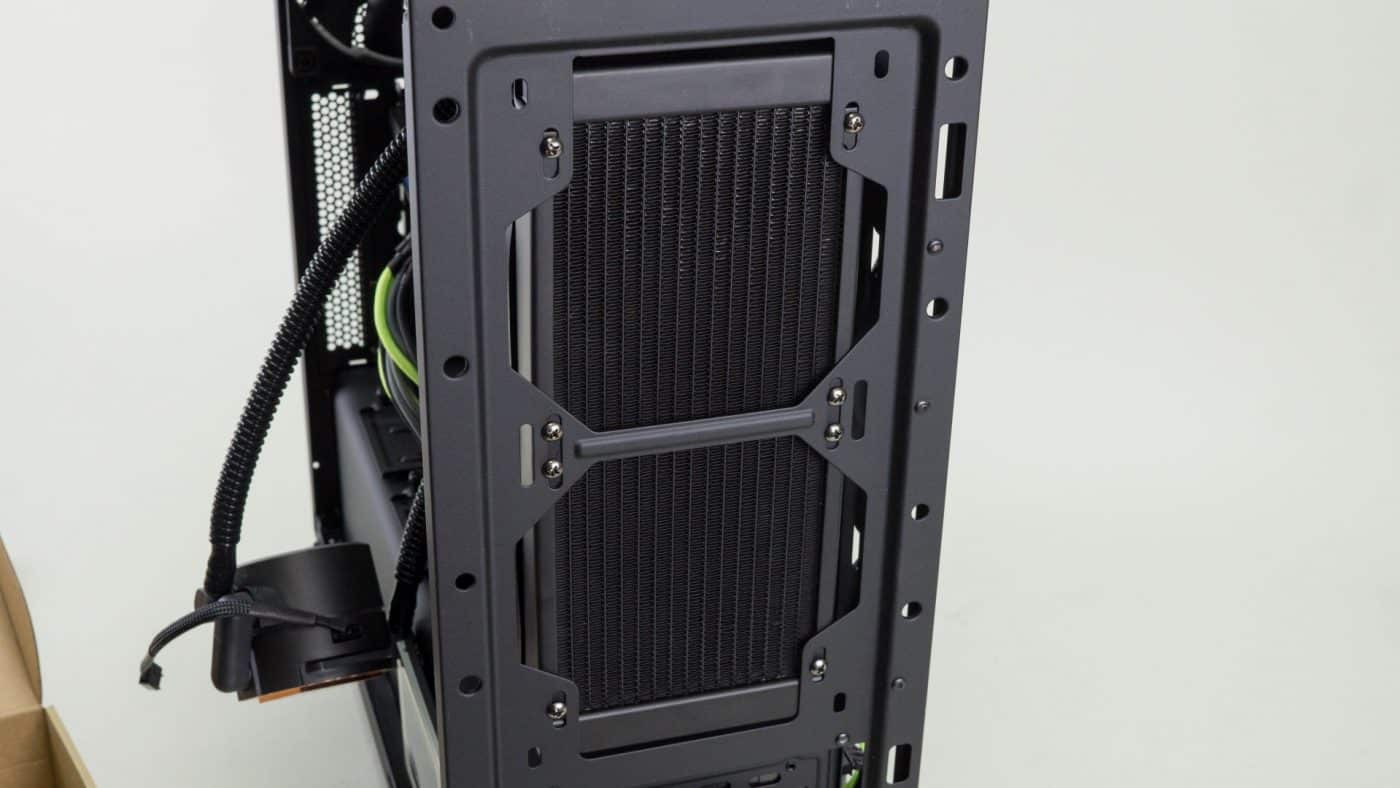
Next we attach the radiator to the case. We first tried to install a 280mm radiator but ran into a clearance issue at the top. We found the rad hitting the bracket that runs under the top I/O board. With this in mind we suggest you check carefully before choosing a larger radiator as they might not all fit flushmounted to the front of the case. Of course running fans on the case side of the radiator will give you some additional clearance and is a possible solution. To attach the 240mm radiator we pulled the front panel off the case to give us access for installing our screws. After reattaching the front panel we can install the pump to the CPU. With our specific AiO it was a pretty tight stretch on the tubing but it did just make it. Another thing to consider when choosing a cooling solution to use with your S340 Elite.

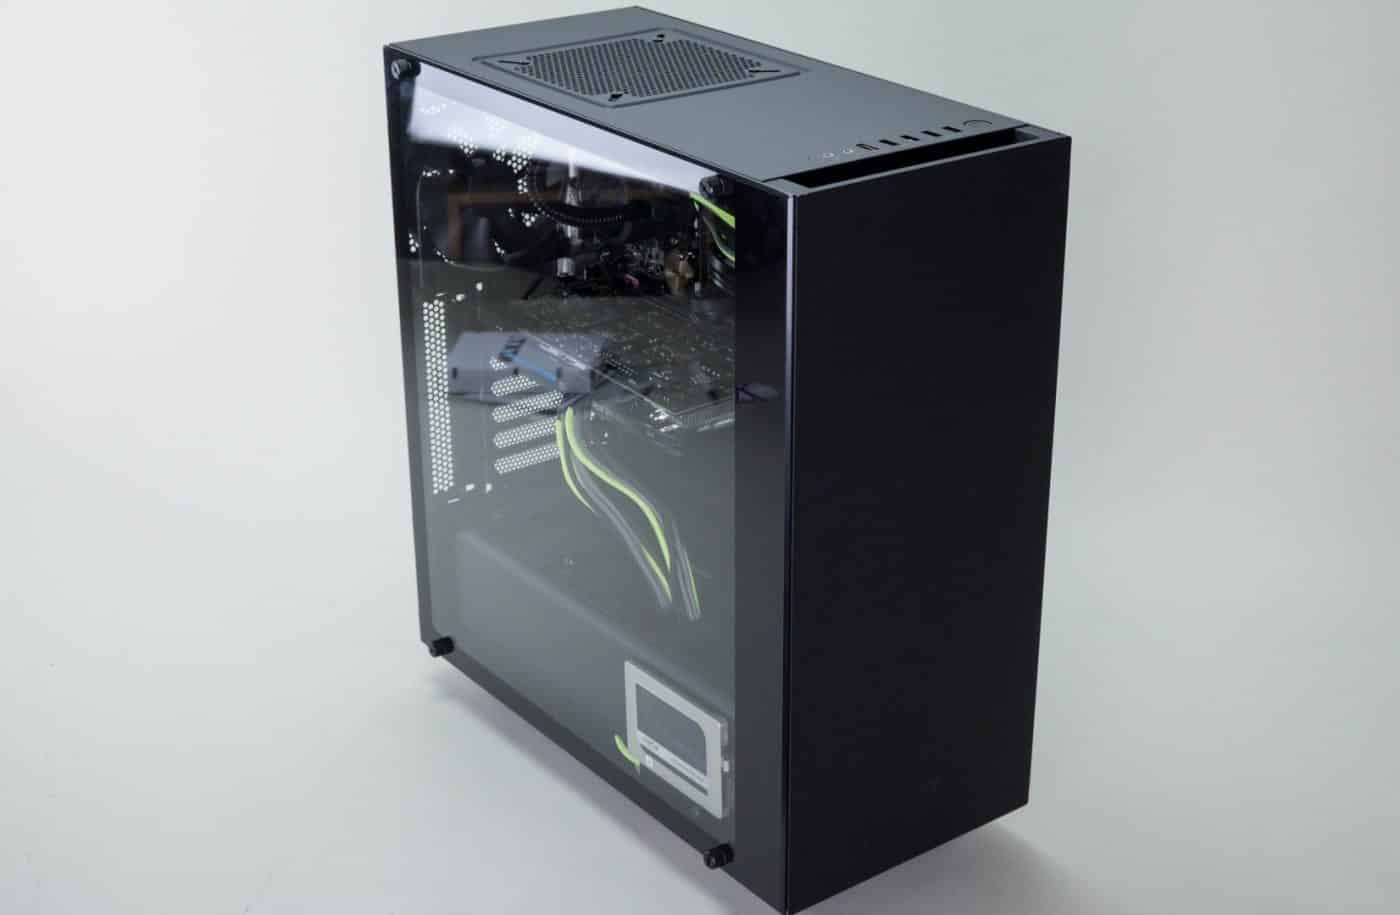
After we finished the cooler install we tidied up any rogue cables on the rear of the case and reinstalled both the tempered glass panel and the back panel. A note about the glass panel; there are rubber grommets that encircle the studs that the panels mount to. It’s a good idea and a no brainer to included them, unfortunately we found that they come off a little too easily. It’s easy enough to place them back on but losing one is a possiblility and would be fairly unfortunate.
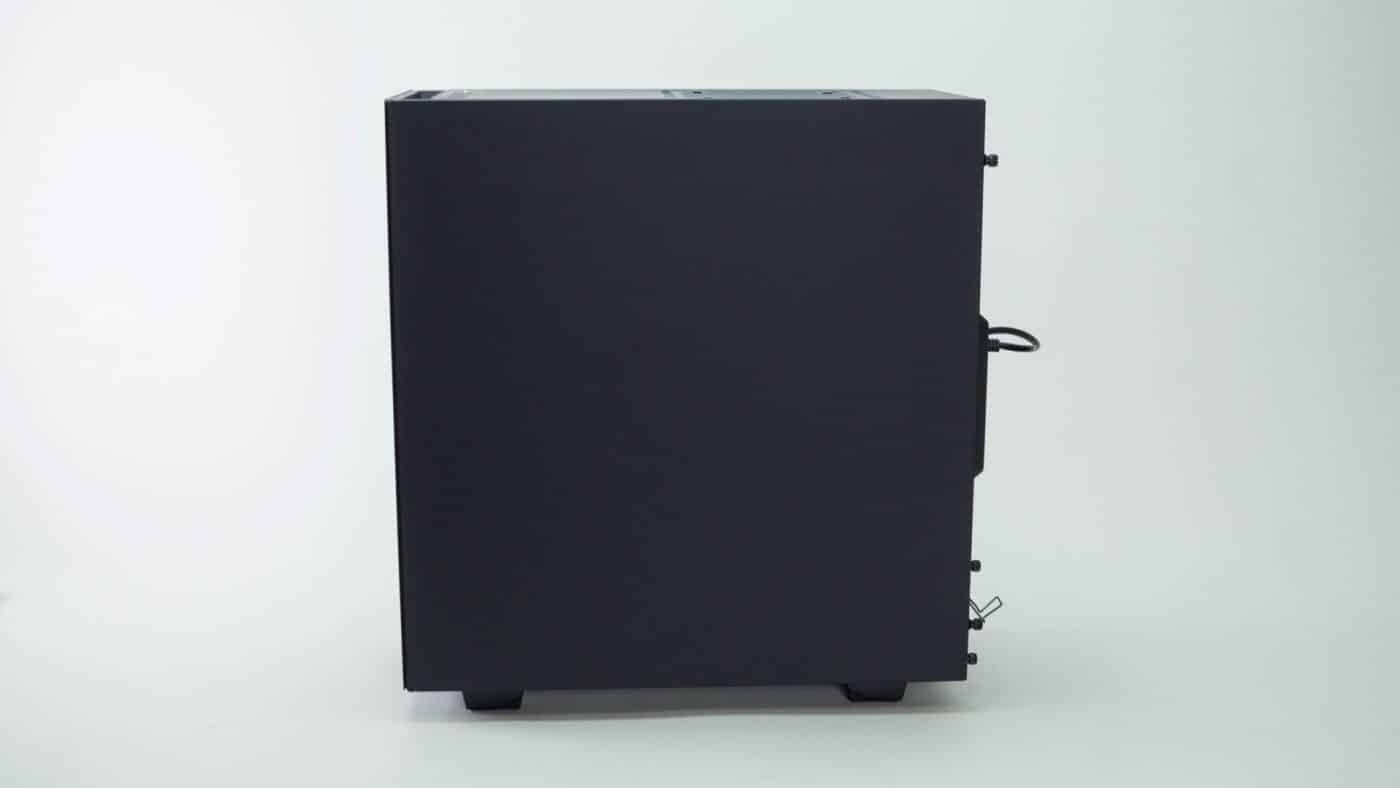
Once you finish your install and have things all buttoned back up this case is really quite the stunner. The matte finish is so dark and smooth that the auto-focus on our camera actually failed to find anything to focus on. The tempered glass is exquisite, a bit sophisticated, and gives the whole thing a certain aquarium like feel. One item that we found a bit dissapointing was that the light from the power LED actually bleeds into the case. Depending on your light setup this could be a bad thing or not a problem at all, either way it’s there. And speaking of lighting, it would be really neat if there were a version of this case that featured some interior LEDs. It would certainly be worth paying a bit more for the inclusion of that feature.


Everyone is copying the the Phanteks TG Evolve.
brilliant review, the best picture quality that I could find into the whole web
love that macro captures of small details, it is very important for people like me
thanks!