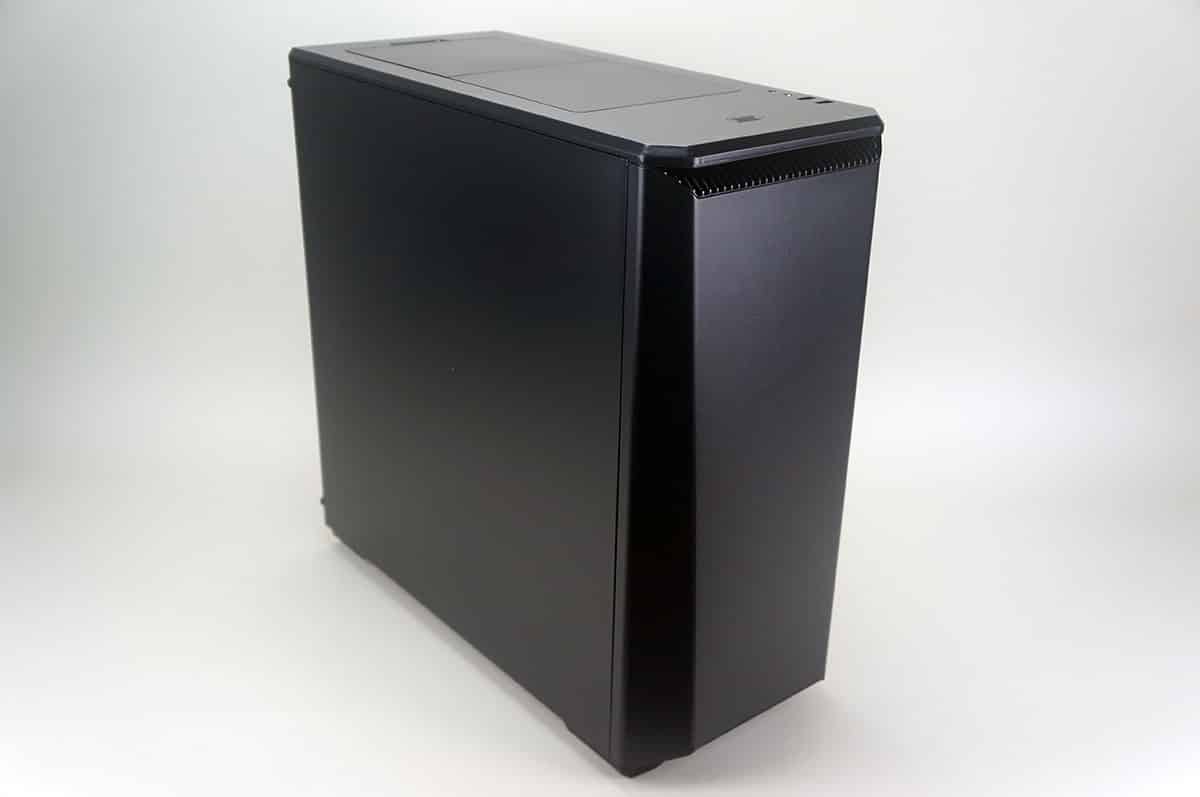
A Look Inside
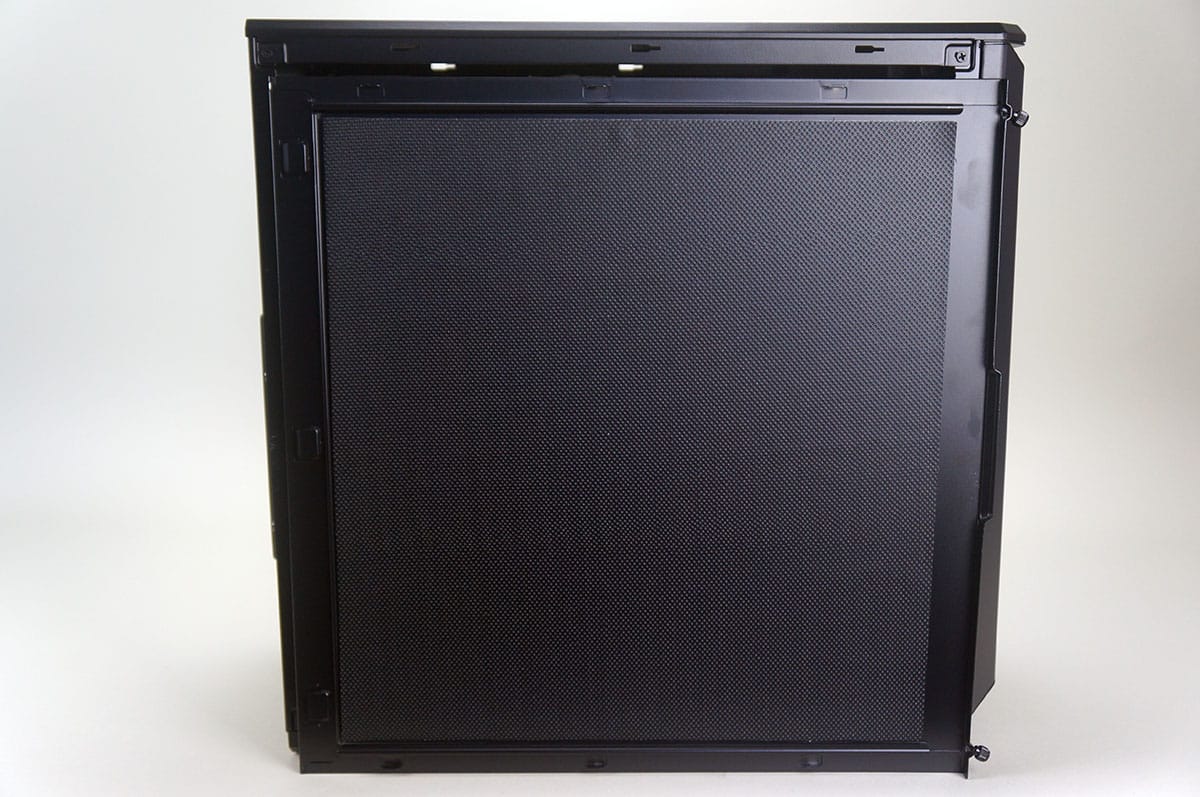
Opening the case up the first thing that I noticed was that each side panel has sound dampening material installed on it.
Once inside we have an all black interior, which is separated into two main compartments. I was really surprised at how big and open this case is.
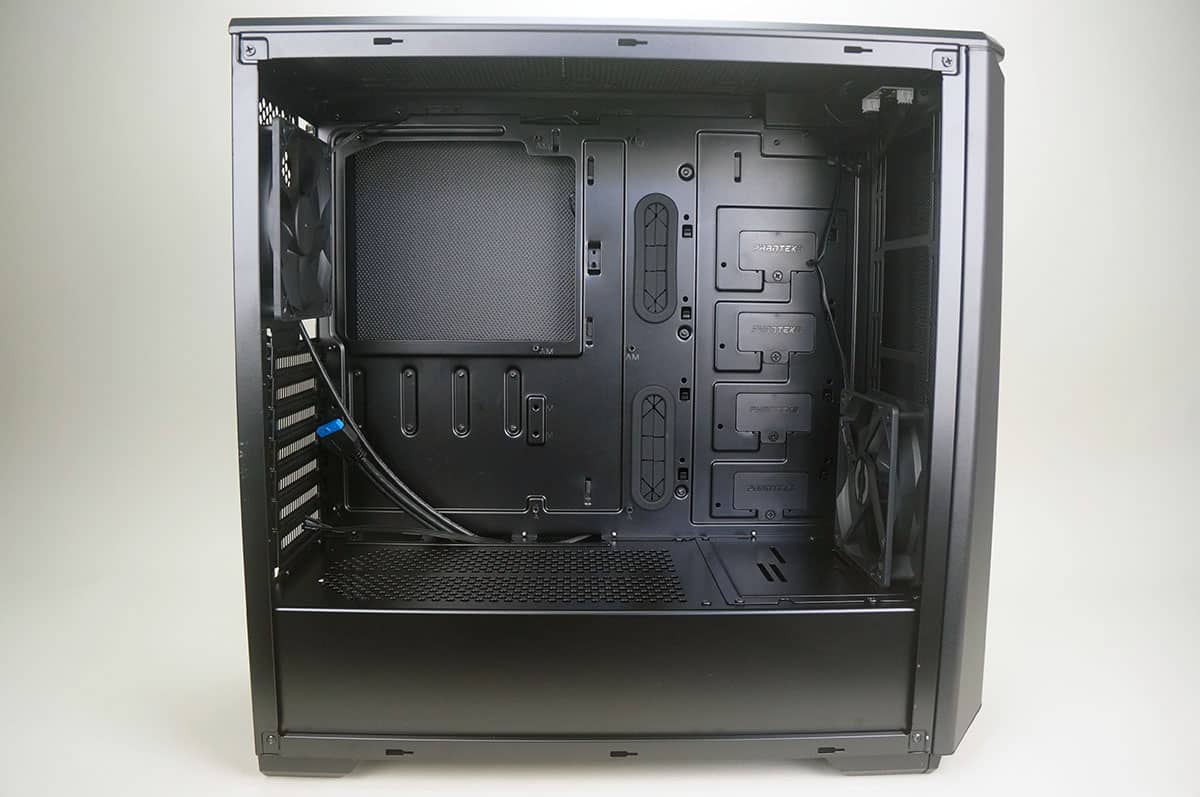
Starting at the front part of the case we have Phanteks’ modular system placements, there are four total. These allow you to install one of Phanteks’ modular HDD brackets. These brackets do not come with the case, but can be purchased for $6.99. They allow you to install 2.5-inch or 3.5-inch hard drives here. Also at the front of the case is the 120 mm intake fan. It looks like it is blocked from being moved down by the large power supply cover, but there is a section you can remove to so you can move it down. Once this section is removed it will make room for larger radiators and push / pull setups. This section that you can remove also can be used to install Phanteks’ pump bracket, which sells for $7.99.
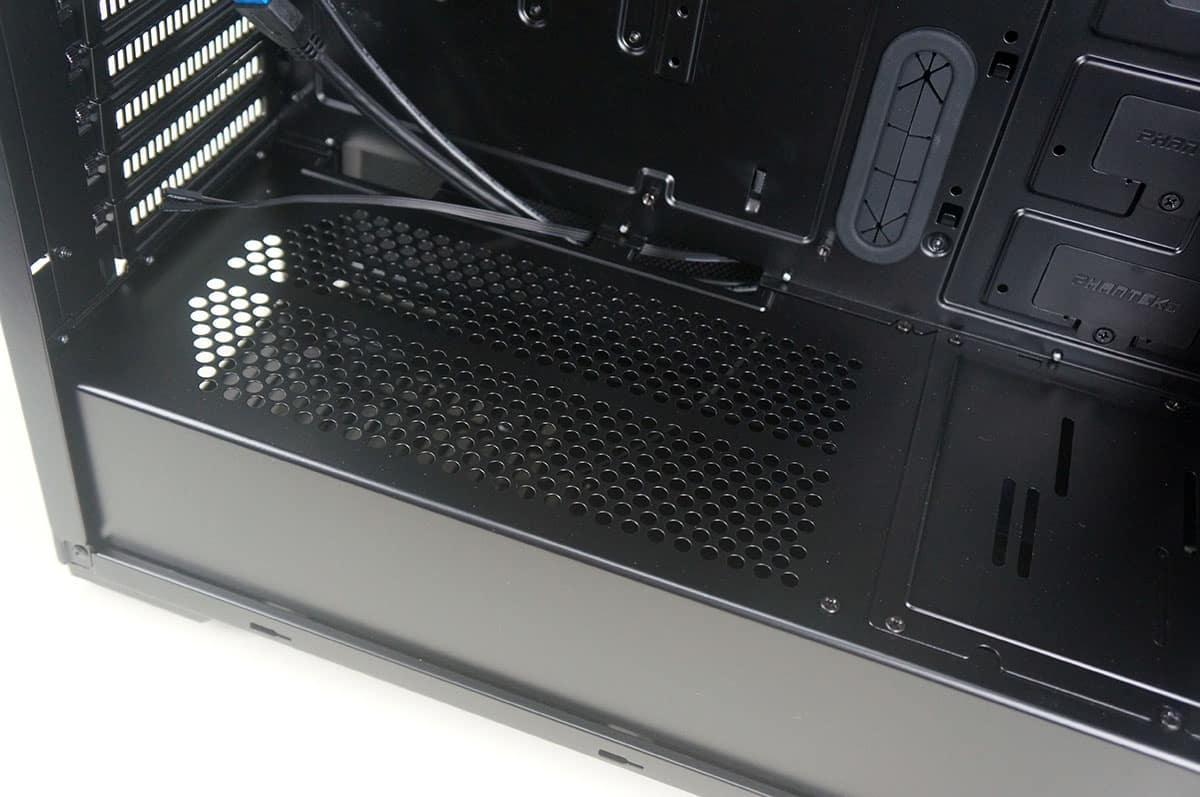
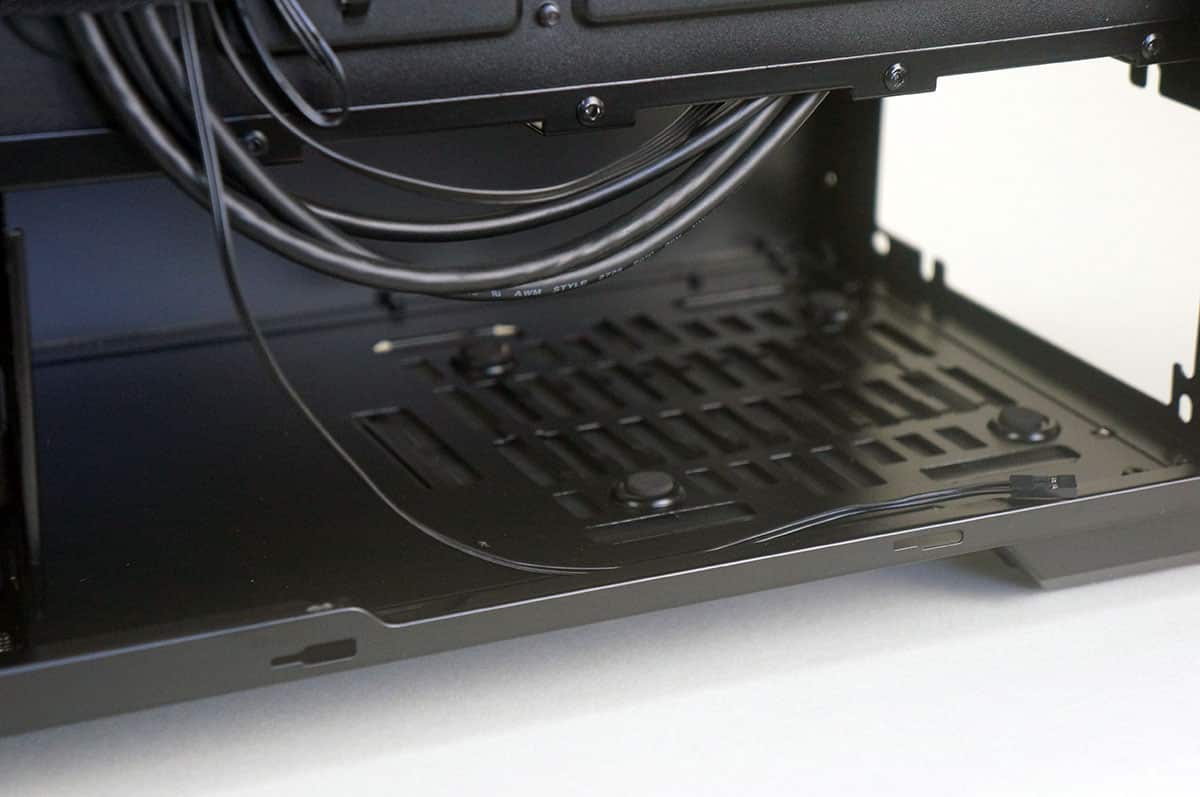
The power supply cover goes across the entire bottom of the case separating the case into two sections. Towards the back part of the power supply cover (where your power supply will be installed) there are plenty of ventilation holes, which will allow your power supply to breathe. There are also two large cable routing holes in the power supply cover.
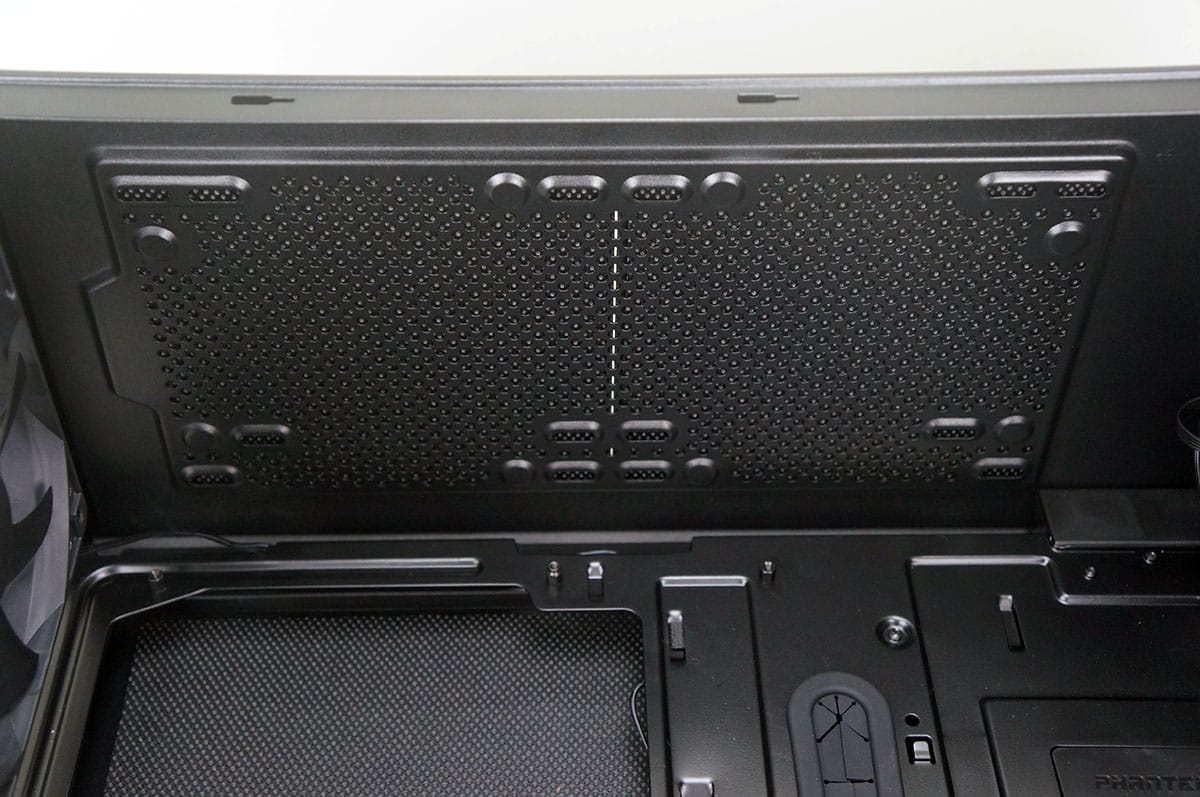
Taking a look at the motherboard tray this case actually supports motherboards up to E-ATX, but the two cable routing holes in the middle of the motherboard tray will be lost. You will also notice the large CPU cutout that allows you to install aftermarket CPU coolers without having to remove your motherboard.
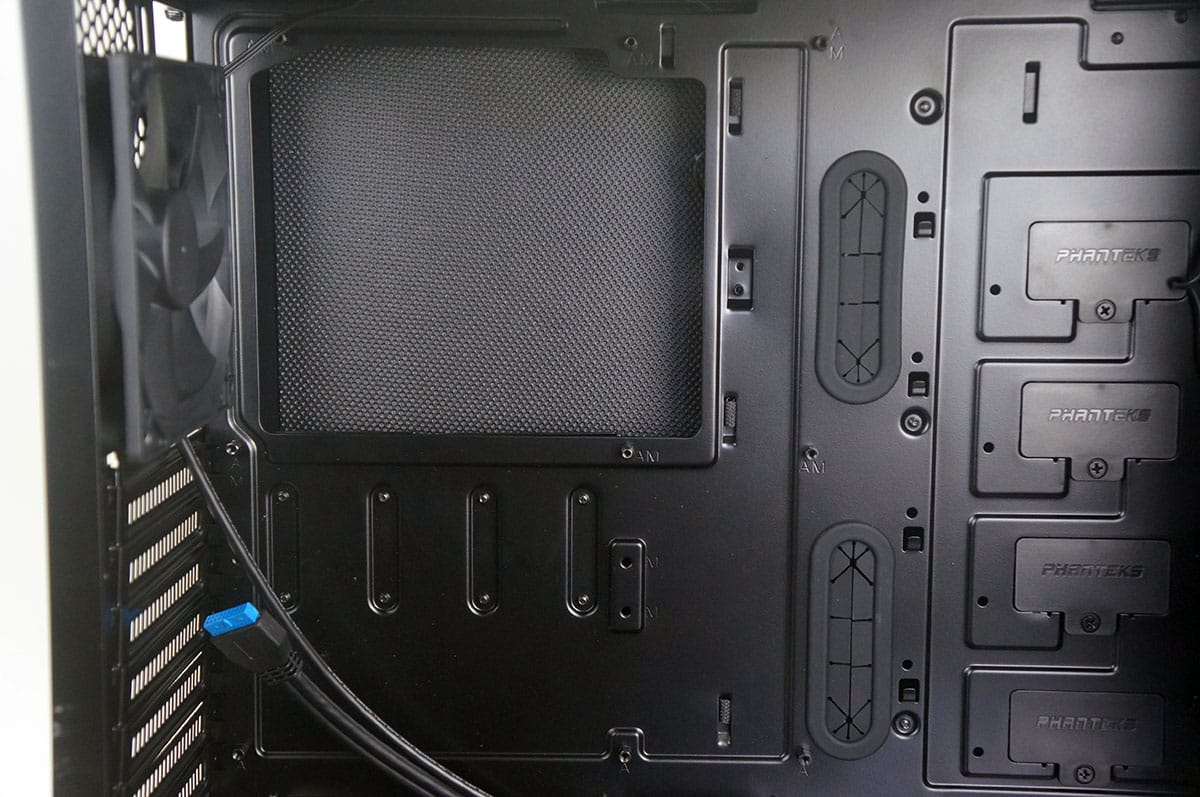
Up at the top of the case we of course have our fan mounts. Taking a look at these in relationship to where your motherboard is going to mount it does not look like you are going to be able to install a water cooler up here.
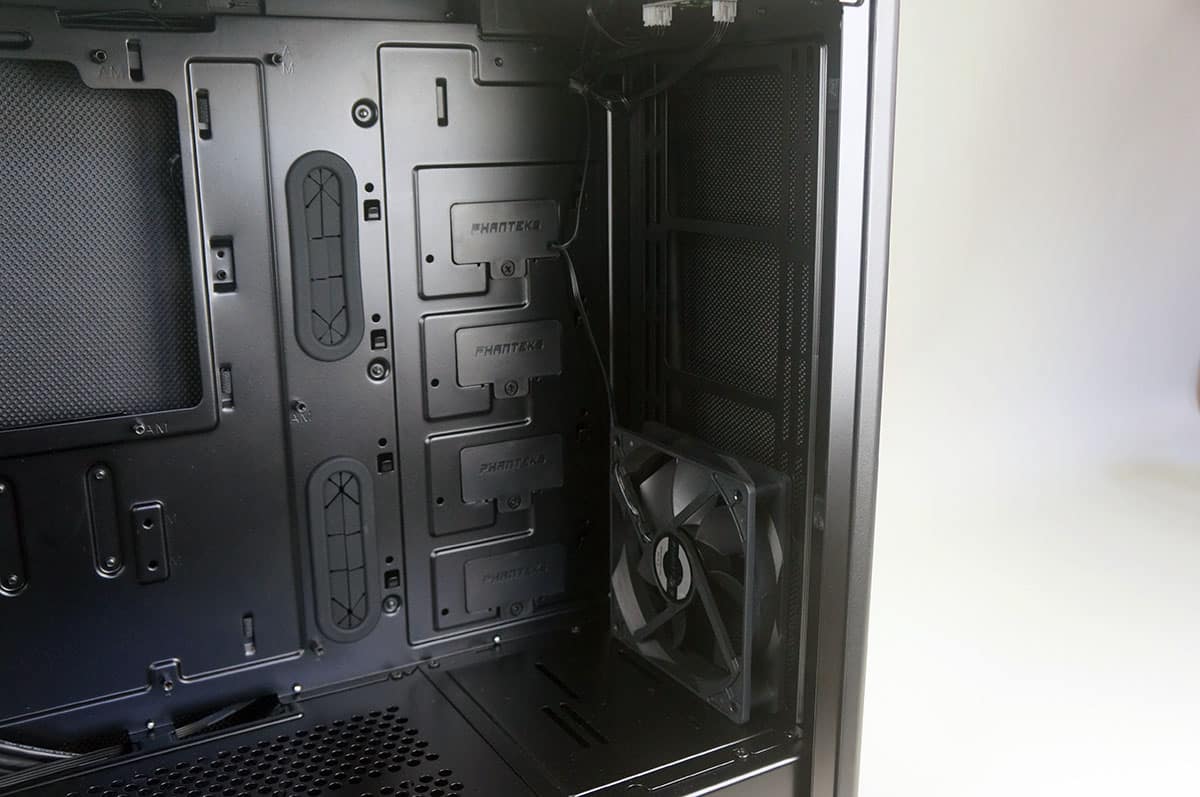
Removing the opposite side panel we can take a look at the backside of the case. The first thing that I noticed was the velcro cable management straps that help organize all of your wires.
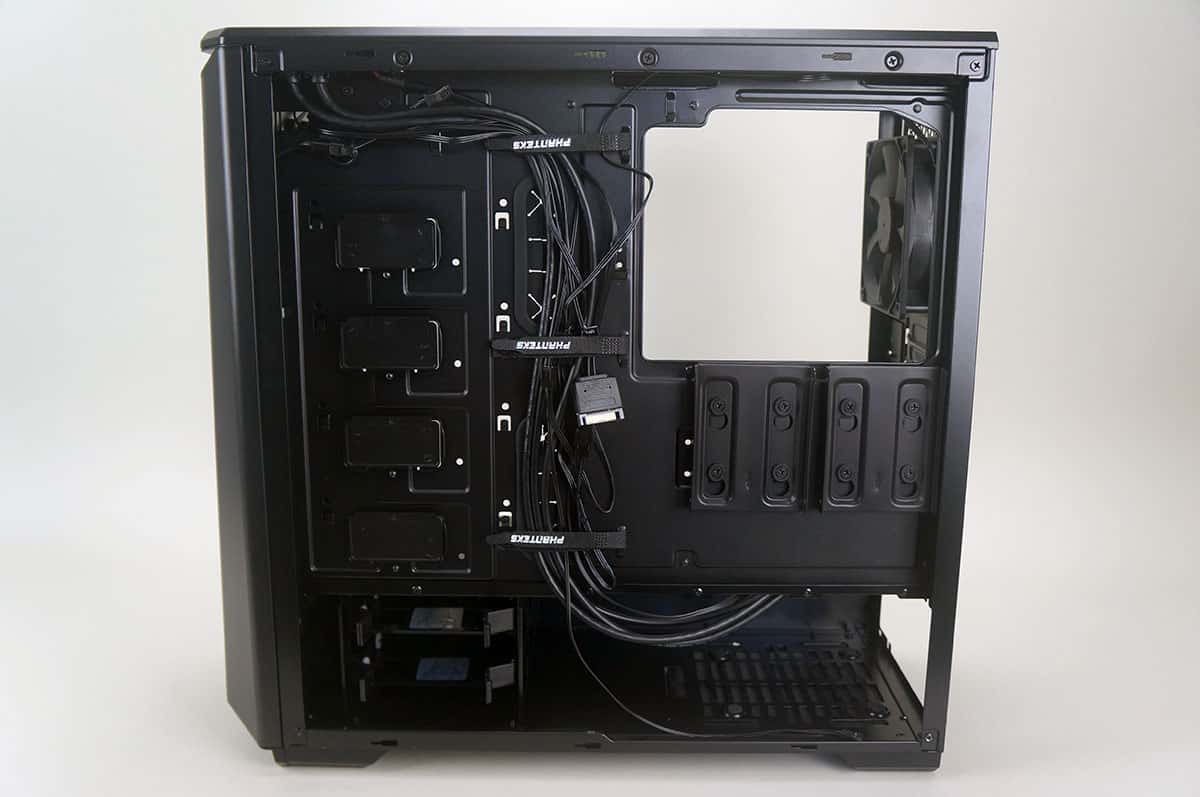
Right below the CPU cutout are two 2.5-inch hard drive mounts. These are removable so you can easily install your hard drive and then place it right back in the case.

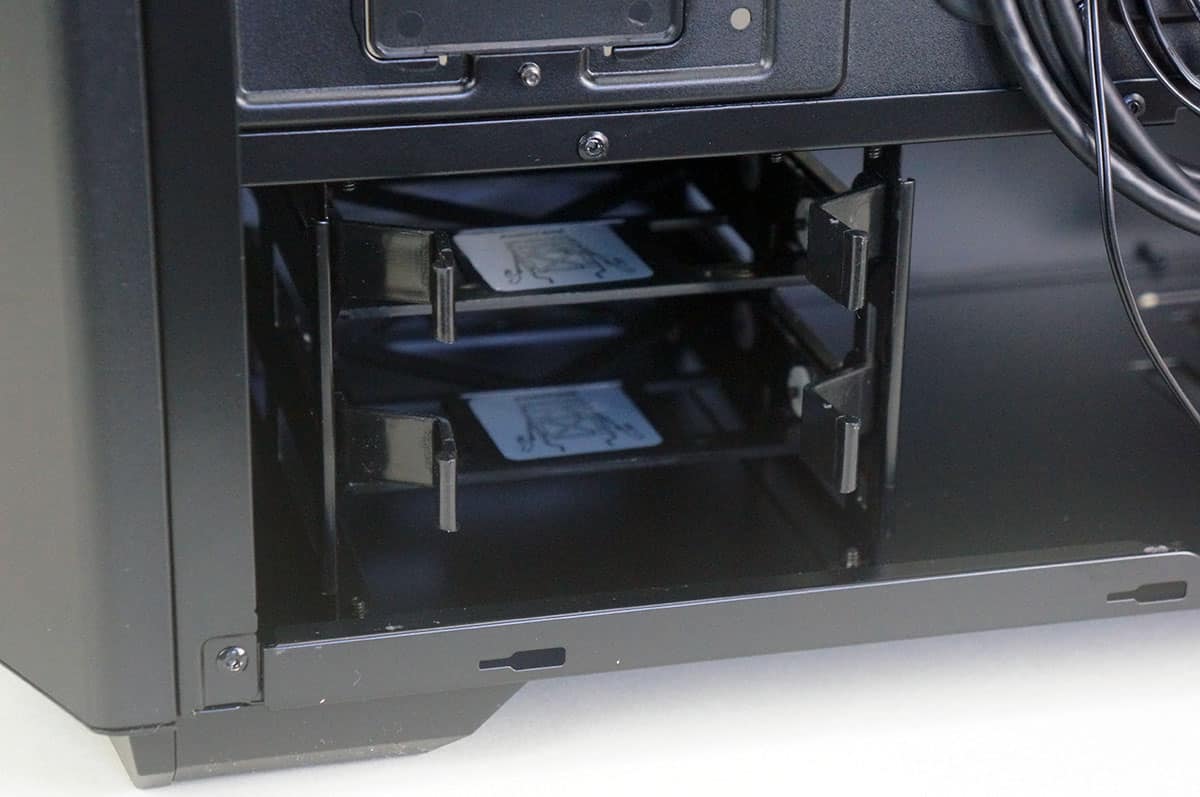
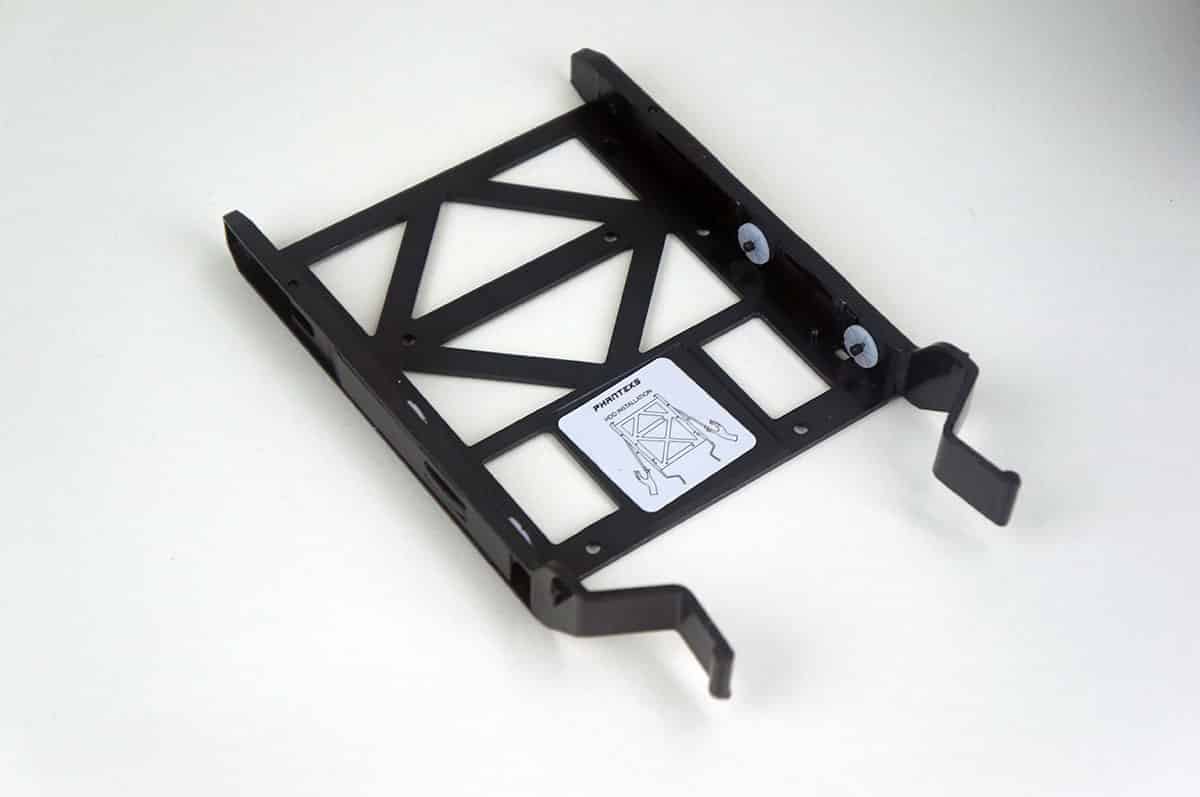
Towards the front of the case in the bottom is a hard drive cage that has two plastic hard drive cages, which support 2.5-inch and 3.5-inch hard drives. These trays are of course removable as well.
Finally at the back part of the case we have our power supply mount.
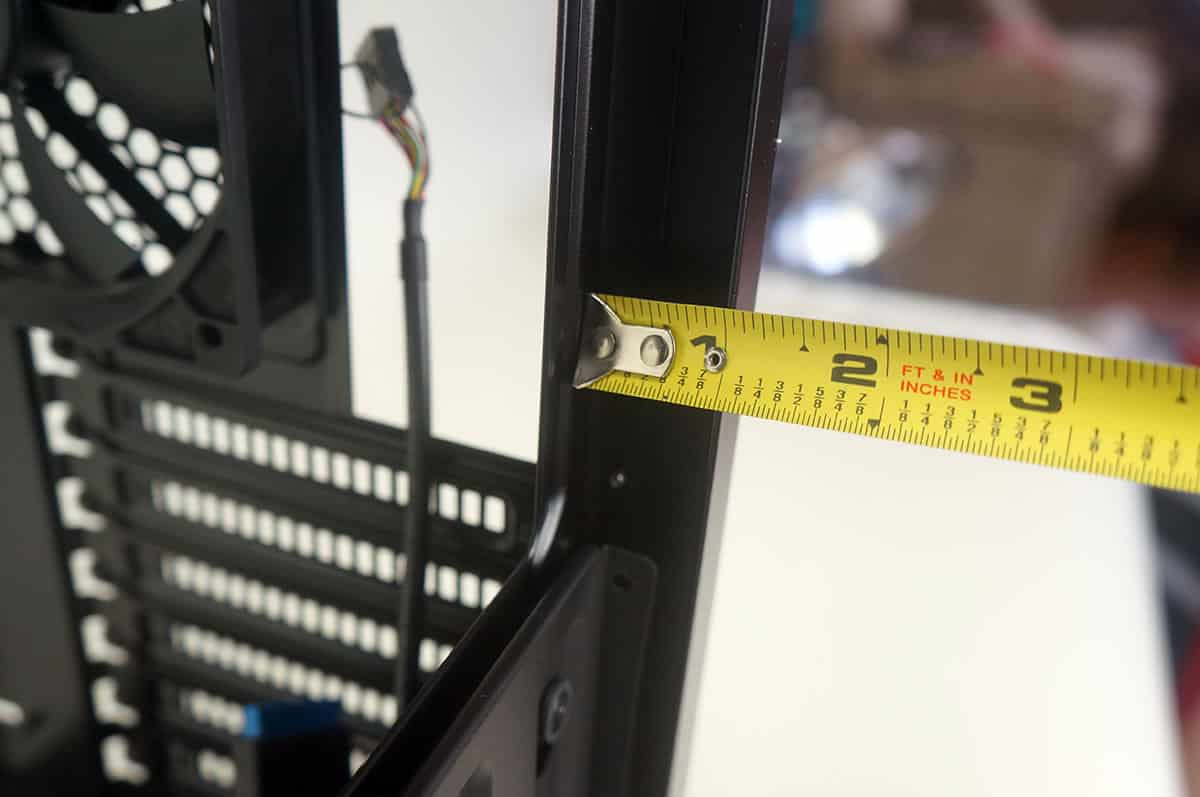
As far a space behind the motherboard tray there is just about an inch between the back of the motherboard tray and the back of the case. This should give you ample room to route all of your cables.