Installation
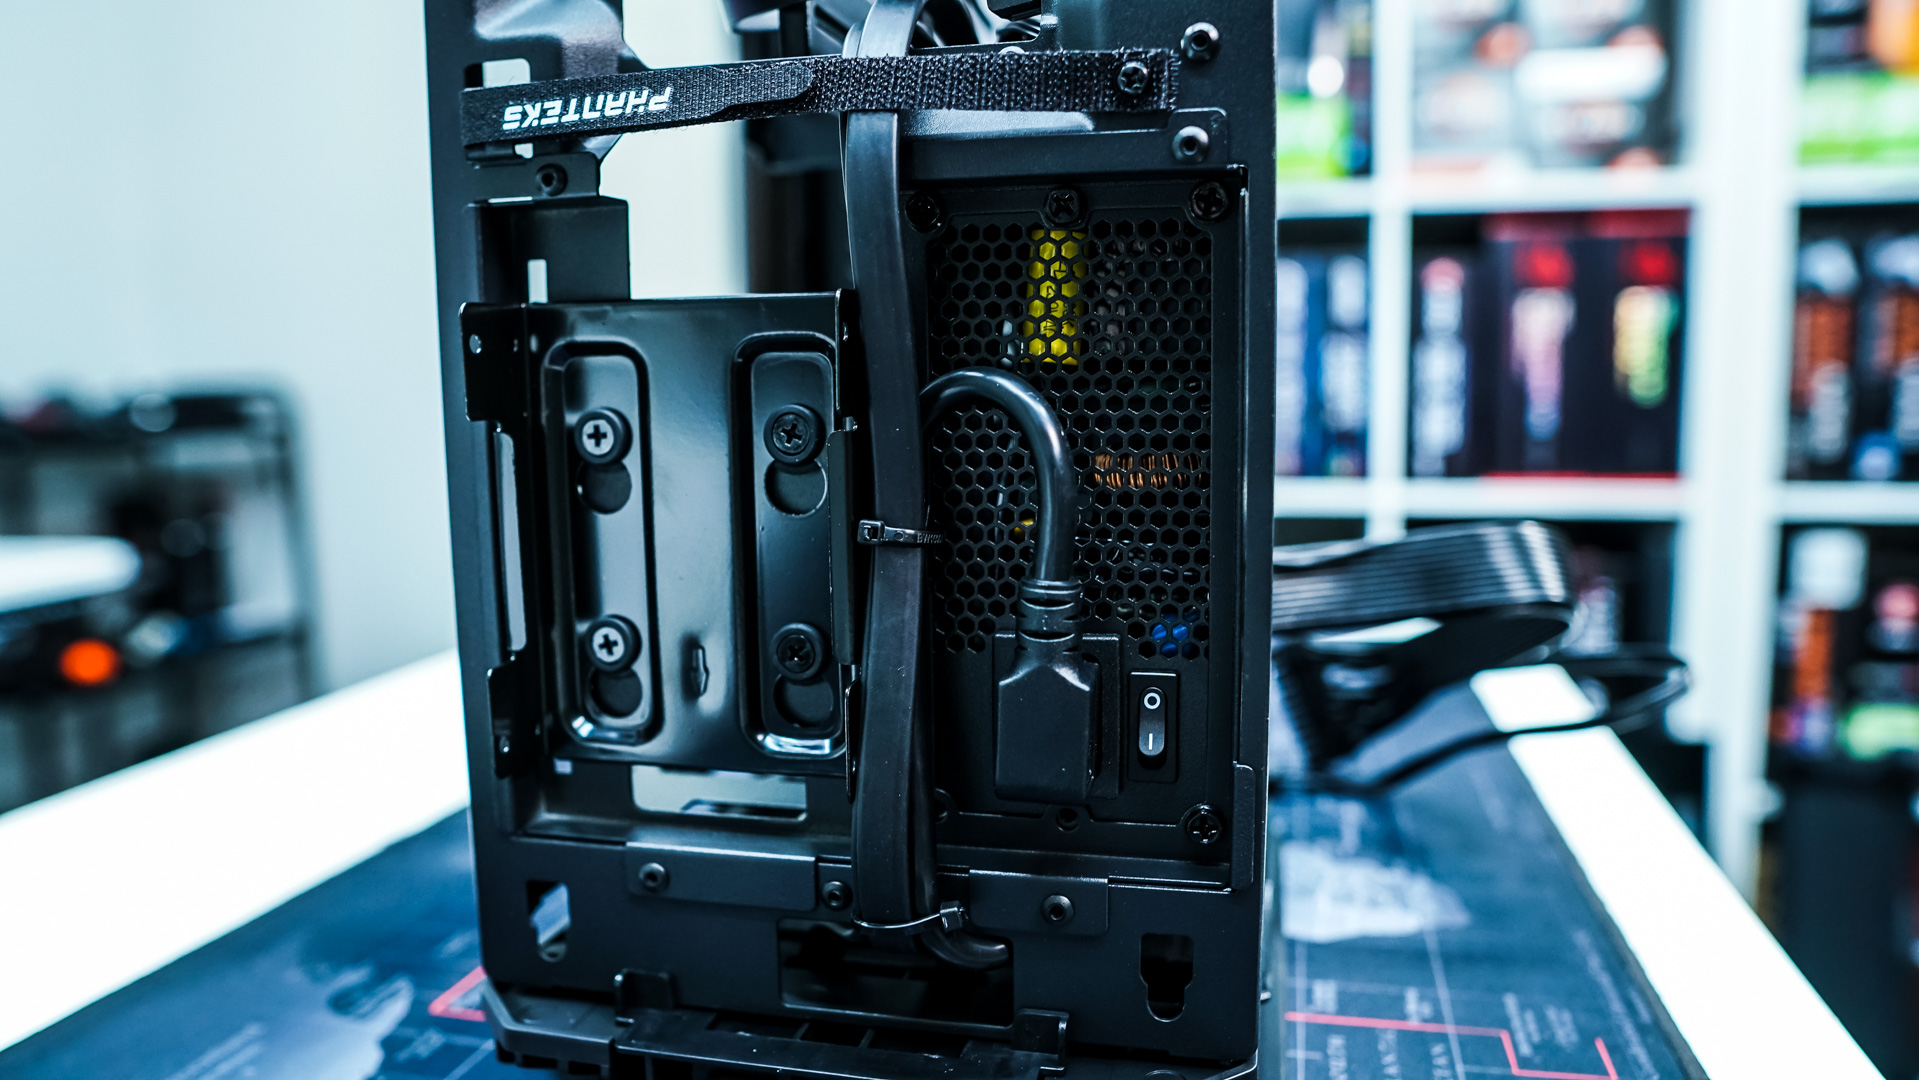
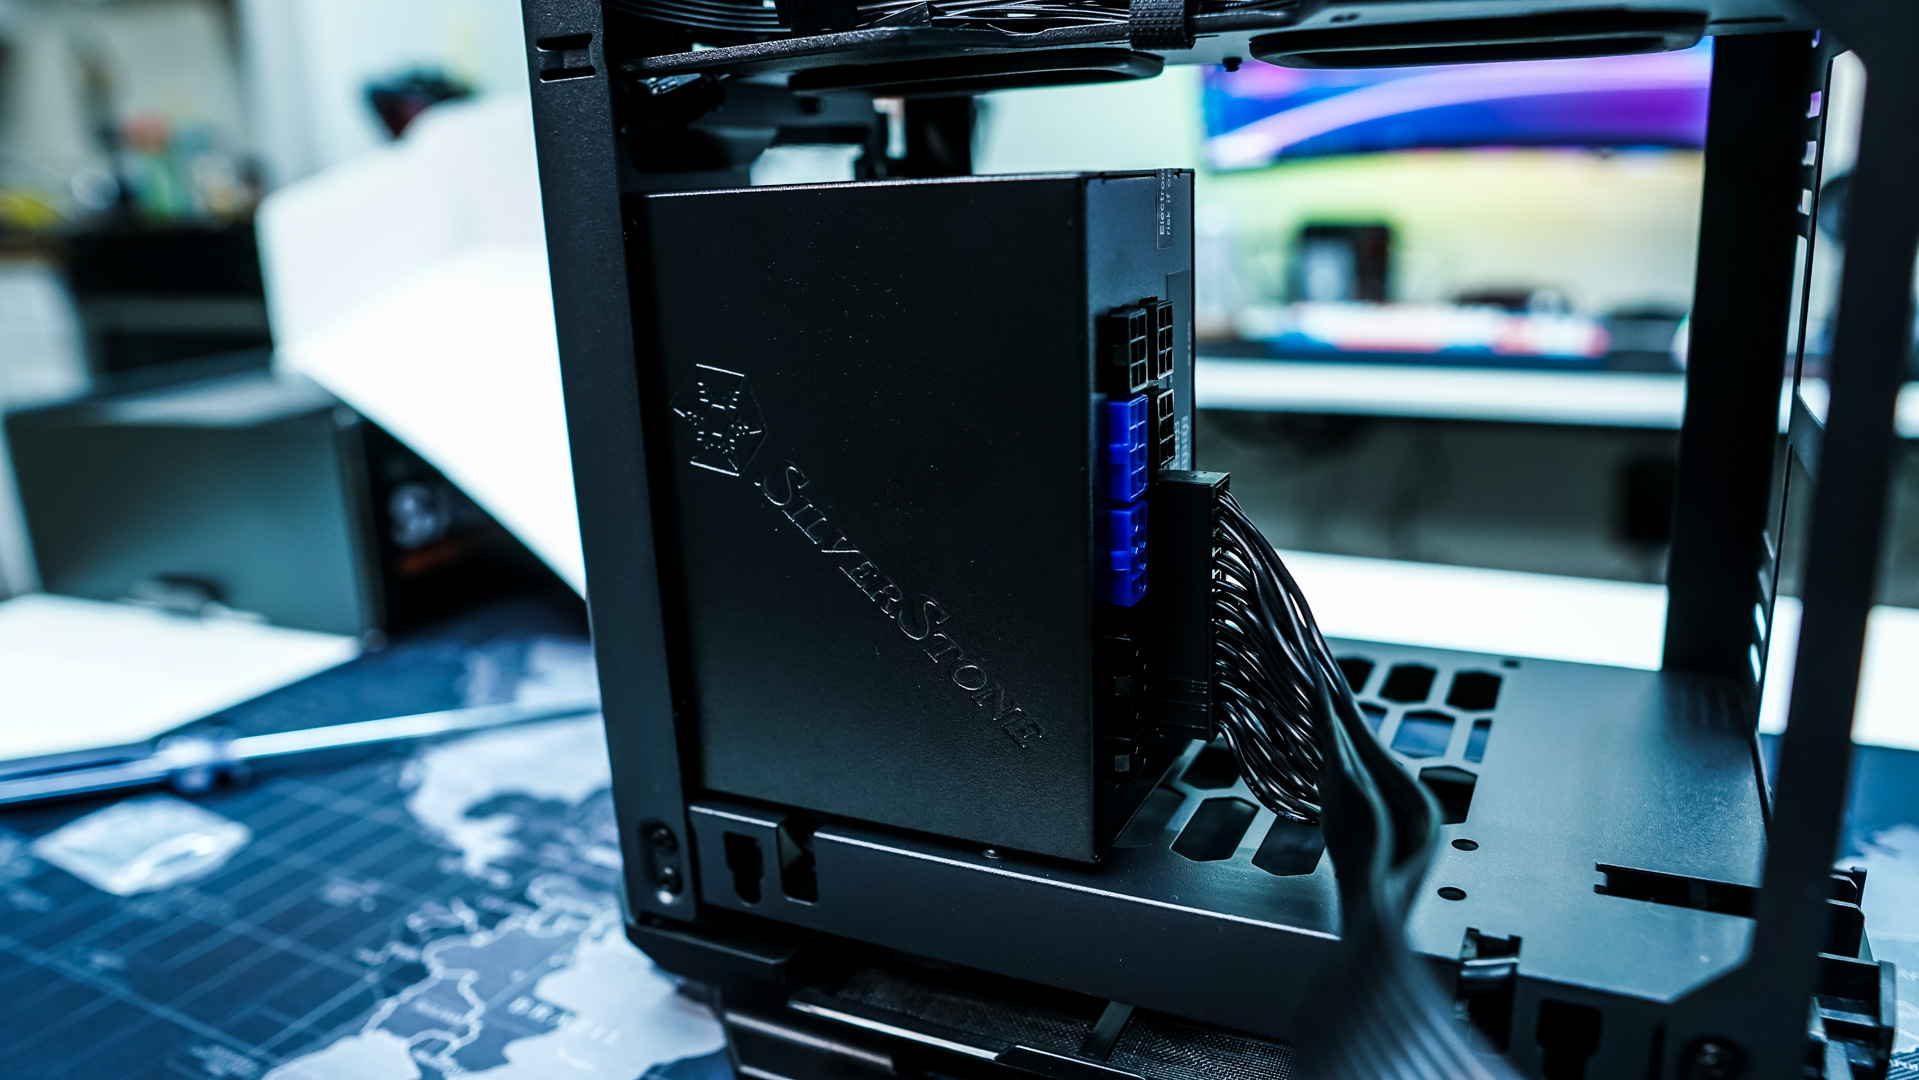
Like any mini-ITX case installation can be a bit tricky, but Phanteks makes it pretty easy, just make sure you follow their included directions. The first thing you are going to want to do is install your power supply. It easily slots in, be sure to connect the power adapter.
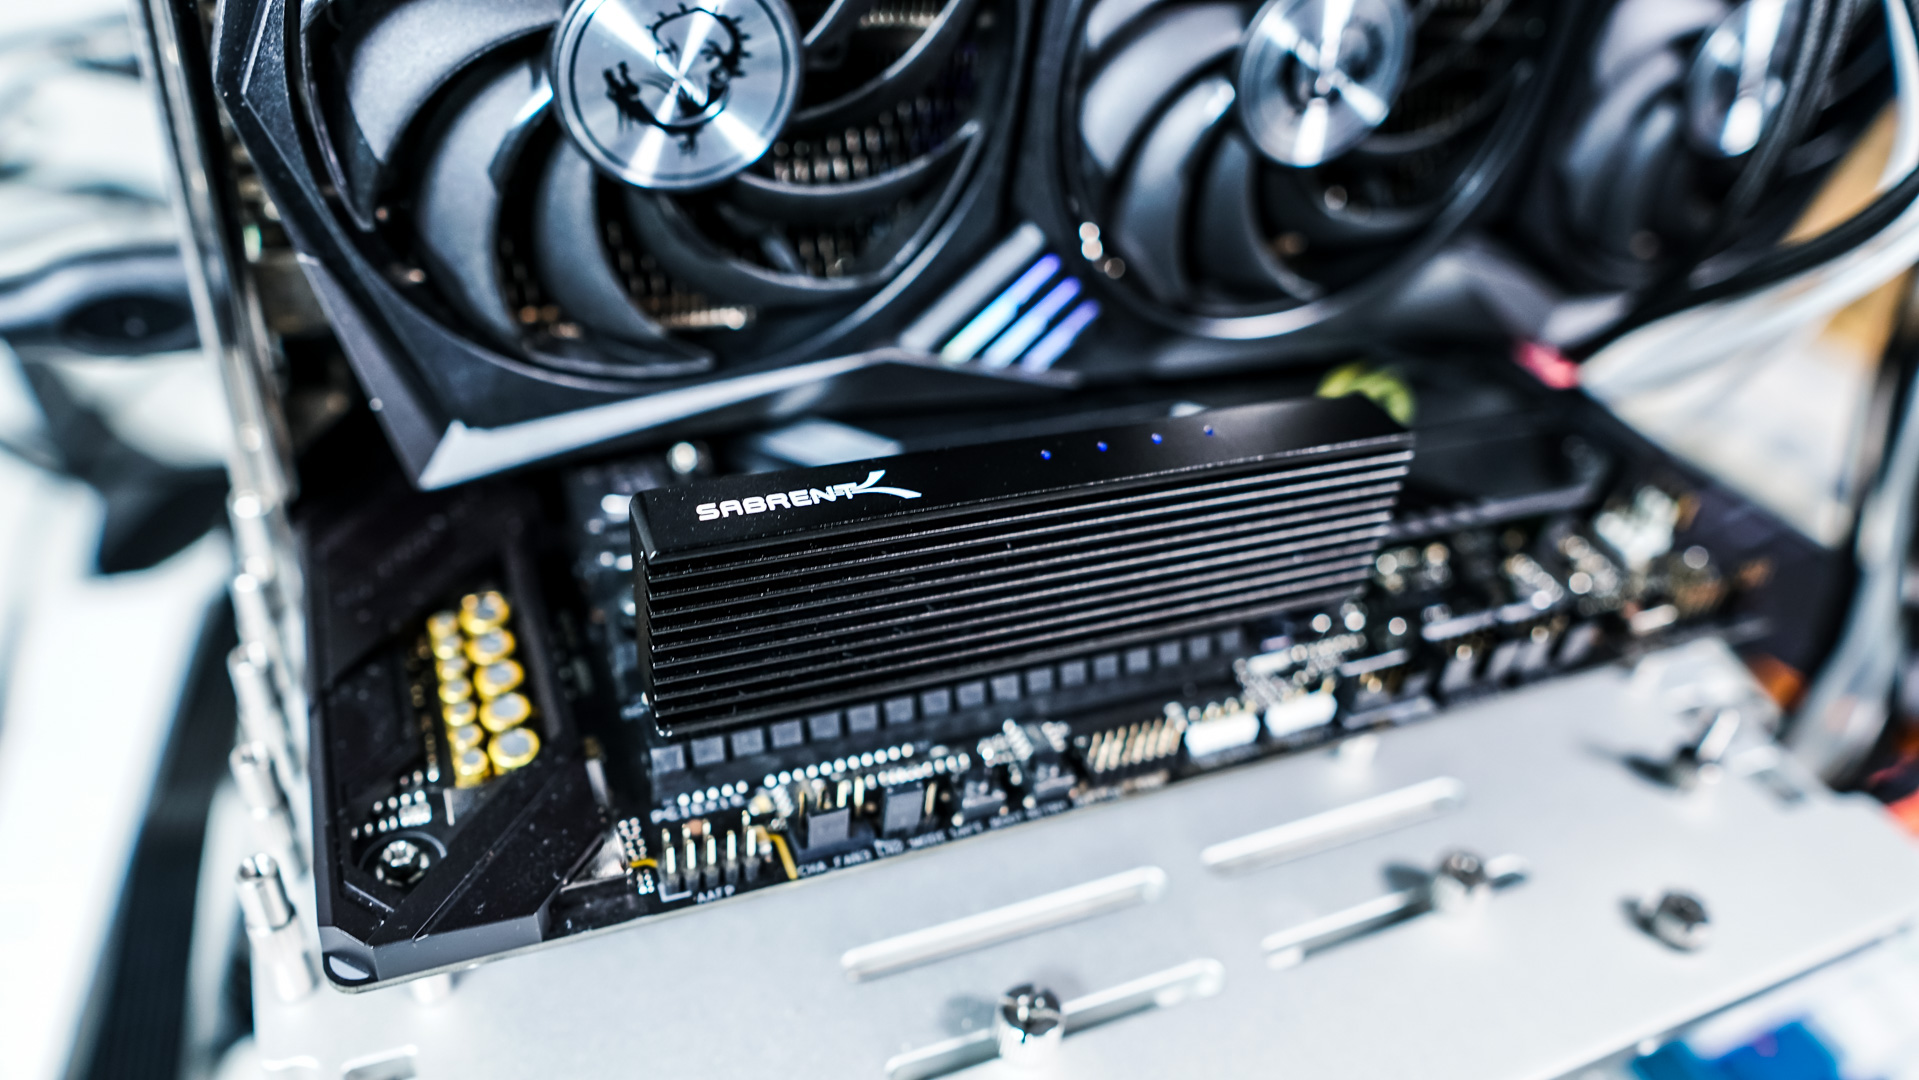
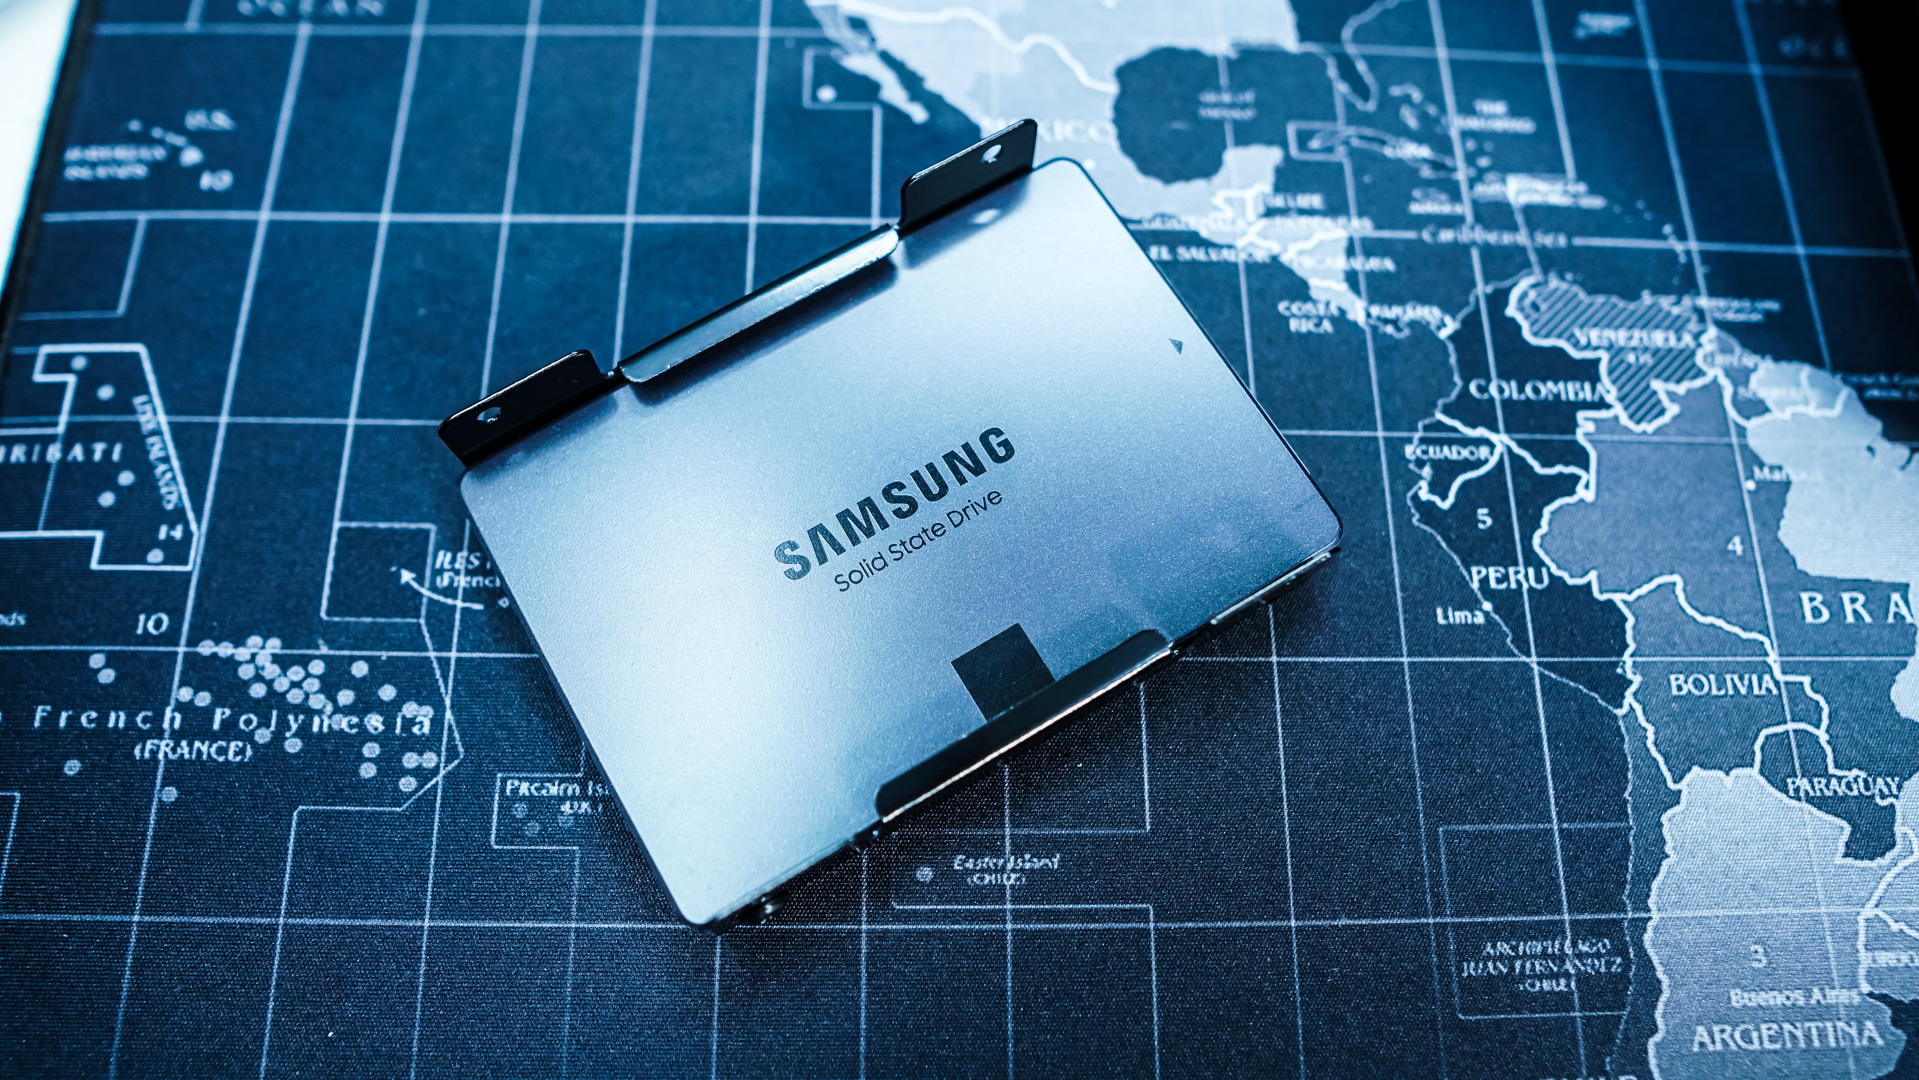
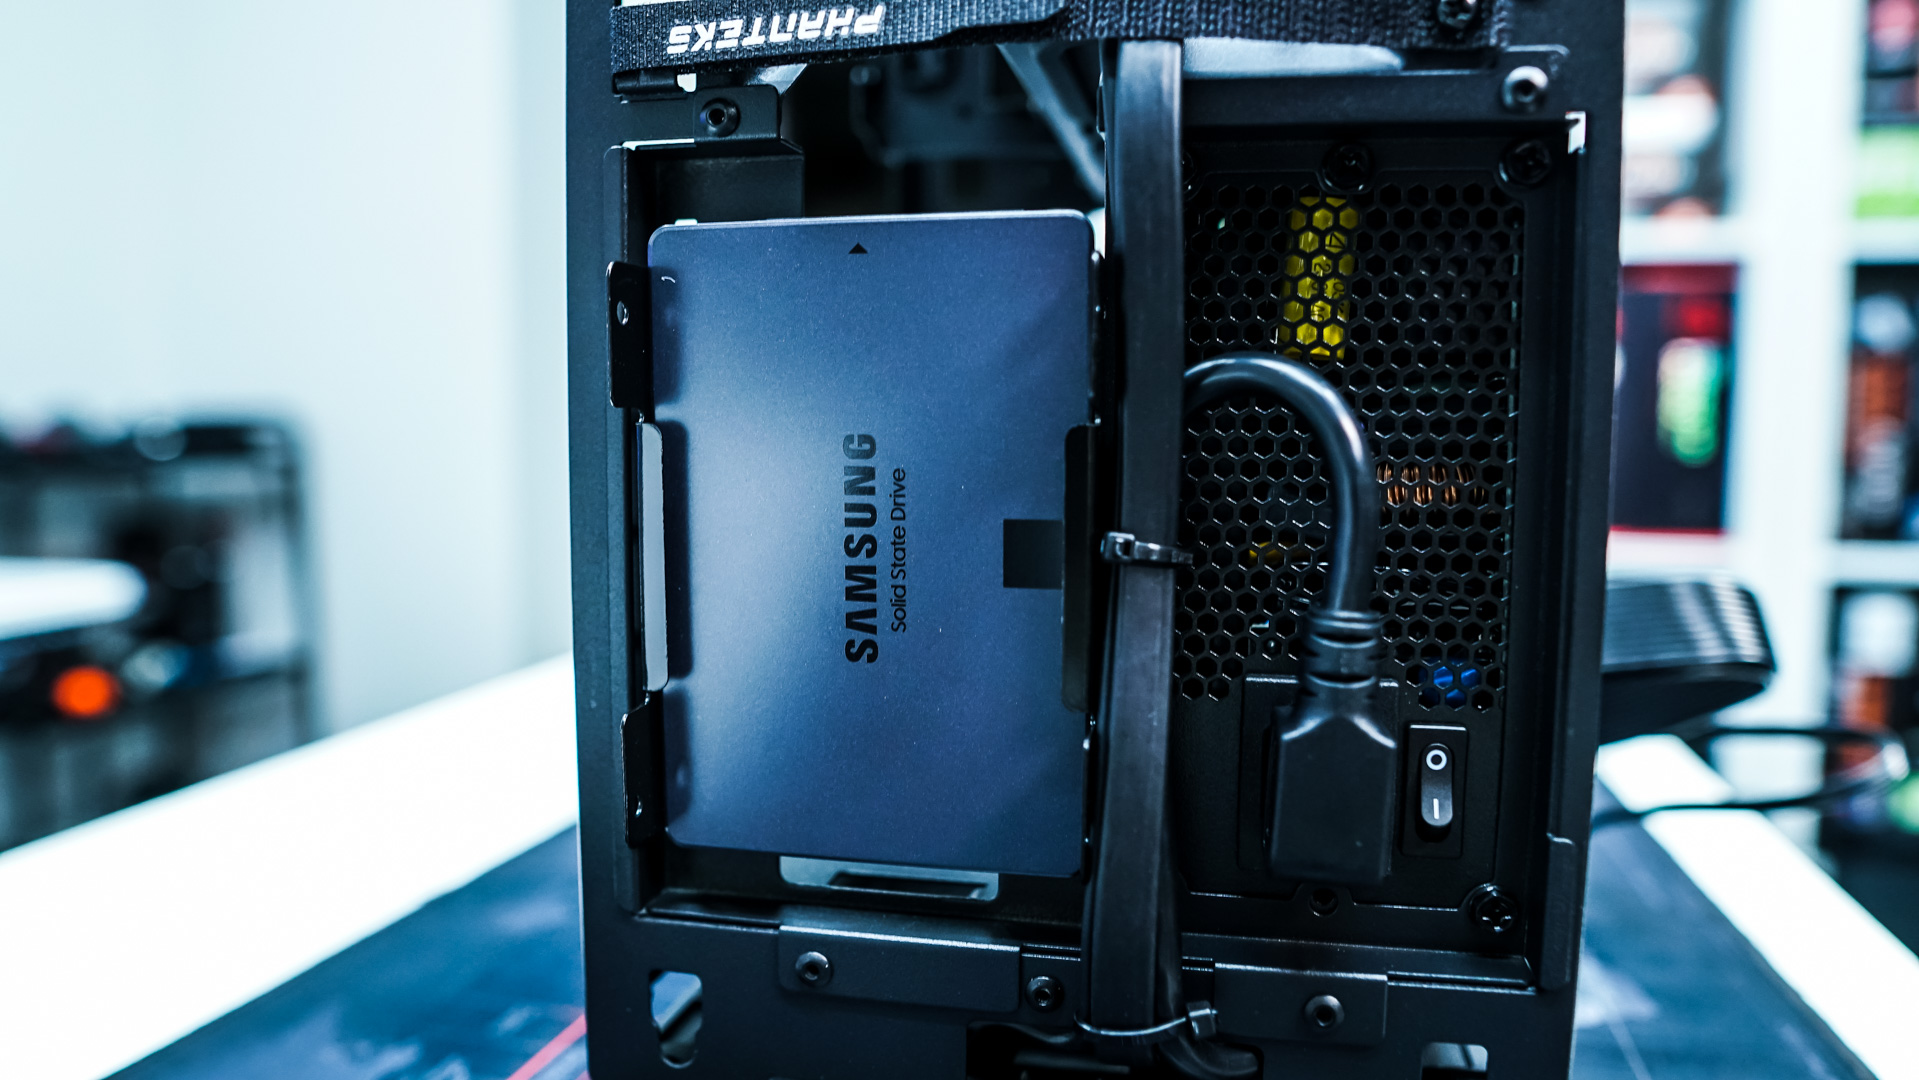
The next thing to install is our storage. We are going with a single 2.5-inch drive so I decided to use the removable bracket. So just take it off the case, install your drive and reinstall it. Be sure that the connections of your drive are facing up.
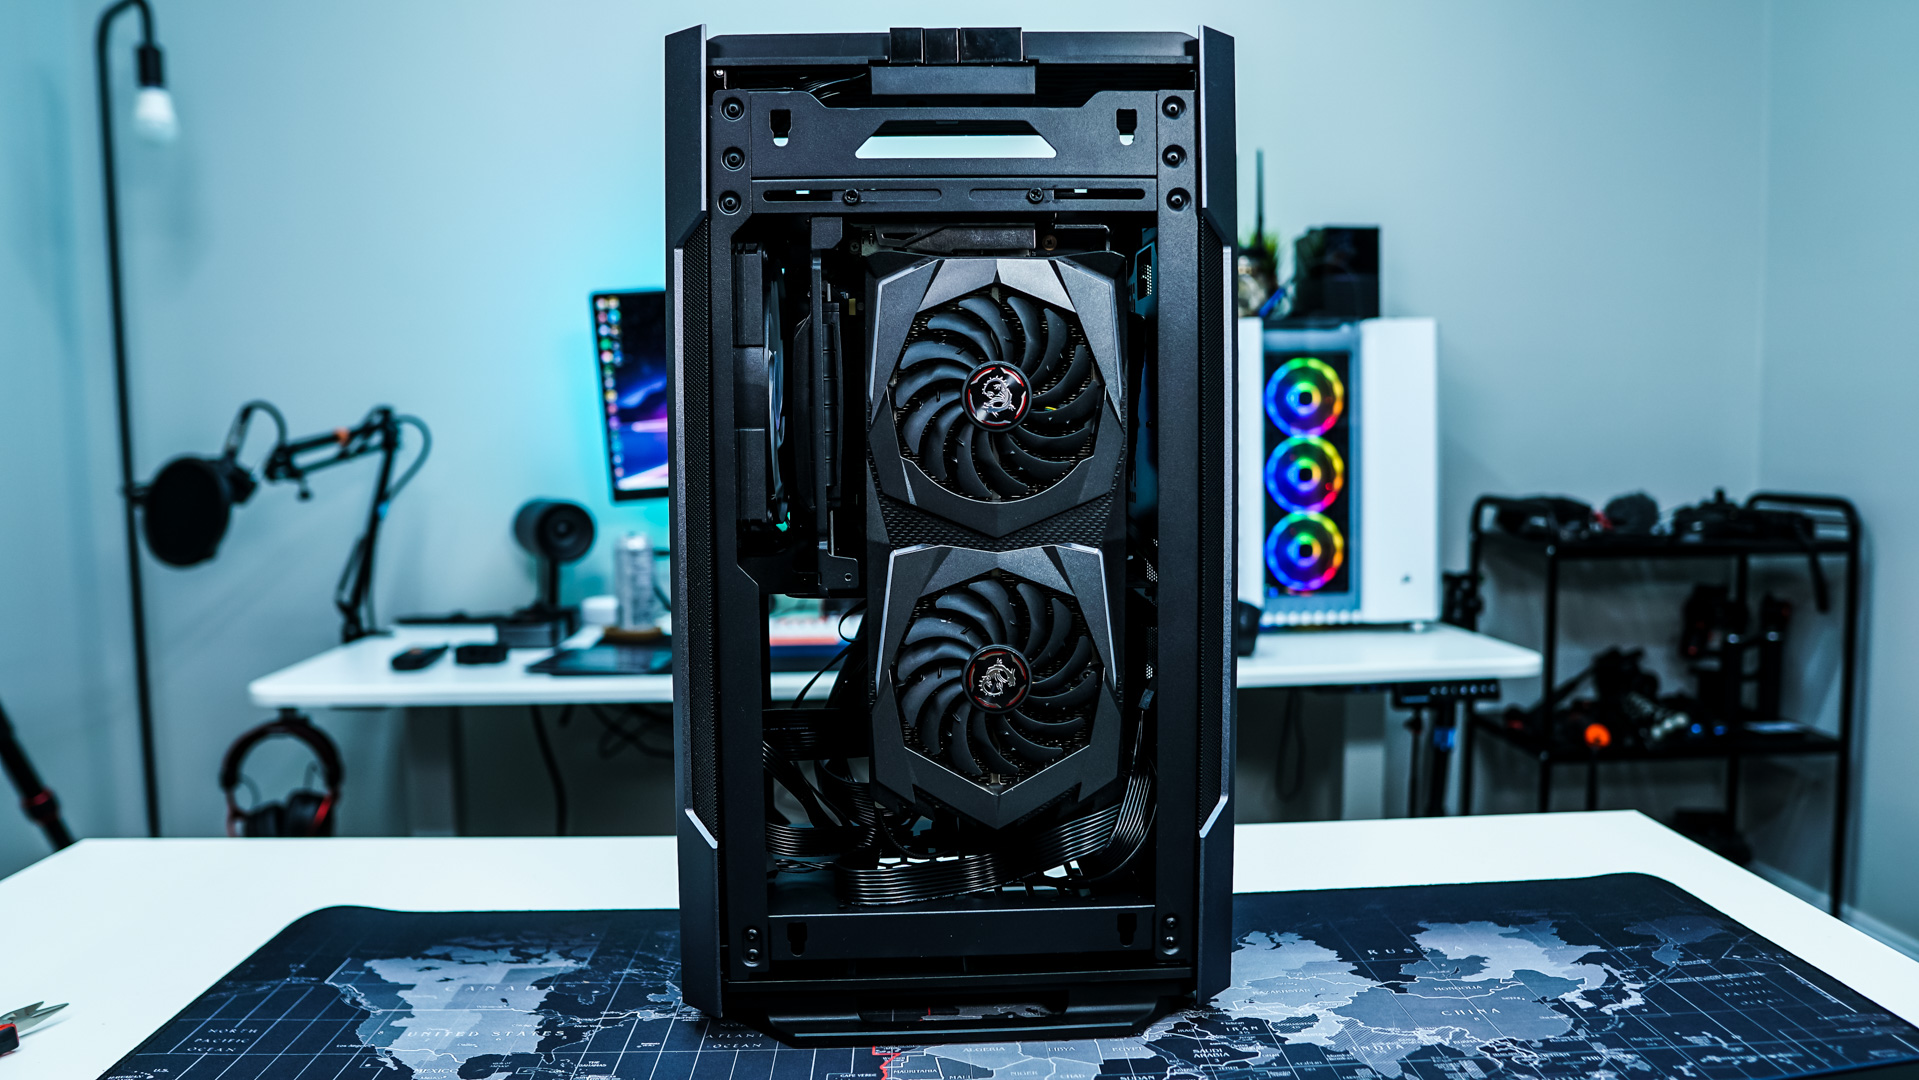
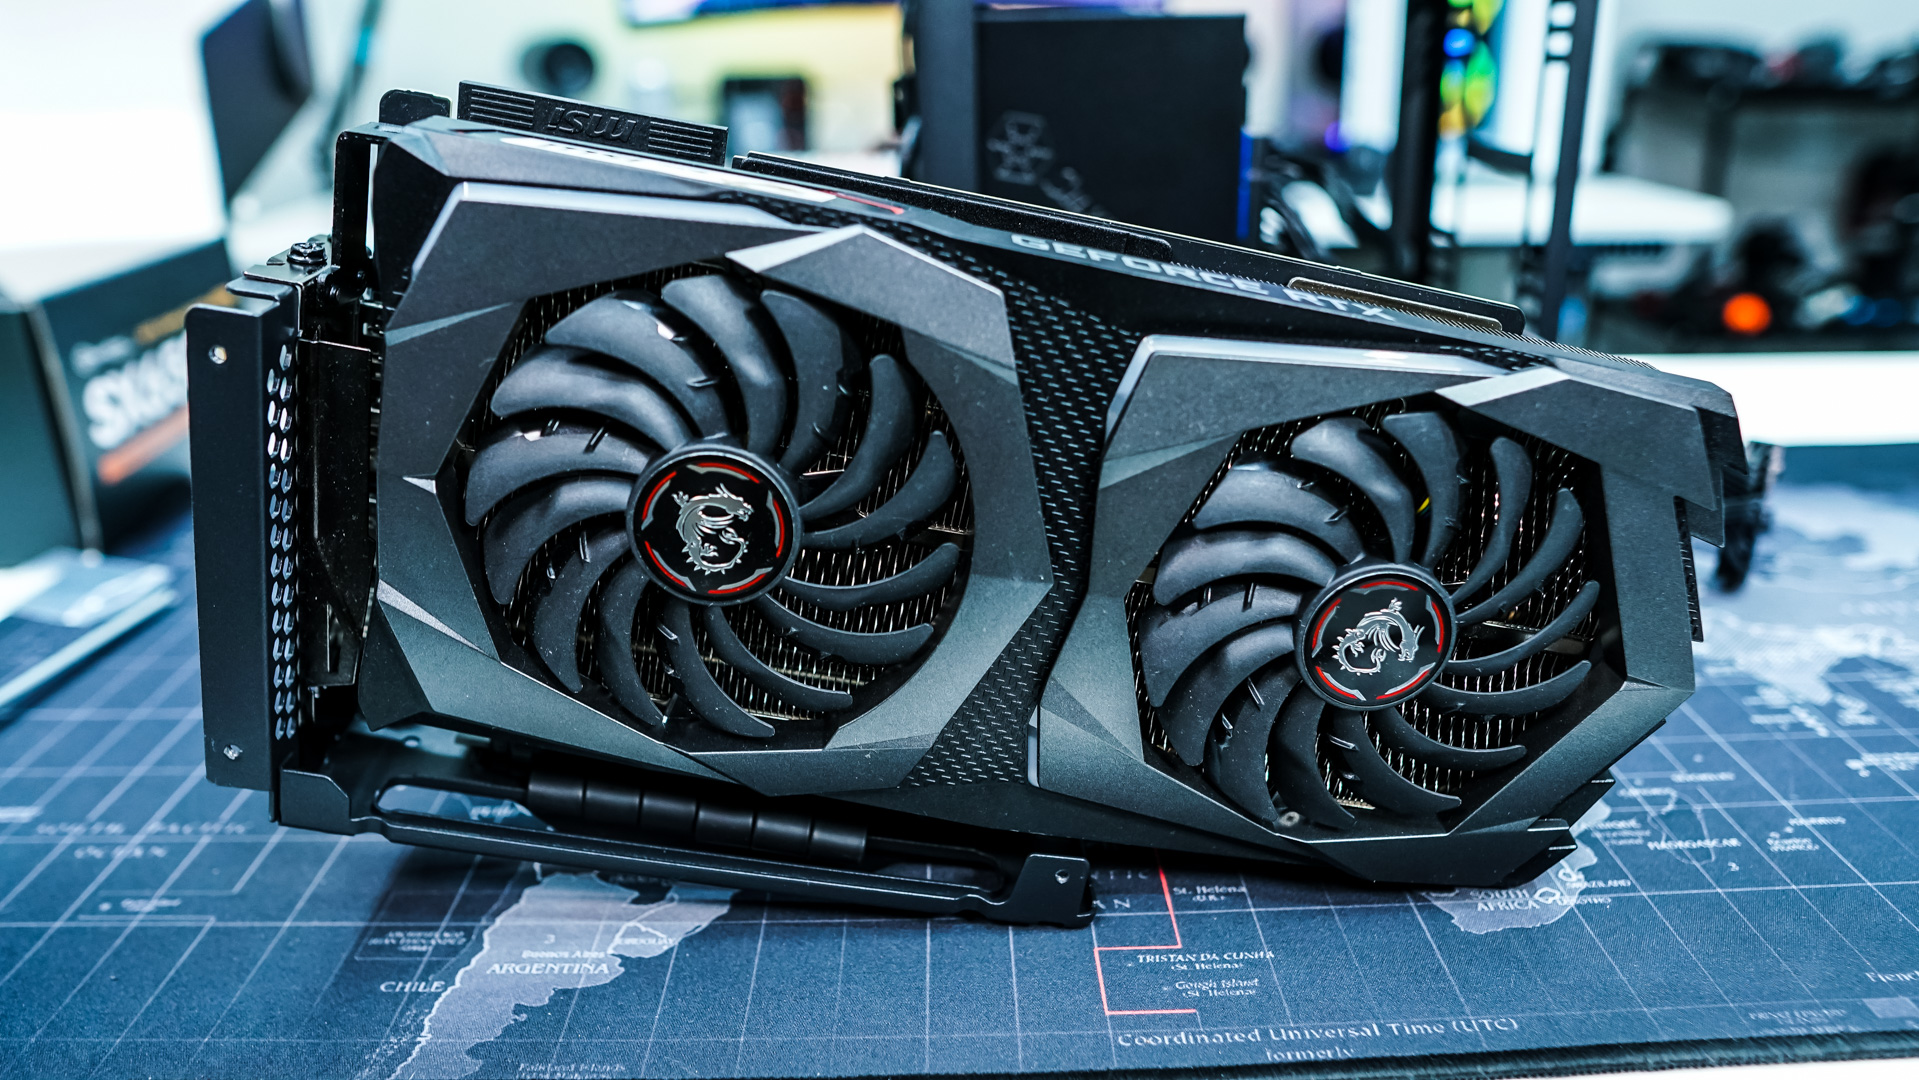
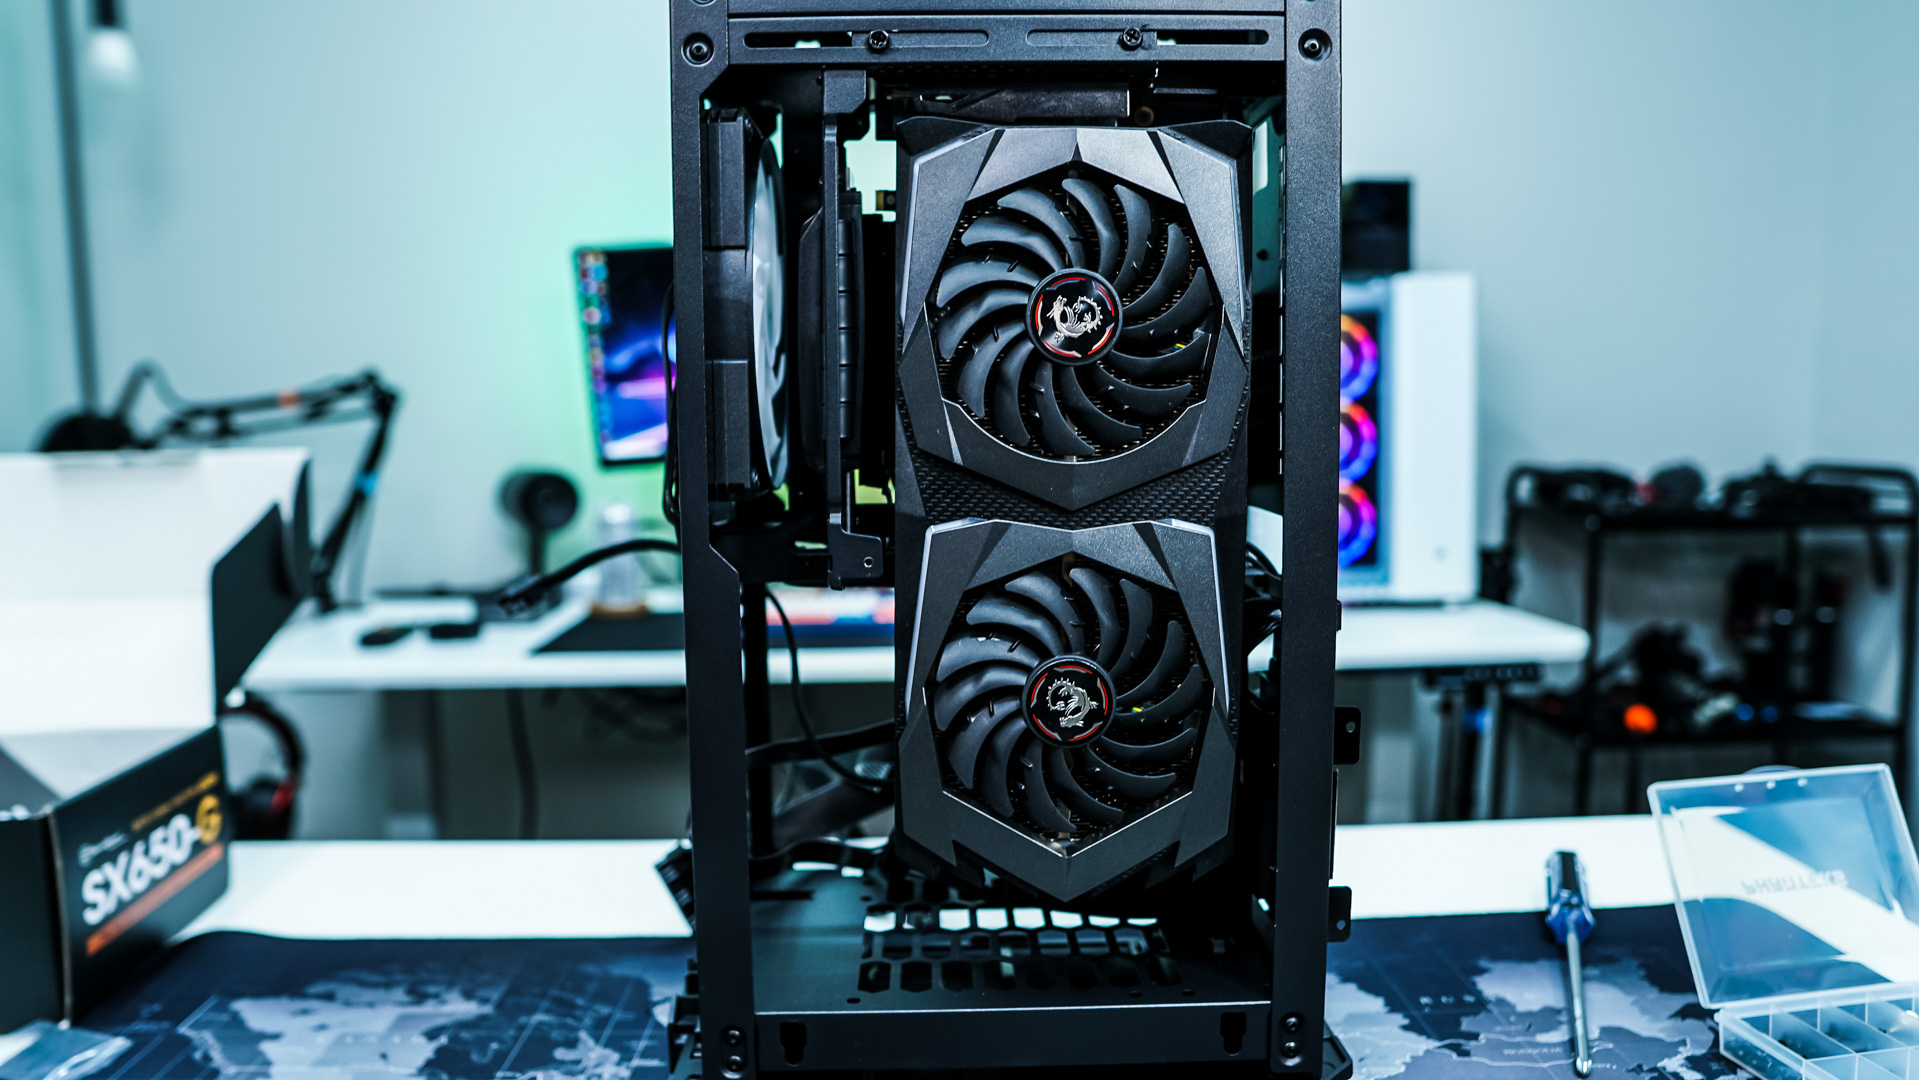
The graphics card bracket can be completely removed from the case by removing two normal screws and a thumbscrew. Once removed we can easily install our graphics card. With our graphics card mounted to the bracket simply reinstall it. Note: Be sure to connect power to your graphics card BEFORE you reinstall it in the case. The power connections are really not accessible once you have the graphics card installed.
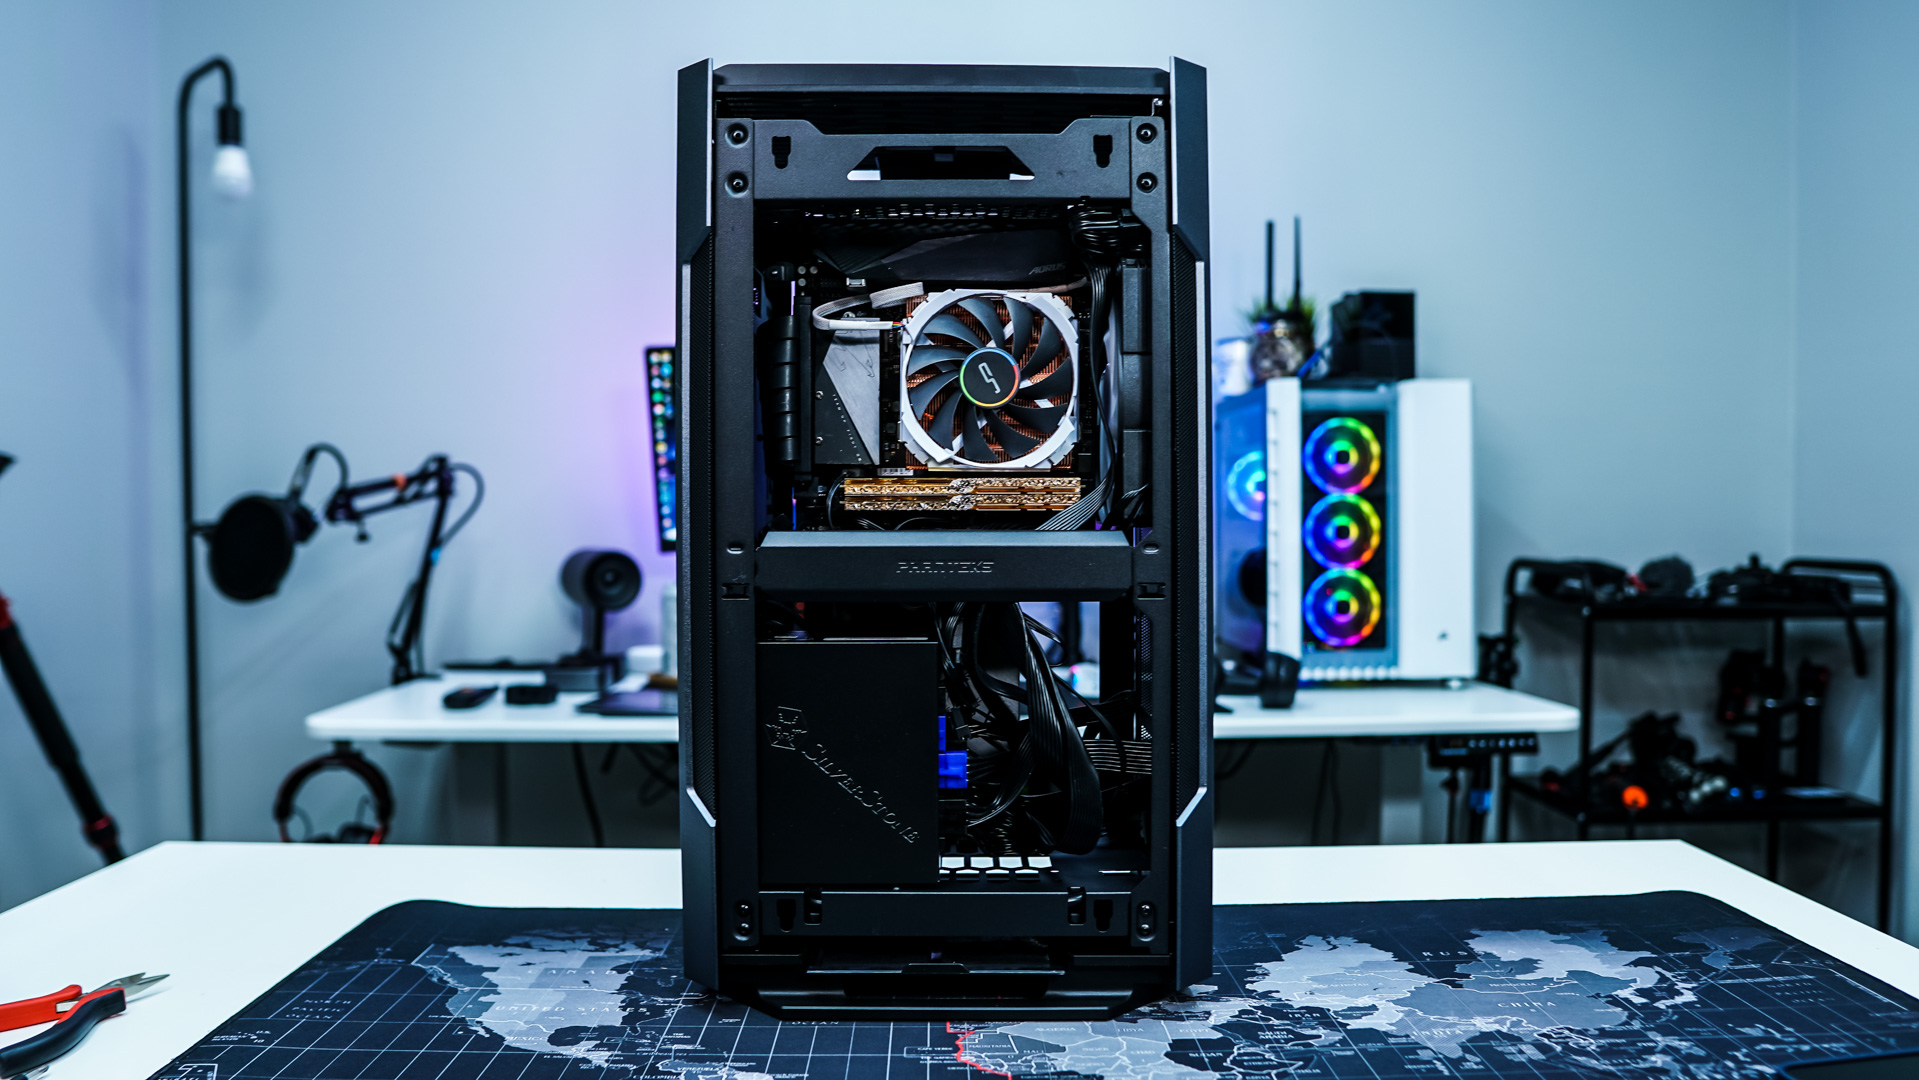
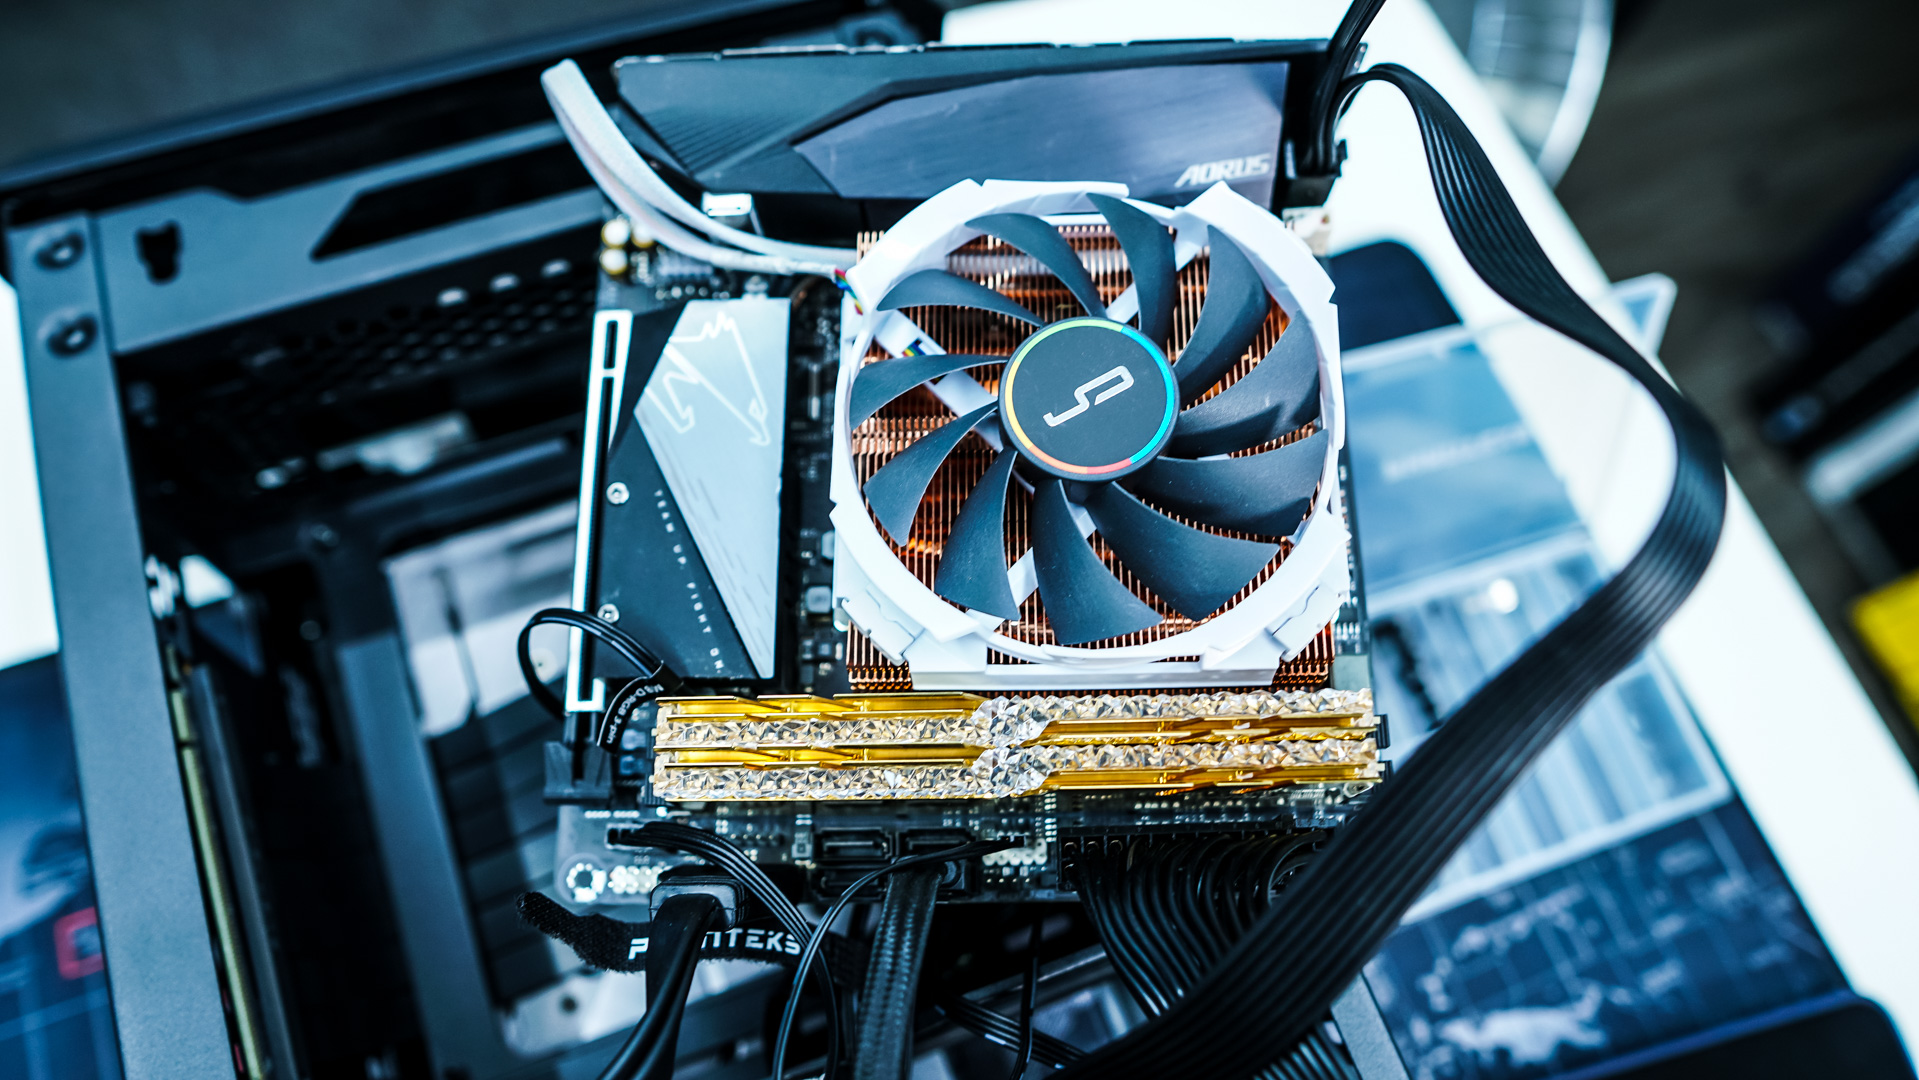
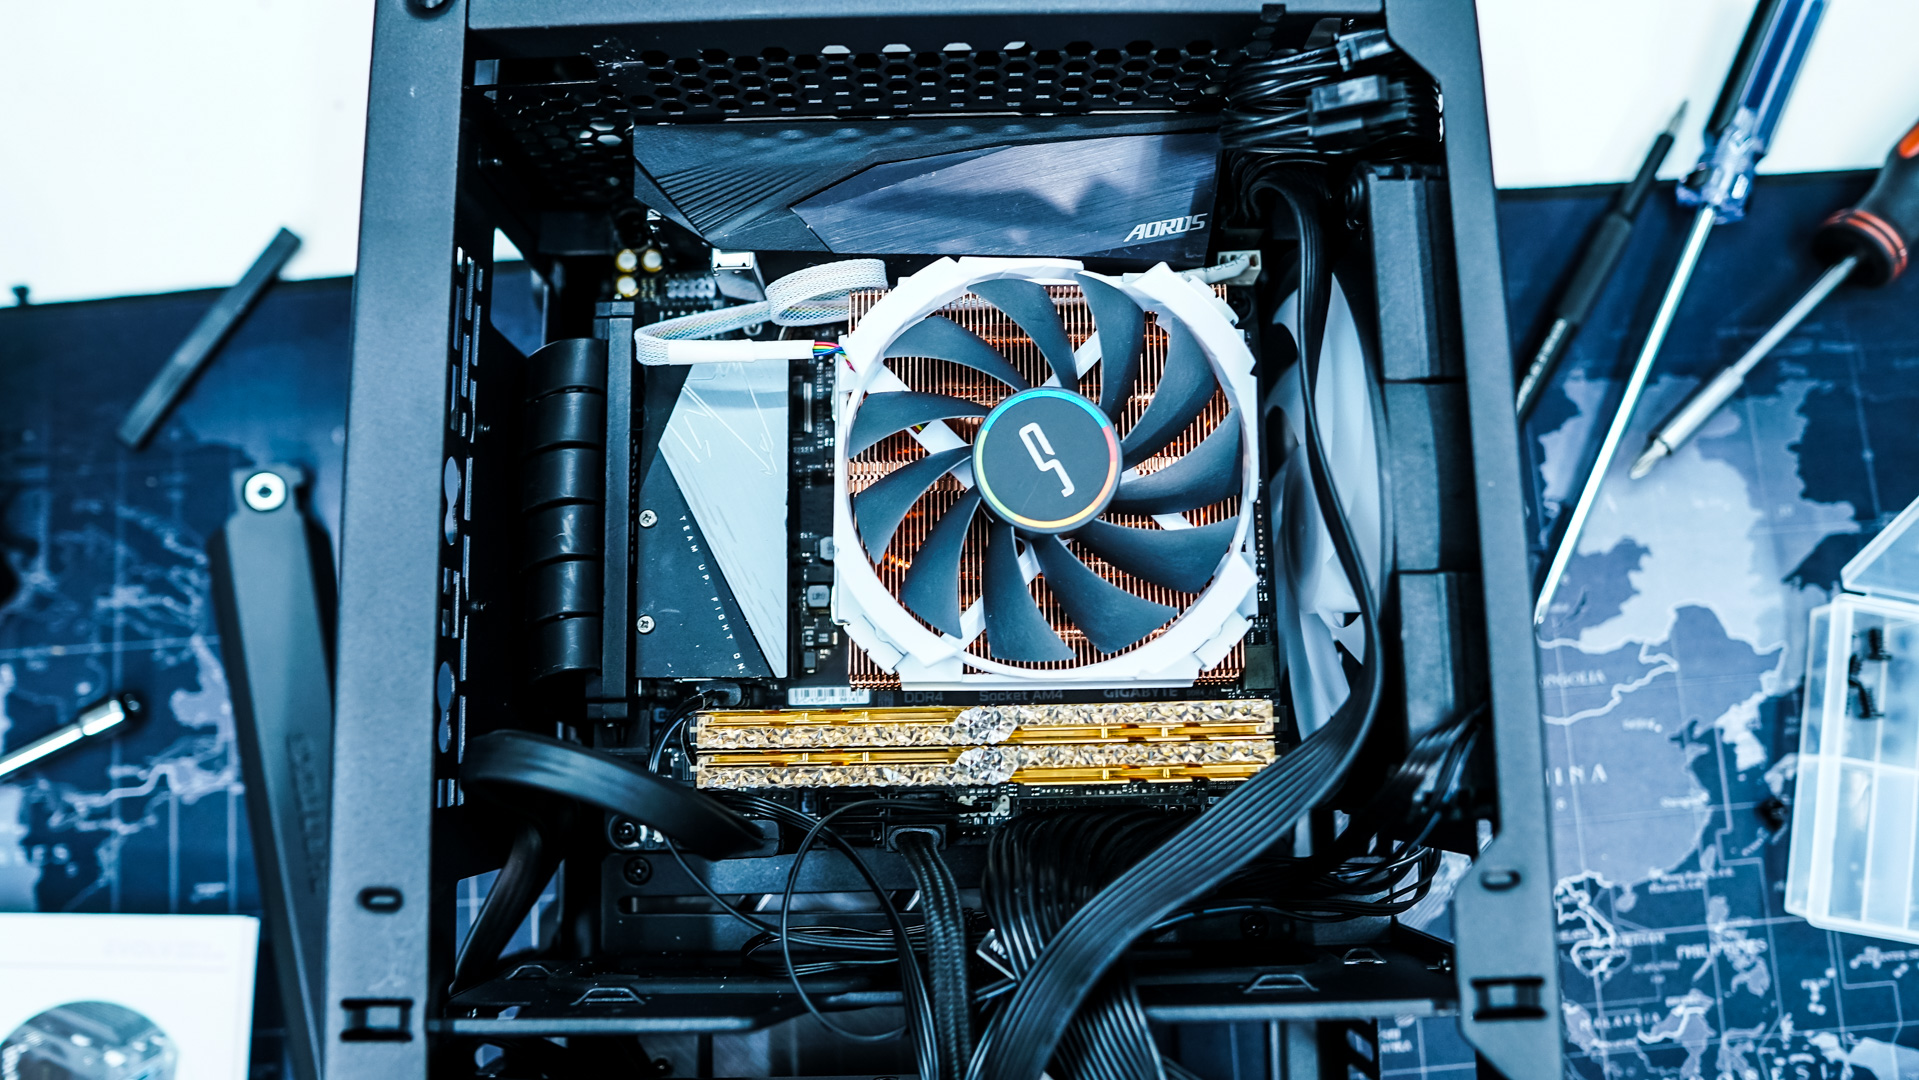
For your motherboard you are going to want to run all of your cables to it before you get it in the case. Most of these connections will be very hard to access once it is installed. With all of your cables connected very carefully place your motherboard in the case and secure it with four screws. Be sure to connect the riser cable!
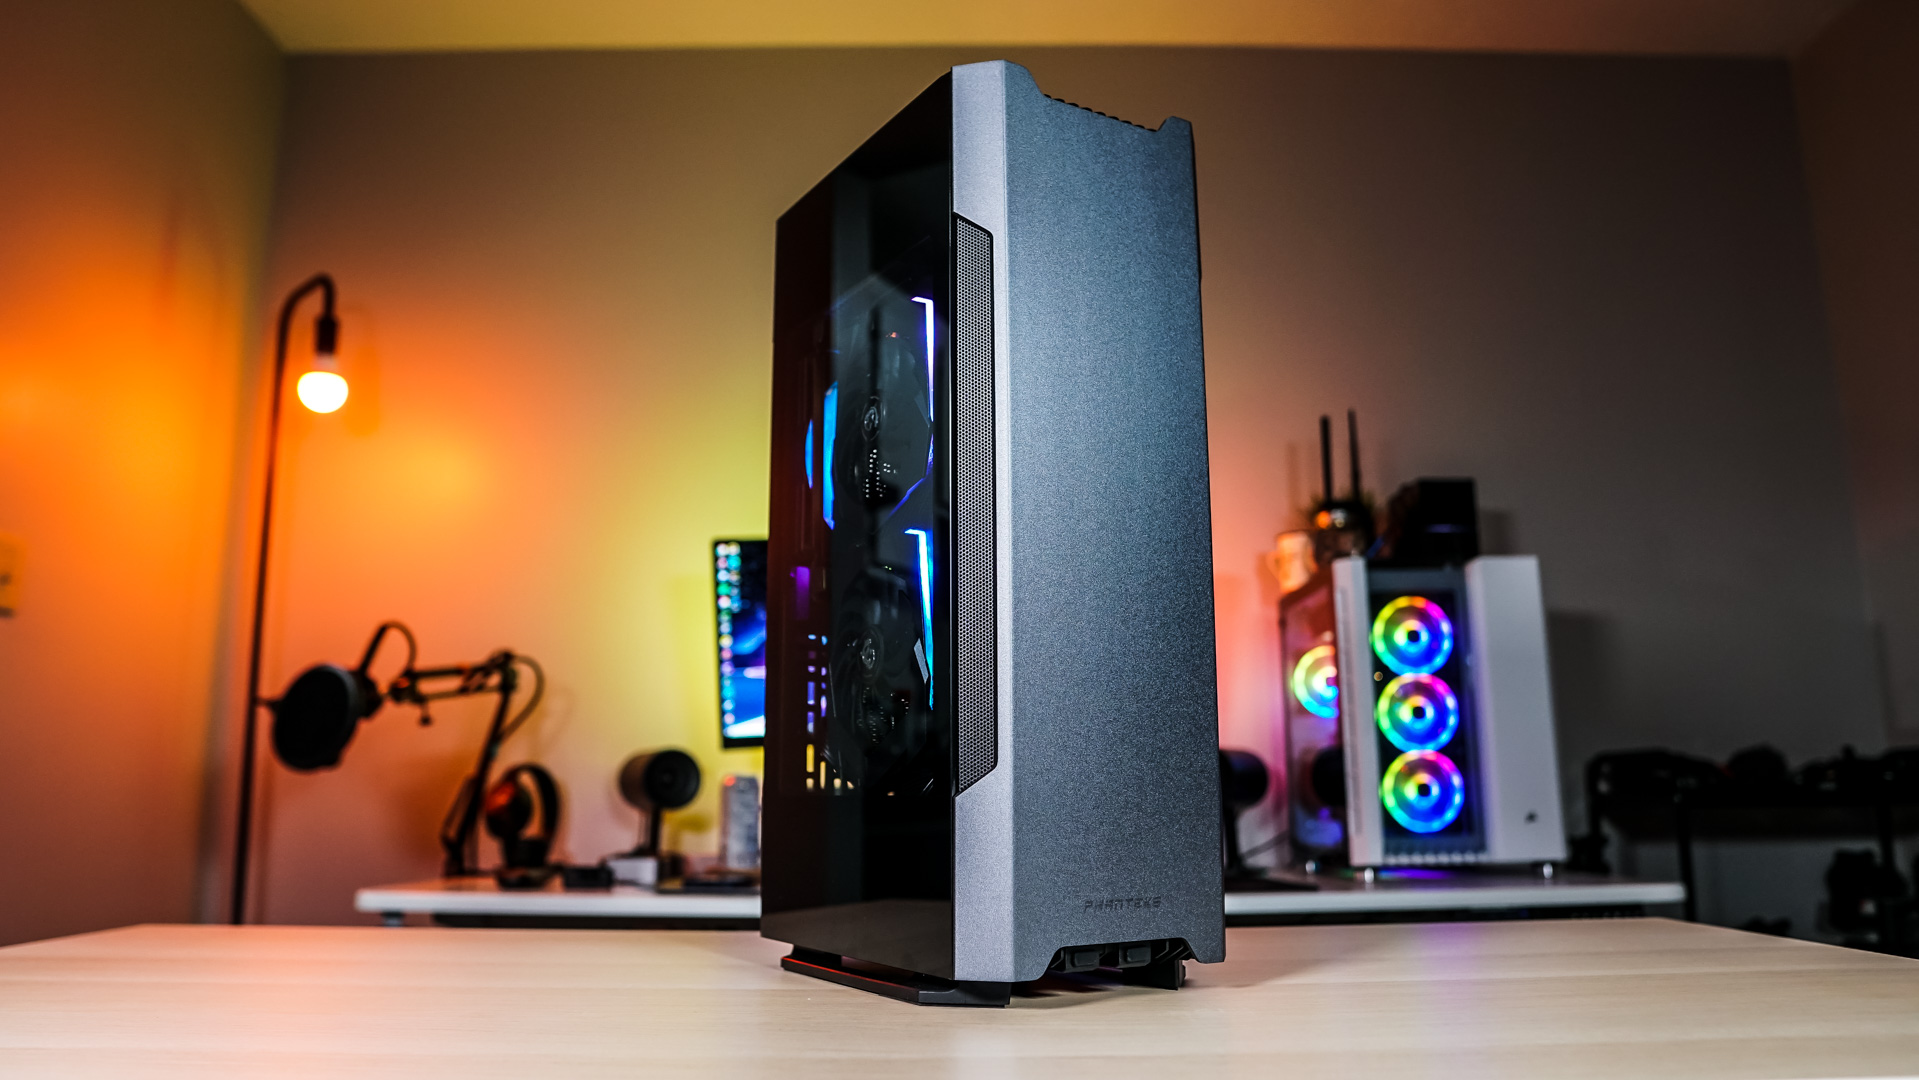
The last thing you are going to want to do is organize all of your cables and install the cable cover. With everything installed the build looks quite nice!