Installation and Setup
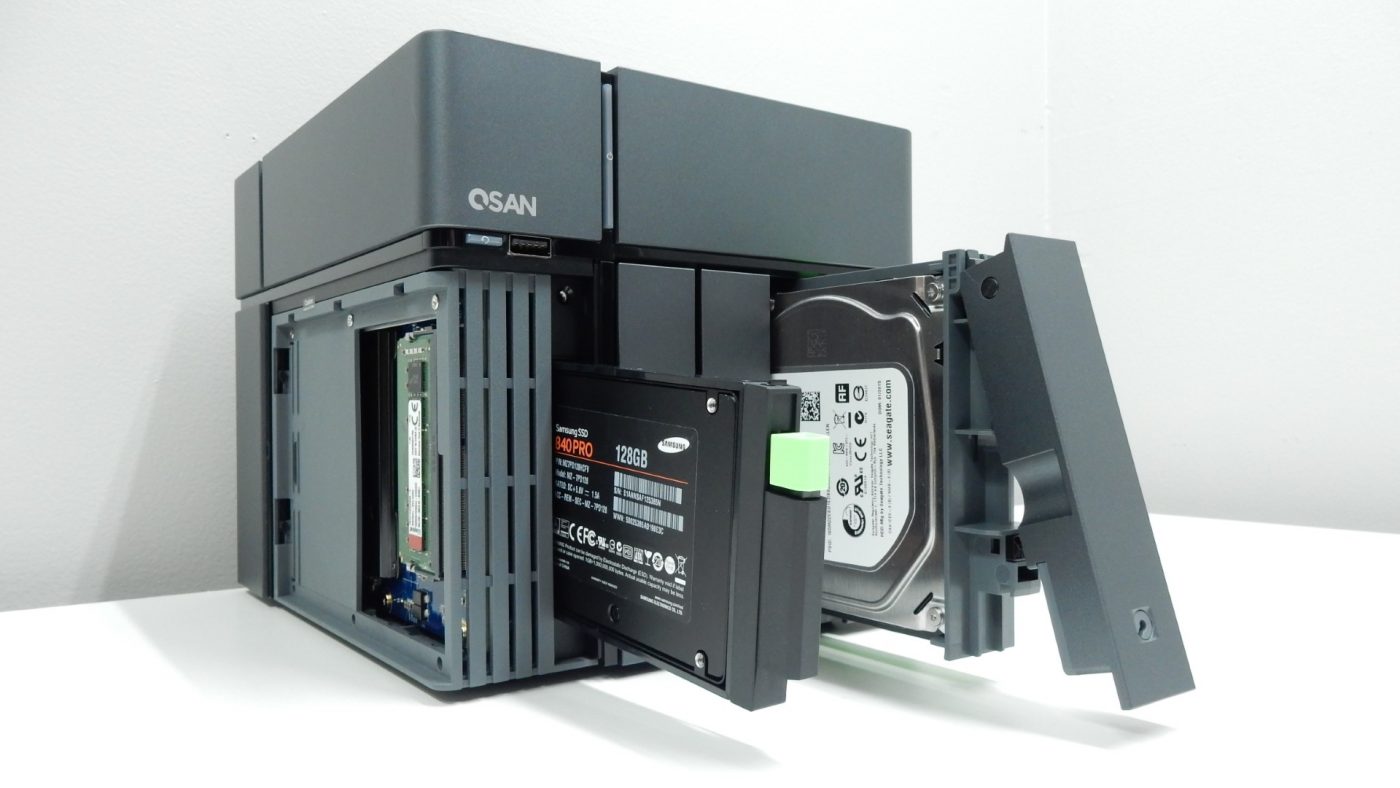
In order to get started with the XN5004T, we must first install our storage drives. After making sure our drive bays were unlocked, we simply pushed in on the bottom of each tray to pop its lever out for easy removal. The tool-less design used by QSAN makes installing 3.5″ drives very easy, and 2.5″ drives can be installed with four small screws.
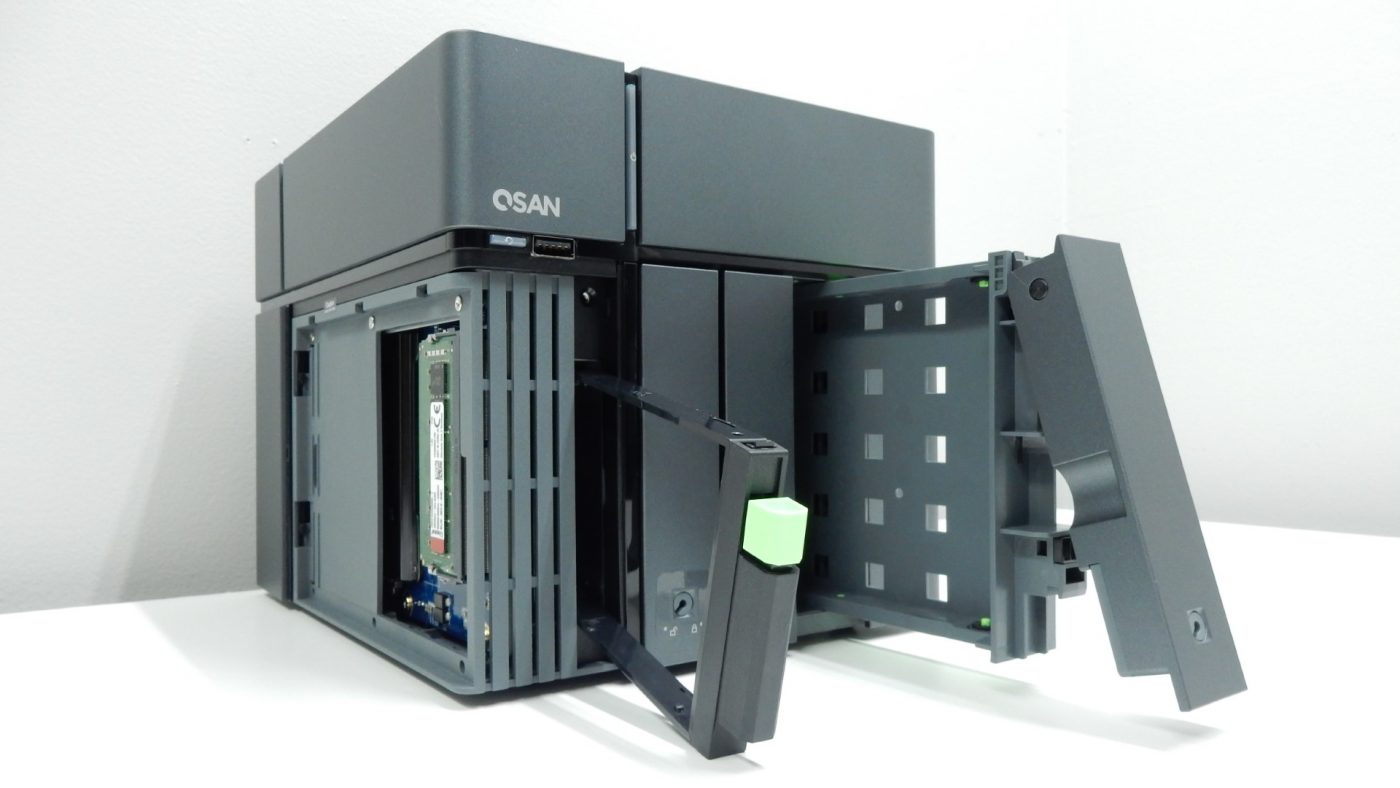
With our drives in their trays we can place them back into their bays and slide them into place. Once all the way back we can use the lever to lock them into place with a little click.
After power was supplied to the NAS, and our network cable plugged into LAN 1 we were ready to start things up. A quick press of the power button at the front of the unit got things going and multiple LED indicators lit up to show us that the system was booting.
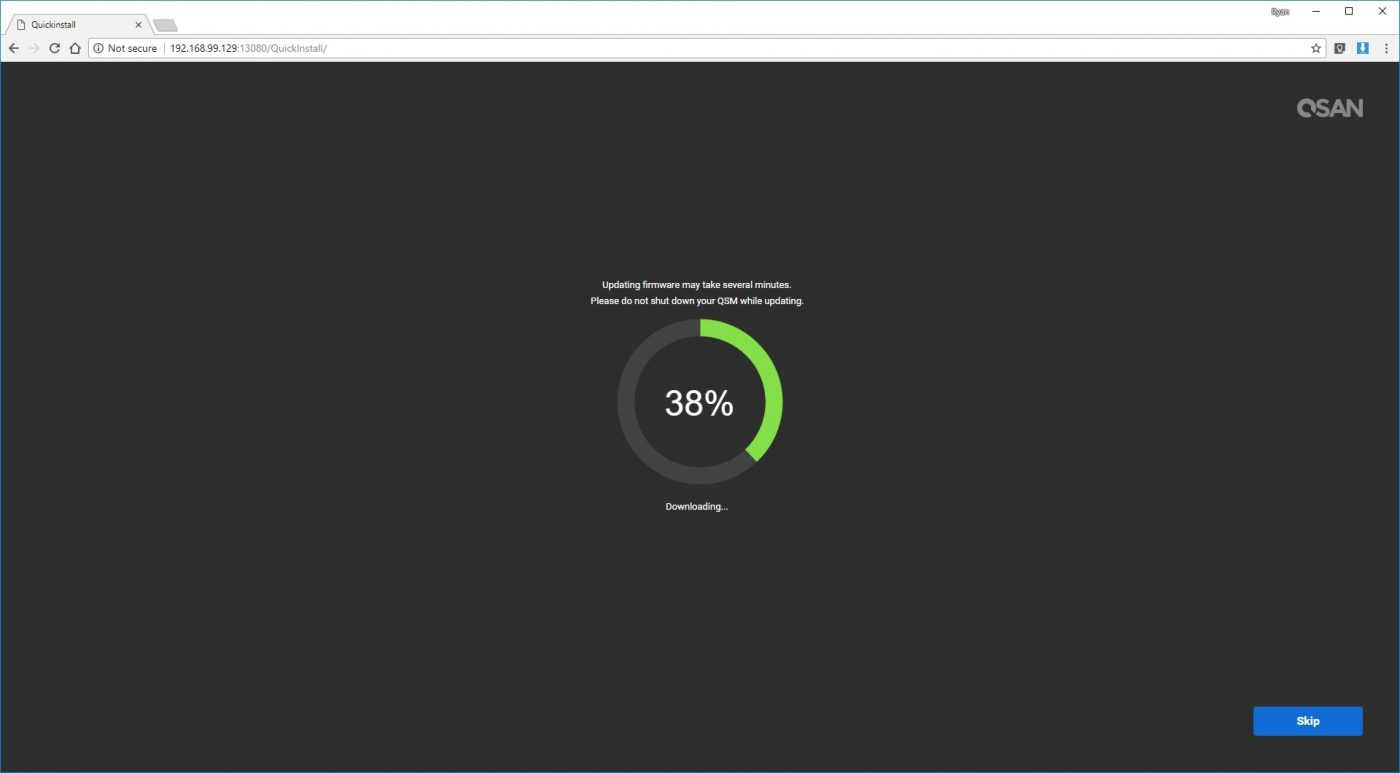
With the system booted, we have a few options for finding the device on our network, including QSAN’s Web Finder, which points you to find.qsan.com, or you can use the XFinder utility to locate the NAS. We went a bit different route, and located the device in our router’s DHCP scope and accessed the device via its IP and port. Any of these methods will get you up and running, and it just comes down to personal preference. Once we had browsed to the NAS, we were greeted with a message that the firmware on our XN5004T needed to be updated. A quick click of the Update button got things started.
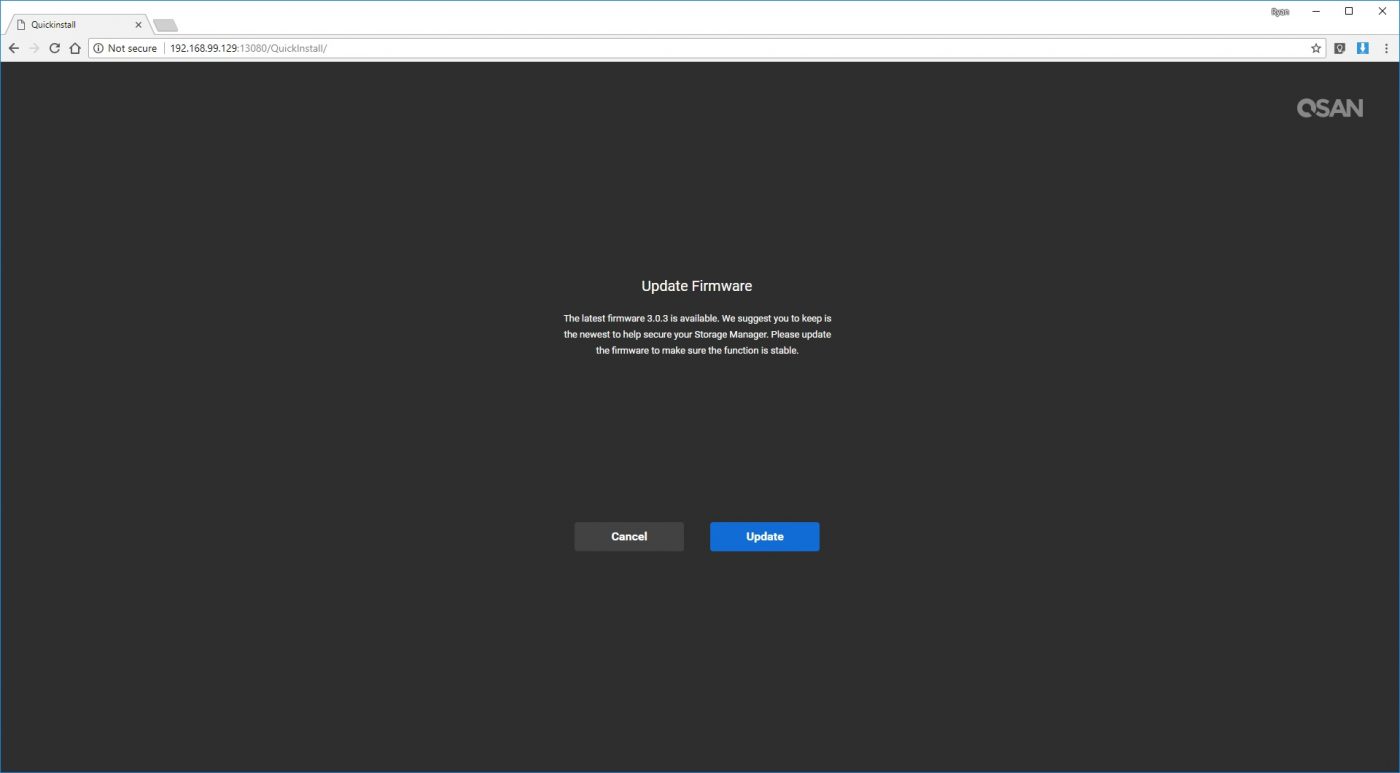
QSAN gives you a nice indicator to show exactly what is happening during the update process, and overall the firmware update went fairly quickly. With the firmware updated it was time to begin the system setup.
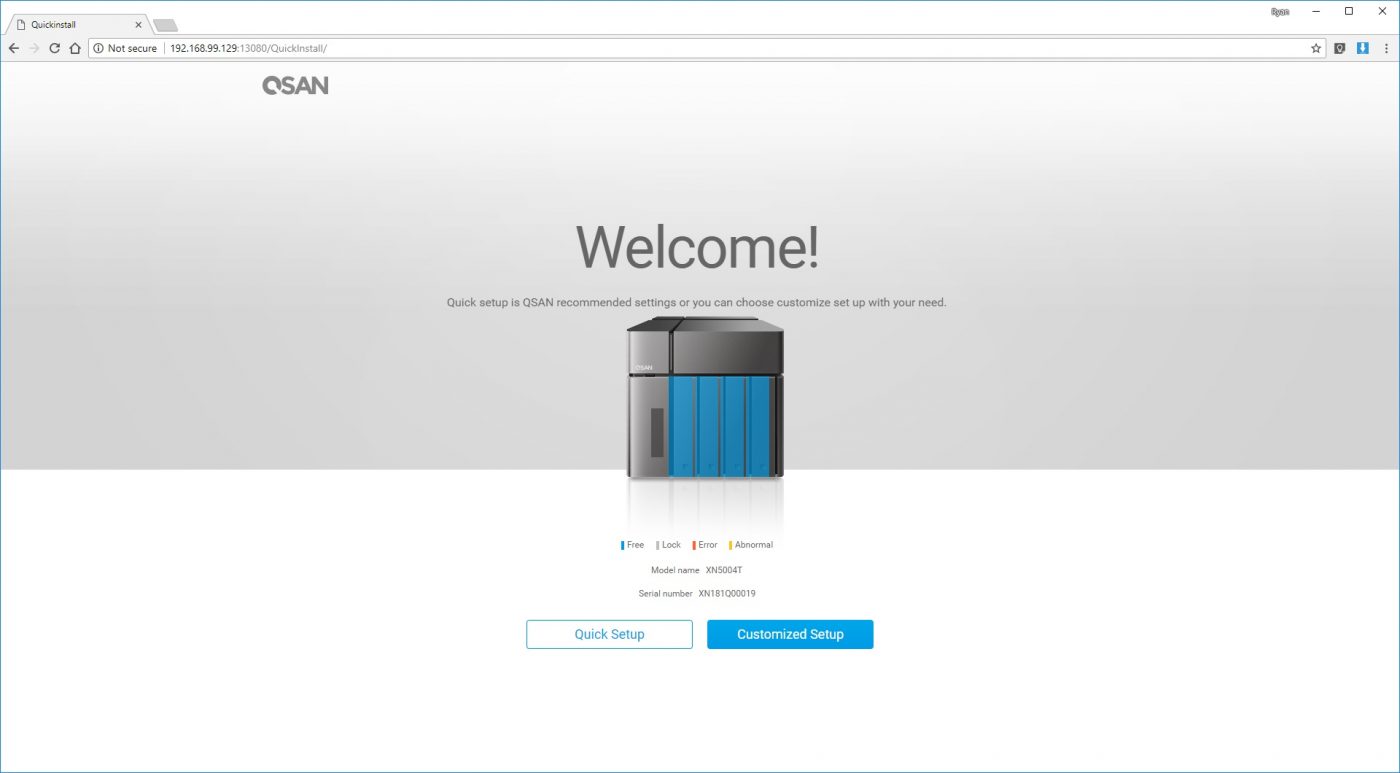
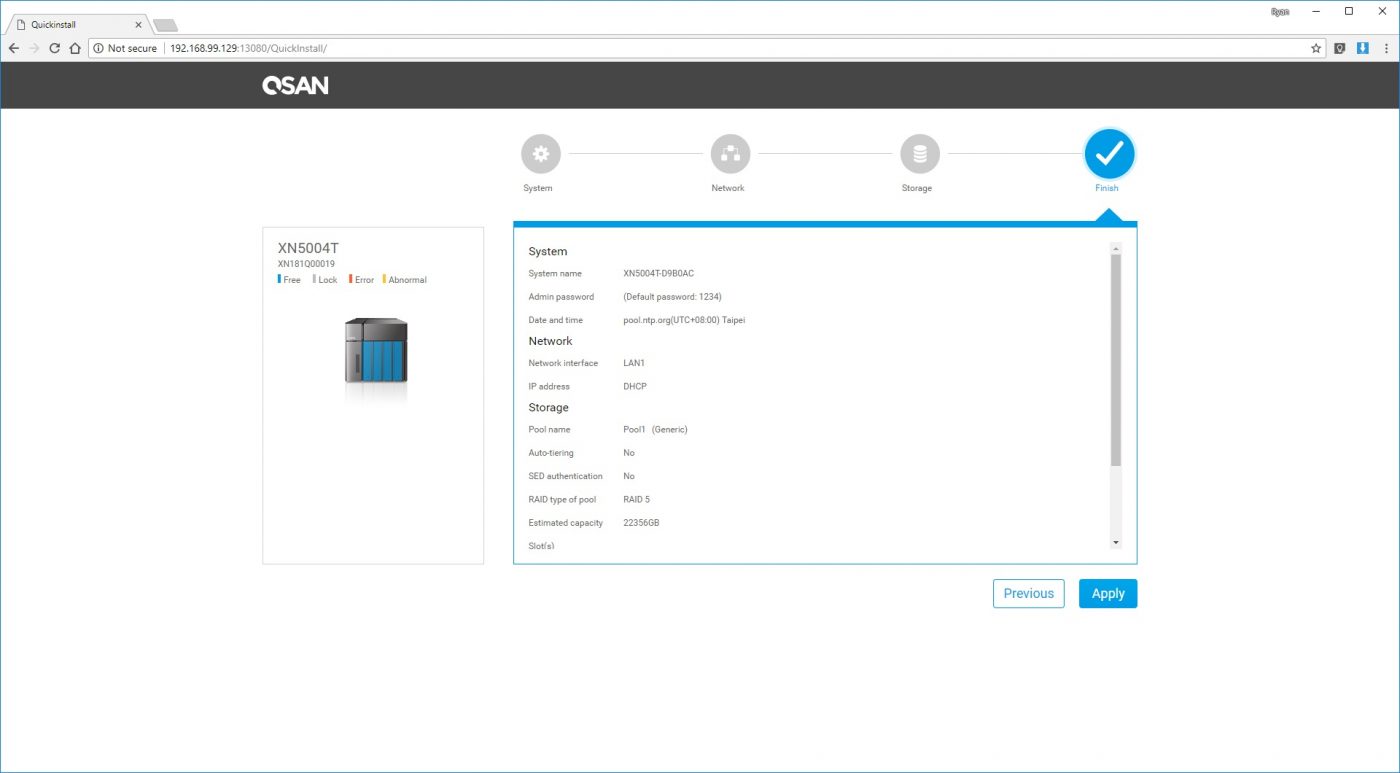
After being welcomed to our XN5004T, we are given a simple view of the NAS and the status of the currently installed drives, along with the model and serial number. Next up, we had to choose between a Quick Setup option or a Customized Setup option. We chose the Quick Setup option to see just how easy the process was.
After clicking the corresponding button we were whisked away to an overview page that shows us what choices were selected by the Quick Setup option. After reviewing the settings we were ready to click the “Apply” button.
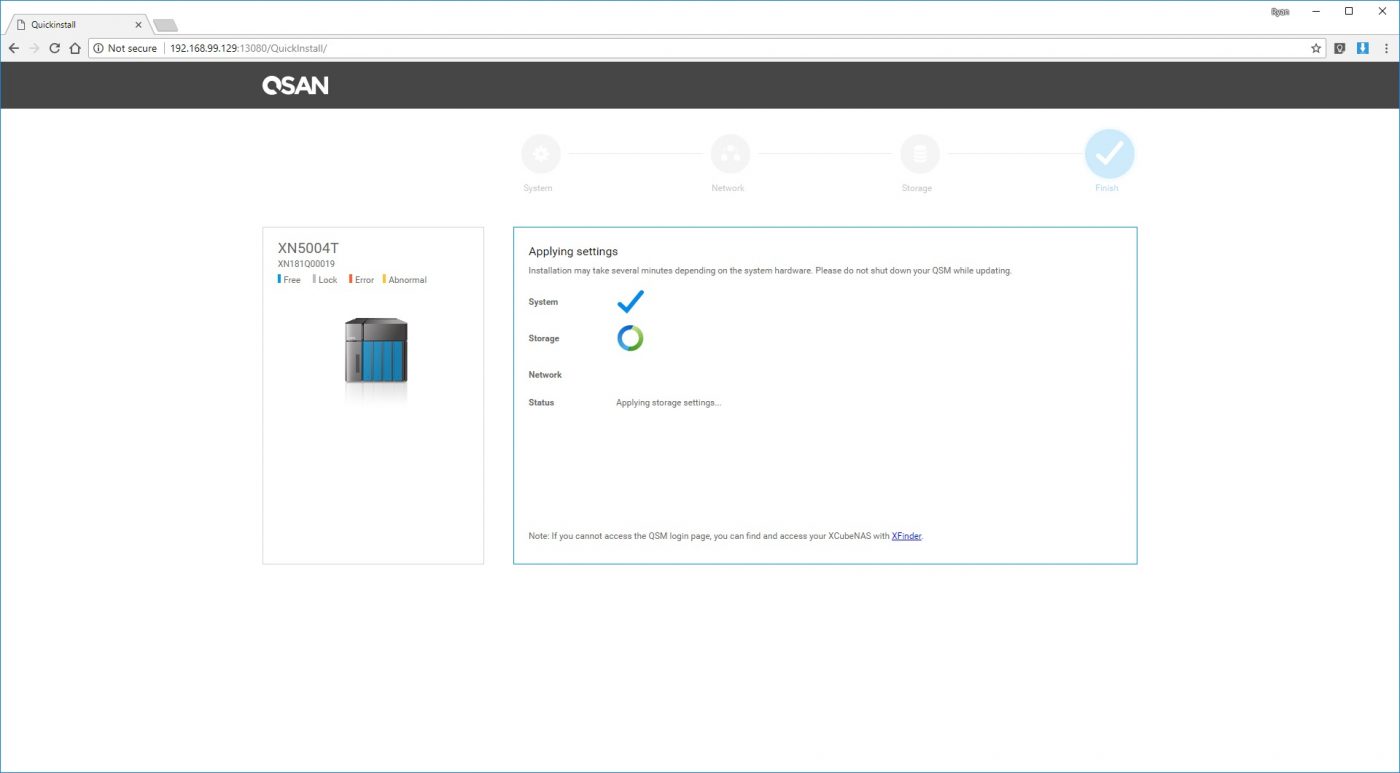
Next we get to watch the progress of the system applying all of the various settings. First the basic system options are set, then the storage is provisioned, then finally the network settings are applied. There is also a status indicator that gives a bit of generic information about the setup status.
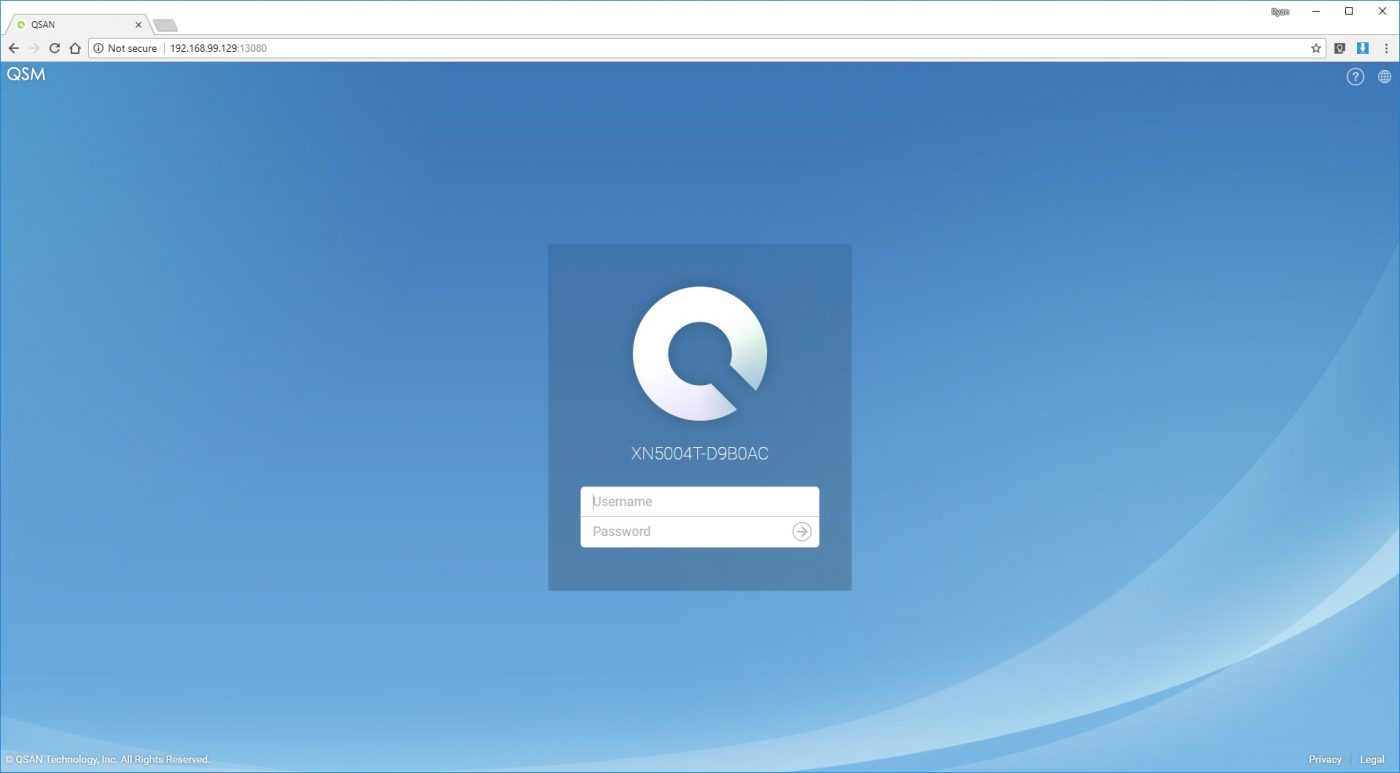
Once the setup is complete, we are taken to a login page for the XN5004T. It is here that you can login to the NAS as the administrator using the password that was set during the Quick Setup process, “1234”. We recommend changing this password right away, especially if you have any plans to expose the NAS to the outside world. We also recommend setting up additional users for the NAS and leaving the admin account alone.
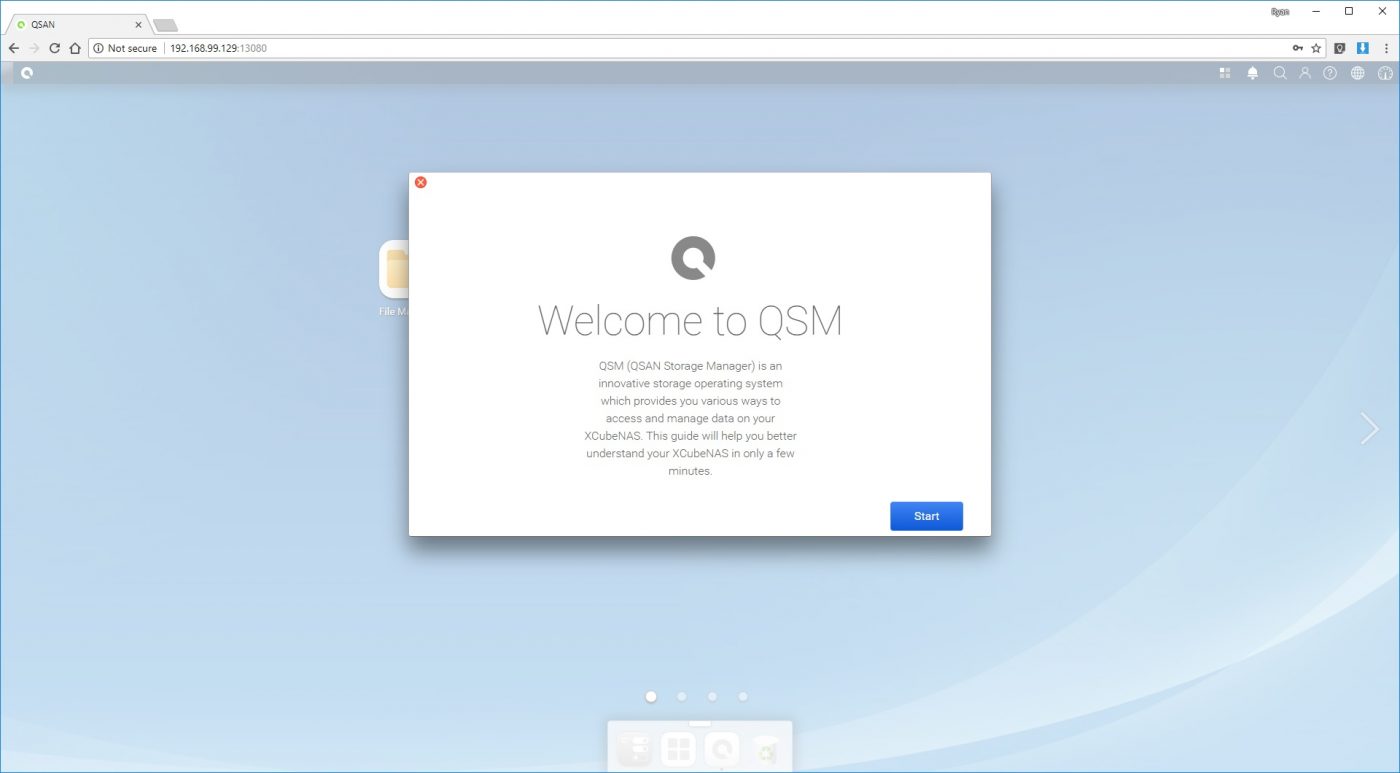
After logging into the NAS as admin, we are greeted with a welcome screen and guide which will get you up and running in just a few minutes.
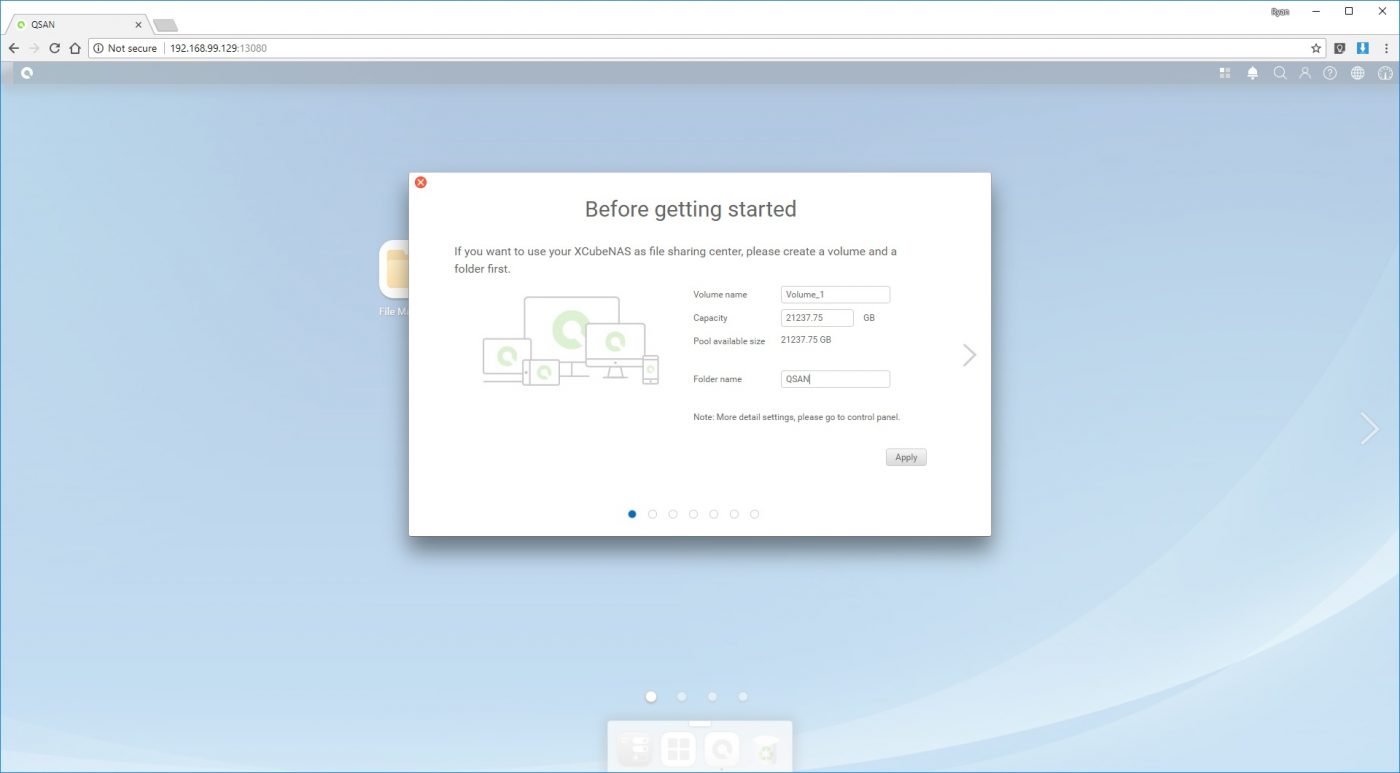
The first task is to set up a storage volume and shared folder. We chose to create a single volume and set the capacity to the maximum amount available. We then gave our folder a name and were ready to move on.
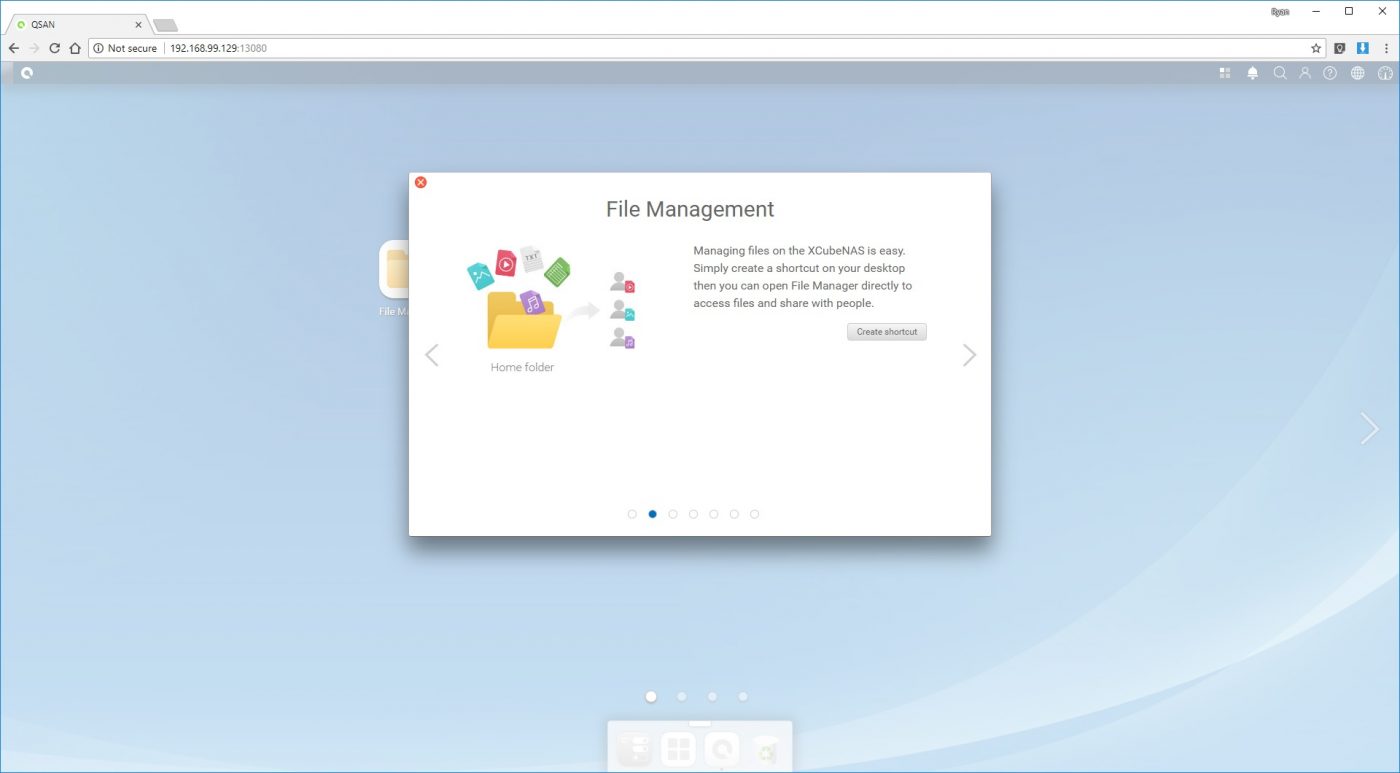
You are then prompted to make a shortcut on your desktop in order to give quick access to your files and folders.
The third step gives you the option to download and install XReplicator, a utility that assists with backing up files, folders, and even complete volumes to your XCubeNAS.

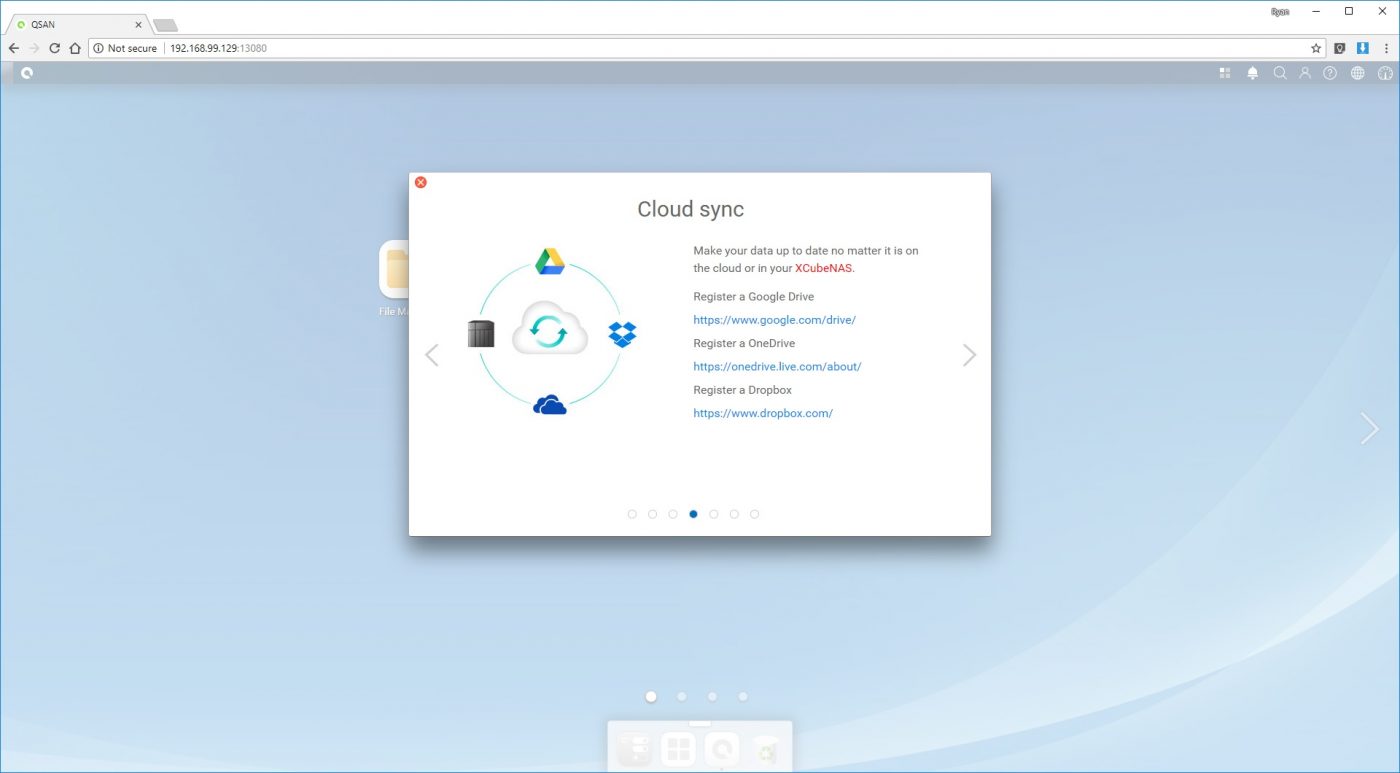
QSAN next gives you the option to register your cloud storage accounts to the XN5004T. Options from Google, Microsoft, and Dropbox are all available, and using these options along with the XN5004T allows you to keep your data on the NAS and in the cloud synchronized.
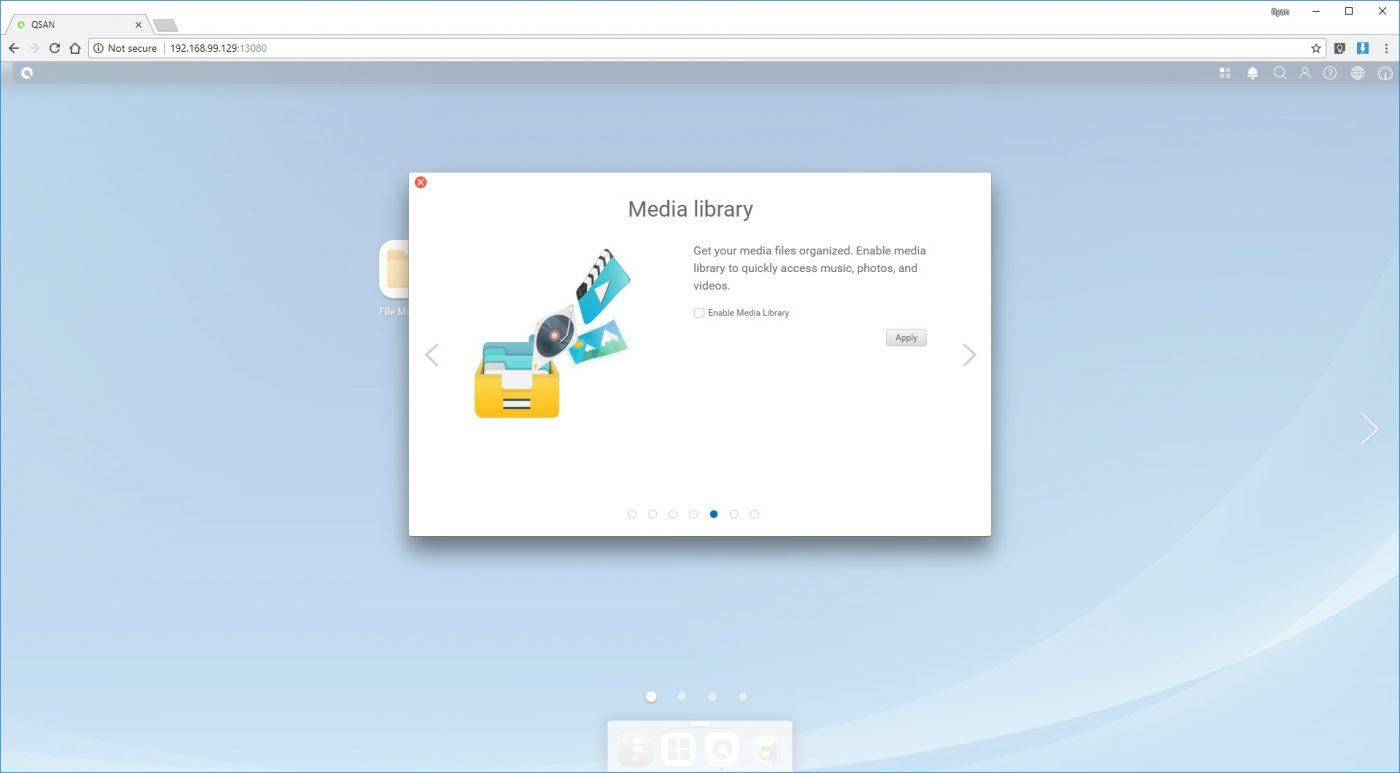
Next up is the ability to enable Media Library, a function of the NAS that helps you organize your multimedia files. This allows for quick access to music, photo, and video files.
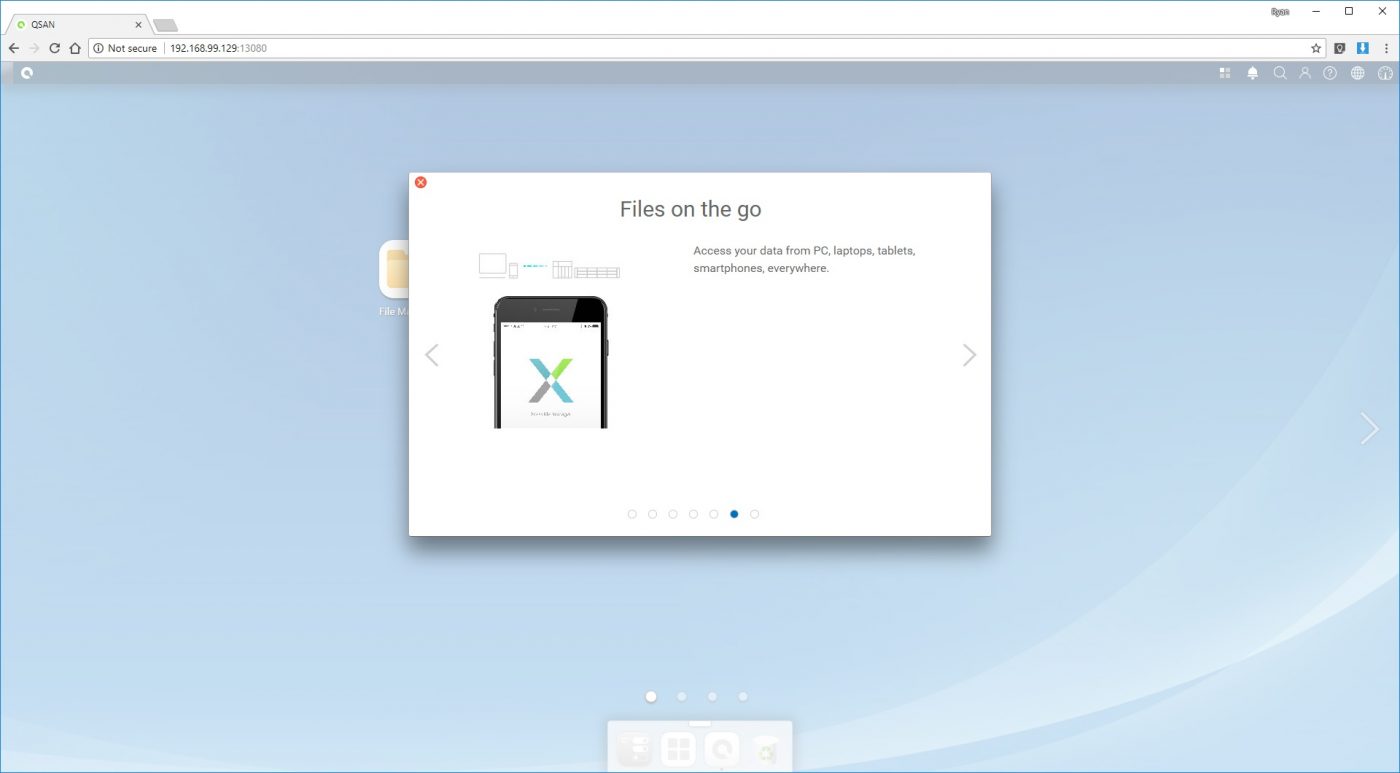
An informative slide lets you know about the ability to access your files from anywhere using QSAN’s dedicated apps and programs for your smartphones and computers.
The last step in the setup guide is to create a QSAN ID, which allows you to register your device and take advantage of additional QSAN services. And just like that, we are ready to start using the XN5004T.