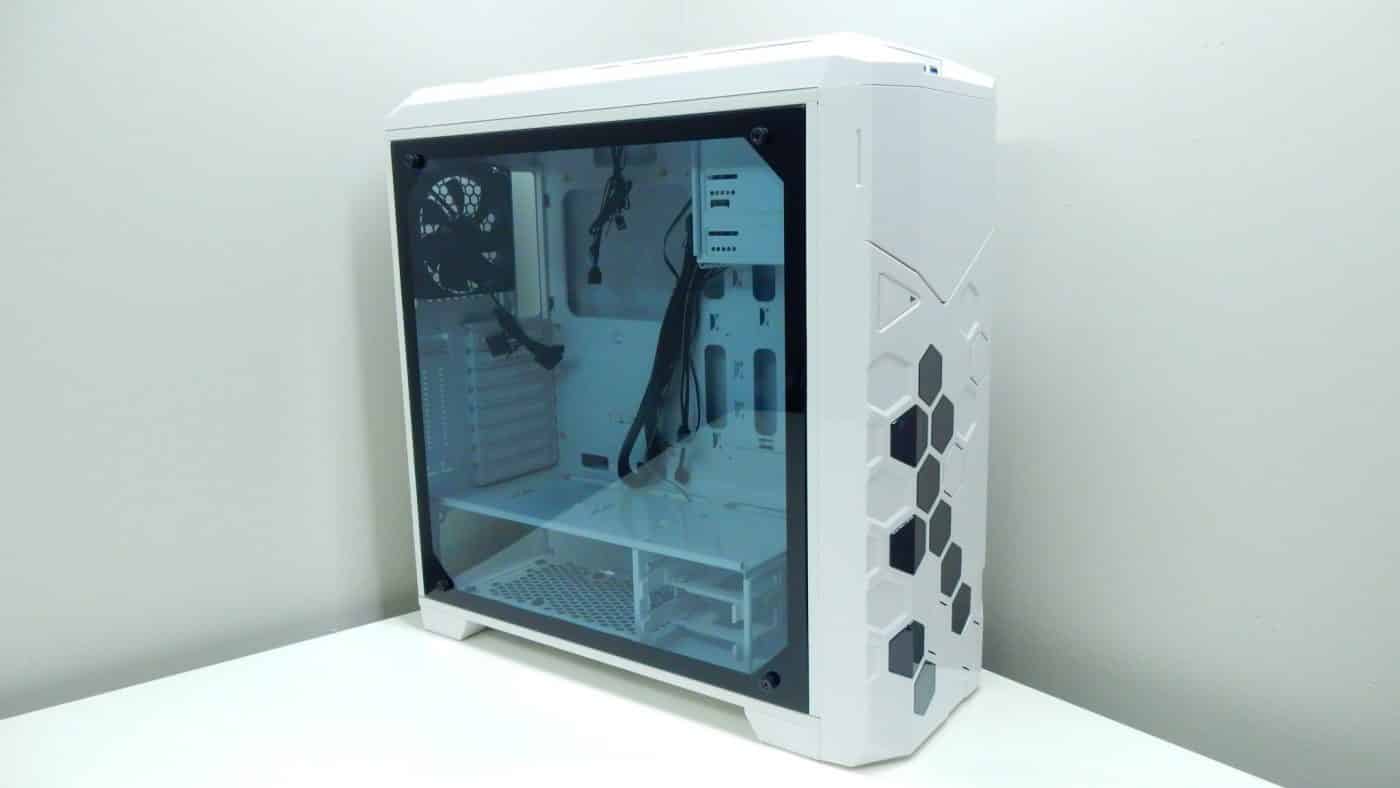
A Look Inside
Getting inside the case is very easy, you just remove the four thumbscrews on the side panel and take it off. Once inside you can see we have a very simple and open design. The motherboard tray itself supports ATX motherboards, has pre-installed standoffs, and a handful of cable routing holes with rubber inserts installed.


If we look at the bottom of the case we can see our power supply mount. So the power supply will be mounted vertically inside the case. You can see the power extension that comes from the back of the case, this is needed as a normal power connector would not work under the case. There are also a few ventilation holes which support a 120 mm fan (not included) as well as a mounting holes for a 3.5-inch hard drive. Attached to the front of the case is a removable tray which also supports a 3.5-inch hard drive.


Moving around to the back we can get a better look at how the rest of the case is setup. First I noticed a CPU cutout, but it did look smaller than most. There are also mounting holes for two 2.5-inch drives on the backside of the motherboard tray. As far as cable-routing space there is about .75-inches between the backside of the motherboard tray and the back of the case.