Installation
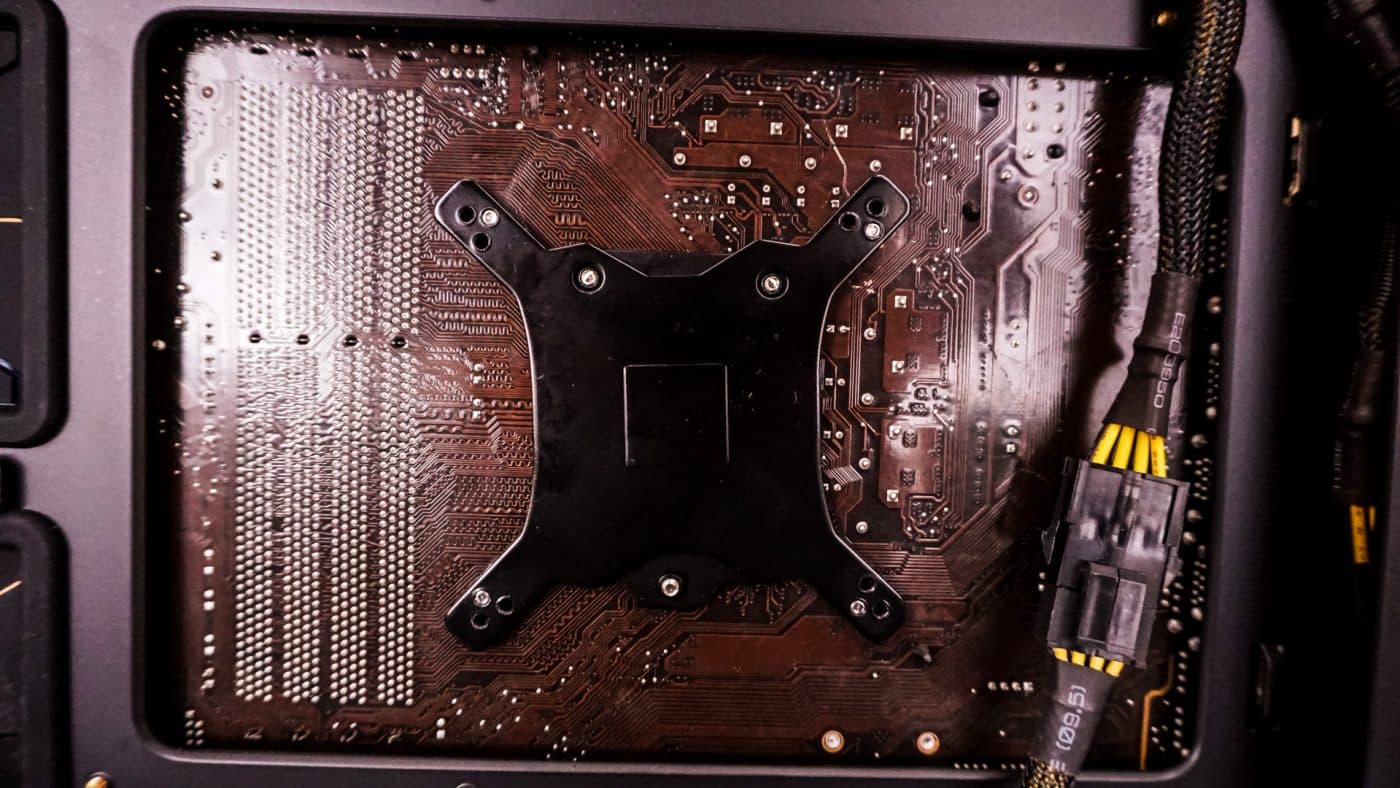
Getting the Mugen 5 installed in your system is pretty easy, and if you’ve installed a Scythe CPU cooler in the past the installation is quite similar. Installation can be done inside of your case and you won’t have to remove your motherboard. To get started you are going to want to install the backplate on the backside of your motherboard. Consult the guide to see which holes you should use. You secure the backplate with screws on the main side of your motherboard.
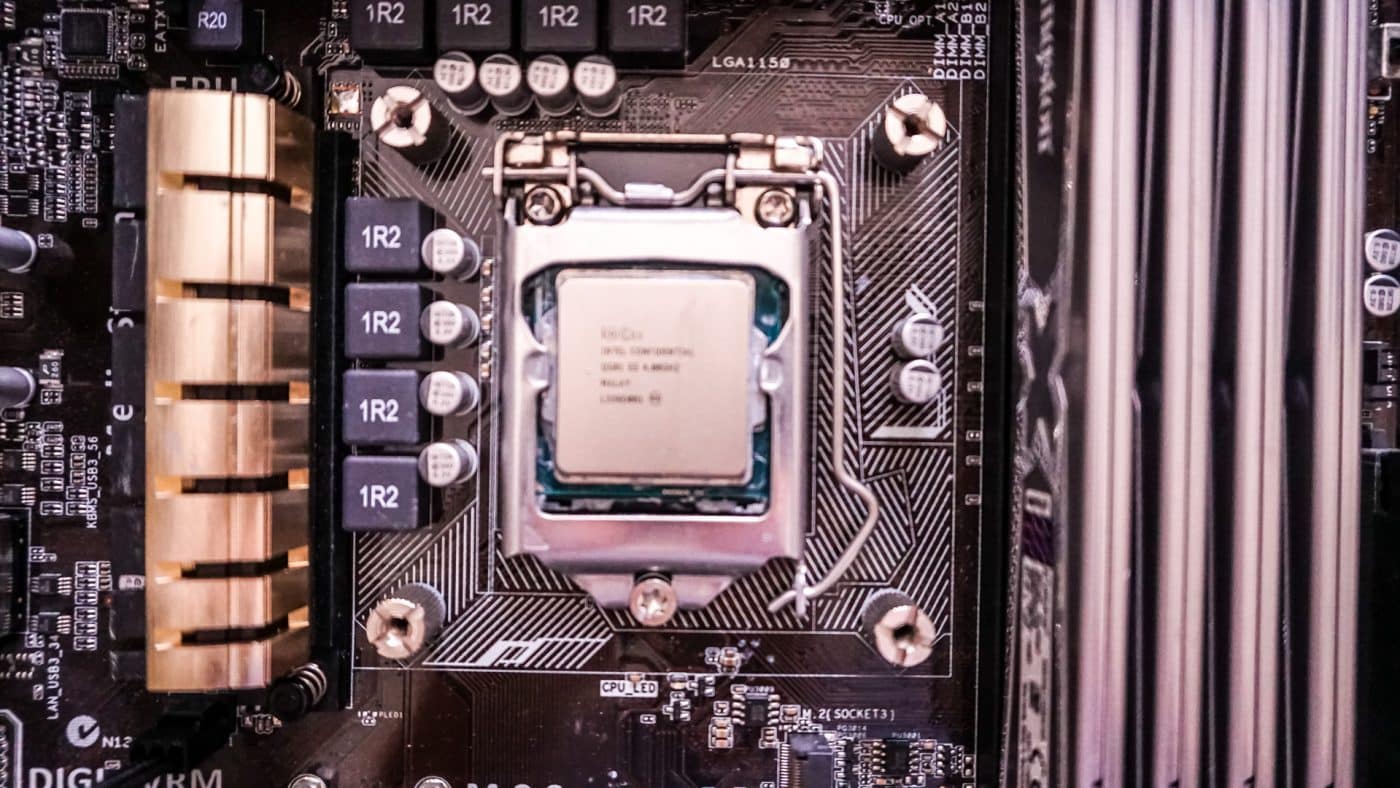
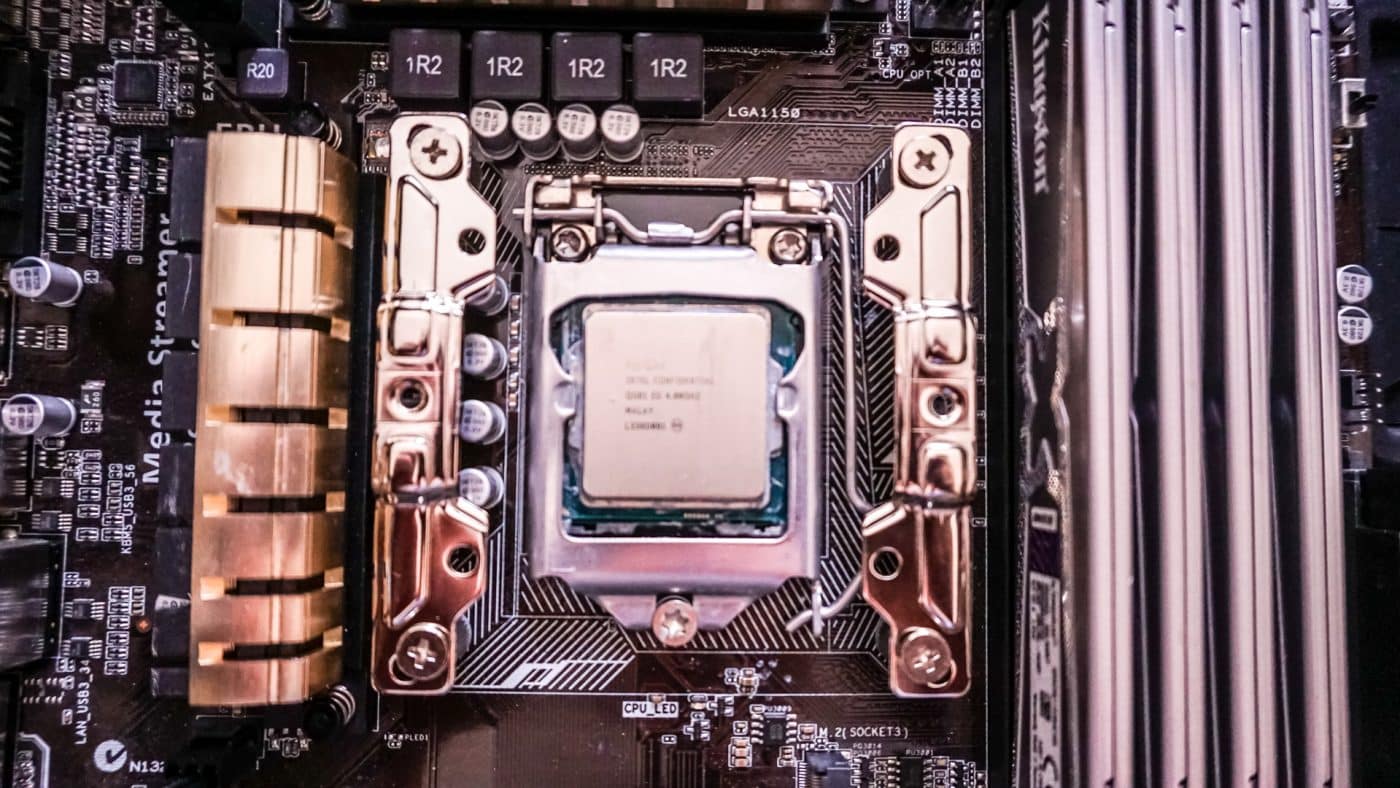
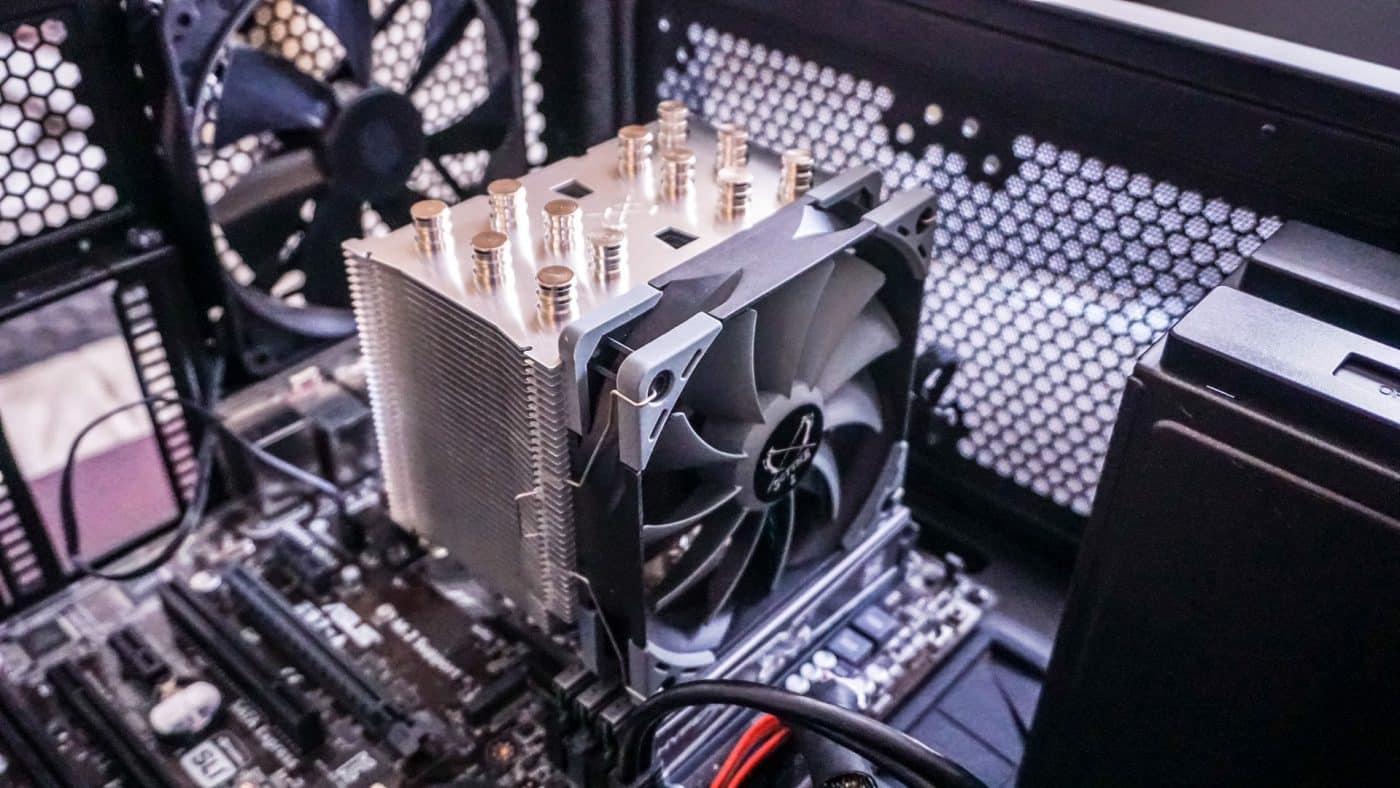
Now it is time to install the mounting bars. For all Intel 115x processors your setup should look like what you see below. This allows for the cooler to sit on your CPU and have the fan on either the front or back of the cooler to exhaust air out of the back of your case.
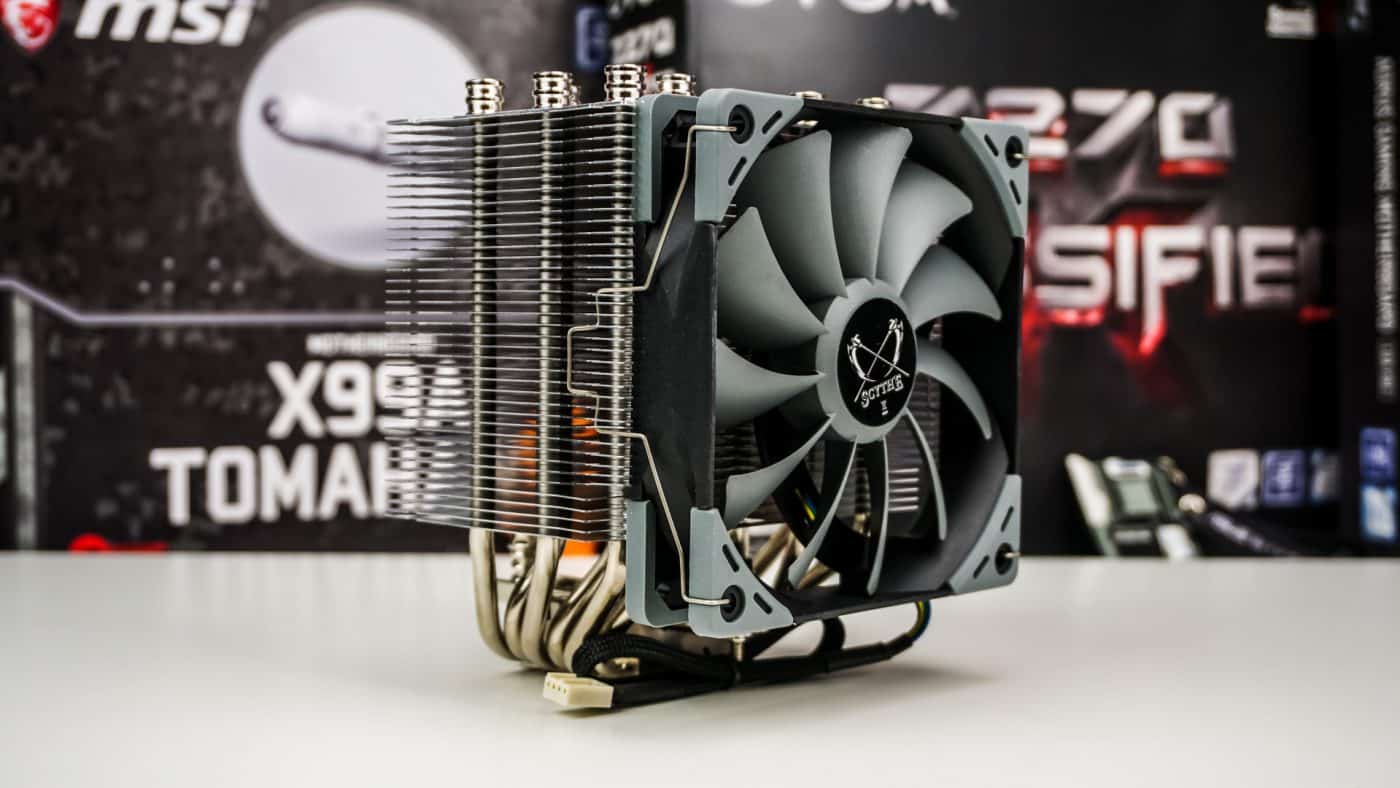
From here install the included thermal paste and carefully place the Mugen 5 cooler on top of your CPU, lining up the screws on the cooler with the holes in the mounting bars your installed. Now you may need to remove the fan or adjust it up to fit above your memory. Now secure the cooler with the screws on each side. On one side you’ll need to go down through the cooler, but that is fine as Scythe includes a long screwdriver.

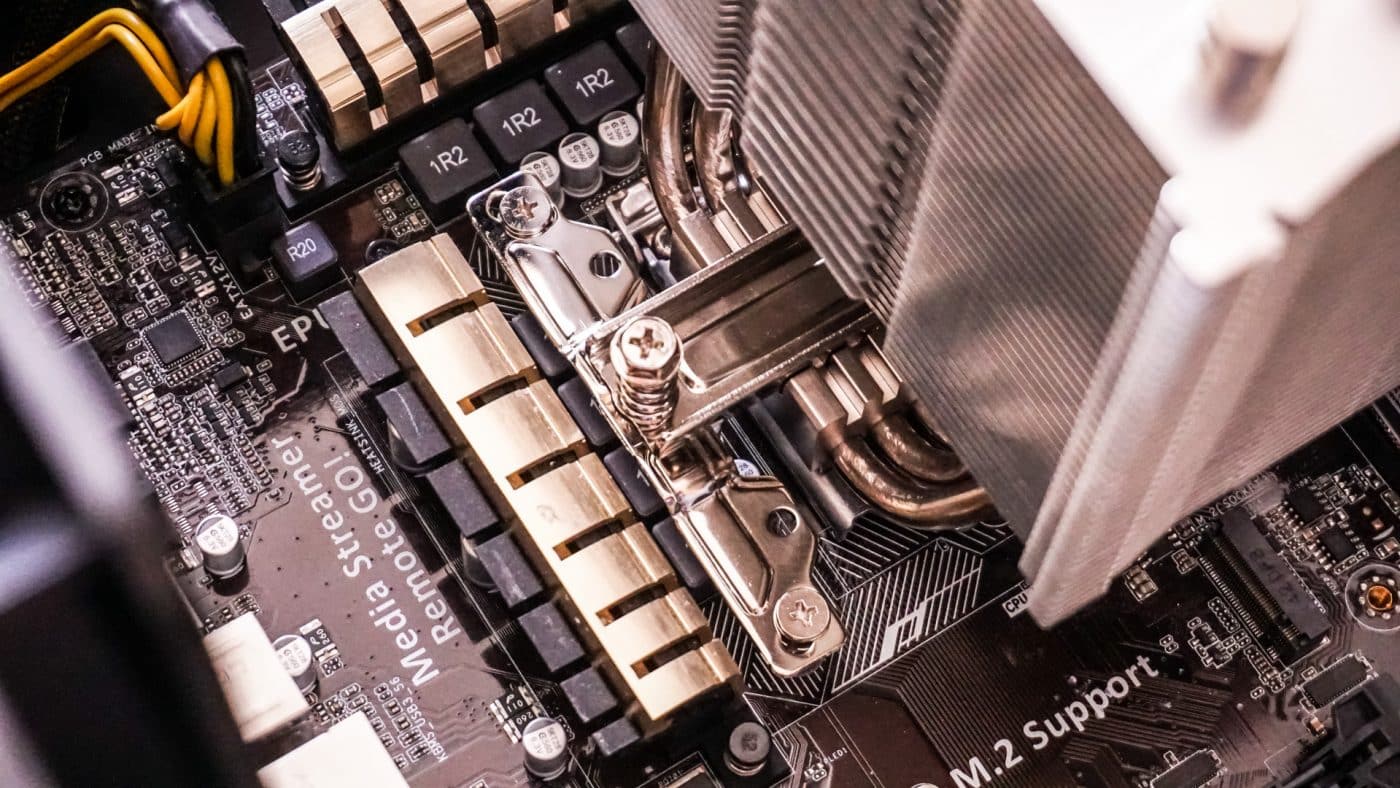
Finally go ahead and install the fan, remember it can go on either the front or back of the cooler, and there are extra fan clips if you wanted to add a second fan.


Does this support TR4 socket for the new Ryzen Threadripper processors from AMD?
This is a great cooler as you have found. I will only note that on the Asus Crosshair Hero VI (designed for Ryzen) the Mugen 5 cooler fins have an approx 1mm interference with any card you put in the nearest PCIe (x1) slot. It’s enough to push the card a little sideways, and will require a very thin piece of plastic to be wedged between the card and the fins to prevent electrical shorts.
I would still buy the cooler again, because this isn’t a big deal, but be aware of the issue.