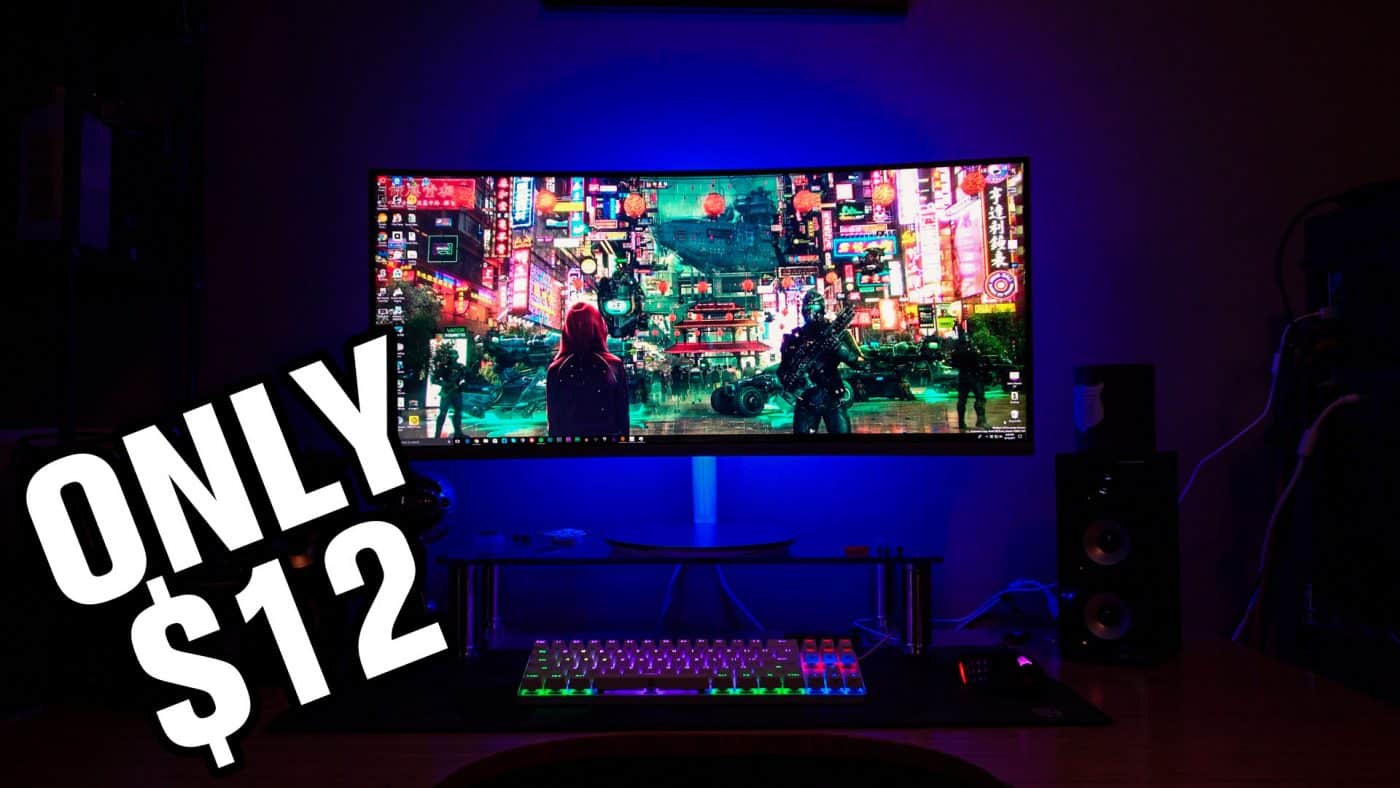
One of the easiest upgrades you can do for your PC Setup is adding an RGB LED Strip to the back of your display. This not only adds some really cool light to your setup, but it has also been proven to reduce eye strain and fatigue. If you are at your computer for any long period of time this is definitely an upgrade you are going to want to make and we are going to show you how to do it for only $12!

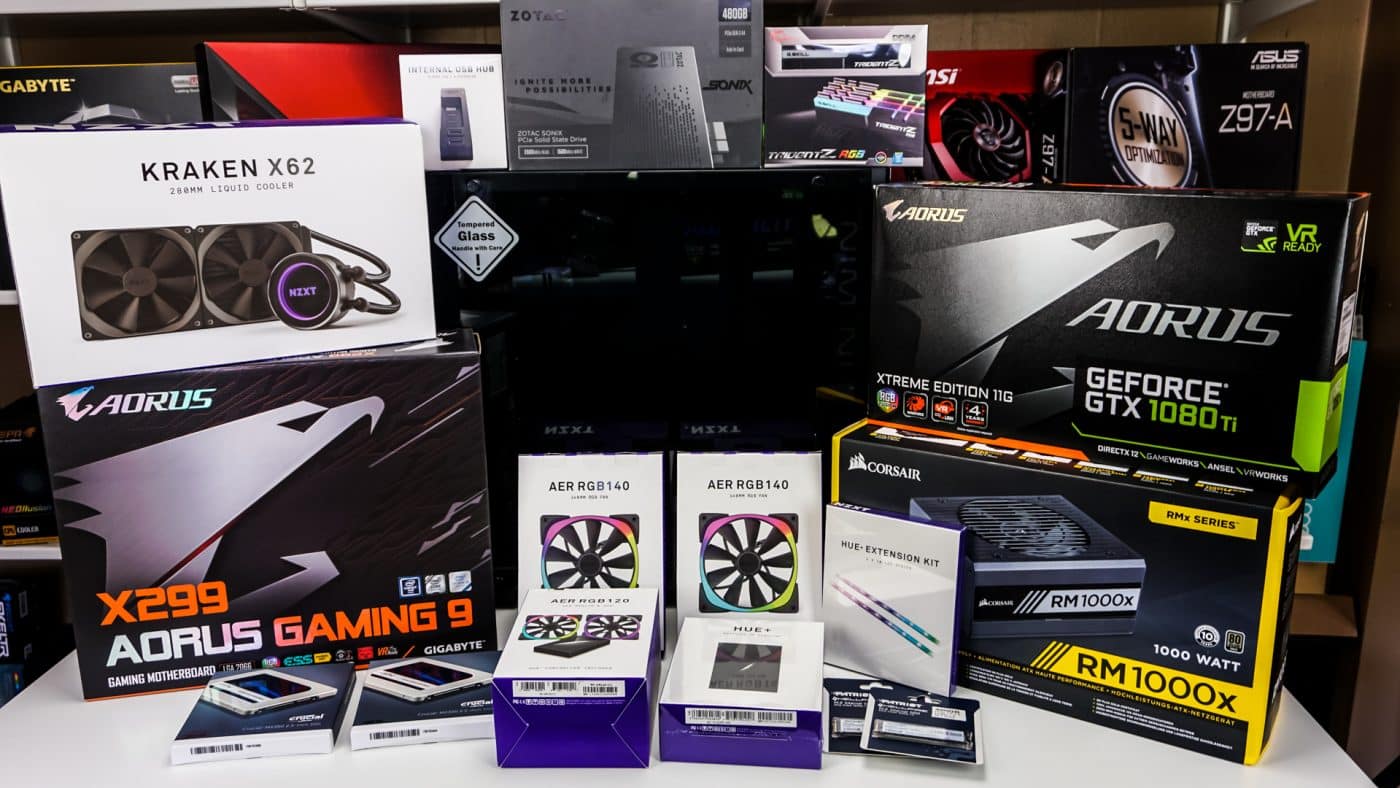
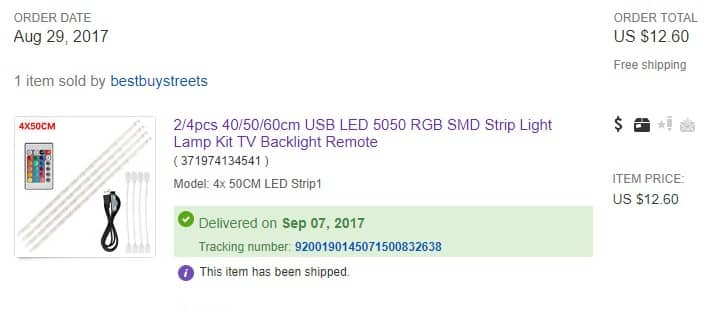
When I was doing my research for a proper RGB strip for the back of my display there were literally thousands to choose from. The things you are going to want to consider is the size of your display, the type of strip you want, and if you want a single long strip or a kit with multiple strips that can be connected. To read reviews about affordable gaming monitors, check out this review for cheap 144Hz monitors. For me I felt that a kit with multiple strips would be best for my display. I also wanted it to be USB so I didn’t have any extra wires, and finally you are going to want a “5050” kit, these are the brightest. So searching around I found the strip I thought would best fit my needs, which was only $12.60 on eBay and came with free shipping.
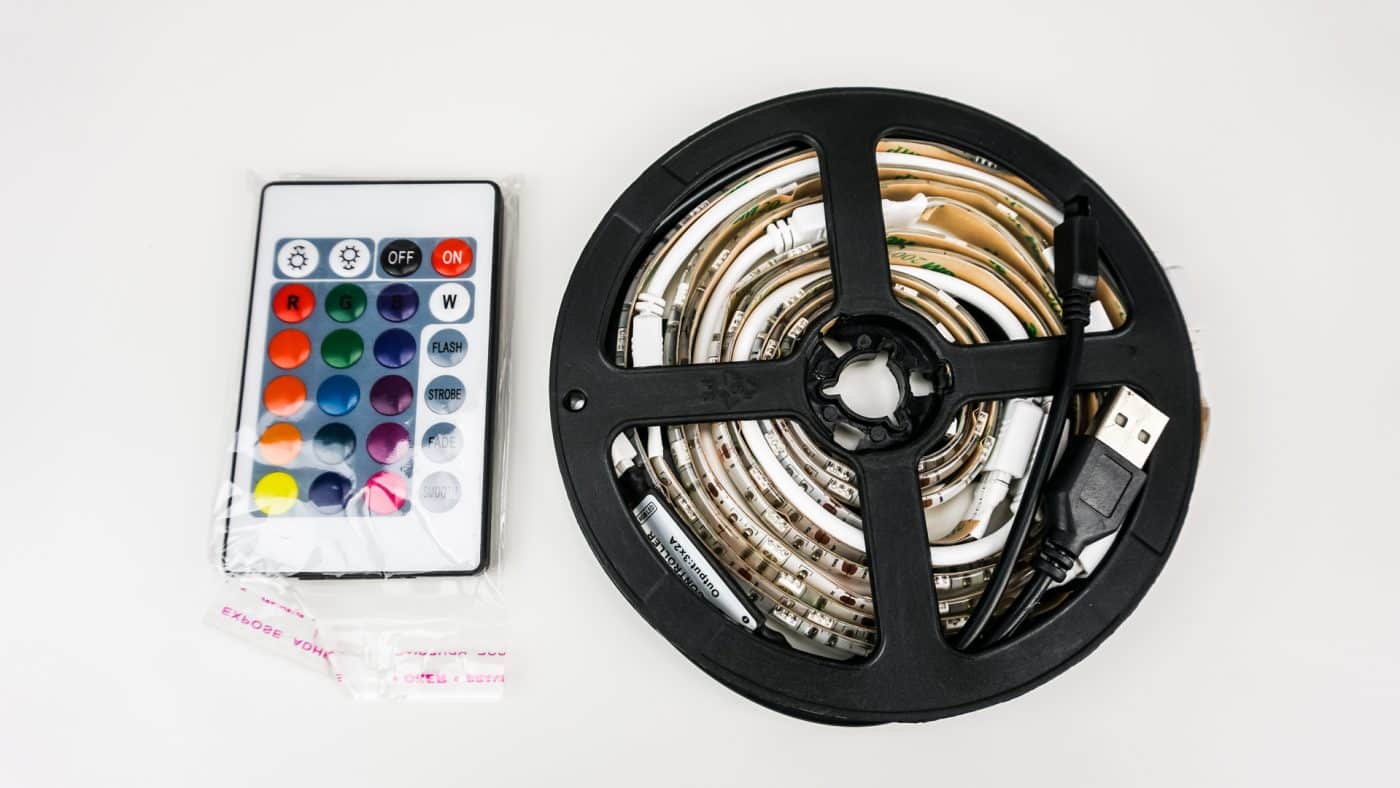
The kit itself is very simple and came in a small bag. Inside the bag I found the remote and the RGB stip all connected. After getting everything undone I had a USB RGB controller, remote, four 25cm RGB strip, and four connectors.

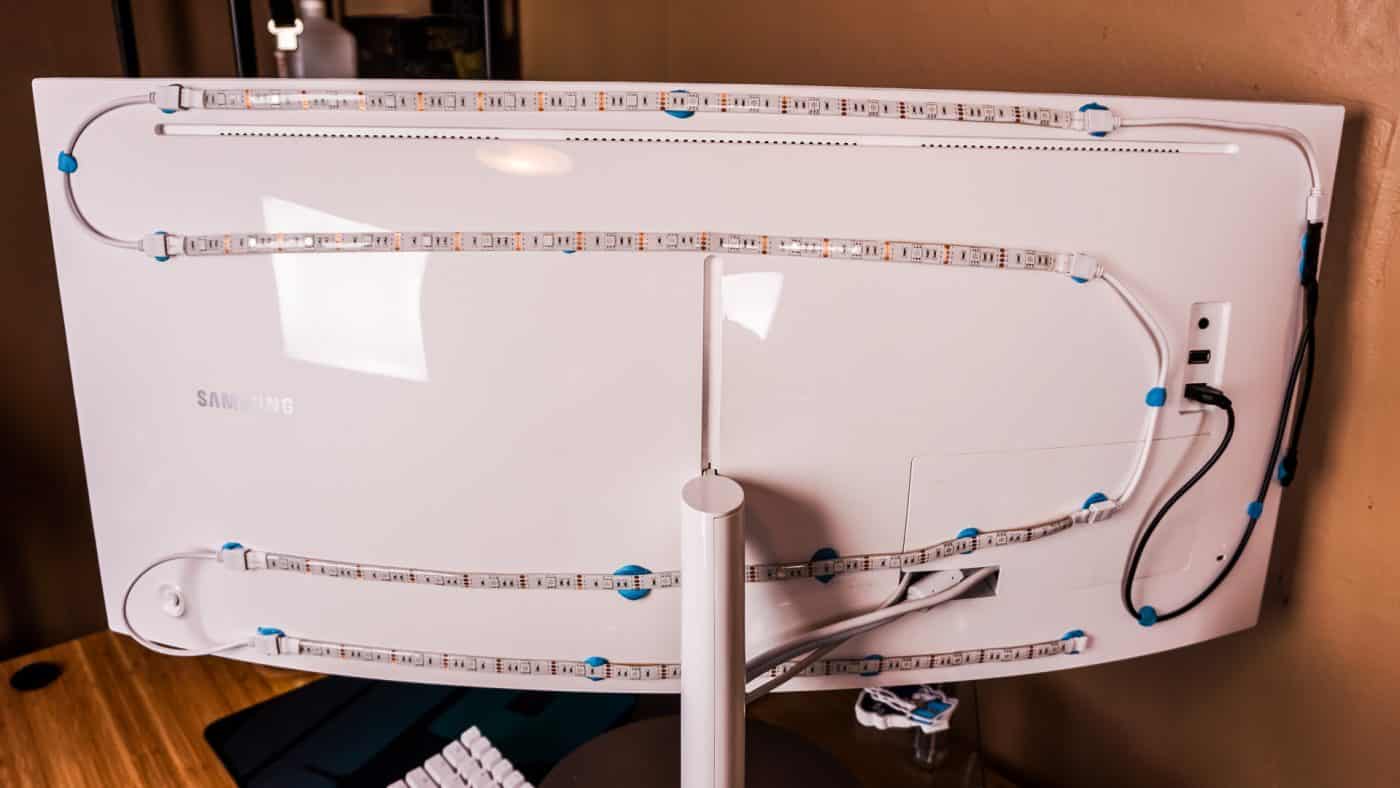
Now you are going to want to connect the kit and make sure it works. Any USB power source will suffice. Once you’ve confirmed the kit works go ahead and mount it on the back of your display. We are installing this kit on the Samsung CF971 which is a 34-inch Ultrawide. Each of the strips have adhesive tape on the back but I wanted to mount them so in the case I wanted to remove them it would be easy. So it went with Loctite Mounting Puddy. It works quite well and even though it looks a little messy remember that no one is going to see this side of your monitor!
The reason I picked this specific kit was that it came with 4 smaller strips with connectors. These connectors allow you to really place the strips where you want and navigate corners easily. If you plan to buy a kit for a display I would highly recommend getting one with these connectors.
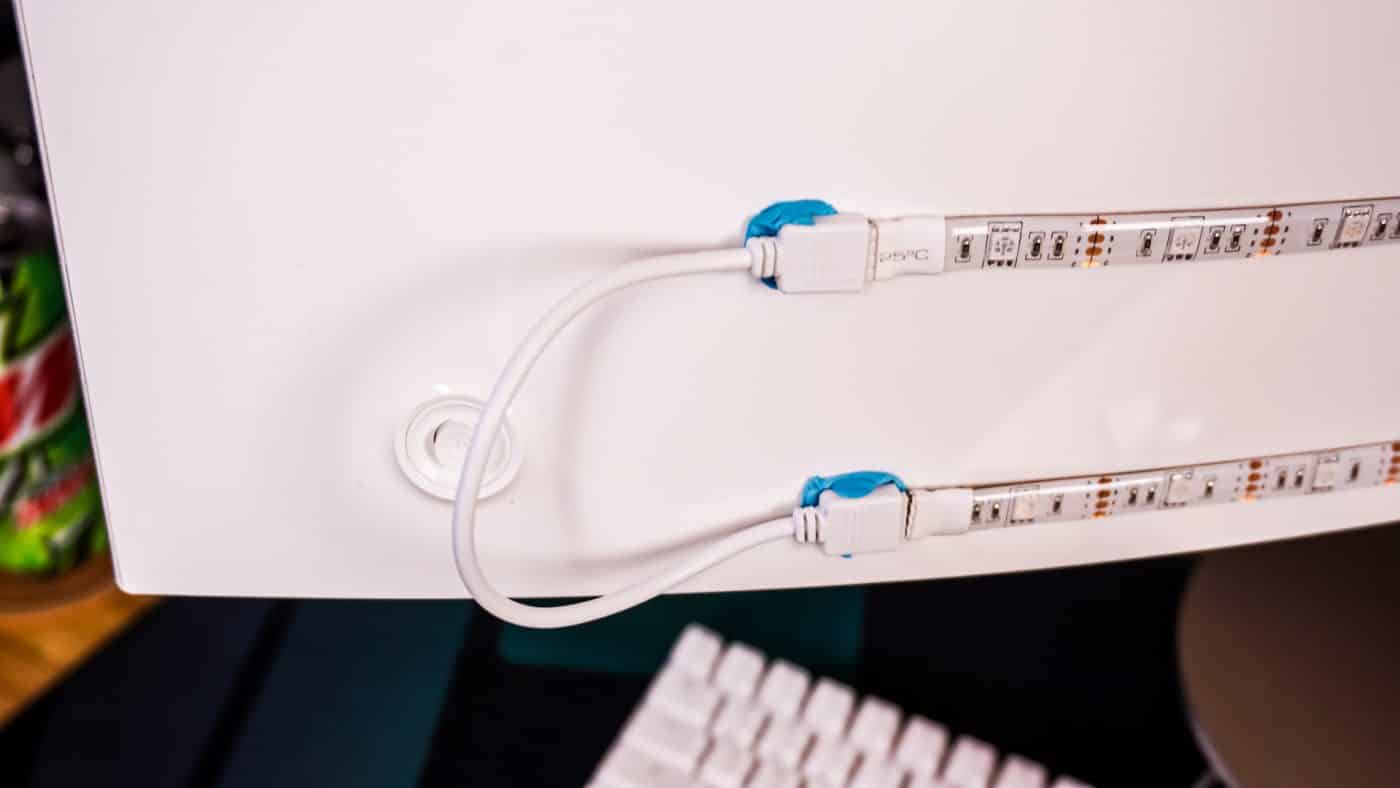
With the kit in place the last thing you need to do is mount the receiver. I would suggest mounting it on one side of your display, right by the edge. Now plug in the kit to the USB port on your monitor and it should light right up. Now if your monitor does not have USB ports you can get a many similar kits that have a normal power source.

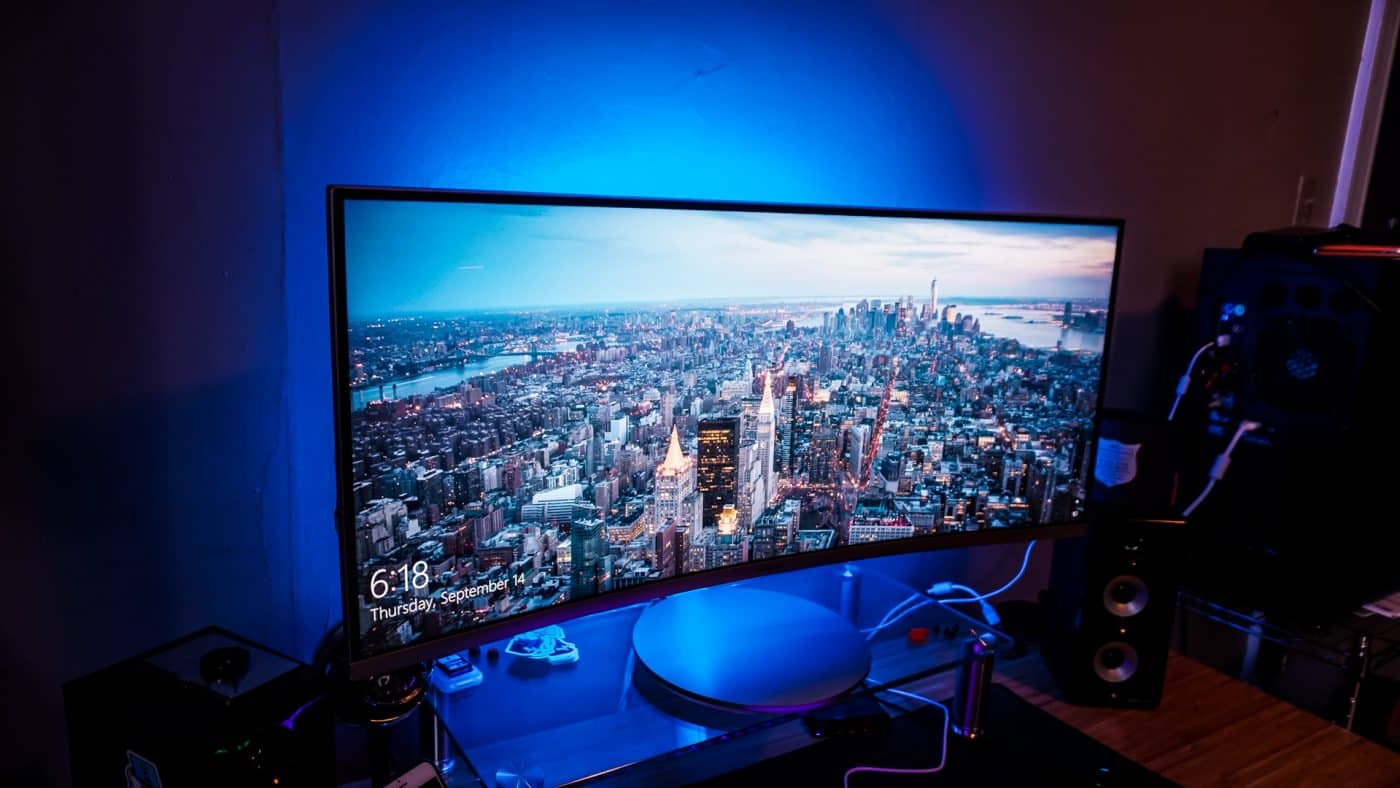
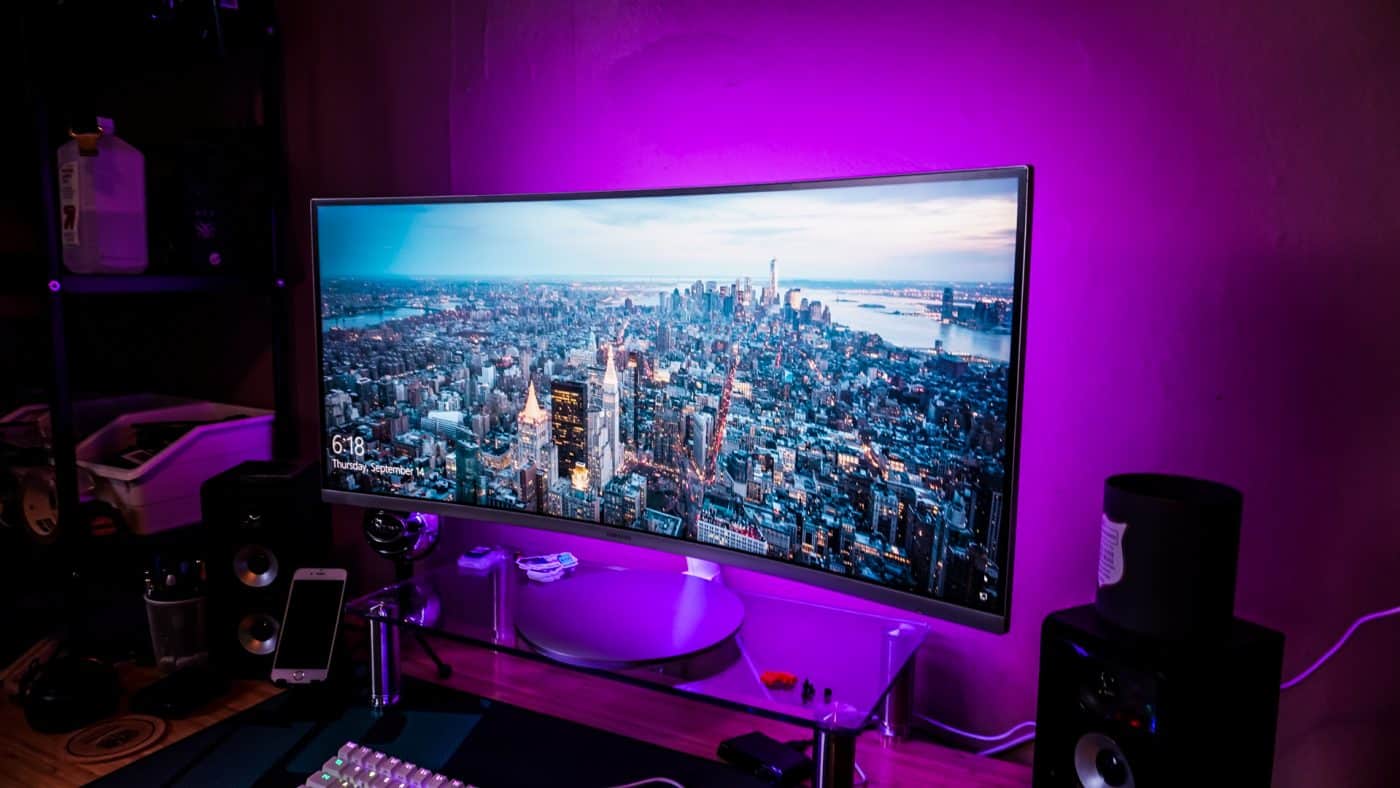
Now that we have everything installed we can flip our monitor back around and see the difference. The first shot below is with the RGB strip turned off and the second is with it on. As you can see there is a real big difference!
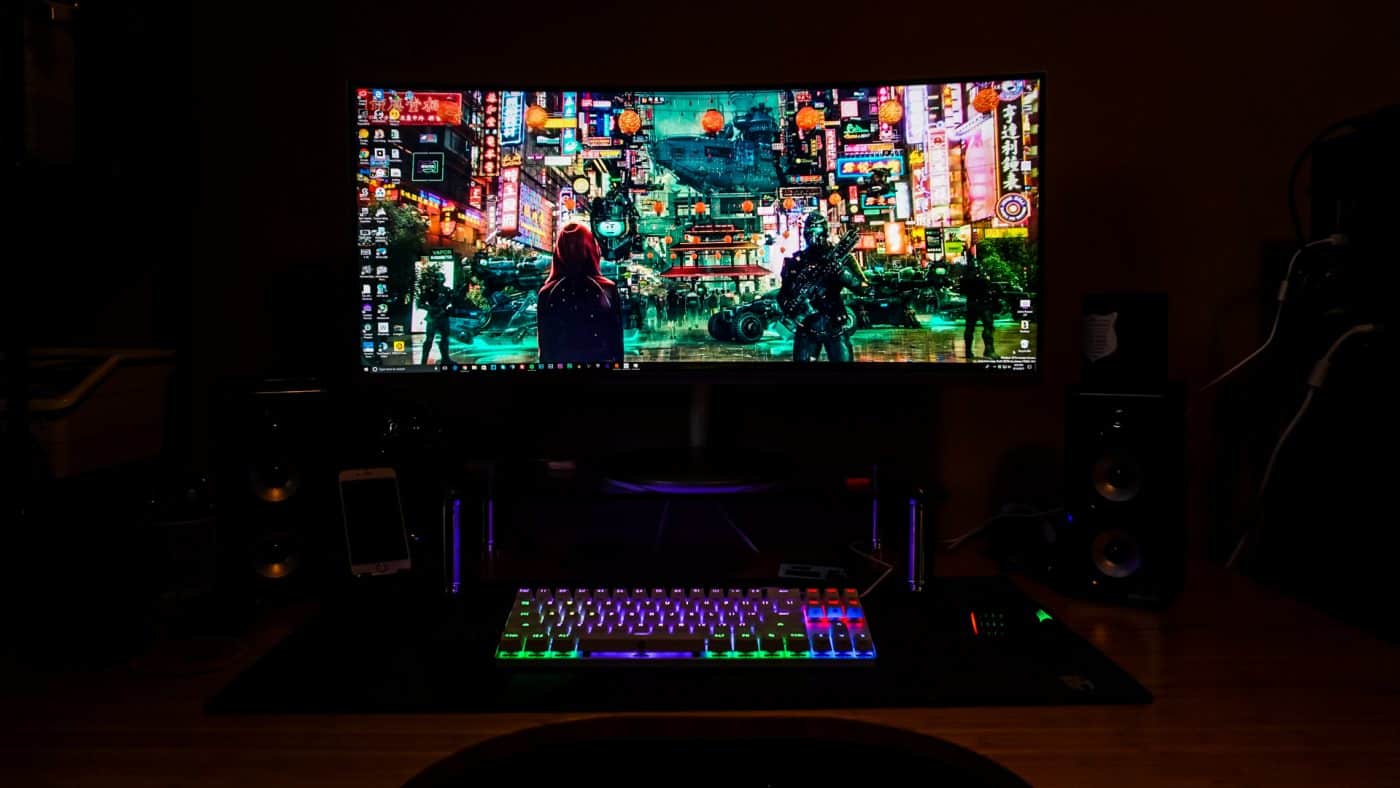

The included remote allows you to easily switch between colors, and there is even a few different effects. As far as coverage the kit does a great job, even on our massive 34-inch curved display. There is pretty even coverage throughout.
Here is my view sitting right in front of my monitor. Definitely more relaxing then just seeing a bright screen in front of me without anything behind it.

I am very happy with my decision of picking this strip over more expensive strips and it was a fun little project to do as well. If you have any questions about this kit or mounting RGB LED strips to the back of your monitor be sure to let us know in the comments. Also be sure to let us know what you think about our setup so far!