Installation
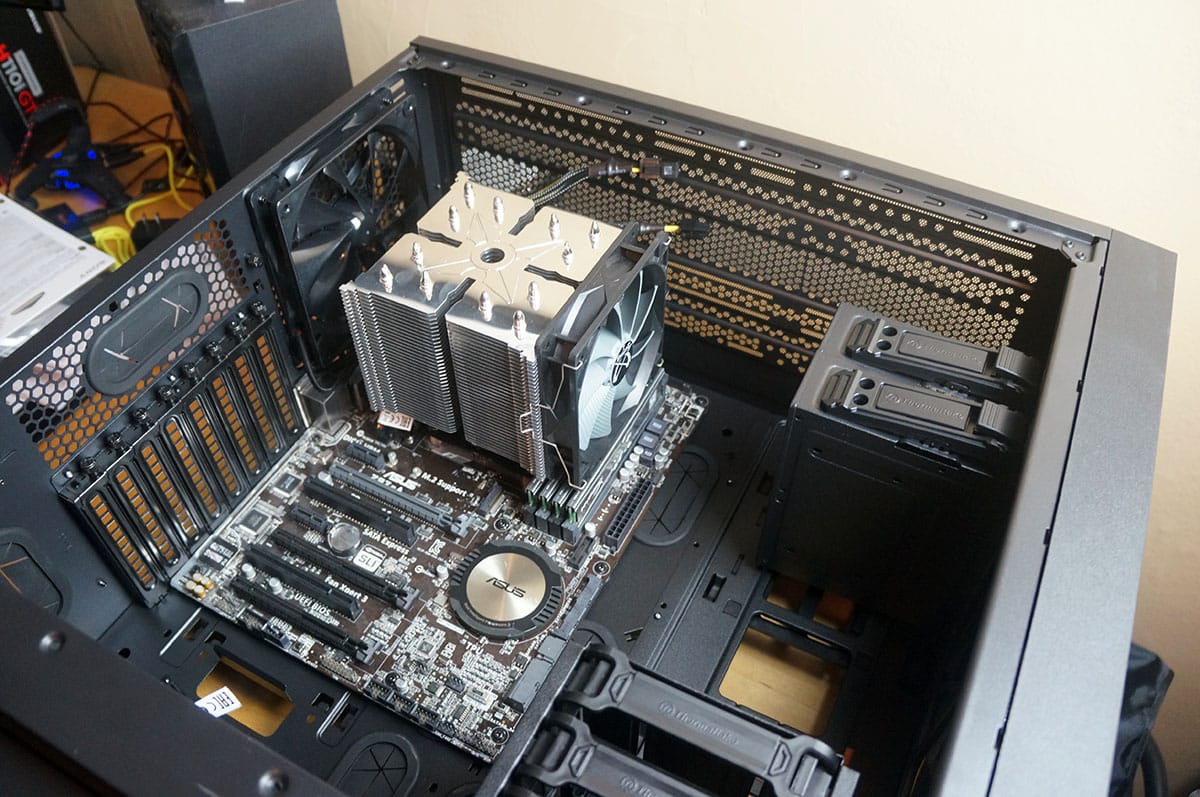
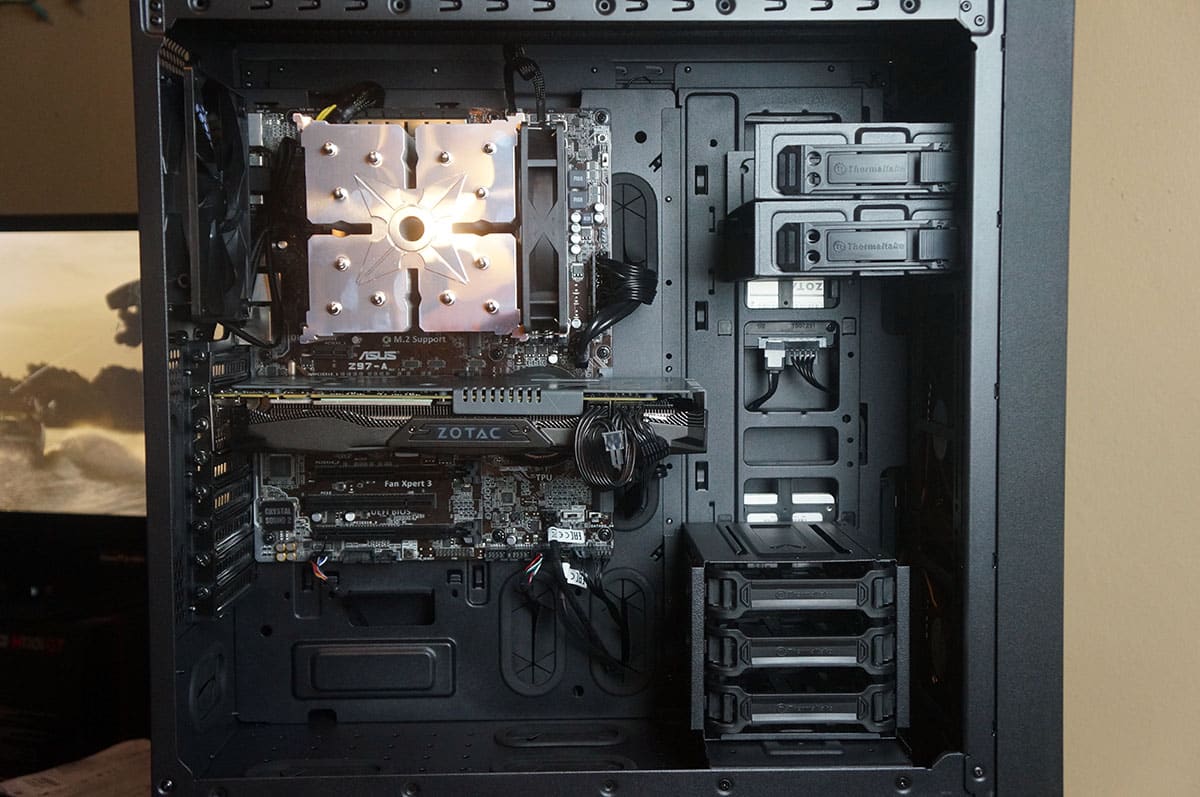
Installation should be pretty easy in this case as Thermaltake has made things very easy for builders over the past few years. The first thing we will be installing is our motherboard. Thermaltake has the standoffs pre-installed so you don’t have to worry about them. Just secure your motherboard with screws. There is quite a lot of room to work with inside so we did not run into any clearance issues at all.
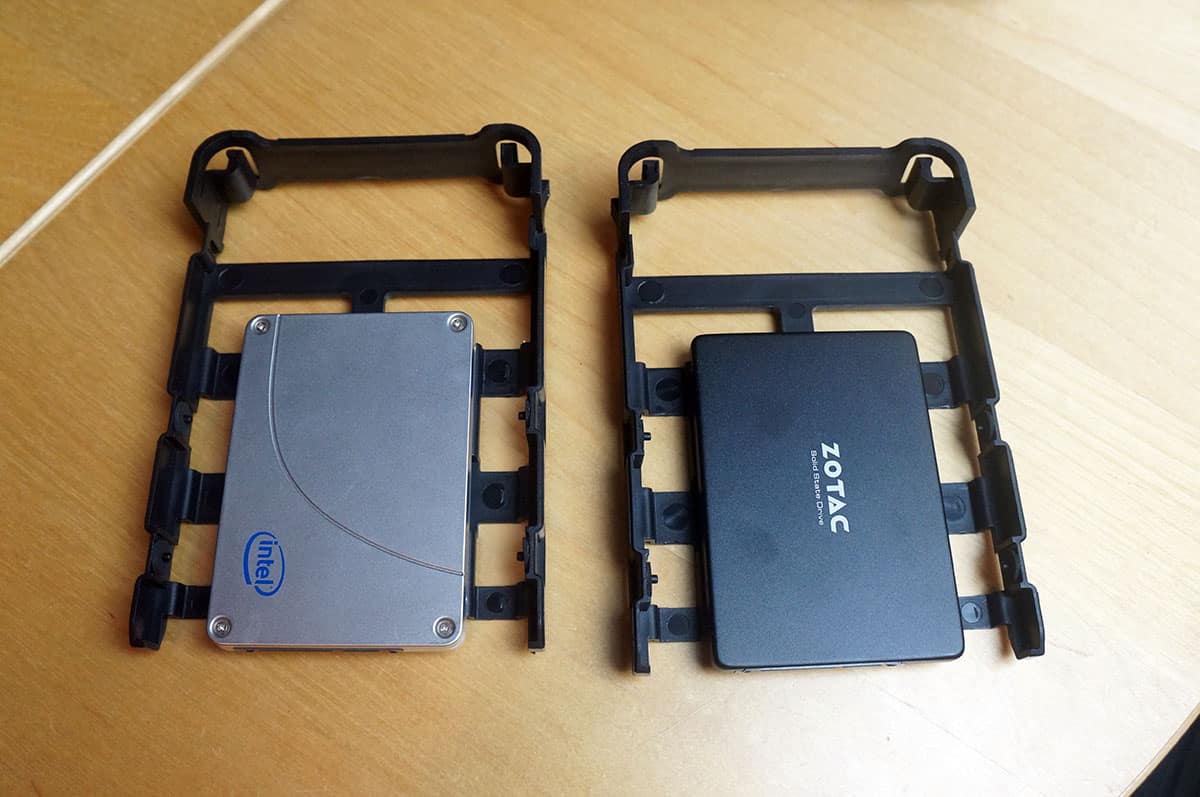
Hard drives are next. We will be installing two 2.5-inch hard drives using the included trays. You easily secure each hard drive to the tray with four screws.
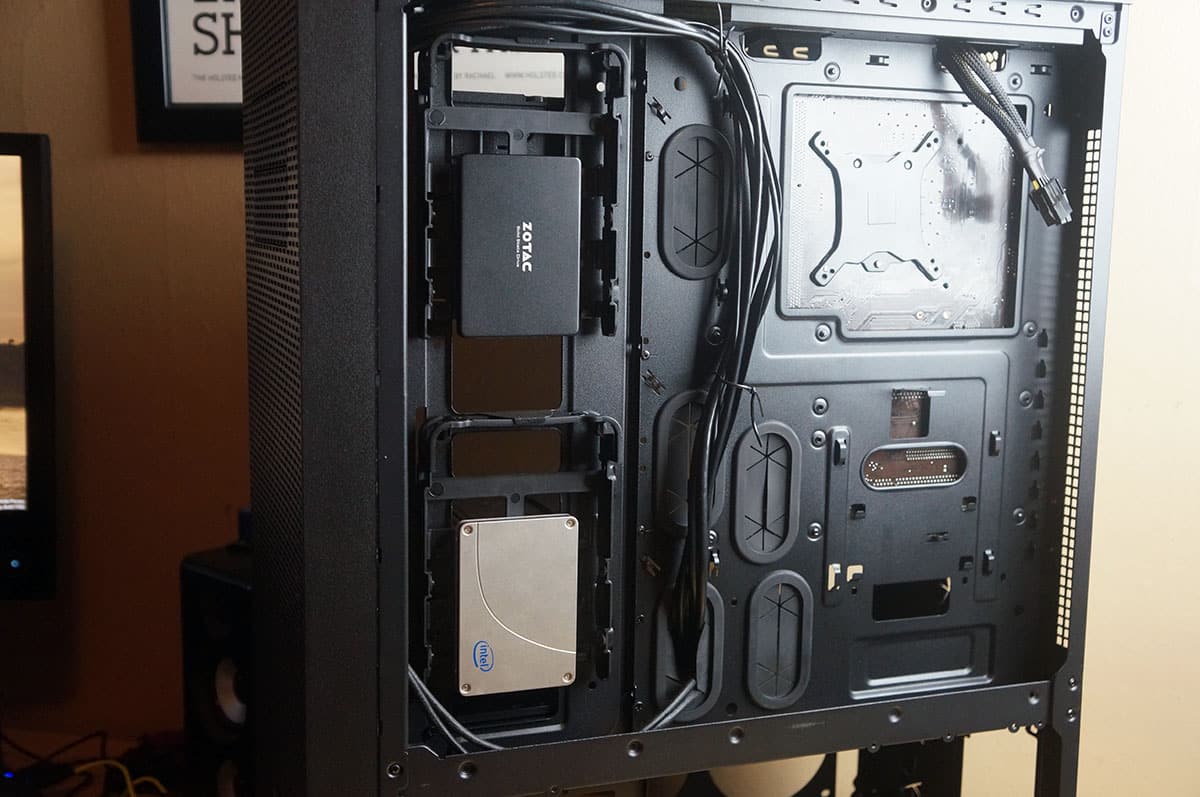
With the hard drives secure in their trays all you need to do now is put them back in the case. I opted to install them on the backside of the motherboard tray so they are out of the way.
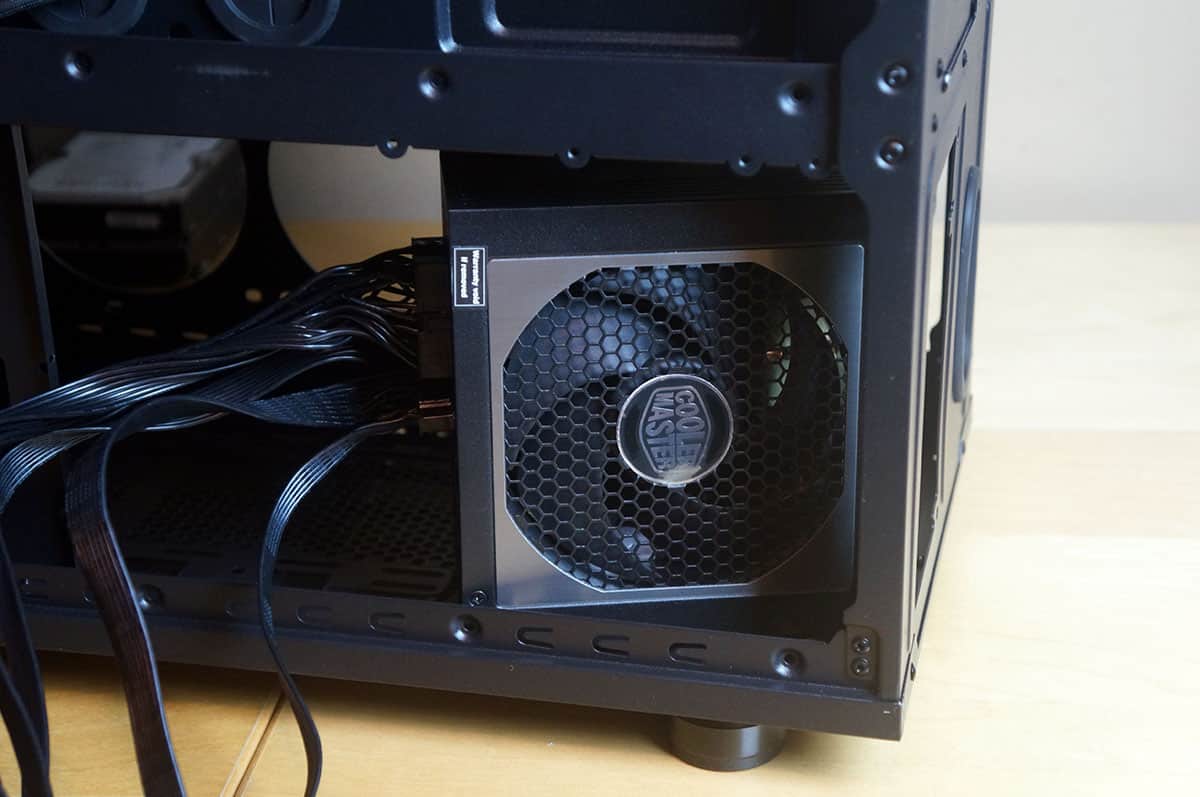
Next is our power supply which we are installing in the bottom of the case. It easily slides right in from the back-side of the case. Then just secure it with screws at the back.
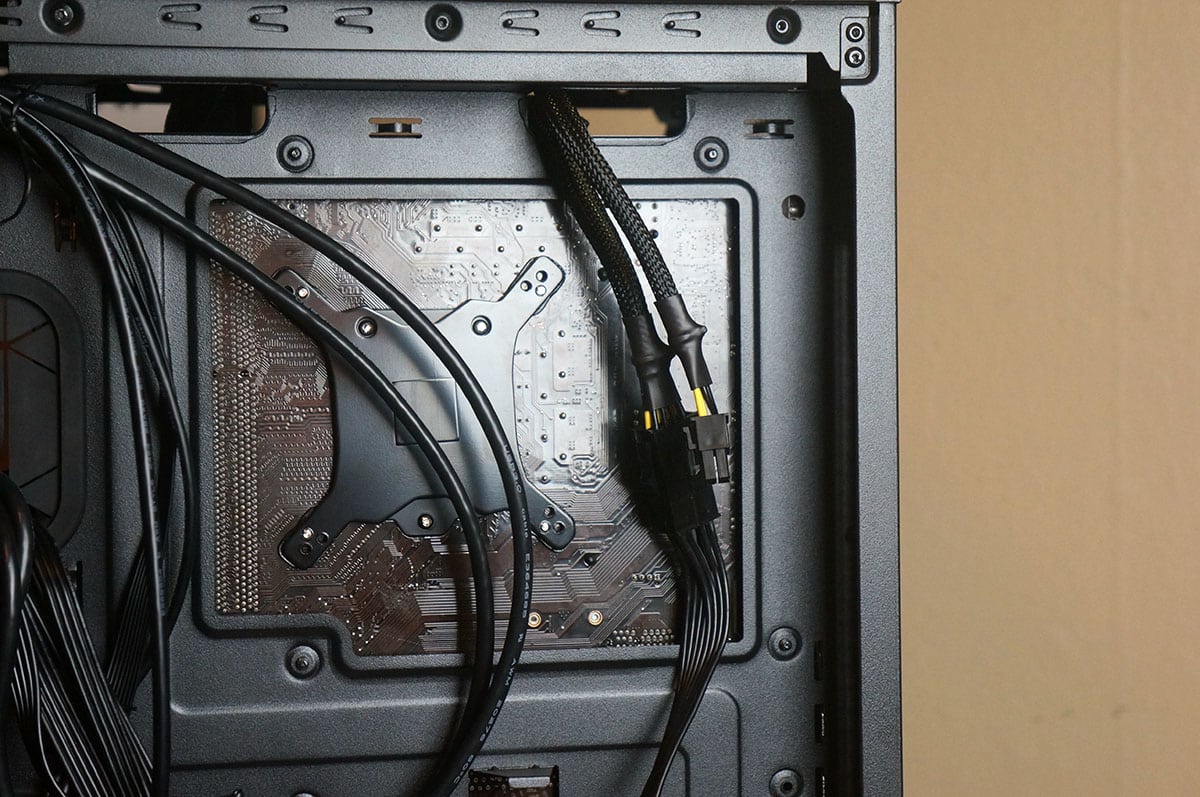
Now it is time to route and connect all of our cables. This is done very easily as there are many cable routing holes a quite a lot of room behind the back of the case. There is enough room that you don’t even need to tie down your cables if you didn’t want to.
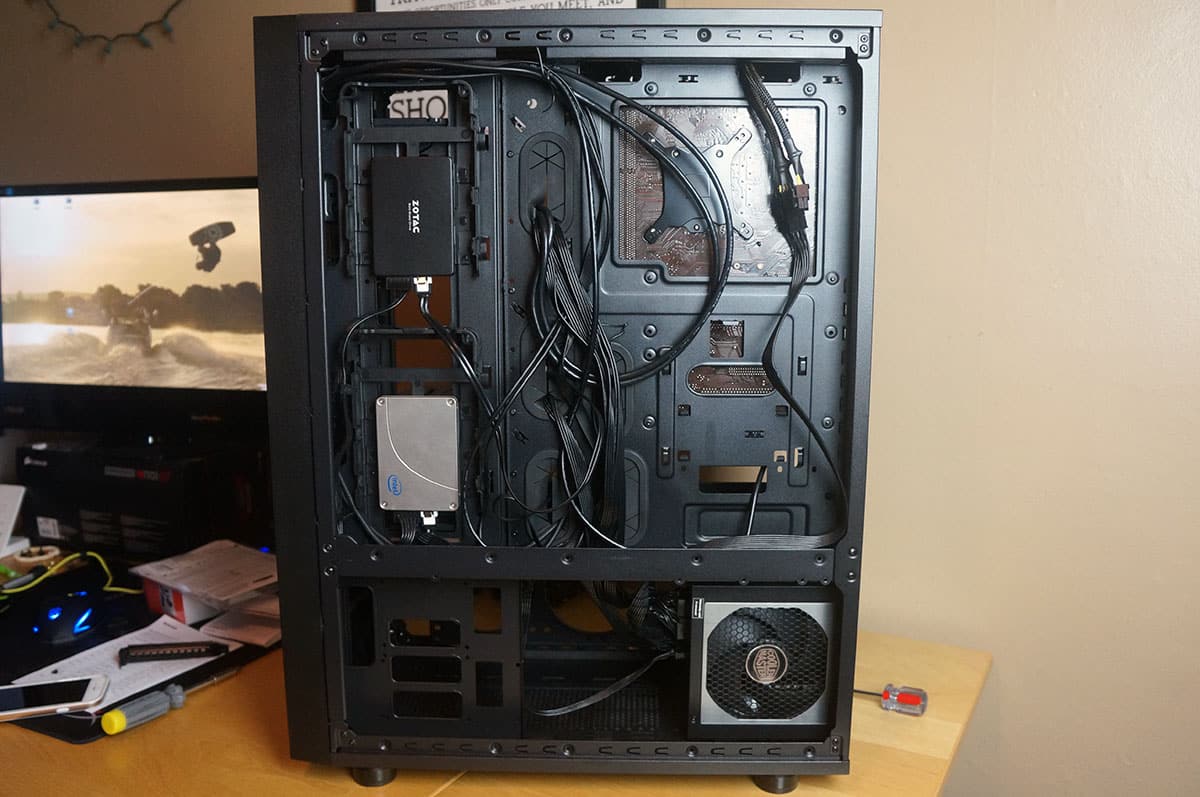
Thermaltake does include an EPS connector extension cable if you are wondering if your EPS cable will make it from the bottom of the case to the top.
Moving over to the opposite side of the case the last thing that we need to install is our graphics card, which goes in without any issues. With everything connected you can see we have an extremely clean and spacious build.
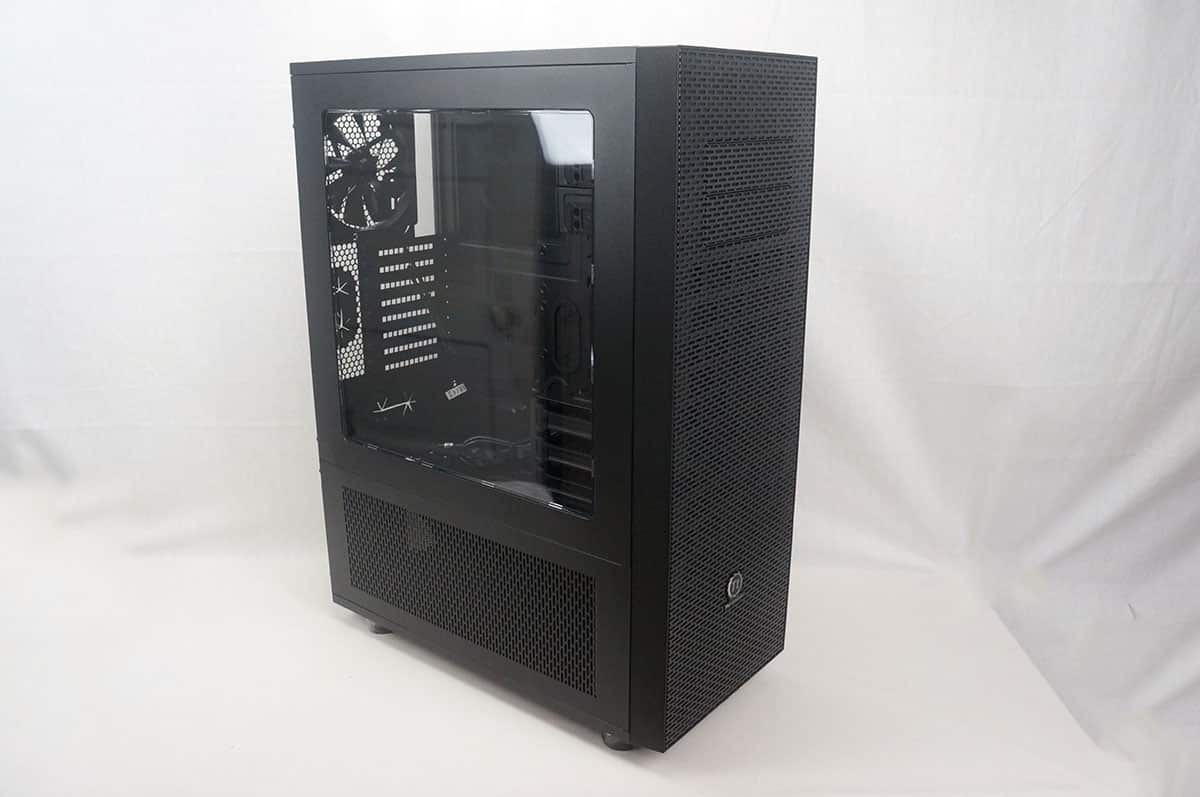
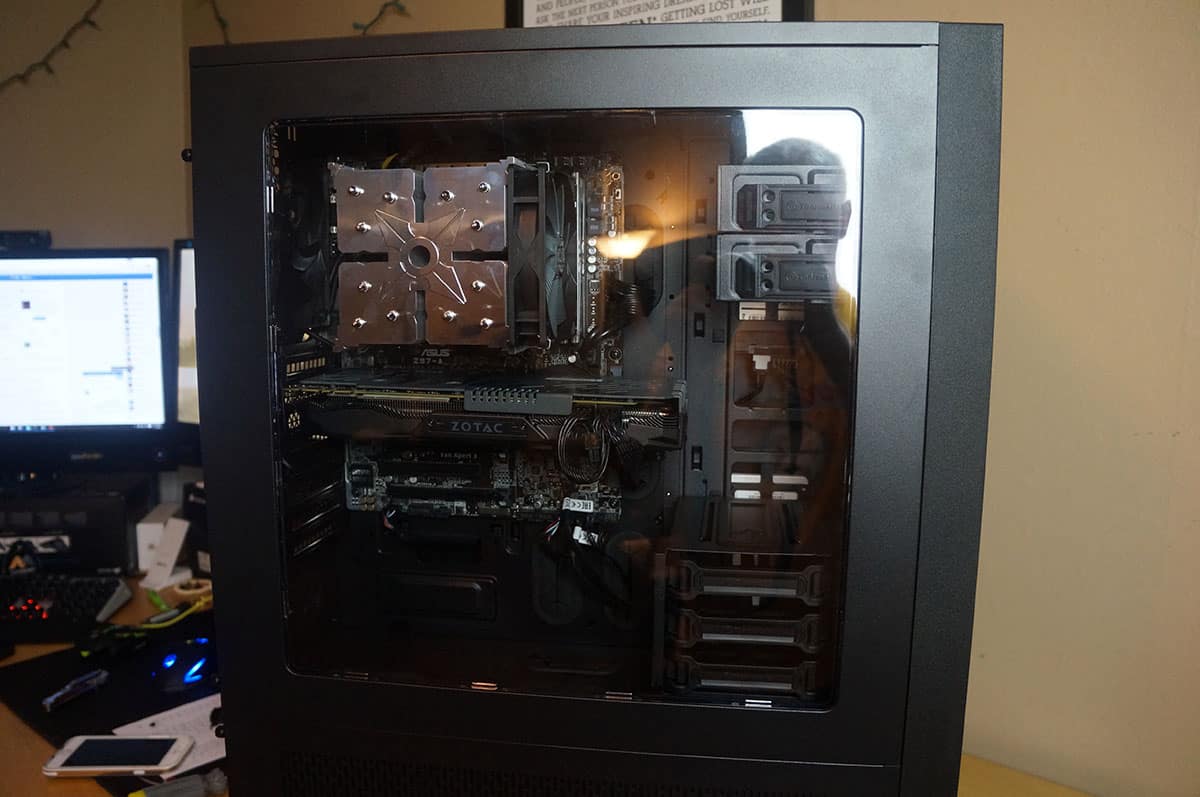
Putting the side panels back on you can see how much that the side panel window shows.
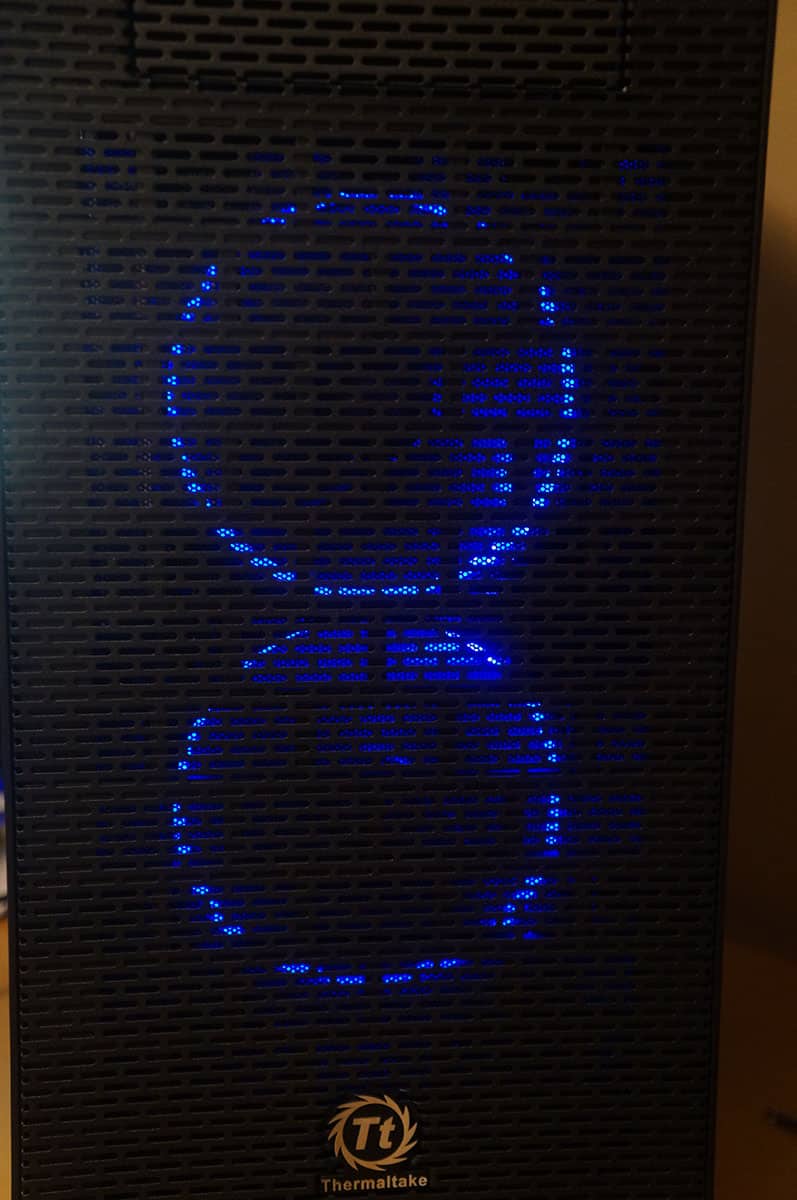
Turning on the system the two fans in the front light up blue adding a little style to your case.