Installation
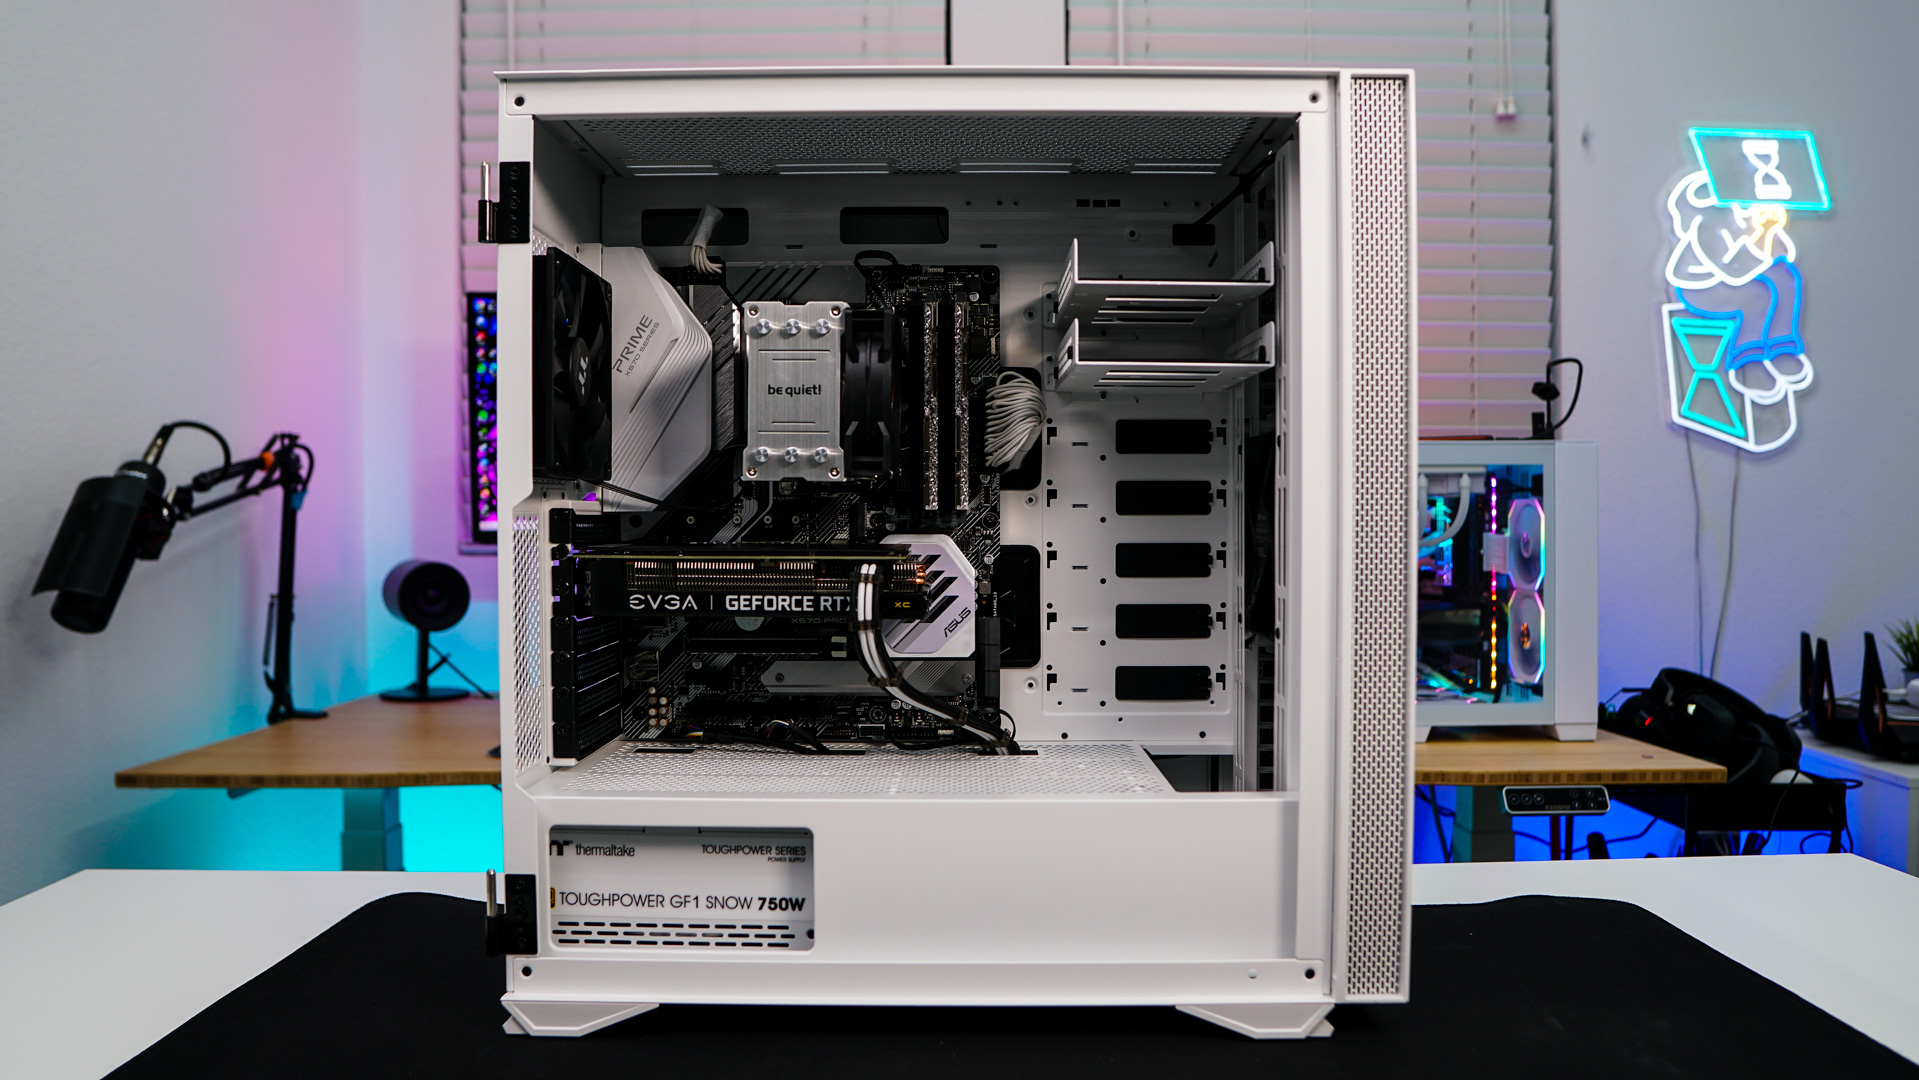
Installation of your hardware in this case is pretty straight-forward. The first thing we are going to be installing in the case is our motherboard. It makes things easier if your remove the GPU support bracket, which is only held into place with thumbscrews. With it removed we can easily install our motherboard.

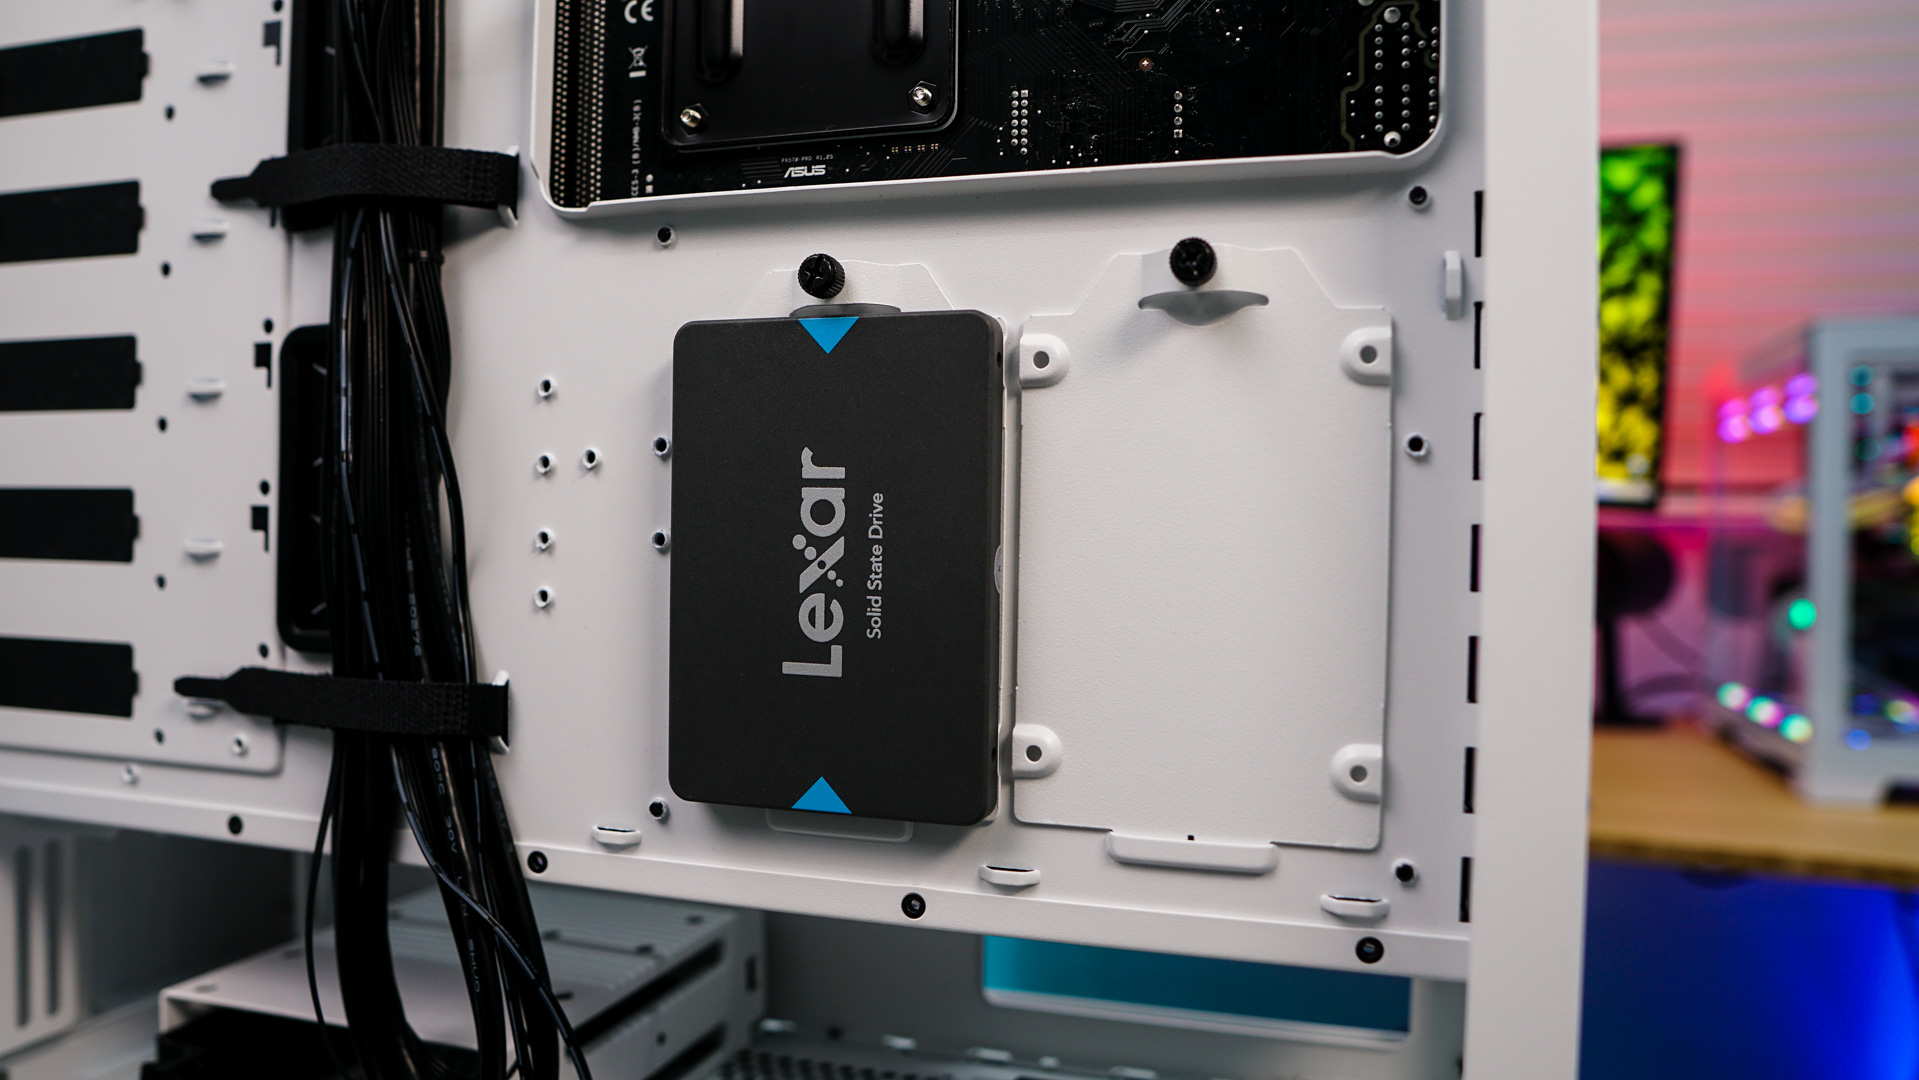
Installing our solid state drive is extremely easy. I opted to install it on one of the mounts on the backside of the motherboard tray. So just remove it from the case, install our drive, and then reinstall it.

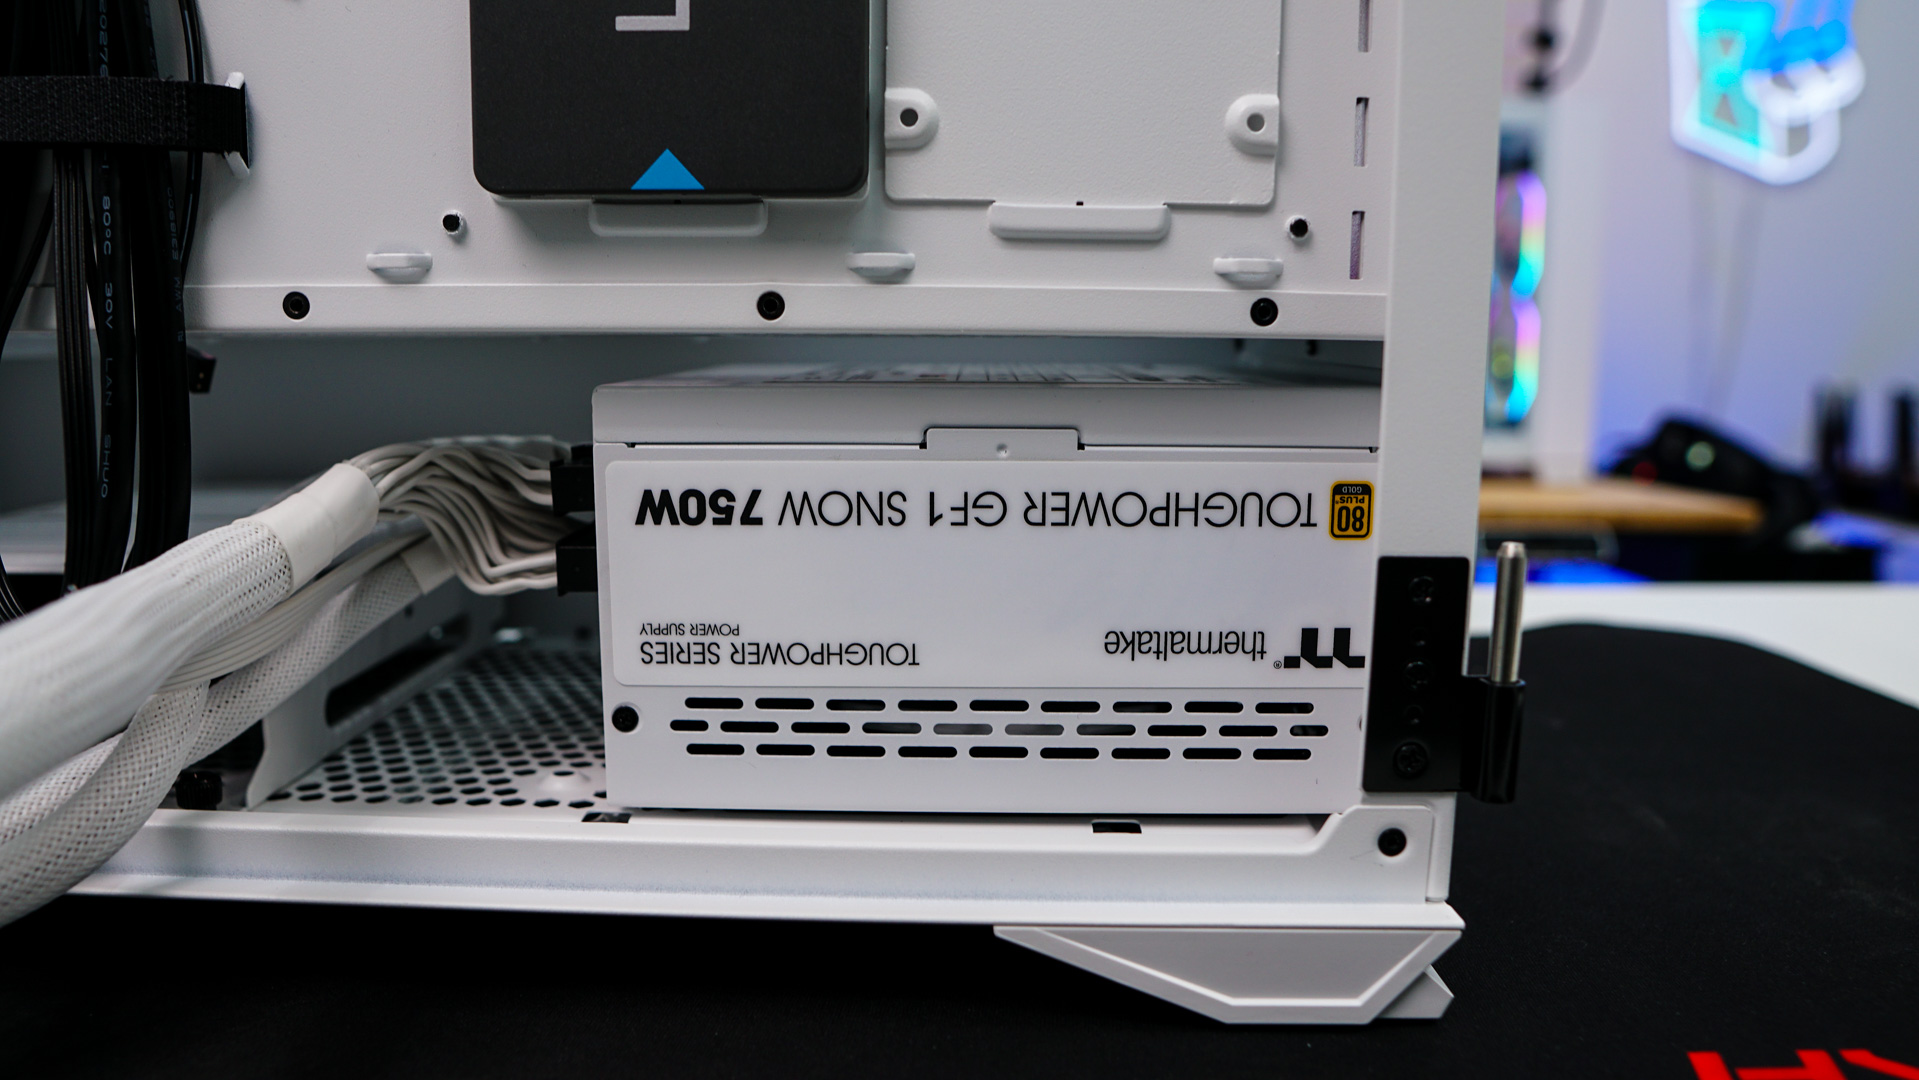
Your power supply will slide in from the backside of the case and you secure it in place with the included screws. For those wondering the case will support units up to 180 mm if you have the bottom hard drive cage installed and 220 mm if you remove it.

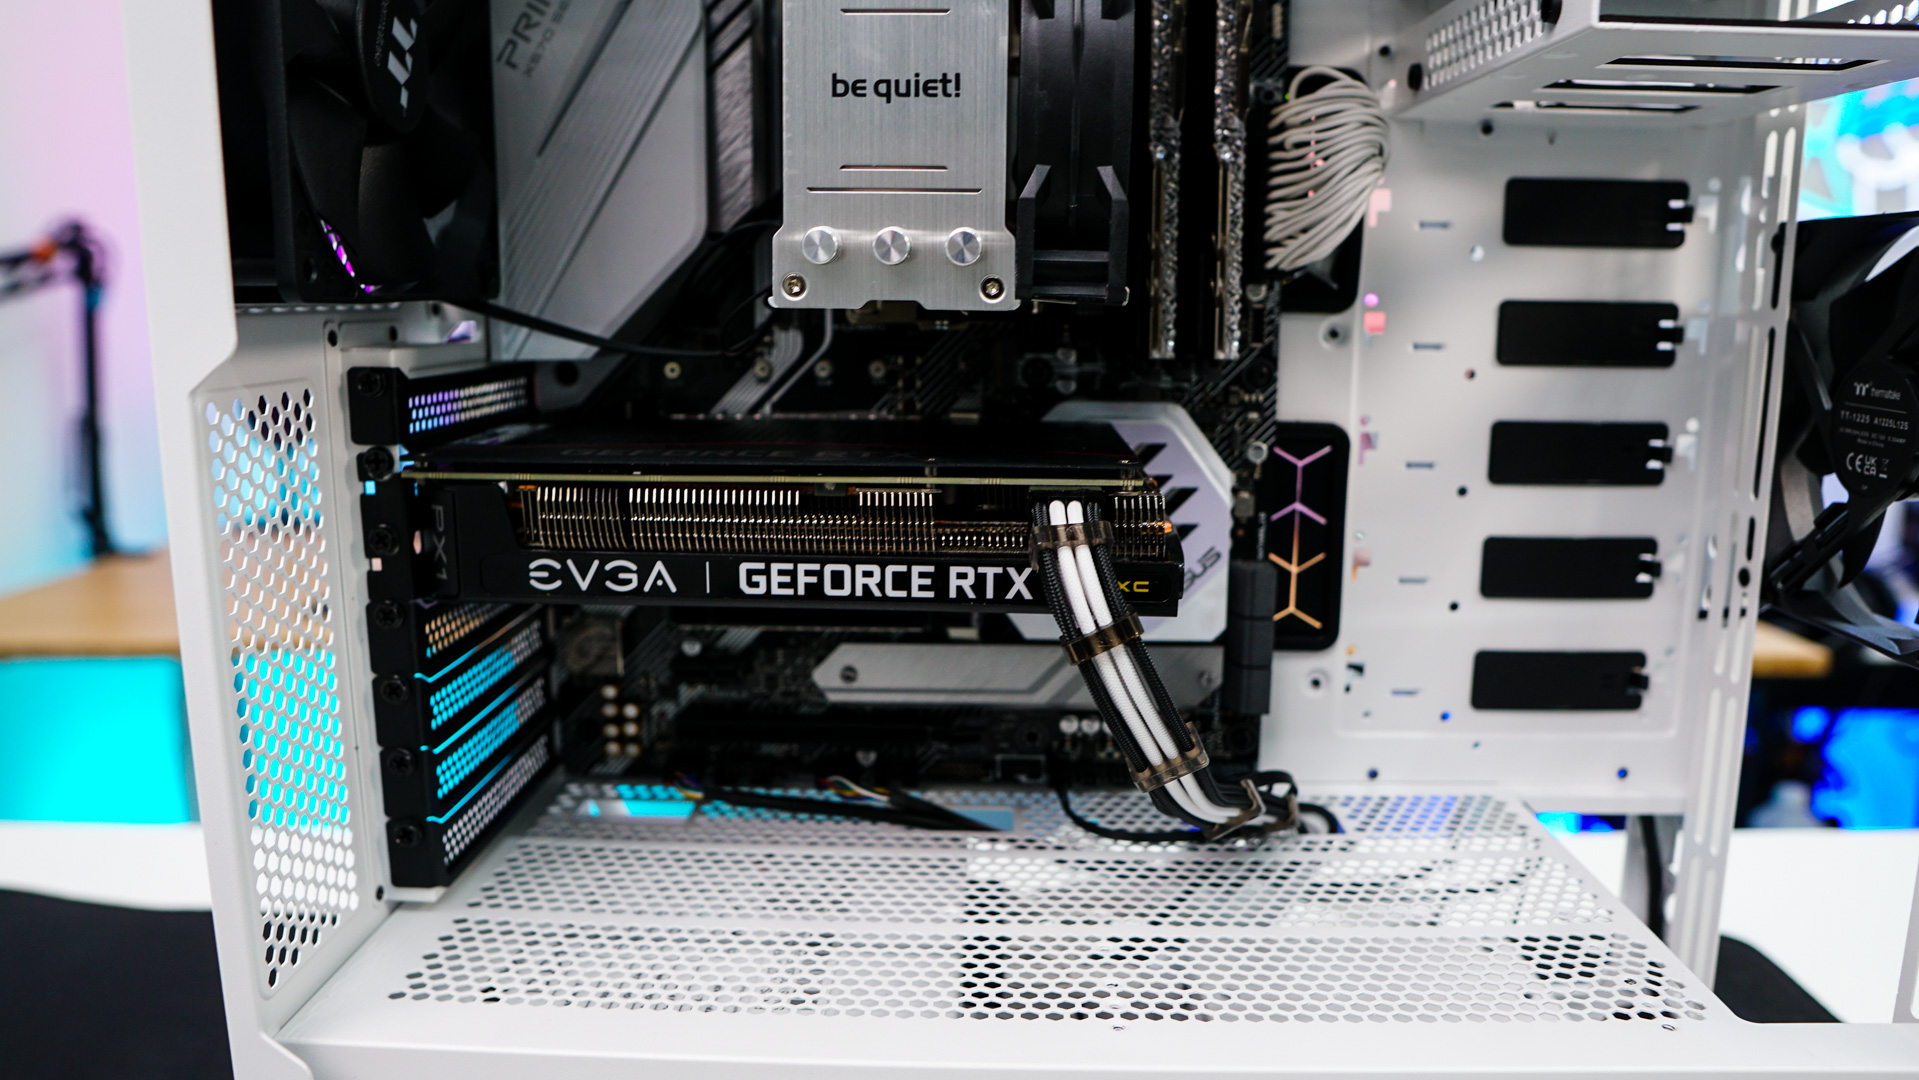
The last thing we need to install is our graphics card. We use a smaller card for our case reviews so no issue getting it inside this case. The H700 TG will support graphics cards up to 340 mm with a radiator installed up front and 395 mm without a radiator installed.
Now it is time to wire everything up and you are able to hide most of your cabled under the power supply cover. The three included velcro ties really help keep all of your cables organized as well. With everything wired up we have a very clean build.