Installation
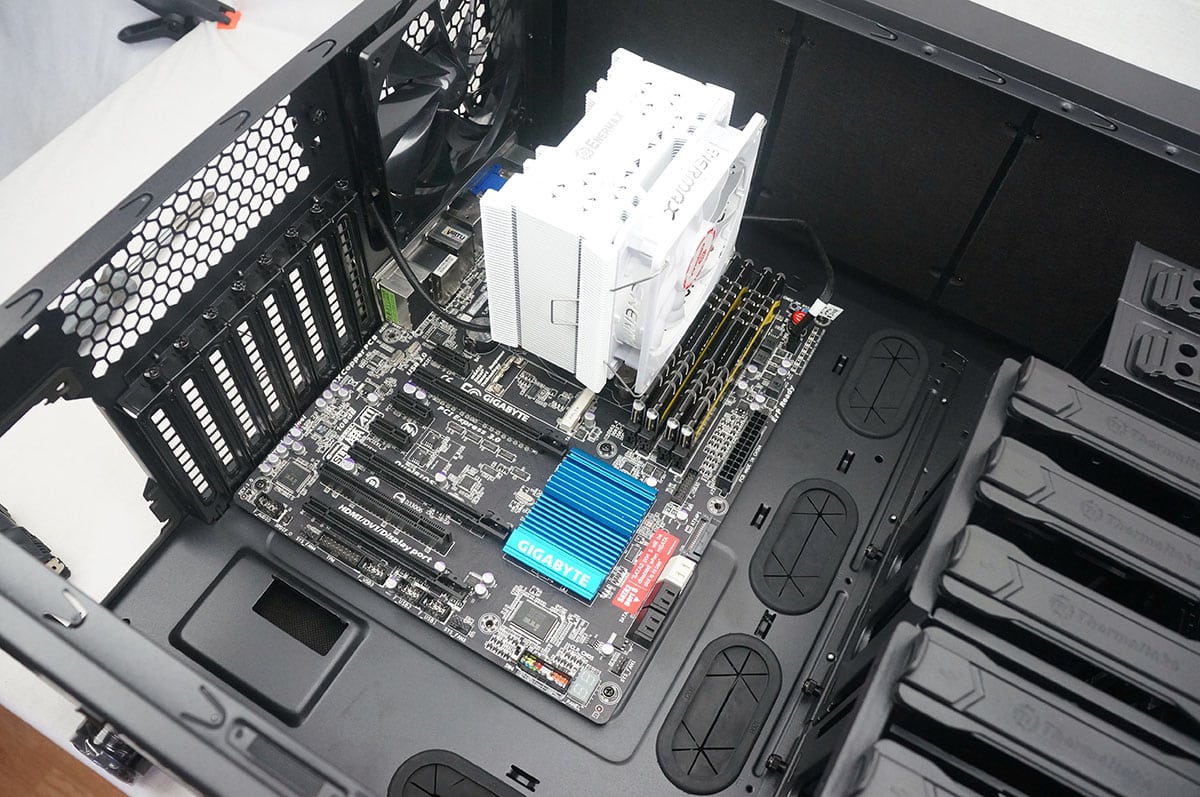
Starting off with installation we have our motherboard. There is more than enough room inside the case for our ATX motherboard. As I said Thermaltake has pre-installed the standoffs so that makes installation easier too. For those wondering the case will fit CPU coolers up to 185mm in height.
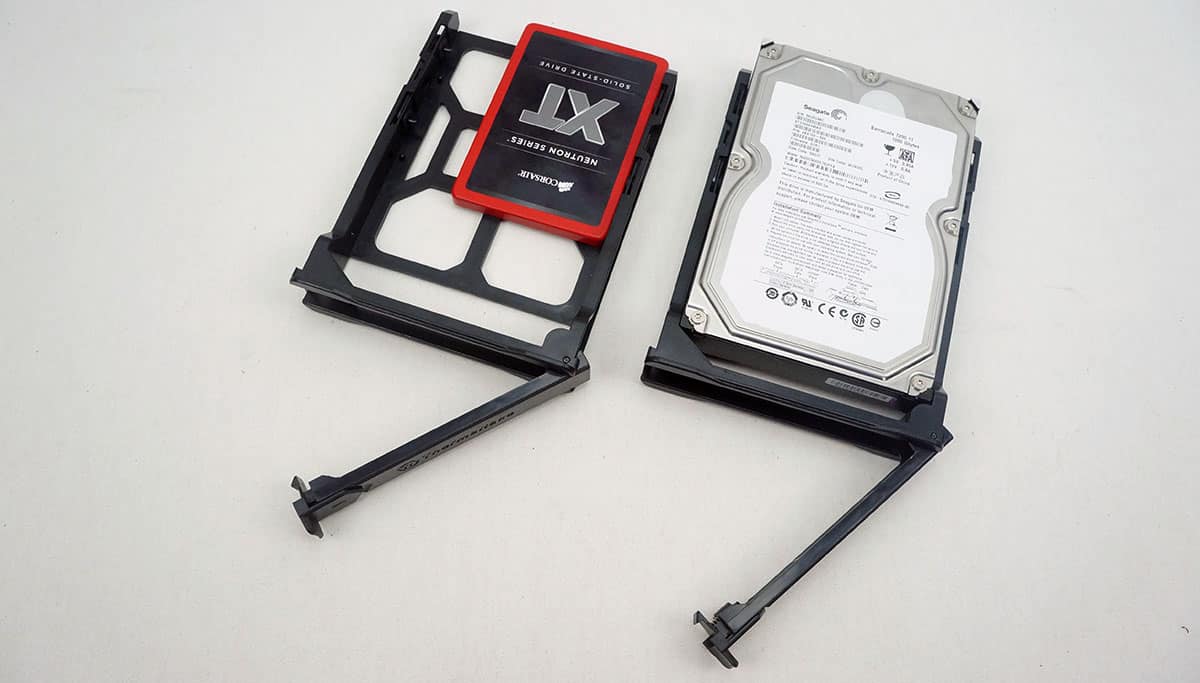
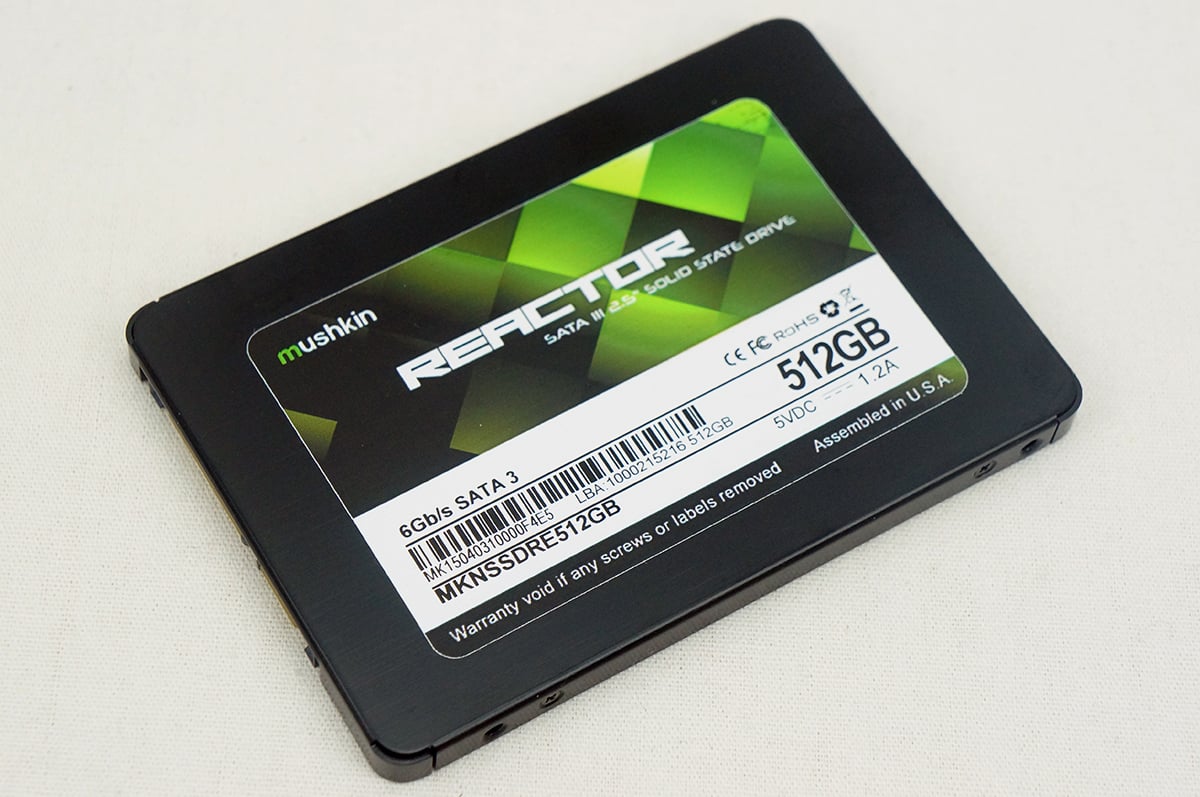
Next we have our hard drives which I will be installing in the trays. The 3.5-inch drive installs quite easily with two clips on each side of the tray. The 2.5-inch drive will need to be installed using screws.
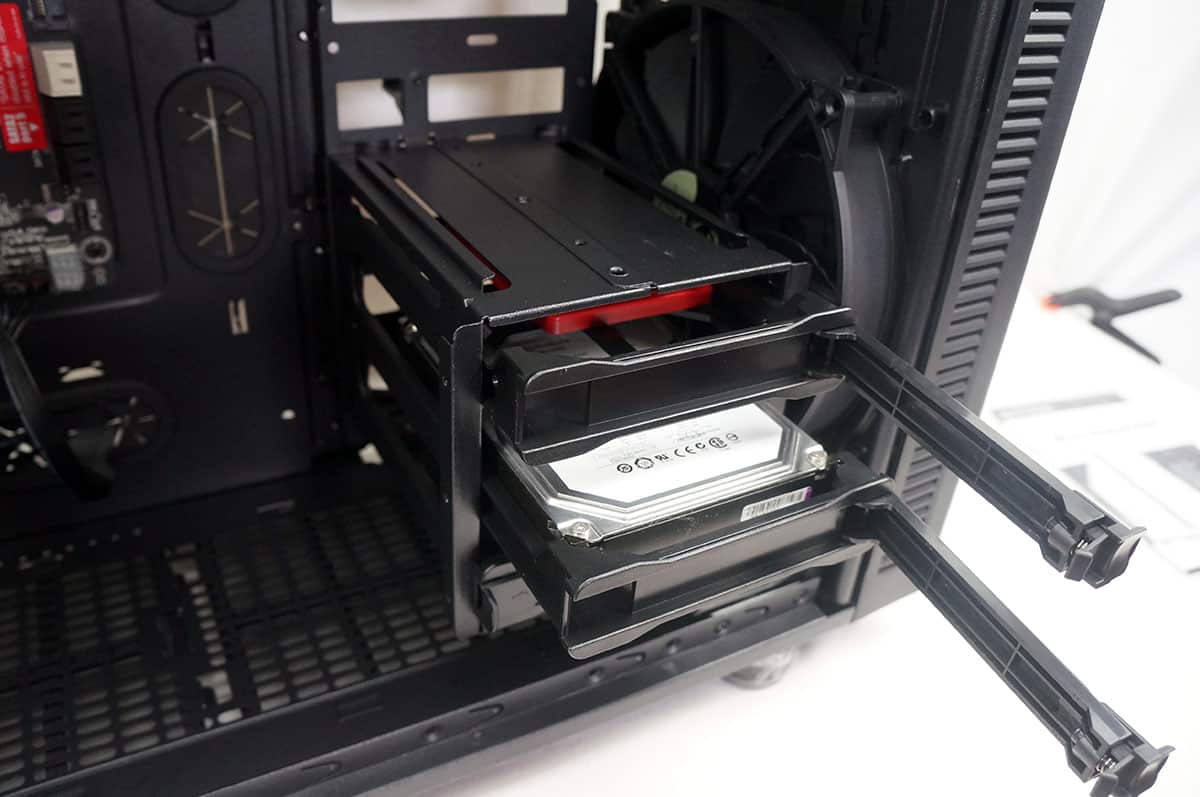
Once installed you can easily slide the trays back in.
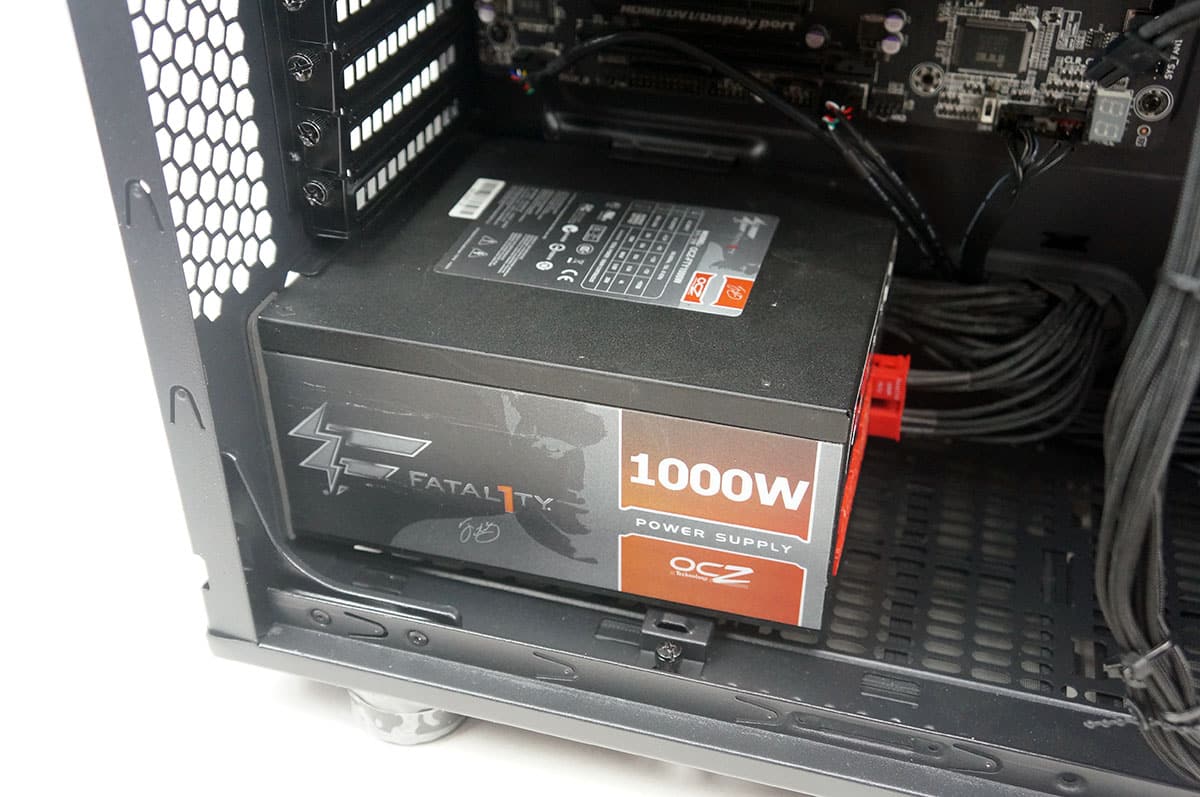
Mounting the power supply is quite easy. You can see how the riser supports the power supply once it is installed.
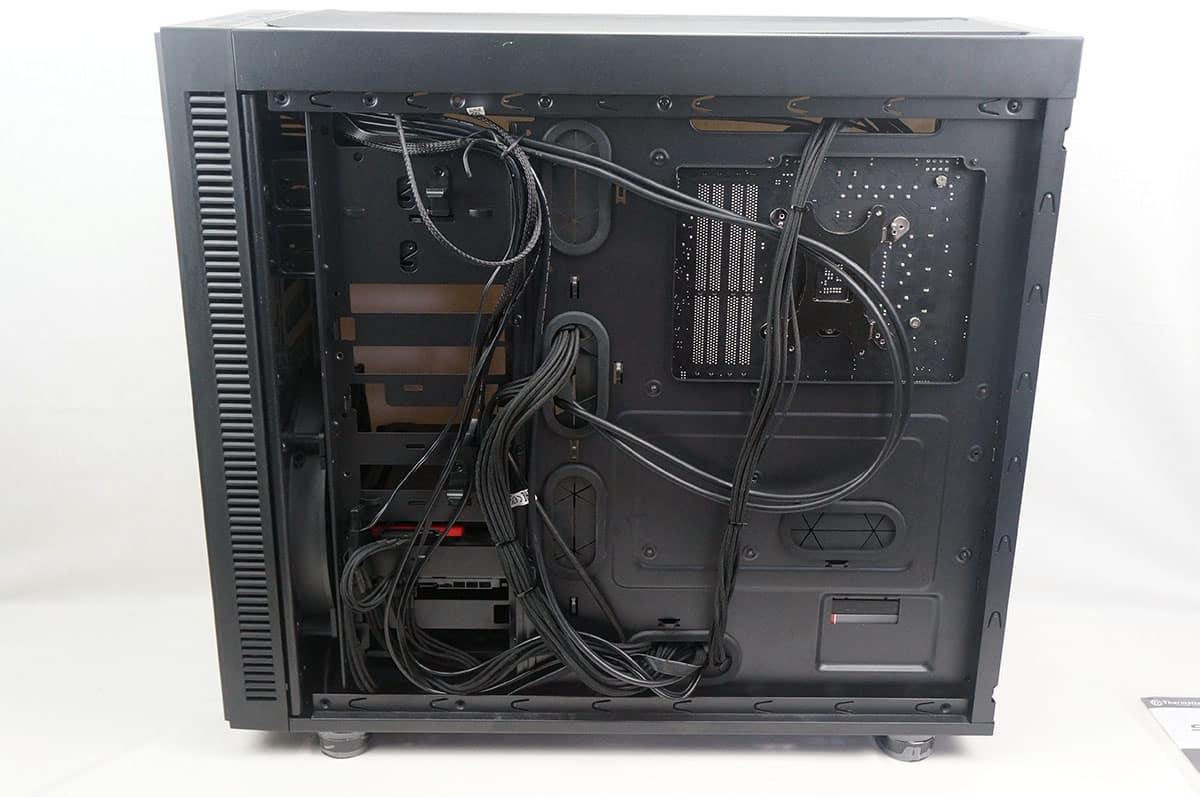
Cable routing in this case is made quite easy because of the large cable routing holes. I was able to keep things quite neat on the rear of the case, without the use of any cable ties.
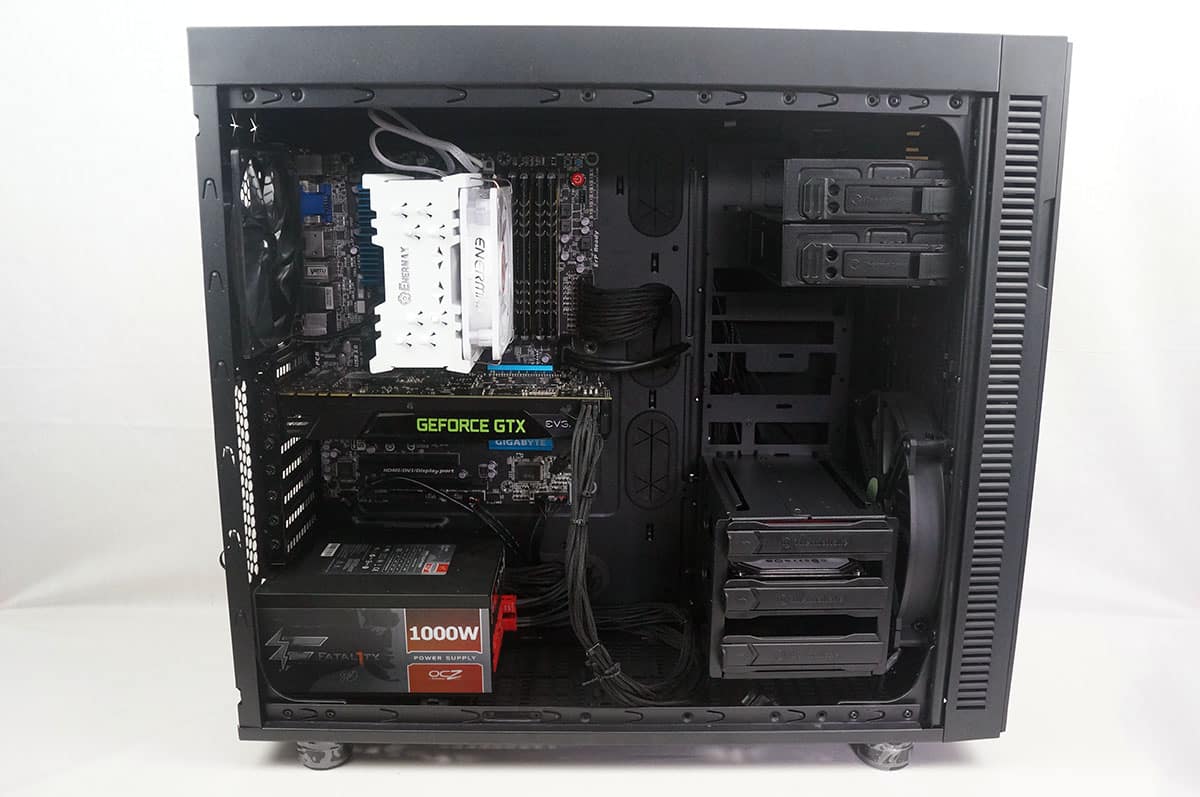
With our graphics card installed you can see we have a very clean build. I decided to leave the top hard drive cage out to let more air from the intake fan flow into the case. This has to be one of the more easy installations I’ve done in a case in a while, I did not run into a single issue.
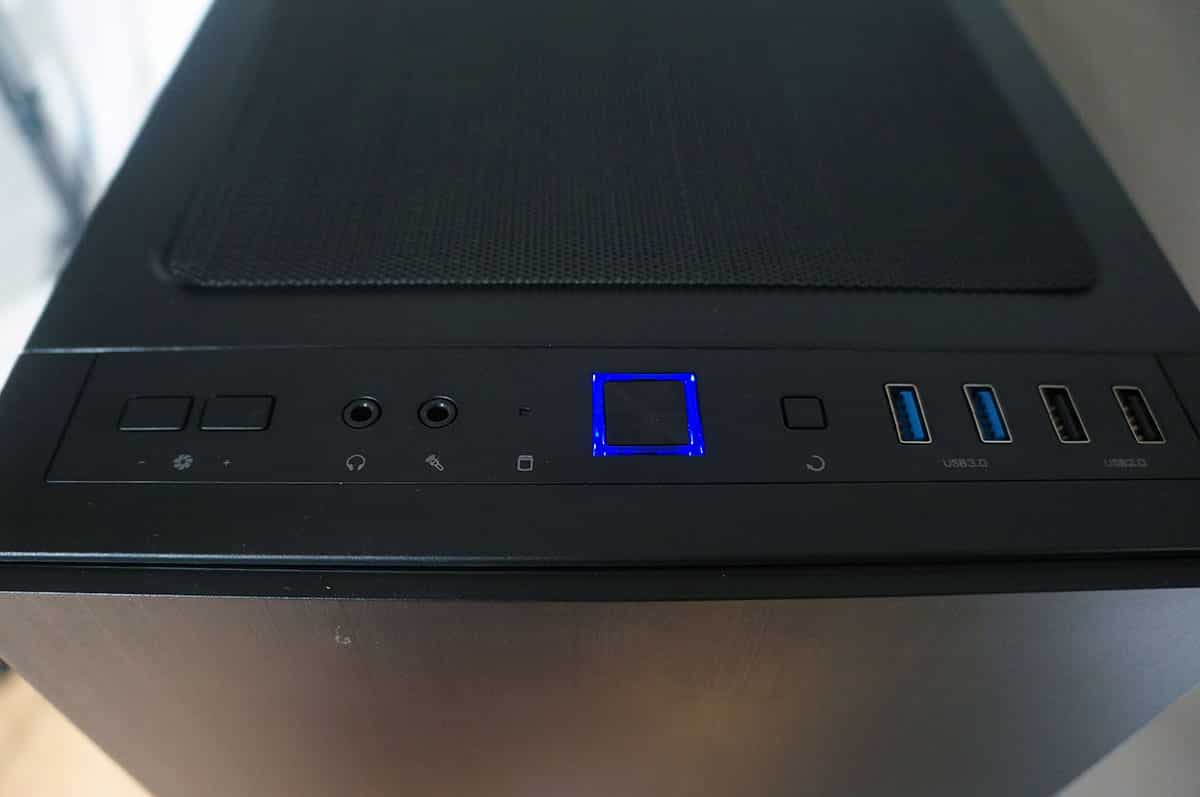
Powering on the case we can see that the area around the power button lights up blue.

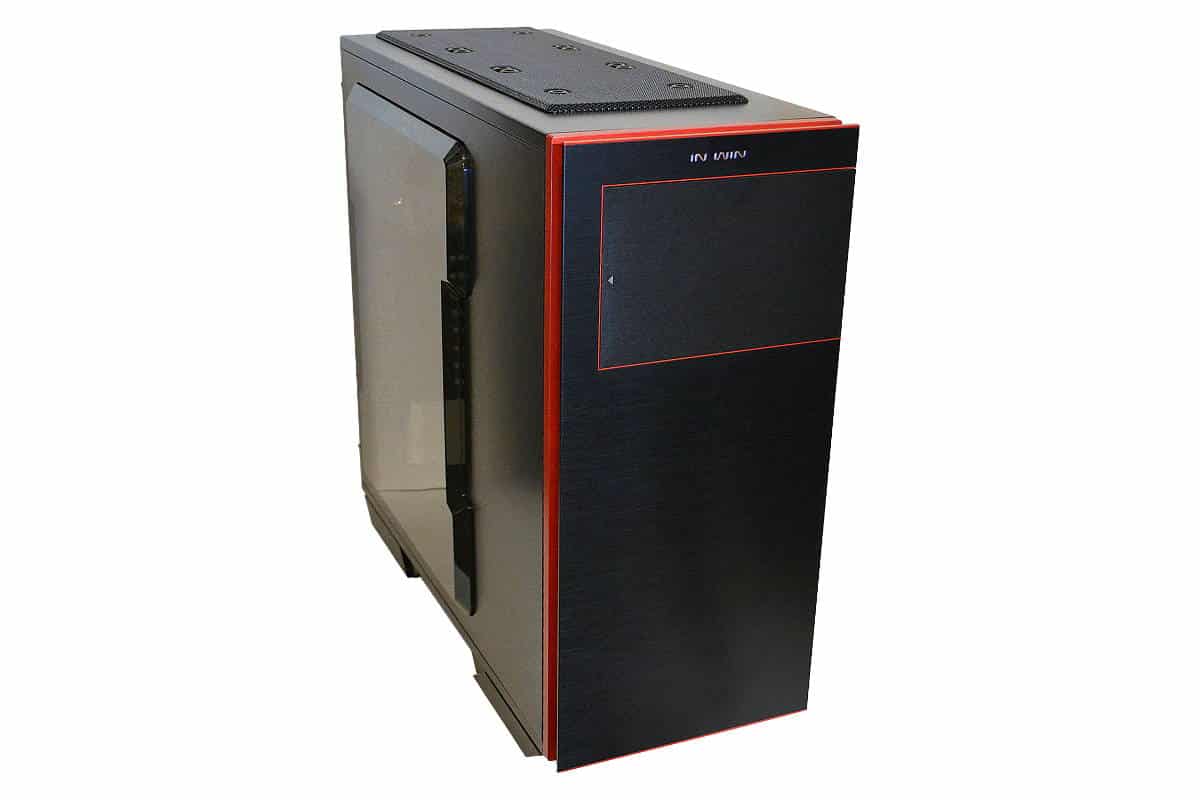


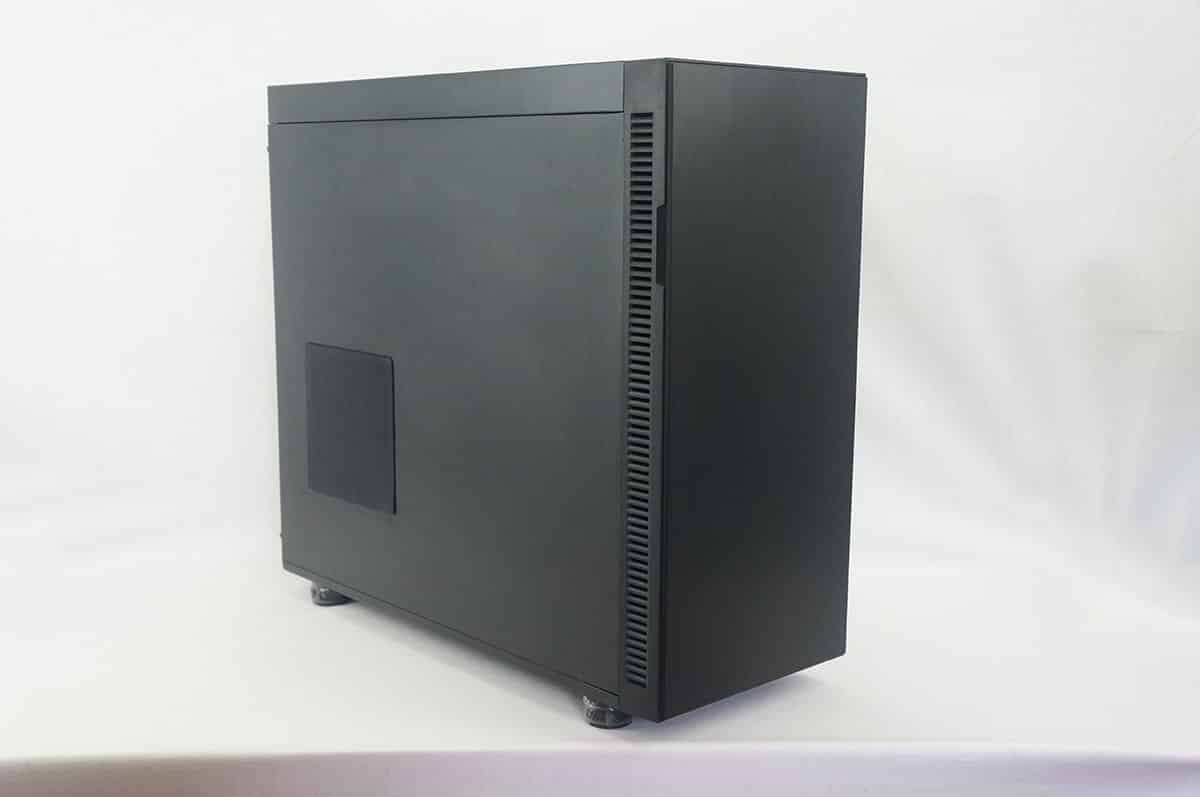
Look alike a Fractal Design Define R4 / R5 case.
Since when is a 200mm and a 140mm fan barely enough??
The 200 pushes plenty of air with a low noise level. And a 140 exhaust is on the large side.
Most cases ship with two 120/140mm fans total. Like Fractal Design Define.
Although to be fair, you didn’t deduct any points for it.