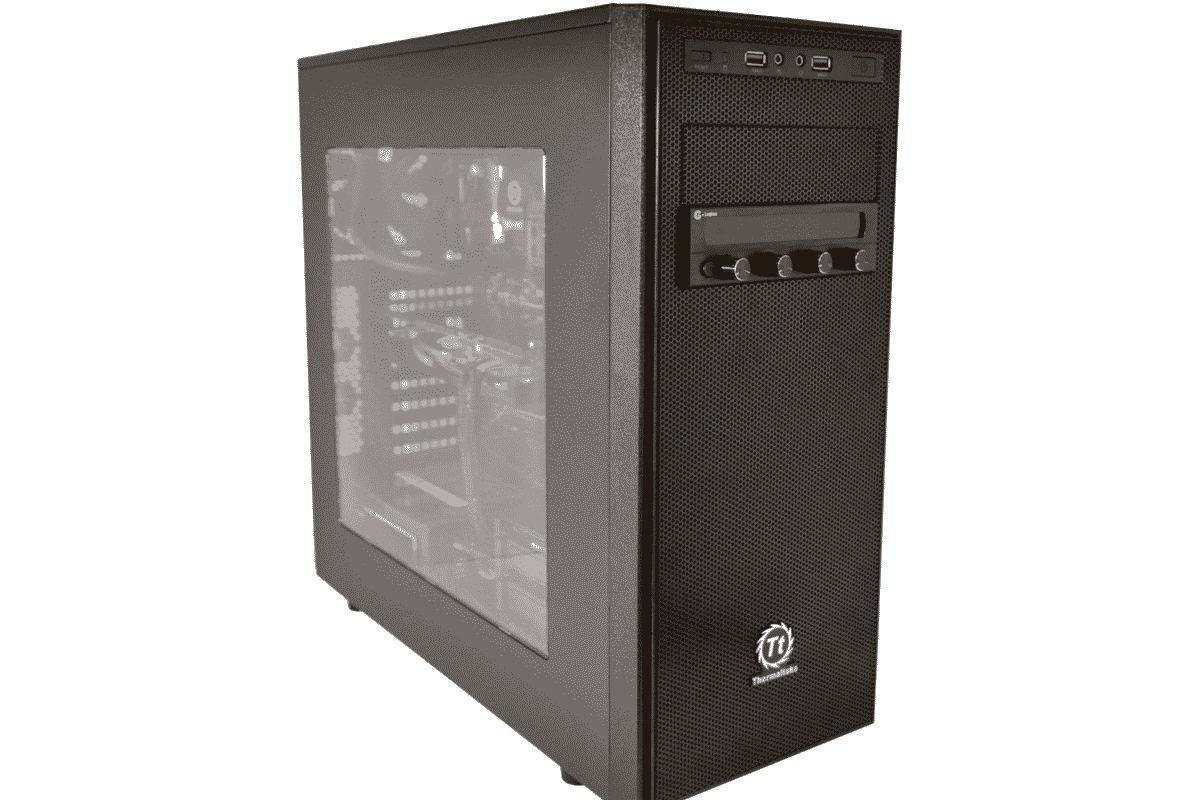
Inside of the Thermaltake Versa H34 mid-tower gaming case
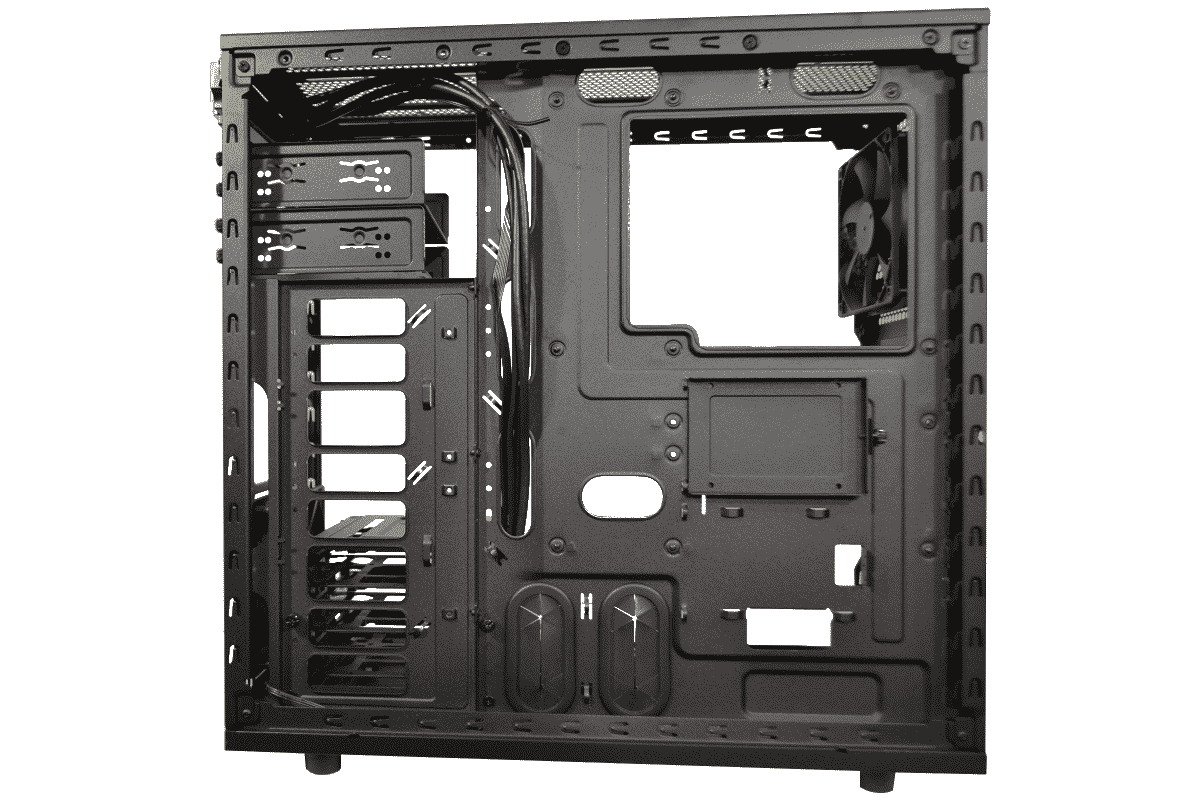
Some might look at the inside of the Thermaltake Versa 34 Mid Tower Gaming chassis and think there is not much there to work with but its exactly built that way very carefully. It’s made for builders to work with and its what a case looks like most times after a professional Modder has finished using a rotary cutting tool in it. That is the magic or the reason why this case is this way. It is built in a way to get what you want in there with a minimal amount of cutting bending and repainting. It’s made to fit both worlds. The simple gamer with an air cooler and a DVD or a Blu-ray drive or both, or maybe a 75 in 1 card reader but also for a guy that will plug all that stuff in later as exterior accessories and use this case for dual Radiators in line cooling the computer processor and the video cards. Now that is custom water loop material and that is the way this case likes to play. It loves to get wet and run as much fans and Radiators in it that you want. It has the body to handle it.

A closer look at the inside of the case shows that the most common stand-off for the motherboard have already been installed. There is a large and generous sized hole for accessing the back side of the CPU cooler mounting bracket and a few other bonus holes that Pro’s usually cut out anyway. The little one just below and to the right is great for the control wires such as the HDD LED, POWER, RESET, And the POWER LED indicator light along with a few USB 2.0 if you are adding them in but run these wires first and have them hanging lower than the bottom of the board for easy access to them and easy plugin. The USB 3 connection will most likely have to be pushed though one of the side access holes as the wire is pretty thick and hard to bend.
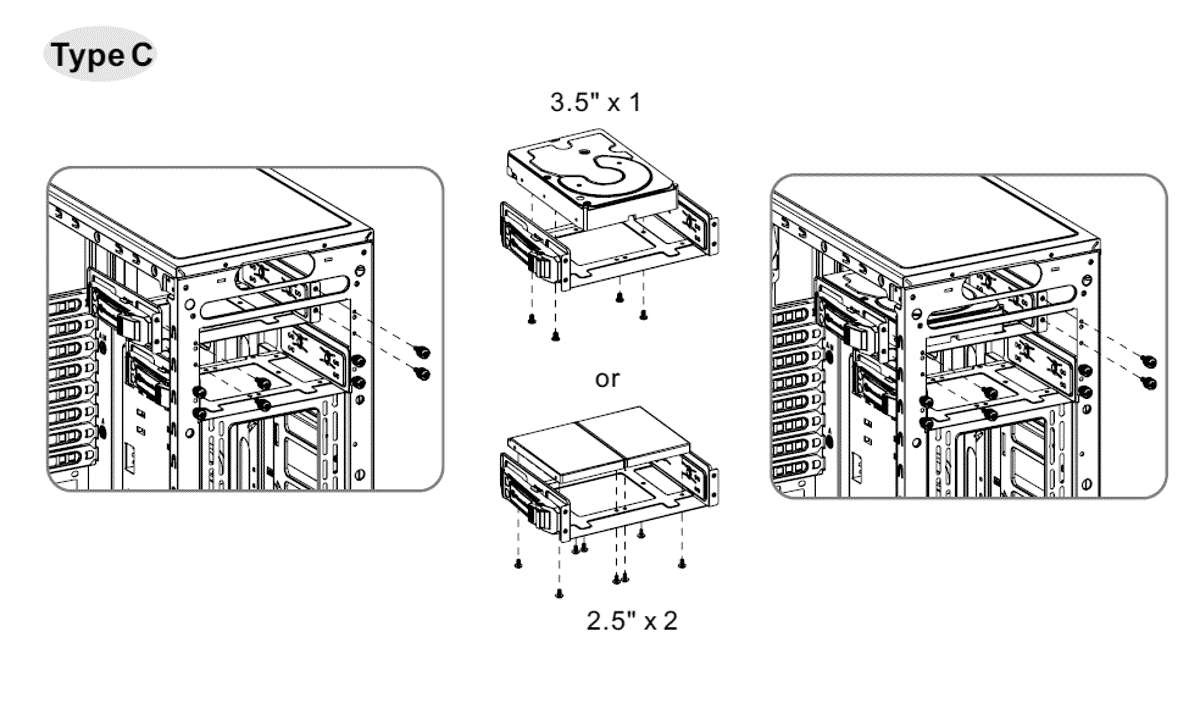
The two 5.25 in drive bays can be easily removed just by removal of four thumb screws in the front and you don’t have to remove both. Each one is independent from the other for easy compliance with the specs you need. Not what they make you have. The bottom Drive bay is also removable by removing one thumb screw in the back and sliding it out like a drawer.

Looking down low on the left you can see the single thumb screw that releases the bottom drive bay from the case and allows it to be removed for large radiator placement.
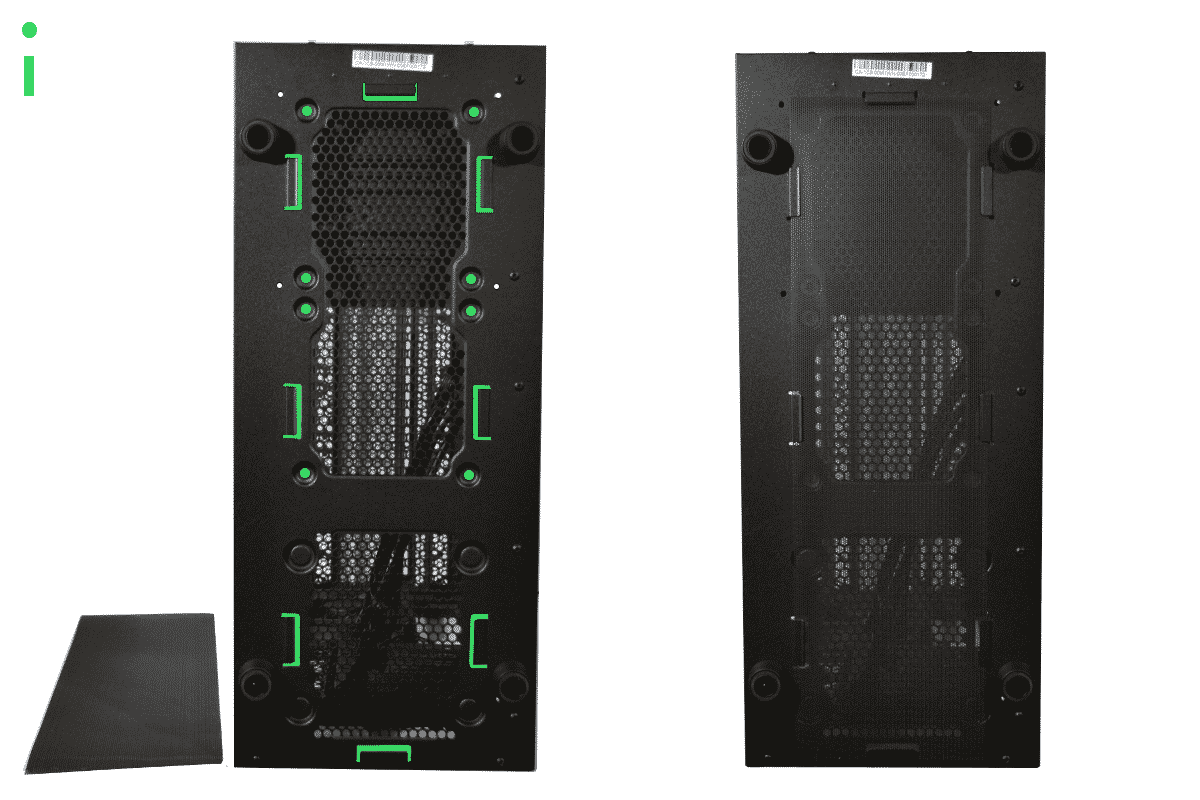
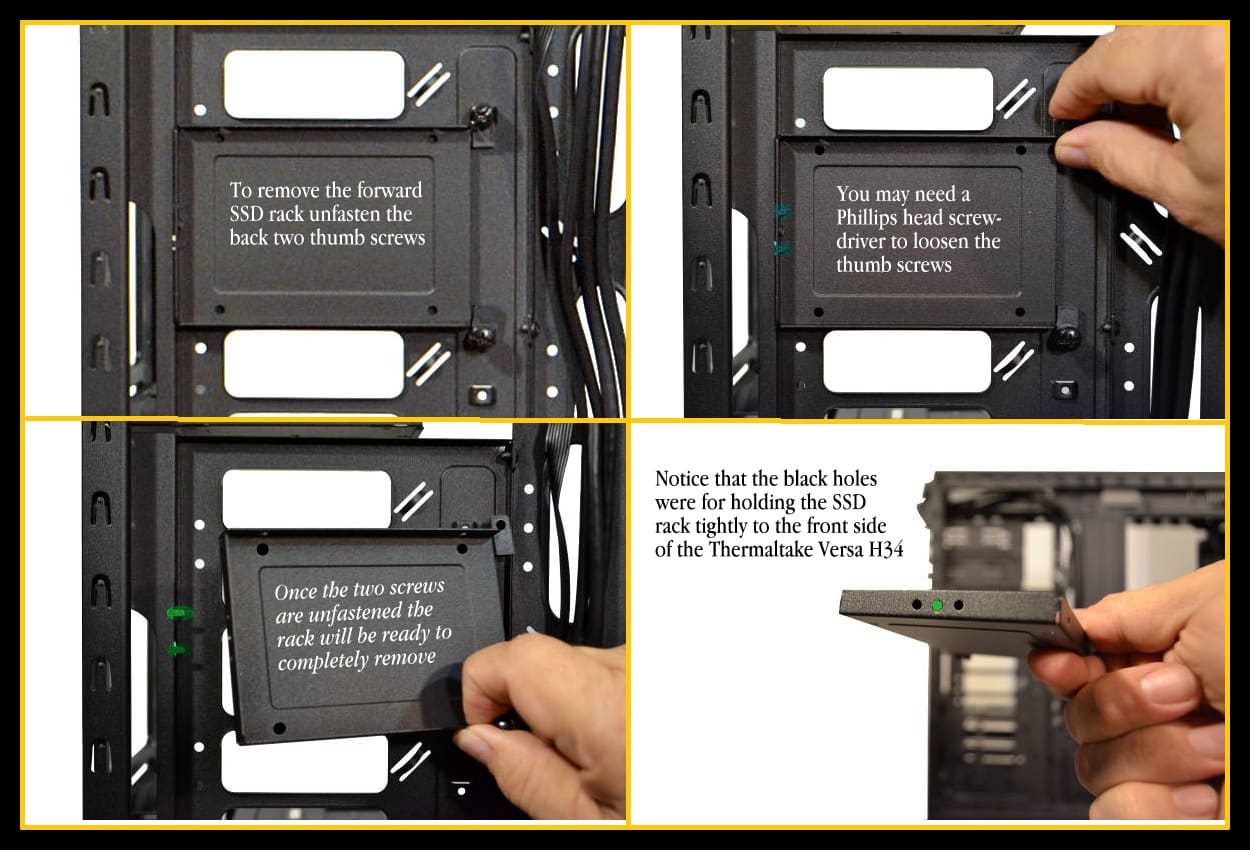
Below are a few pictures to get you familiar with alternate placements for SSDs and hard drives under any conditions.
Center SSD Tray
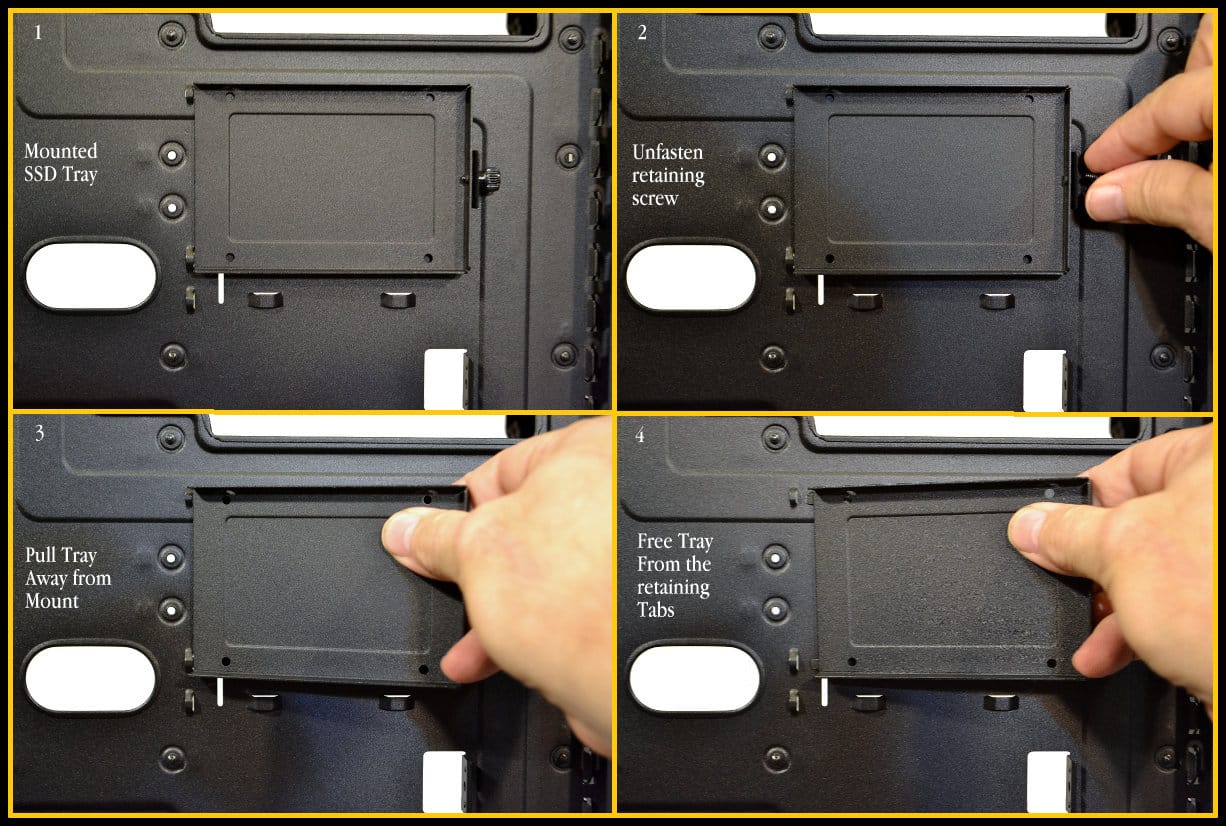
Forward SSD Tray

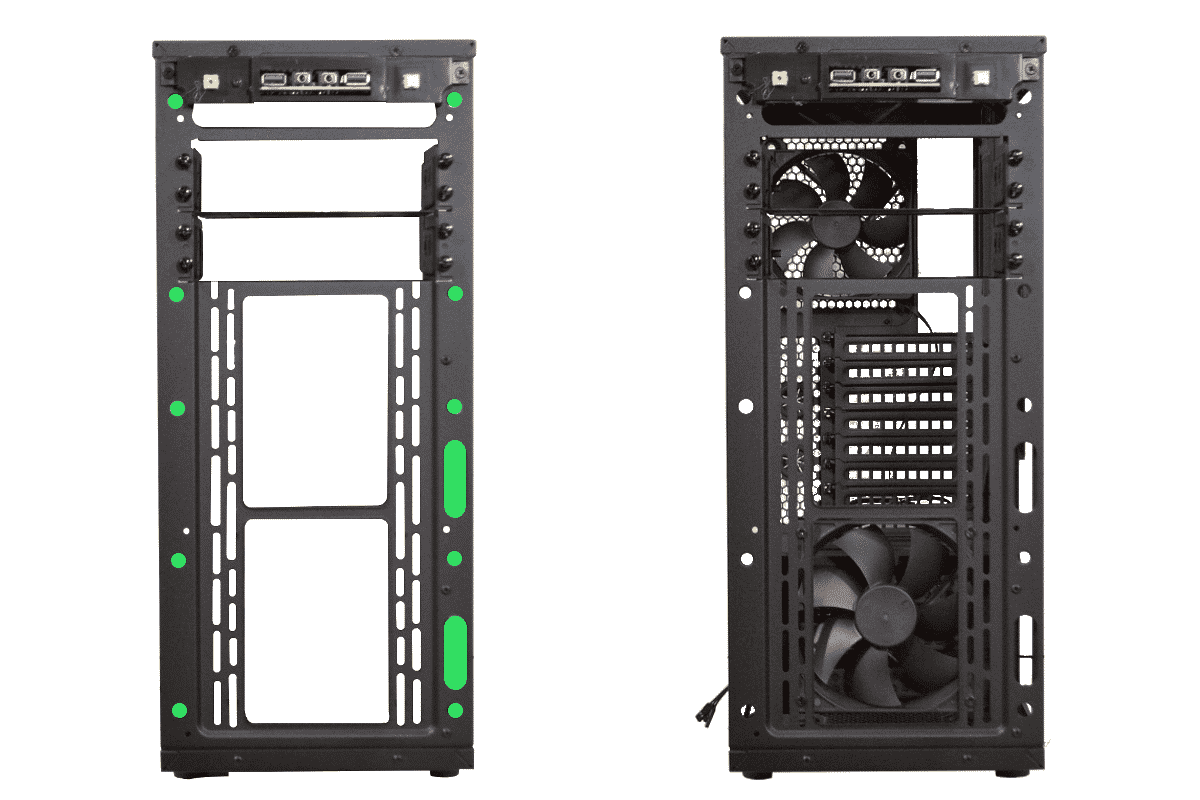
On the left is a full cut-out view of the front of the case and how Versa-Tile it is. Its easy to see on the left how things can fit with the right configuration. The Right hand side is a picture of the case as is when you get it from the box. I did the cut out to let you see that the case is a lot more than meets the eye.