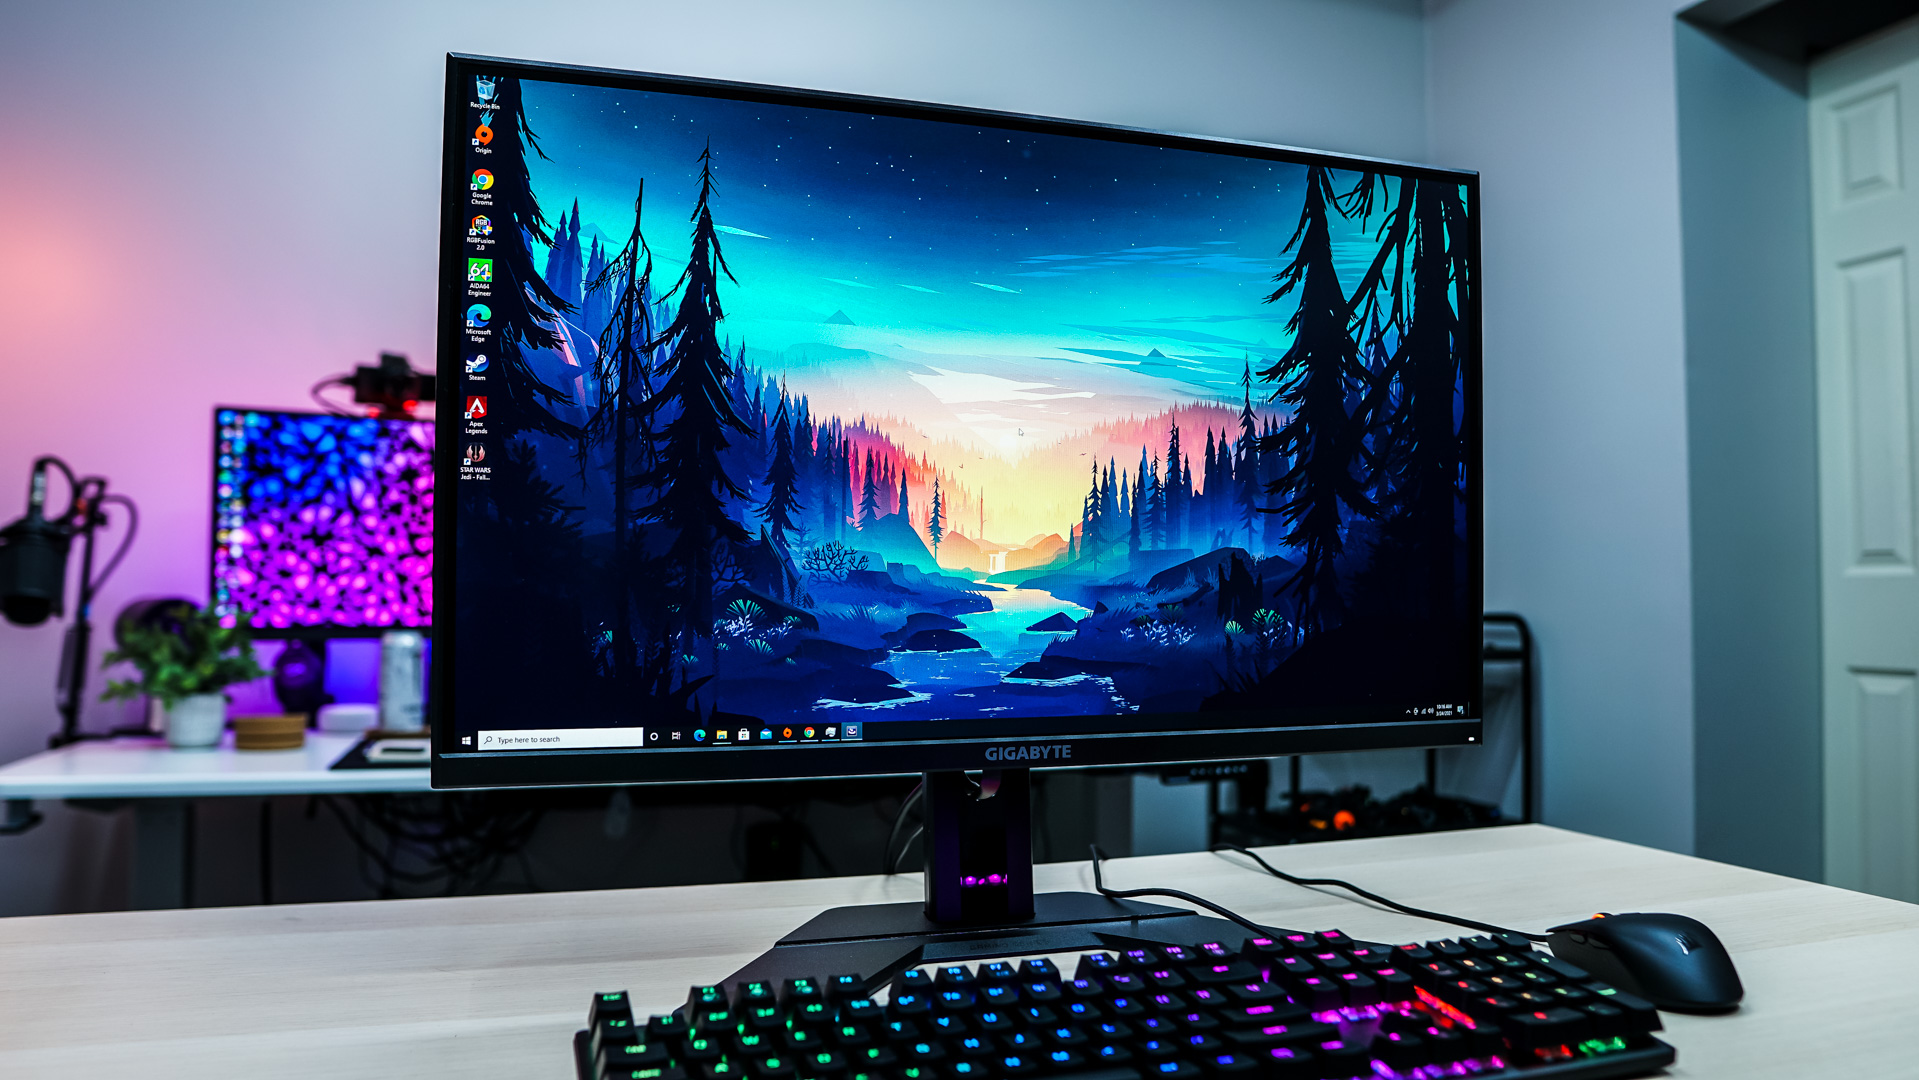
A Look Inside
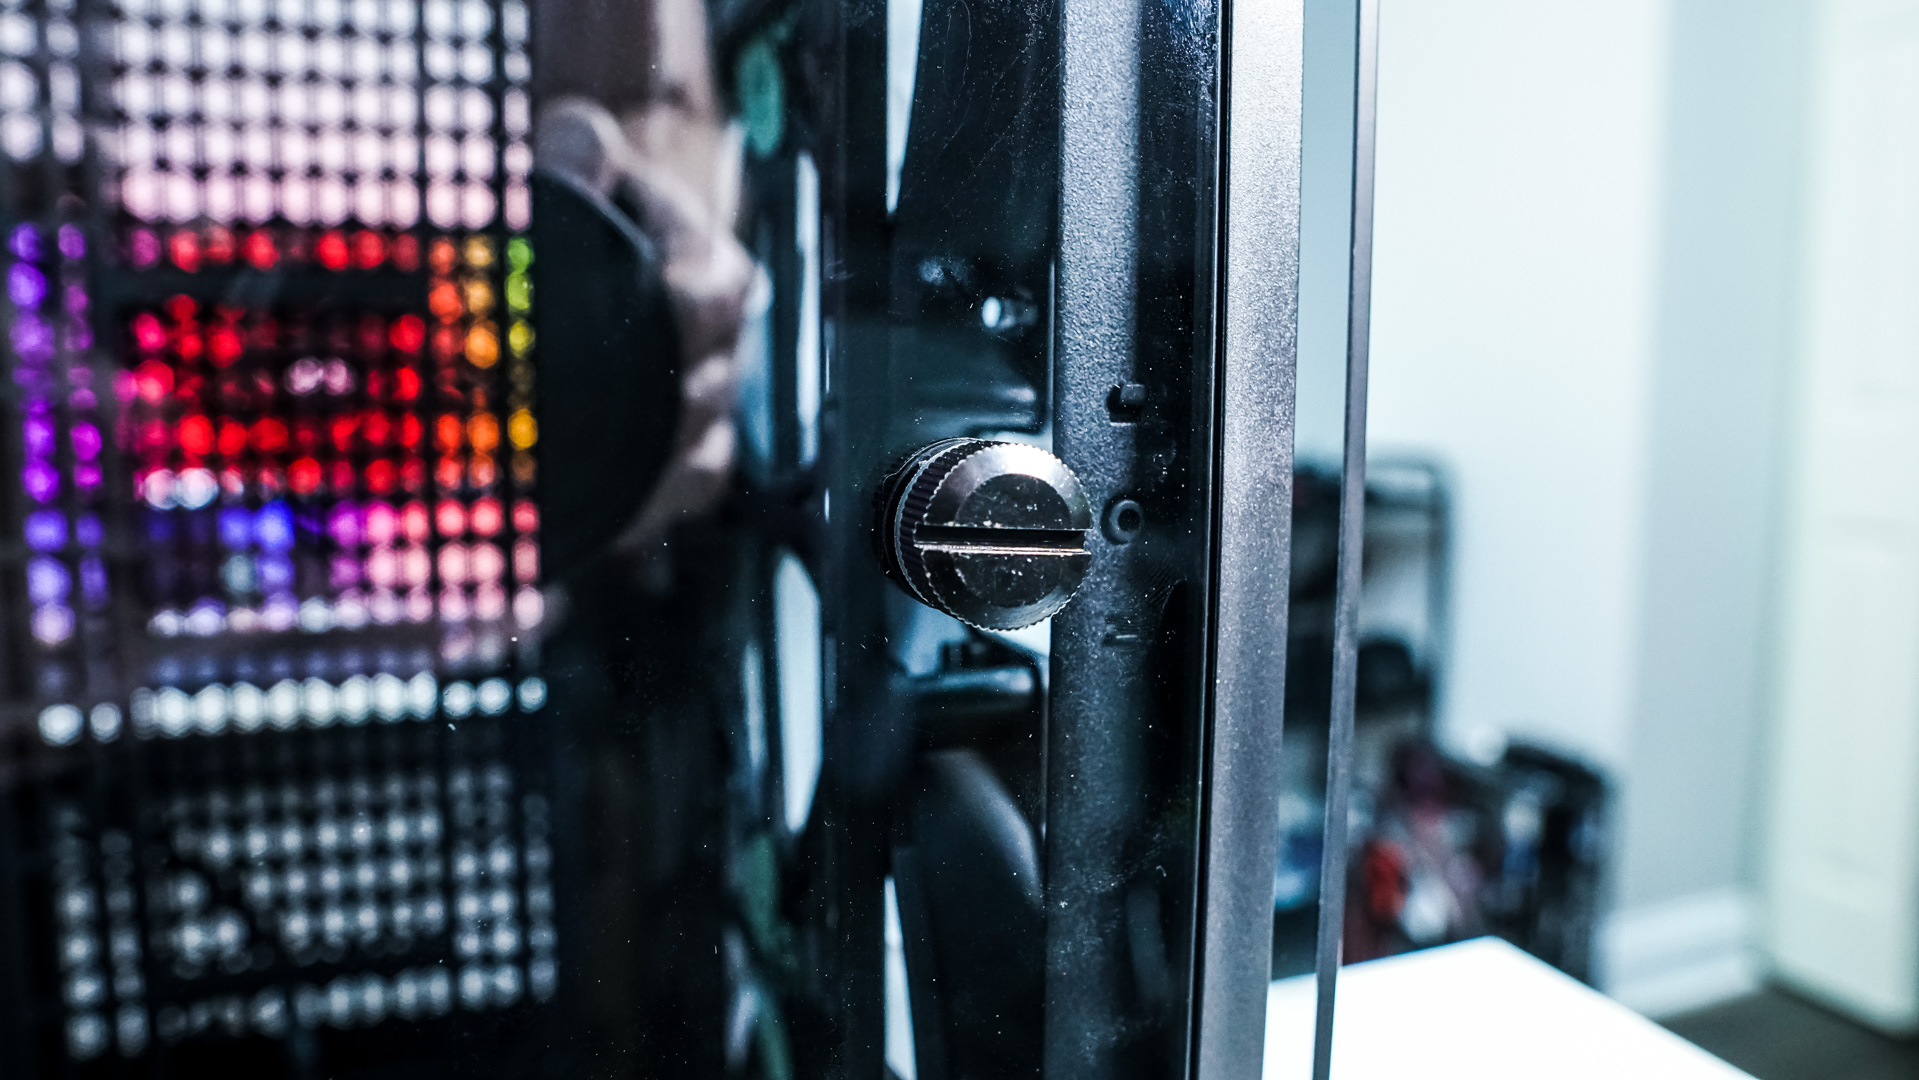
To get inside the case you’ll need to turn the large knob on the main side panel of the case to unlock the glass panel. Once unlocked it will easily pull open. The side panel is on a latch system that easily allows you to pull up on it to completely remove the panel. This is going to make your hardware installation much easier as you won’t have a large panel in the way. With the side panel removed we can get a good look at the main compartment of the case. This side of the case will house your motherboard and graphics card. For those wondering you can fit motherboards up to E-ATX and graphics cards up to 440 mm.
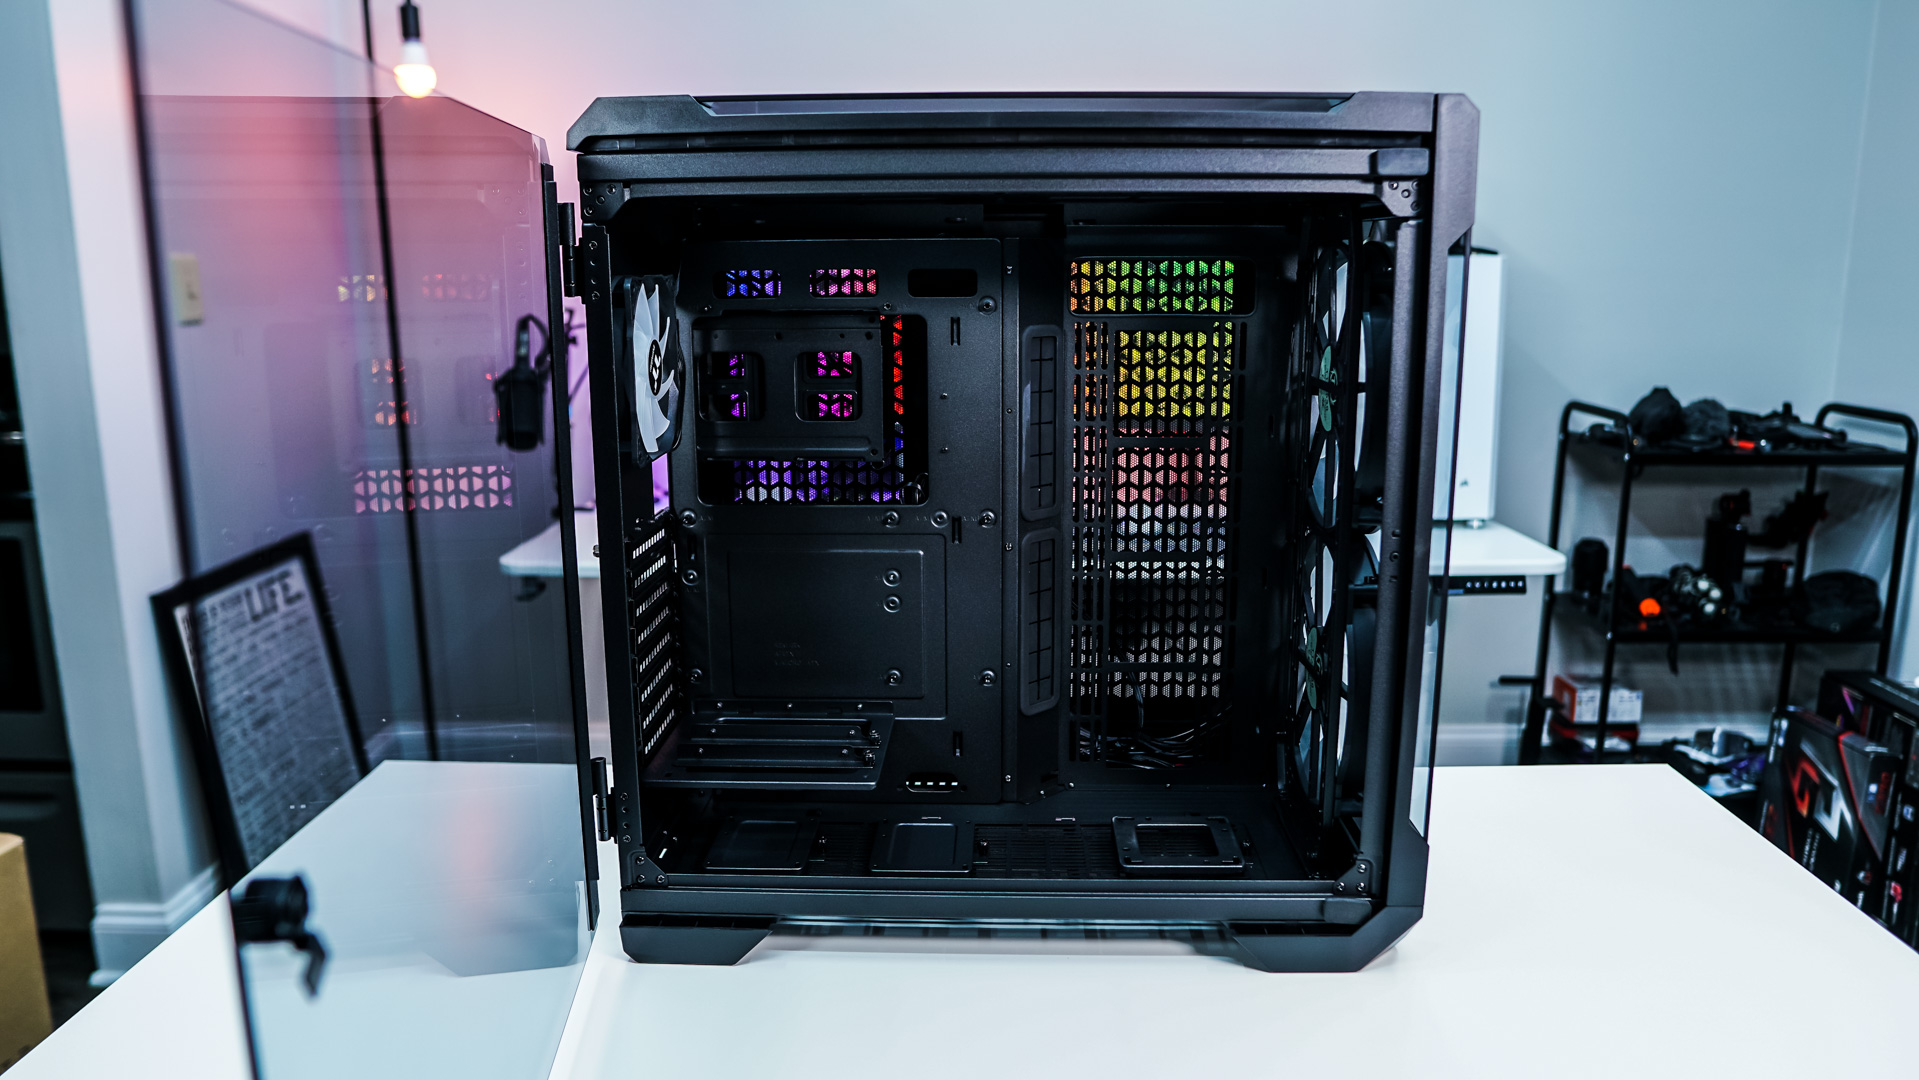

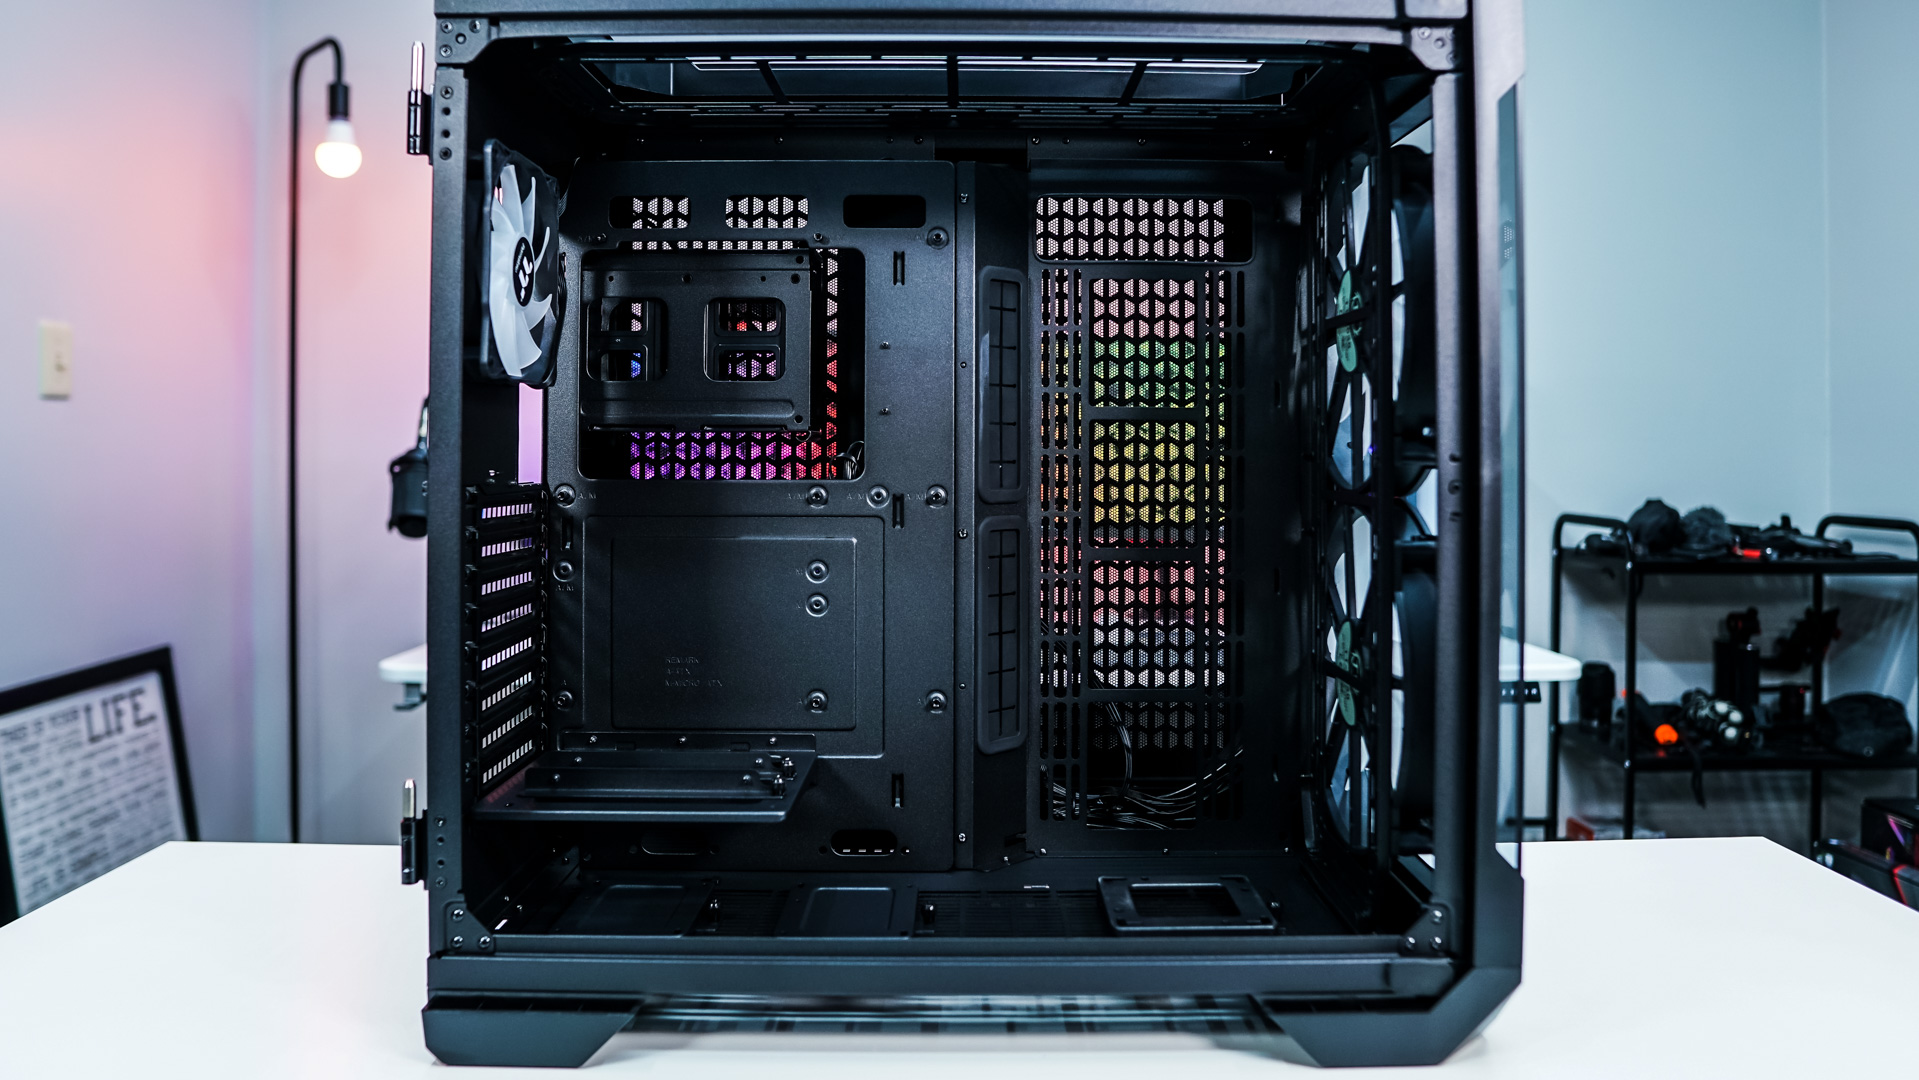
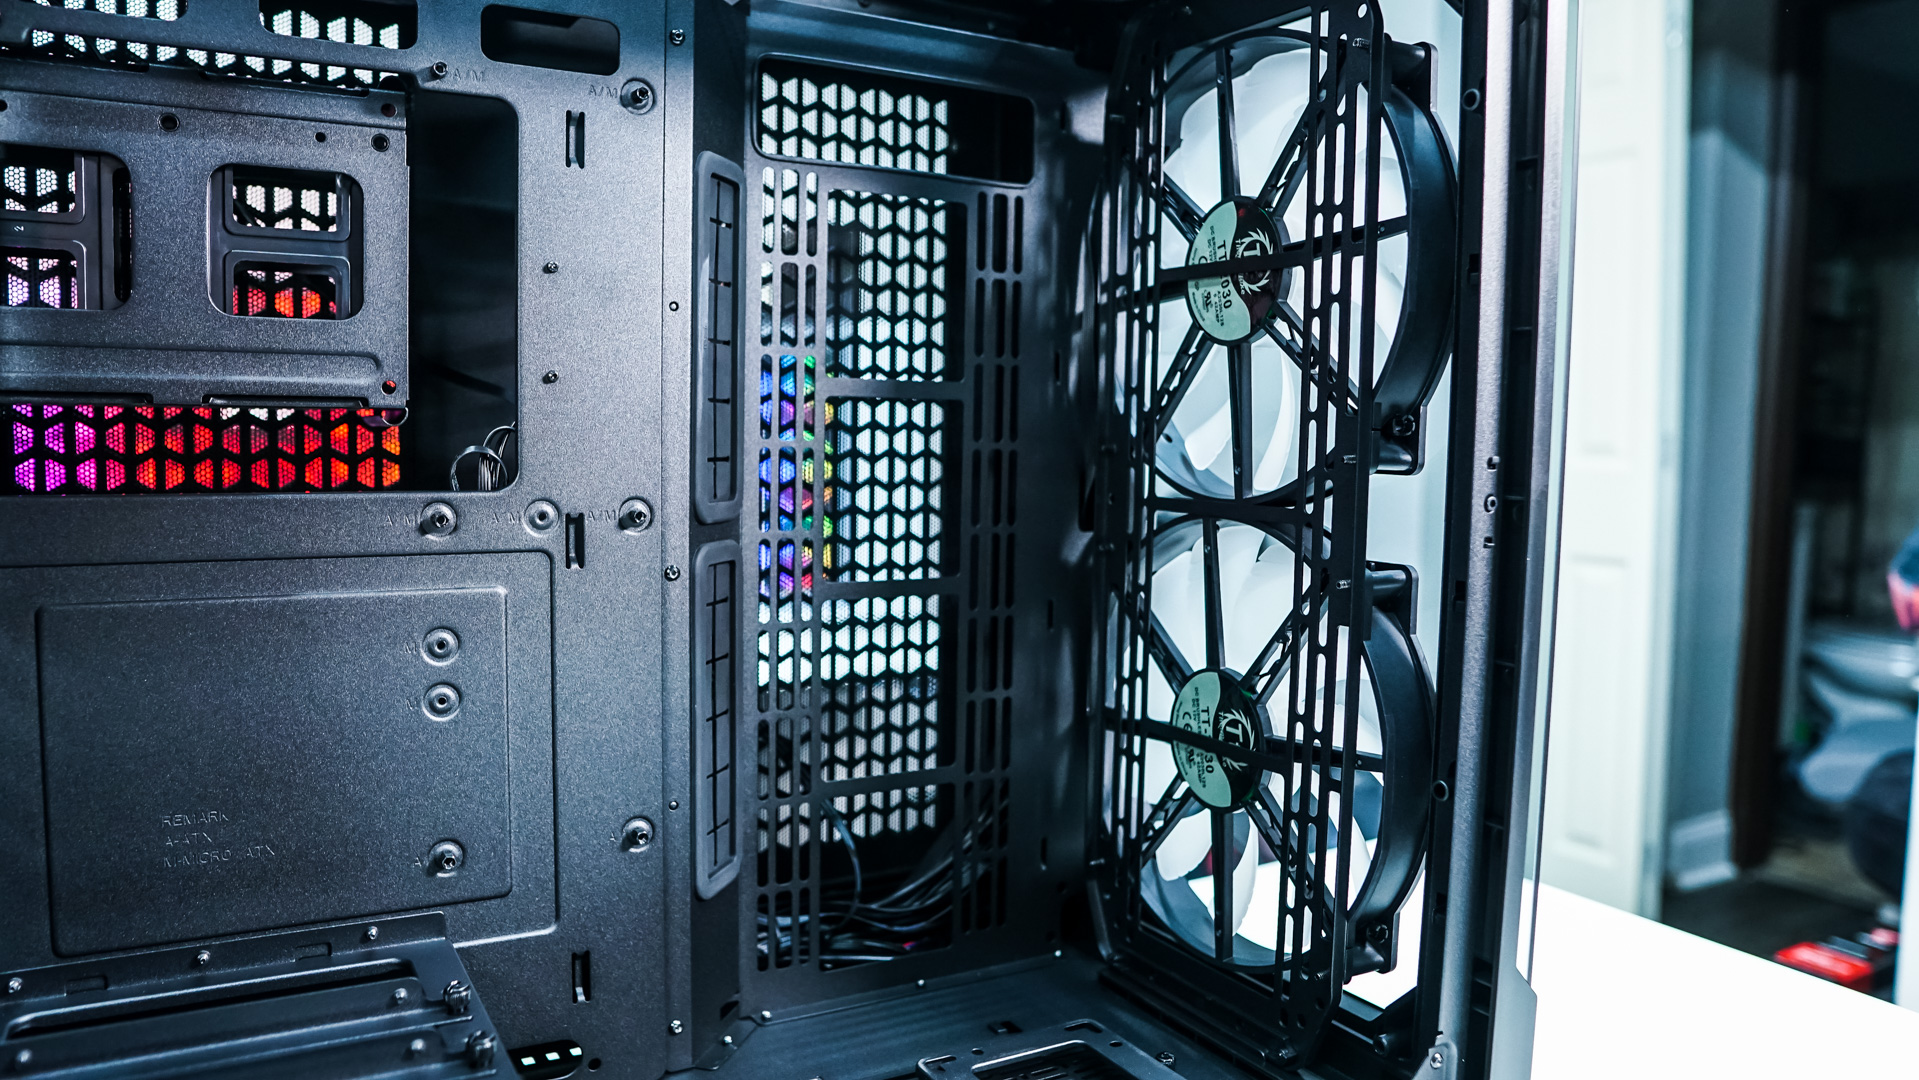
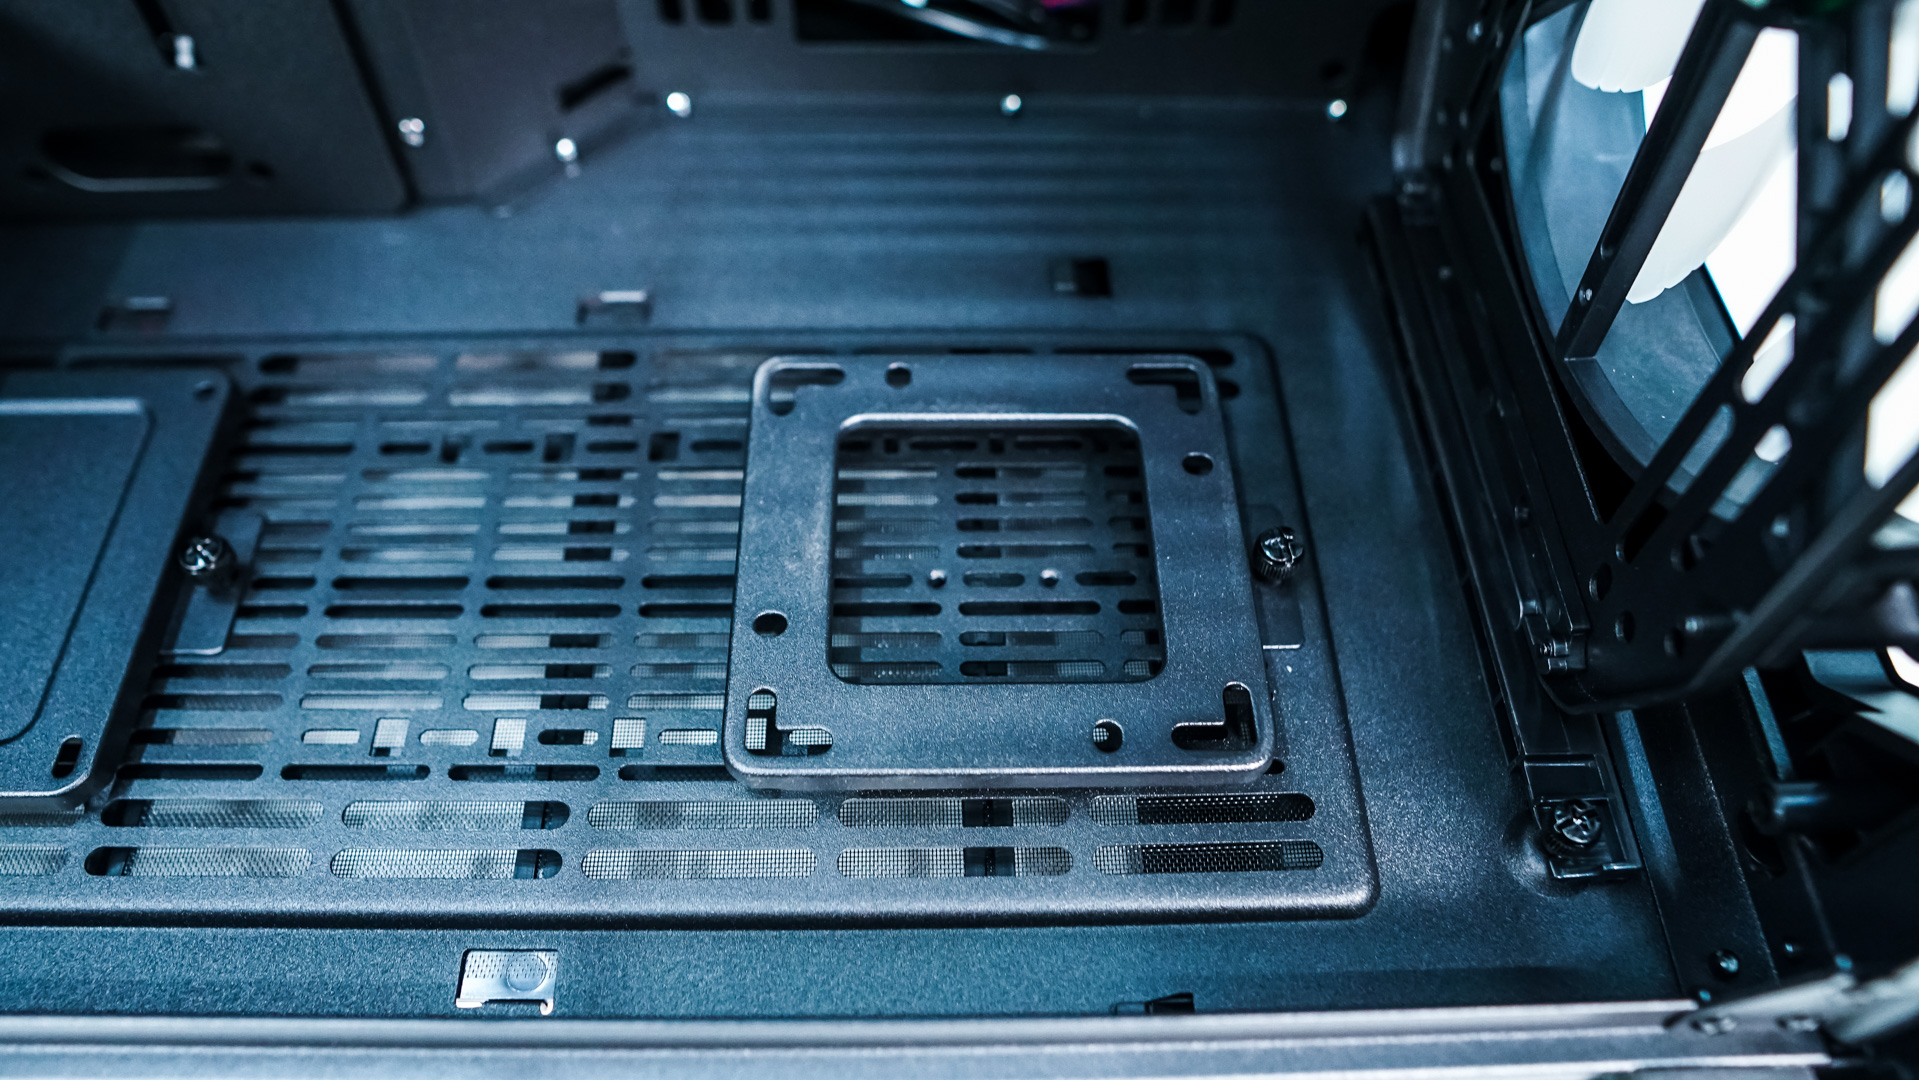
At the front of the case we can see the two included 200 mm fans as well as another massive cooling section, which is perfect for a radiator. This section of the case supports three 120/140 mm fans as well as radiators up to 360 mm. Also towards the front of the case, mounted to the bottom is a pump mount, which is a nice addition.
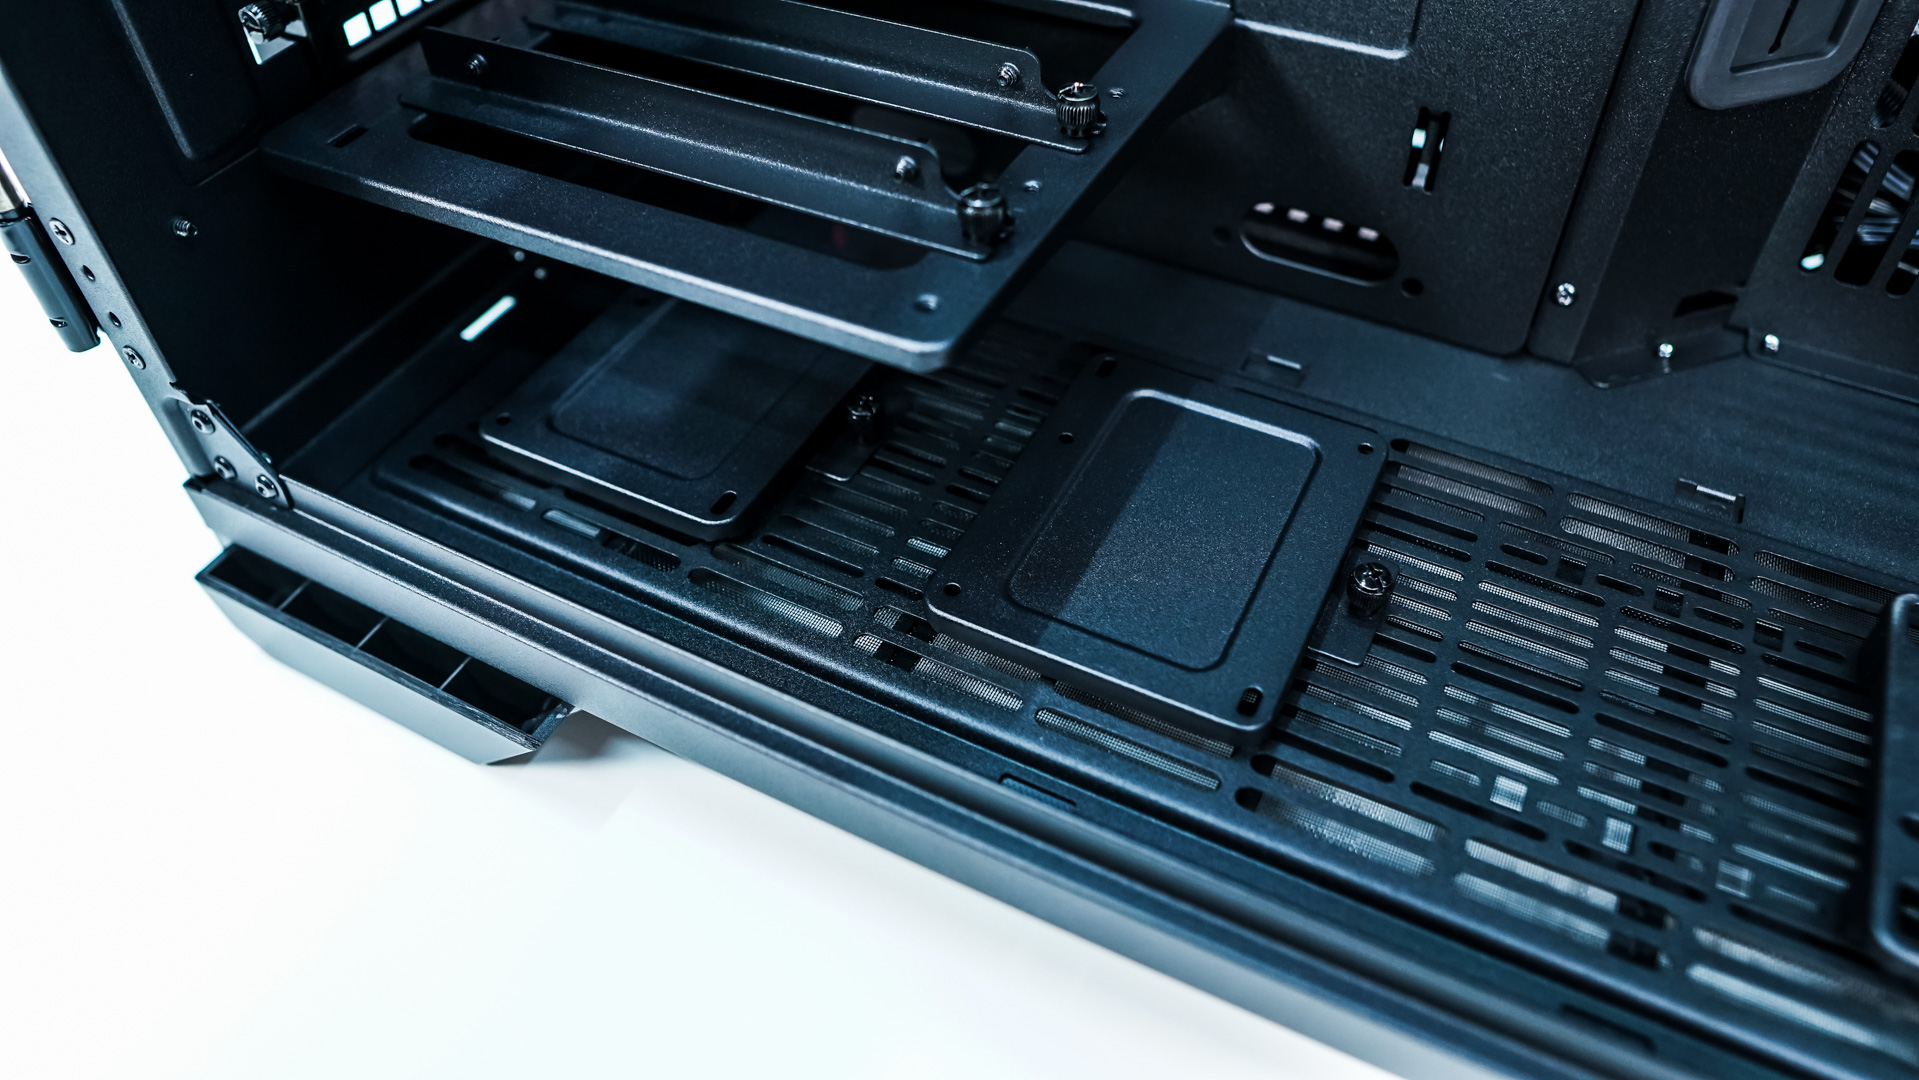
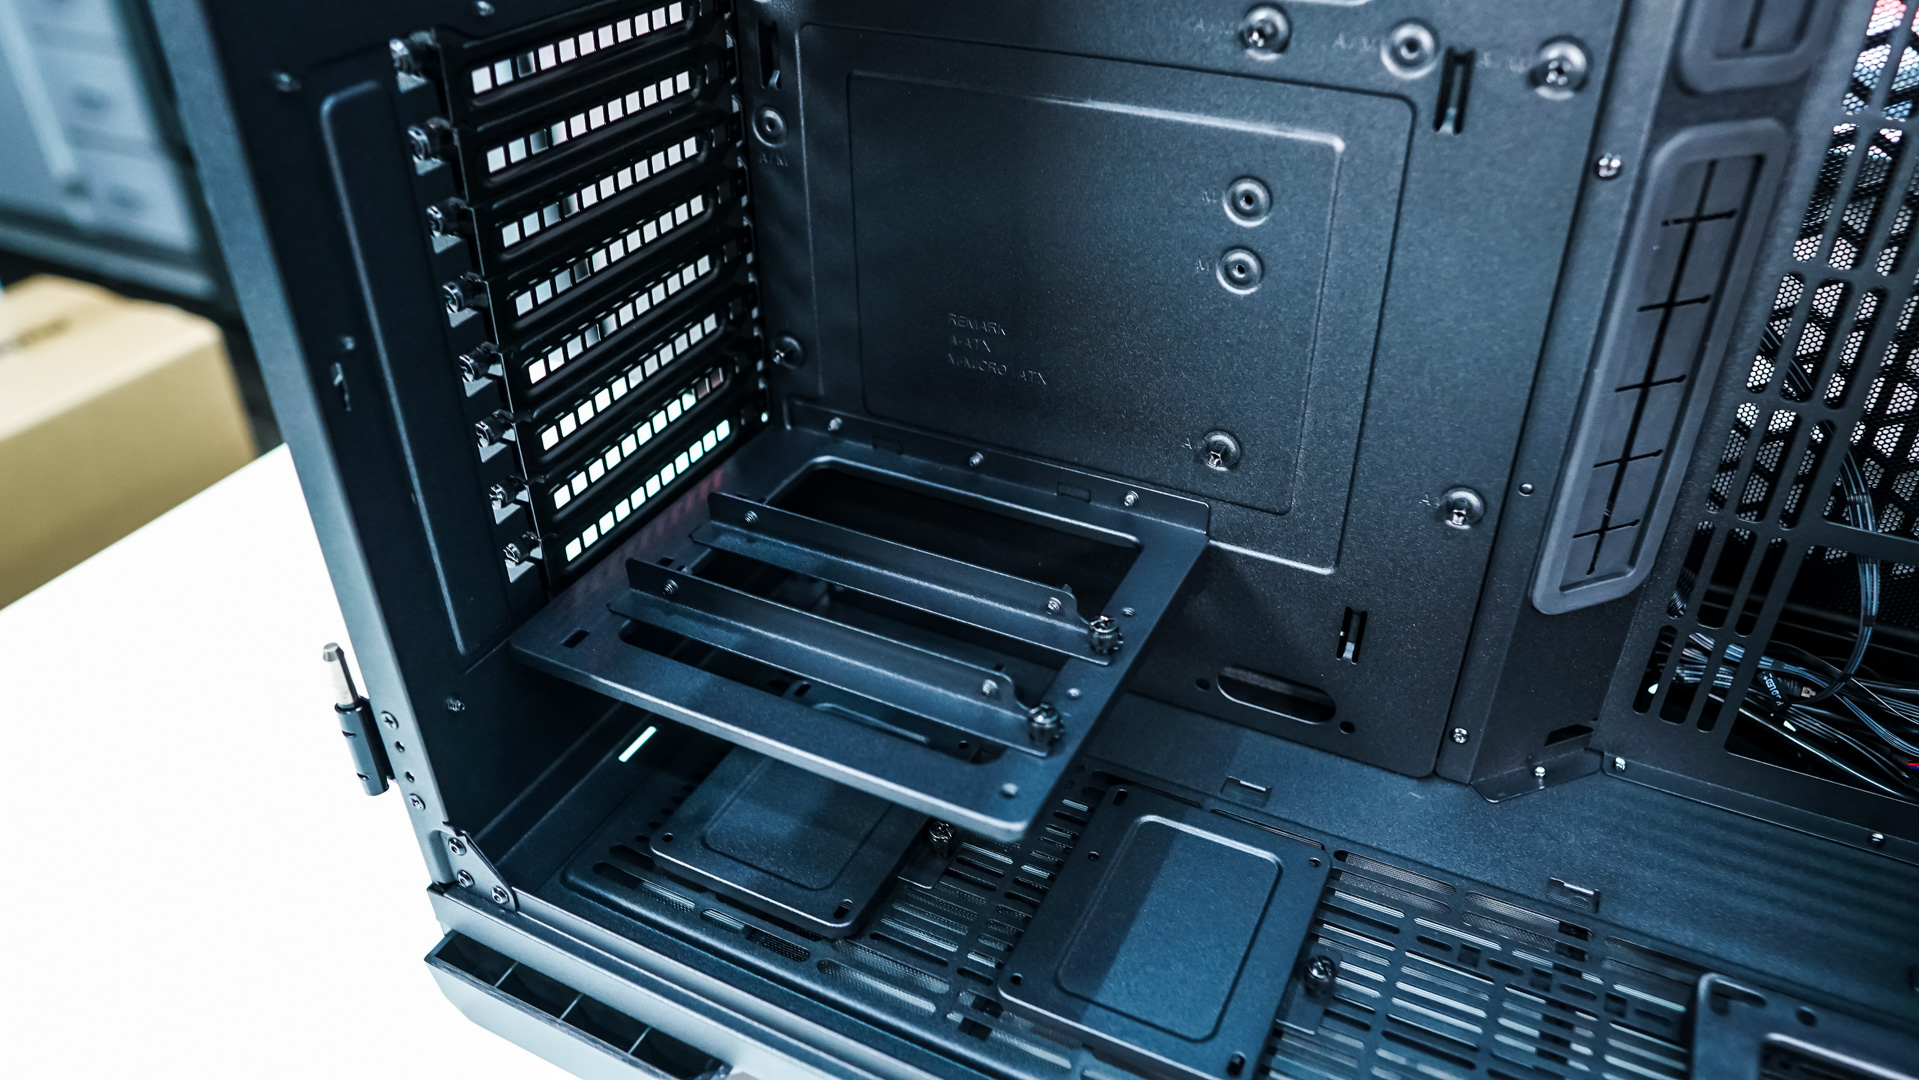
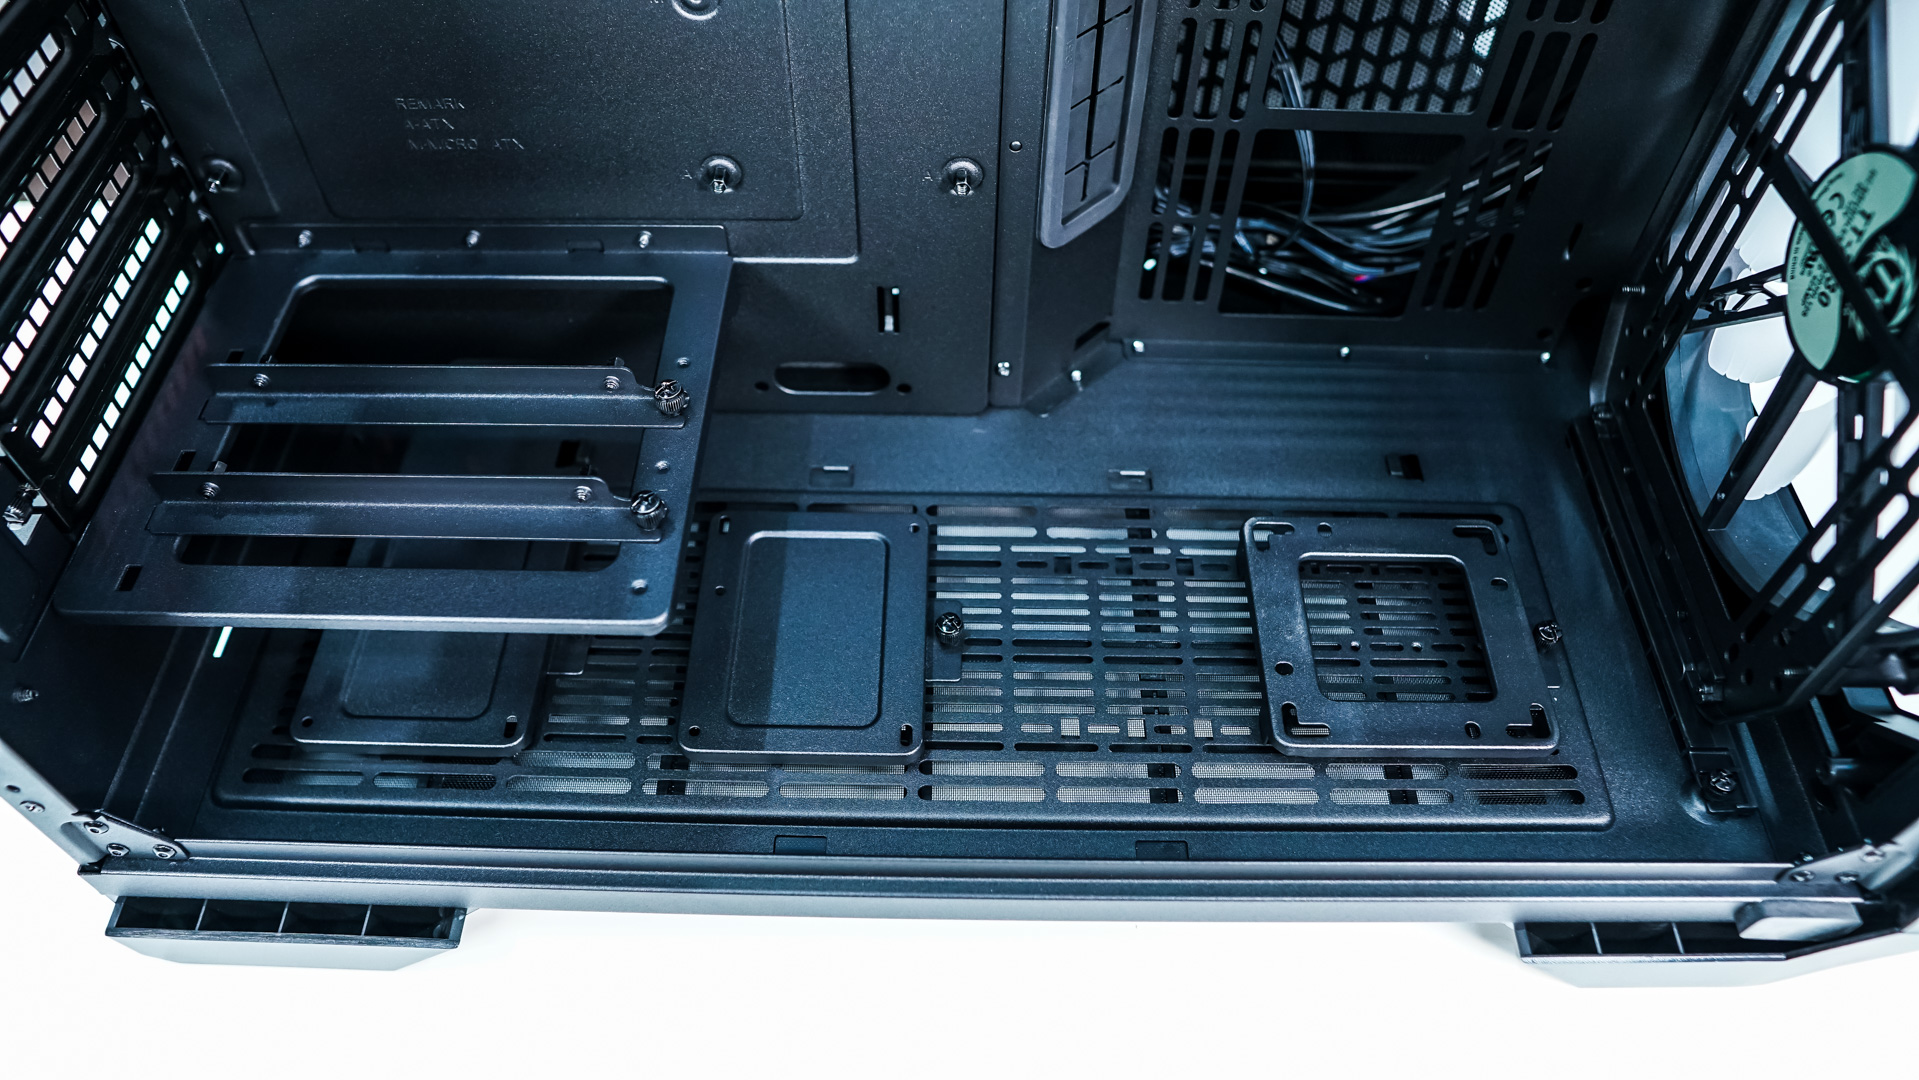
Moving over there are also two SSD mounts on the bottom of the case, which brings the total amount of hard drives this case will support out of the box to four, which doesn’t seem like much given the size of this case. Above those we have a vertical GPU mount, which supports up to two cards. While this mount is included with the case, you’ll have to buy your own riser cables.
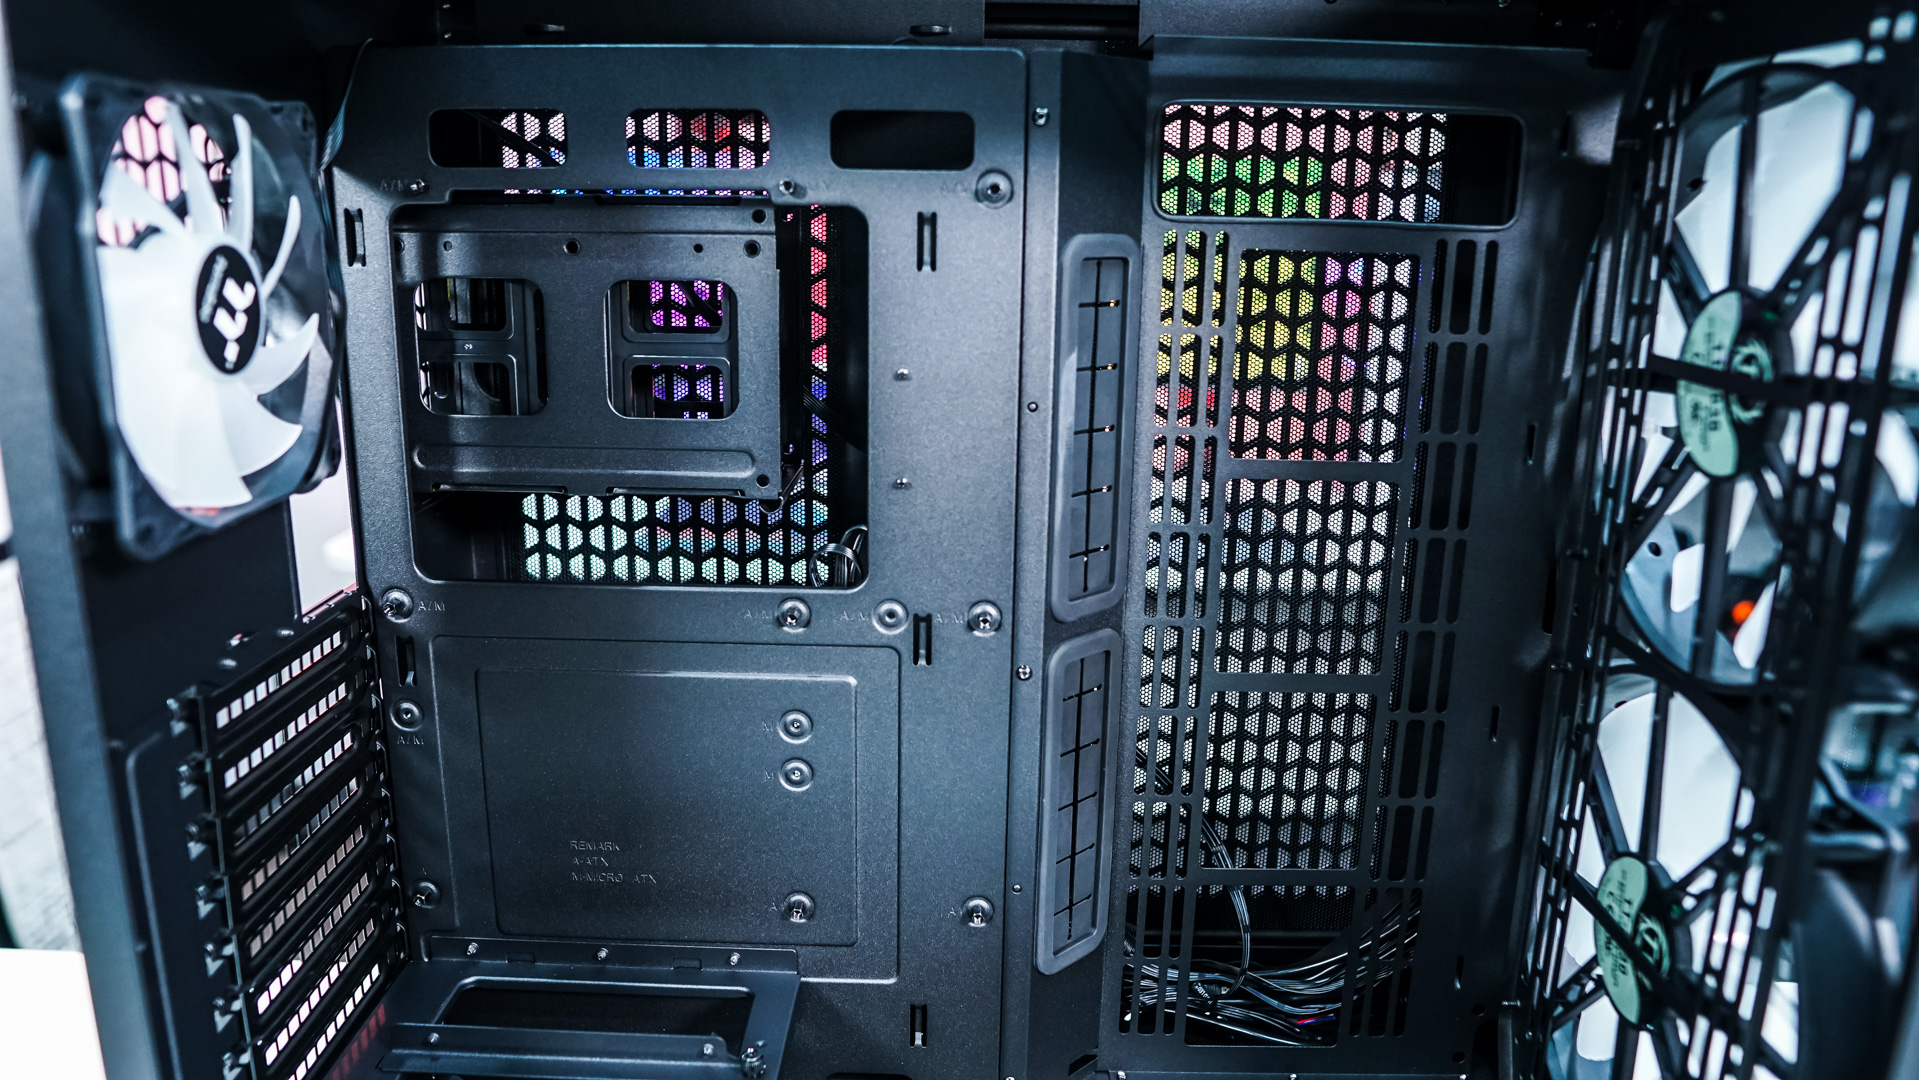
Looking at the motherboard tray there are plenty of cable routing holes, though only the two on the left side have the rubber inserts installed. You can install cooling on the bottom of the case if you like, it will support three 120 mm fans or radiators up to 360 mm.
Getting into the other compartment of the case is easy, just remove the opposite side panel, which using thumbscrews. Once inside the first thing that really catches our attention is the included fan / RGB hub. All of the included fans are wired to this hub, which means you don’t have to wire any of the fans yourself. This hub only has room for 1 more 3-pin fan. Thermaltake does include a 3-pin ARGB cable to connect to your motherboard if you want software control of the RGB fans.


Towards the bottom of the case you’ll find your power supply mount, you’ll have support for ATX power supplies up to 200 mm. Right above that you have the hard drive cage that has the two removable trays.