Installation
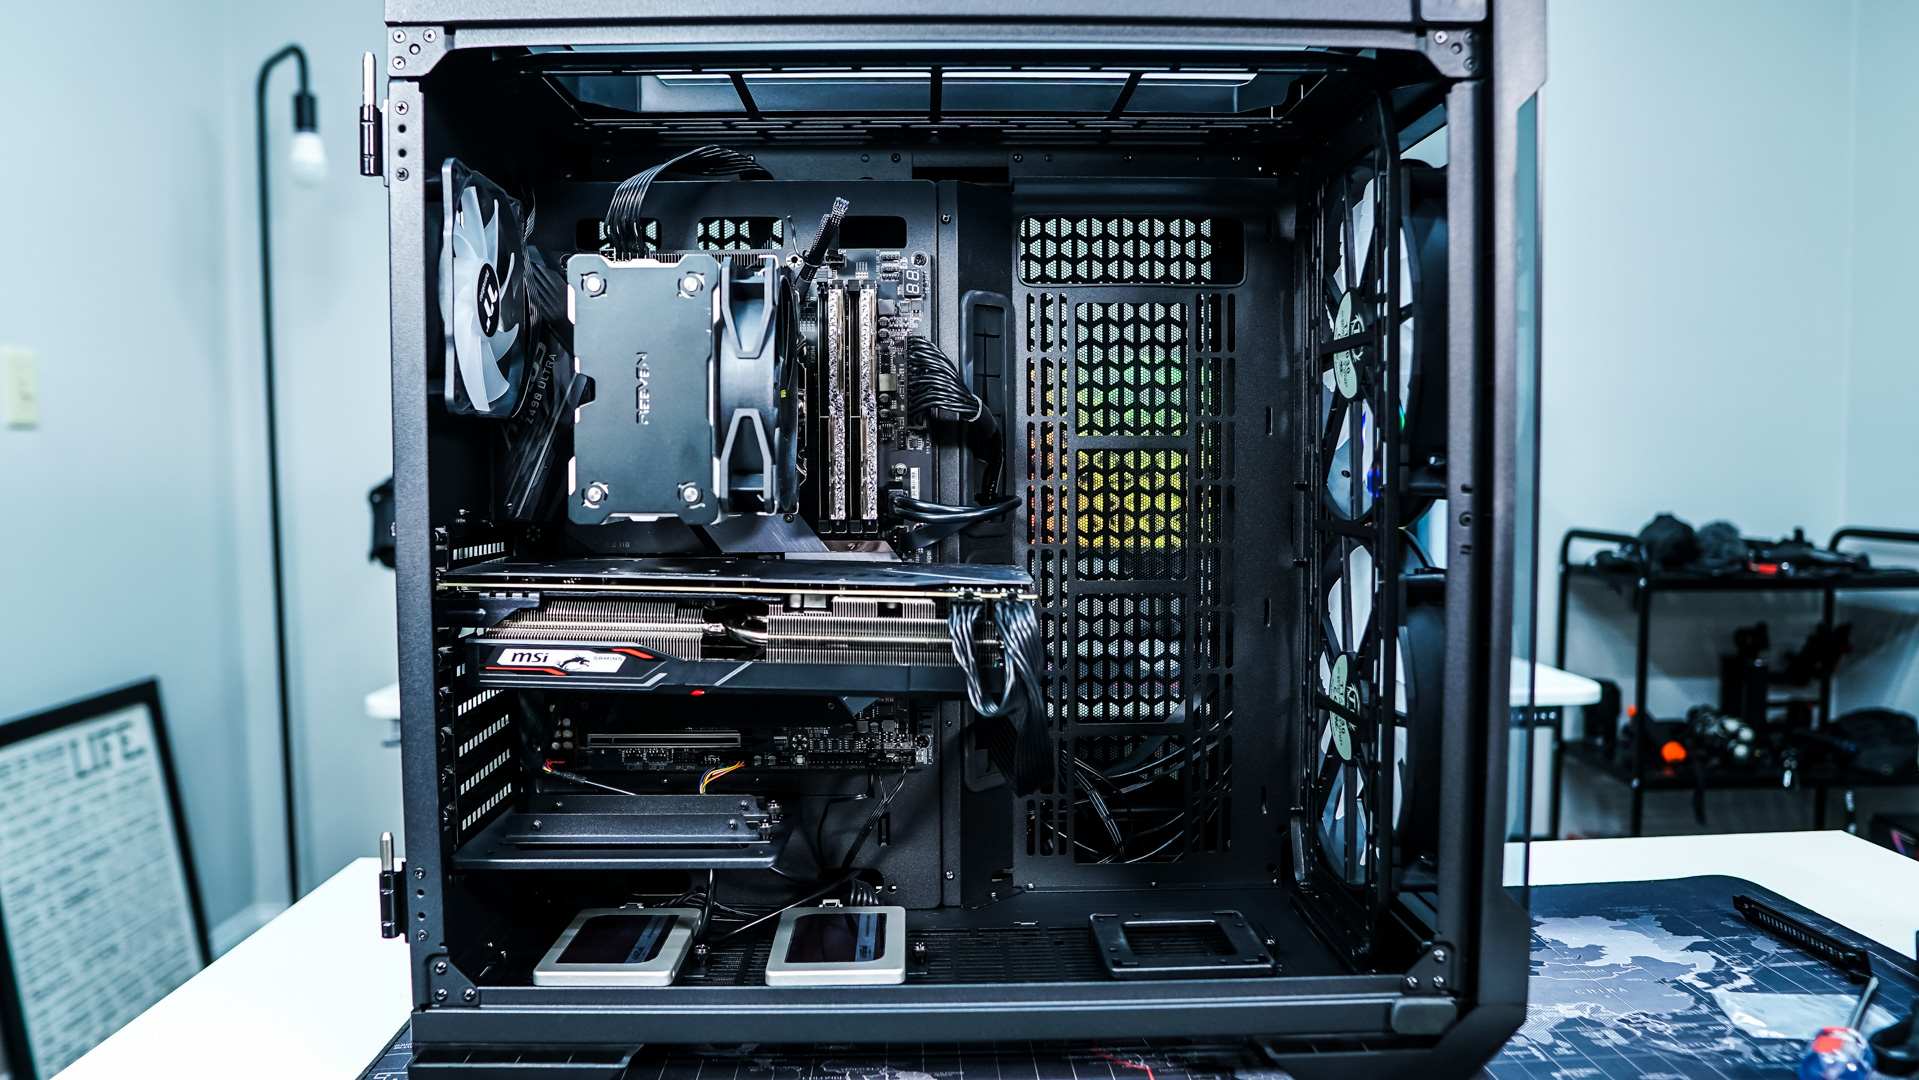
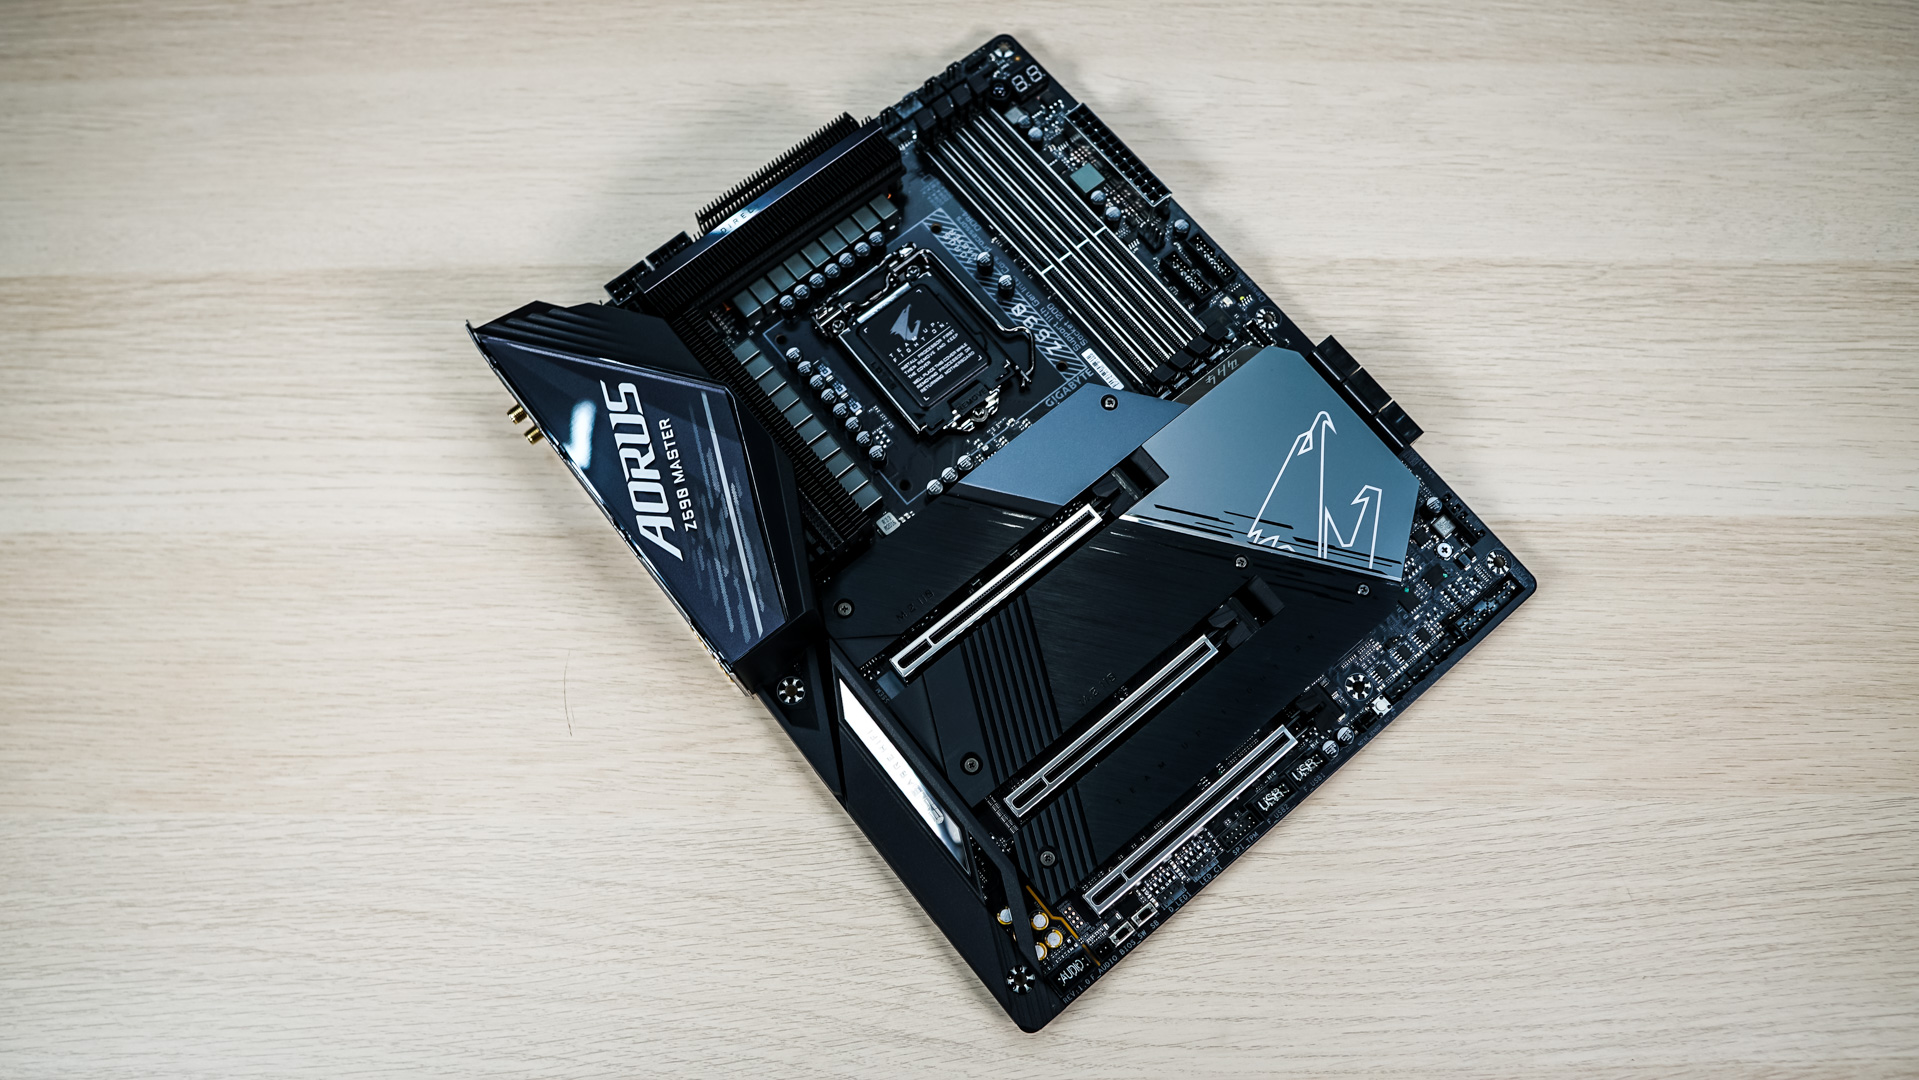
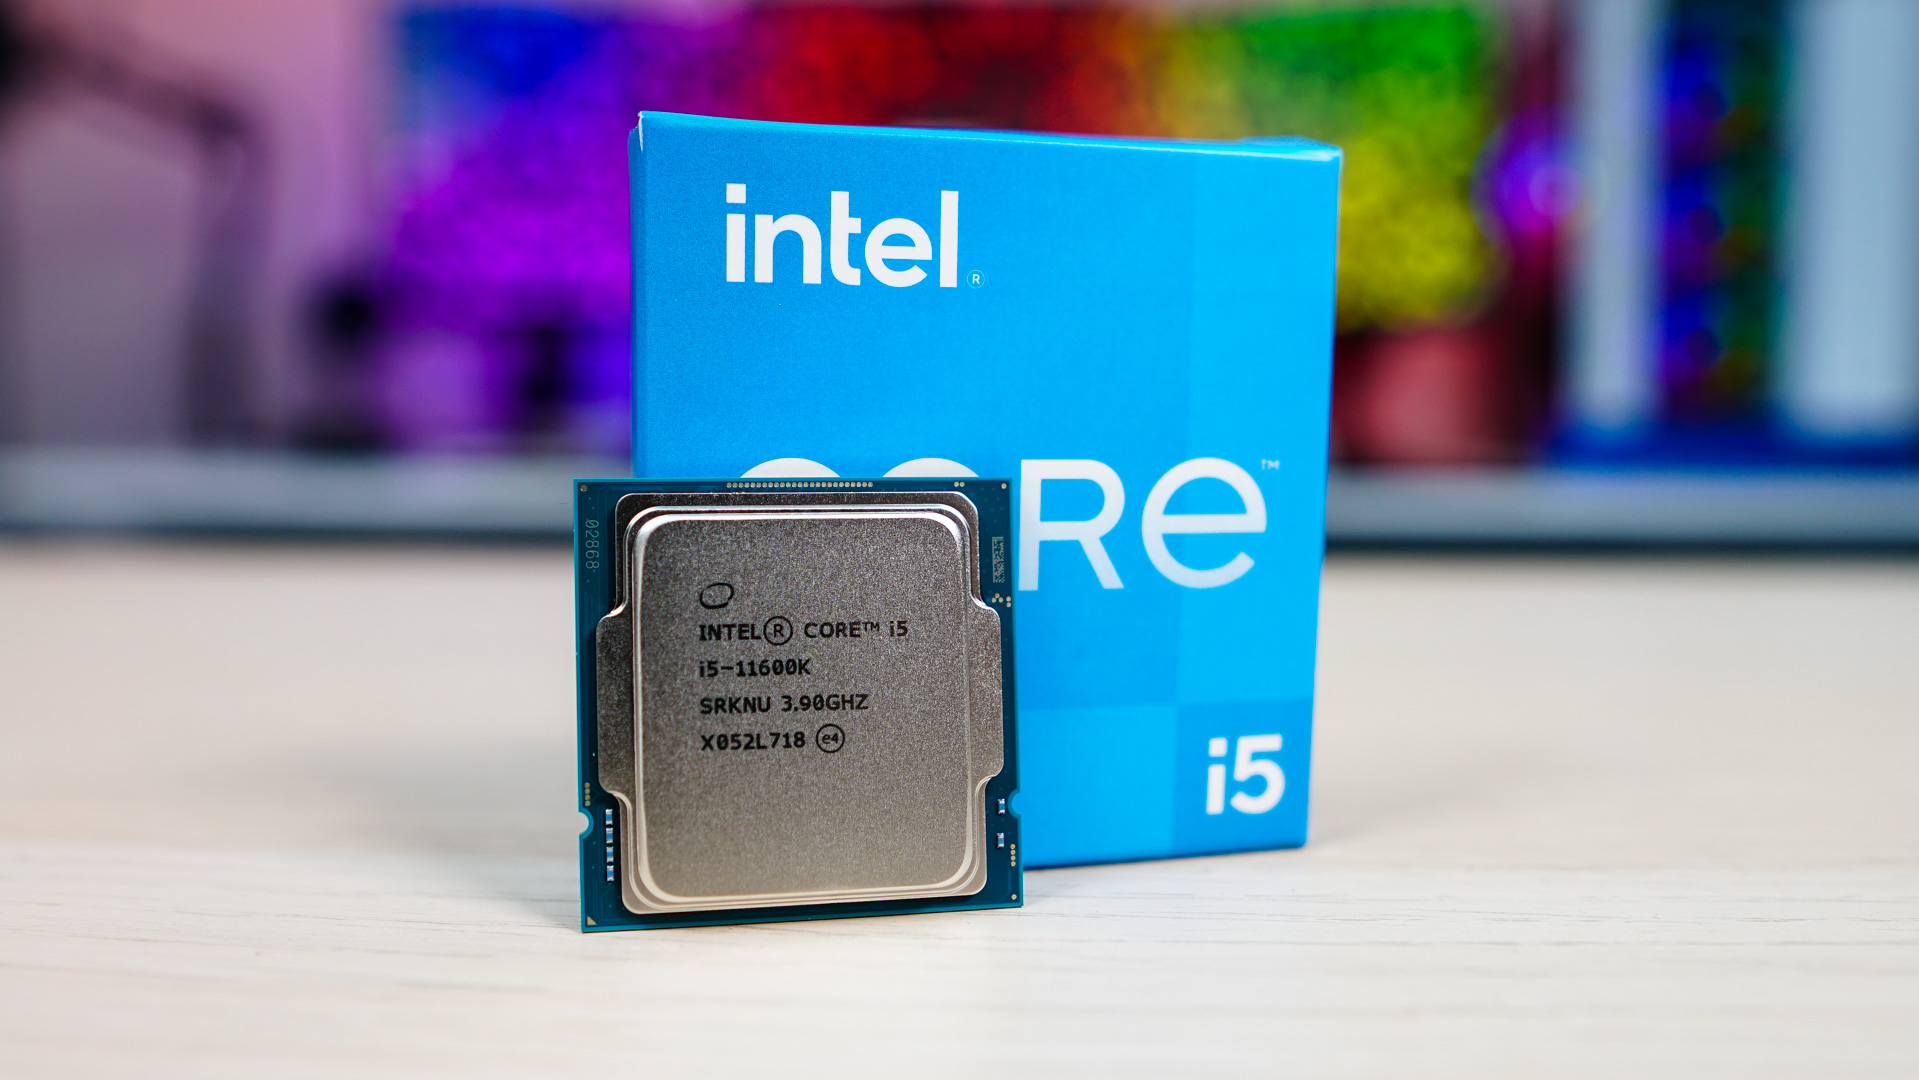
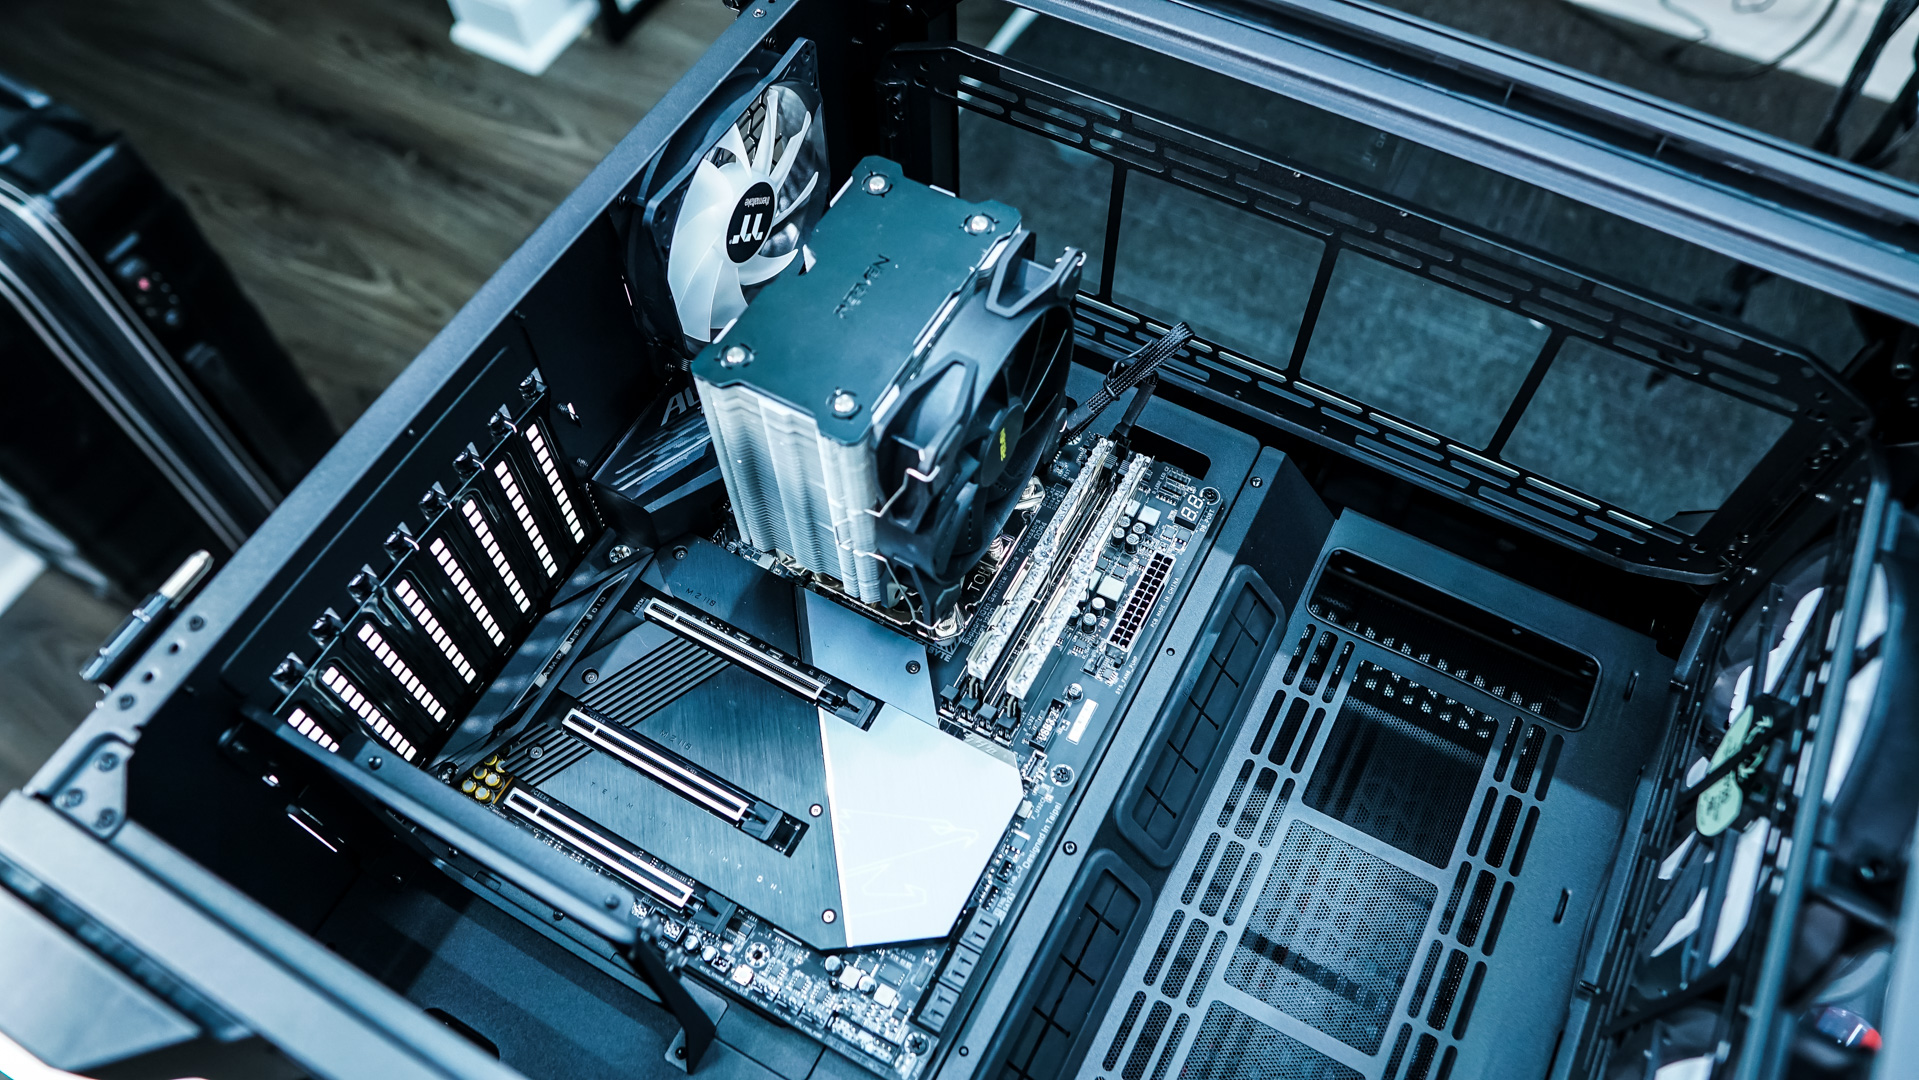
The one thing I really love about large cases is how easy they are to work in, the View 51 TG ARGB is no different. The first thing we are going to do is install our motherboard, which goes in easy.
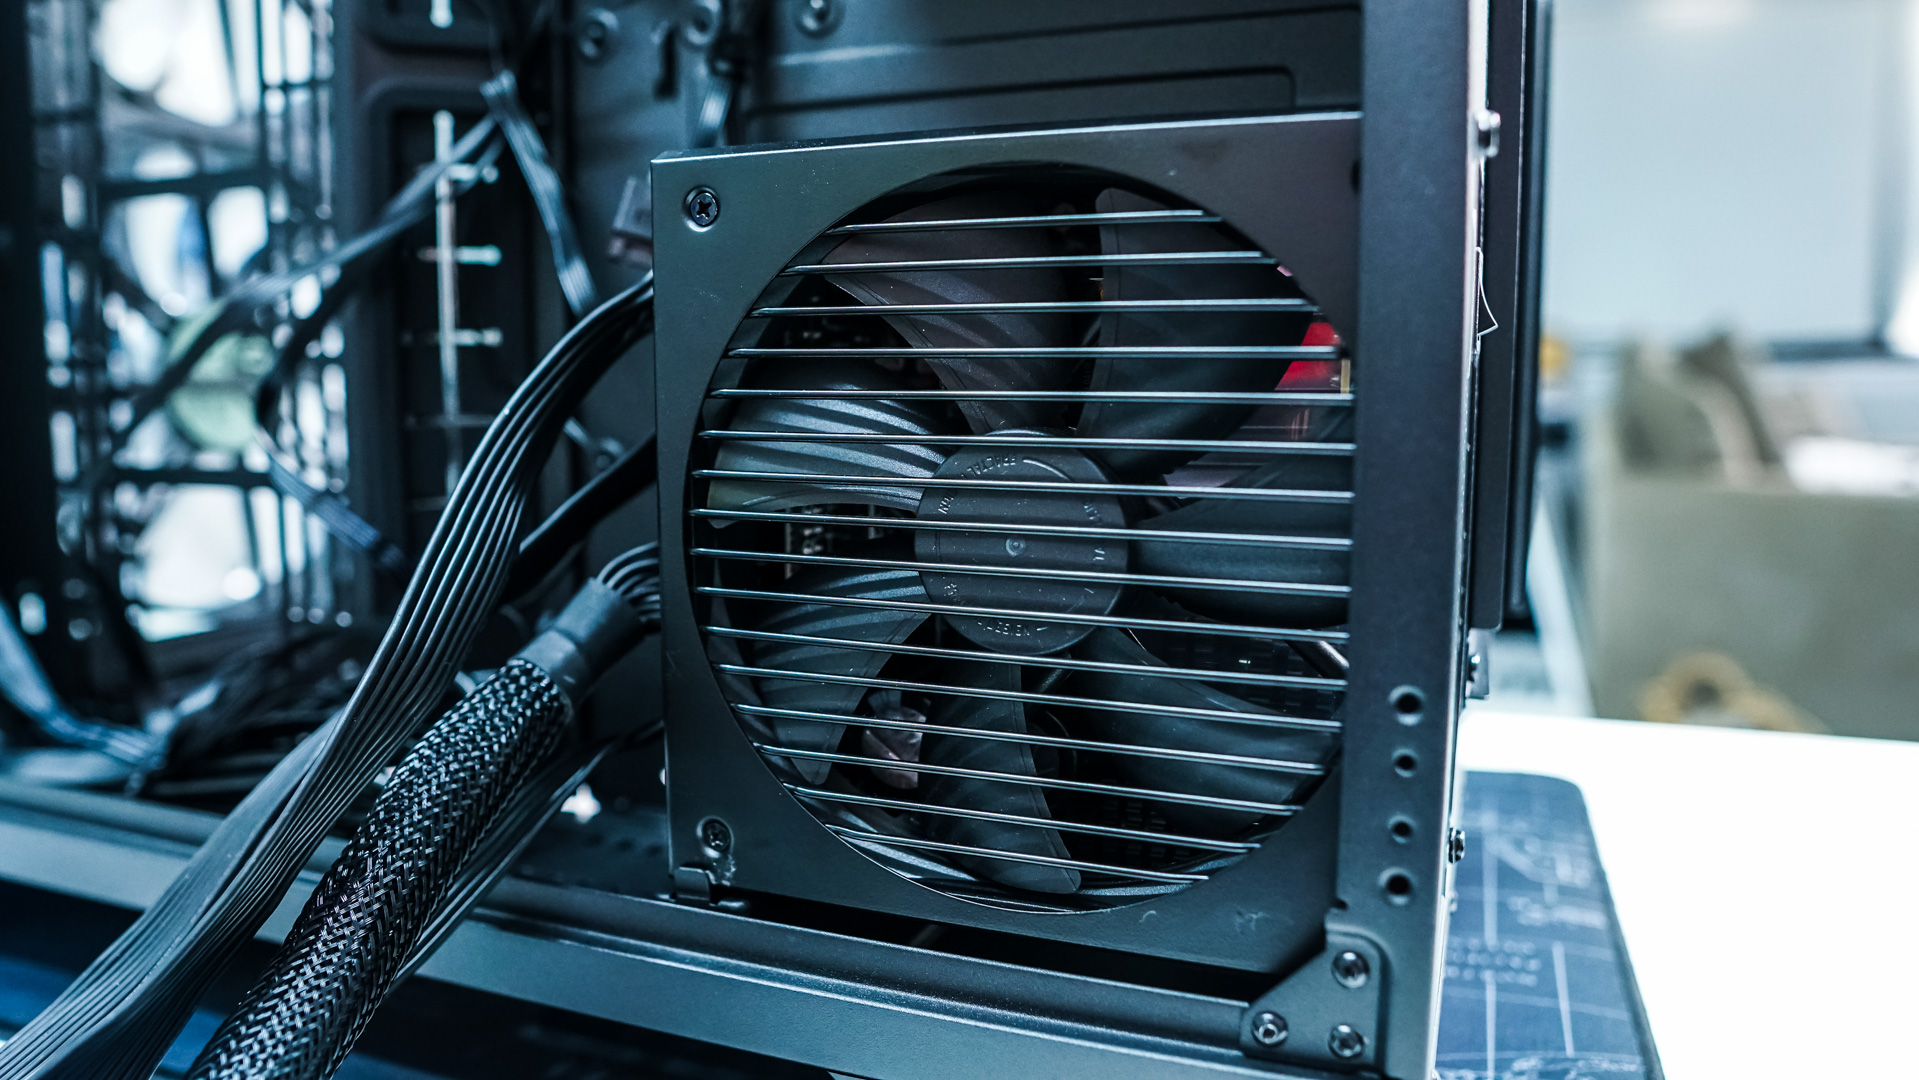
Next we decided to install our power supply. It goes in from the backside of the case and there is a little removable bracket that you can adjust based on the length of your power supply. Be sure to have the fan on your power supply facing out for proper ventilation.
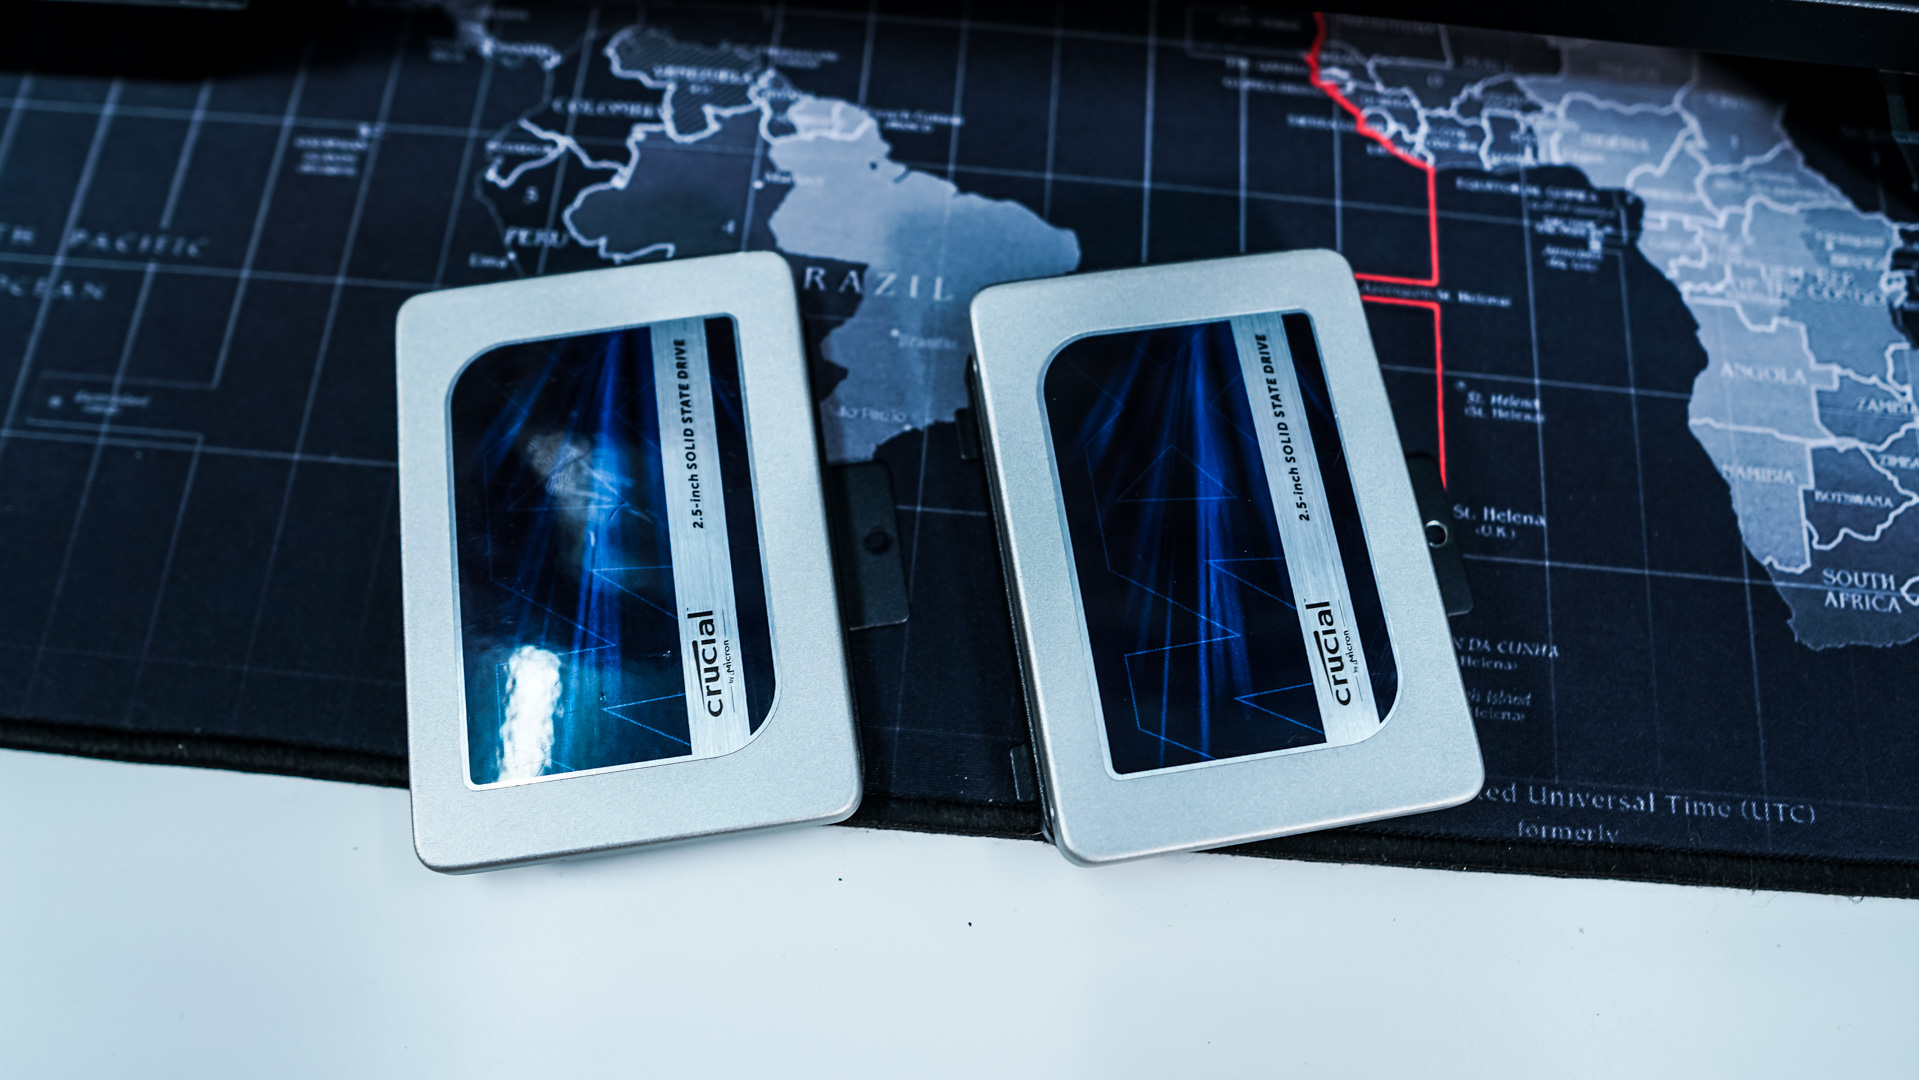
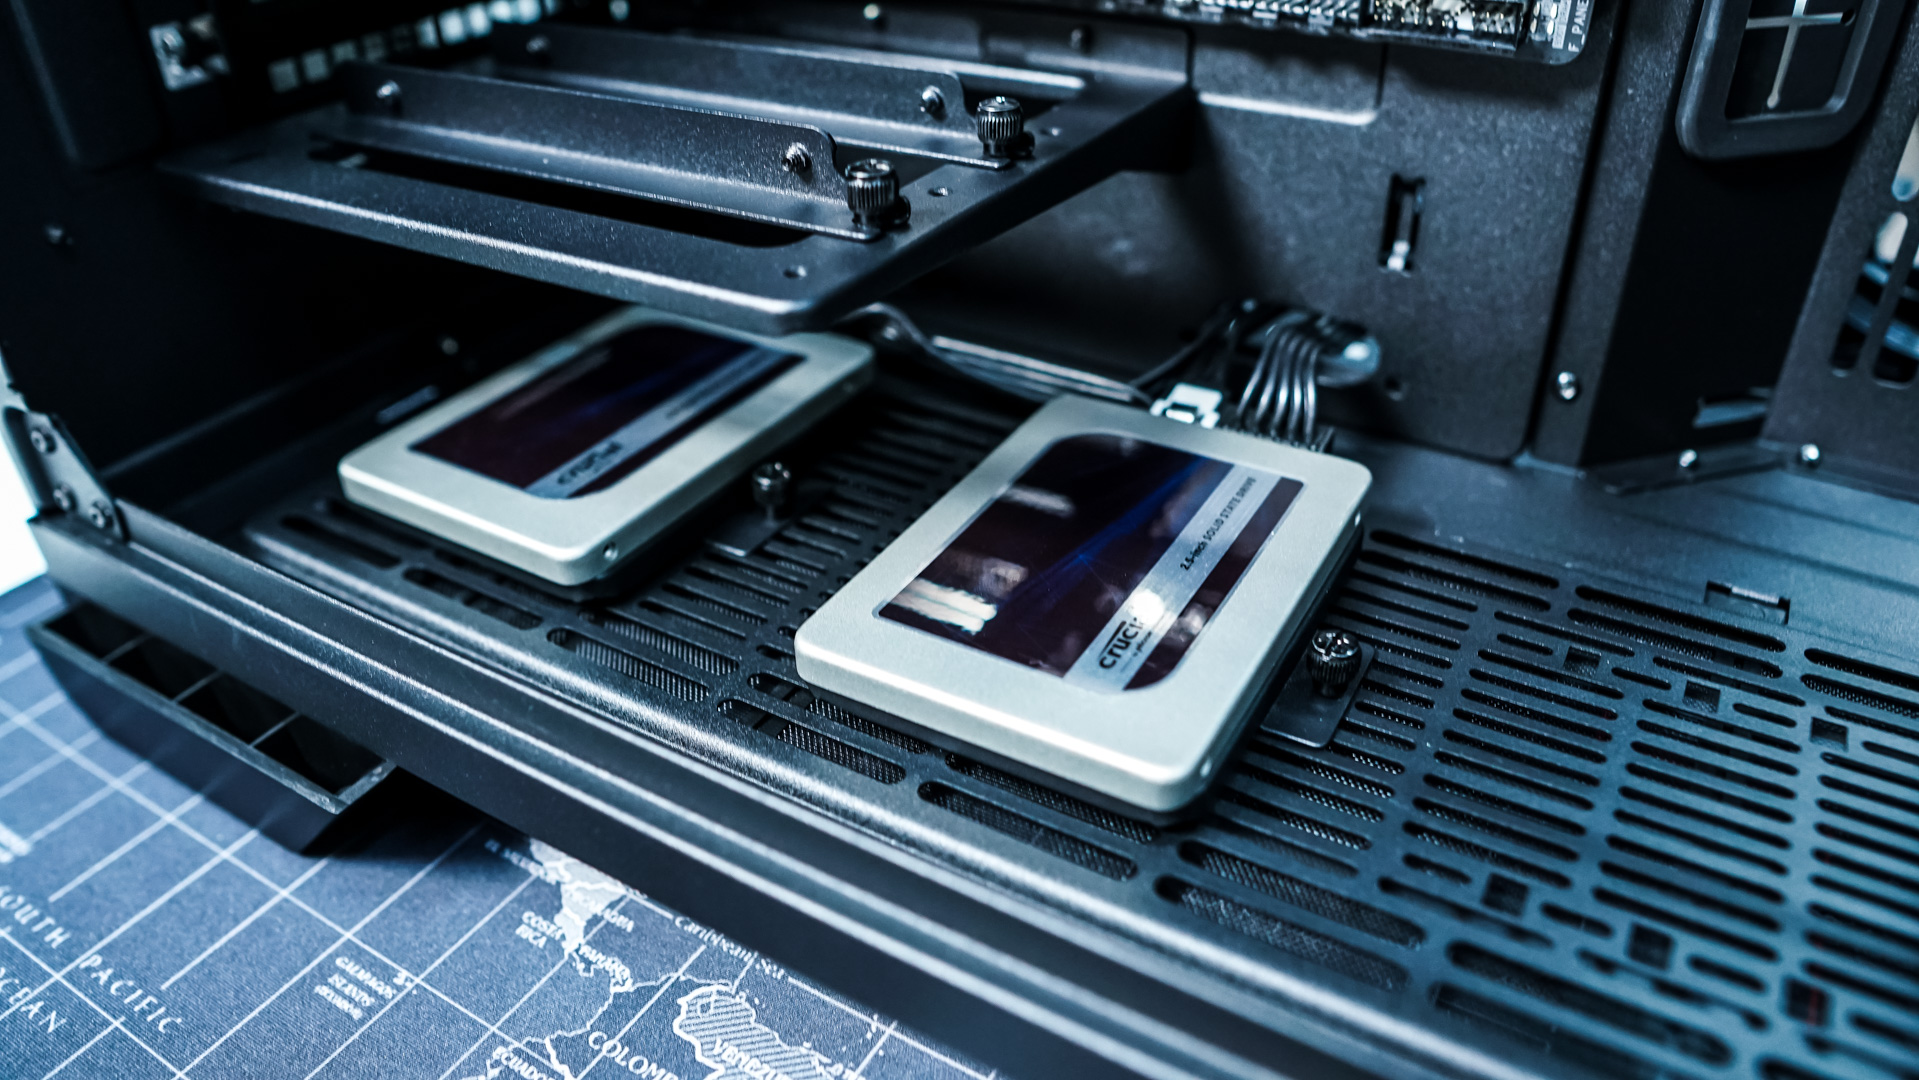
I decided to use the two removable SSD brackets for our two hard drives. Removing them from the case we can easily mount our drives and then simply reinstall the brackets. You are likely going to want to connect your cables to the drives before you reinstall them.
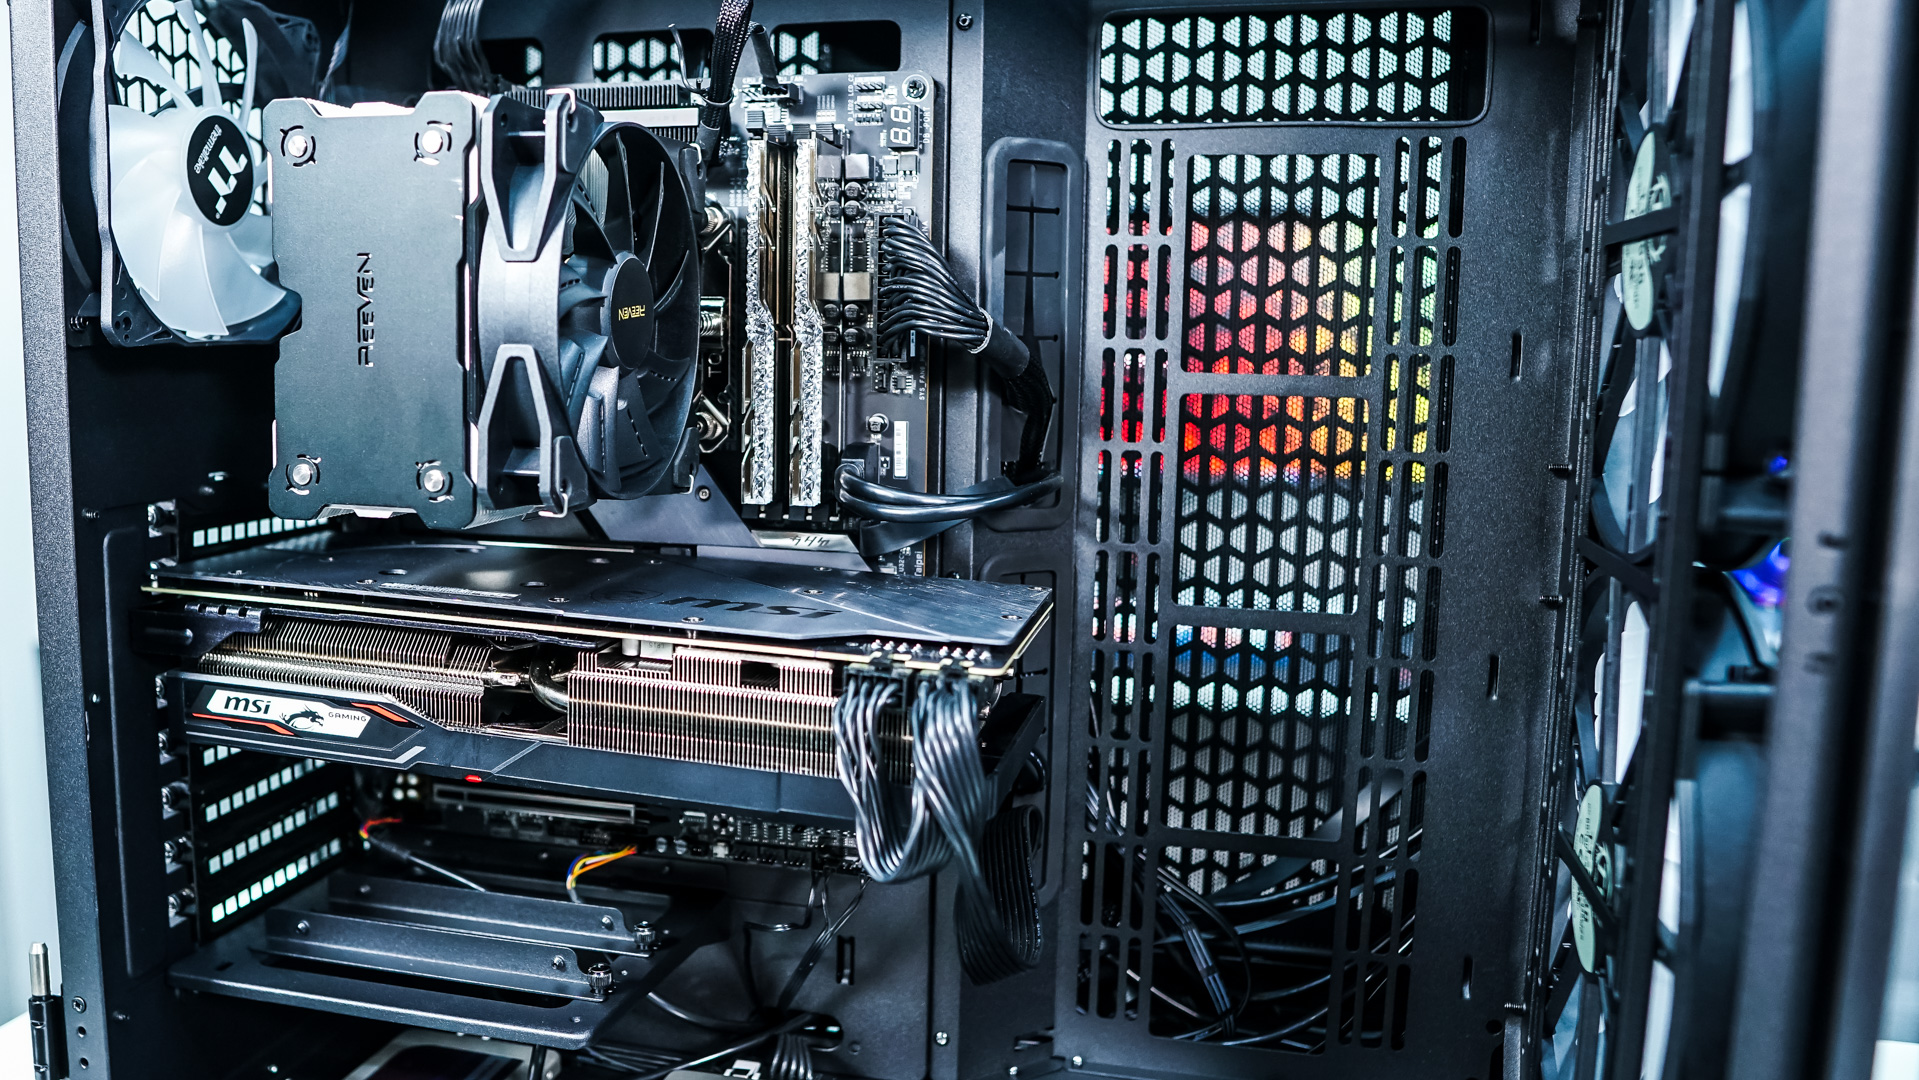
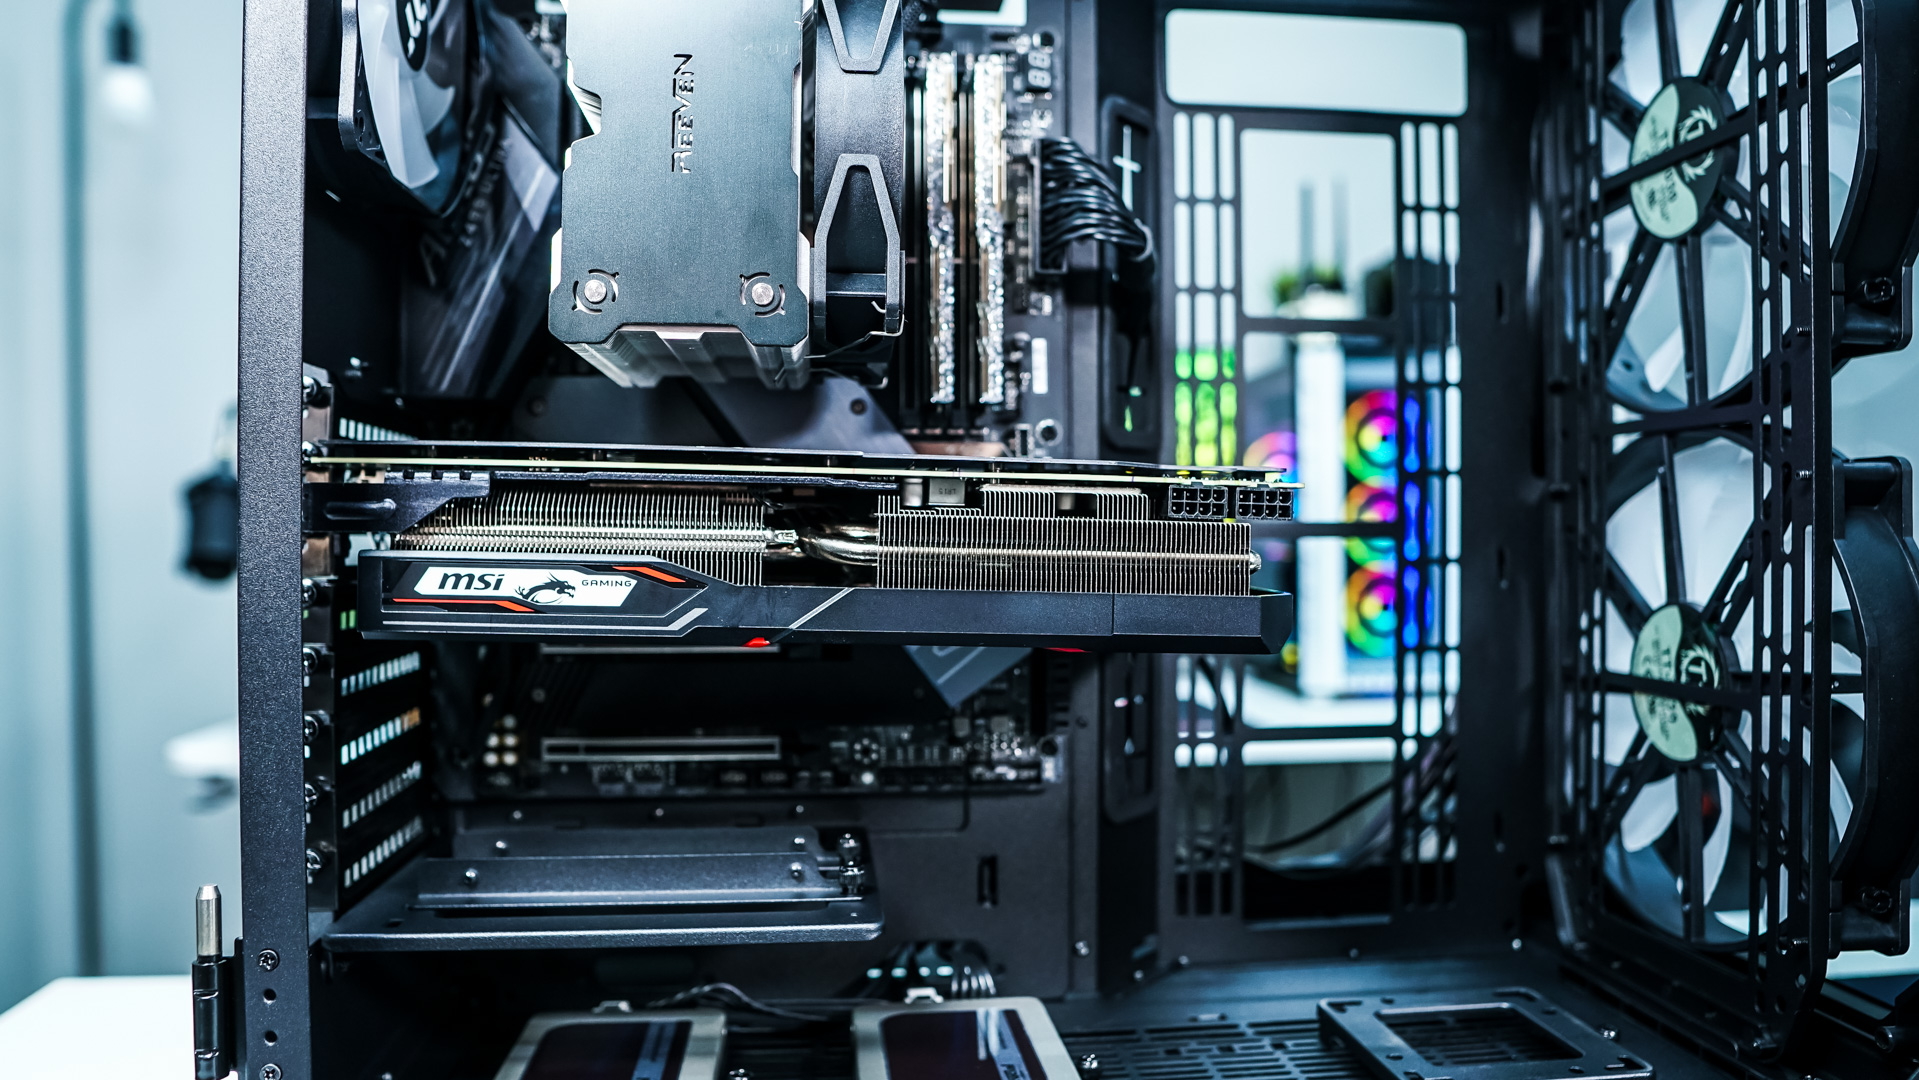
The final thing we need to install is our graphics card. We decided to go for the normal orientation, we had more than enough room to easily get our graphics card installed.
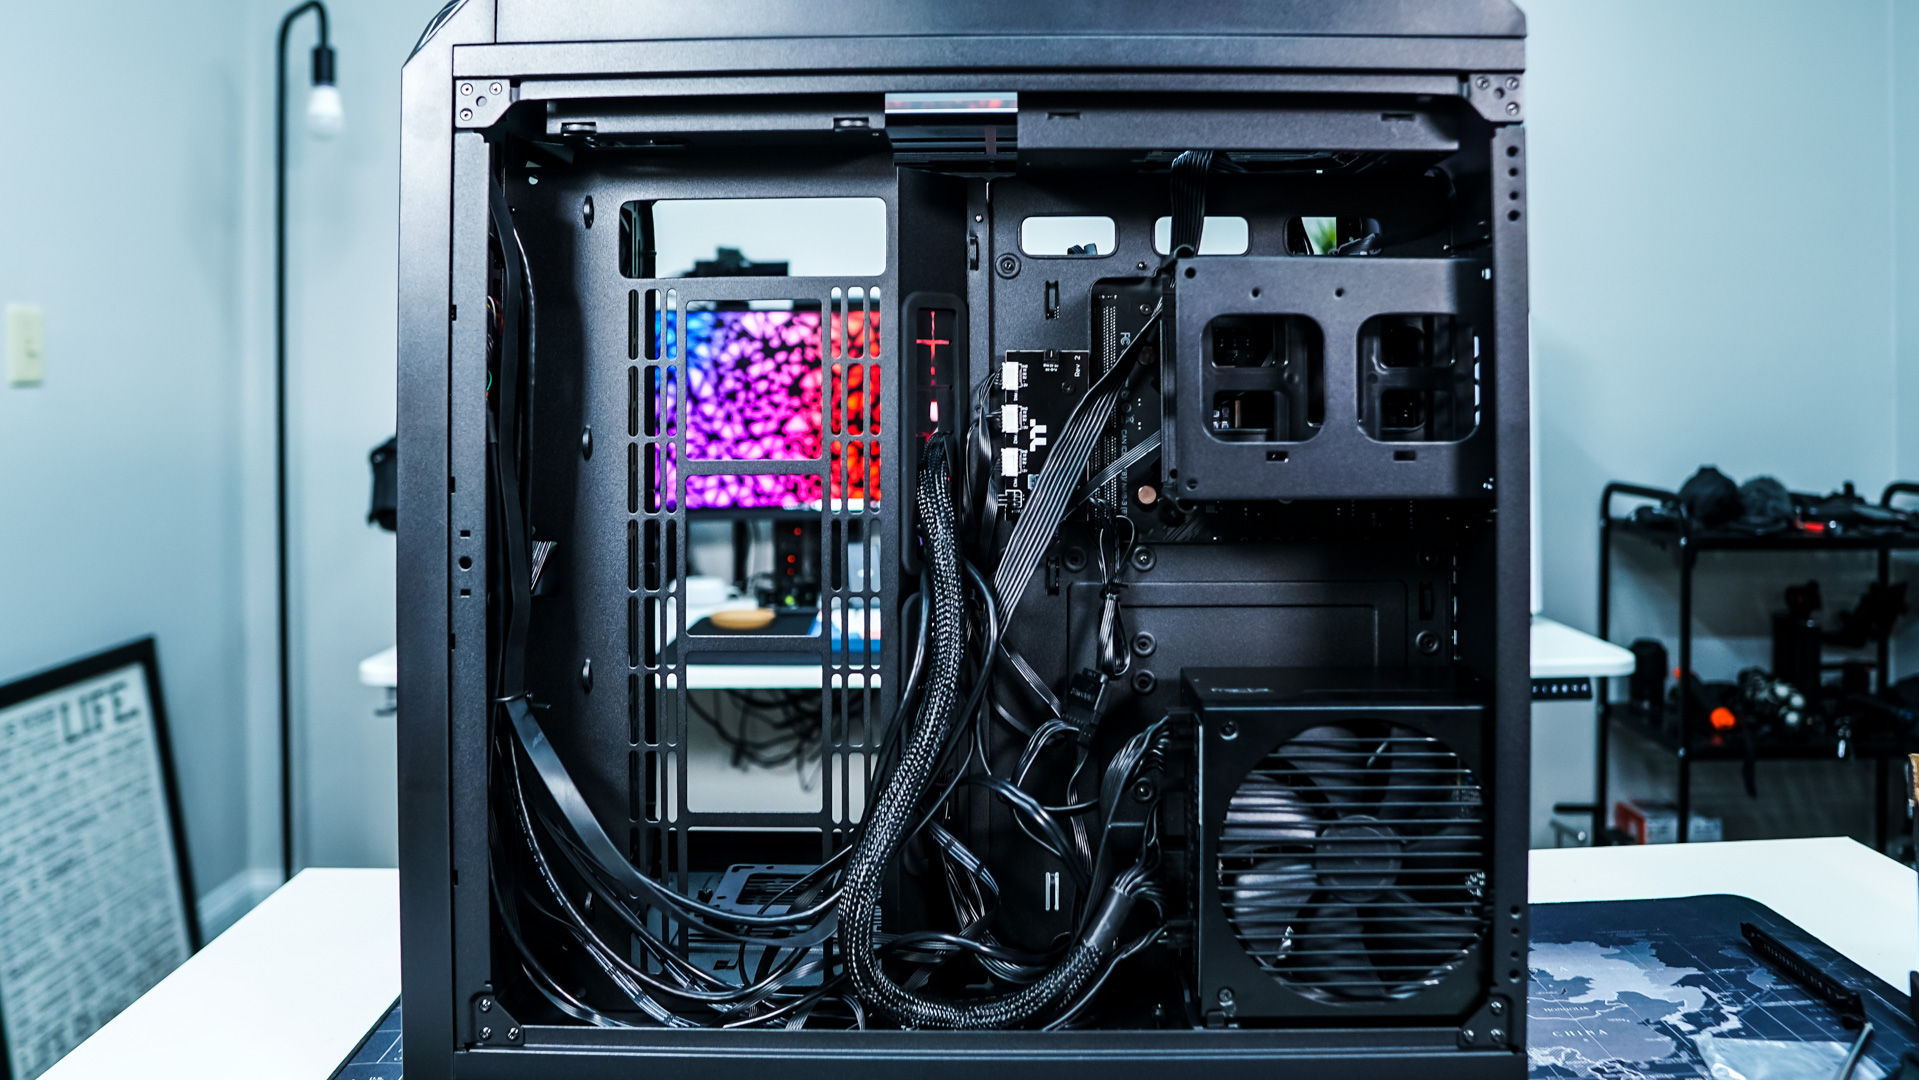
Now all we really have to do is wire everything and clean up our cables. One thing I really like about these dual compartment cases is that you can typically hide most of your cables in the smaller compartment. Since we have the large cutout in the case it is not as easy to hide cables here. Overall we have a very clean build.