Thermaltake Water 3.0 Ultimate Installation
After years of playing with computers we have found that typically it’s best to follow the directions. Well, this is one case where we recommend that you do not. Tt recommends installing the pump first then the radiator, then the fans. We feel that going this route will cause enormous headaches, especially when installing the fans. Please follow our method for a pain free installation.
The first thing we did was to install all the fans first while we have easy access to the whole radiator. You will want to be very careful here as the included fan screws are actually a mm or two too long. They are fine to use, but be careful not to over tighten them as this will drive them into the fins below. The good news is that none of the screw holes line up with any of the fluid channels so you will not puncture the radiator, but I would still prefer not to cause any damage at all.
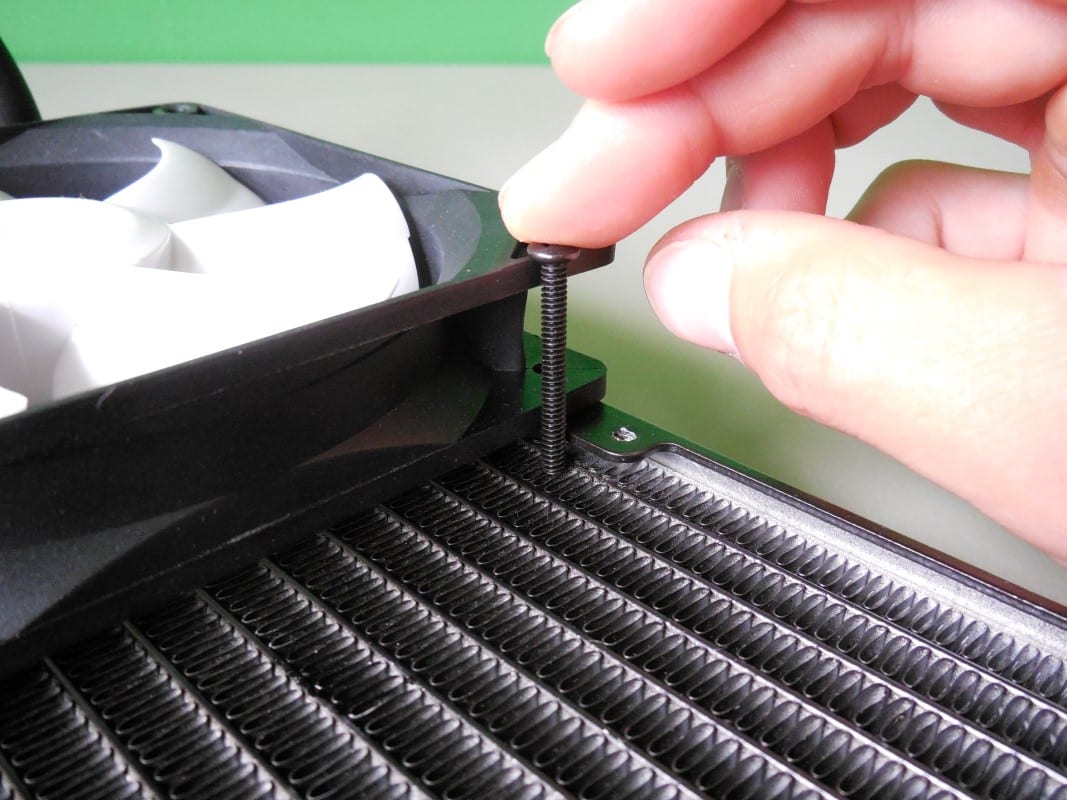
Be sure that you are installing the fans onto the tubing side of the radiator as this is the side that we need to have facing down. Now line up all four holes for your first fan, the fan should be pushing air into the the radiator, and secure with four screws.

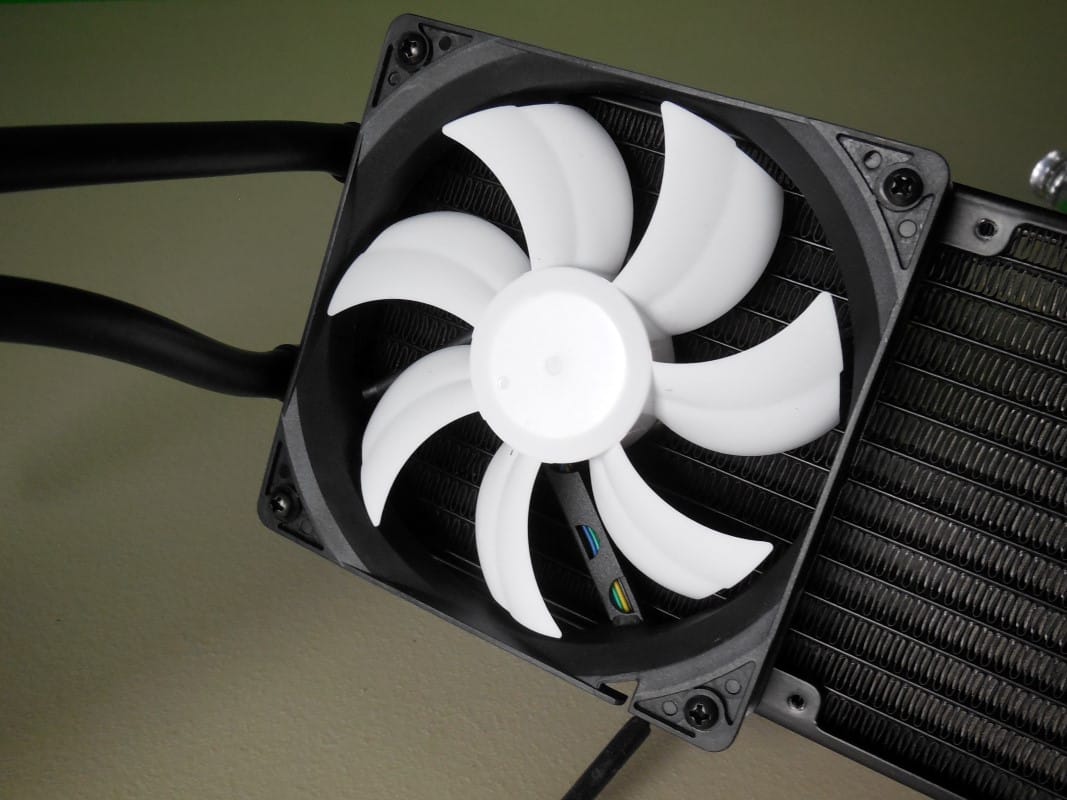
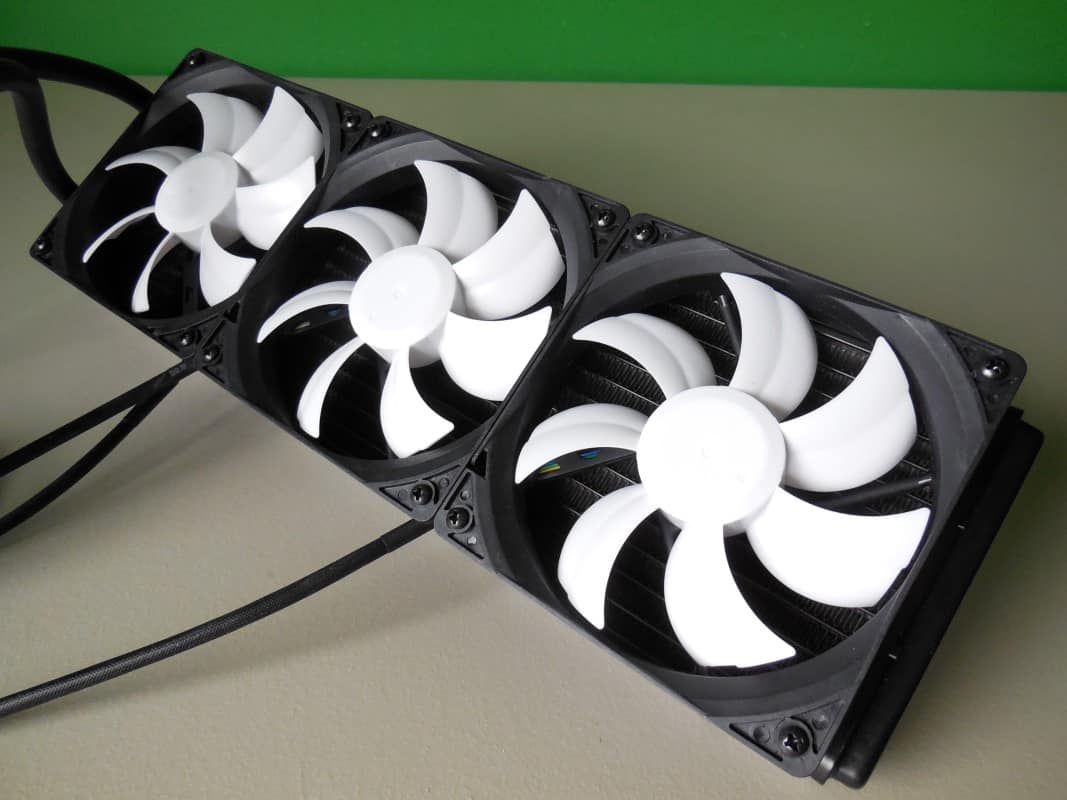
Repeat the process for the remaining two fans orienting them so that all the wires are coming out the same side.
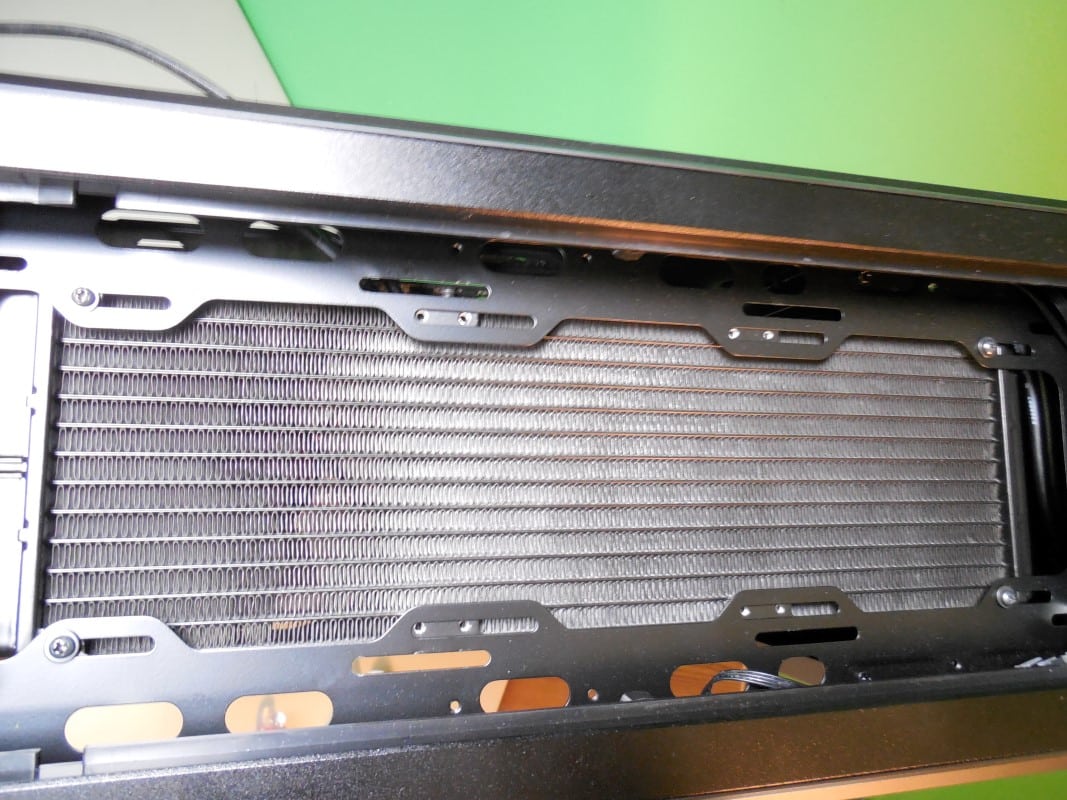
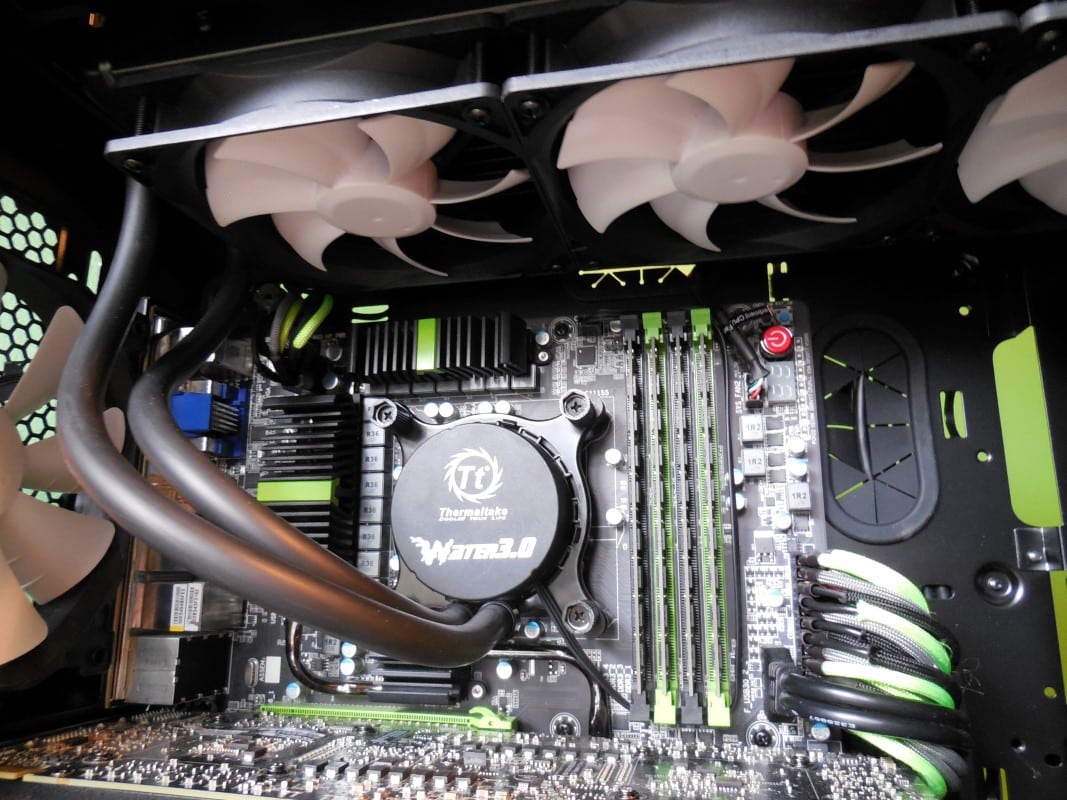
Next we will install the radiator/fans into the top of our case. Using the set of smaller screws and washers align the radiator with the top slots in the top of your case and start by securing them first with just four screws. Once held in place loosely at four corners attach the remaining screws and tighten them all up to secure the radiator.

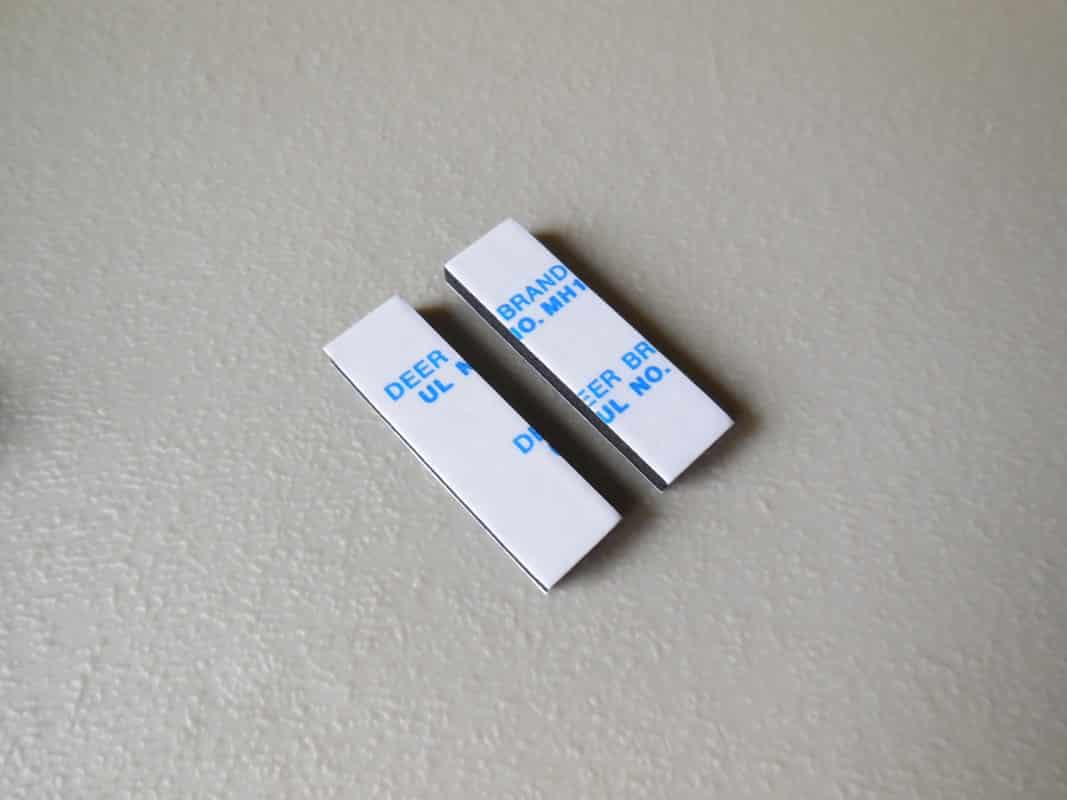
With the radiator installed we can go ahead and install the pump now. The first step is to attach the double sided foam pieces to the backplate. These keep the backplate from moving while you attach the pump to the CPU.

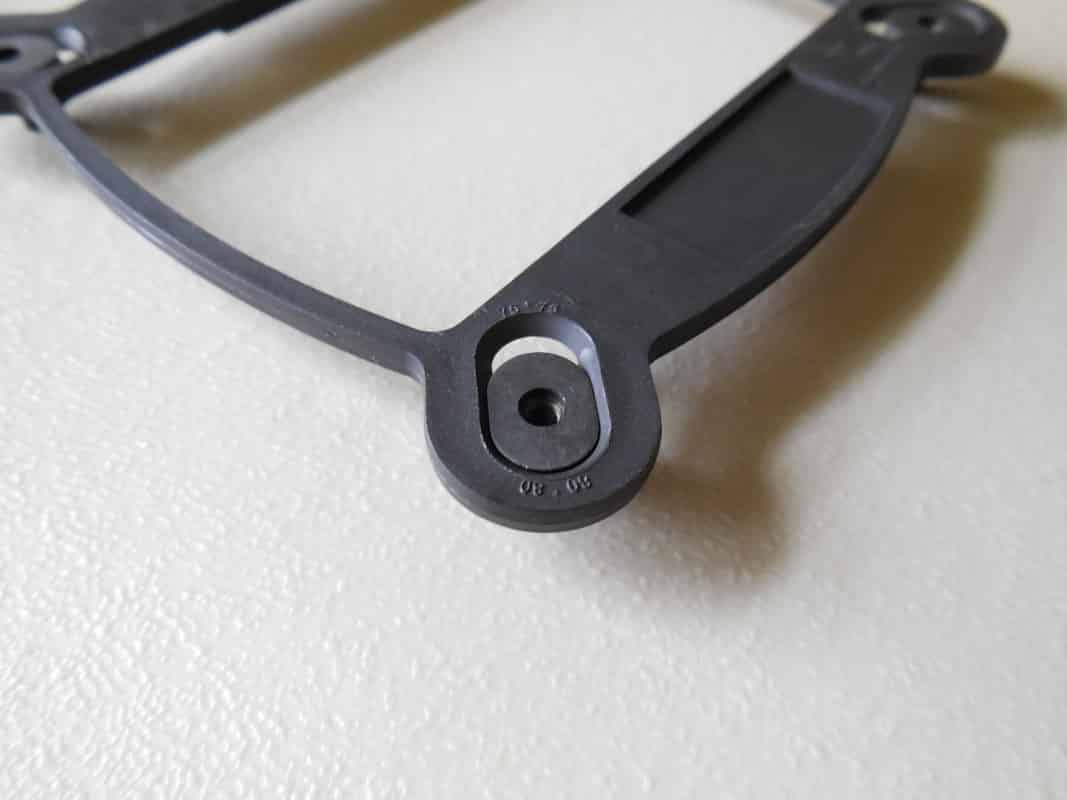
We then slide the newly redesigned corner pieces to the correct location for our socket found in the manual. These are especially nice as we don’t have to mess with those annoying push pins anymore.

Once in the correct orientation we can install the backplate. Remember to peel off the other plastic backing on the double sided foam tape so the plate stays secure.
Next we assemble the bracket that holds the pump securely to the CPU. Start by attaching the correct interlocking plastic pieces to the four corners of the bracket. They will snap into place when secure. With all four corner pieces in place insert the correct thumbscrews through the holes, they will also snap into place.
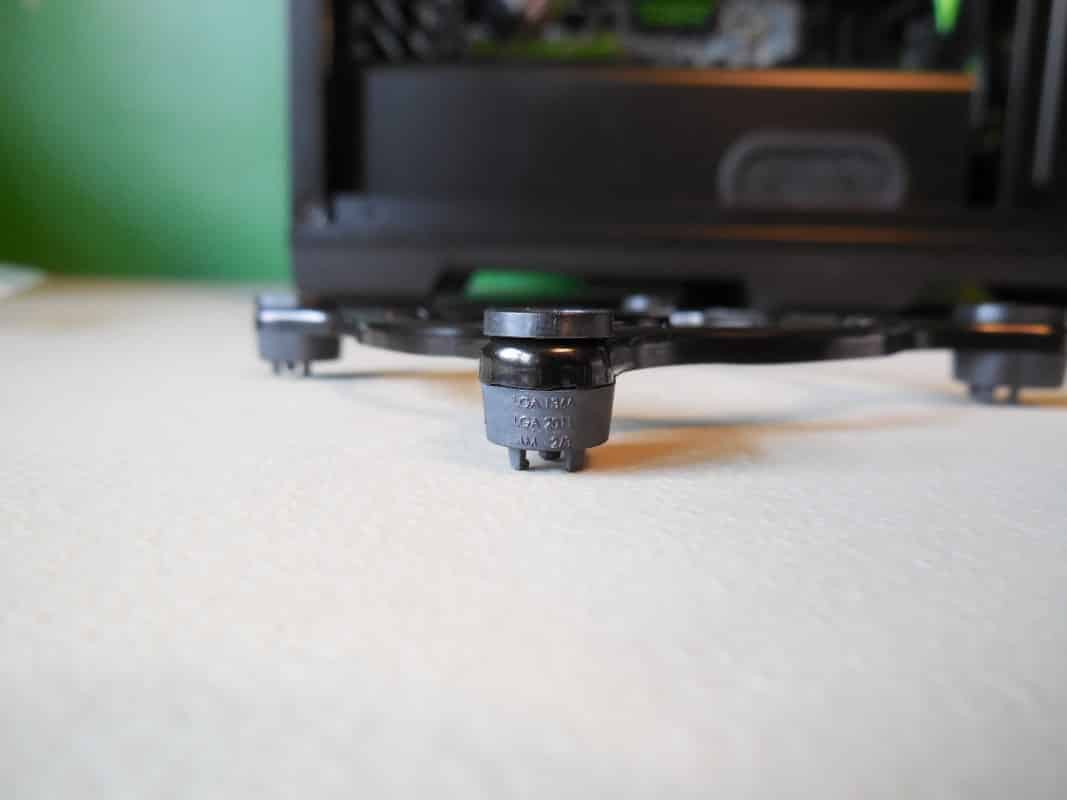
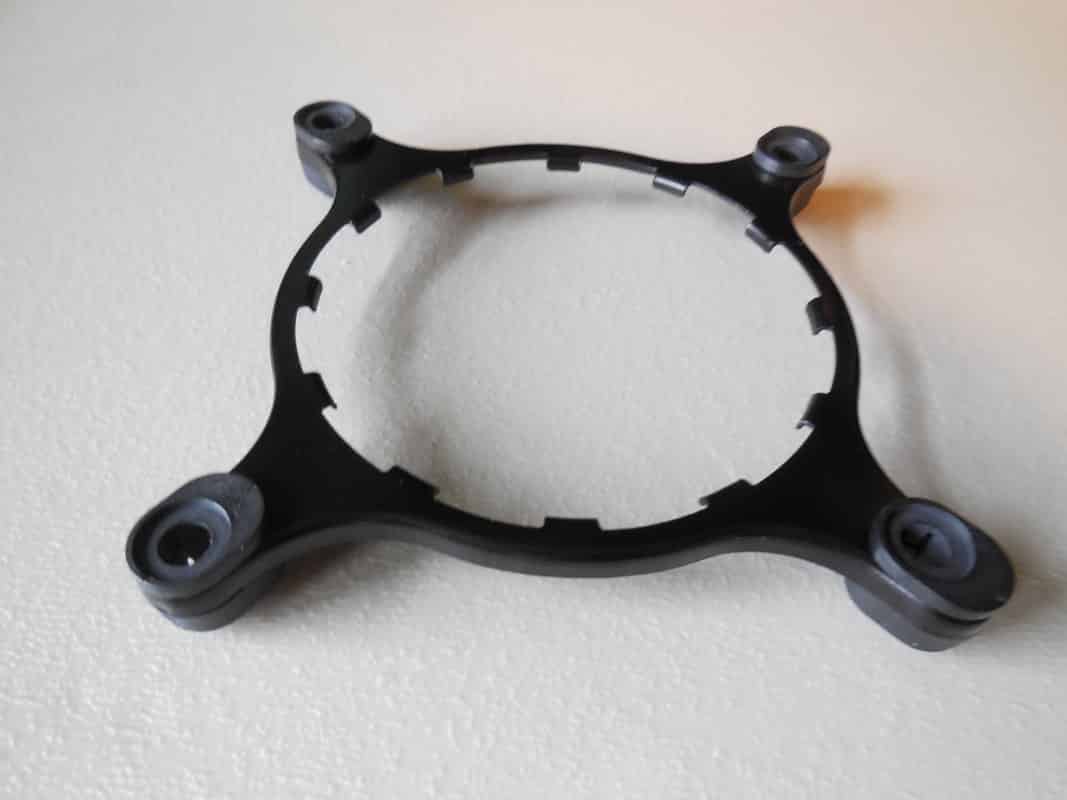
Finally we slide the bracket over the pump and through the interlocking channels. Once through turn the bracket and notch it into place on the pump. Using the round plastic ring secure it to the pump. Again it will snap into place when secure.


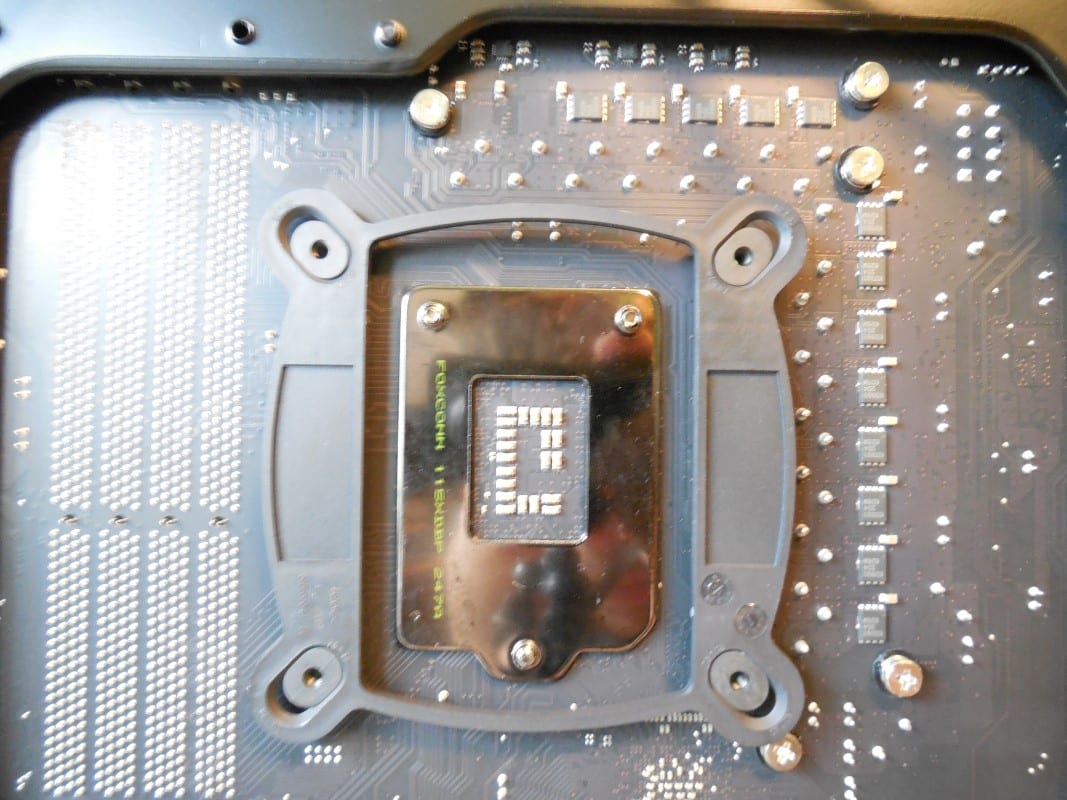
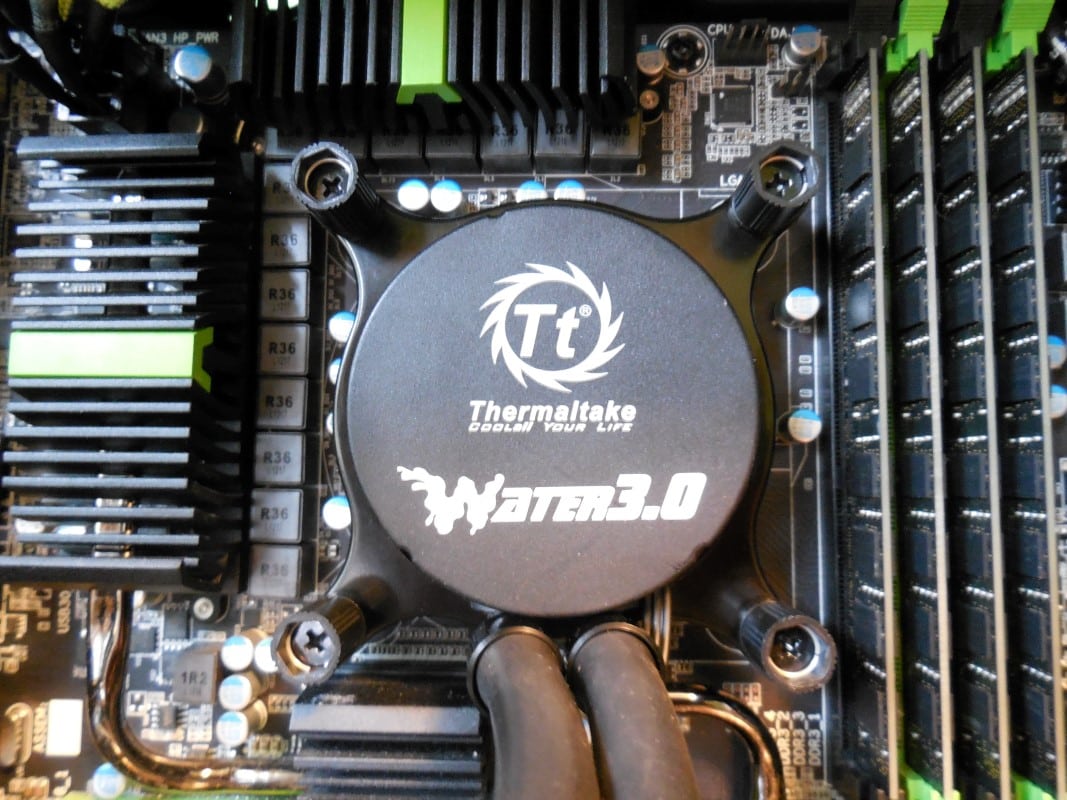
With the pump ready to be installed simply align the four thumbscrews with the four holes in the motherboard, press the pump firmly to the CPU and secure with the thumbscrews. The only thing left is to attach power. The pump of course is attached to the CPU_FAN header. The three fans are then plugged into the splitter which is then plugged into any open header on your motherboard or any other power source you choose.
With this beast installed lets get to testing!