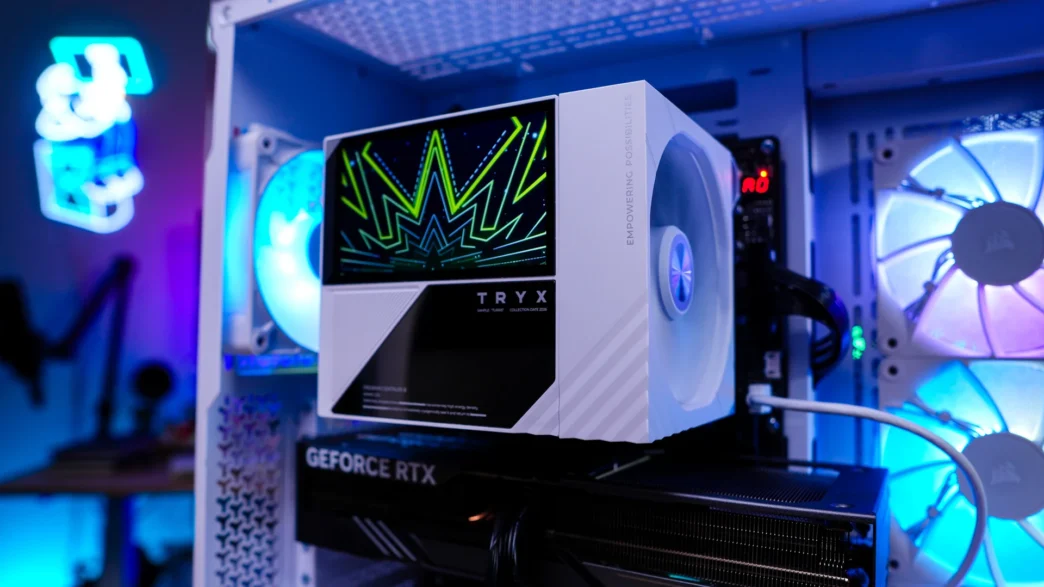
Installing the TRYX Turris 620 CPU Cooler
Getting the TRYX Turris 620 installed is quite easy. Now we will be doing our installation on an AMD X870 motherboard so this installation will be for the AM5 socket.
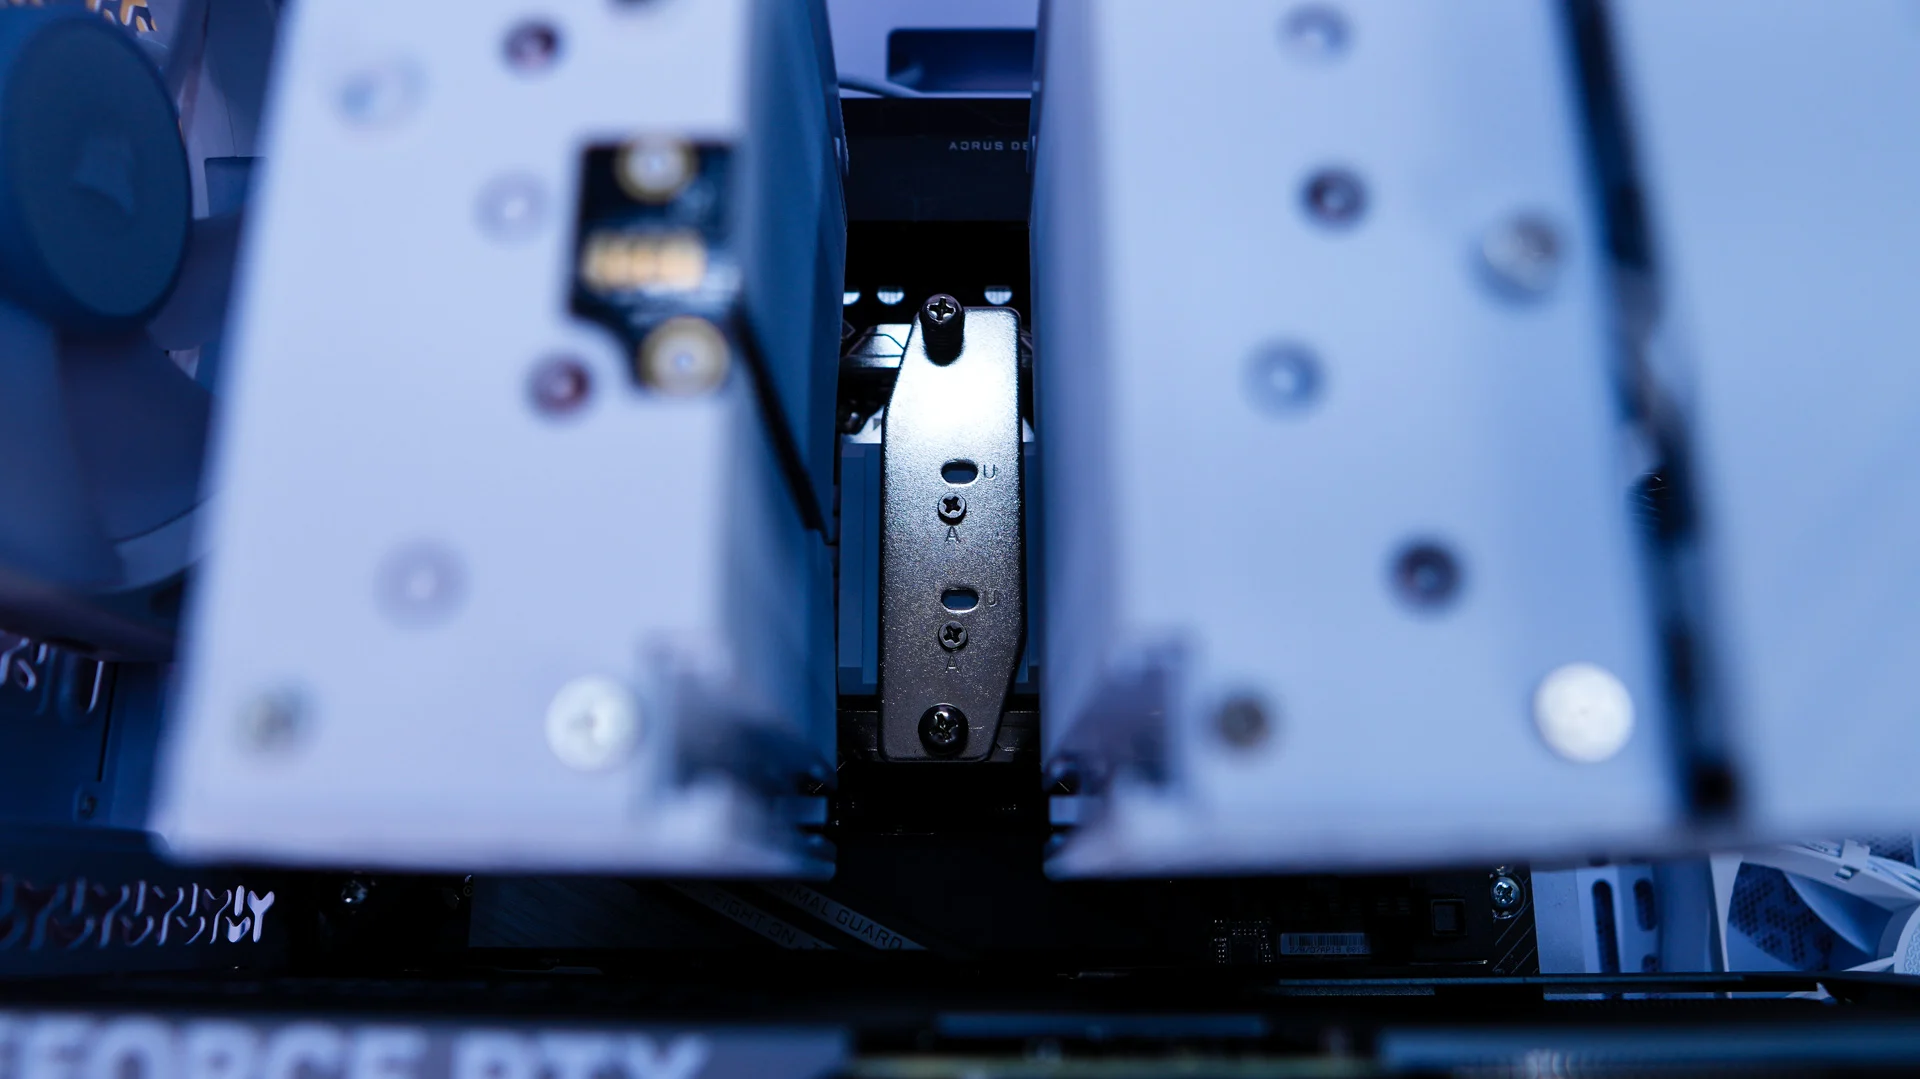
Before you do anything you are going to want to make sure the mounting bracket on the cooler itself is in the right position. Our cooler shipped with it installed in the Intel optimised offset. We actually installed our cooler this way initially, but since we are using an AM5 CPU we switched the bracket to the AM5 optimised offset.
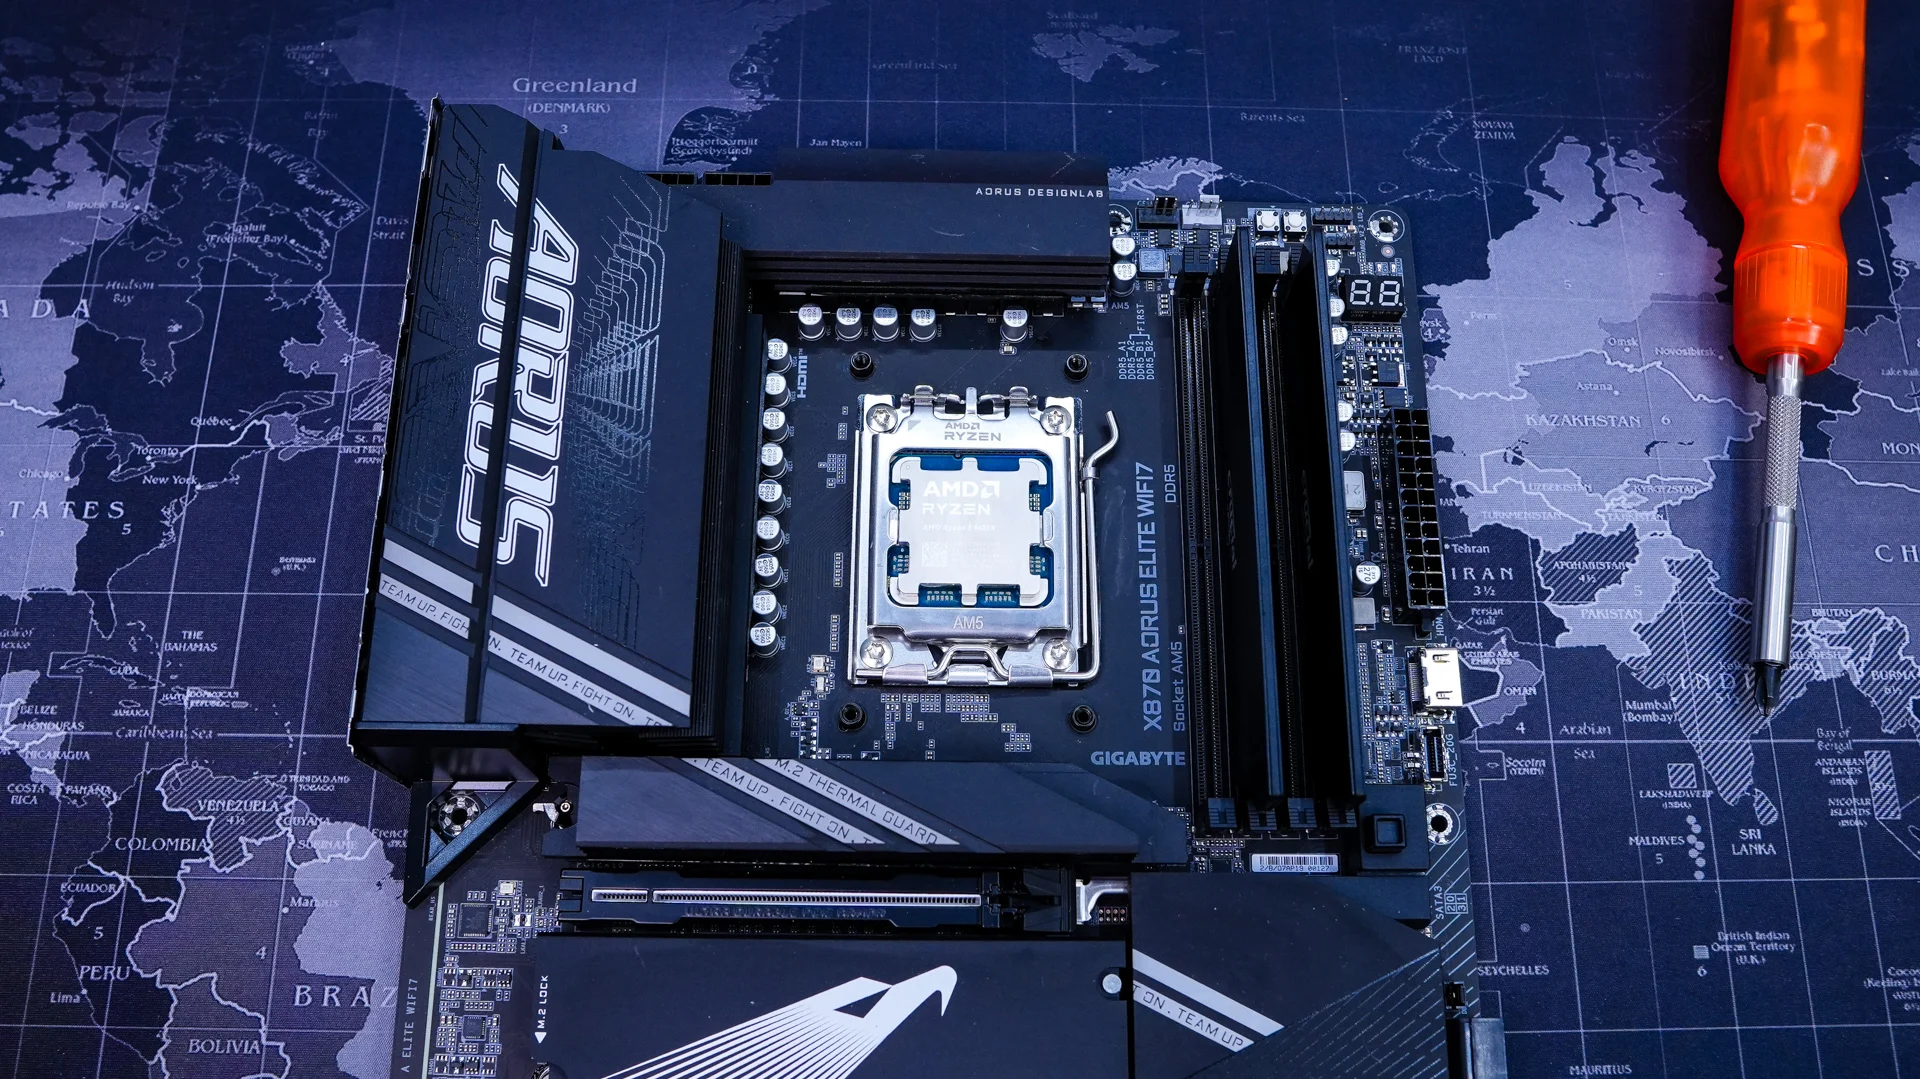
The first thing you are going to want to do is remove the AM5 mounting brackets that are on your motherboard. You will keep the backplate in place though, so your motherboard will look like the photo you see below.
Next take the AMD spacers and install them into the holes in the AM5 backplate on your motherboard.
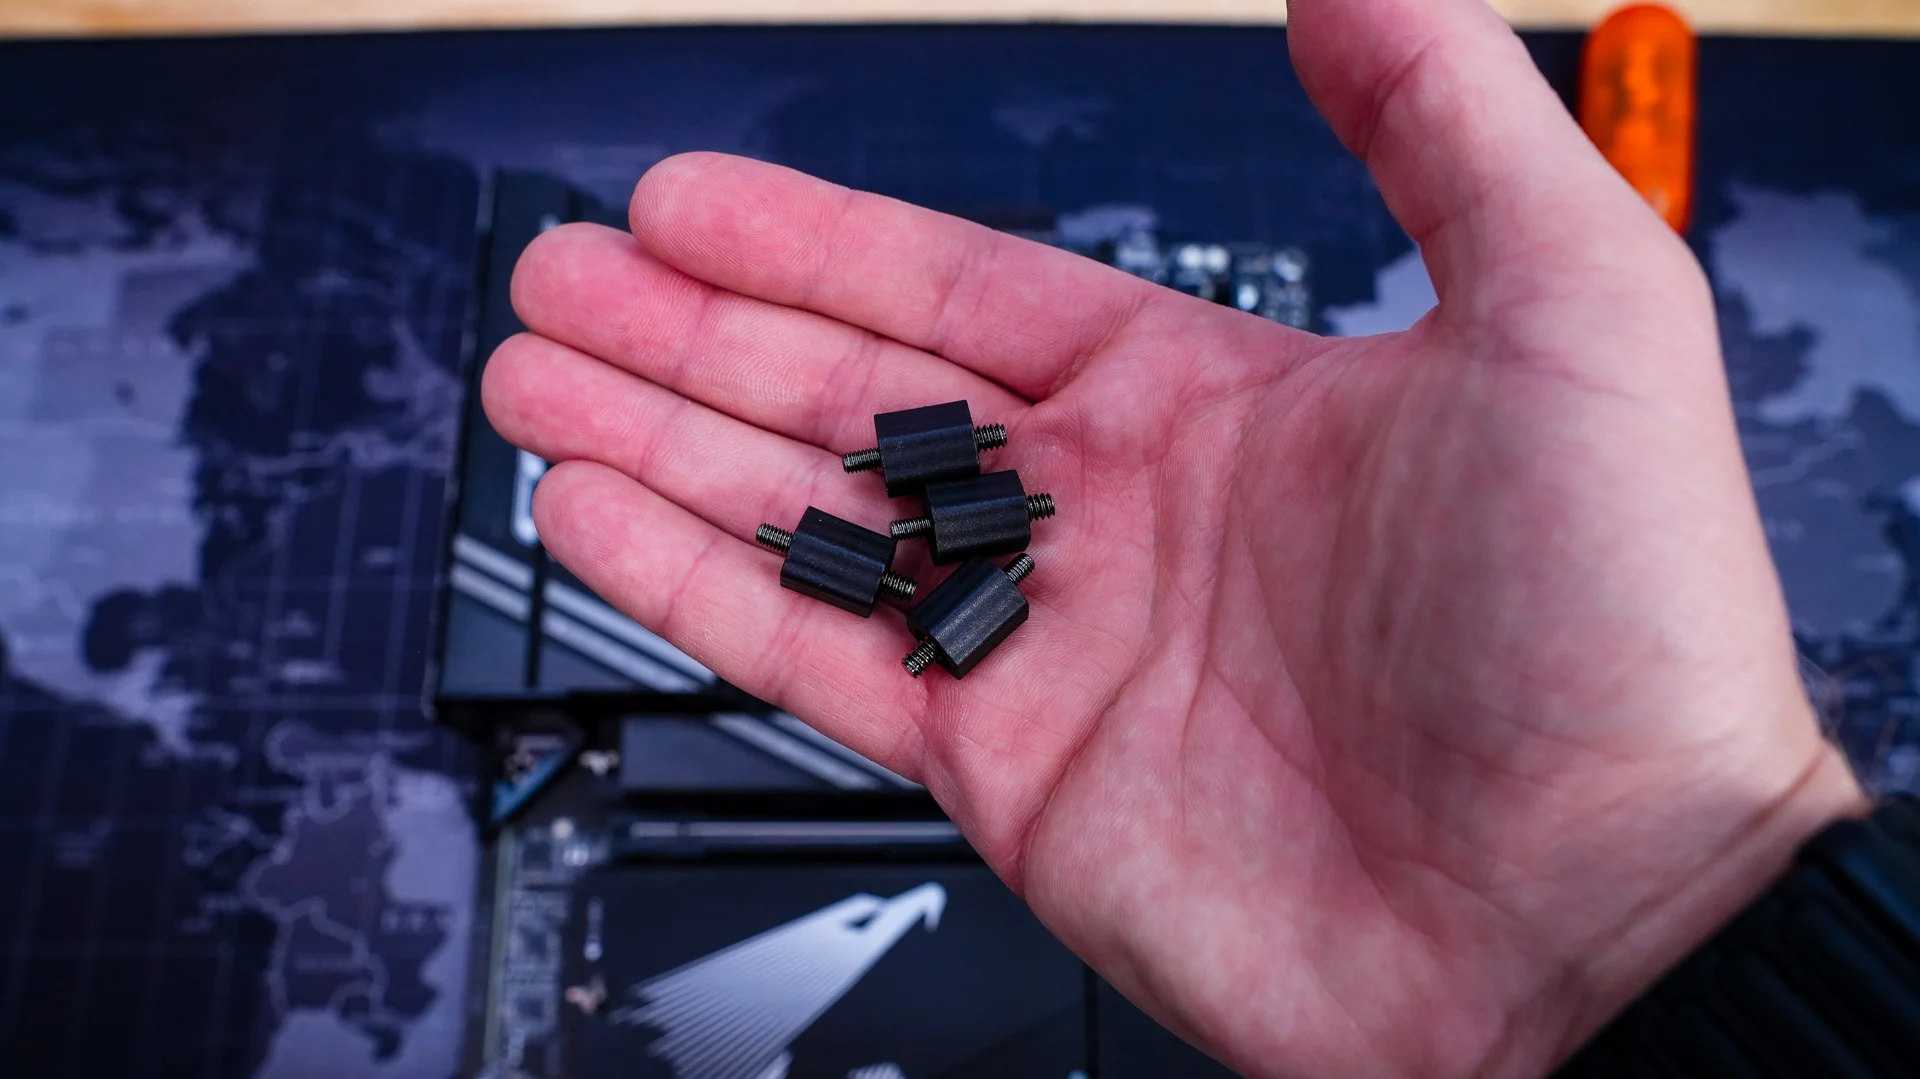
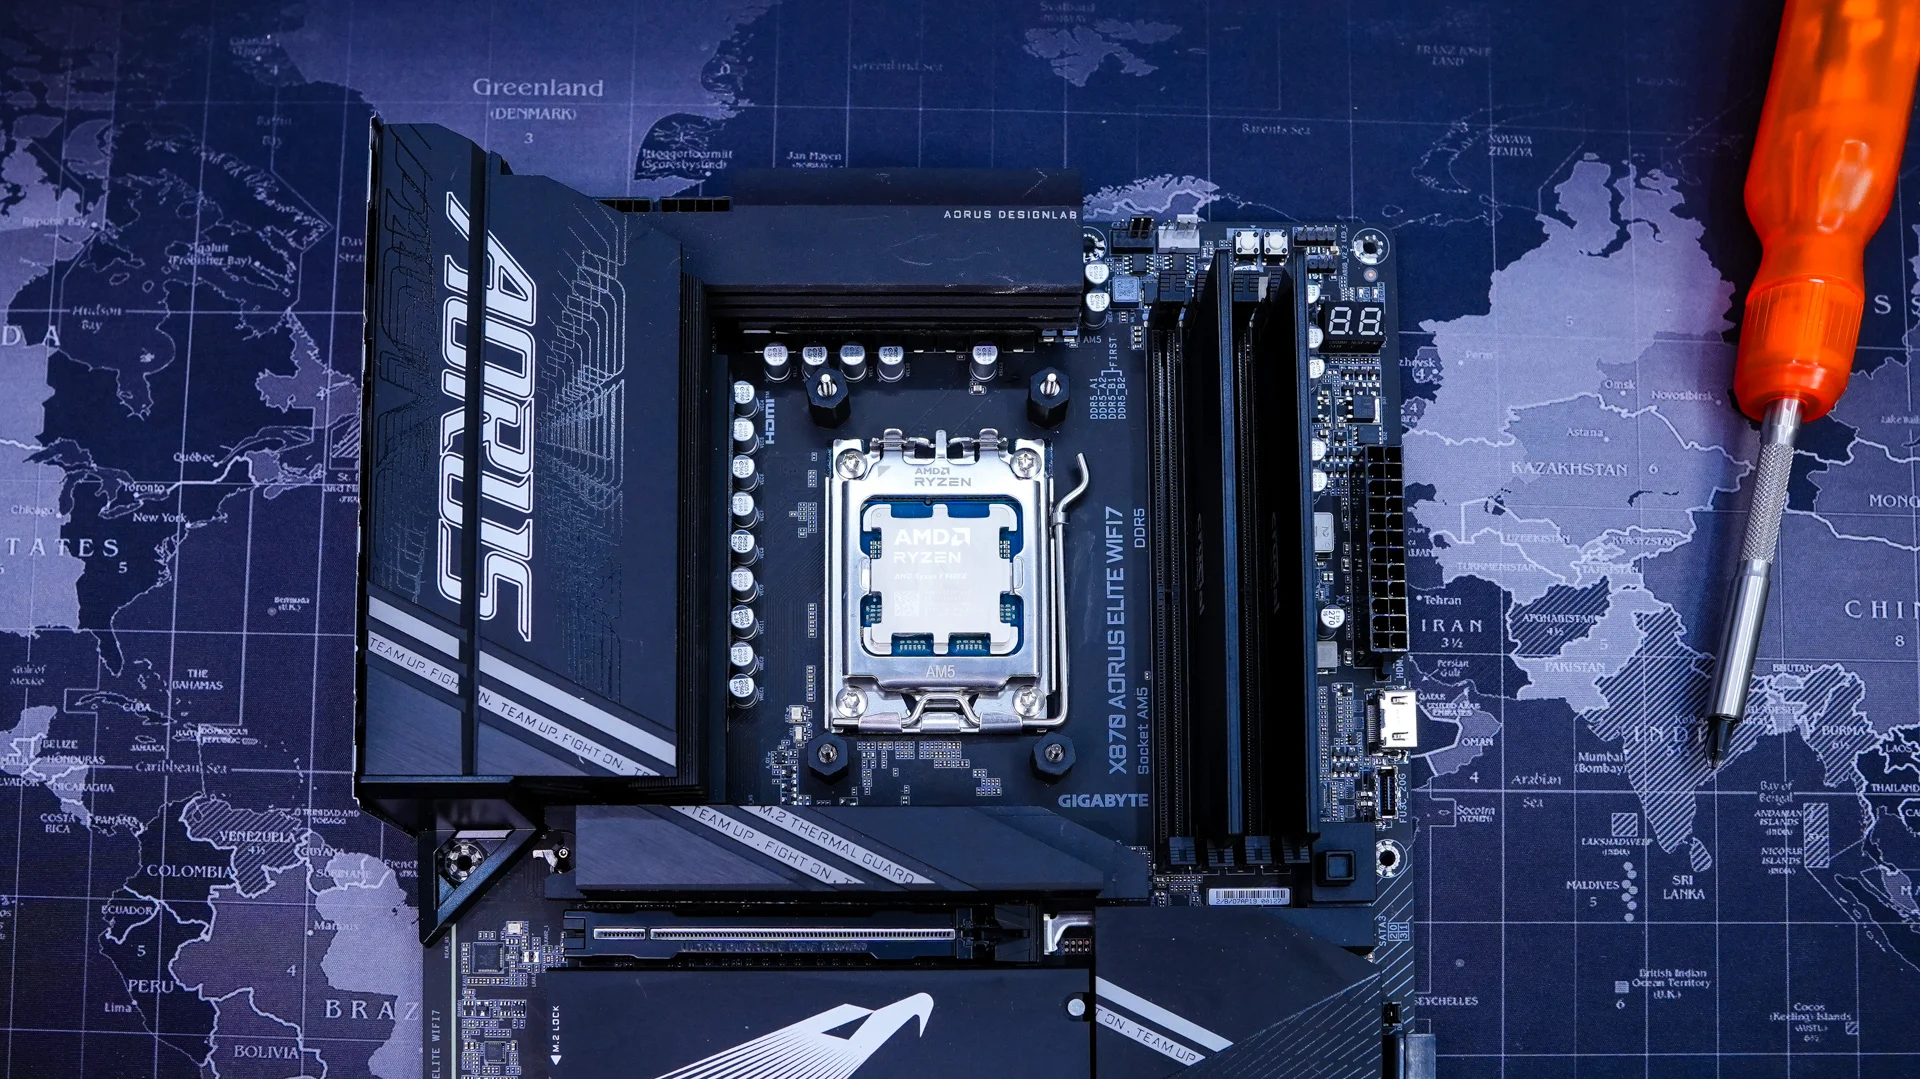
From there take the AMD mounting bars and install them on the top and bottom of the socket. These do have arrows on them so you know you are installing them in the correct orientation. Using the supplied thumbscrews secure them in place.
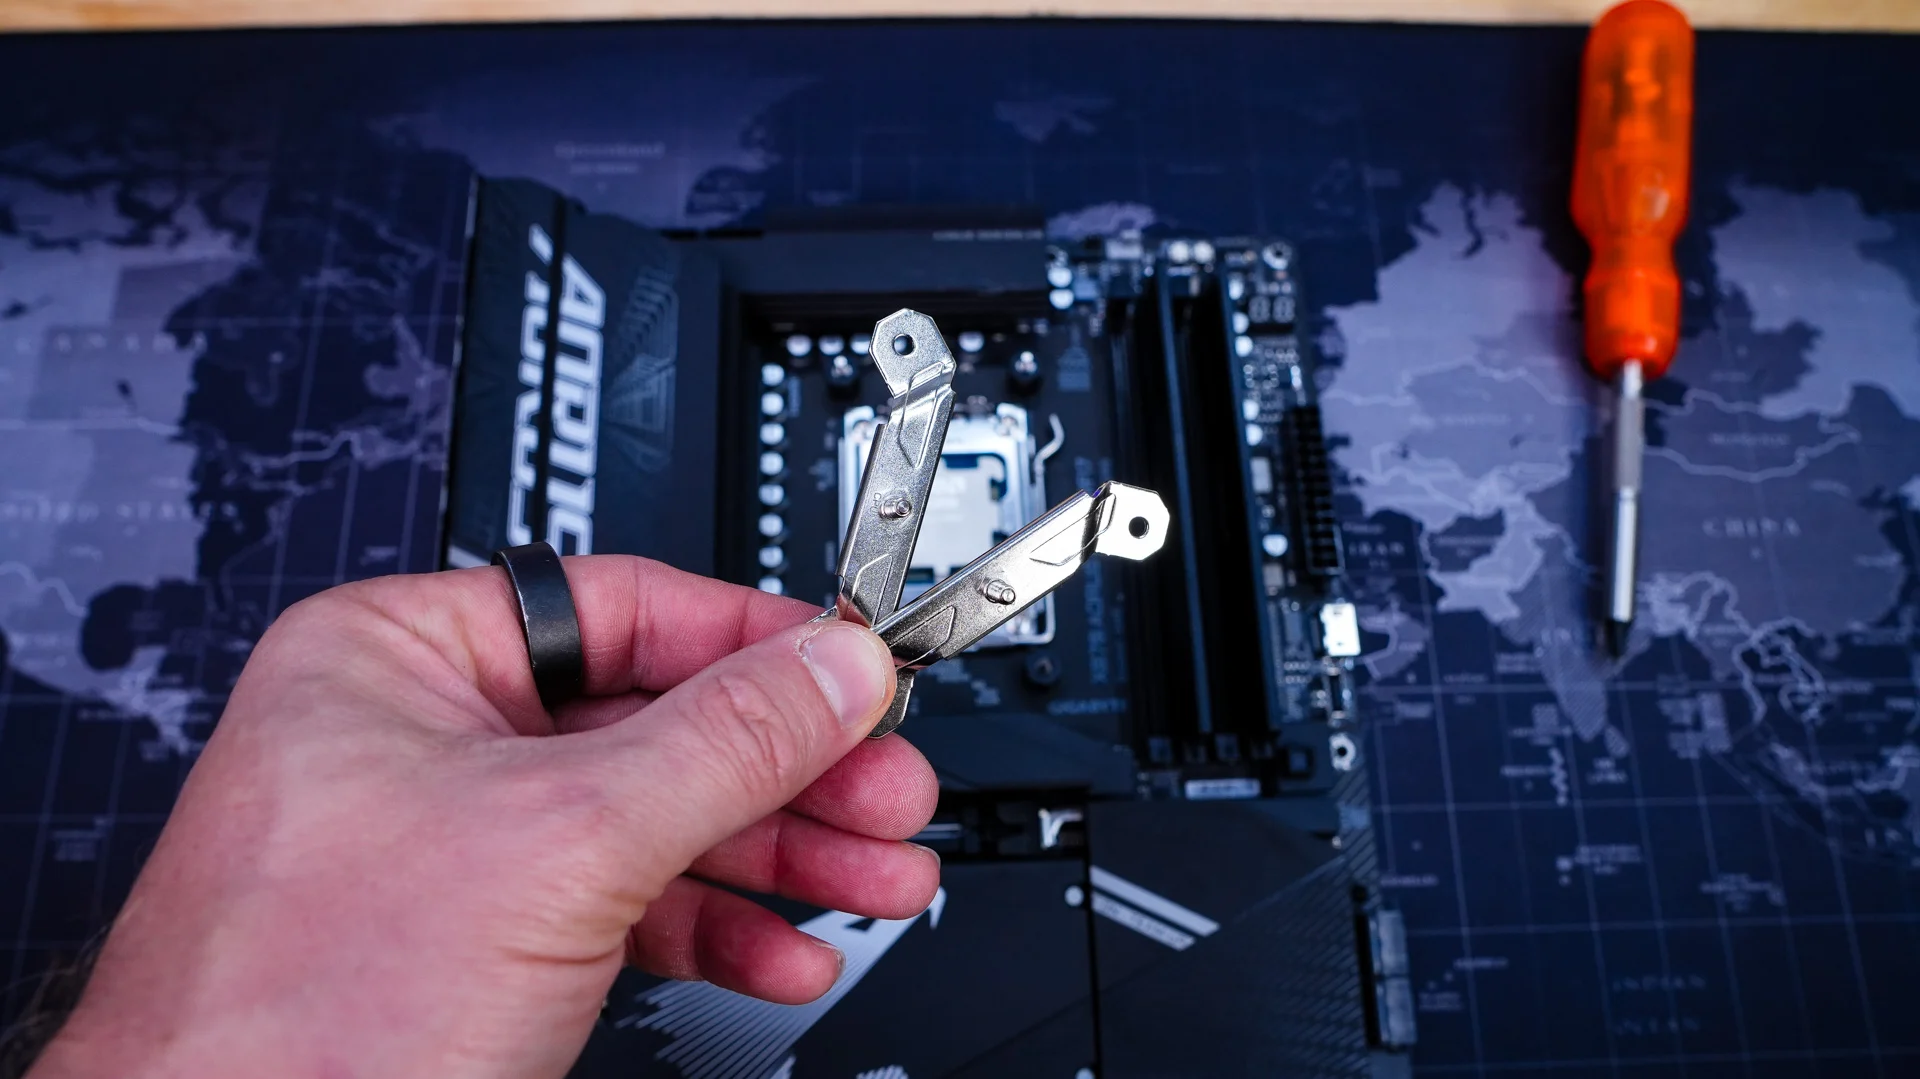
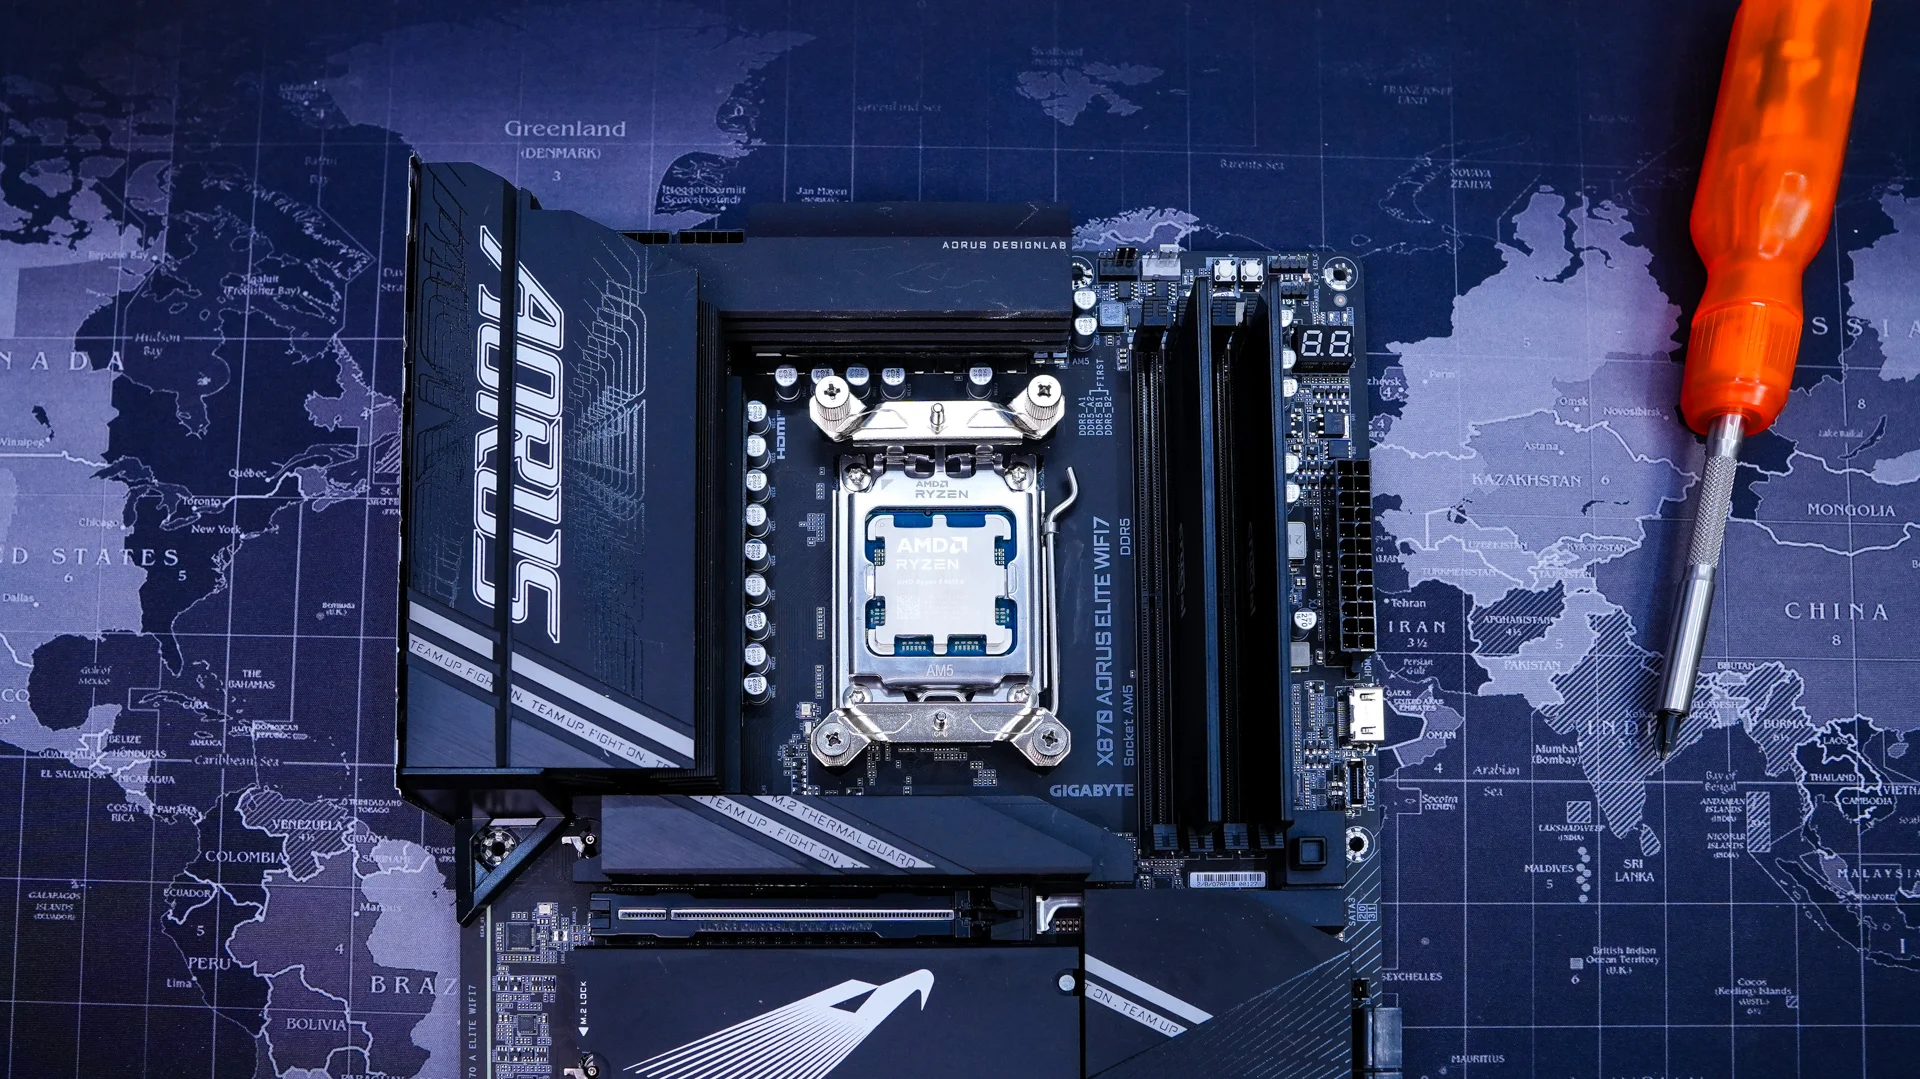
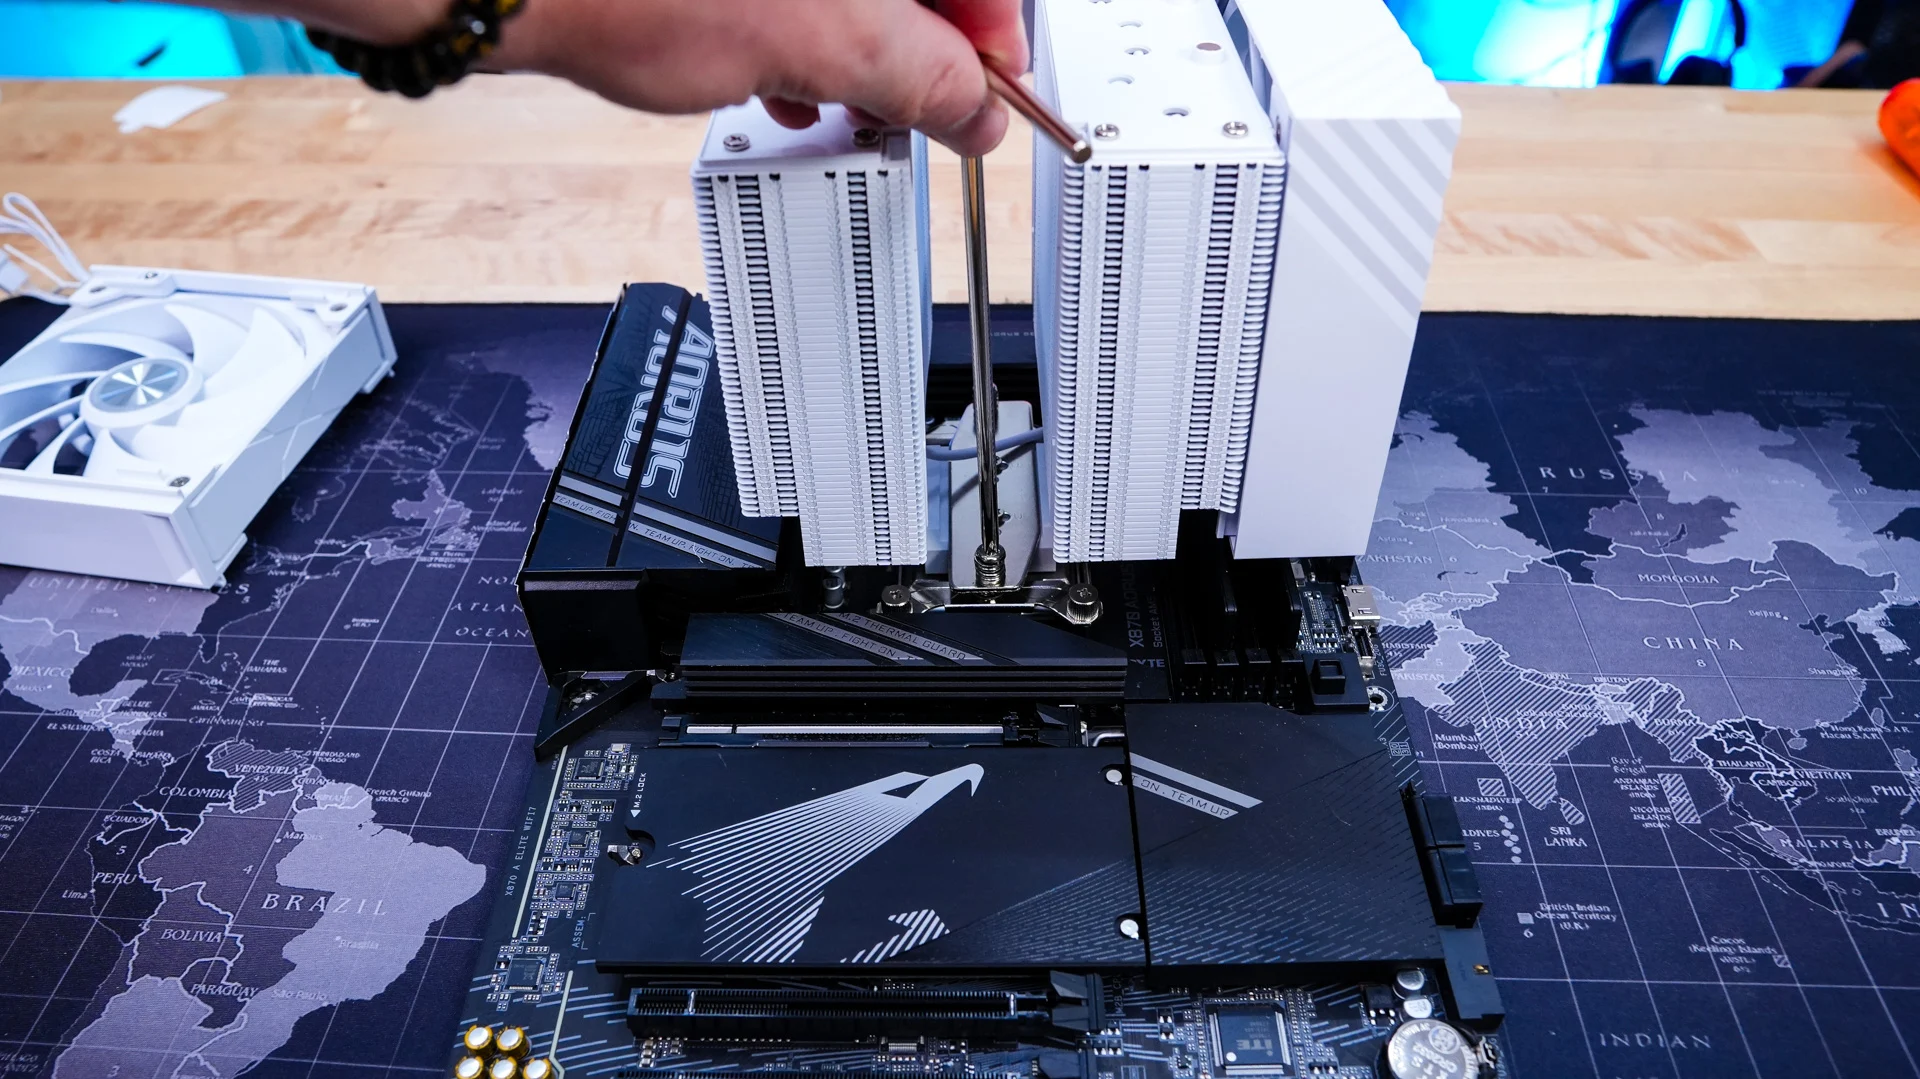
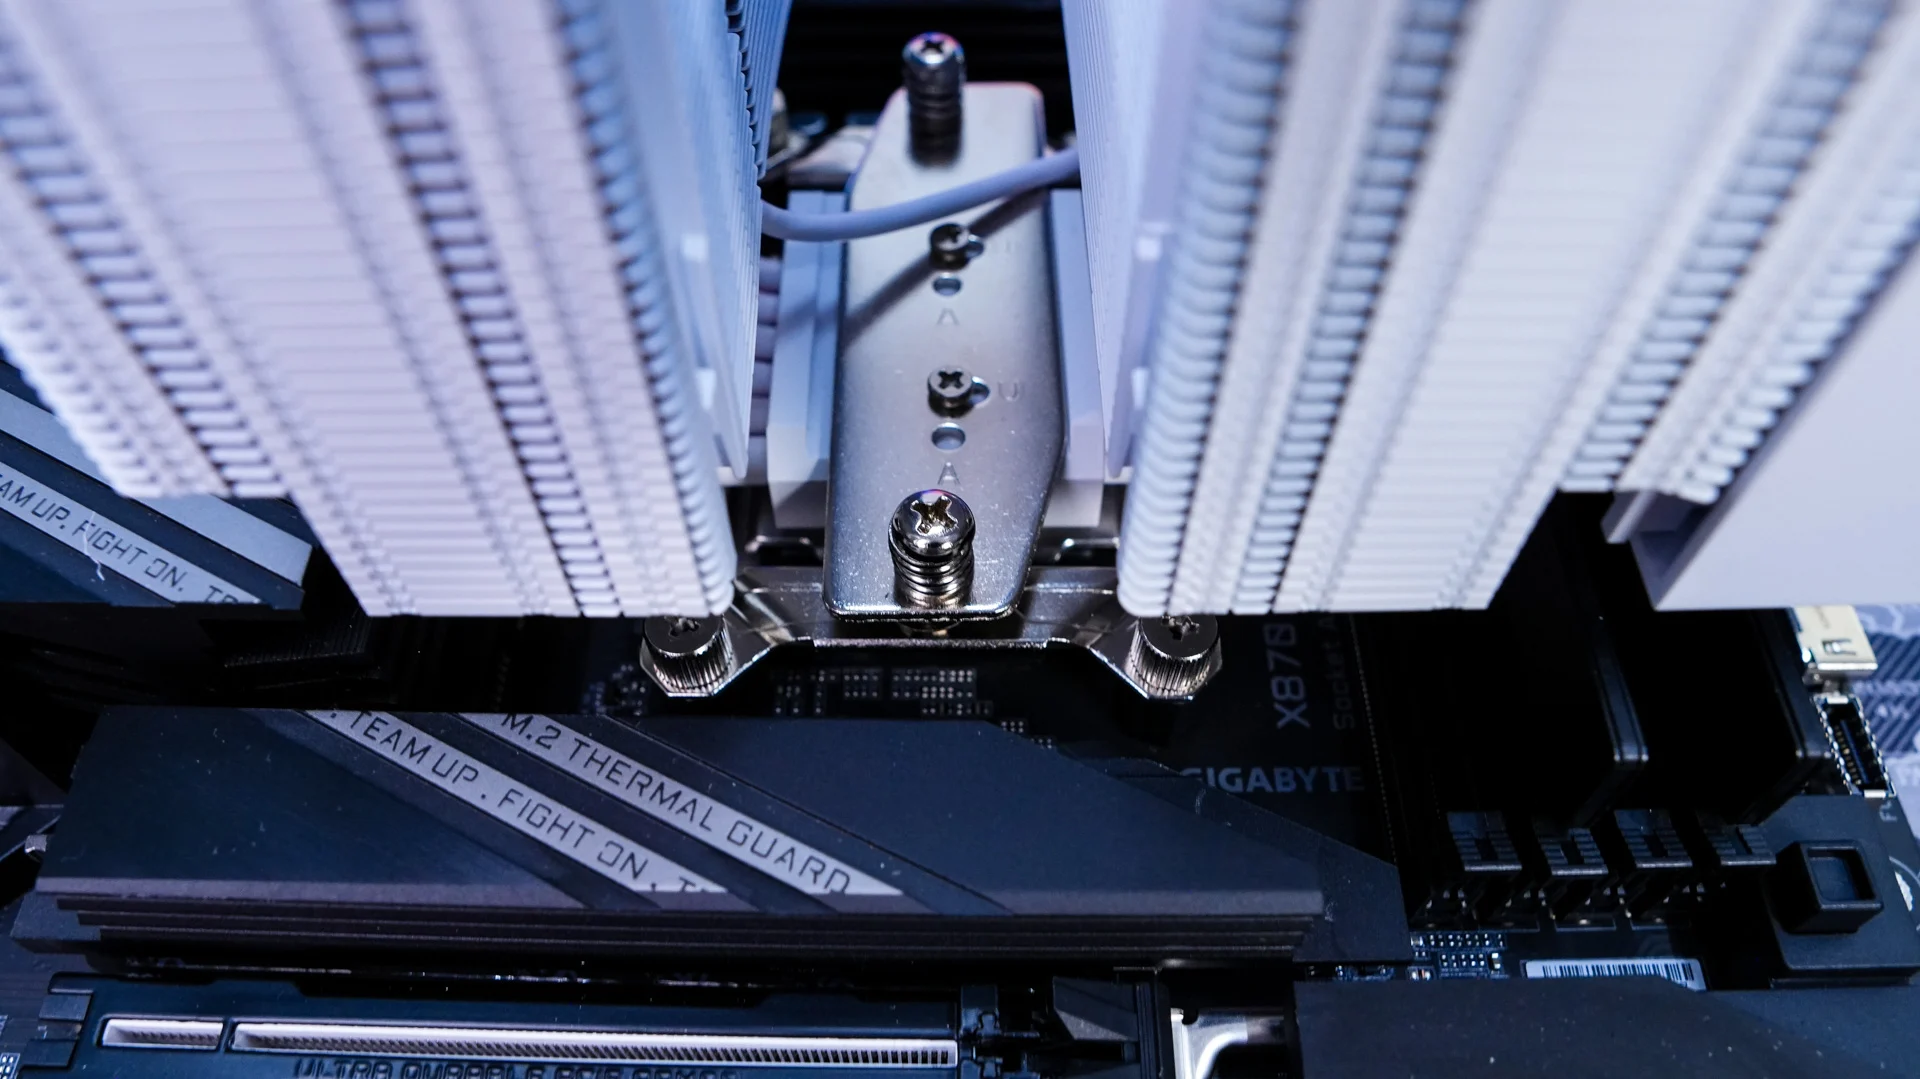
Apply the included thermal paste, remove the center fan from the cooler, and then carefully place the cooler on top of your CPU, lining up the screws on each side with the mounting posts on the mounting bars. Using the supplied L-handle screwdriver go ahead and secure the cooler. While it is nice that TRYX did supply a screwdriver, the L-handle screwdriver is much harder to work with than a traditional screwdriver.
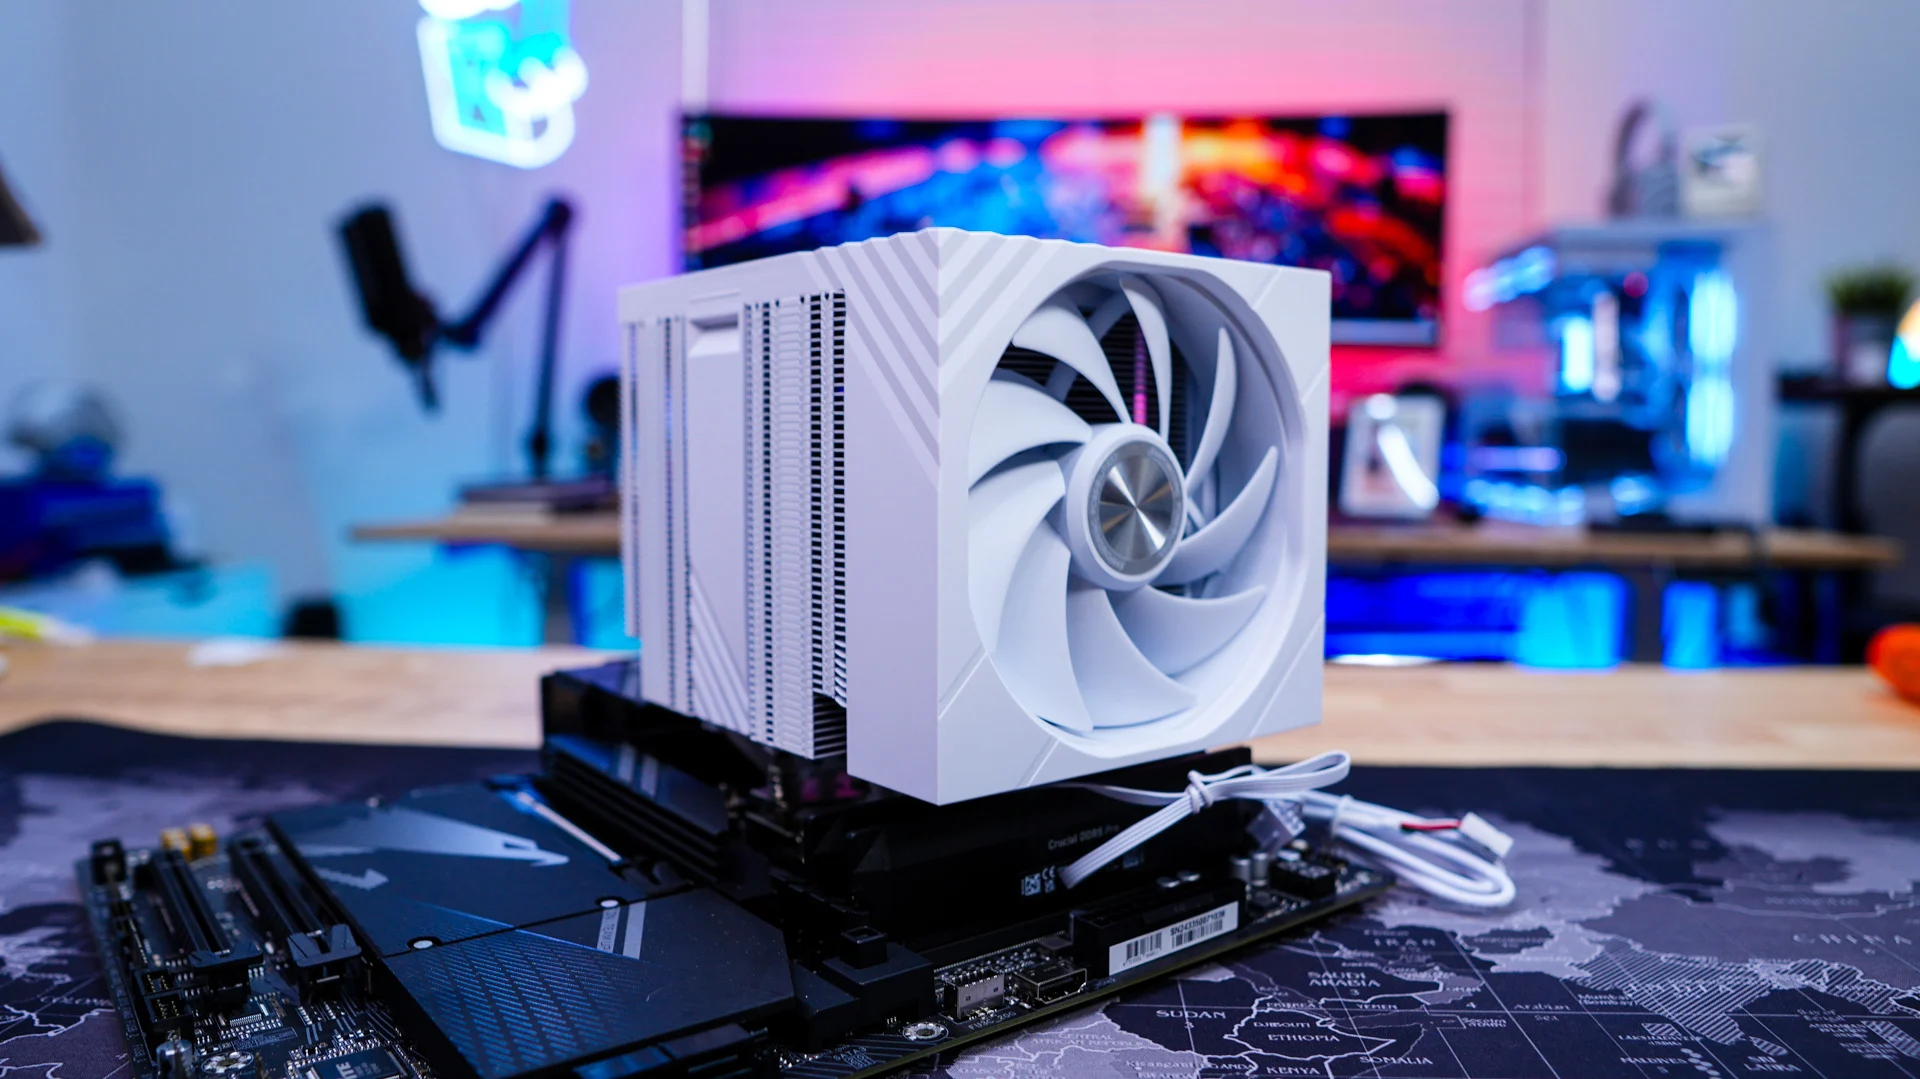
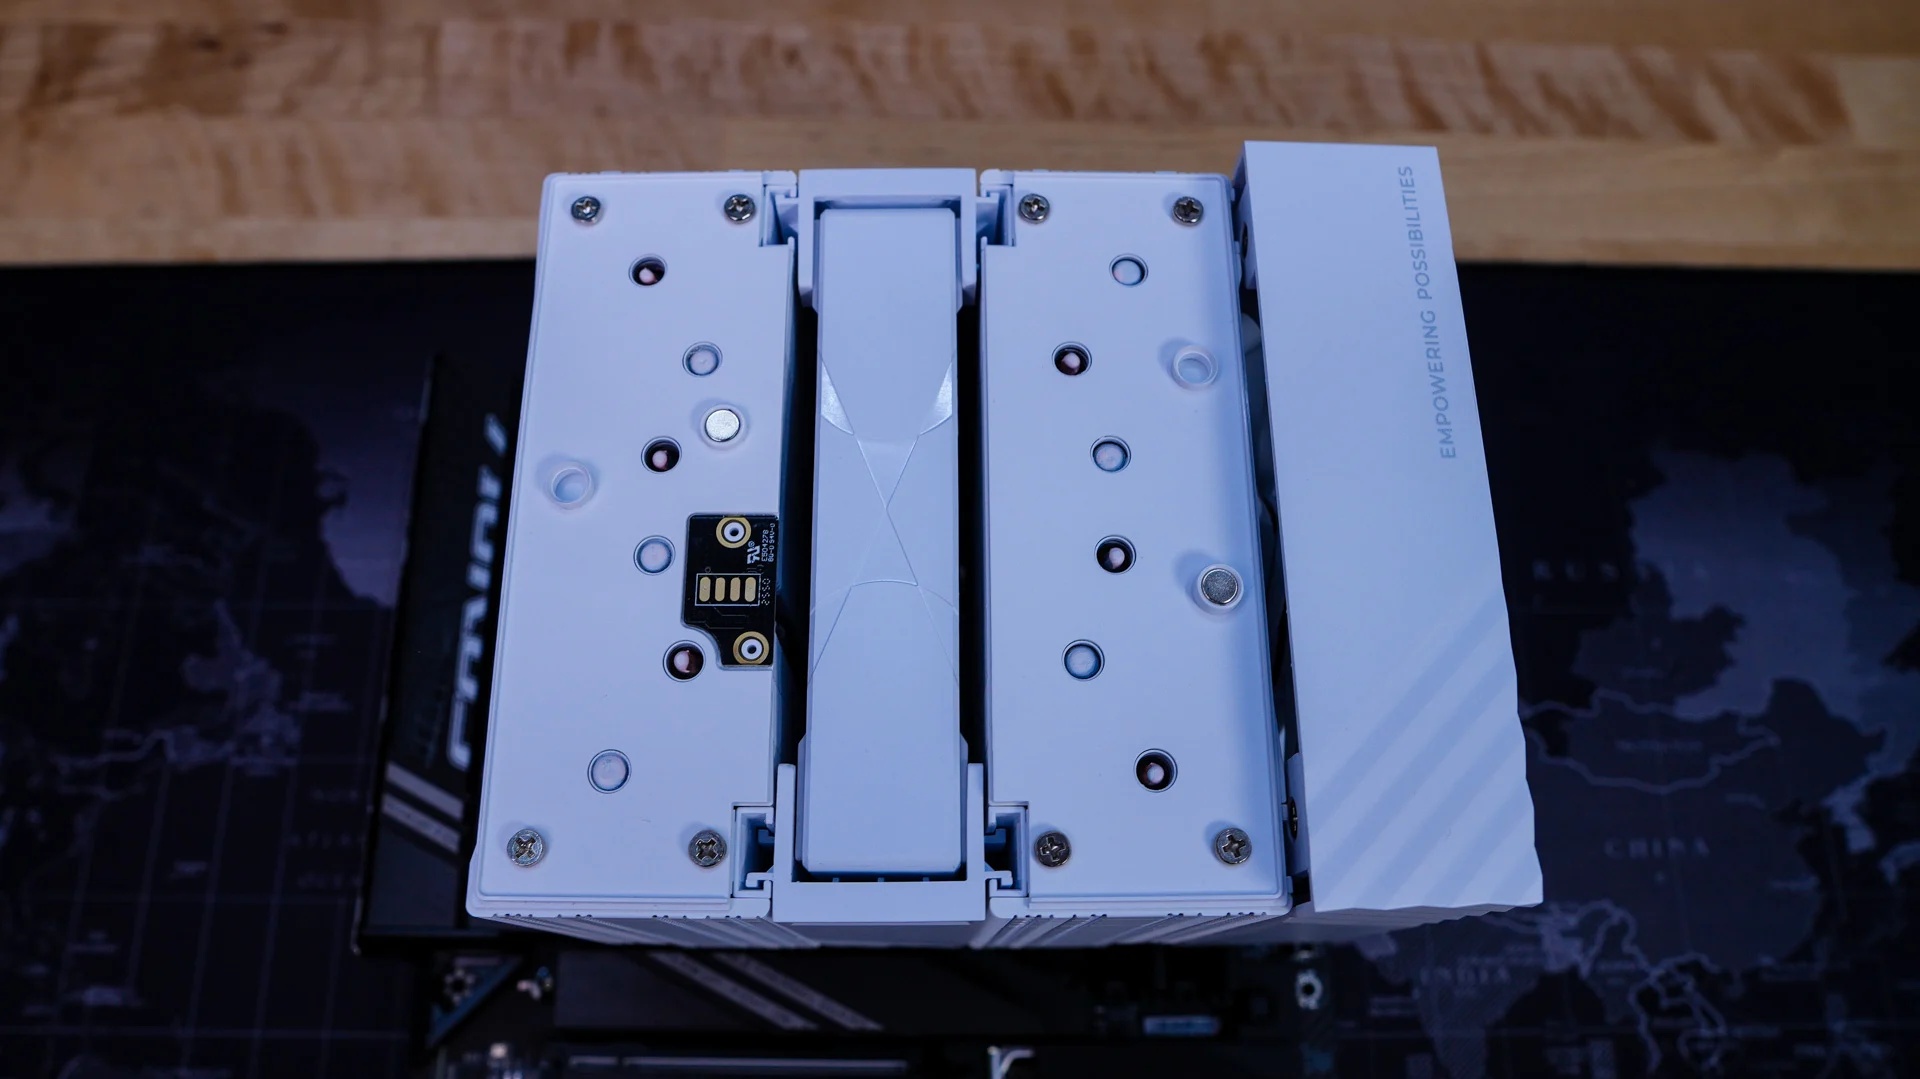
With the cooler installed go ahead and re-install the center fan and be sure to put the top cap on and connect the fans to each other and then to your CPU fan header. You’ll also want to connect the USB 2.0 header to your motherboard. If you are wondering the USB 2.0 cable is long enough to route from the top of your motherboard tray, around the back, and back out to a bottom-mounted USB 2.0 header.
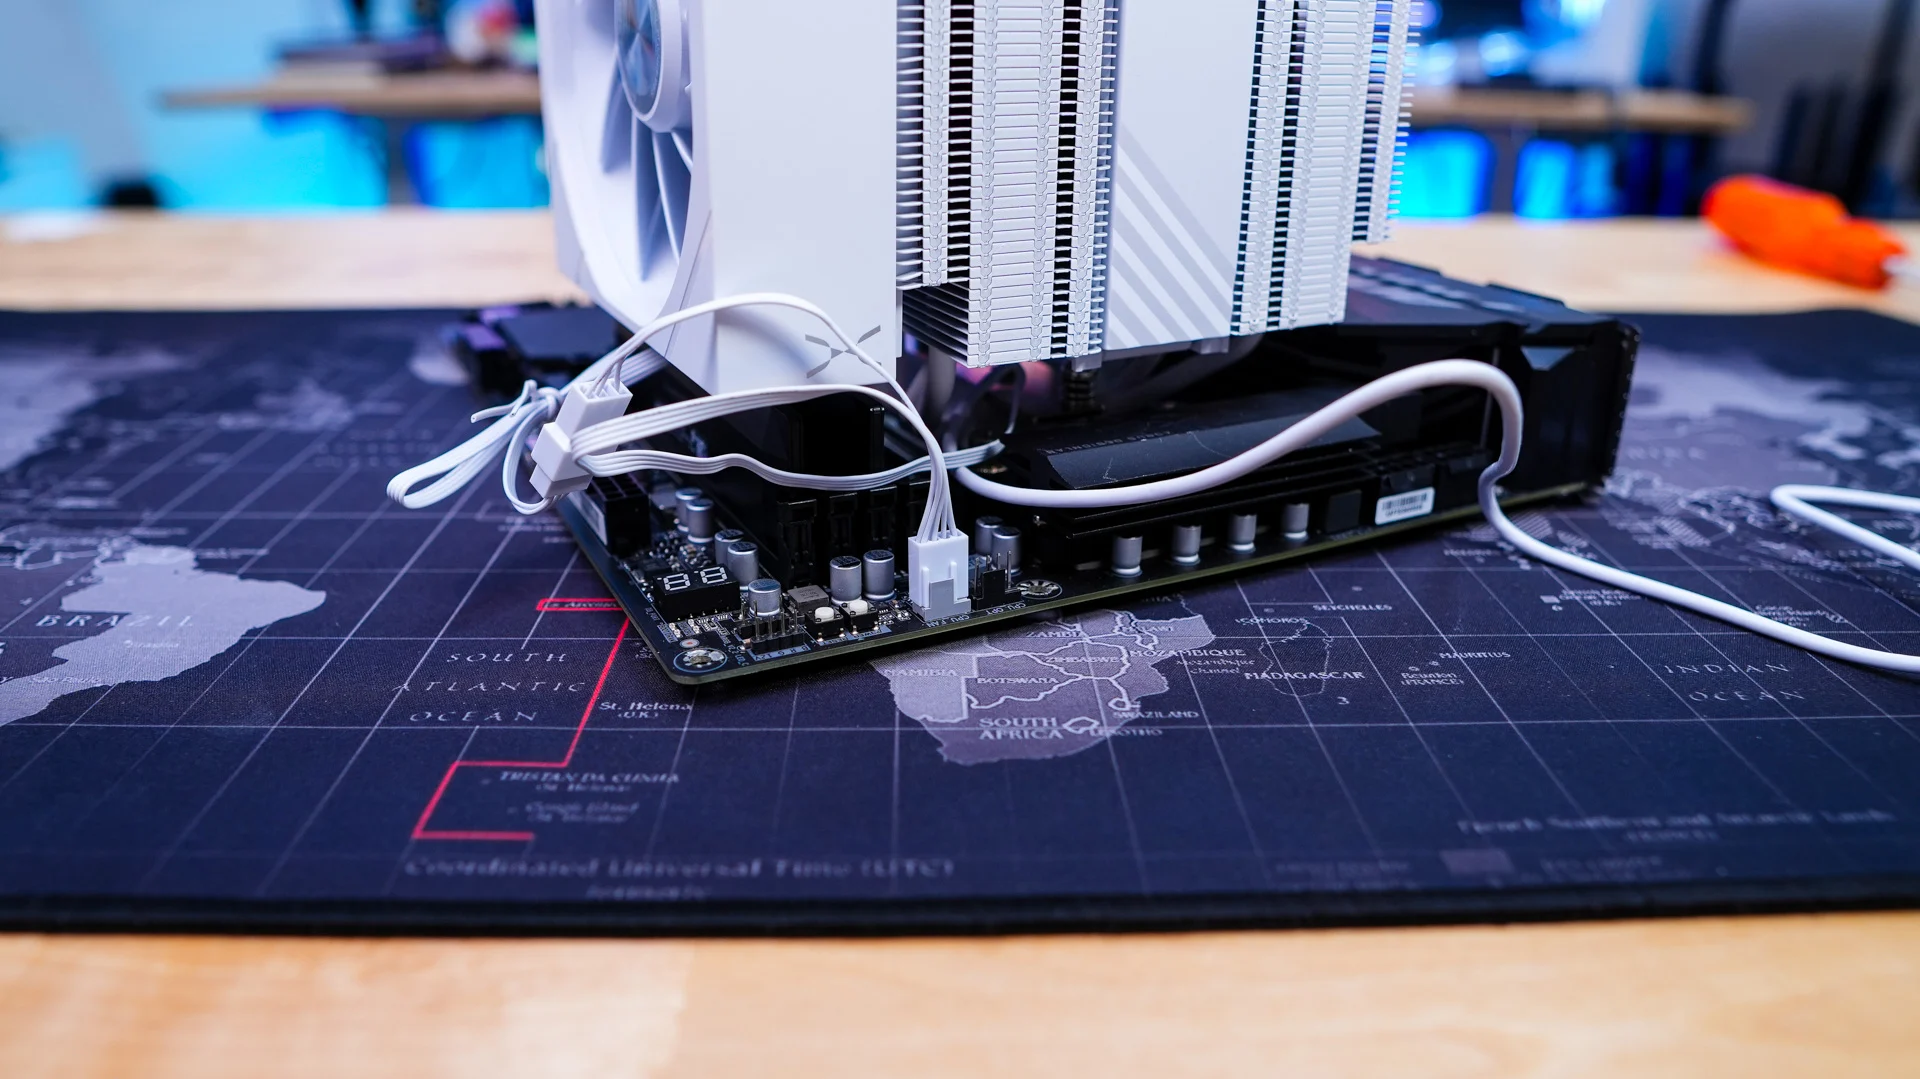
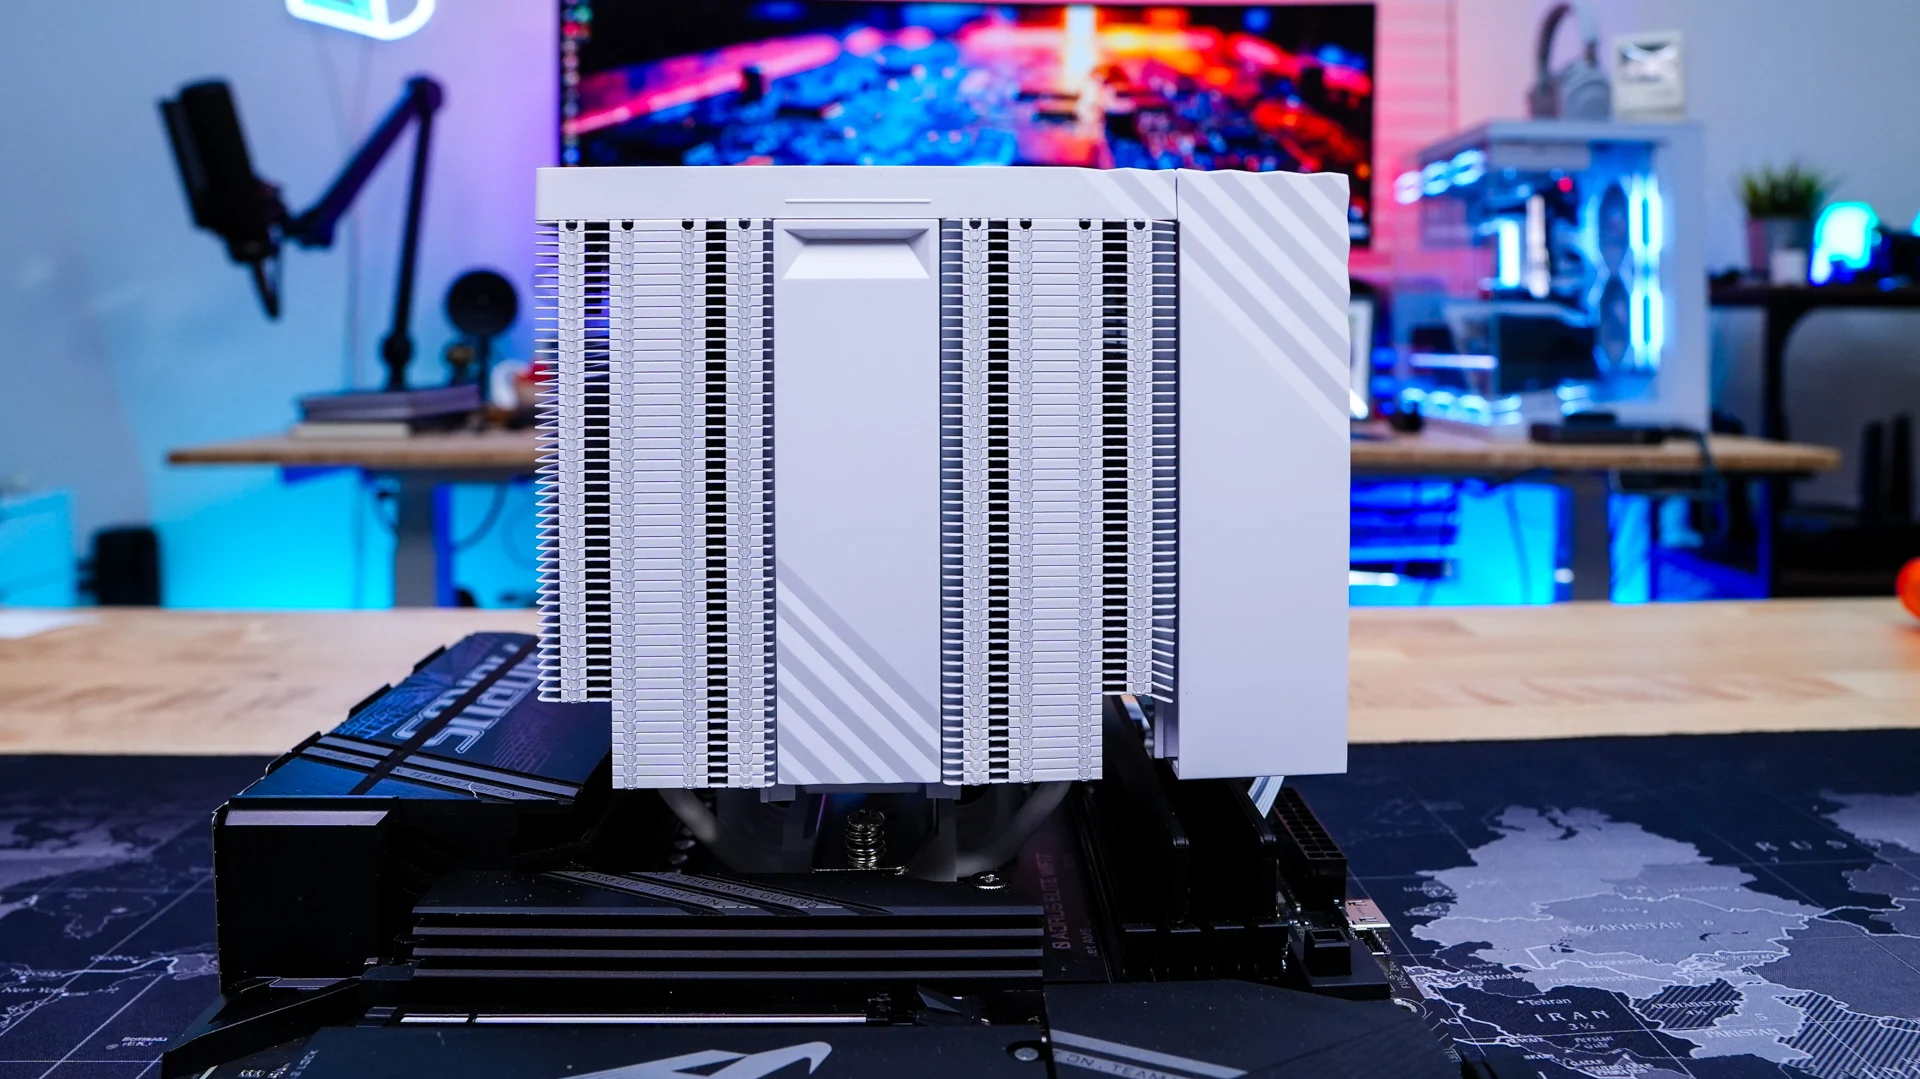
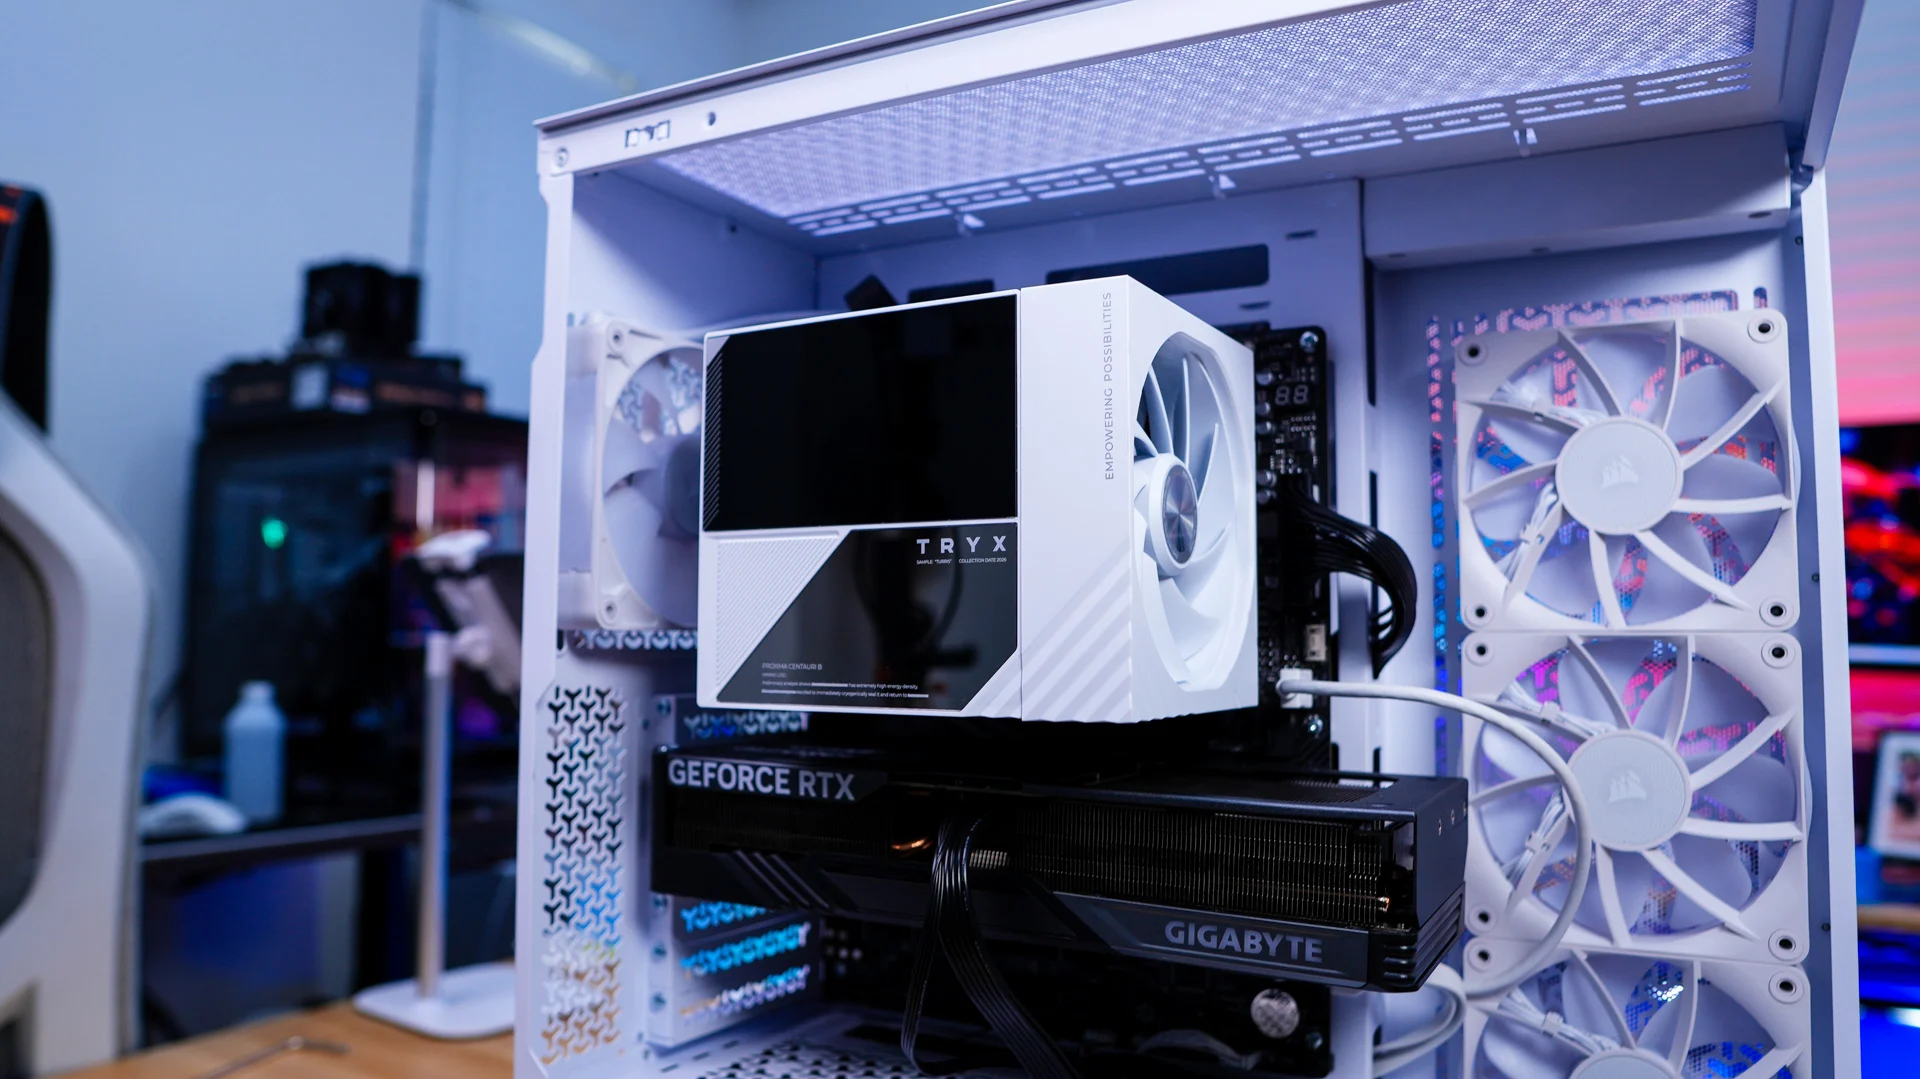
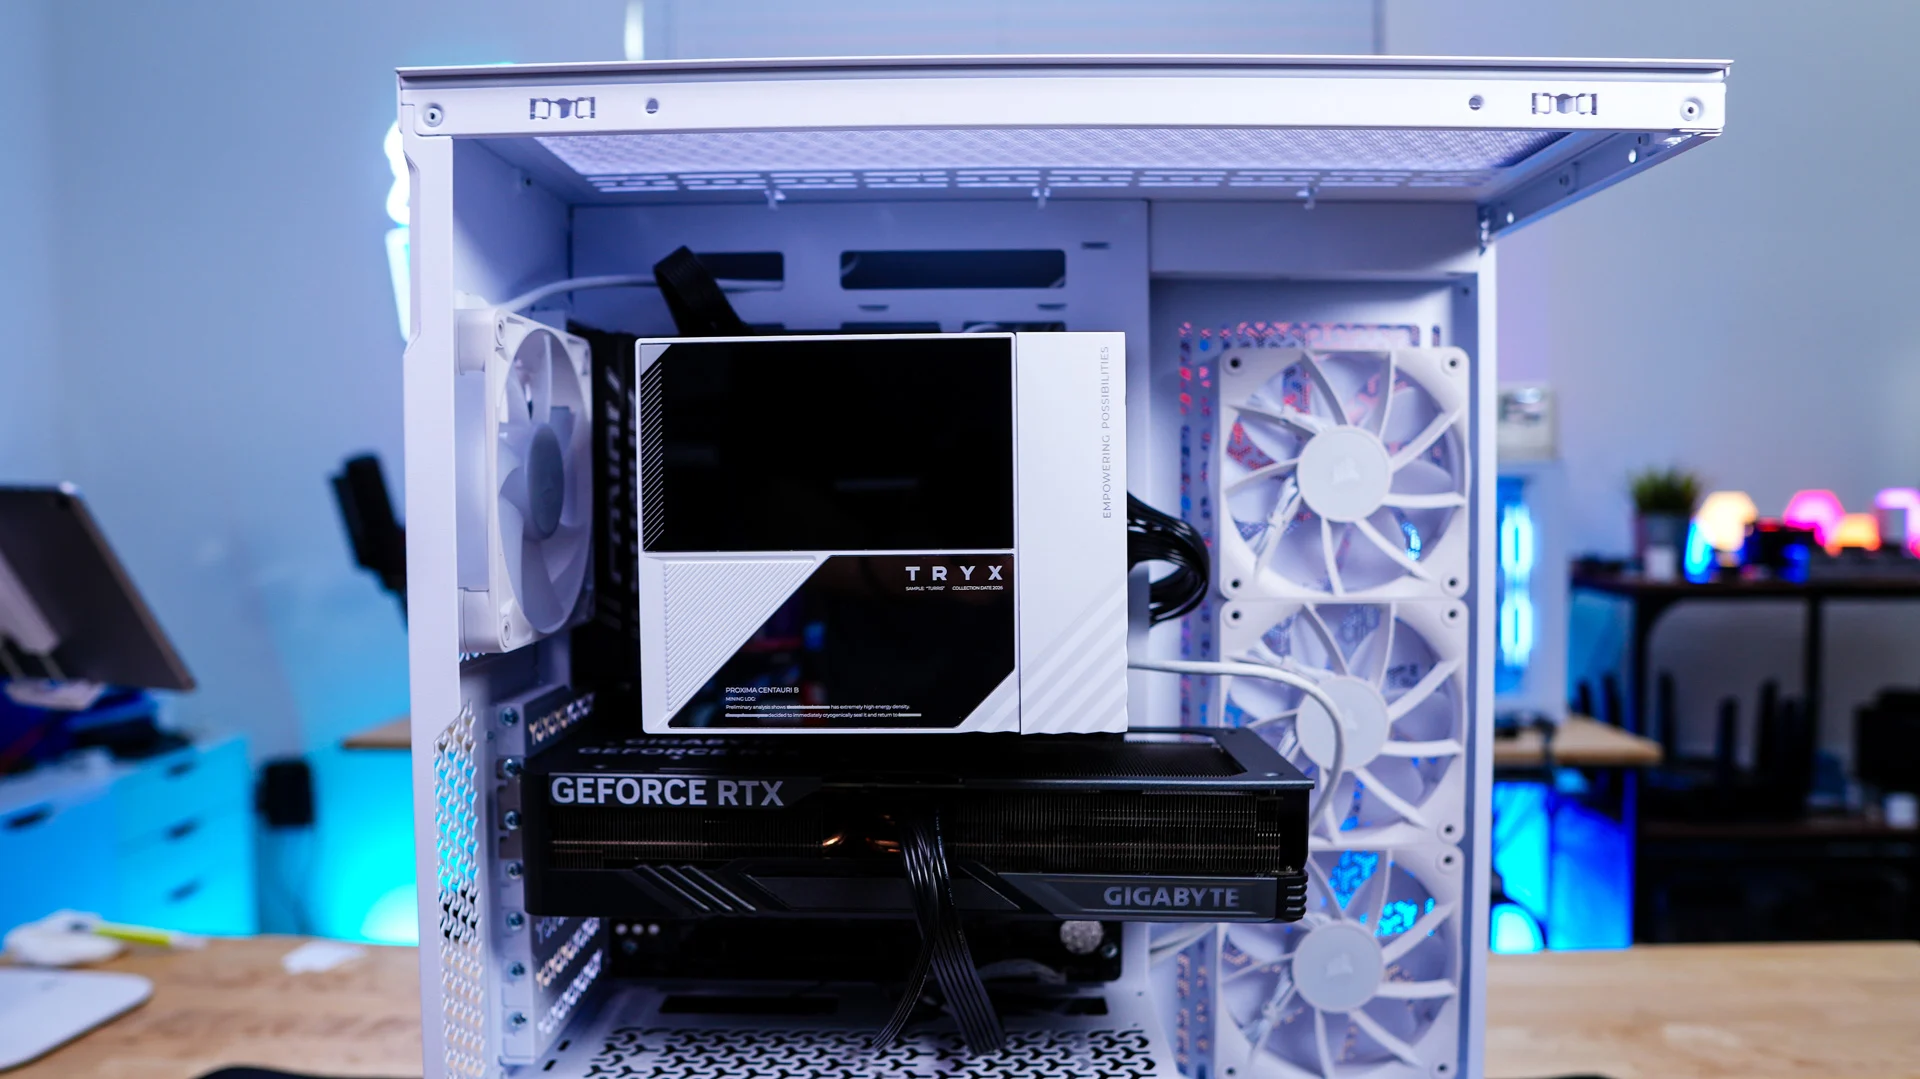
With everything installed the cooler itself does take up a considerable amount of space and will fully cover your memory. We have normal-sized memory so we did not have to adjust the front fan at all.