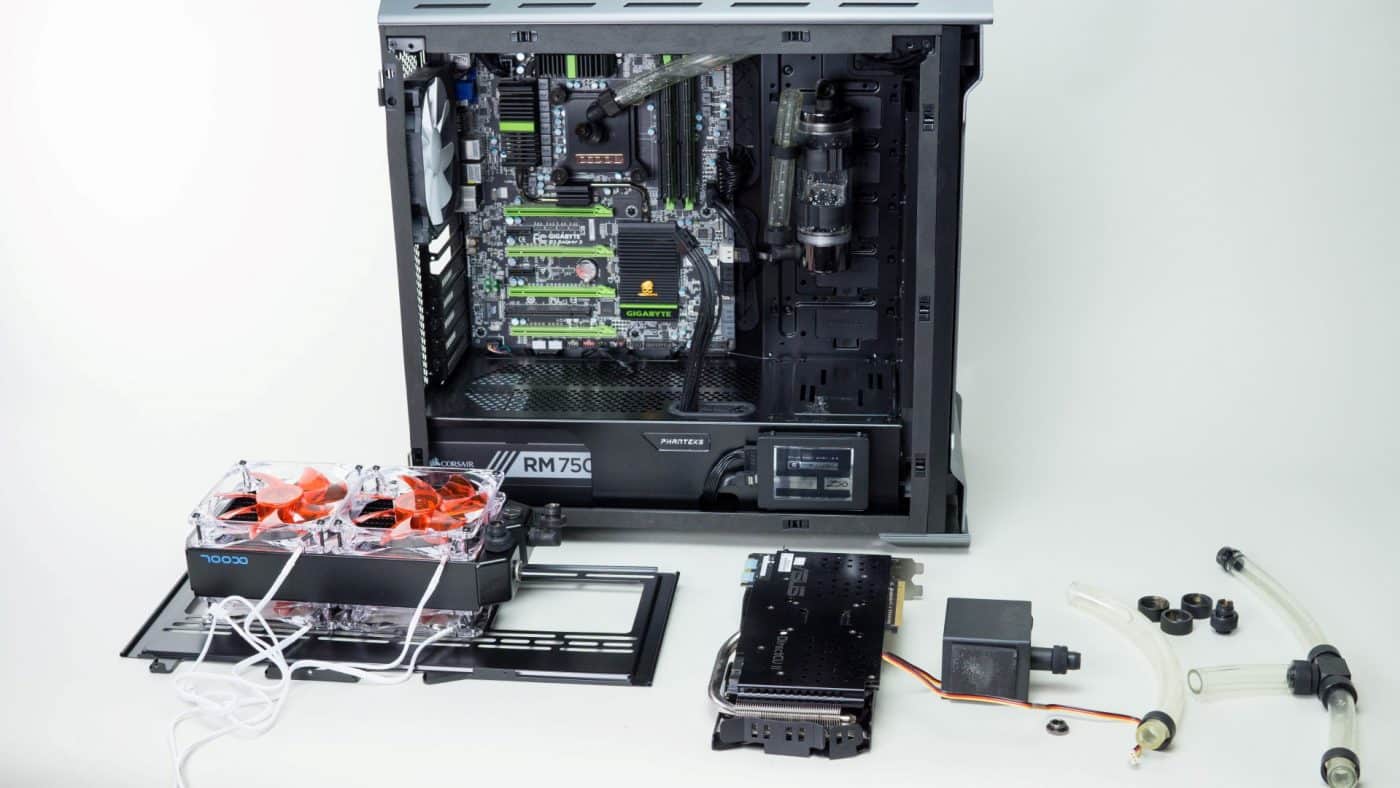
Installing the GPU Block
Installing a GPU block is not extremely technically difficult, but can be intimidating and a bit confusing. This guide can be specifically used for AlphaCool GPU blocks, but also as a general guide for others. Remember though that other manufacturer’s blocks will vary to some degree. Most importantly you must be sure to get a GPU block that is specific to the GPU that you own. While there are universal GPU blocks that will work with most all GPUs, the preferred block is a design called a full cover block. This type of block is machined to cool all of the relevant components on the board including the memory modules and power delivery system. As such it must be made to carefully match the board layout of your GPU. Strictly speaking the AlphaCool NexXxoS GTX-M06 that we are using is a hybrid. It is a universal block for the processor matted to a passive heatsink and backplate that keeps everything else cool. However, the installation method matches that of a full cover block and can be used for reference.
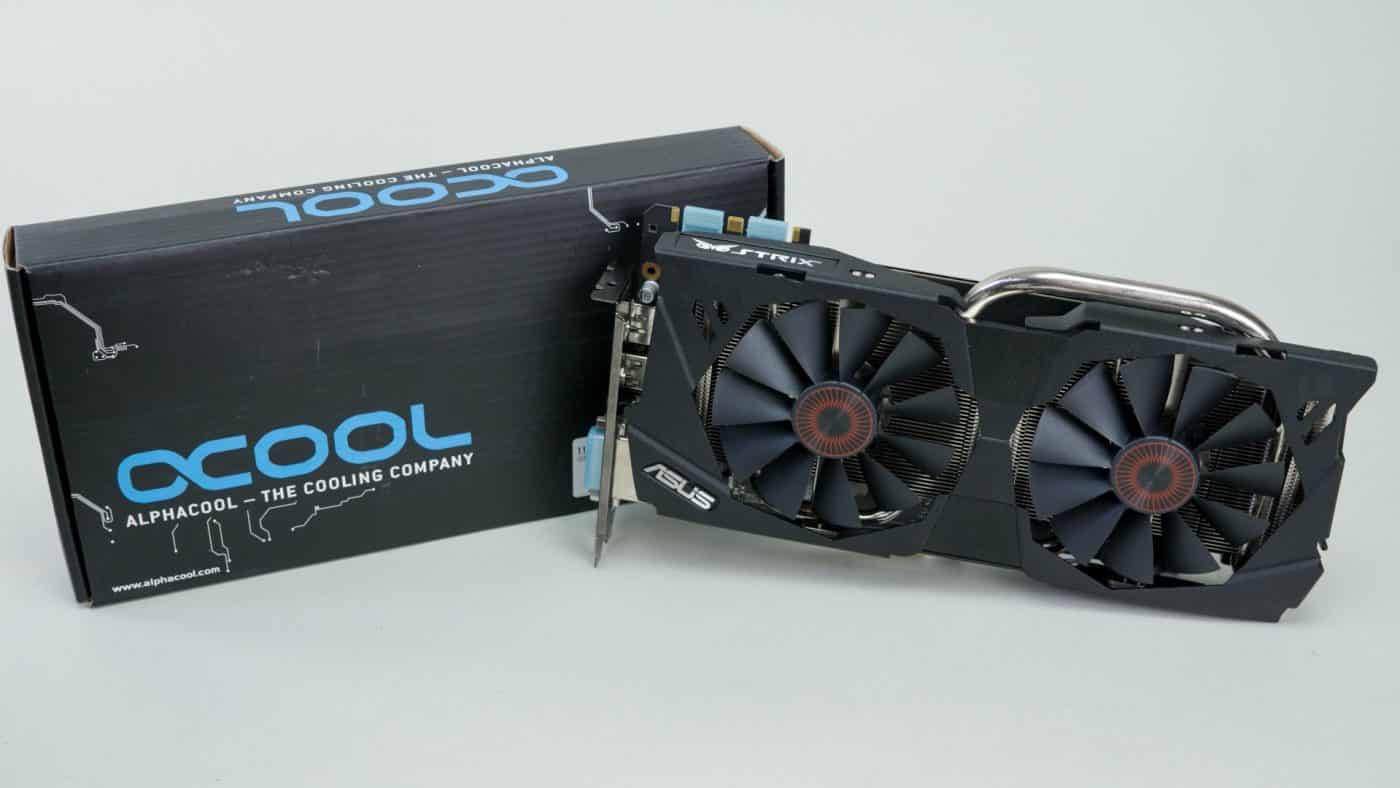
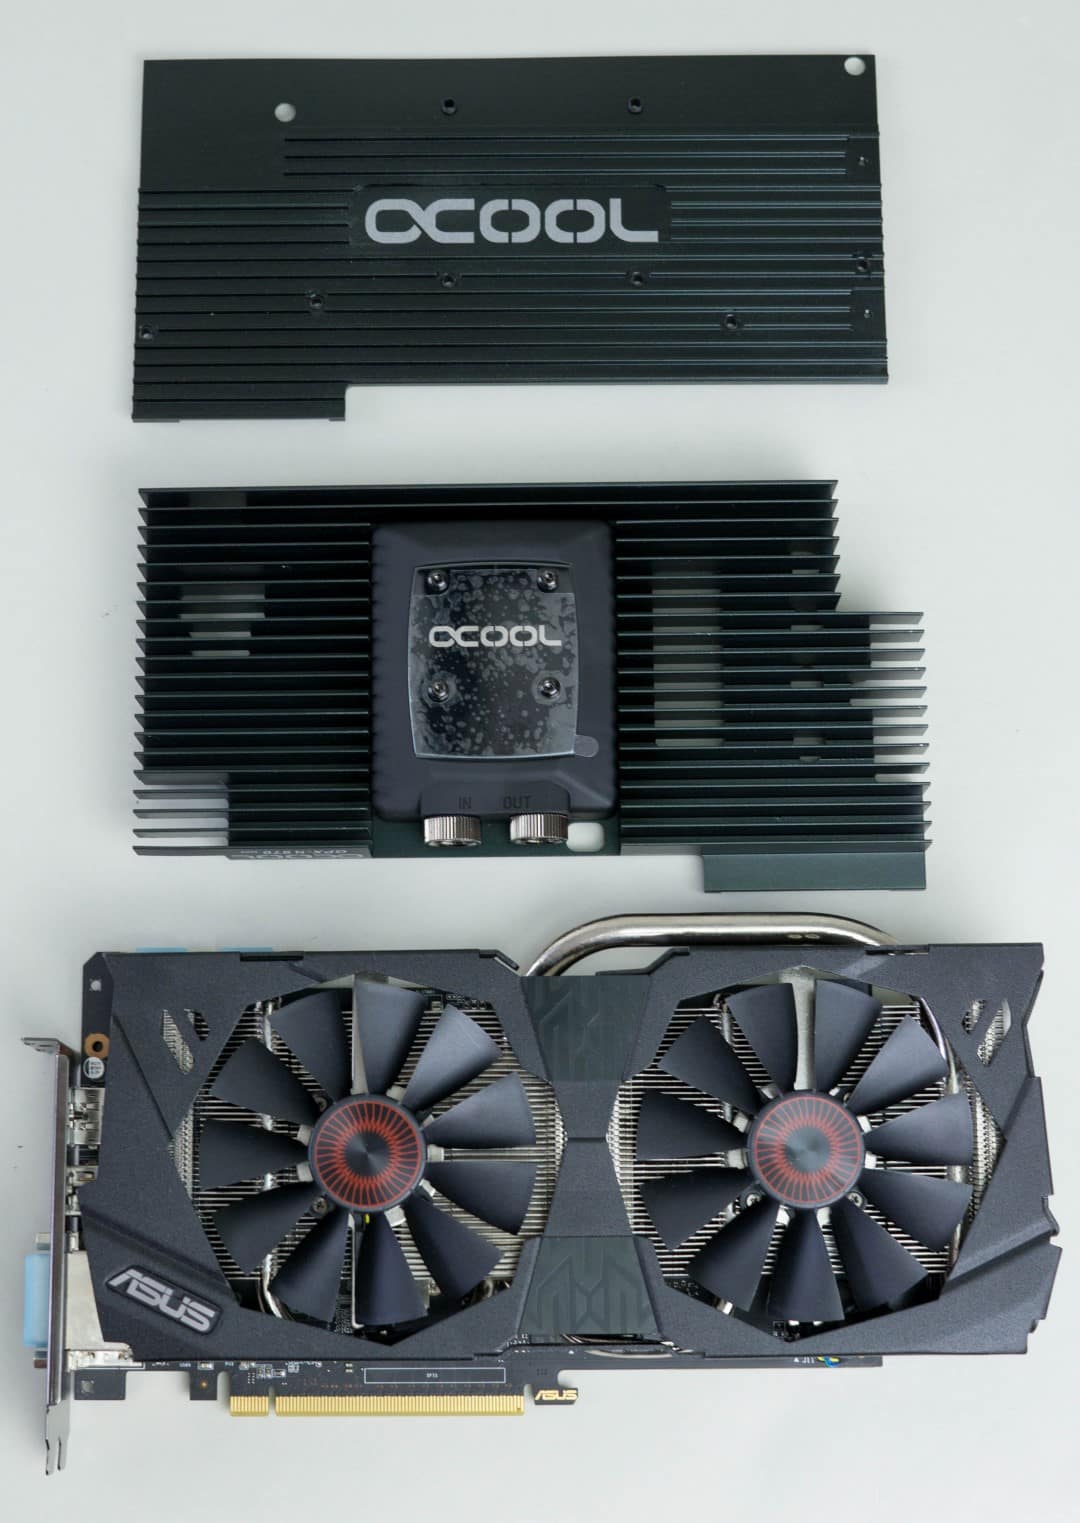
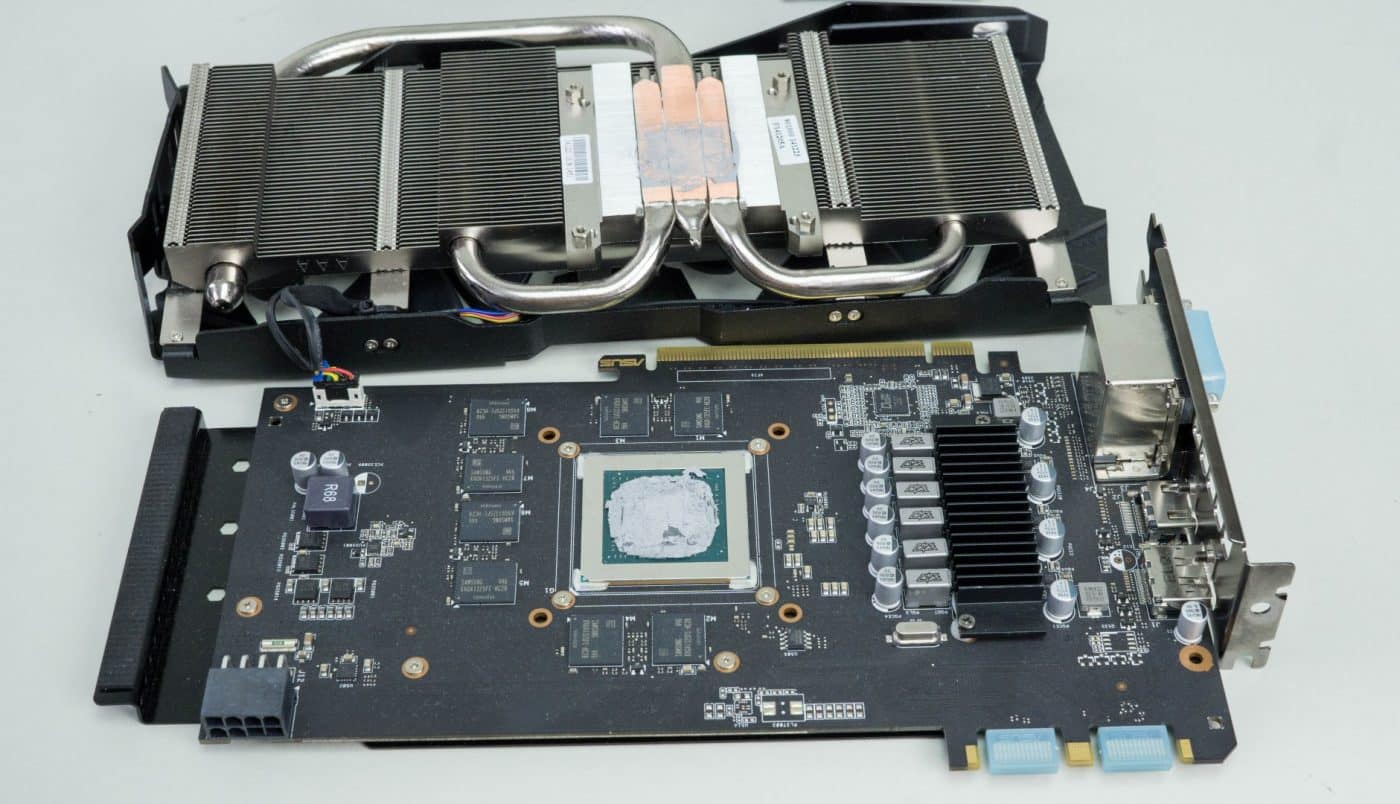
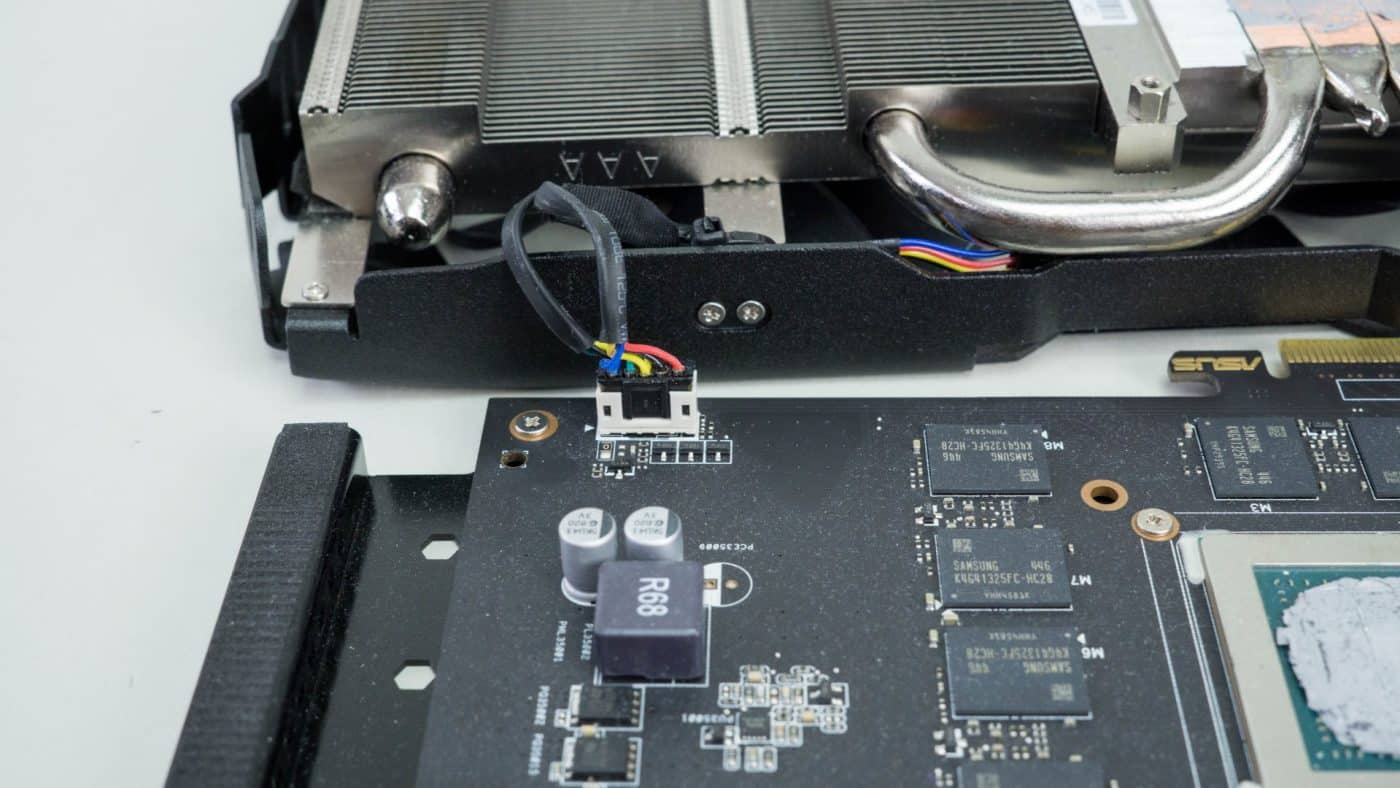
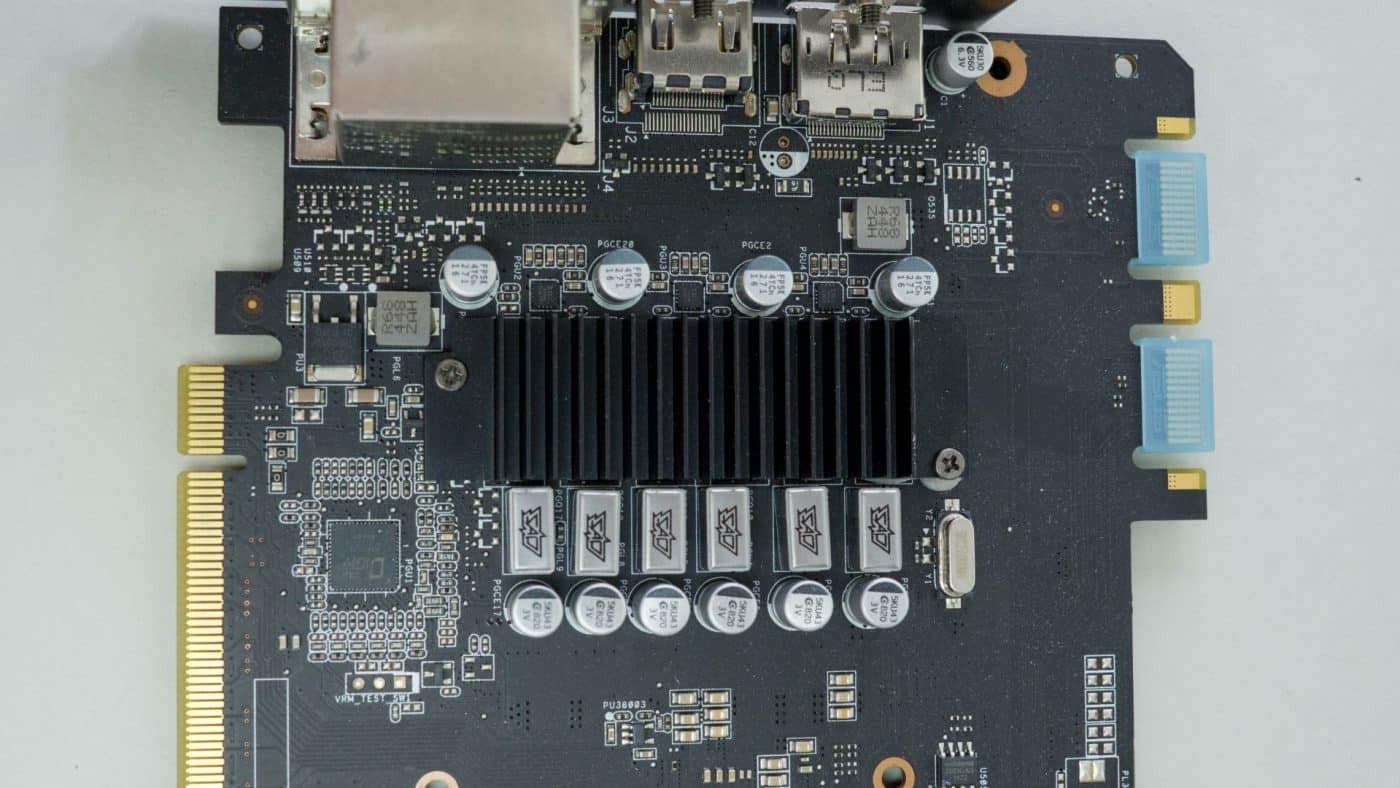
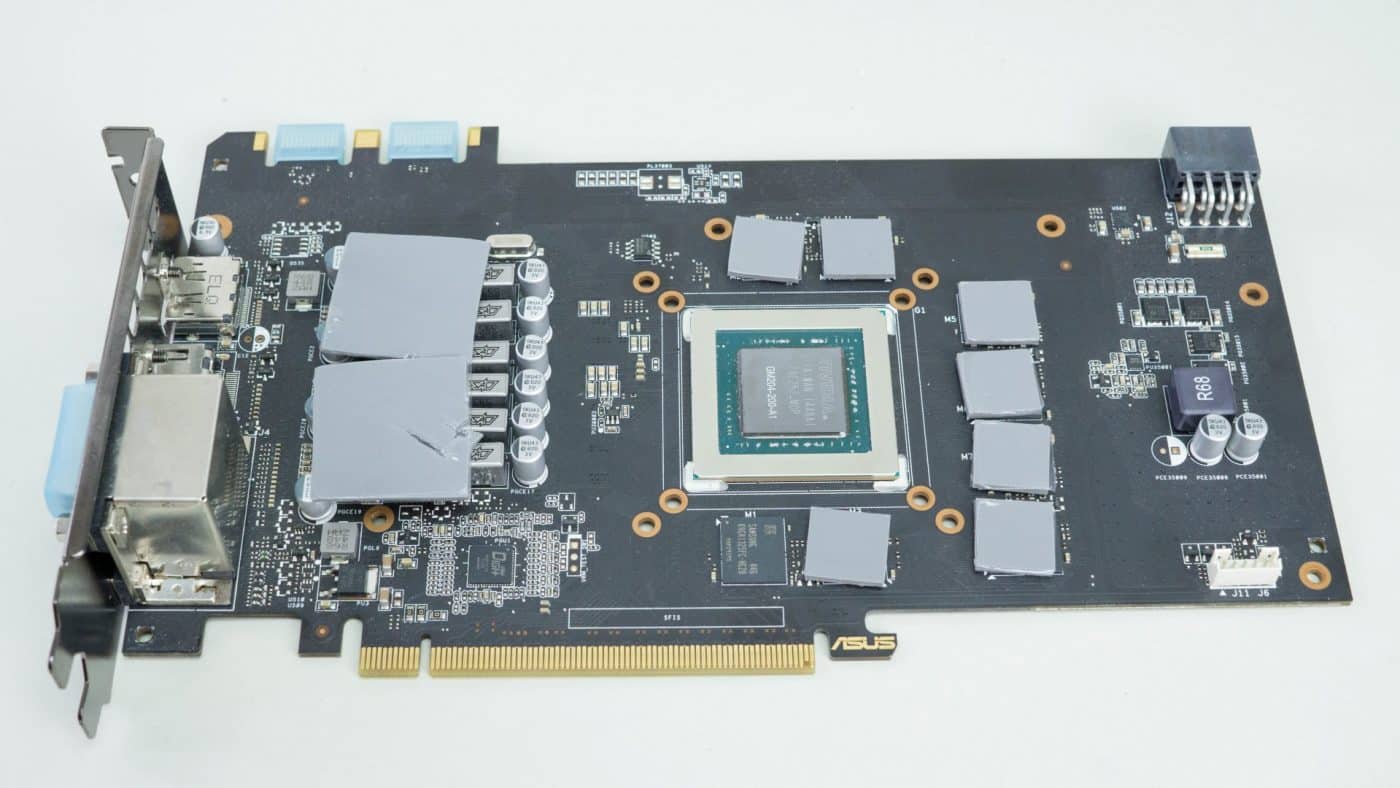
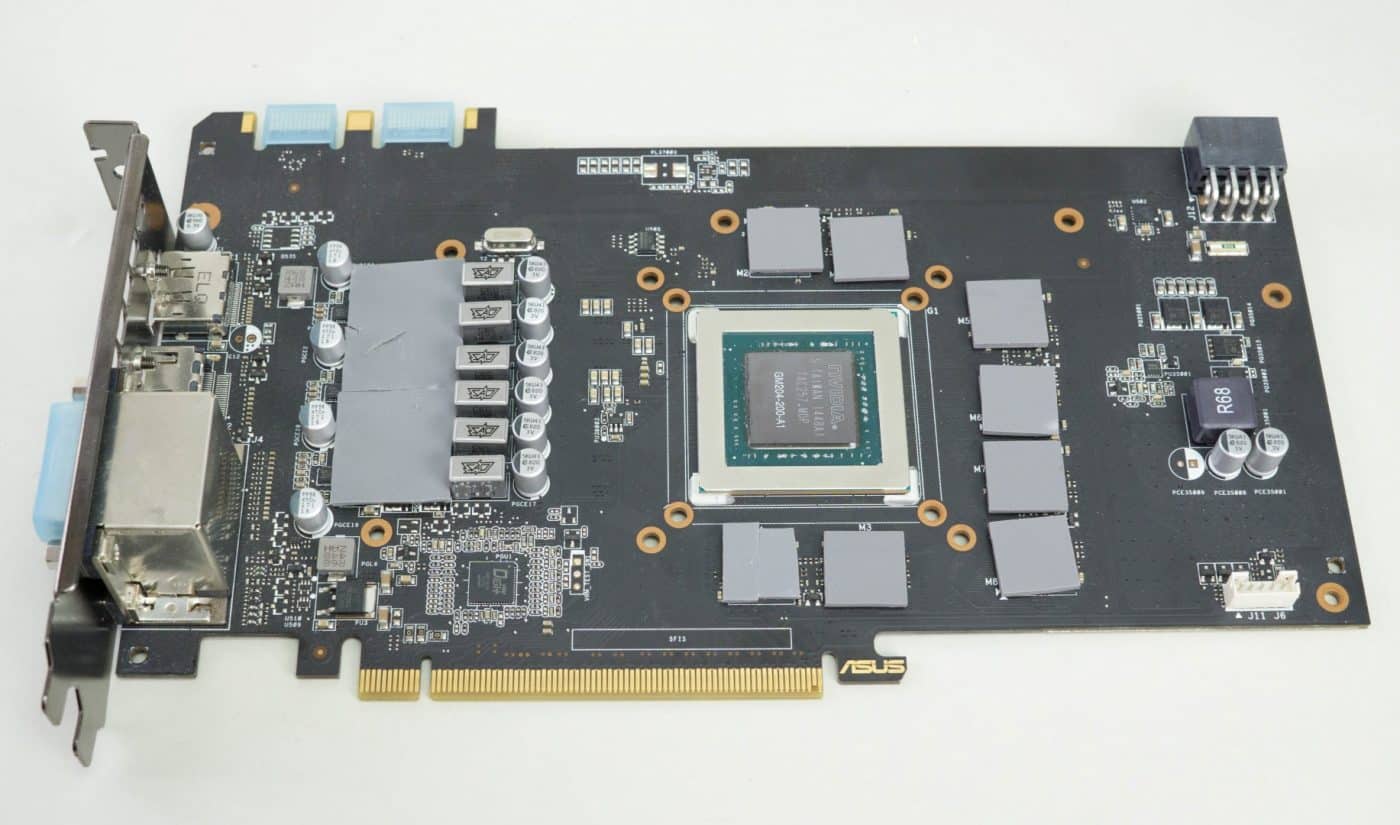
The first thing that must always be done in any case is the removal of the stock cooler. For our Strix card that begins with the screws on the back. Once these four screws are removed the entire cooler comes right off. Unplug the power connector and the cooler is completely disconnected.
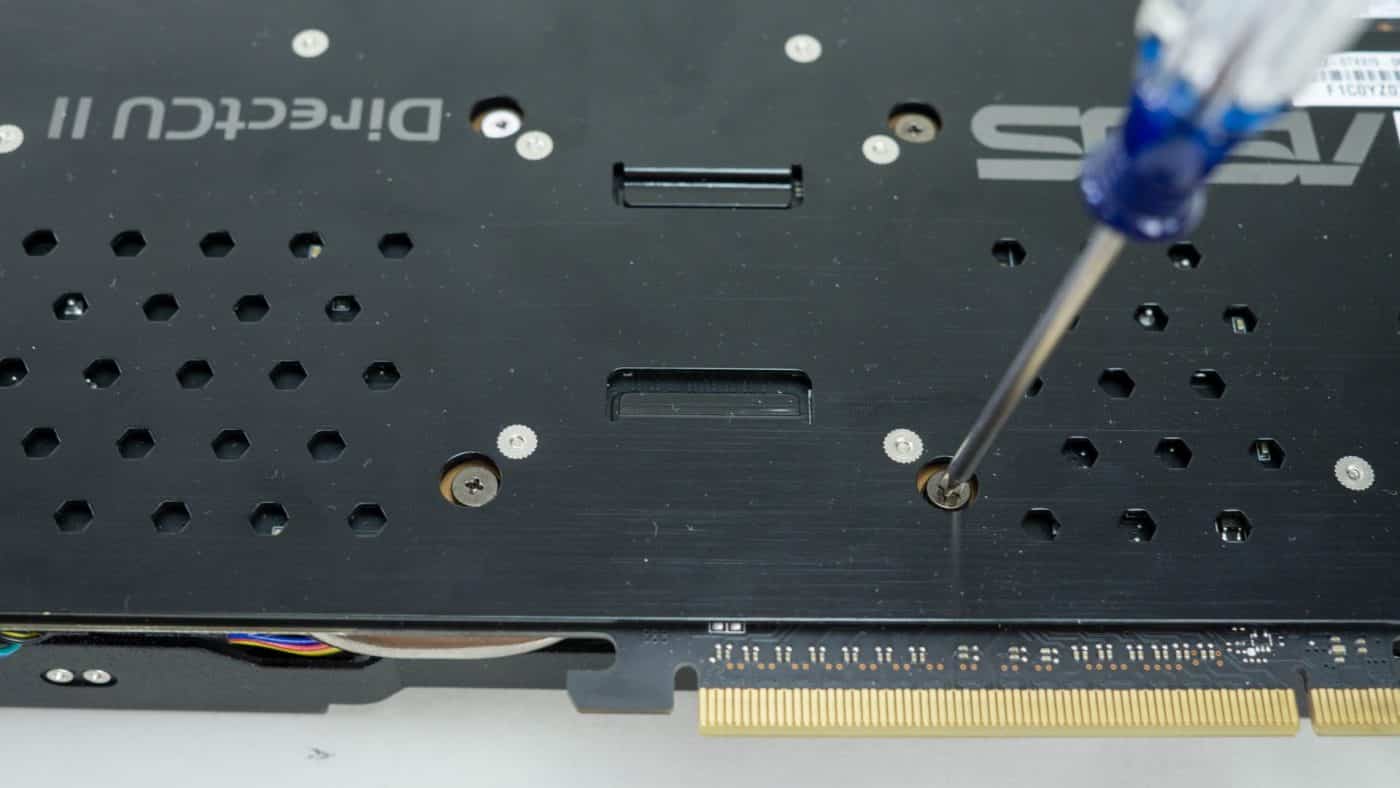
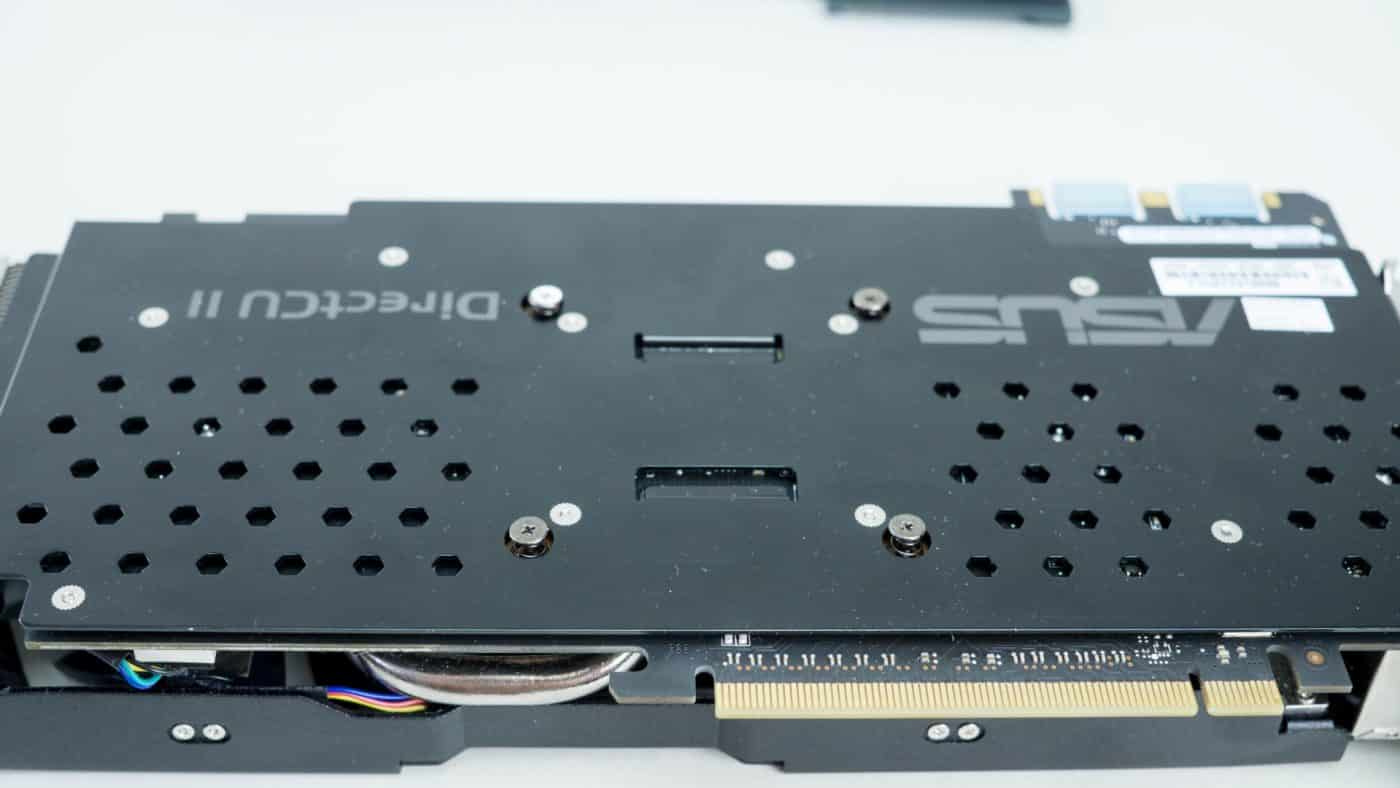
Moving on, remove the small screws holding the backplate on; there are seven. Additionally remove the small black heatsink whose screws go into the backplate as well.
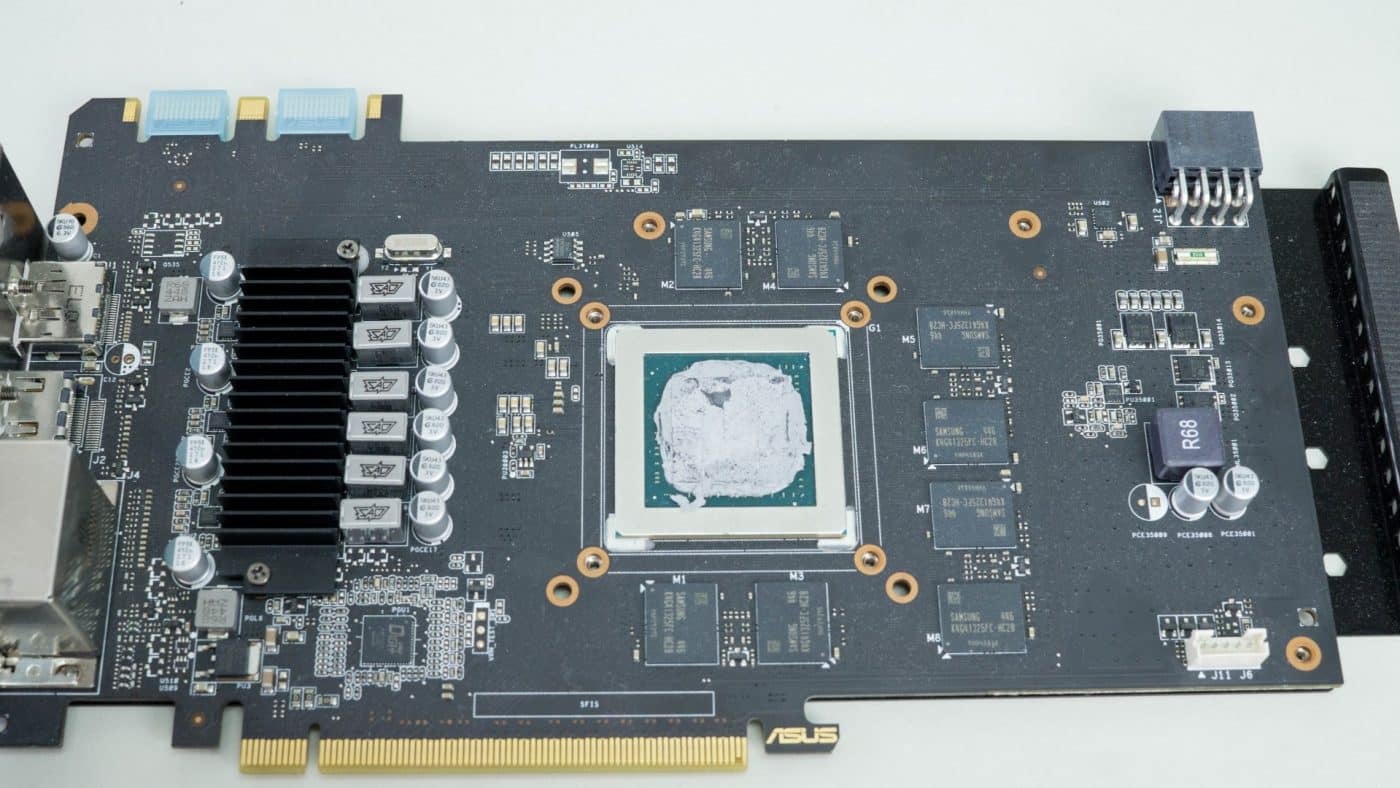
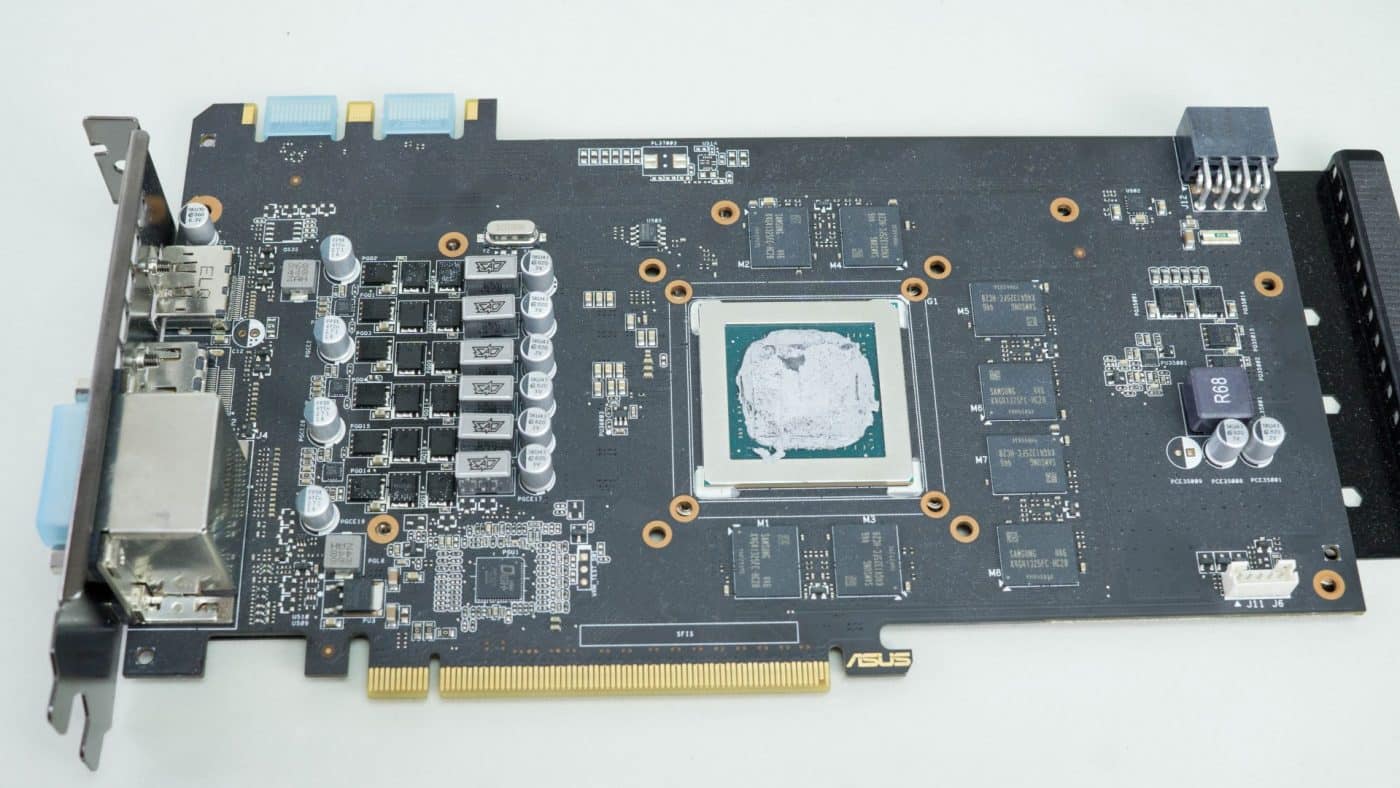
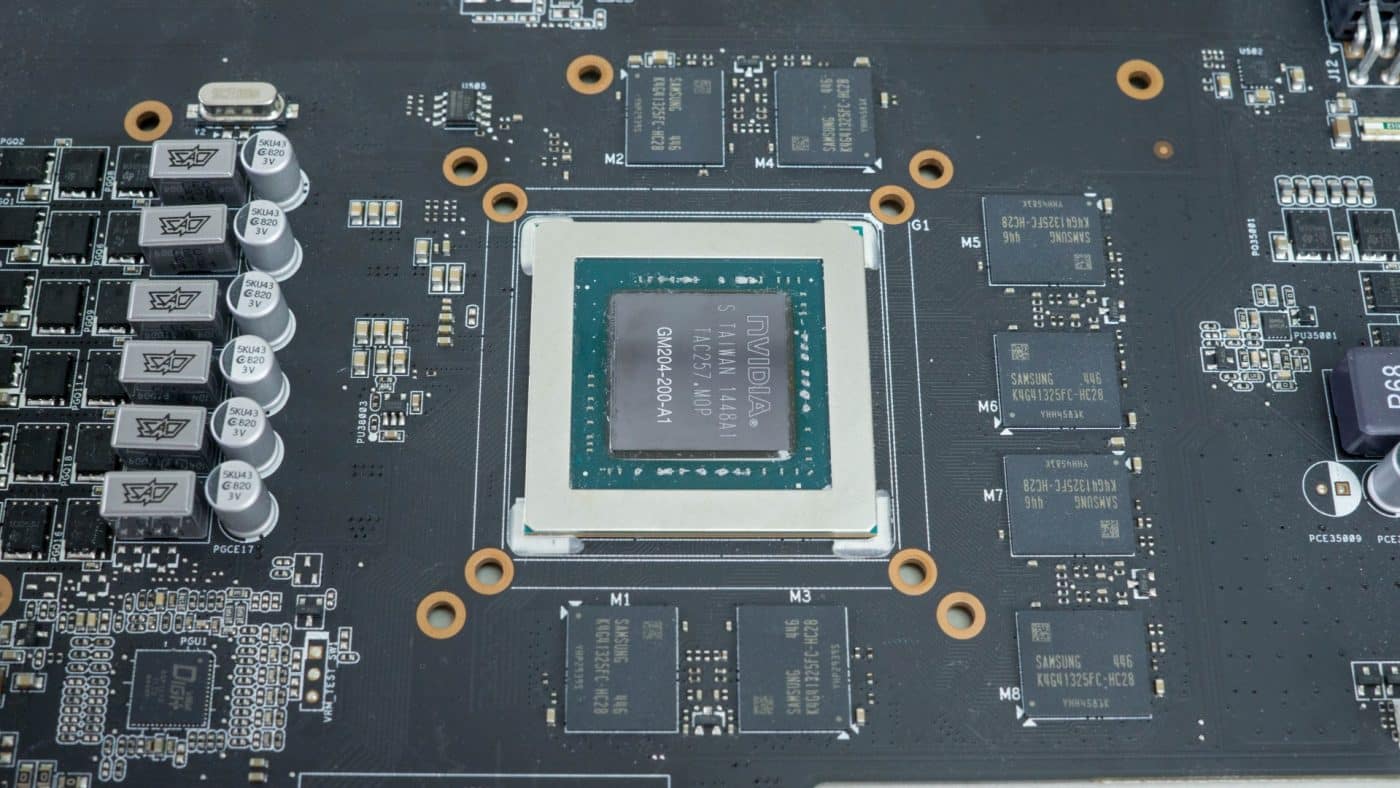
At this point you should have a plain PCB covered in thermal material that needs to be cleaned off. Start with wiping off the processor in the center of the board. You will have to work a little bit as generally it’s pretty dried on. Some TIM remover might be useful.
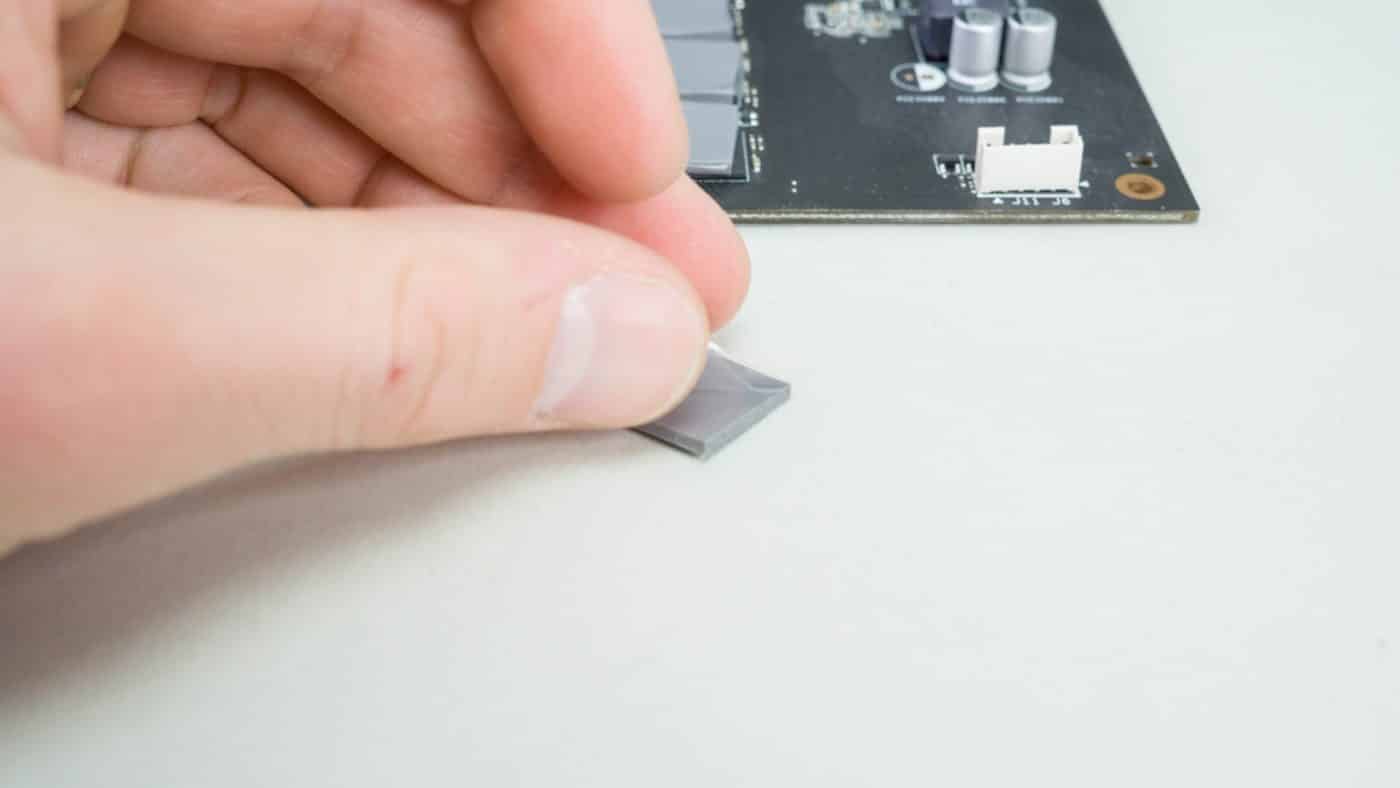
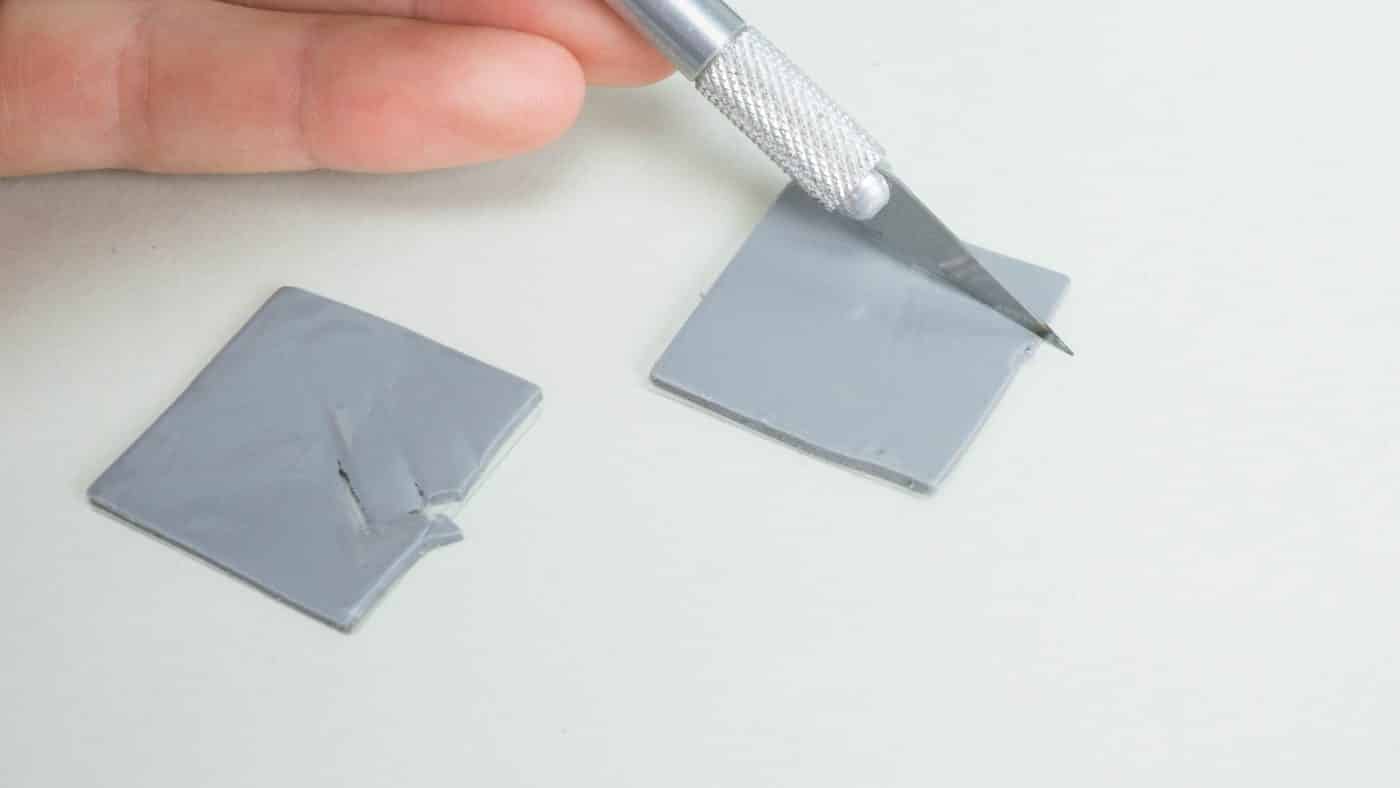
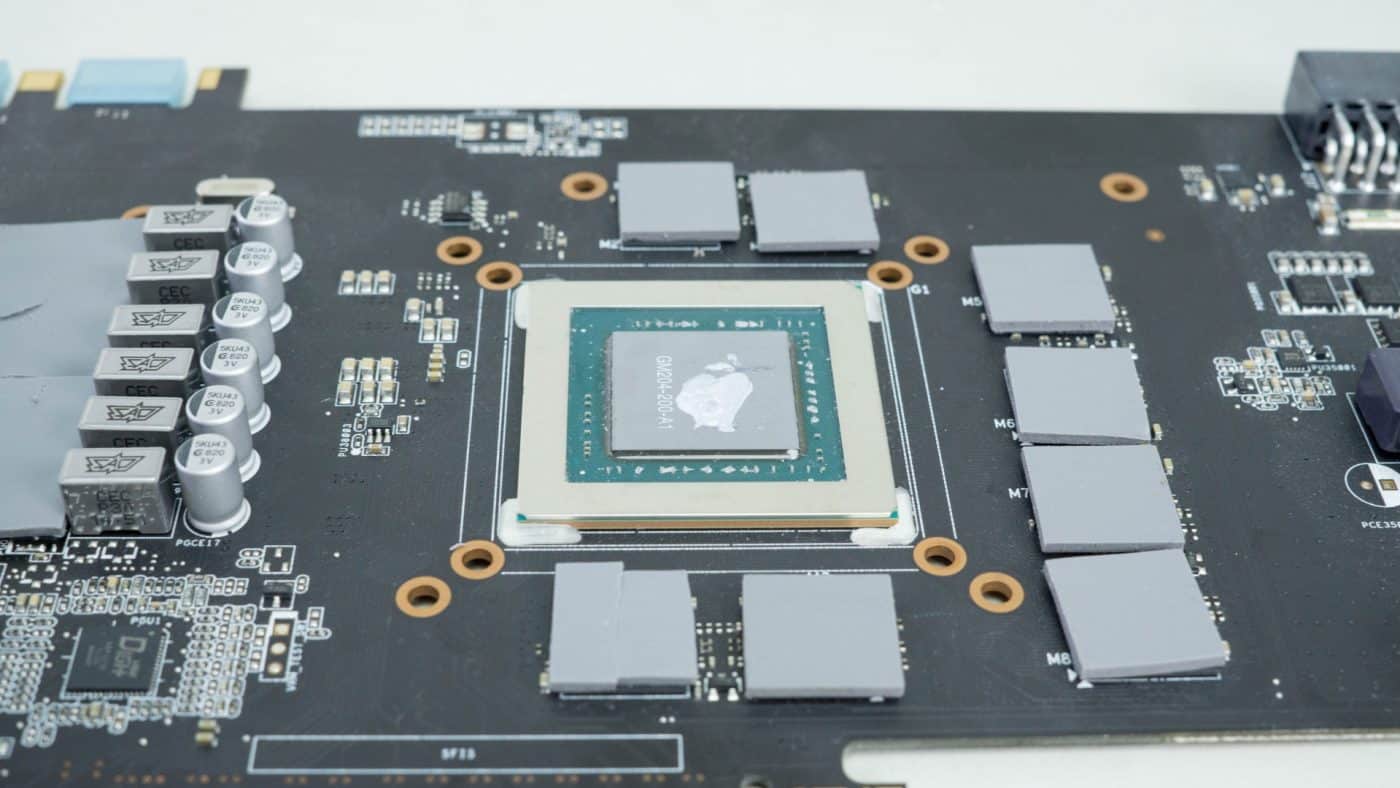
With the board clean you need to place your new thermal pads. We were missing one for one the memory modules (which was found later). Fortunately there is excess on the two larger pads which we cut away to make an additional memory pad. It is important that all of these pads are in place as they are what creates a firm thermal connection between the component and the new block. Make sure after test fitting them you remove both pieces of plastic from the pads.
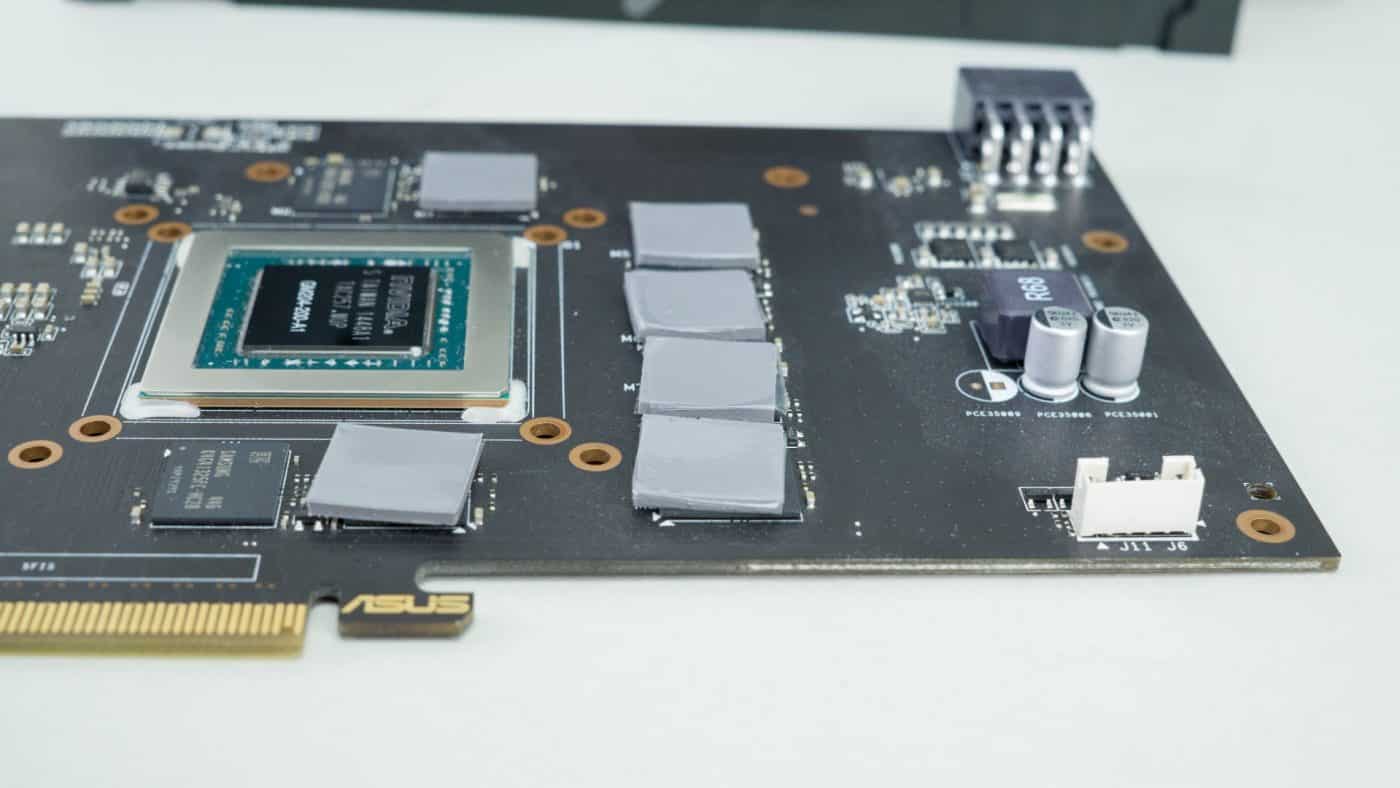
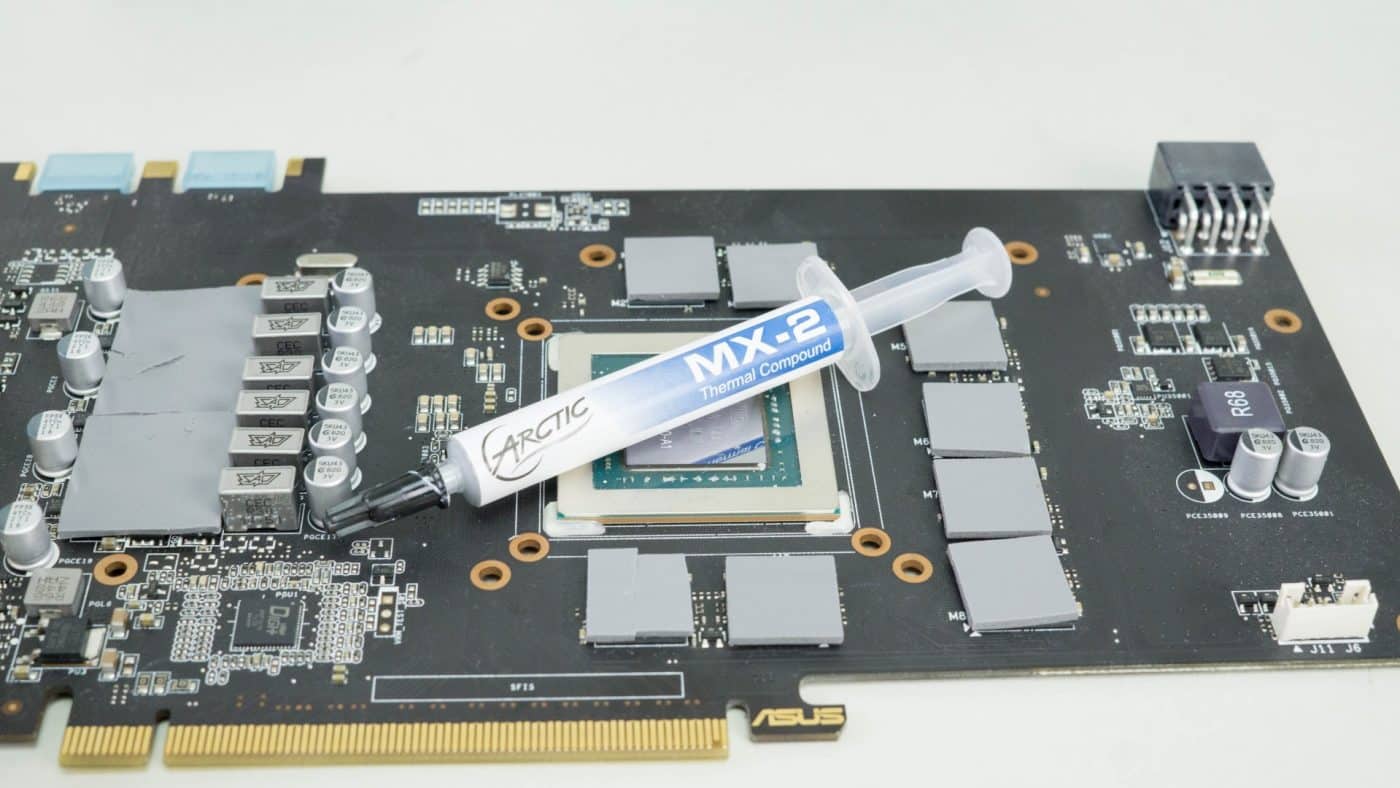
Finally you will need to apply standard thermal paste to the processor itself. We are going to skip the included paste and go for some high performance Artic MX-2 that we really like. AlphaCool suggests that it be applied in a thin cake frosting like layer across the whole surface.
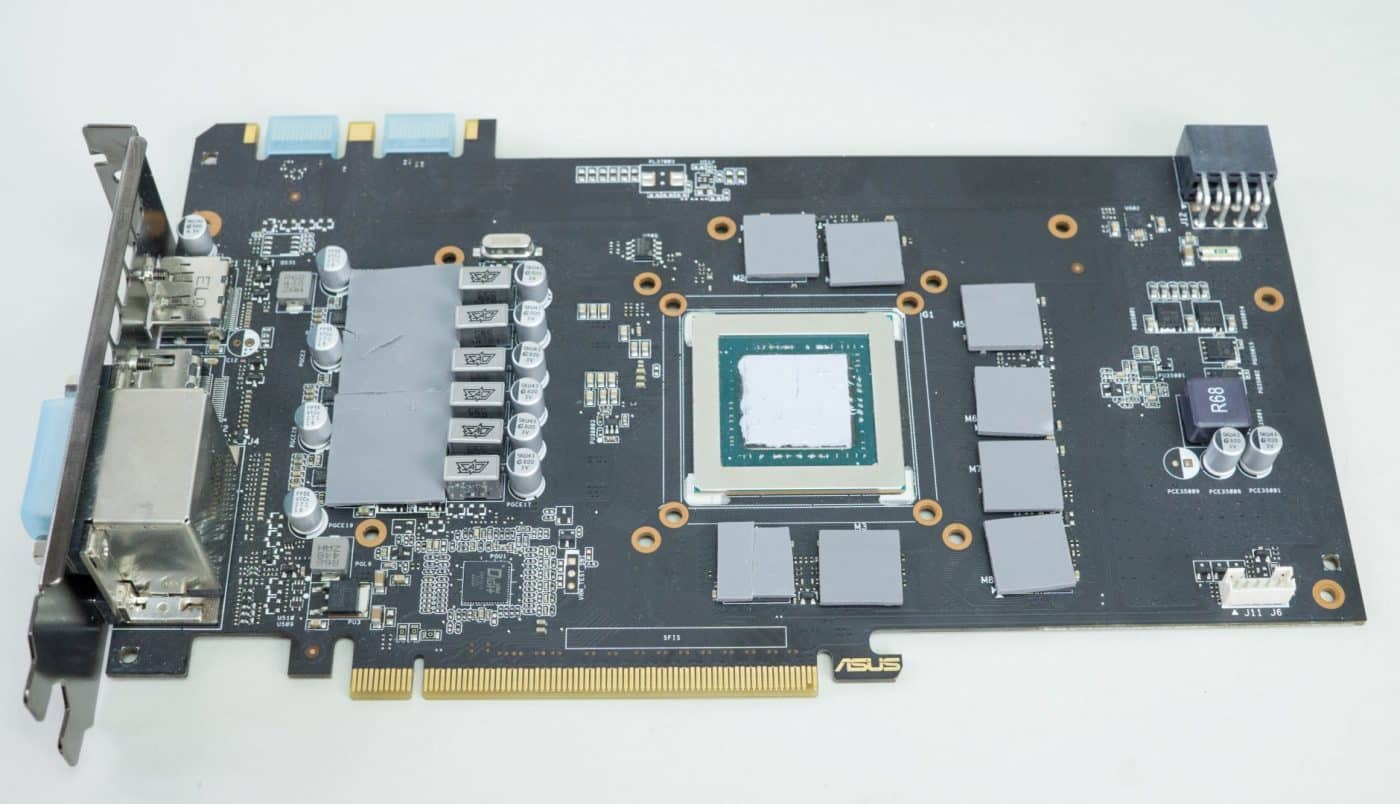
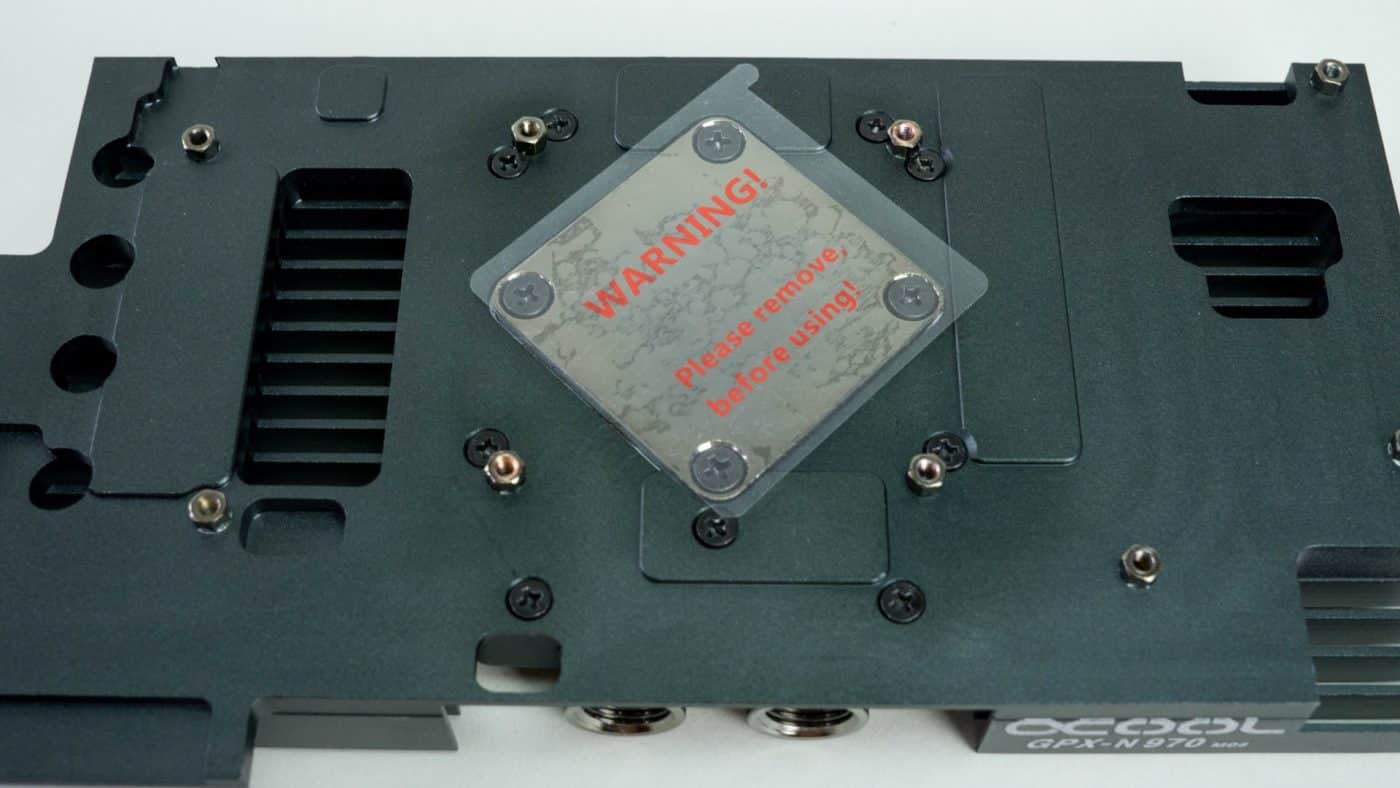
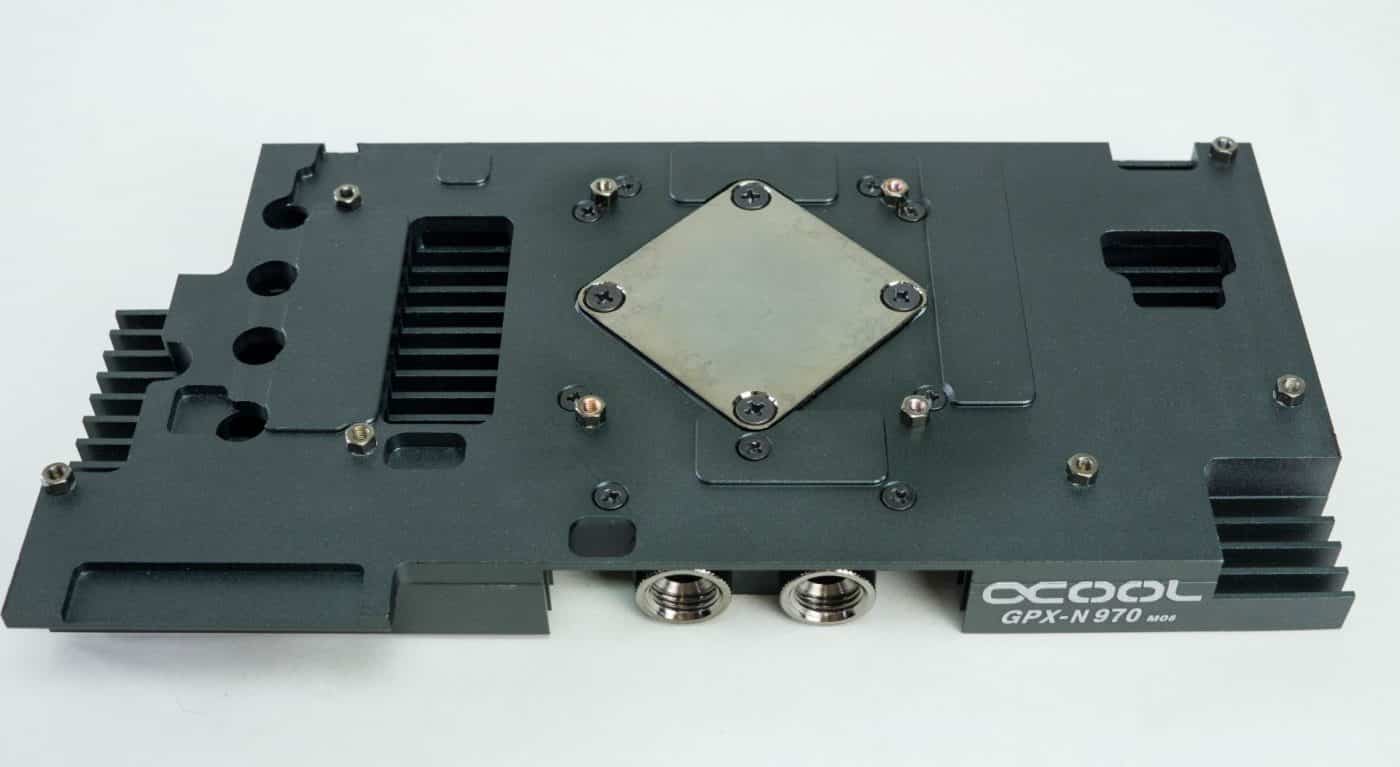
The PCB is now prepped and we can install the block itself. Obviously remove the sticker from the heatsink before installing. When you’re ready simply line the block up with the relevant parts on the board and press it firmly into place. It’s best to not break this initial contact, take care not to jostle the block or board around after it is pressed into place.
Holding the two parts together flip them both over. Find a raised rectangular object smaller than the card that you can rest it on while installing the backplate. Laying the card on a table top will push the PCB away from the block because of the height of the exhaust bracket. The pads for the backplate are thicker, but the process is the same. Remove the two plastic pieces and place the pads on the correct parts of the PCB. This will ensure that heat is easily transferred to the backplate.
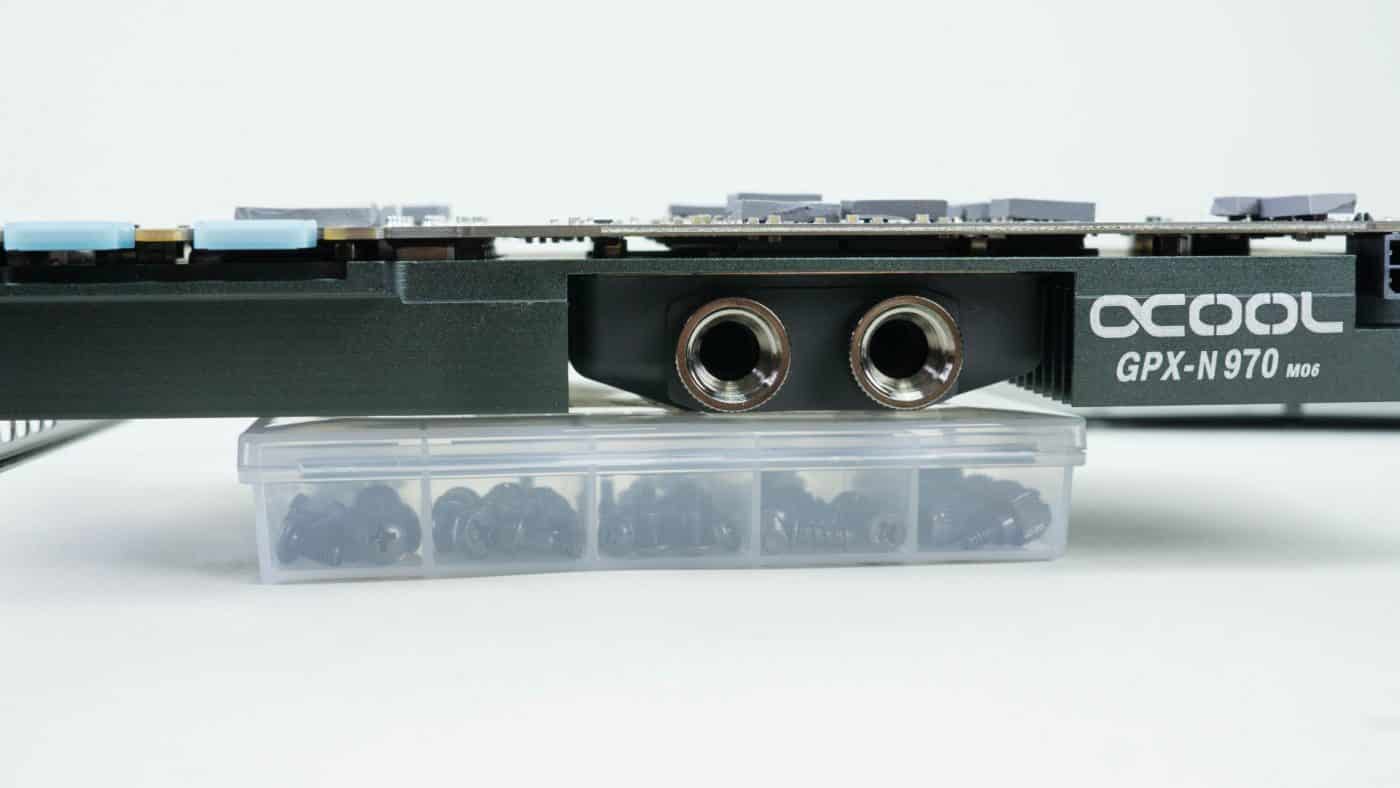
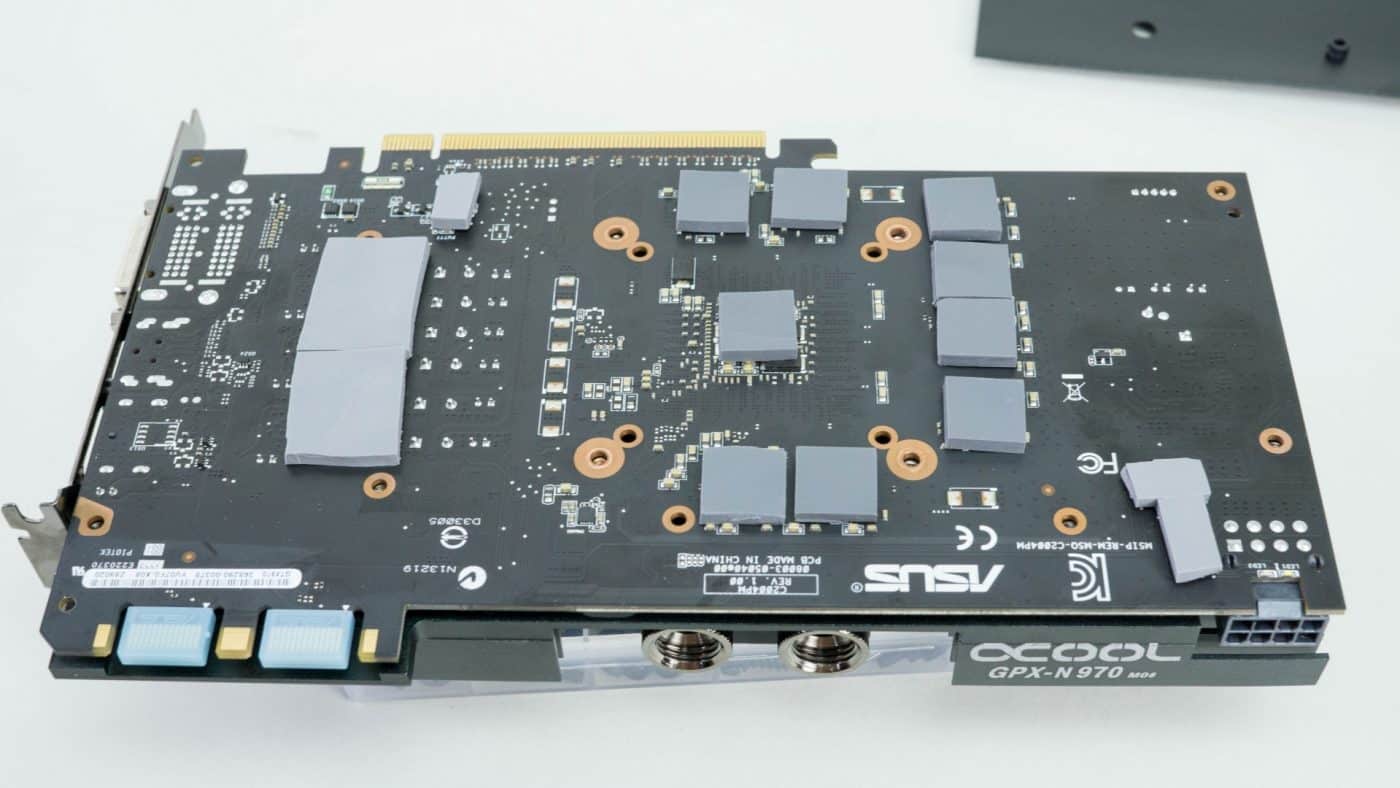
Place the backplate onto the thermal pads and secure with the included screws both the block and backplate together with the card serving as the meat in this sandwich.
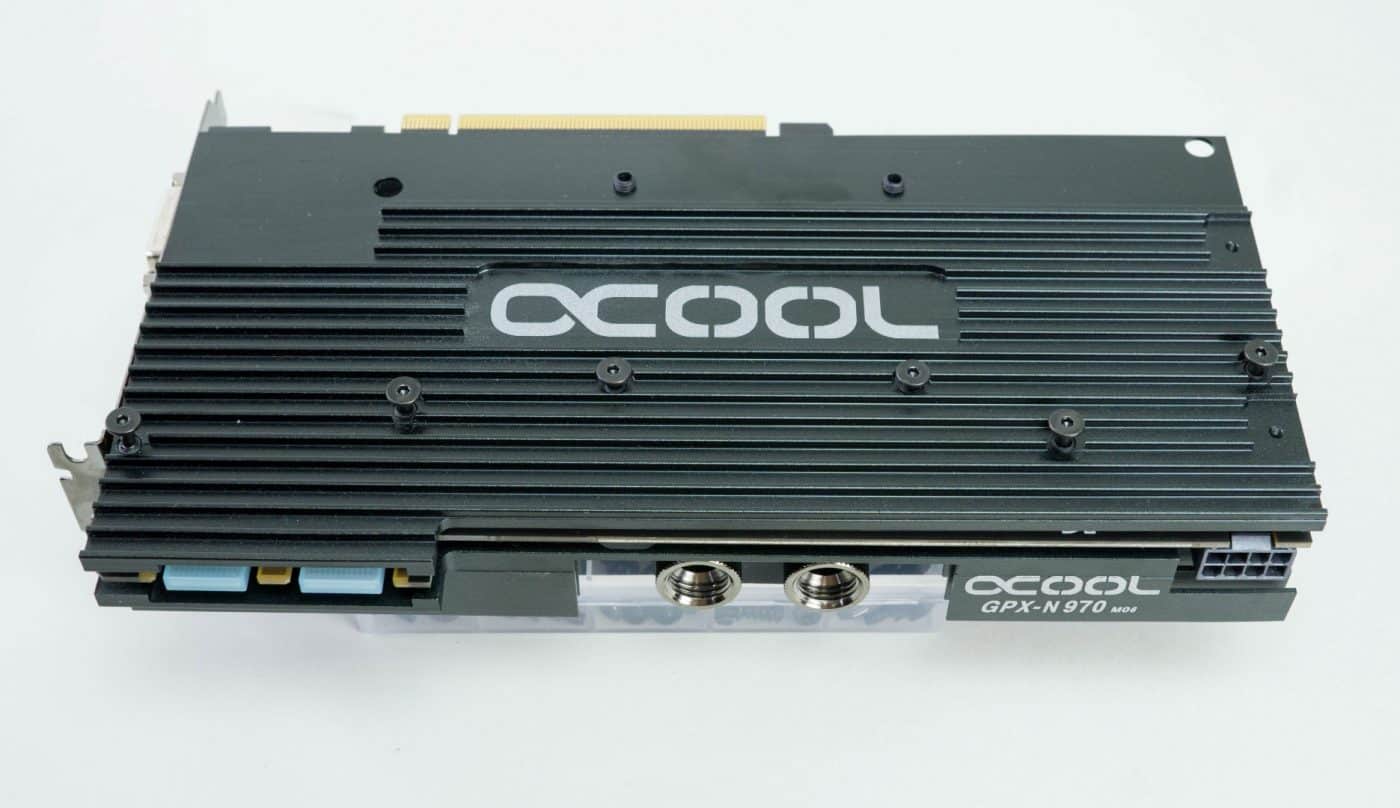
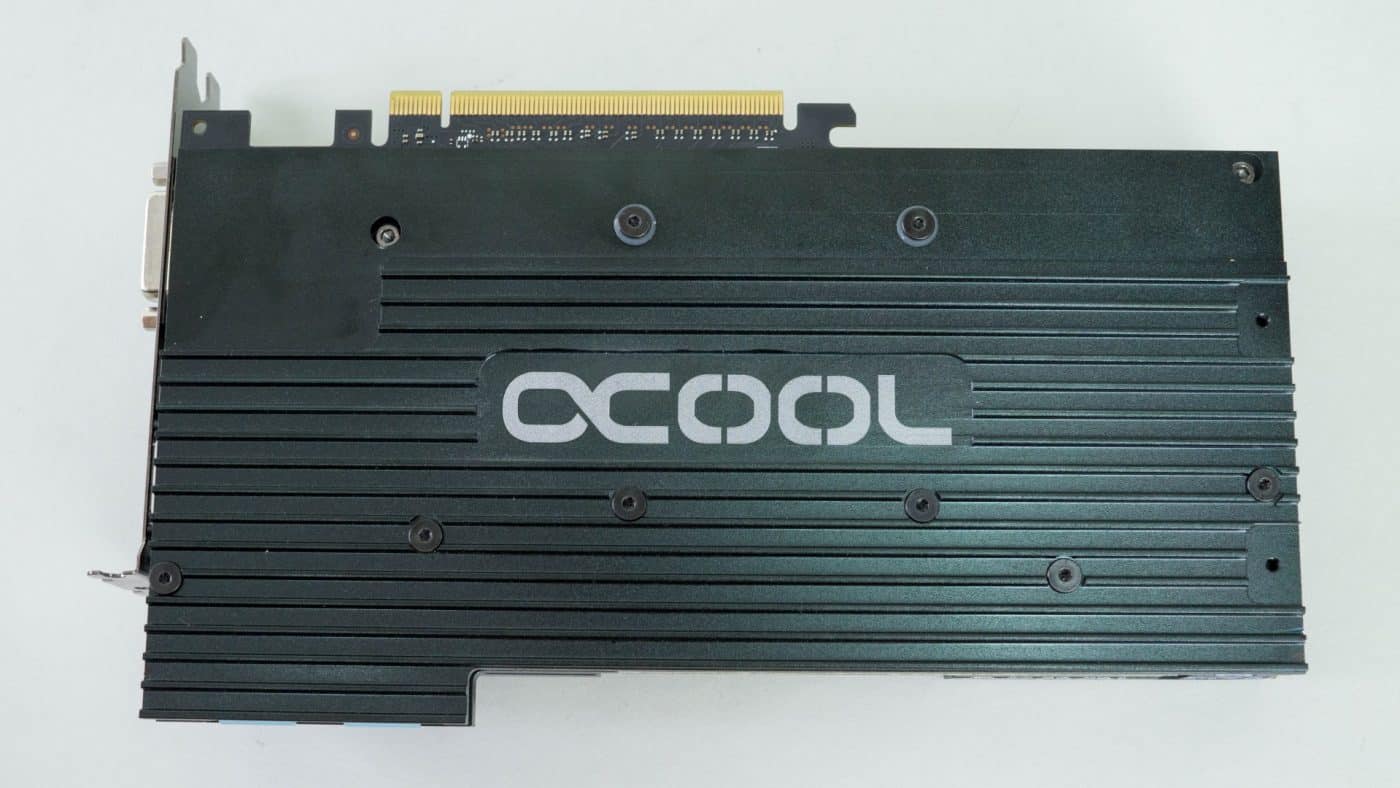
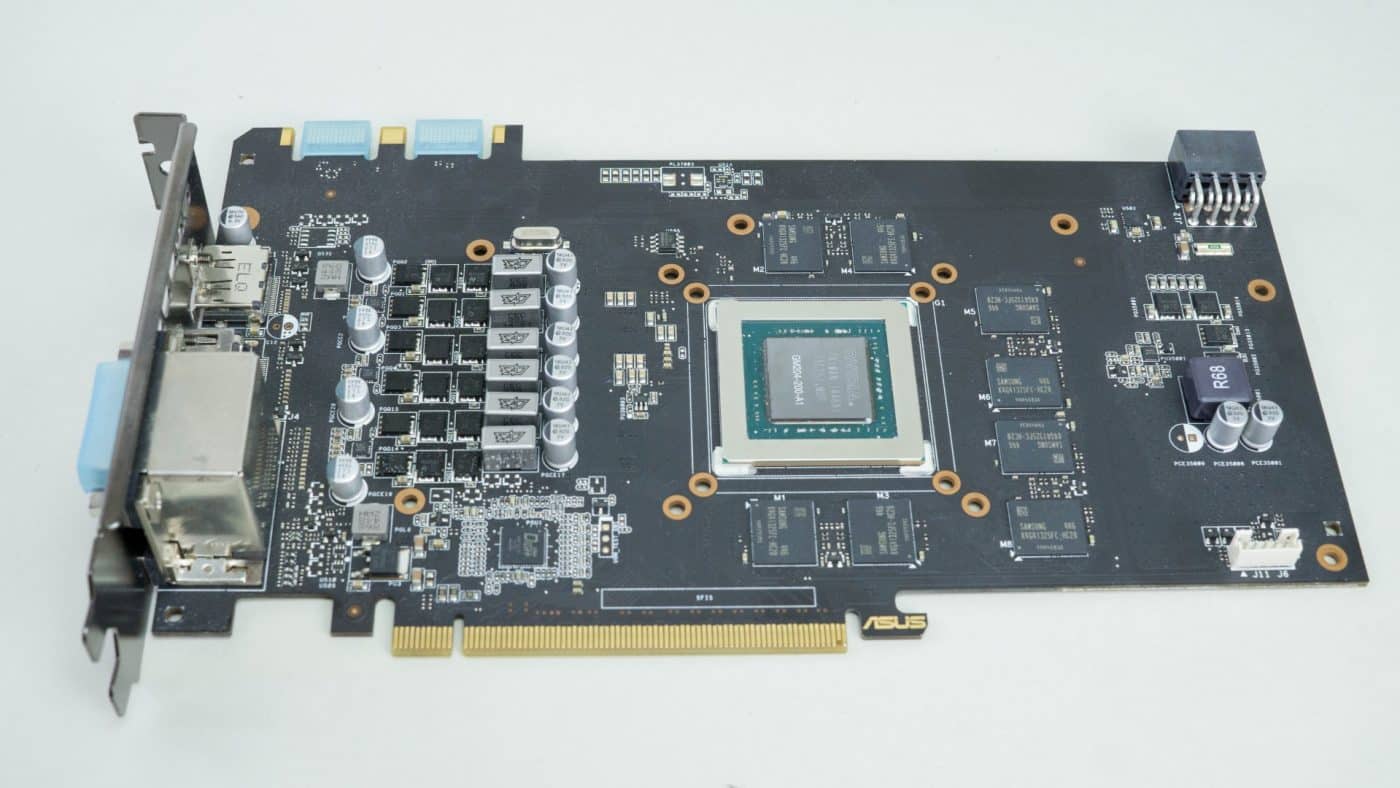
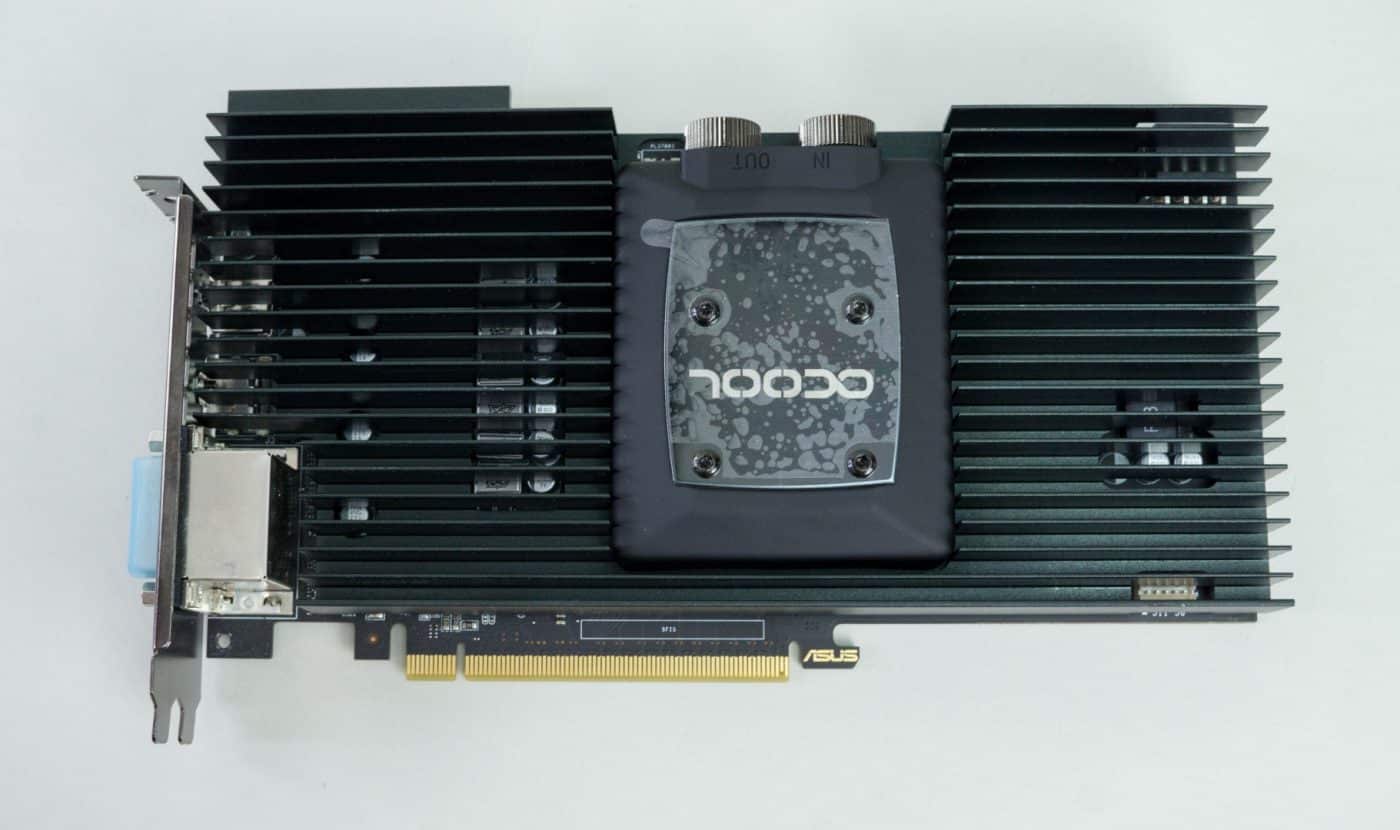
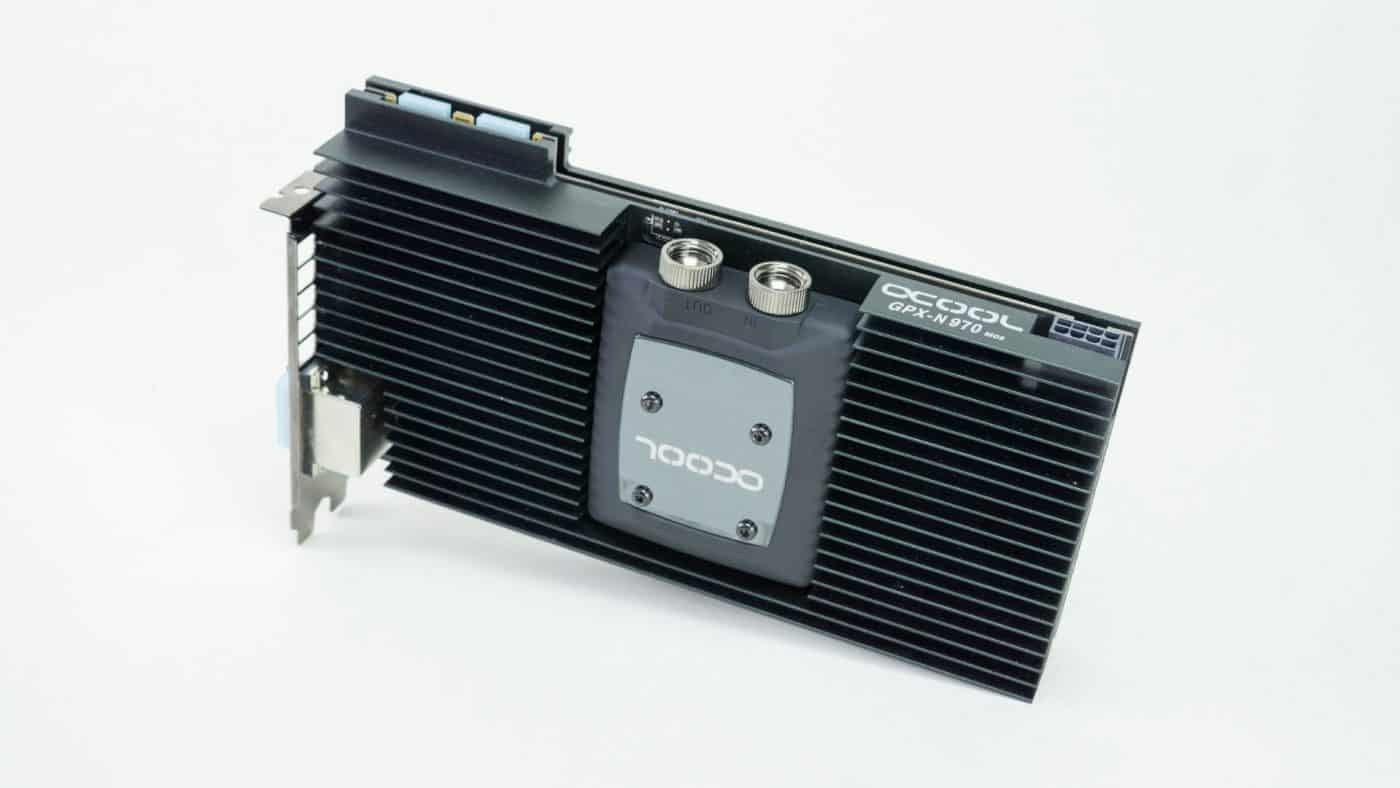
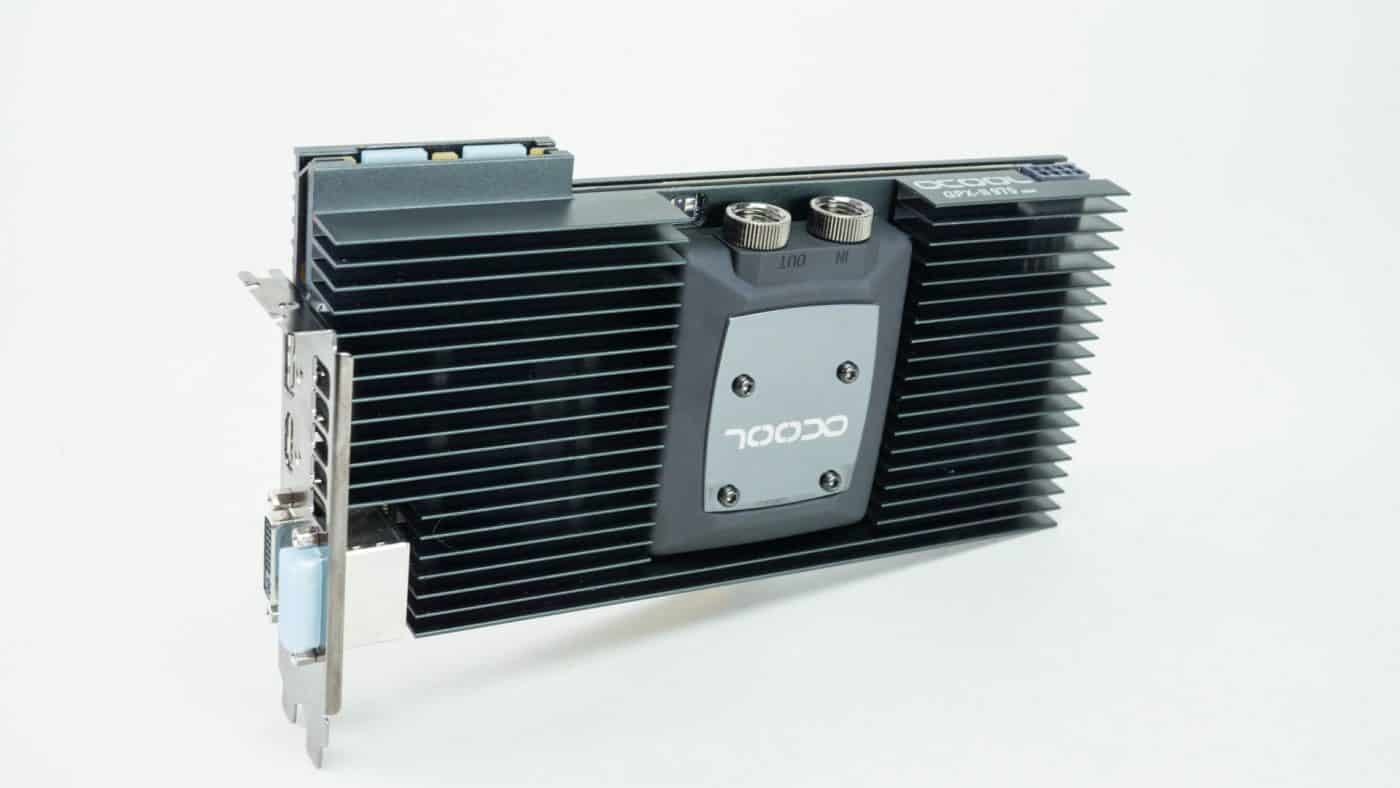
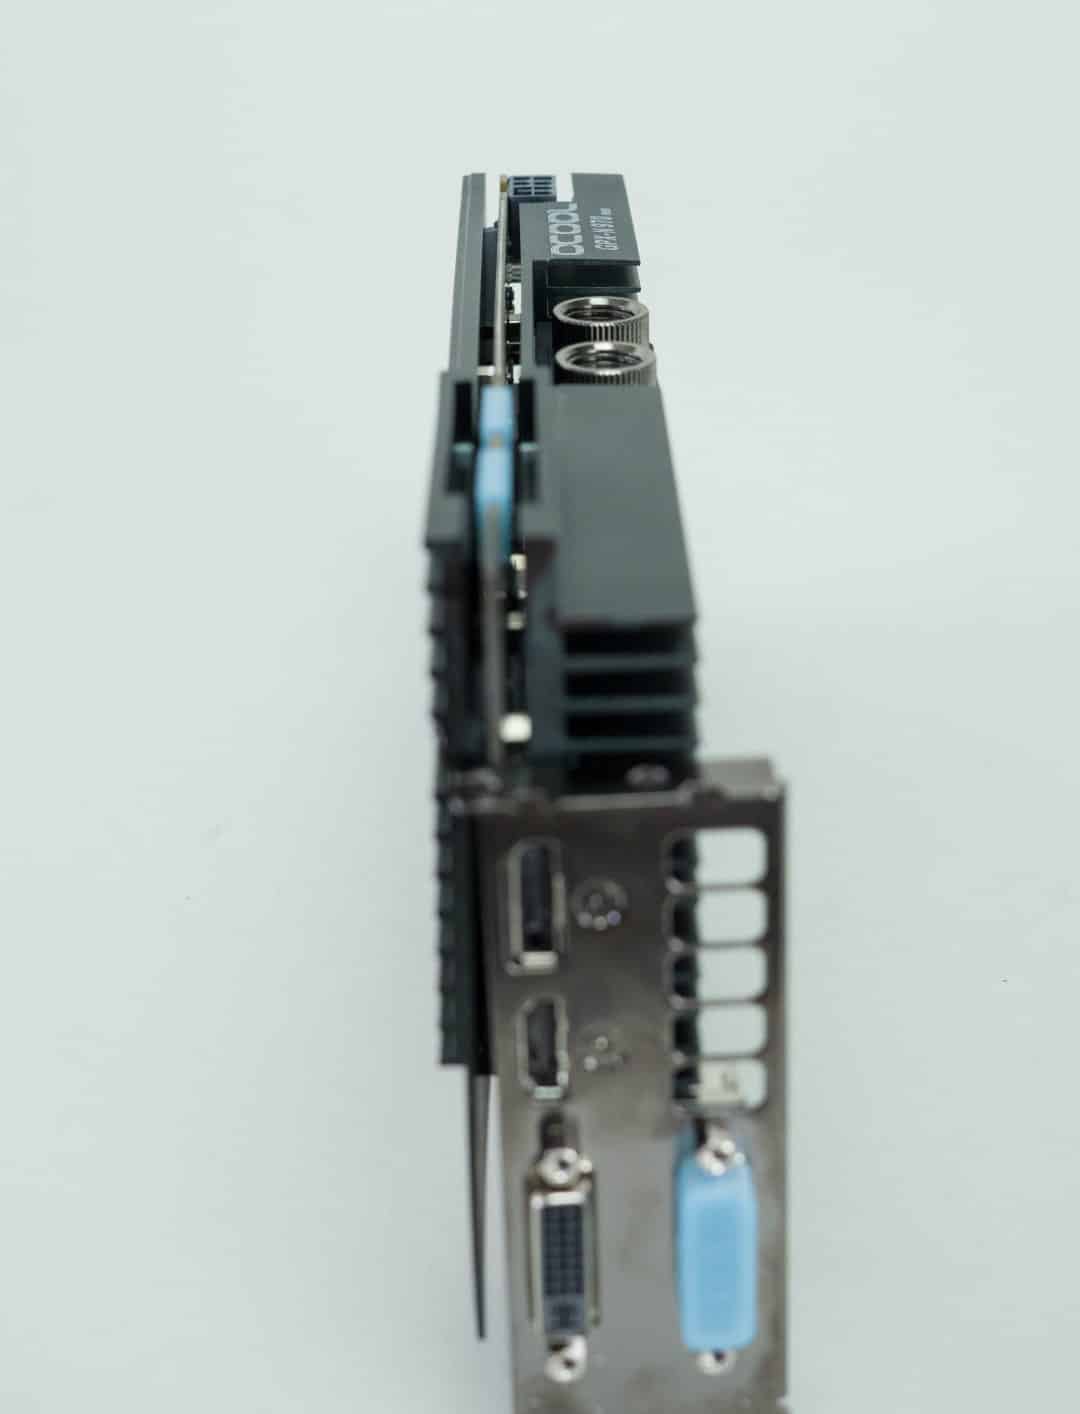
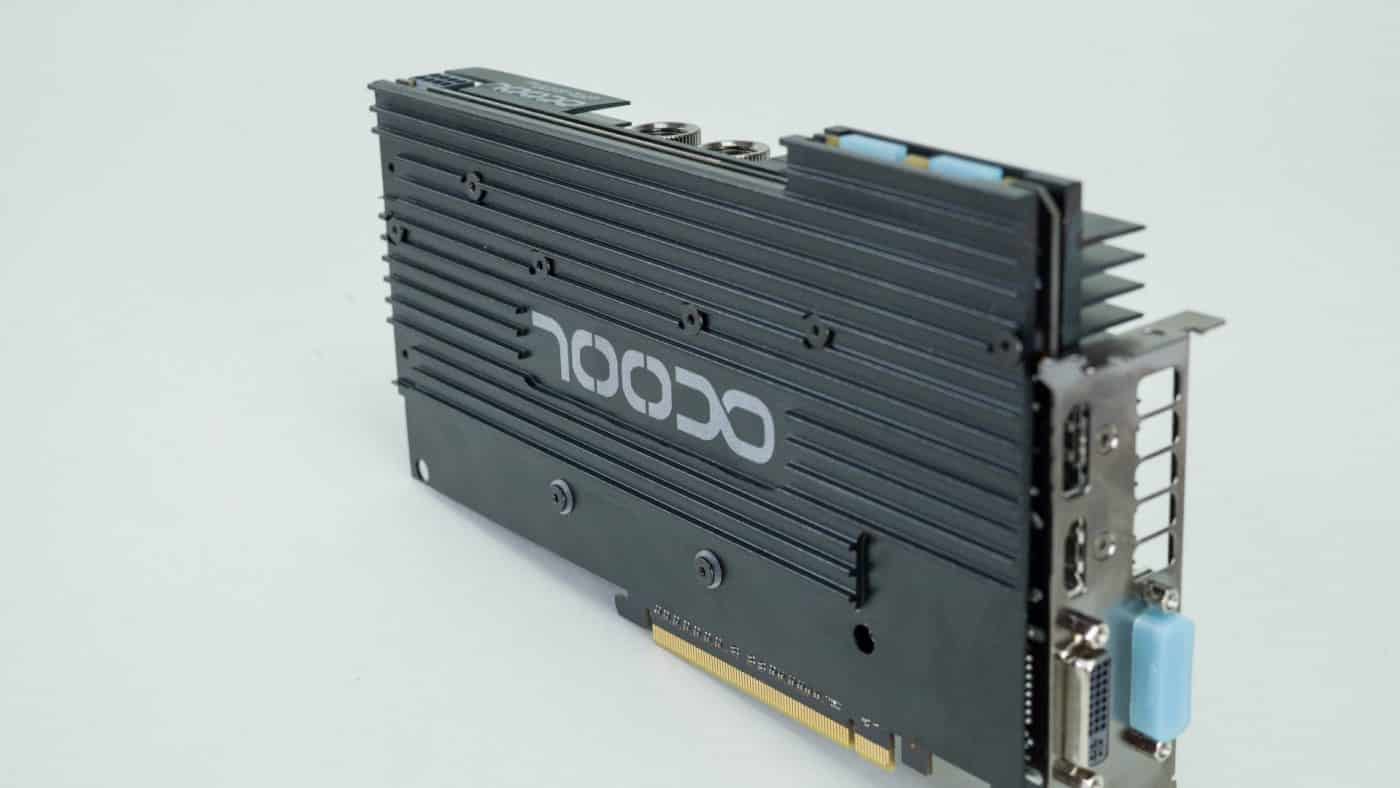
That completes the installation of the AlphaCool GPX block on our Asus GTX 970 Strix.


When talking about upgrading/expanding a water loop, you should mention quick-disconnect fittings.